Toyota 4Runner 1984-1995: How to Repair Hood Release Cable
Do you have to repeatedly slam the hood on your 4Runner closed in order to get it to actually stay shut? In all likelihood, you need to fix the truck’s hood latch. Fortunately, it’s easy enough to do yourself and won’t take up too much of your afternoon.
This article applies to the Toyota 4Runner (1984-1995).
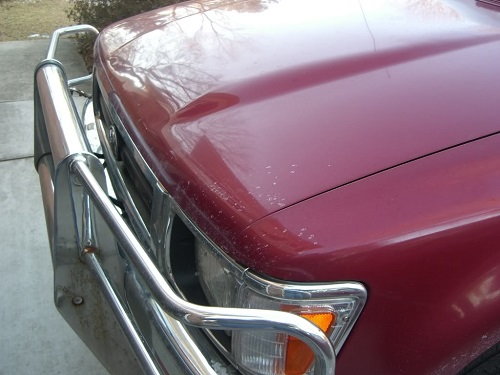
If you own a first generation Toyota 4Runner, chances are that given the age of the vehicle, you’ve run into some issue with the truck’s hood not closing. Whether it’s general resistance or the fact that you need to repeatedly shut the hood in order to actually get it to secure, the whole thing can be a real headache. Fortunately, this is an issue run into often enough that a bunch of 4Runner owners have already detailed how to fix it yourself, at home. The component that needs to be fixed is the hood latch and it’s easy enough to do, so you can avoid a costly trip to the shop.

Materials Needed
- Wrench
- Needle nose pliers
- Screwdriver
- Ratchet set (optional)
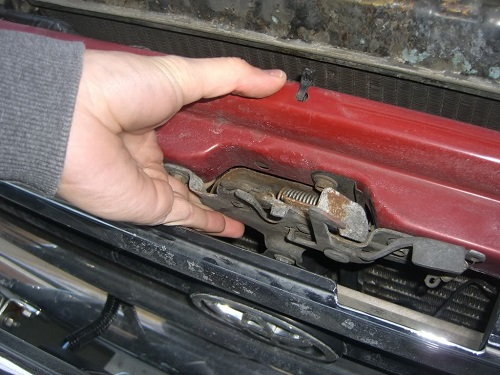
Step 1 – Locate the latch and loosen its bolts
For most variations of the 4Runner, the bolts holding the latch in place are 10mm, so when you go to loosen them, use an appropriately-sized wrench. You’ll want to get them to a spot where they’re not super tight, but simply snug.

Step 2 – Slide the latch up and re-tighten the bolts
Reach under the latch and lift the component. Try to get it past the point where the bolts originally settled. When it’s as high as it can go, re-tighten the bolts with your 10mm tool.
Now close the hood to ensure the latch snags lock.
If this does not work, chances are you need to replace the hood release cable.
Step 3 – Release the cable from the hood latch
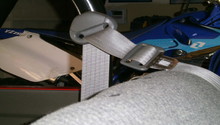
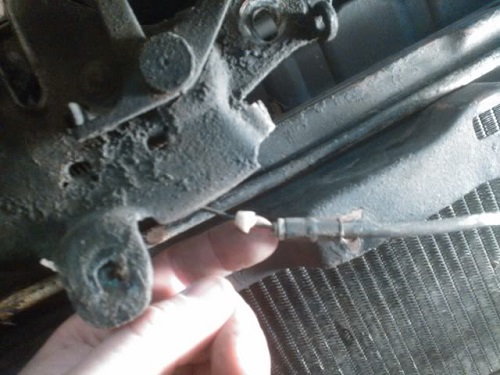
Locate the hood release cable and using needle nose pliers, grab the round ball on the end and lift it up/out of the retainer spring. When complete, remove the screw holding the cable to the latch.
Now guide out from its location behind the headlight. When complete, remove the hood release handle by taking the aforementioned bolts off completely. After that, push the rubber grommet through the divider below the brake booster (a screwdriver works fine for doing this). Pull on the cable from inside the truck and pull it as high as possible towards the divider. It should be fully removed now.
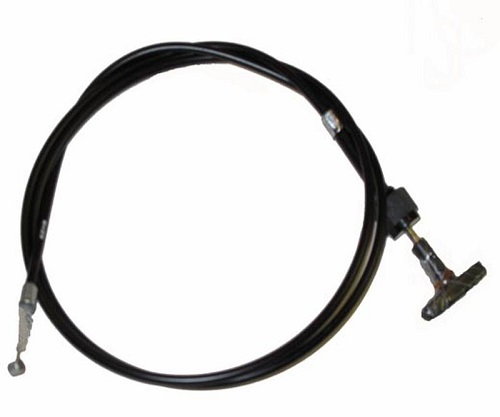
Step 4 – Install new hood release cable
Begin by inserting the latch end through the divider and running enough of it up, so that you can grab it on the other side. If you cannot push it high enough, the screwdriver can help again. When you get a grip on the cable, pull on it until it stops—this means the rubber grommet has filled the hole through, which the cable just traveled.
Locate the rubber grommet and push it into the divider to ensure secure placement. Now pull the cable along the fender wall and route in the same manner which it came out. Push it up through the hole behind the headlight and under the radiator support.
To install the cable to the latch, insert it to the cable end first into the latch’s spring lock. Put the cable into the cable hold-down bracket. Now tighten the hold-down bracket and bolt the release handle on. Make sure all bolts are tight and then test the hood out.
Related Discussions
- Hood Release Cable Broke - YotaTech.com
- Replacing Hood Release Cable - YotaTech.com
- Hood Release Cable Adjustable - YotaTech.com
- Hood Latch Readjustment Pics - YotaTech.com
- Hood Release Diagram Picture Needed - YotaTech.com