Toyota 4Runner 1984-1995: How to Install Bypass Toggle Blower Motor Speed Control
Have you lost the high speed control setting on your heater blower motor, leaving you in the cold on a wonderful winter's day? This article will help you diagnose and correct the problem to get warm air blowing fast once again.
This article applies to the Toyota 4Runner (1984-1995).
Some of the more common problems that affect early Toyota 4Runners are either a heat control setting that gets stuck on low, or a loud noise that accompanies heated air. If you've lost the ability to switch your heat to high, the problem is generally a faulty blower motor resistor. These resistors commonly become corroded or simply break after being exposed to high voltage over time. If you've got excessive noise coming from your dash, you might also have debris inside your blower motor. Whatever sort of gremlin you have in your dashboard, keep reading and we'll walk you through the process of diagnosing and fixing it.

Materials Needed
- 1/4" ratchet with extension
- 7/32" socket
- Phillips head screwdriver
- Multimeter
Step 1 – Clean/replace the blower motor
First, you will want to remove the blower motor to make sure it is free of debris. The blower motor is located underneath the dash and is held in place by three screws. Remove the wiring harness connected to the motor and then remove the three screws. Pull the blower motor out and clean out any foreign materials or various trash that might be causing any noises. If your blower motor is bad, replace it with a new one by simply lifting it up into place, reinstalling the wiring harness, and reinstalling the three screws holding it into place.
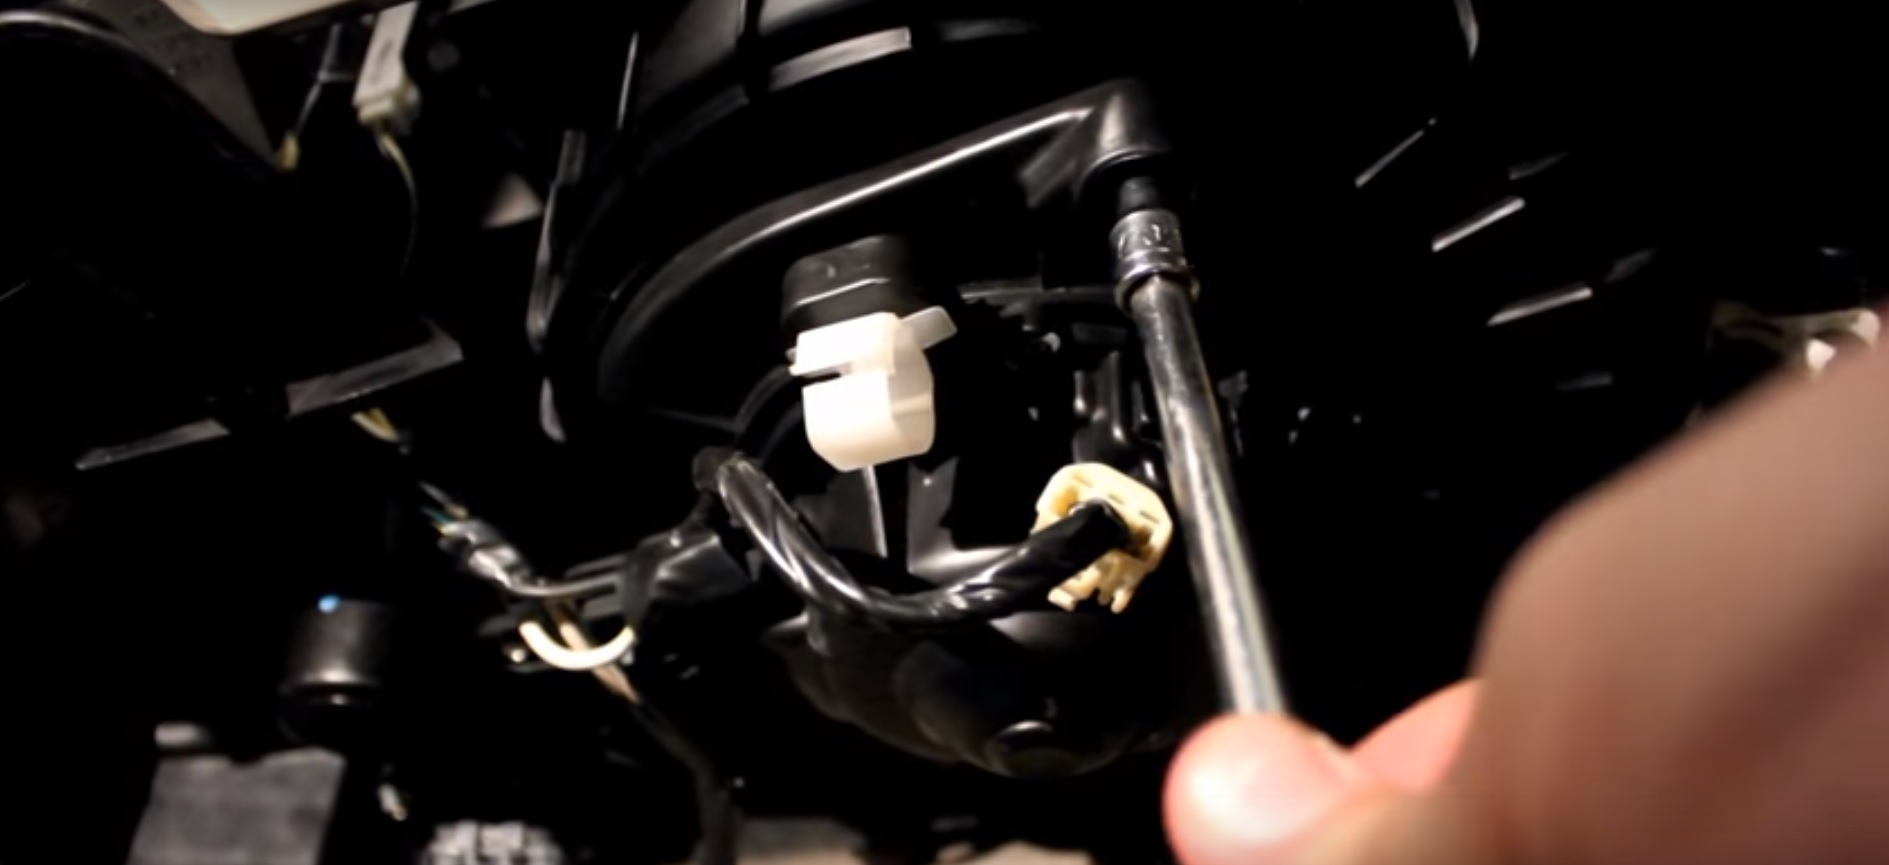
Figure 1. Remove the three bolts and wiring harness from the blower motor. 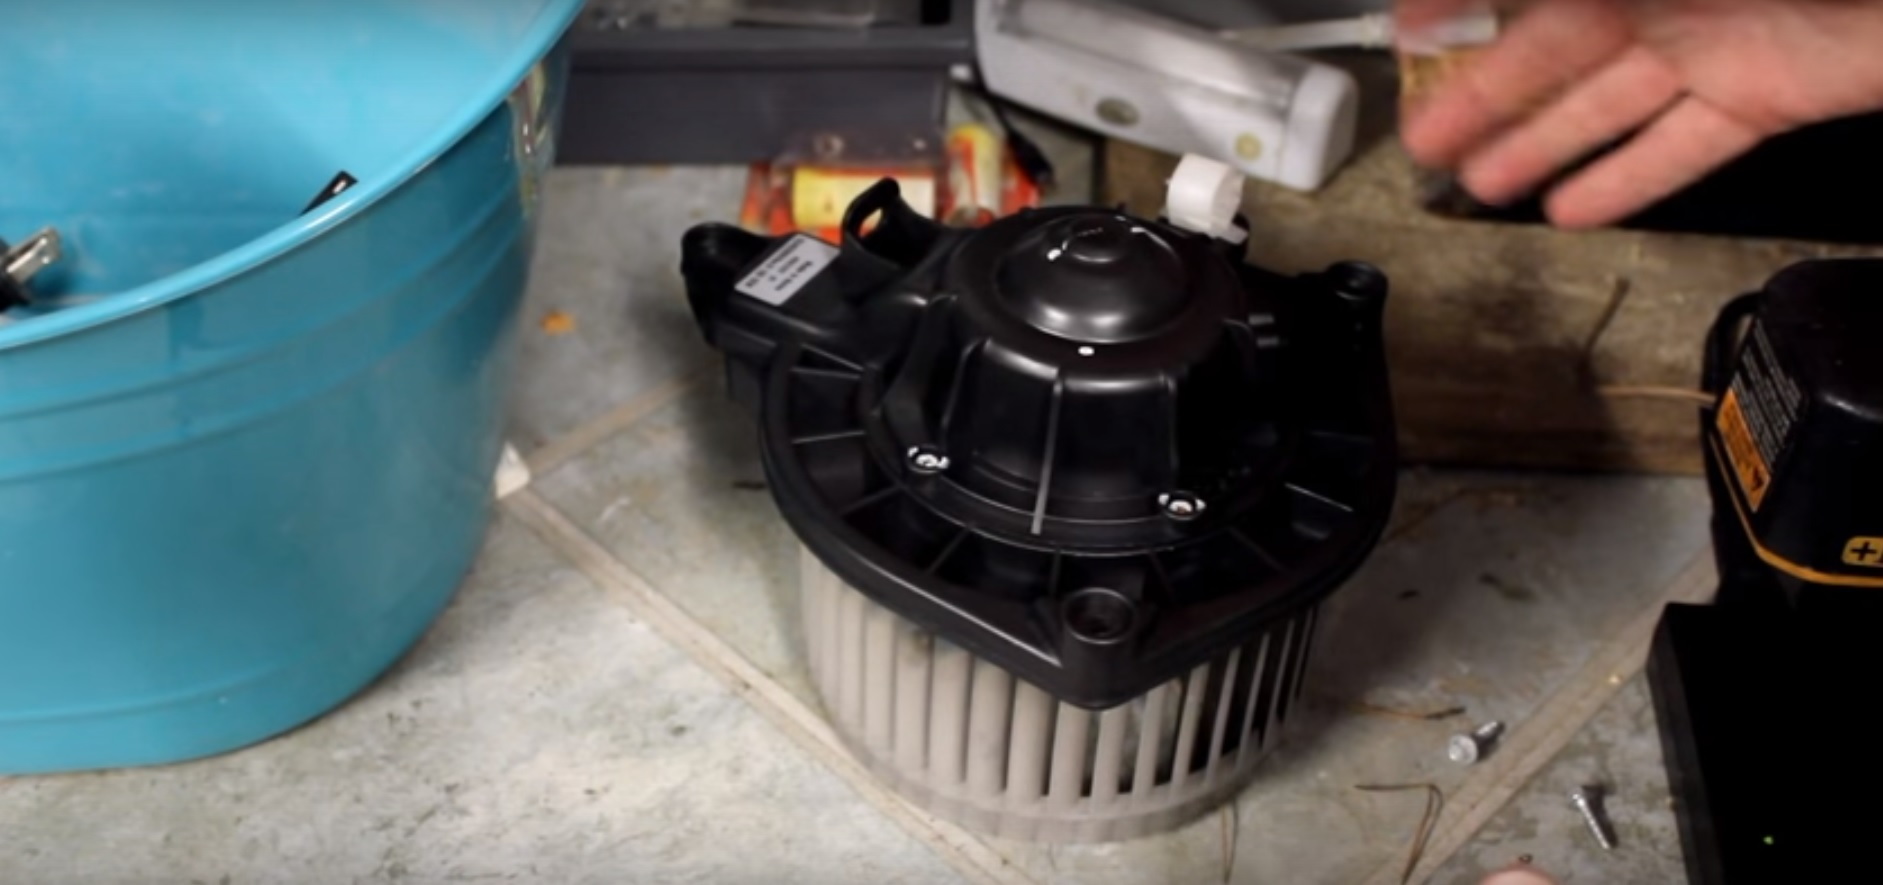
Figure 2. Remove the blower motor and clean out any foreign material that might be inside it.
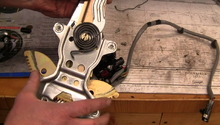
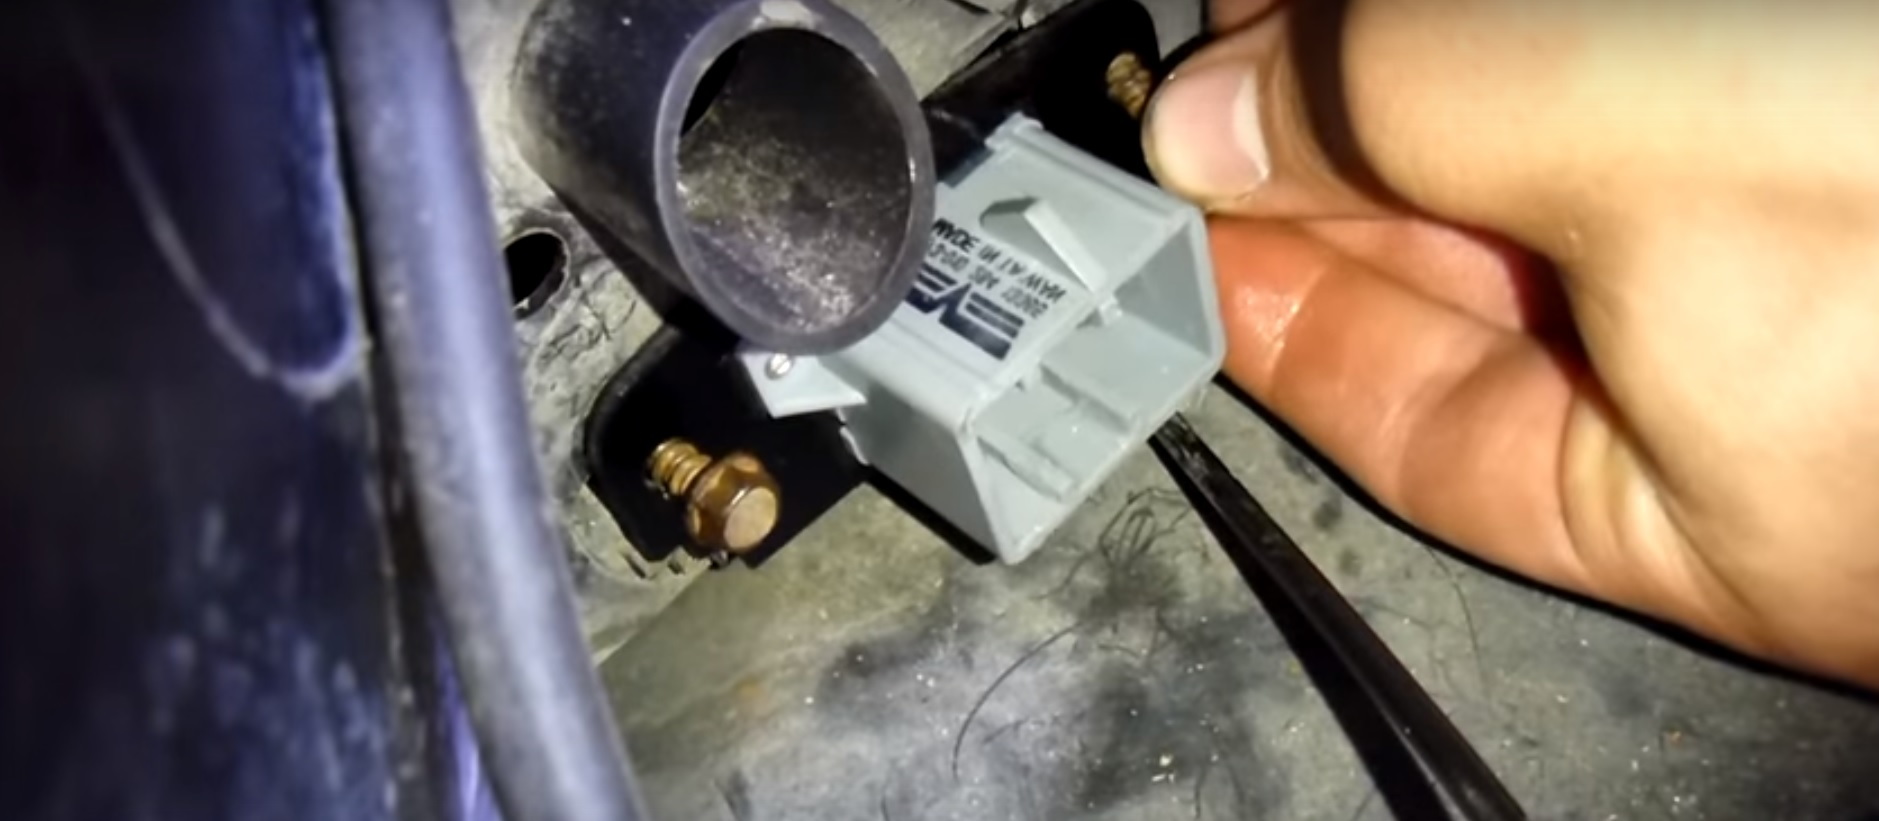
Step 2 – Check the blower motor resistor
The blower motor resistor is located near the blower motor toward the firewall. It is held in place by two Phillips head screws. Remove the screws and pull the blower motor resistor out. Generally, you can tell if the resistor is bad by simply looking at it, as one or both of the resistors generally break in half from a surge in electricity, leading to failure. Also check for melted connectors. If your resistor looks good, test it using a multimeter to see if it is bad. Replacing the resistor at this point is cheap and easy, as they generally only cost around $15 and can simply be bolted in place of the old one.
Related Discussion and Videos
- Install or bypass blower motor speed control - YotaTech.com
- How to replace a blower motor - YouTube.com
- How to replace your blower motor - YouTube.com