Toyota Tundra: How to Replace Power Window Actuator
Every window except your very own driver window stops working.
This article applies to the Toyota Tundra 1st and 2nd generation.
Car windows used to be operated via hand crank. Since then, automotive technology has come a long way. Now people are able to bring any window up or down with the simple push of a button. The magic happens when that button communicates to signals in the wiring between the switch, doors and the on-board computer (or ECU), which instructs the mechanical "motor" to move the glass in the desired direction. However, over time, electronics and motors can get damaged or become faulty. In the scenario of car windows, a switch may go bad, a wire may get frayed or the motor, which handles the operation of the glass moving up and down can become faulty. With some basic hand tools and an afternoon, one can swap out a bad window motor (actuator or regulator) and restore the convenience of operating windows at a push of a button.

Materials Needed
- Small flat tip screwdriver
- Phillips screwdriver
- Trim tool/putty knife
- 10mm socket/ratchet wrench
- Painter's tape
- T25 Torx socket
- Pliers
Procedure to remove door panel may vary slightly between different models.
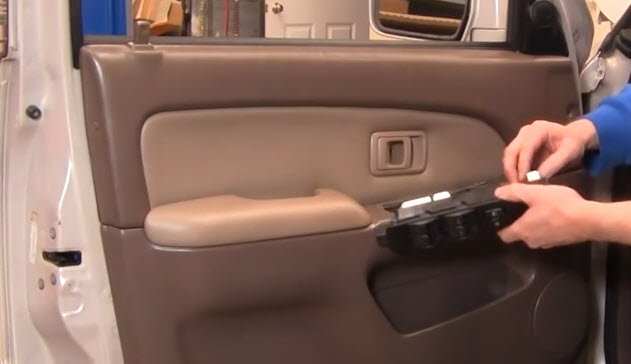
Step 1 – Remove switch panel
In order to access the motor for replacement, the door panel needs to comes out. To remove the door panel completely, the switch panel should come out first.
- Use the flat tip screwdriver to pry up the window switch panel.
- Disconnect the harnesses from the back of the switch panel.
Pro Tip
There are tabs to push on the harnesses to release them. You can use the small flat tip screwdriver to coerce them.
Step 2 – Remove door panel
Now that the switch panel has been removed, the rest of the door panel will be easier to remove.
- Use flat tip screwdriver to pry the sections of the arm rest/door pull area.
- Use Phillips screwdriver to unscrew door pull panel.
- Remove door pull and release window rod with the help of flat tip screwdriver.
- Use putty knife to pry the door panel from the door frame.
- Partially remove the water seal by rolling away from the metal part of the door frame.
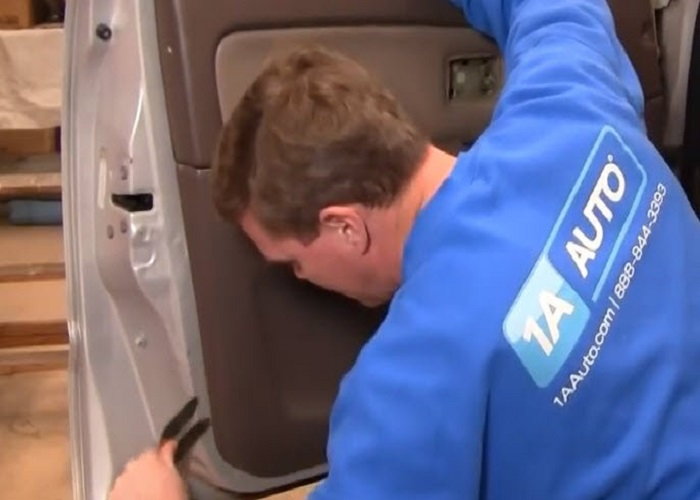
Figure 2. Use your pry tool to pop the tabs loose. 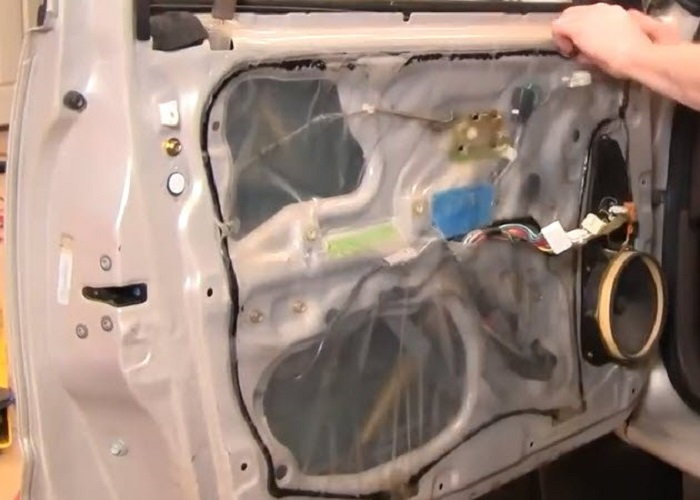
Figure 3. Door trim panel removed.
Pro Tip
There are also a couple of Phillips head screws behind the arm rest section removed previously that hold the actual panel to the door frame. You should also check for pins on the outer sides of the panels. These can usually be pushed in by a screwdriver and removed by hand.
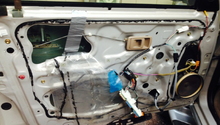
Step 3 – Remove regulator
Now that the door panel is removed, everything is exposed. You will now need to remove the regulator for replacement.
- Disconnect the harness toward the top of door frame for the existing regulator.
- Use flat tip screwdriver to pry the rest of the clipped portion of the harness out of the door frame.
- Remove the six 10mm bolts.
- Push window up with your hand and remove two more 10mm bolts on both sides of the track using access holes.

Figure 4. Removing 10mm bolts for the regulator. 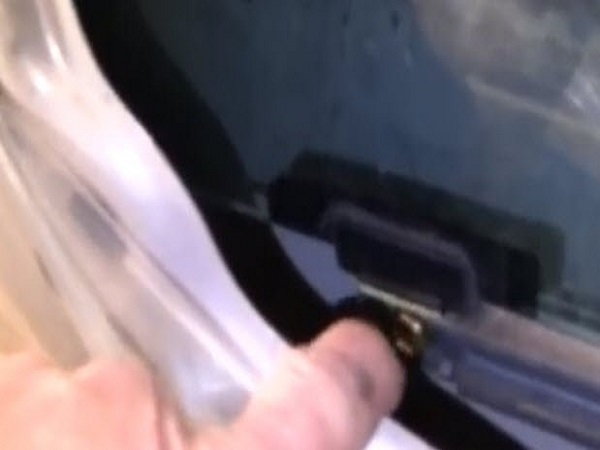
Figure 5. Lift up the glass by hand.
Pro Tip
Be careful when you get to the last of the six bolts, because the regulator will start to move as it separates from the door frame. You can place your hand at the bottom of the window to hold it.
Step 4 – Secure window glass
Once the regulator has been removed, it is a one piece assembly. This means that nothing will be holding the glass and you will need to secure it.
- After removing the regulator track, guide the window up into the full "up" position.
- Use painter's tape generously to keep glass in place and prevent from sliding down.
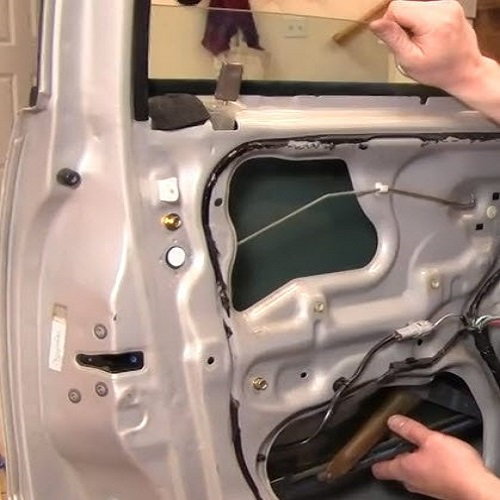
Figure 6. Slide the glass all the way up. 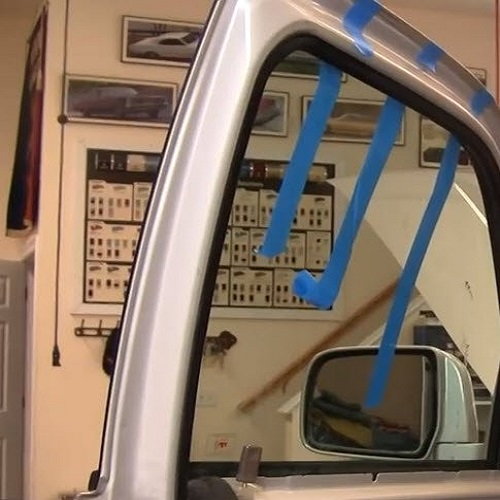
Figure 7. Secure the glass, so that it doesn't move.
Step 5 – Replace window actuator/motor
With the window secured, the regulator, track and harness will come out as a single unit. You will need to separate the motor from the unit for replacement.
- Guide the assembly out from the bottom of the door frame.
- Release spring from regulator using flat tip screwdriver.
- Turn unit over and remove three T25 Torx screws.
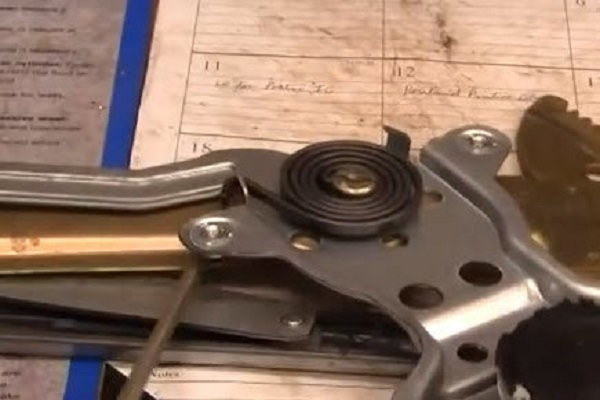
Figure 8. Unhooking the retractor. 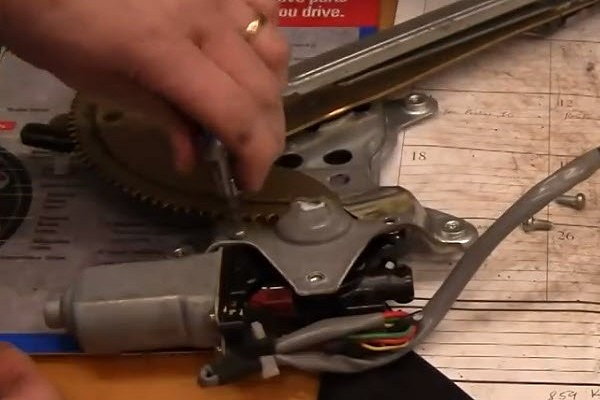
Figure 9. Removing Torx set screws.
Pro Tip
Take care when releasing the spring from the regulator, as it comes off with force.
Step 6 – Install new actuator/motor
Now that the old motor has been removed, the new one can be affixed to the regulator for reassembly.
- Rotate the regulator spring counterclockwise to bring the spring tip closer to its original tension slot.
- Line the new motor back onto the regulator.
- Tighten the three T25 bolts back into their recesses.
- Use locking pliers to coerce the spring back into its original slot.
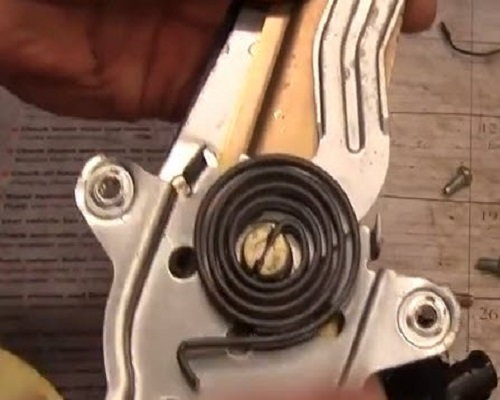
Figure 10. Adjust tension to match old unit. 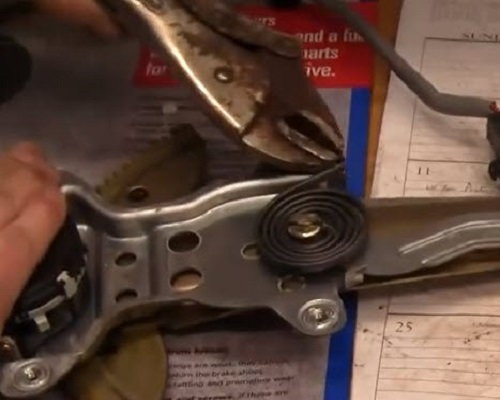
Figure 11. Hook the spring tensioner back in place.
Step 7 – Reinstall regulator with new motor
Now that you have the new motor affixed to the regulator, you will need to reassemble with the window.
- Guide regulator, motor and harness unit in through bottom frame hole.
- Position regulator and tighten the bolts with socket wrench.
- Plug the window switch panel into the harness.
- Guide the regulator down into the track.
- Carefully remove tape and guide window down into track.
- Tighten bolts on both sides of the track.
- Disconnect the switch.
- Route harness properly and clip back into place.
- Reinstall the water seal.
- Reinstall door card with bolts screws.
- Reinstall arm rest section.
- Reinstall rod from door pull by hooking onto the door pull unit.
- Secure door pull with screws.
- Reinstall switch panel and do a final test of the window's up and down operation.
- Reinstall any other clips.

Figure 12. Test window motor before reassembly. 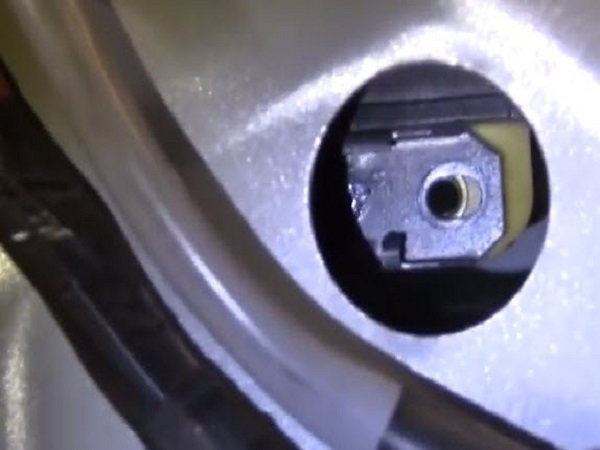
Figure 13. Door panel fasteners up close.
Pro Tip
Guide the harness through the frame hole first for easier installation. Ensure the track and regulator are lined up on both sides before guiding the window down.
Featured Video: How to Replace Window Motor
Related Discussions
- Help Replacing Window Regulator - YotaTech.com
- Power Window Problem - YotaTech.com
- Budget Window Motor Replacement - YotaTech.com