
Got my addicted front bumper today!
 Sep 22, 2011 | 09:41 PM
#1
Thread Starter
Registered User
Joined: Jul 2010
Posts: 538
Likes: 6
From: Carson City
Got my addicted front bumper today!
All week long I've been pulling into my driveway hoping to see it had arrived, today it finally came true!
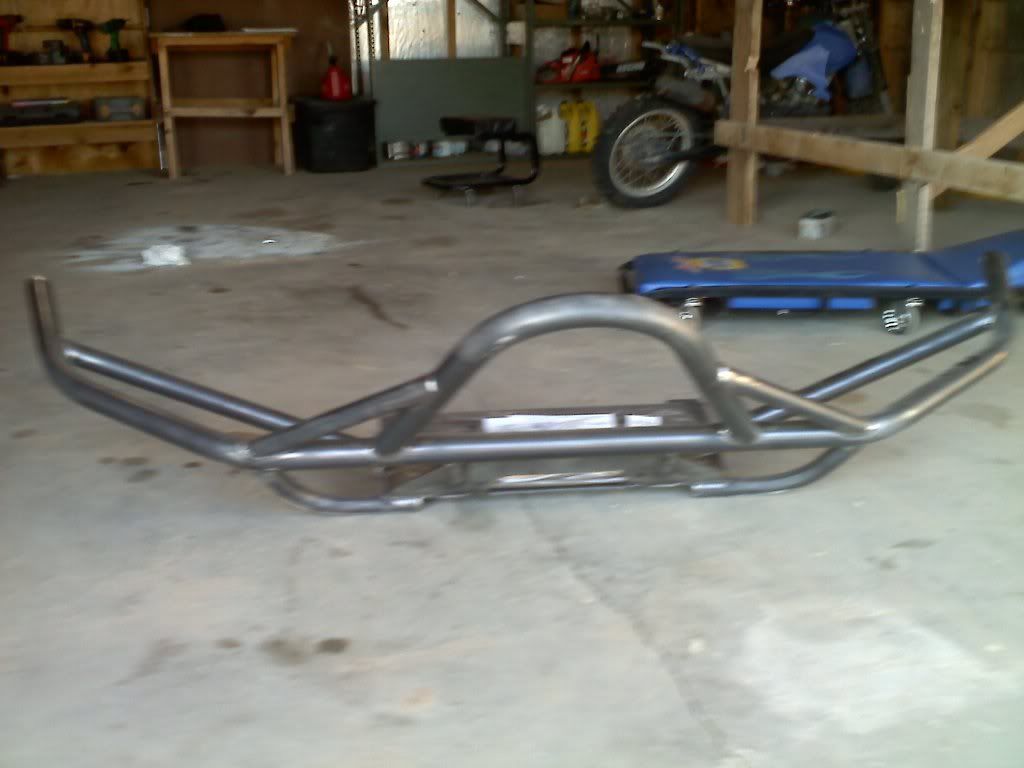
This is scotty's "new style" winch bumper with the pointed stinger option. I don't know if they oil it at all before shipping, but it was atleast dusty from my yard. I used some degreaser and a rag just in case. So the paint would stick.
I started painting it
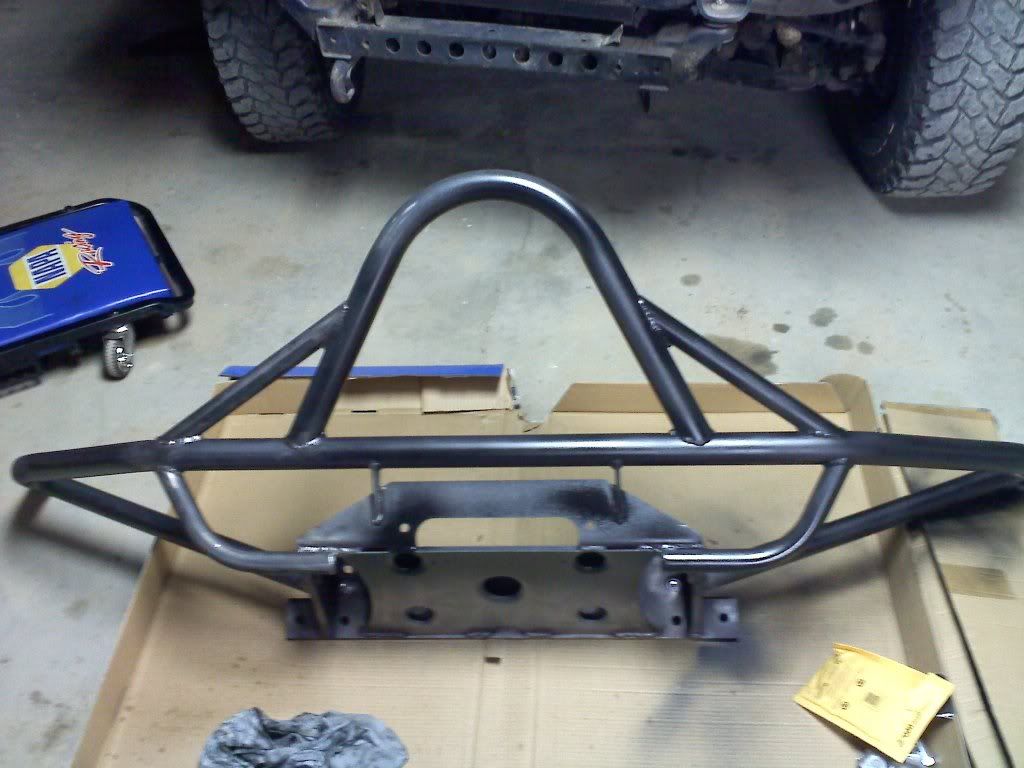
I ended up using Duplicolor spay on truck bed coating. It was on sale a long time ago for like 2 bucks a can so I picked up 8 or so of em.
A tip if your going to use the stuff, let it dry for a long time. I let it sit for about an hour then went to installing the bumper, and every little nick would make a smudge or scratch the stuff up. Then when you try and touch it up, it looks wierd.
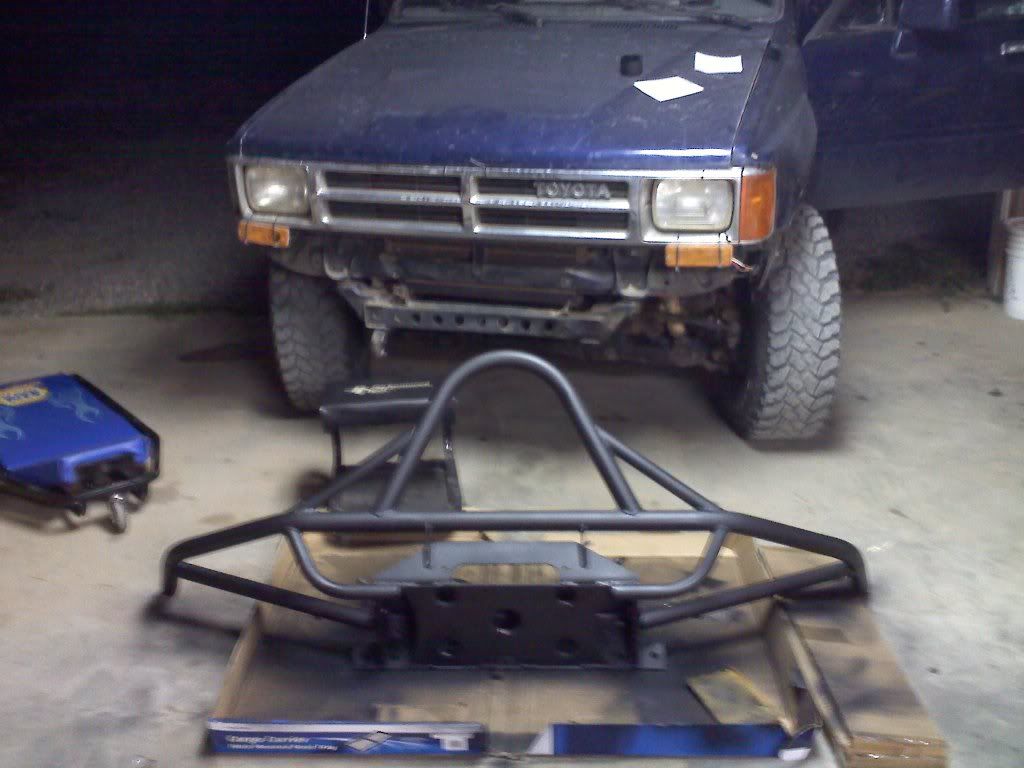
And speaking of installation, it went rather smoothly. I though my frame might be really tweaked after a couple rear end collisions that killed my original bumper.(This was second, it's what happens when you rear end a chevy 2500 doing 25mph)
All the bolt holes lined up nicely, one of them is stripped, but 3 bolts will hold for the next couple days.
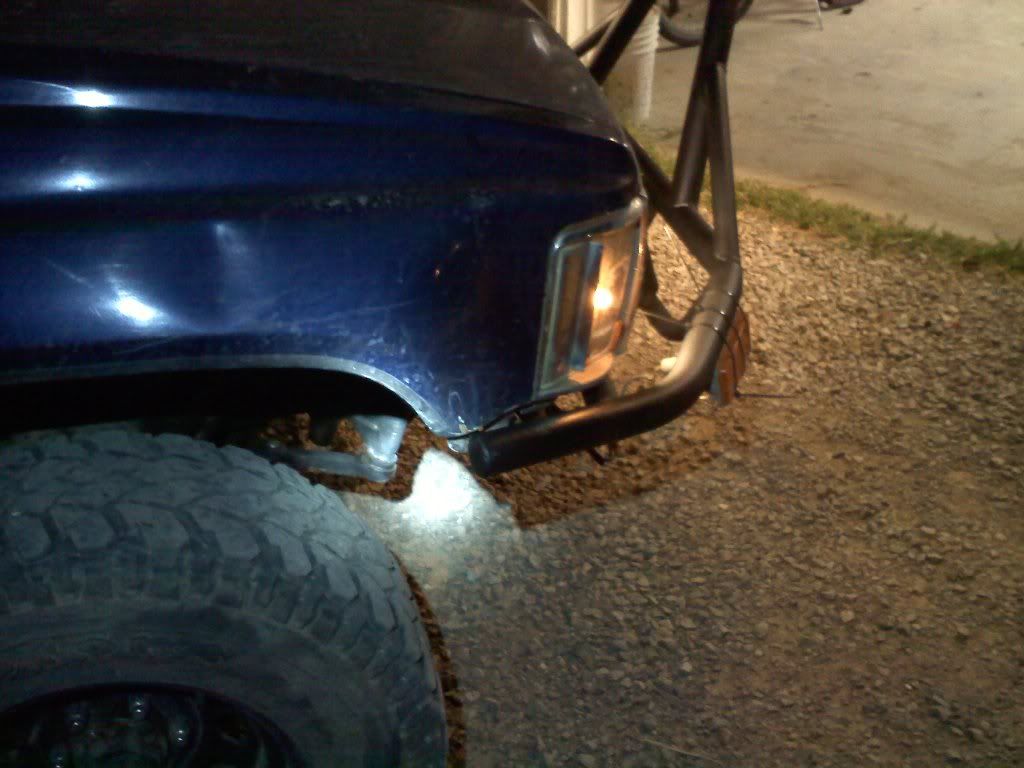
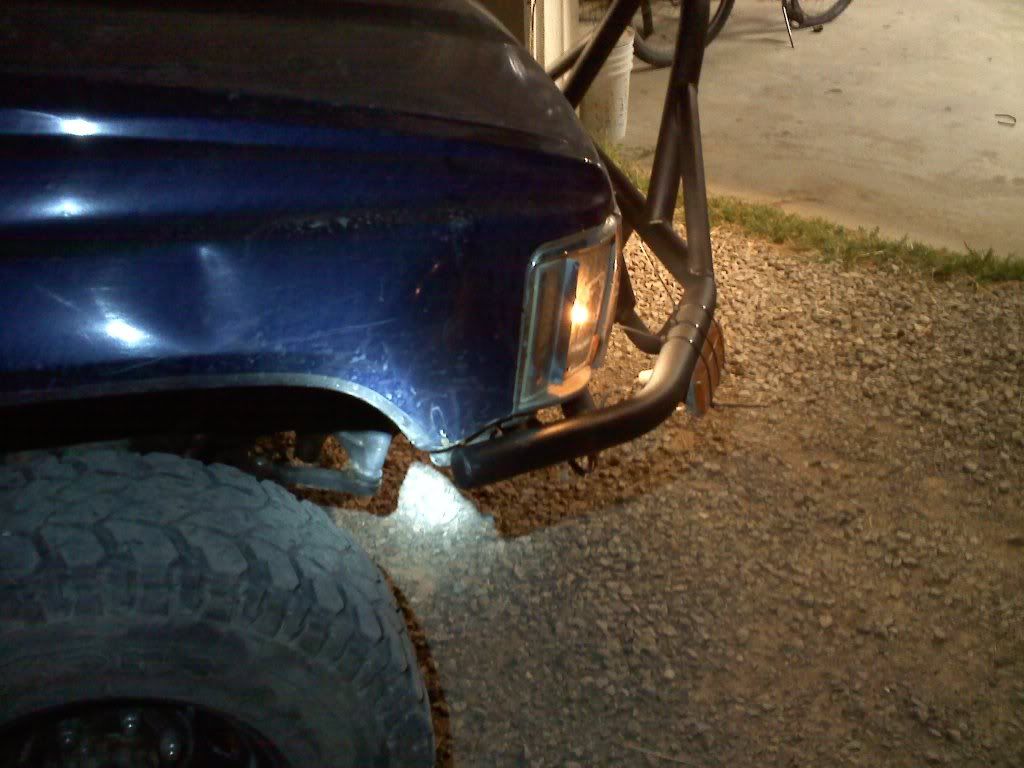
and the Final product
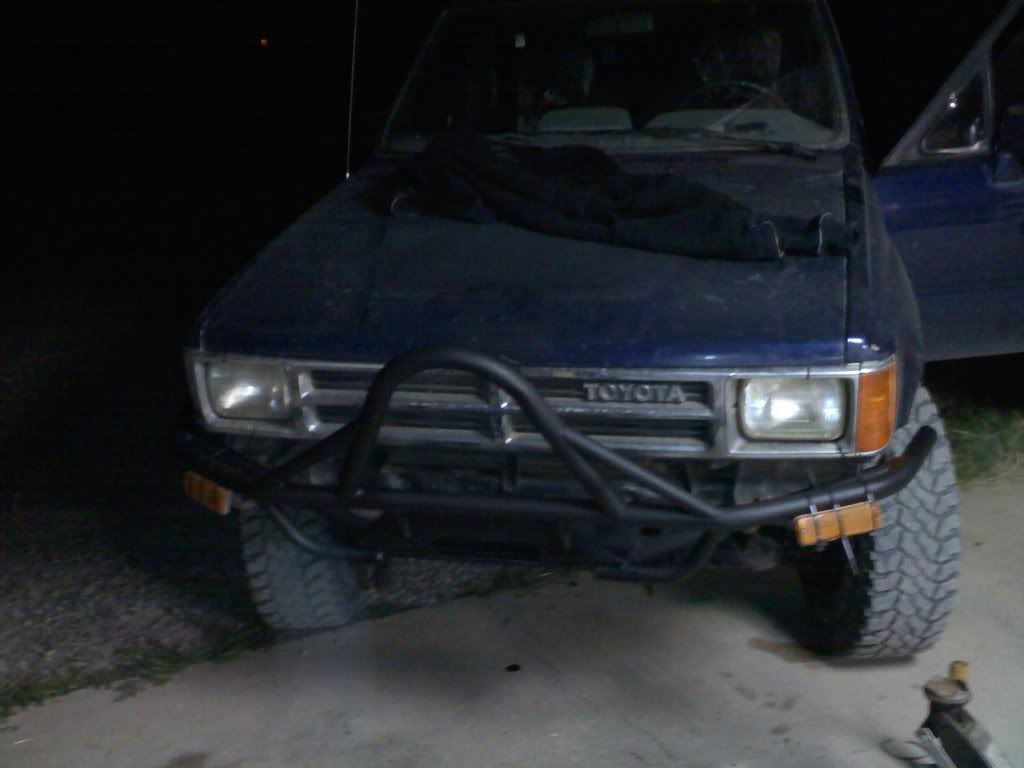
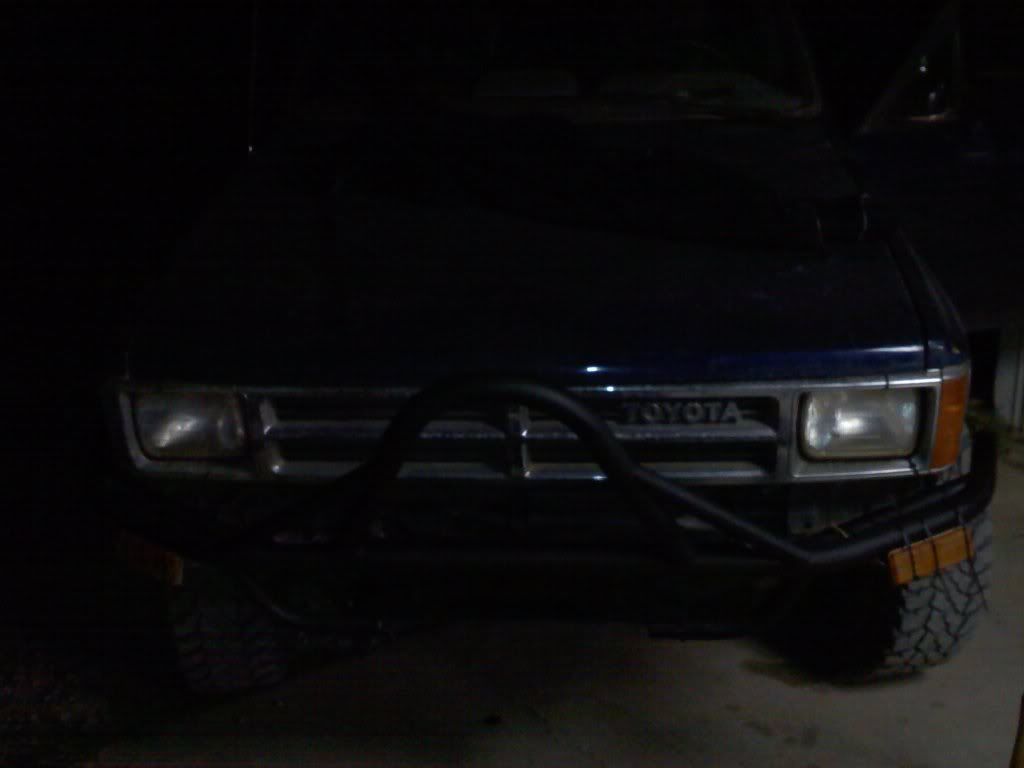
I couldn't be more happy, and as you can tell I was in desperate need of a front bumper.
Thanks again to Addicted Offroad. Now I'm off to update my mods in my sig and put a couple more stickers on the runner.
This is scotty's "new style" winch bumper with the pointed stinger option. I don't know if they oil it at all before shipping, but it was atleast dusty from my yard. I used some degreaser and a rag just in case. So the paint would stick.
I started painting it
I ended up using Duplicolor spay on truck bed coating. It was on sale a long time ago for like 2 bucks a can so I picked up 8 or so of em.
A tip if your going to use the stuff, let it dry for a long time. I let it sit for about an hour then went to installing the bumper, and every little nick would make a smudge or scratch the stuff up. Then when you try and touch it up, it looks wierd.
And speaking of installation, it went rather smoothly. I though my frame might be really tweaked after a couple rear end collisions that killed my original bumper.(This was second, it's what happens when you rear end a chevy 2500 doing 25mph)
All the bolt holes lined up nicely, one of them is stripped, but 3 bolts will hold for the next couple days.
and the Final product
I couldn't be more happy, and as you can tell I was in desperate need of a front bumper.
Thanks again to Addicted Offroad. Now I'm off to update my mods in my sig and put a couple more stickers on the runner.
 Sep 23, 2011 | 12:07 PM
#7
Thread Starter
Registered User
Joined: Jul 2010
Posts: 538
Likes: 6
From: Carson City
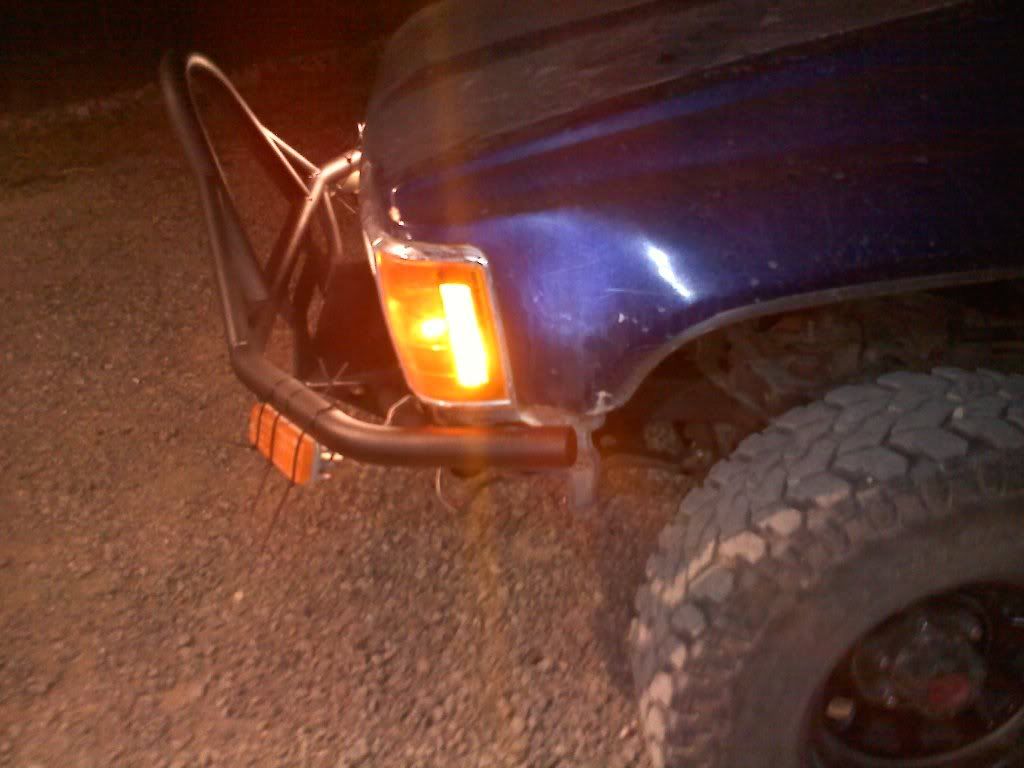
Ill snap some shots right now...I'm not sure if I know how to up upload on my phone yet though. If not tonight on the laptop. And yes, lol I will trim the zipties very tacky looking. Just gotta wait till pay day to get trail gear bolt on LED blinkers and some D rings. The final cost was a little over 500. Including shipping and the frame reenforcement. I bought it a couple days before they went on sale. They're like 30 bucks cheaper now.
Trending Topics
Sep 23, 2011 | 07:22 PM
#10
Thread Starter
Registered User
Joined: Jul 2010
Posts: 538
Likes: 6
From: Carson City
Sep 23, 2011 | 07:44 PM
#11
Thread Starter
Registered User
Joined: Jul 2010
Posts: 538
Likes: 6
From: Carson City
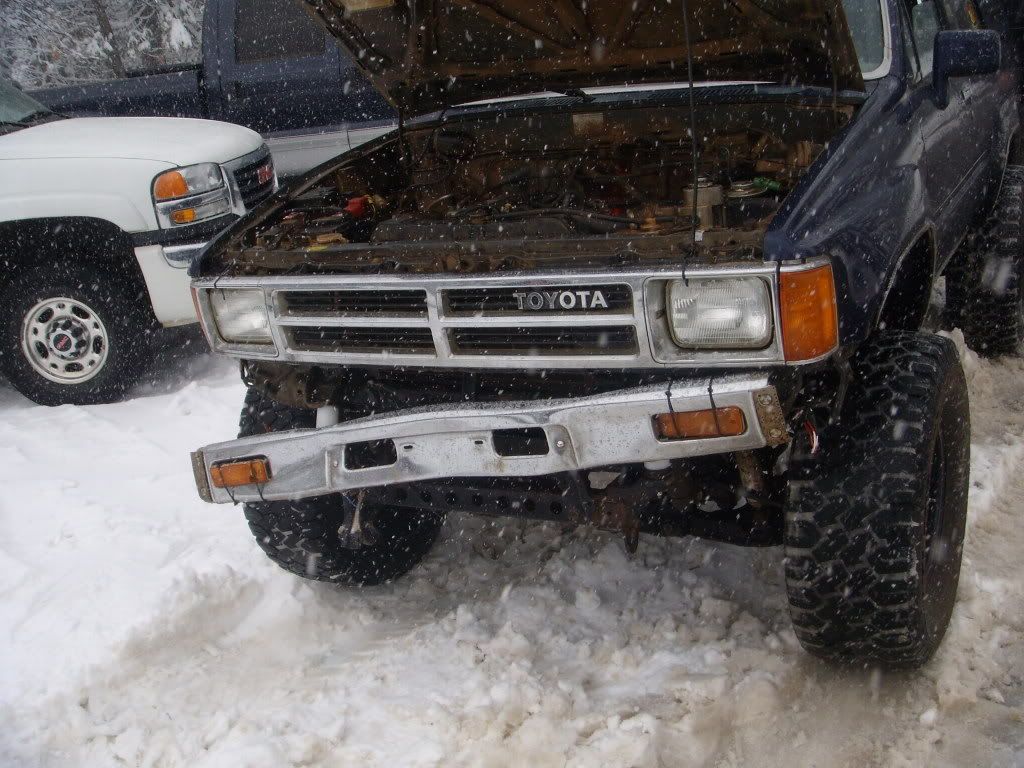
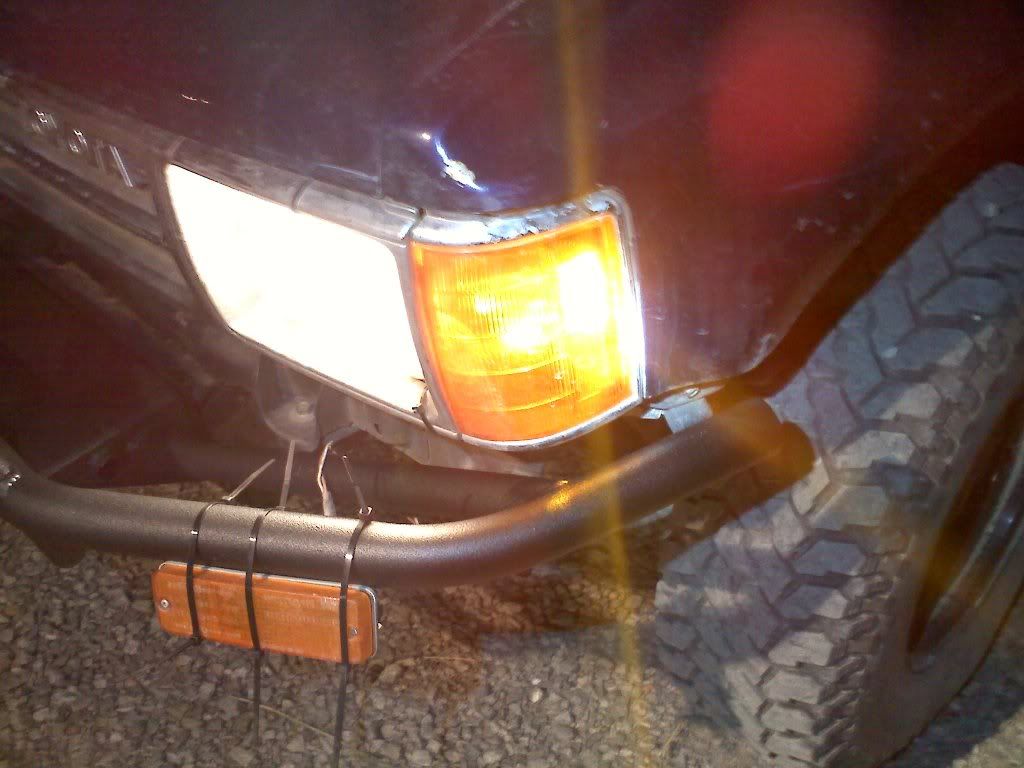
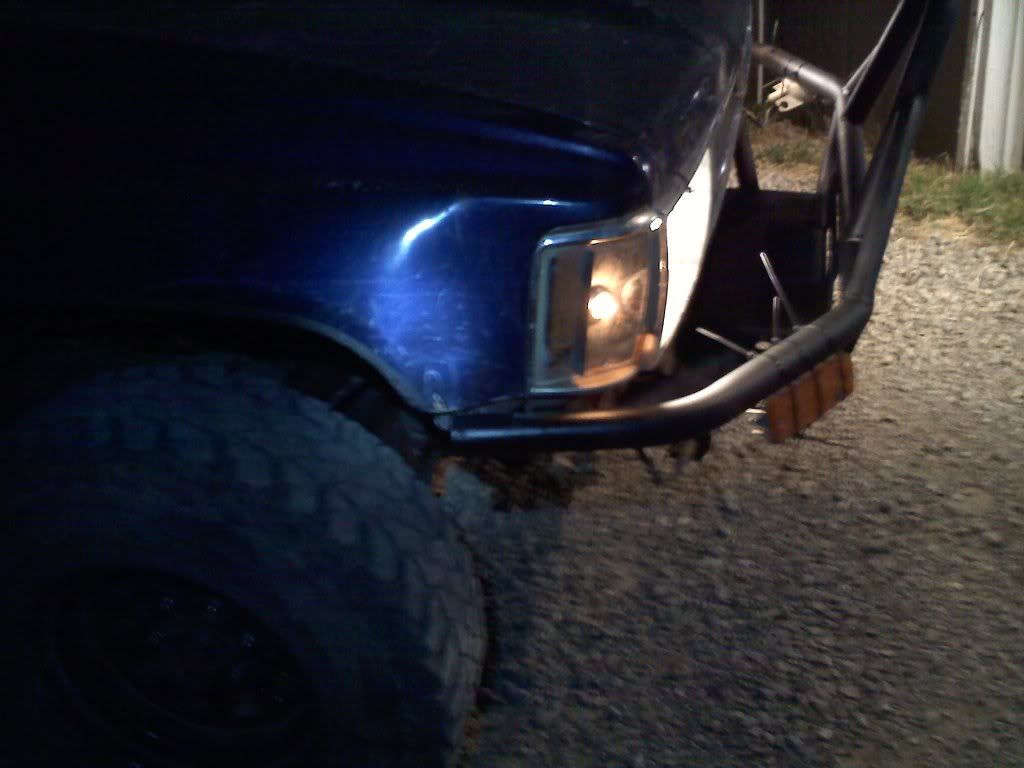
So i got a flat in works parking lot, forgot to take day pics. but here are some side shots. I dont know whats up, but the bumper sticks out way more on the drivers side by the corner light than the passenger's. both sides are of the fenders are dented, but not that bad.
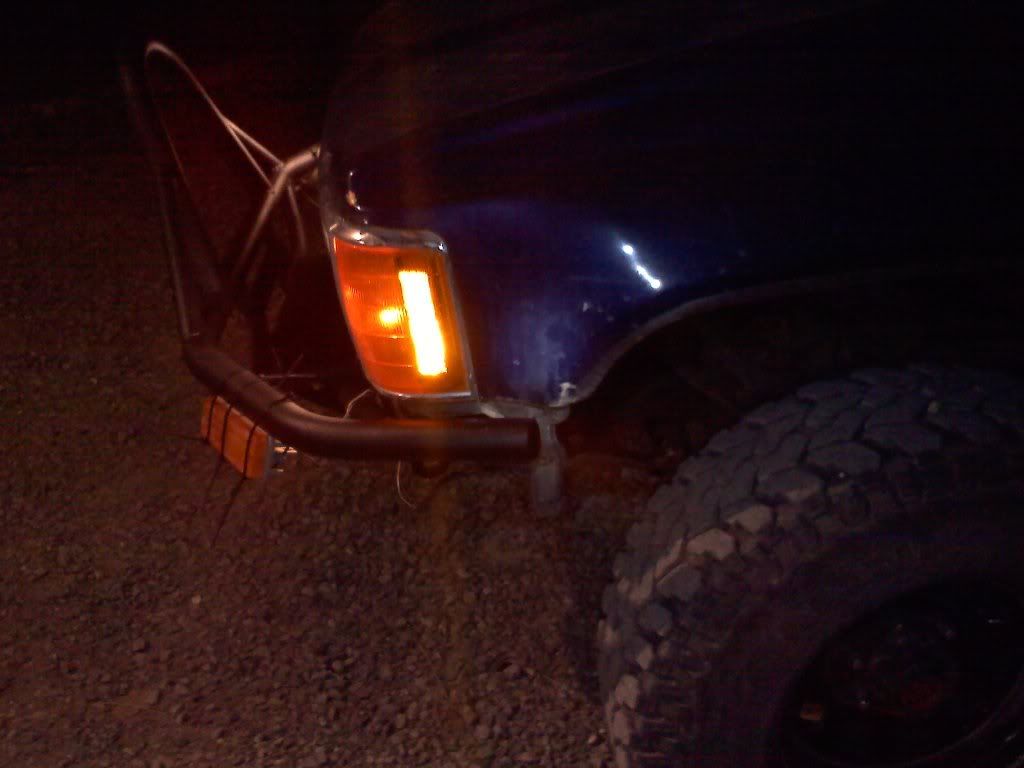
And next on my list is I gotta get some sliders, this isn't the best spot to use a Hi Lift( It's funny that I mention this now, I just got an email from Addicted notifying every one that they are making sliders now, looks like I'll have to get me a pair now)
And next on my list is I gotta get some sliders, this isn't the best spot to use a Hi Lift( It's funny that I mention this now, I just got an email from Addicted notifying every one that they are making sliders now, looks like I'll have to get me a pair now)
Last edited by skoti89; Sep 23, 2011 at 08:12 PM.
Sep 23, 2011 | 08:28 PM
#13
Thread Starter
Registered User
Joined: Jul 2010
Posts: 538
Likes: 6
From: Carson City
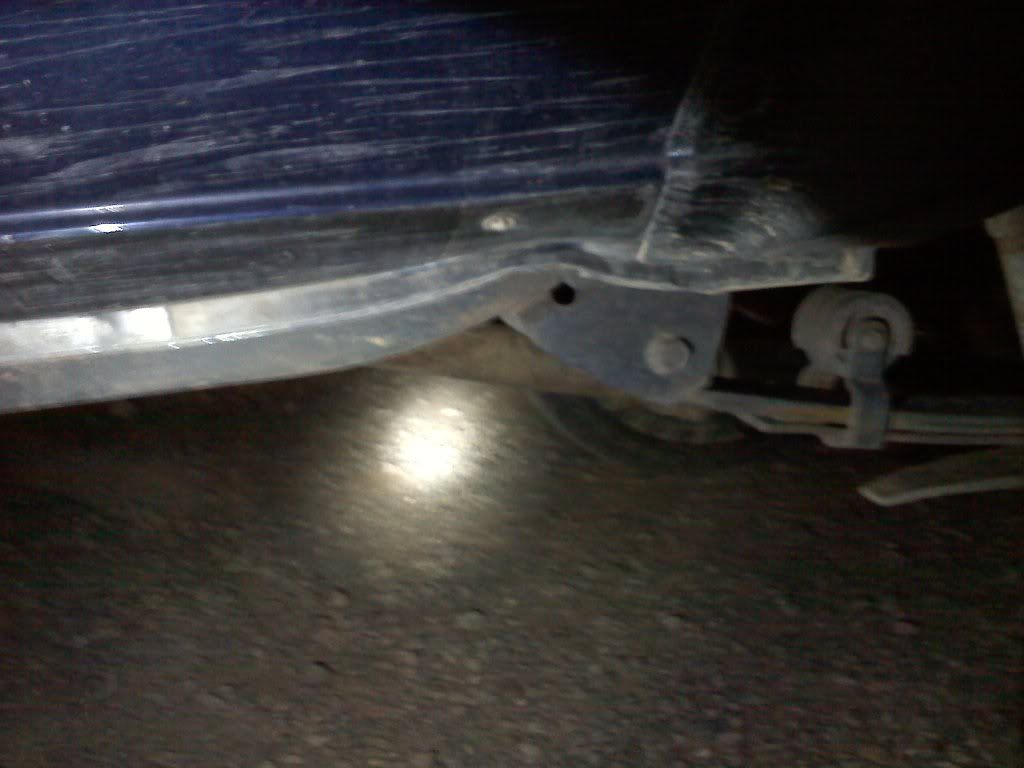
Actually now that I think about it, I can't believe I forgot. After the accident from the picture above, I winched my body back forward a couple of inches. In the picture you can see the front passenger's body mount (with the white 3'' body lift spacers) pushed way back. Either way, now with this bumper I won't have to worry about hitting another deer any more either. Hit em, throw em in the back and enjoy the venison!
Sep 23, 2011 | 08:58 PM
#14
Registered User
Joined: Jan 2009
Posts: 754
Likes: 0
From: Graham, WA
Heres a writeup on how to do the blinker relocation to the corners. Its for a taco but im sure you can make it work.
http://www.4x4wire.com/toyota/tech/tacoma_turn_signal/
http://www.4x4wire.com/toyota/tech/tacoma_turn_signal/
Sep 28, 2011 | 05:06 AM
#15
Remember that we have the LED option as well. We weld them on for you, and include them when we ship it. It really helps clean up those turn signals.

And, here is a side shot for the guy who asked for one.

And, here is a side shot for the guy who asked for one.
Oct 13, 2011 | 01:04 PM
#17
Registered User
Joined: Mar 2010
Posts: 504
Likes: 0
From: Peoria, AZ
Heres a writeup on how to do the blinker relocation to the corners. Its for a taco but im sure you can make it work.
http://www.4x4wire.com/toyota/tech/tacoma_turn_signal/
http://www.4x4wire.com/toyota/tech/tacoma_turn_signal/
Quick note about this mod is that the Calterm #08547 socket does not have a mounting flange. I had to make one.

Thread
Thread Starter
Forum
Replies
Last Post
FS[GreatLakes]: Toyota collection part out
88sasturbotoy
Axles - Suspensions - Tires - Wheels
3
Jan 30, 2026 01:57 PM
WTB[WestCanada]: 1989 4runner stock front bumper and other items
lledwod
Items Wanted
1
Aug 30, 2016 01:03 PM
WTB[PacSoWest]: Looking for Smittybilt front bumper
shisha1999
Items Wanted
12
Mar 16, 2016 12:25 PM


