
2nd gen SAS, Rear Leaf & 5V Conversion Project.
 Mar 20, 2010 | 01:18 AM
#1

Thread Starter
Registered User
Joined: Jul 2009
Posts: 22
Likes: 0
From: Honolulu HI
2nd gen SAS, Rear Leaf & 5V Conversion Project.
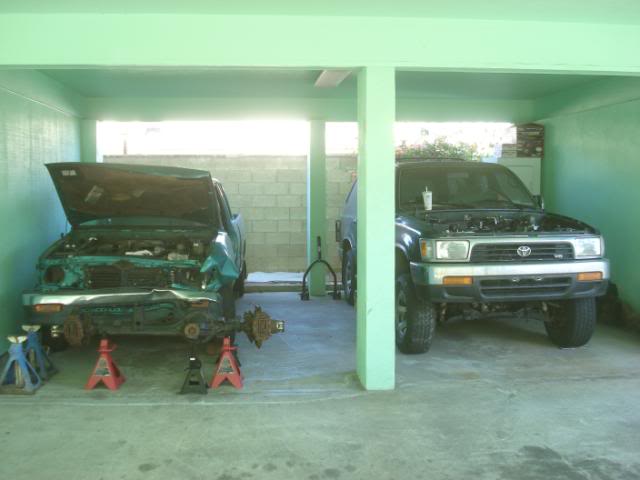
And so my 95 4runner project finally begins. My build will include the following:
Front SAS swap
Rear leaf conversion
TRD e-Locker retrofit into a 85 rear axle
5V engine swap.
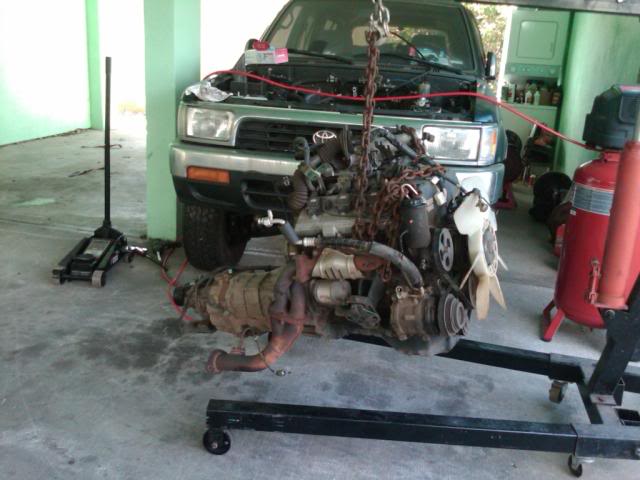
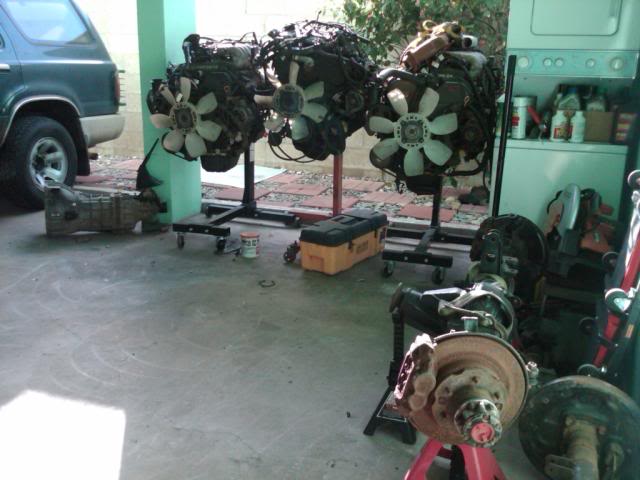
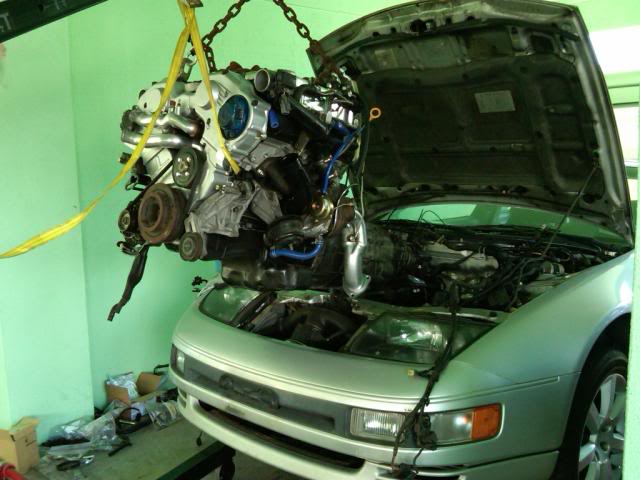
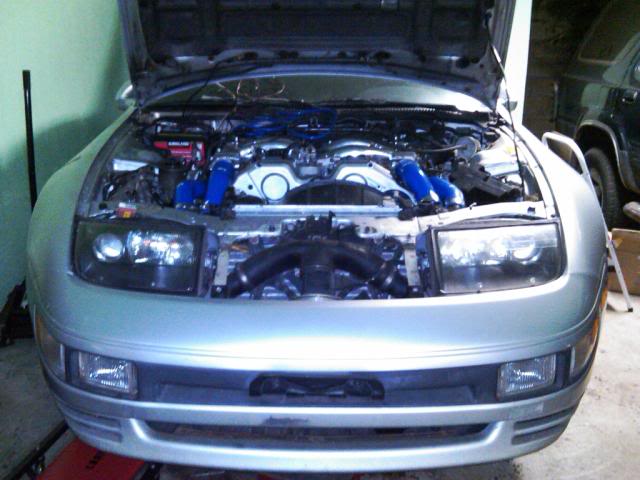
I purchased this runner almost a year ago with a sized engine. I have not been able to start because of numerous side projects that came up and good deals on broken vehicles I've purchased to fix and flip. One in particular I thought I would finish in a month or so that ended up taking nearly 3 months. A 91 300Z TT that has not run in years. Simple job of reassembling engine with rebuilt heads and upgraded garrett GT28 ball bearing turbos that turned into a nightmare of unexpected unusable parts due to the empty shell sitting for 6 years. Anyway, now I decided to let any deals that come up go until I complete my toy.
I originally purchased an engine from a wrecked automatic 96 4runner. I have since found a 96 2wd taco with a 3.4 with less milage so I will be using that engine.
The e-Locker I purchased from a local salvage yard complete with wires, relay pack and switch.
The 85 rear axle I found on Craigslist. I specifically wanted the shorter 85 axle so I do not have to run spacers up front and I will be able to get the wider tires under the flares. Hopefully, I can drive it on the street without fear of getting pulled over.
The 83 straight front axle was also found on craigslist. The diff is broken but otherwise seems to be in fair shape. Manual hubs seem to be functional as far as I can tell.
The 4" SAS front kit and 5" rear kit (I was told the 4" springs will actually be closer to a 5" lift) is from trailgear.
Just today I ordered a complete high pinion 3rd with detroit locker and 529 gears for the front as well as a 529 r/p for e-Locker. As long as I was purchasing that I ordered a 1200lb clutch (3.0 because I am using the 3.0 trans) and a front axle ball gusset kit.
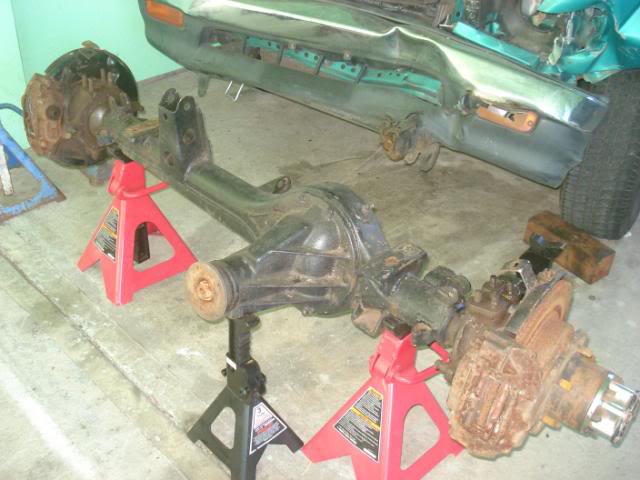
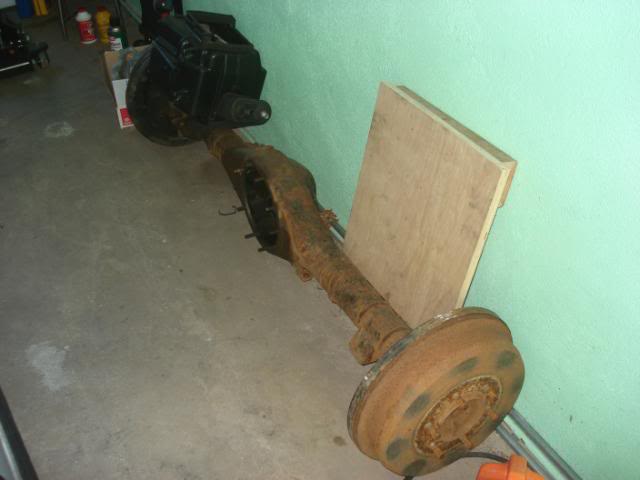
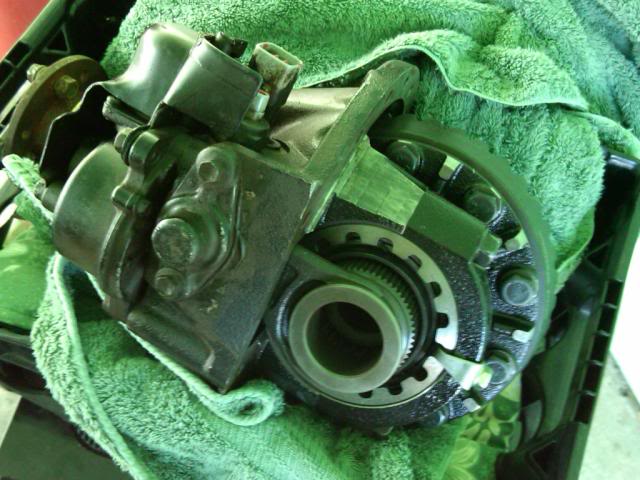
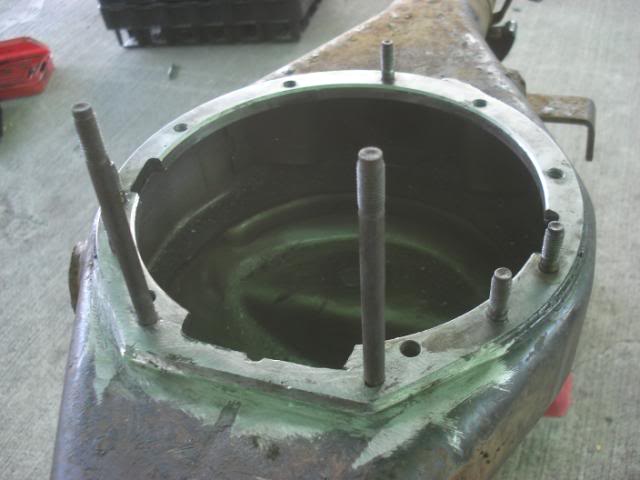
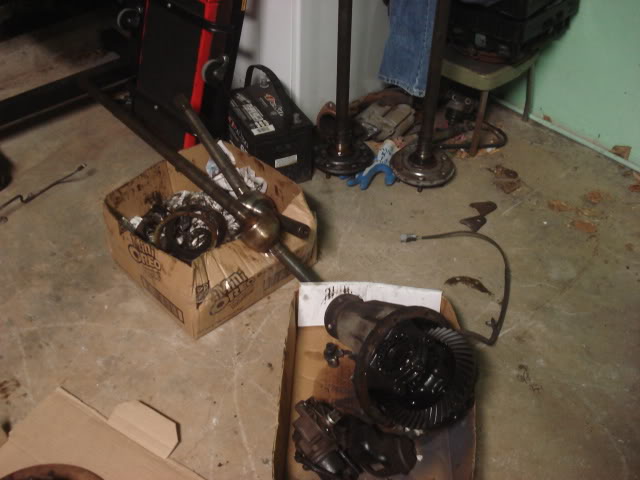
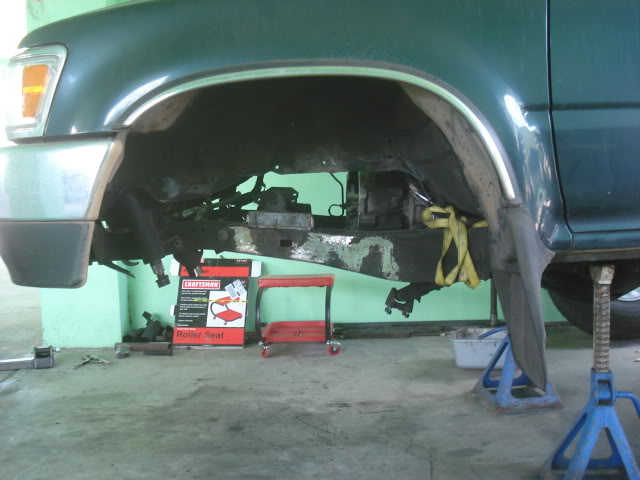
I decided to start with the rear. I striped down rear axel to the shell so it will be easier to handle while lining up spring mounts. Unless anyone knows how to determine where to weld the mounts. Please let me know because that would help me a lot!!! I have the stock axle out and will start cutting the original mounts tomorrow. Once I have the springs mounted I will mod the axle housing to accept the e-Locker 3rd member.
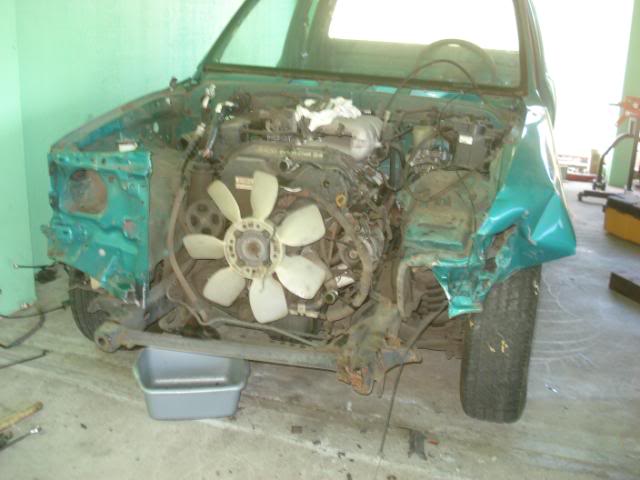
More on this as the project progresses. Here are some pictures for now.
Once again, if anyone can help me with measurements for rear spring mount placement I would really appreciate it.
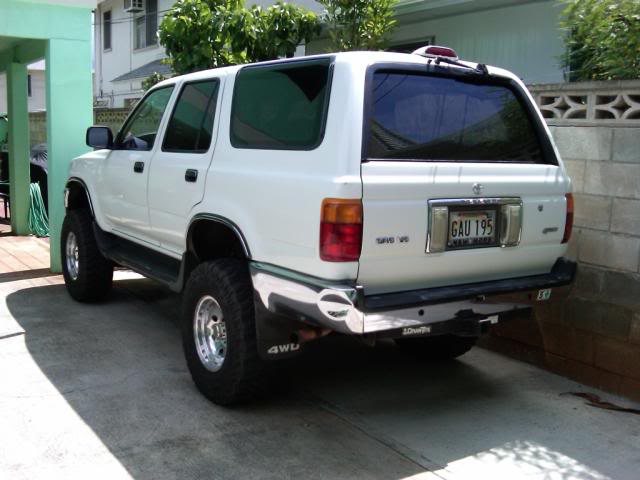
My old IFS 4runner

Pain in but 300z that delayed my 4runner project
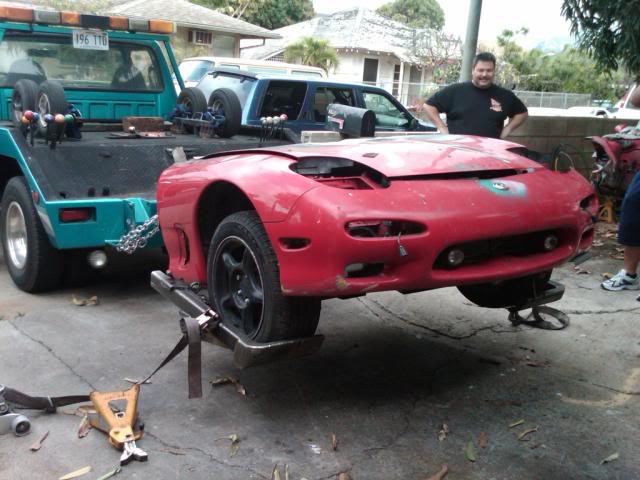
Next project (friends but helping him) LS1 powered FD
Why I love living in Hawaii!!!

More later.
Front SAS swap
Rear leaf conversion
TRD e-Locker retrofit into a 85 rear axle
5V engine swap.
I purchased this runner almost a year ago with a sized engine. I have not been able to start because of numerous side projects that came up and good deals on broken vehicles I've purchased to fix and flip. One in particular I thought I would finish in a month or so that ended up taking nearly 3 months. A 91 300Z TT that has not run in years. Simple job of reassembling engine with rebuilt heads and upgraded garrett GT28 ball bearing turbos that turned into a nightmare of unexpected unusable parts due to the empty shell sitting for 6 years. Anyway, now I decided to let any deals that come up go until I complete my toy.
I originally purchased an engine from a wrecked automatic 96 4runner. I have since found a 96 2wd taco with a 3.4 with less milage so I will be using that engine.
The e-Locker I purchased from a local salvage yard complete with wires, relay pack and switch.
The 85 rear axle I found on Craigslist. I specifically wanted the shorter 85 axle so I do not have to run spacers up front and I will be able to get the wider tires under the flares. Hopefully, I can drive it on the street without fear of getting pulled over.
The 83 straight front axle was also found on craigslist. The diff is broken but otherwise seems to be in fair shape. Manual hubs seem to be functional as far as I can tell.
The 4" SAS front kit and 5" rear kit (I was told the 4" springs will actually be closer to a 5" lift) is from trailgear.
Just today I ordered a complete high pinion 3rd with detroit locker and 529 gears for the front as well as a 529 r/p for e-Locker. As long as I was purchasing that I ordered a 1200lb clutch (3.0 because I am using the 3.0 trans) and a front axle ball gusset kit.
I decided to start with the rear. I striped down rear axel to the shell so it will be easier to handle while lining up spring mounts. Unless anyone knows how to determine where to weld the mounts. Please let me know because that would help me a lot!!! I have the stock axle out and will start cutting the original mounts tomorrow. Once I have the springs mounted I will mod the axle housing to accept the e-Locker 3rd member.
More on this as the project progresses. Here are some pictures for now.
Once again, if anyone can help me with measurements for rear spring mount placement I would really appreciate it.
My old IFS 4runner
Pain in but 300z that delayed my 4runner project
Next project (friends but helping him) LS1 powered FD
Why I love living in Hawaii!!!
More later.
Last edited by tailspin808; Feb 2, 2011 at 06:52 PM.
Mar 20, 2010 | 02:16 AM
#2

Registered User
Joined: Dec 2004
Posts: 95
Likes: 0
Howzit tailspin808. I'm doing the automatic swap right now into my 91 and sourcing parts is a pain in the rear when you live on Kauai. I ordered my adapter plate for the T/case from Marlin crawler. The adapter kit looks good, but mines did not come with gaskets to bolt to the trans and T/case. They gave me a tube of grey silicone as a gasket. I'm kind of scared to ask Toyota for a price on those gaskets. I purchased a rebuilt 23 spline T/case with 4.70 gears from Trailgear. Kind of pricey, but to rebuild it myself with the gears would be about $150 cheaper so I just ordered the rebuilt one.
Do you know where I could get my hands on the 3.4 power steering pump, Canister, idle up valve, High pressure lines and an A/C amplifier for the 3.4? I'm having the hardest time trying to find these parts. Ebay has pumps but shipping is kind of expensive if they do ship.
Do you know where I could get my hands on the 3.4 power steering pump, Canister, idle up valve, High pressure lines and an A/C amplifier for the 3.4? I'm having the hardest time trying to find these parts. Ebay has pumps but shipping is kind of expensive if they do ship.
Mar 22, 2010 | 02:21 PM
#3
Thread Starter
Registered User
Joined: Jul 2009
Posts: 22
Likes: 0
From: Honolulu HI
Sup Ahbustae86, Sorry, the only parts I have that your looking for goes with the engines. One engine is sold and the other is the one i'm gonna use.
I was gonna do the 3.4 automatic swap myself but decided not to after I researched all the parts I would need. Yeah, it is pricey. Good luck with your project and I will keep an eye out for the parts your looking for.
I was gonna do the 3.4 automatic swap myself but decided not to after I researched all the parts I would need. Yeah, it is pricey. Good luck with your project and I will keep an eye out for the parts your looking for.
Mar 22, 2010 | 02:26 PM
#4
Thread Starter
Registered User
Joined: Jul 2009
Posts: 22
Likes: 0
From: Honolulu HI
Just to clarify, what canister are you looking for? Charcoal canister? You can eliminate that or use the one from your 3.0. By high pressure lines do you mean the steering or AC. Finally, you’re looking for the AC compressor? Never heard of anybody calling it an amplifier. If so, I believe you can use your 3.0 compressor. Just bolt the entire bracket to the 5V block. The power steering pumps a different story. Head is different so I don’t think the bracket from the 3V will bolt up.
Last edited by tailspin808; Mar 22, 2010 at 05:35 PM.
Mar 23, 2010 | 09:04 PM
#6
Registered User
Joined: Dec 2004
Posts: 95
Likes: 0
I guess I used the wrong word, but what I was looking for is the Powersteering pump with the resovoire, the power steering high pressure lines and the A/C amplifier that's behind the glovebox. I am planning on splicing the 3.0 high pressure lines with the 3.4 using a sleeve and welding it so I don't loose the idle up function on the steering system. As far as the amplifier goes, everyone is saying that you need the 3.4 A/C amplifier inorder to get your a/c system working properly. Really not sure why.
Just to clarify, what canister are you looking for? Charcoal canister? You can eliminate that or use the one from your 3.0. By high pressure lines do you mean the steering or AC. Finally, you�re looking for the AC compressor? Never heard of anybody calling it an amplifier. If so, I believe you can use your 3.0 compressor. Just bolt the entire bracket to the 5V block. The power steering pumps a different story. Head is different so I don�t think the bracket from the 3V will bolt up.
Mar 23, 2010 | 10:01 PM
#7
Thread Starter
Registered User
Joined: Jul 2009
Posts: 22
Likes: 0
From: Honolulu HI
I didn't look into it too much yet, but it looks like the high pressure lines from the 3.0 will bolt up to the 3.4 PS pump. I've never heard of an AC amp. Behind the glove box is the condenser, expansion valve and blower motor. I don't think you need to change anything there.
If you do need to splice the power steering lines I would take it to Hydra-Air and let them use the right crimps. I know your in Kauai but there must be someplace there similar.
From what I am reading, it really looks to me that all you need is the power steering pump assembly and your set.
Yo X-man!!! To late, Z is gone... I never turned the boost past 16psi but it was already ridiculously fast. We'll go rip it up when my runner is done.
Trending Topics
Apr 4, 2010 | 10:36 PM
#8
Thread Starter
Registered User
Joined: Jul 2009
Posts: 22
Likes: 0
From: Honolulu HI
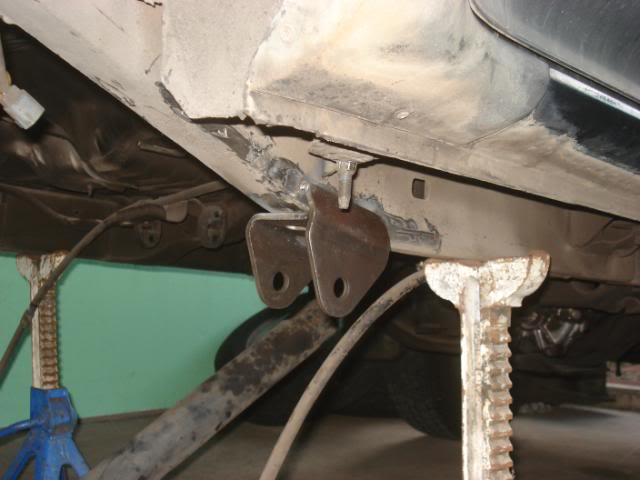
still working on rear
Over the past few weeks I cut all the old mounts out, and welded in the new ones. With no guide as far as placement, I had to mount, load springs, measure, cut and re-weld several times. I think I have them exactly where I want them now.
I made the necessary mods to diff carrier for the e-locker. Also mounted new shock mounts and spring seats. Gonna paint it and I should have the rear completed soon. Waiting on my ring and pinion to get installed at the moment. More later.
I made the necessary mods to diff carrier for the e-locker. Also mounted new shock mounts and spring seats. Gonna paint it and I should have the rear completed soon. Waiting on my ring and pinion to get installed at the moment. More later.
Apr 10, 2010 | 11:14 PM
#9
Thread Starter
Registered User
Joined: Jul 2009
Posts: 22
Likes: 0
From: Honolulu HI
Haven't been getting much done lately. Have too much other things to work on but I plan to get start again next weekend. I've been contemplating doing a LS1 for some time now and I think I'm just gonna go for it. After I get the axles on and the runner can roll, I will start a new thread for the engine install. If my co-worker decides not to buy it, the 5v will be up for sale. $800 complete with ecu, harness, etc.
Apr 12, 2010 | 12:53 AM
#10
Thread Starter
Registered User
Joined: Jul 2009
Posts: 22
Likes: 0
From: Honolulu HI
Scrapping the LS1 swap. Looks like either the AC condenser will have to be sacrificed to make room for an electric fan in front of the radiator, or major mods to firewall and driveline will have to be made to gain clearance behind the radiator. Not willing to cut up firewall and that would interfere with internal AC components anyway. Unless someone here can tell me a way to keep my AC with the LS1, I'm letting this one go.
 Apr 30, 2010 | 03:47 PM
#12
Thread Starter
Registered User
Joined: Jul 2009
Posts: 22
Likes: 0
From: Honolulu HI
Thats not the actual car. I just snaped a pic when we were towing it home. The front clip is for parts because the front end of the project car was disassembled 8 years ago and now all the bolts are missing. Just need all the bolts from the front clip so the rest of the parts are for sale.
The actual FD we're working on is gonna get an LS1 motor along with almost completely new suspension. My friend has two complete LS1s so thats why I was looking into putting one into my runner. If you know of anyone looking to do the LS1 swap let me know.
The actual FD we're working on is gonna get an LS1 motor along with almost completely new suspension. My friend has two complete LS1s so thats why I was looking into putting one into my runner. If you know of anyone looking to do the LS1 swap let me know.
May 2, 2010 | 11:06 PM
#13
Thread Starter
Registered User
Joined: Jul 2009
Posts: 22
Likes: 0
From: Honolulu HI
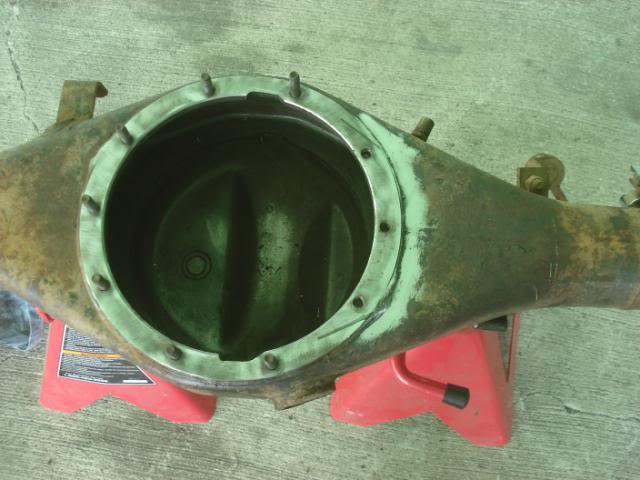
Ran into a little snag on rear axle so won't put that together until I figure out a solution.
https://www.yotatech.com/forums/f31/...r-axle-210987/
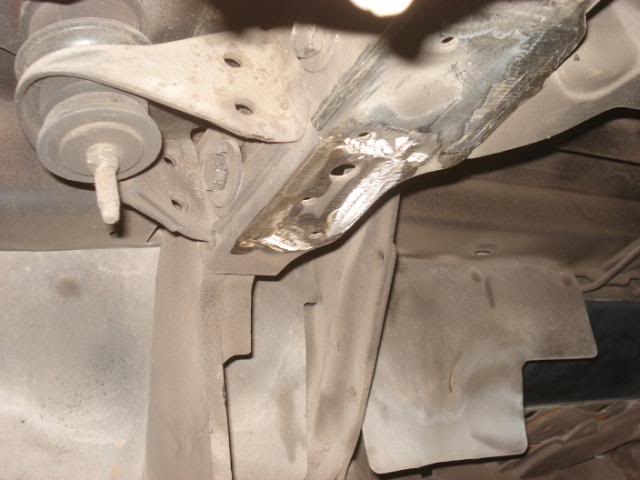
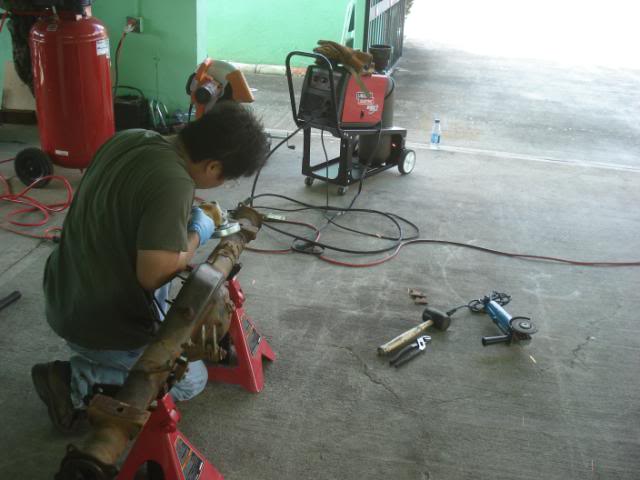
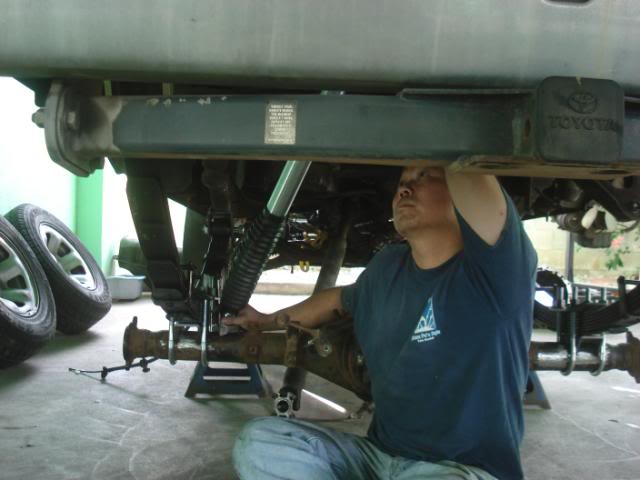
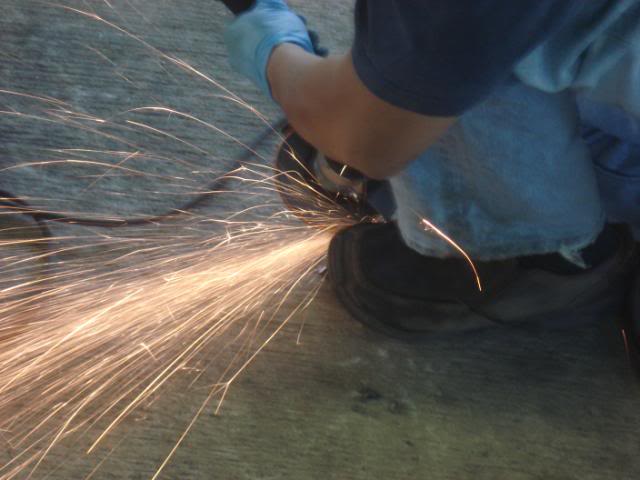
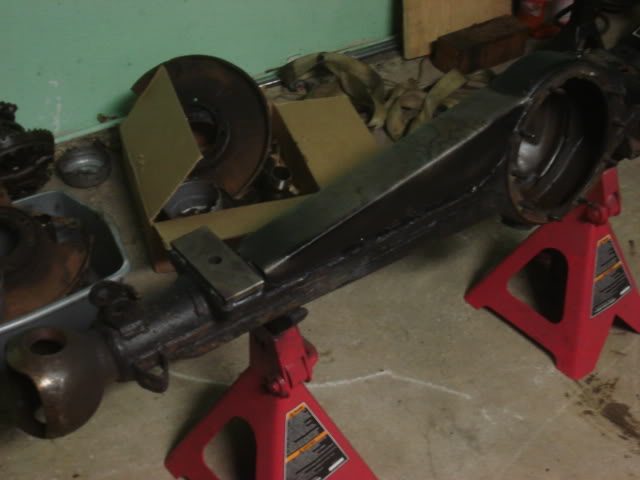
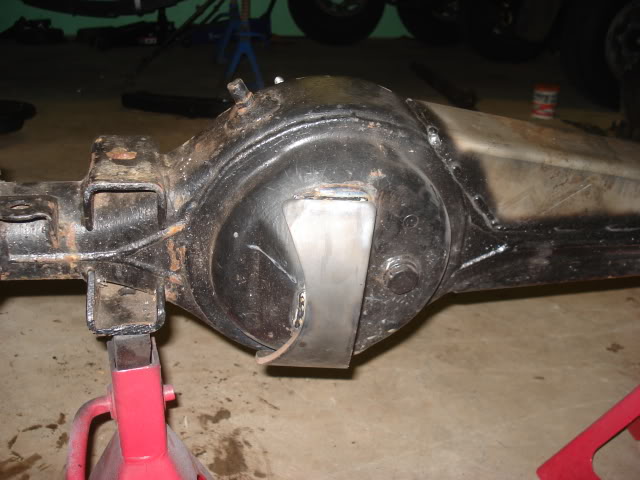
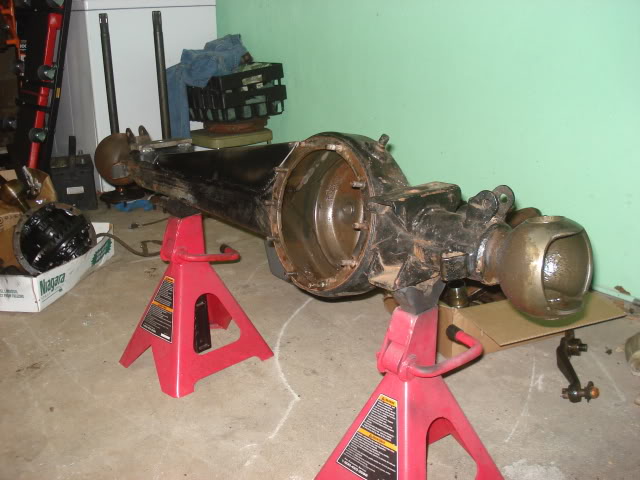
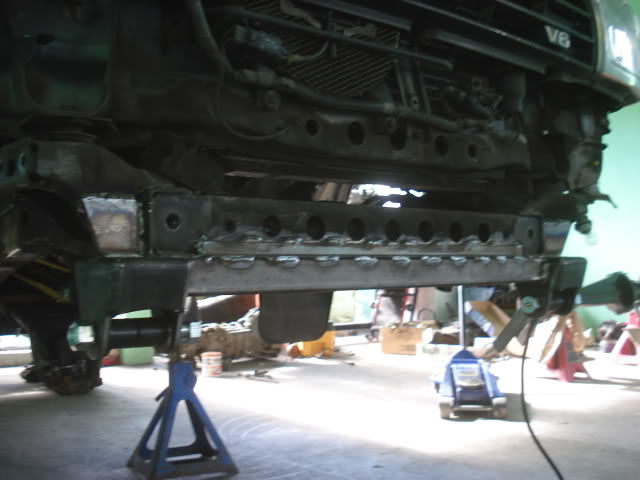
Tore down front axle and welded gussets & armor plate today. Sorry, been slow with progress. I am hoping to clean the parts and rebuild axle next weekend so I can start on the front. Heres a few pics for now.
https://www.yotatech.com/forums/f31/...r-axle-210987/
Tore down front axle and welded gussets & armor plate today. Sorry, been slow with progress. I am hoping to clean the parts and rebuild axle next weekend so I can start on the front. Heres a few pics for now.
Last edited by tailspin808; Feb 2, 2011 at 06:52 PM.
May 4, 2010 | 07:58 PM
#17
Registered User
Joined: May 2005
Posts: 170
Likes: 0
Thanks ah, I appreciate it. Honestly, save your money, You'll love the 5VZ for sure, its got way more power than the 3VZ. The suspension was my senior project and I spent way more money than I should have, you'll be able to go the same places if not more, you get the locker and almost as much suspension travel as I do. Just get some mean shocks, imo...
Thanks again, shoot
Thanks again, shoot
Jun 6, 2010 | 08:57 PM
#20
Thread Starter
Registered User
Joined: Jul 2009
Posts: 22
Likes: 0
From: Honolulu HI
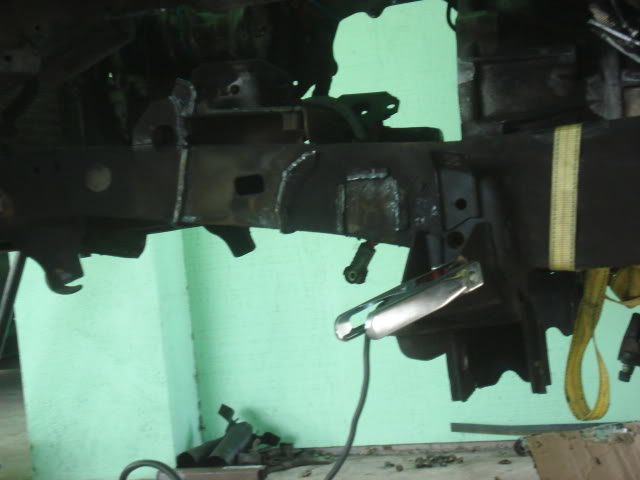
Been a while since last update. Since then I purchased a 2000 Tacoma motor with supercharger and found 15x10 Alcoas. Welded everything for front suspension except shock hoops. Wanna get axle on first but waiting for the 5" front springs I ordered last week to come in.
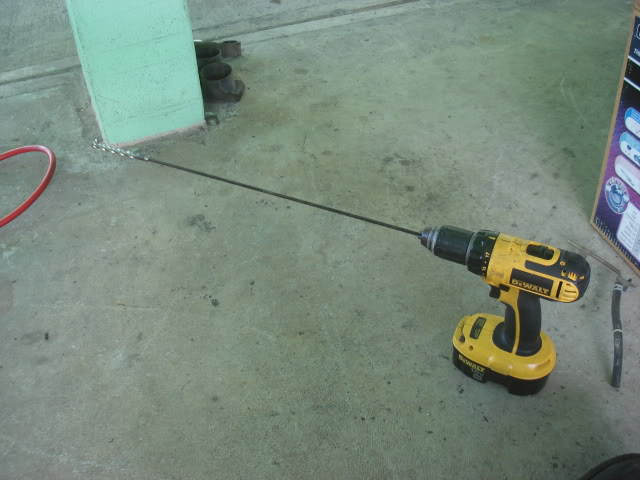
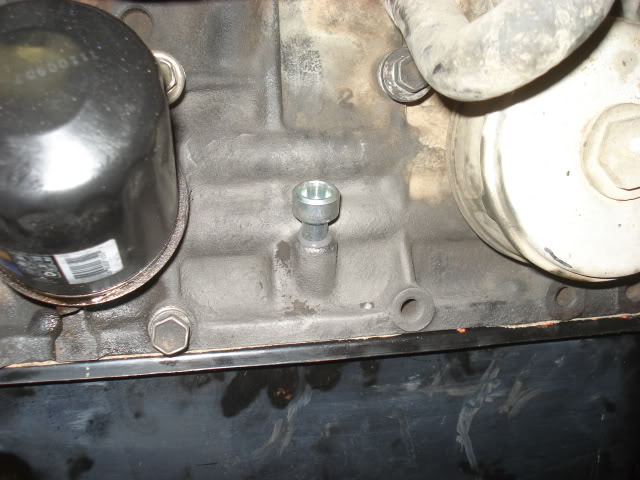
Drilling the hole for the dipstick guide was a bit trickier than I thought. In order to get the right angle, you need to remove head. Or maybe a 90 degree drill will do it but it didn't look like it to me. I ended up using a flexible drill bit designed for home wiring. It worked great but two warnings. First, it did wobble a bit so the guide did not fit as snug as I wanted it to. Used JB weld to hold it in just incase. Second, the bit broke near the chuck twice. The first time I did not expect it and I had my face next to it. I almost got stabbed in the eye with the shaft. If anyone decides to use a flexible shaft bit, please be careful.

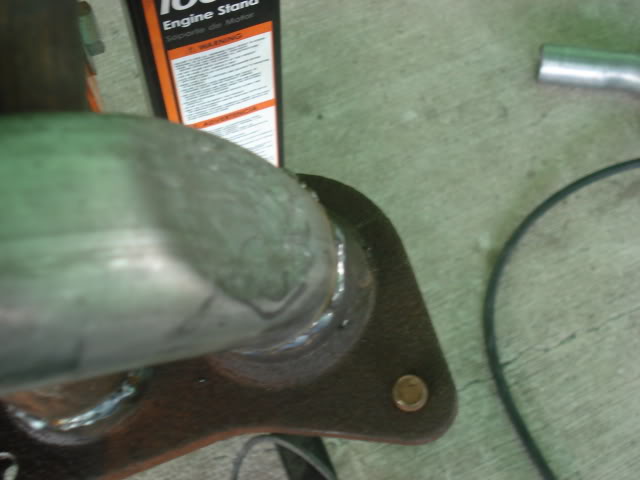
Made cross over pipe today. I also test fitted the engine to make sure crossover had enough clearance. One of the pipes was just a bit closer to the firewall than I wanted. I did the getto "flatten pipe" rather than reroute pipe.

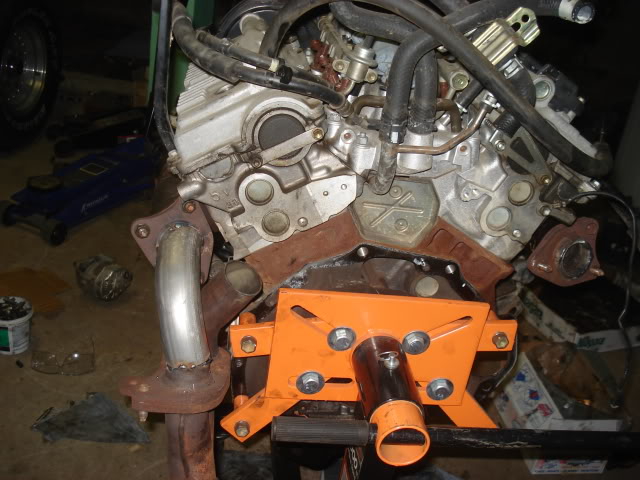
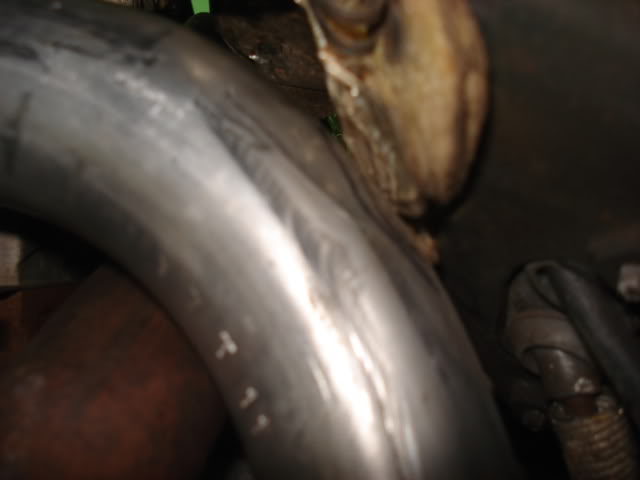
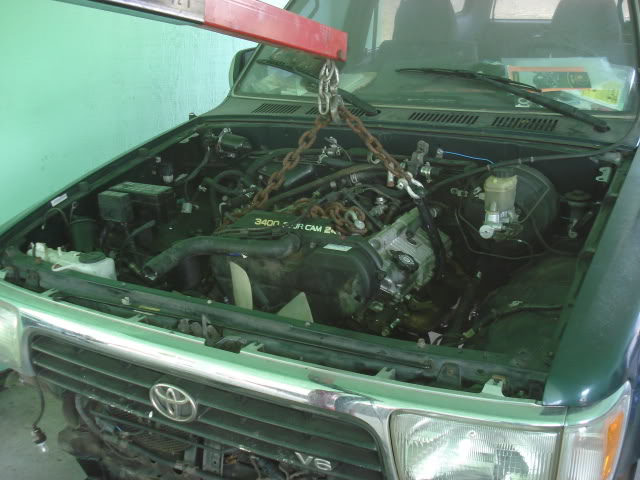
Thats all for today folks. Hope to receive my 7th injector this week and drop the engine in this weekend. Will post more later.
Drilling the hole for the dipstick guide was a bit trickier than I thought. In order to get the right angle, you need to remove head. Or maybe a 90 degree drill will do it but it didn't look like it to me. I ended up using a flexible drill bit designed for home wiring. It worked great but two warnings. First, it did wobble a bit so the guide did not fit as snug as I wanted it to. Used JB weld to hold it in just incase. Second, the bit broke near the chuck twice. The first time I did not expect it and I had my face next to it. I almost got stabbed in the eye with the shaft. If anyone decides to use a flexible shaft bit, please be careful.
Made cross over pipe today. I also test fitted the engine to make sure crossover had enough clearance. One of the pipes was just a bit closer to the firewall than I wanted. I did the getto "flatten pipe" rather than reroute pipe.
Thats all for today folks. Hope to receive my 7th injector this week and drop the engine in this weekend. Will post more later.
Last edited by tailspin808; Feb 2, 2011 at 06:53 PM.


