When you click on links to various merchants on this site and make a purchase, this can result in this site earning a commission. Affiliate programs and affiliations include, but are not limited to, the eBay Partner Network.
Set her in today so I could check brake line clearance, which they did have to be worked to clear the header. Also mainly to check where the new fuel line needed to be mounted. Going to get the ac and power steering hoses mated tomorrow then pull the motor and make the fuel line.
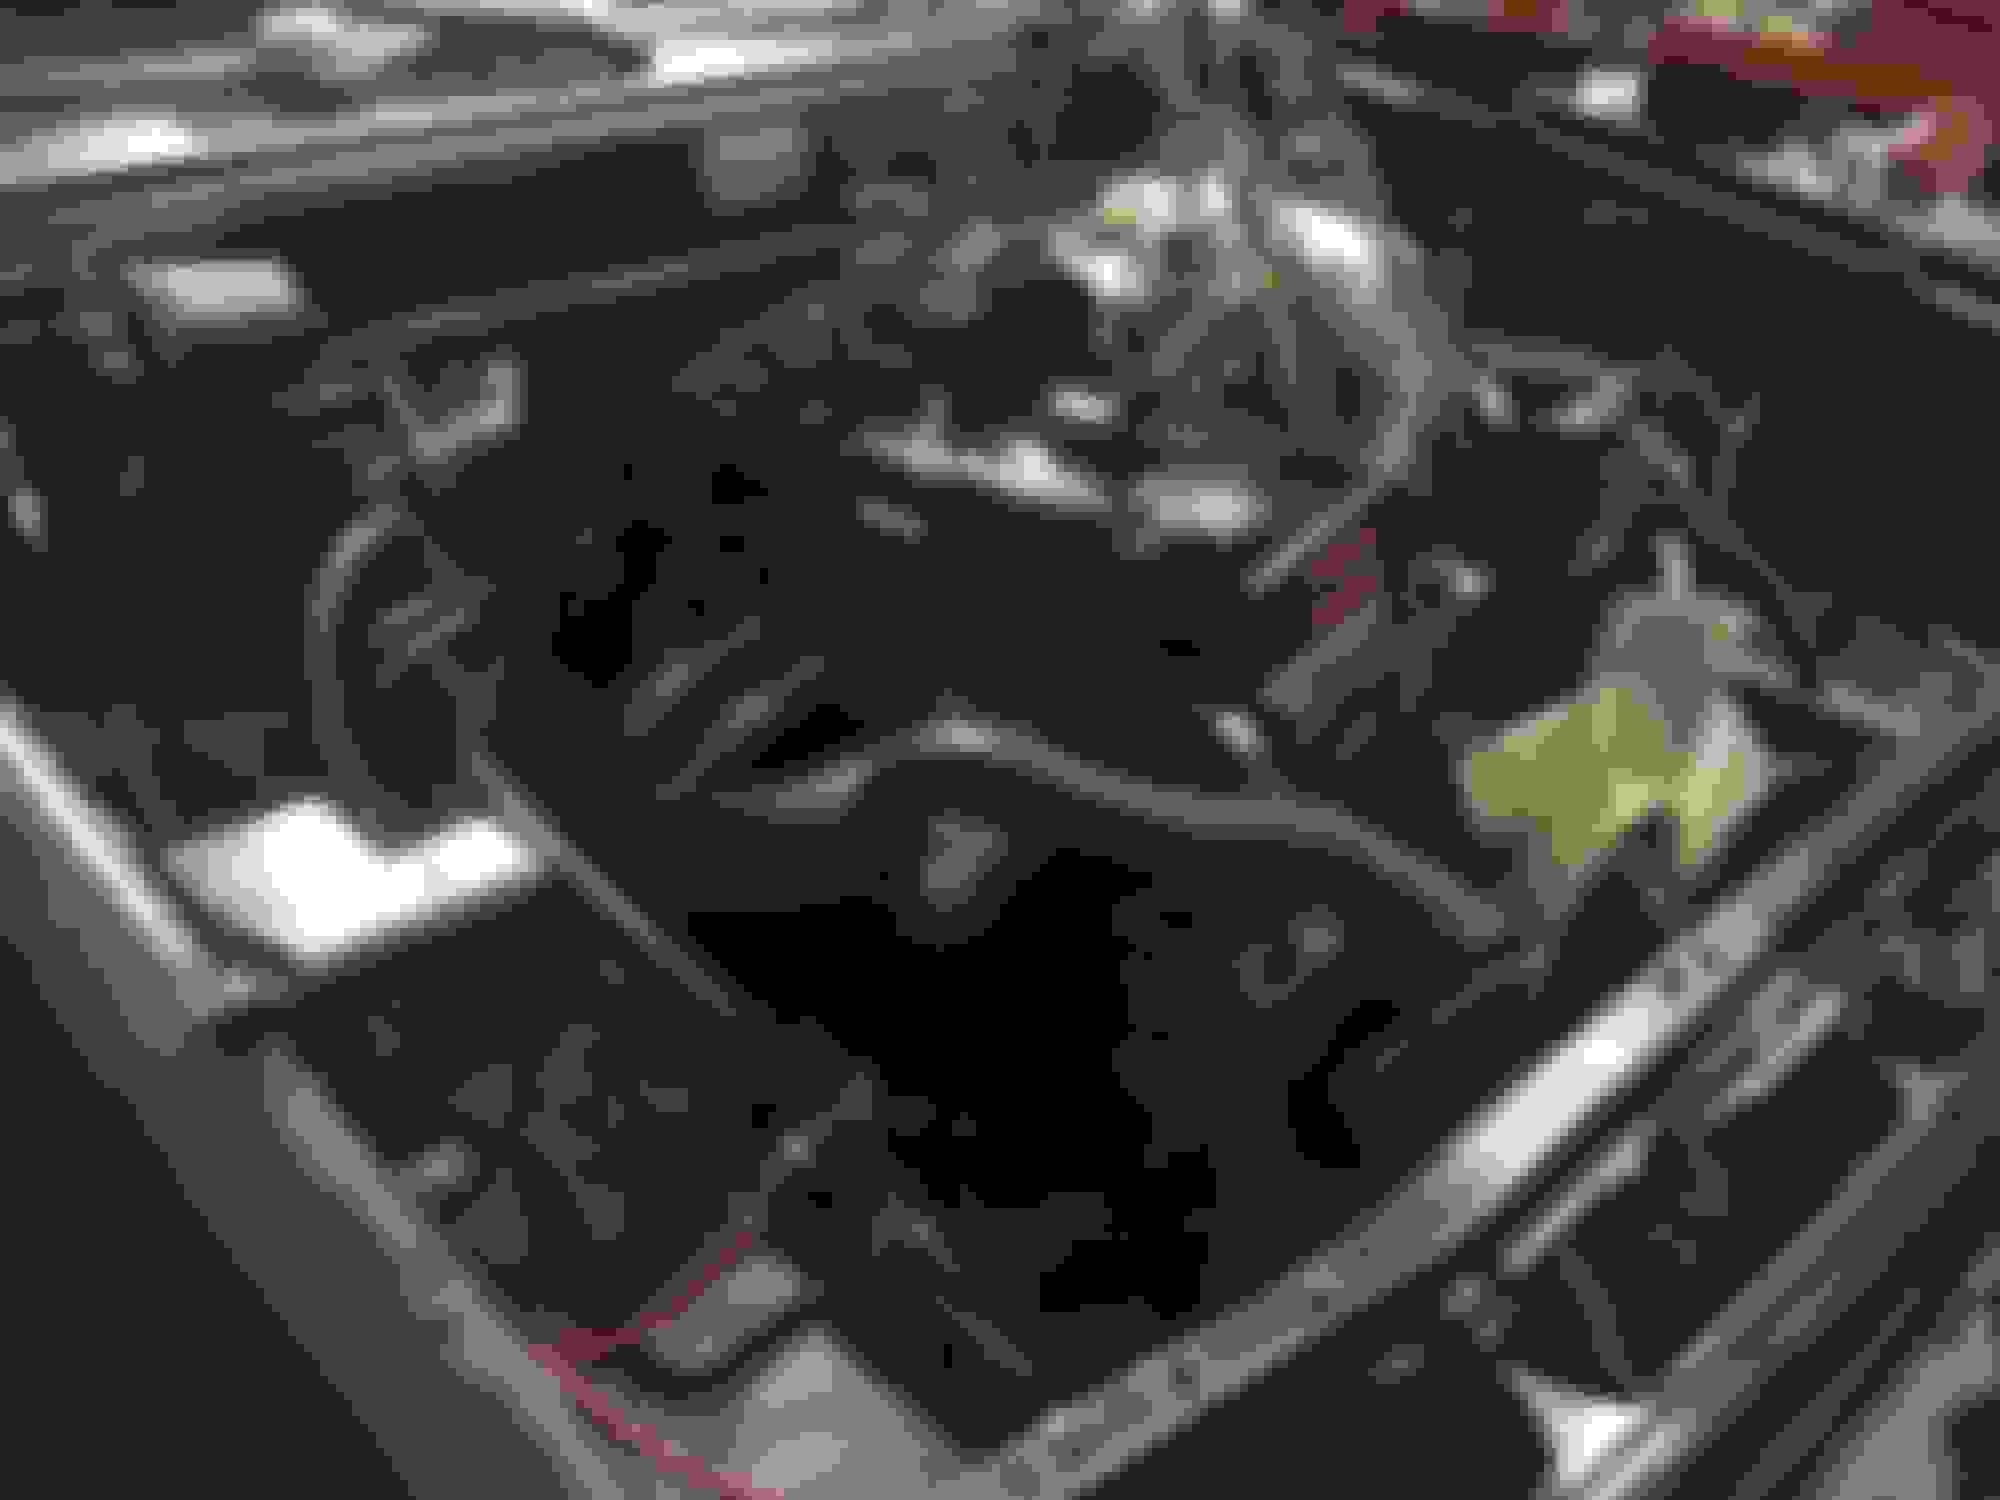
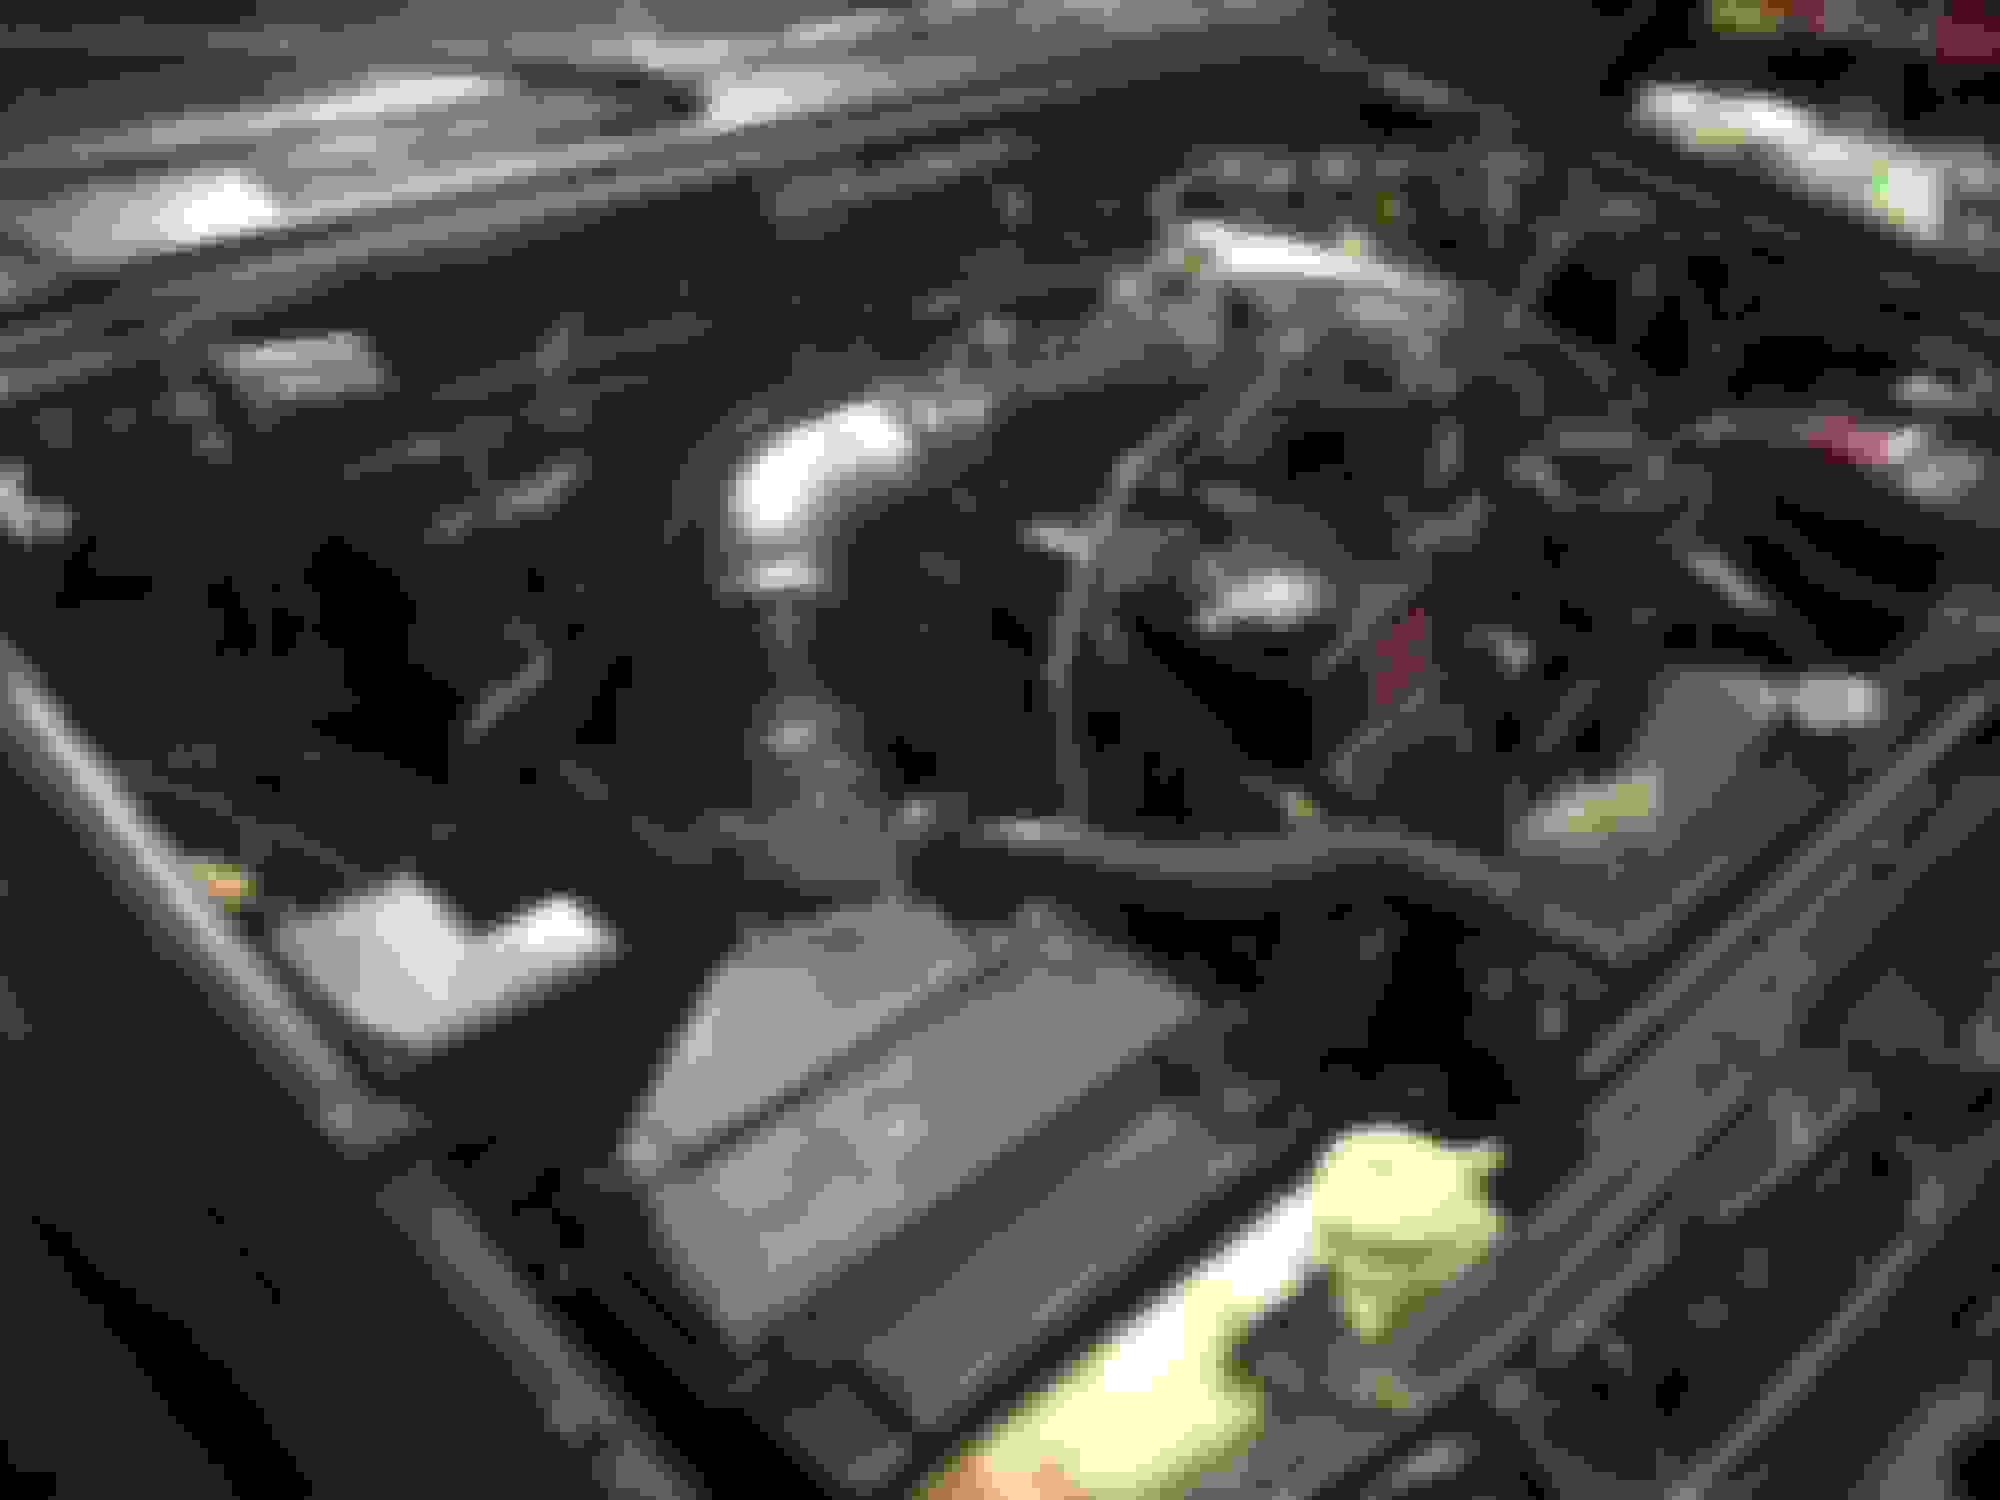
With the engine out again today it was a good time to do an upgrade on the heater valve. I had a nice oem 89-95 valve laying around and found an easy way to make it fit. You basically re drill the hole in the middle of the groove as high as you can to lower it down and towards the passenger side. I also worked the bracket itself to get it even lower. It's important to do so that way the heater cable is not in a bind and will allow the switch to move easier and less likely to break. Now I don't have to worry about the valve rusting up and it looks much cleaner from the outside.
Last edited by 86 SR5 4x4; Oct 12, 2017 at 07:32 PM.
After making the fuel line, fuel return line, and evap to tank line the engine is now in for good and bolted down. Time to hammer down and get the accessories on.
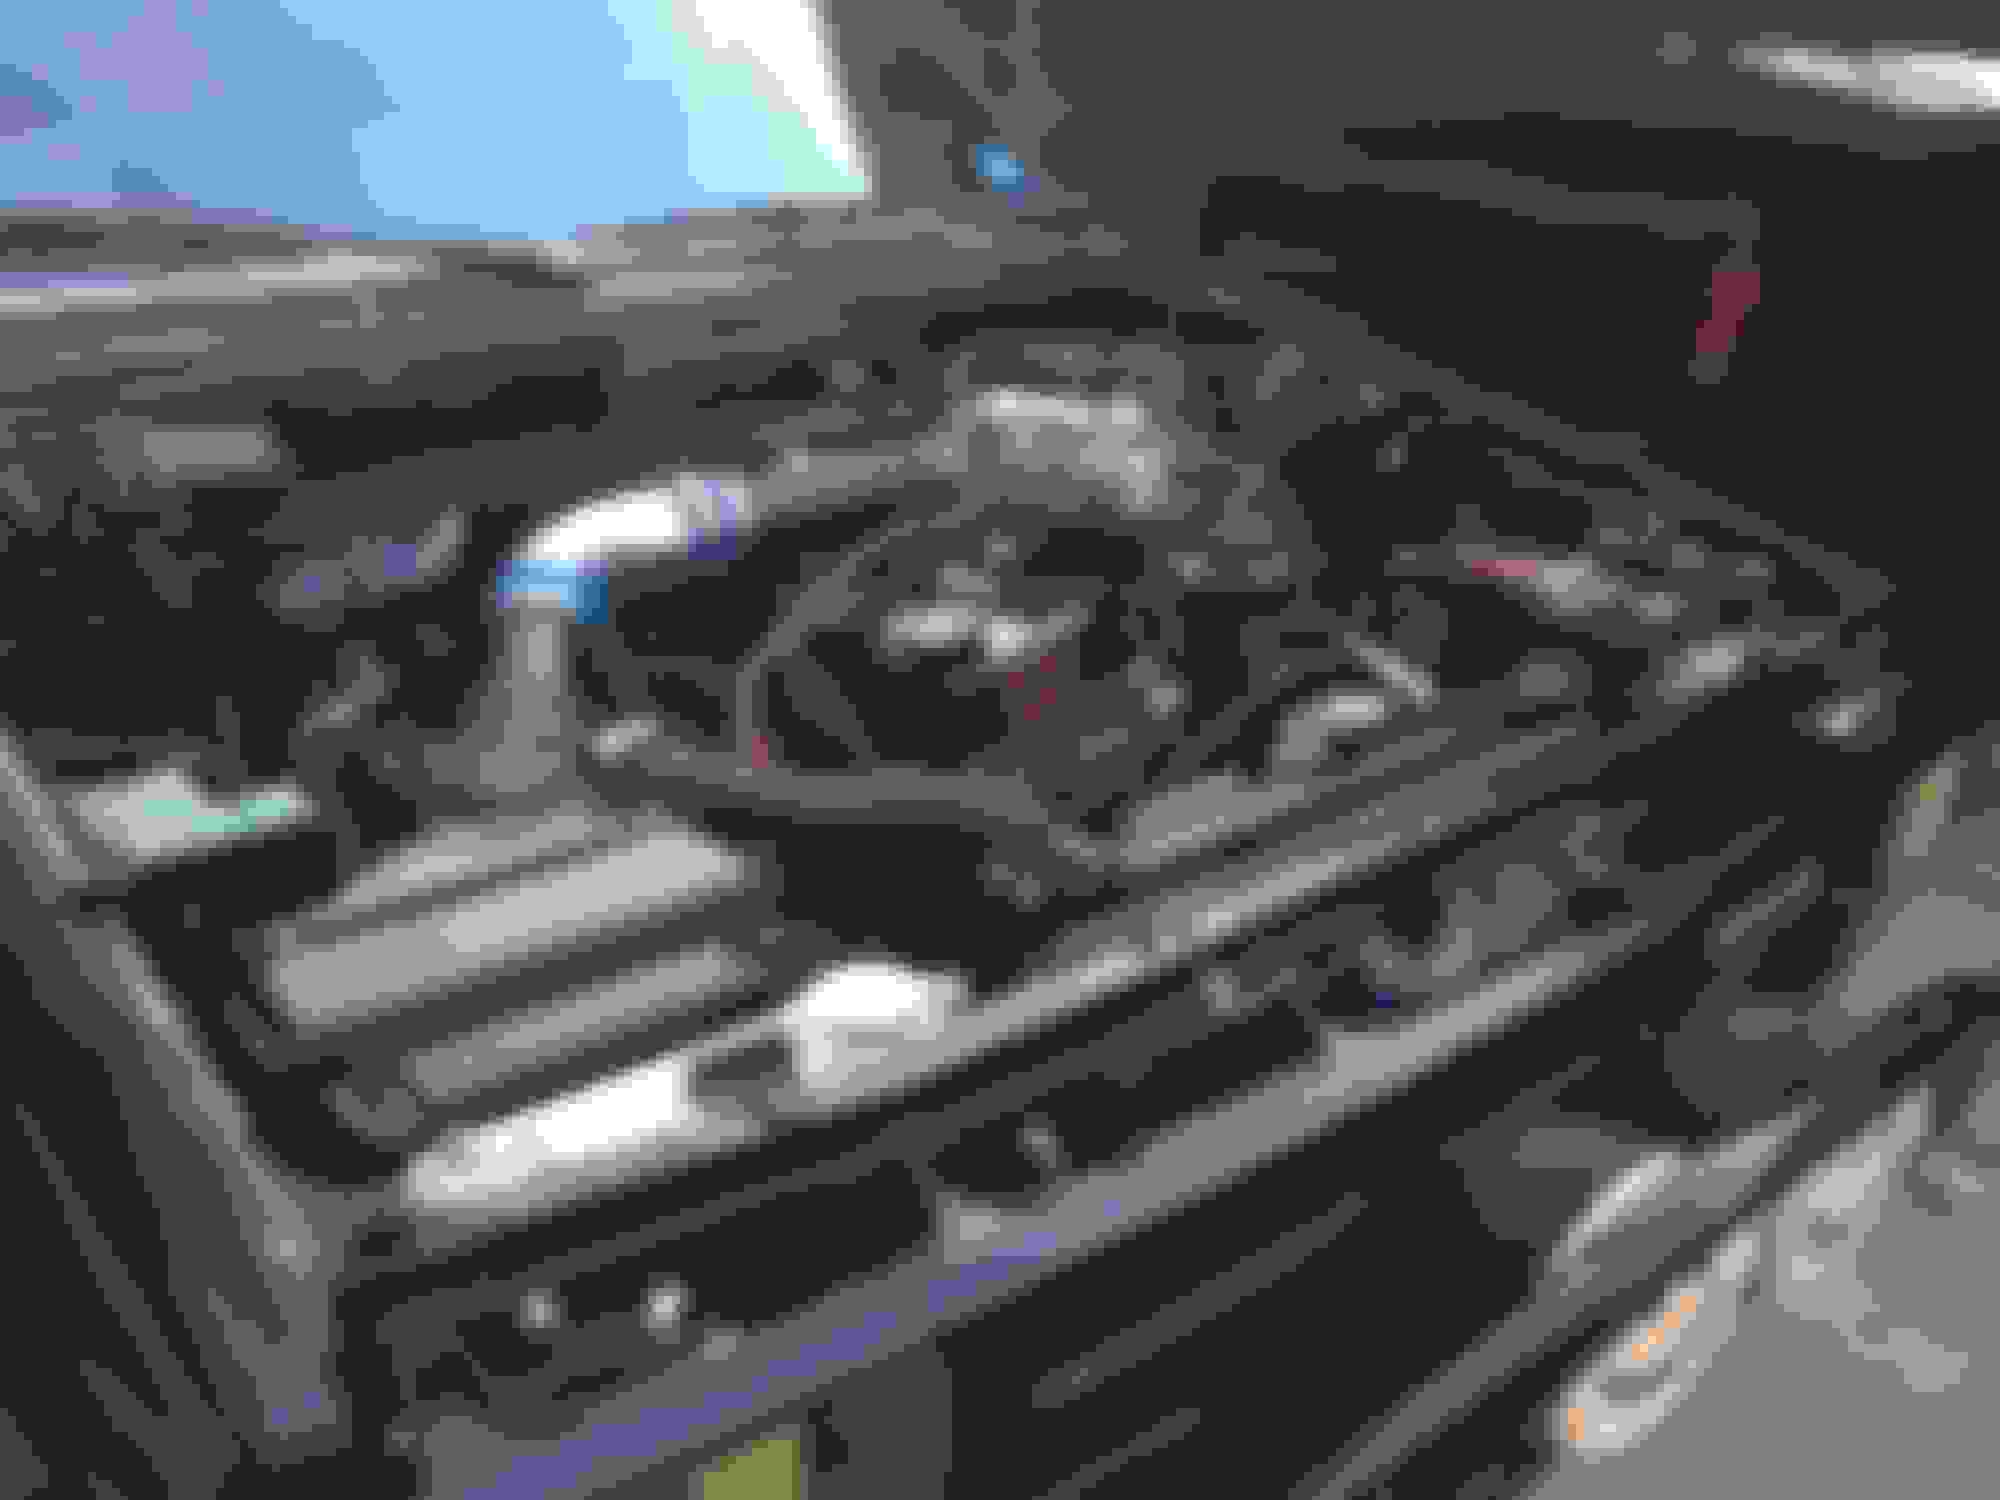
Got a whole a lot done this week. Evap mounted, relocated fuse box to clear 3.4 air box, made intake using mostly Toyota parts, sorted heater hoses and made lower radiator hose, both harness wires are labeled etc.
Now to finish the exhaust, relocate the battery and convert the harness then done
I am converting it all myself tomorrow. Most of the time involved is to identify all the chassis and engine harness wires. Just got to extend the ecm wires and there were 26 wires to identify for the harness. It saves so much time buying the $150 Toyota electrical diagram book. I did it the hard way.
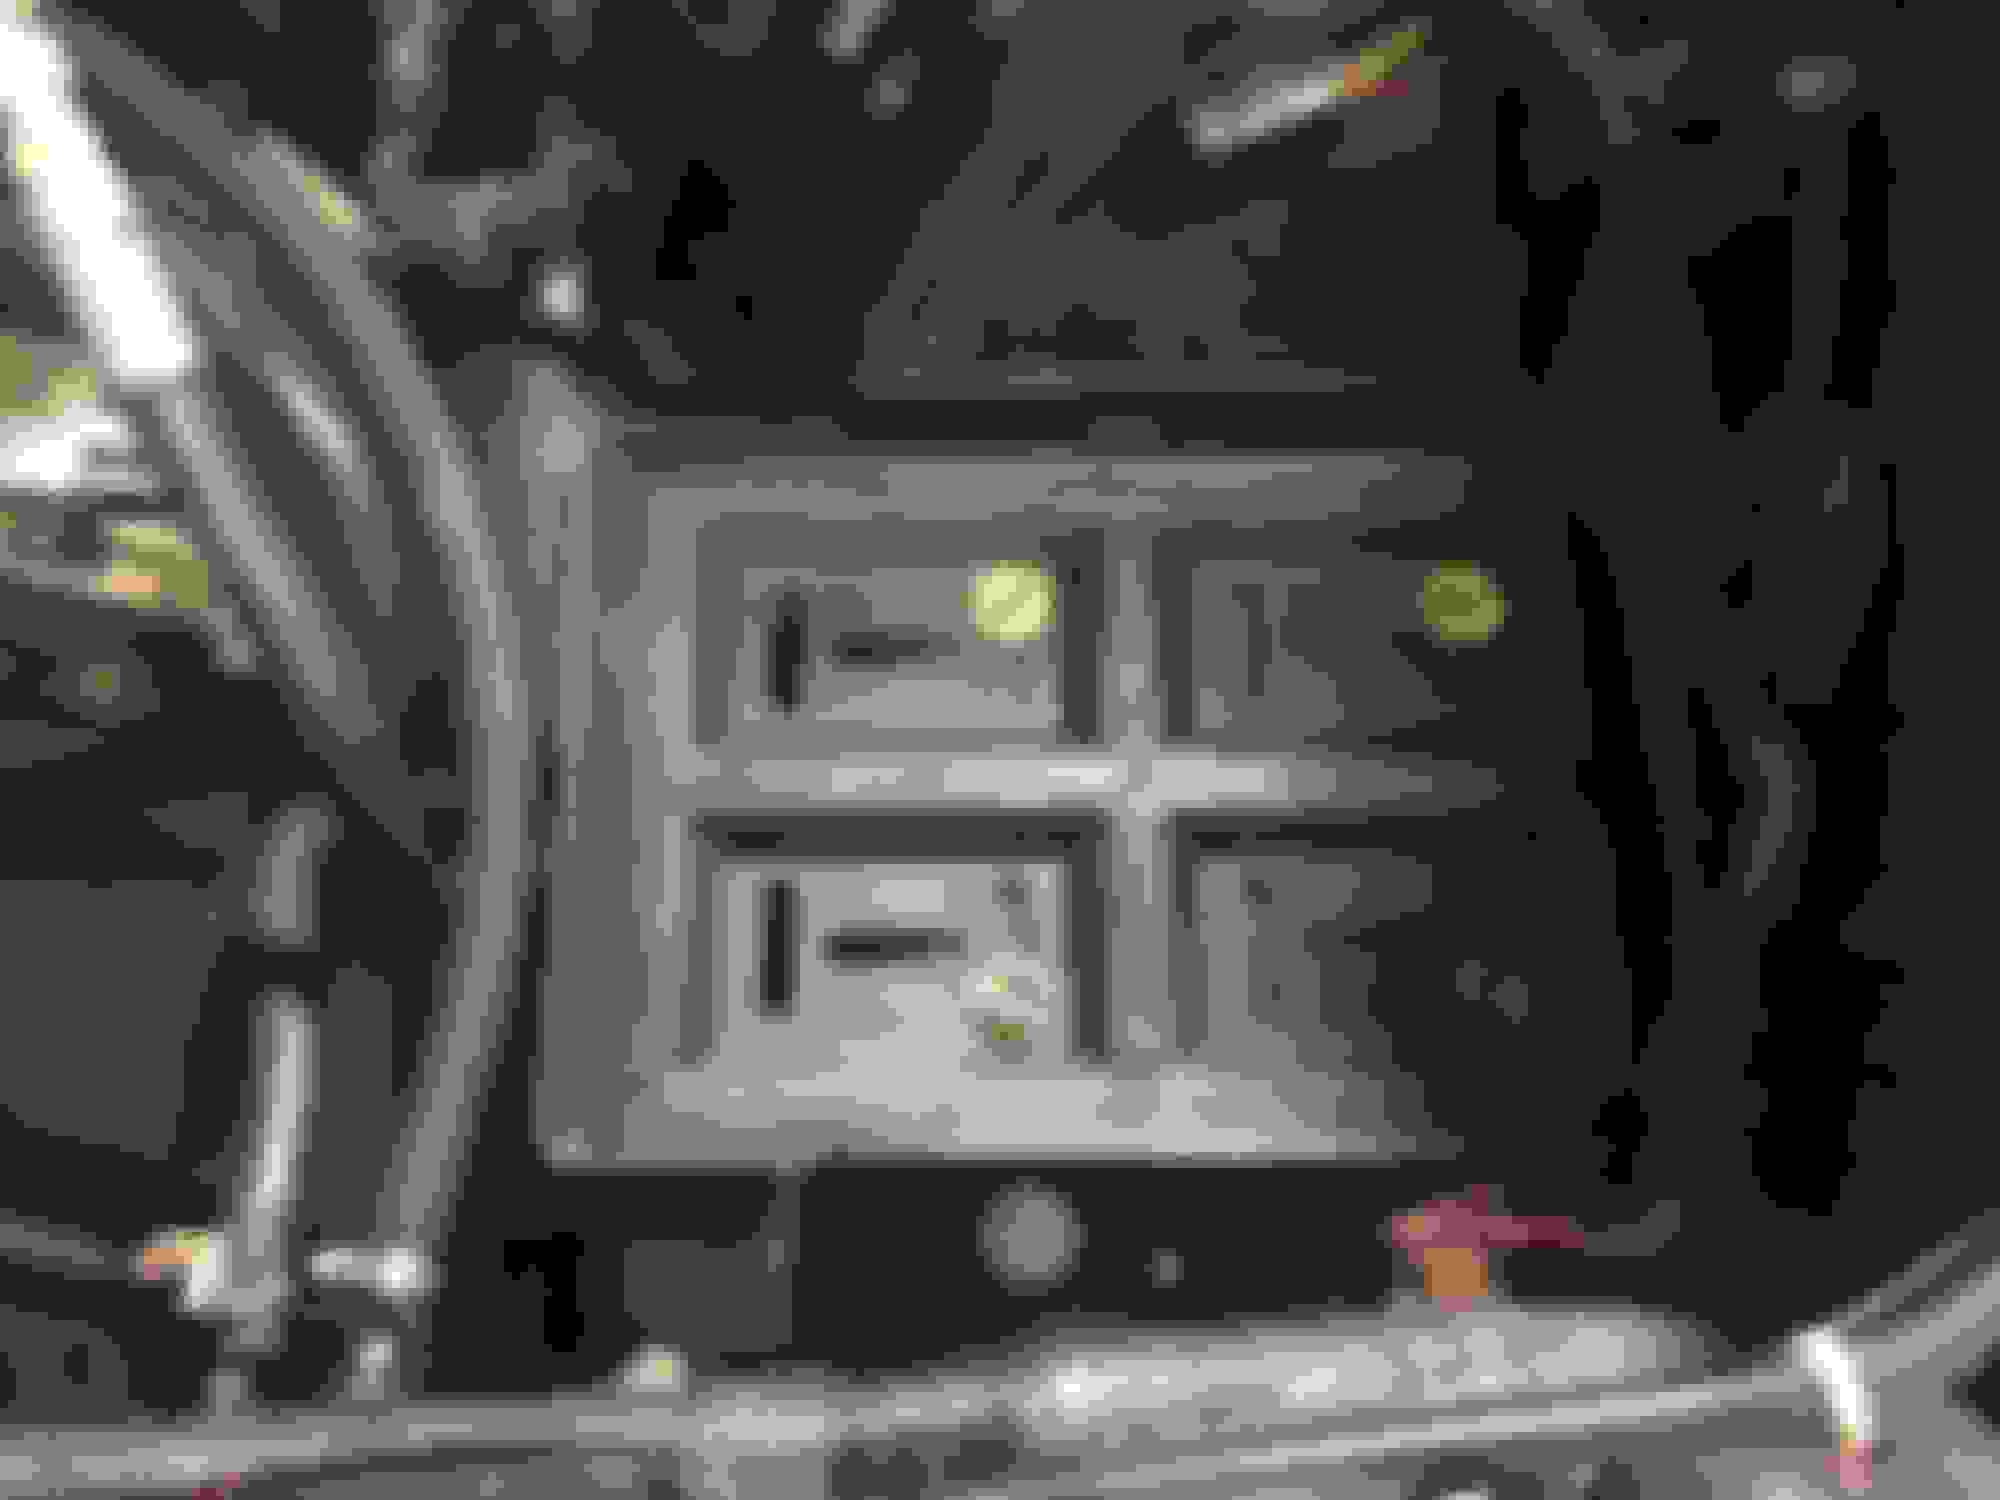
For relocating the battery to the drivers side I got a generic mounting tray and modified it to fit the inner fender. Nice thing is the one lower left bolt already had a hole with a nut which made it easy to drop the battery in and check clearance without it sliding around. I trimmed the one end off so it would sit closer to the inner fender and lay flat. I used some clean interior bolts for the install
Mounting the tray just right I was able to re use the factory battery tie down. Now to setup the cables and get a battery with opposite positive/negative posts
Had to extend the harness about a foot to get it to reach the ecm but almost done there. I'm using a 90-95 4Runner firewall grommet and the wiring clears perfectly. It's a 1/4 larger than the stock grommet but it fits the firewall too and ensures there will be no leaks.
first time checking out your build thread...seeing the 22RE sticker on the 3RZ is a nice touch.
You have your hands full with this and the 80 build!
Great attention to detail
Got to drive her home last night ��. Definitely more power and especially low end torque. Just have to connect my ac power wire since it was a dealer install aftermarket job and is separate from the harness. It's that red wire standing out like a sore thumb. I did wire the harness so I can use the factory plug, just have to re wire under the dash. I need to clearance the cage of the hood slightly to clear the power steering reservoir and then get a skinnier steering stabilizer as it is rubbing the oil pan.
Replaced the hideousness red power wire for the after market ac job which was just twisted together. Soldered and double heat shrunk a new wire on and pulled an ac compressor connector off a 3.4 harness so it plugs in. Also got rid of the orange factory tape on the coil harness and snuck the ac wire thru the loom so it can't be seen. Looks much better.
With the "toy only swap" conversion mounts and stock rubber the steering stabilizer was badly rubbing the oil pan. So I swapped out a skinnier stabilizer and mounted it on the under side of the bracket using a longer 14mm bolt and insulated the hole with seat belt spacers. Now it clears perfect
So I got it weighed and with me in it and a full tank of gas it came to 3540lbs. Minus my weight would be 3350lbs and that's with the extra 180lbs from the tire carrier, front bumper, roof lights and roll bar. So around 3170lbs without the accessories and 3060lbs on an empty tank.
I just wish I had weighed it before to see how much weight I saved. I can definitely tell it is lighter because the front end is slightly higher and the alignment is now off. I noticed it mostly when pulling it with a tow bar and now the wheels don't steer as easy which made it a pain to pull around.
Last edited by 86 SR5 4x4; Nov 8, 2017 at 06:44 PM.
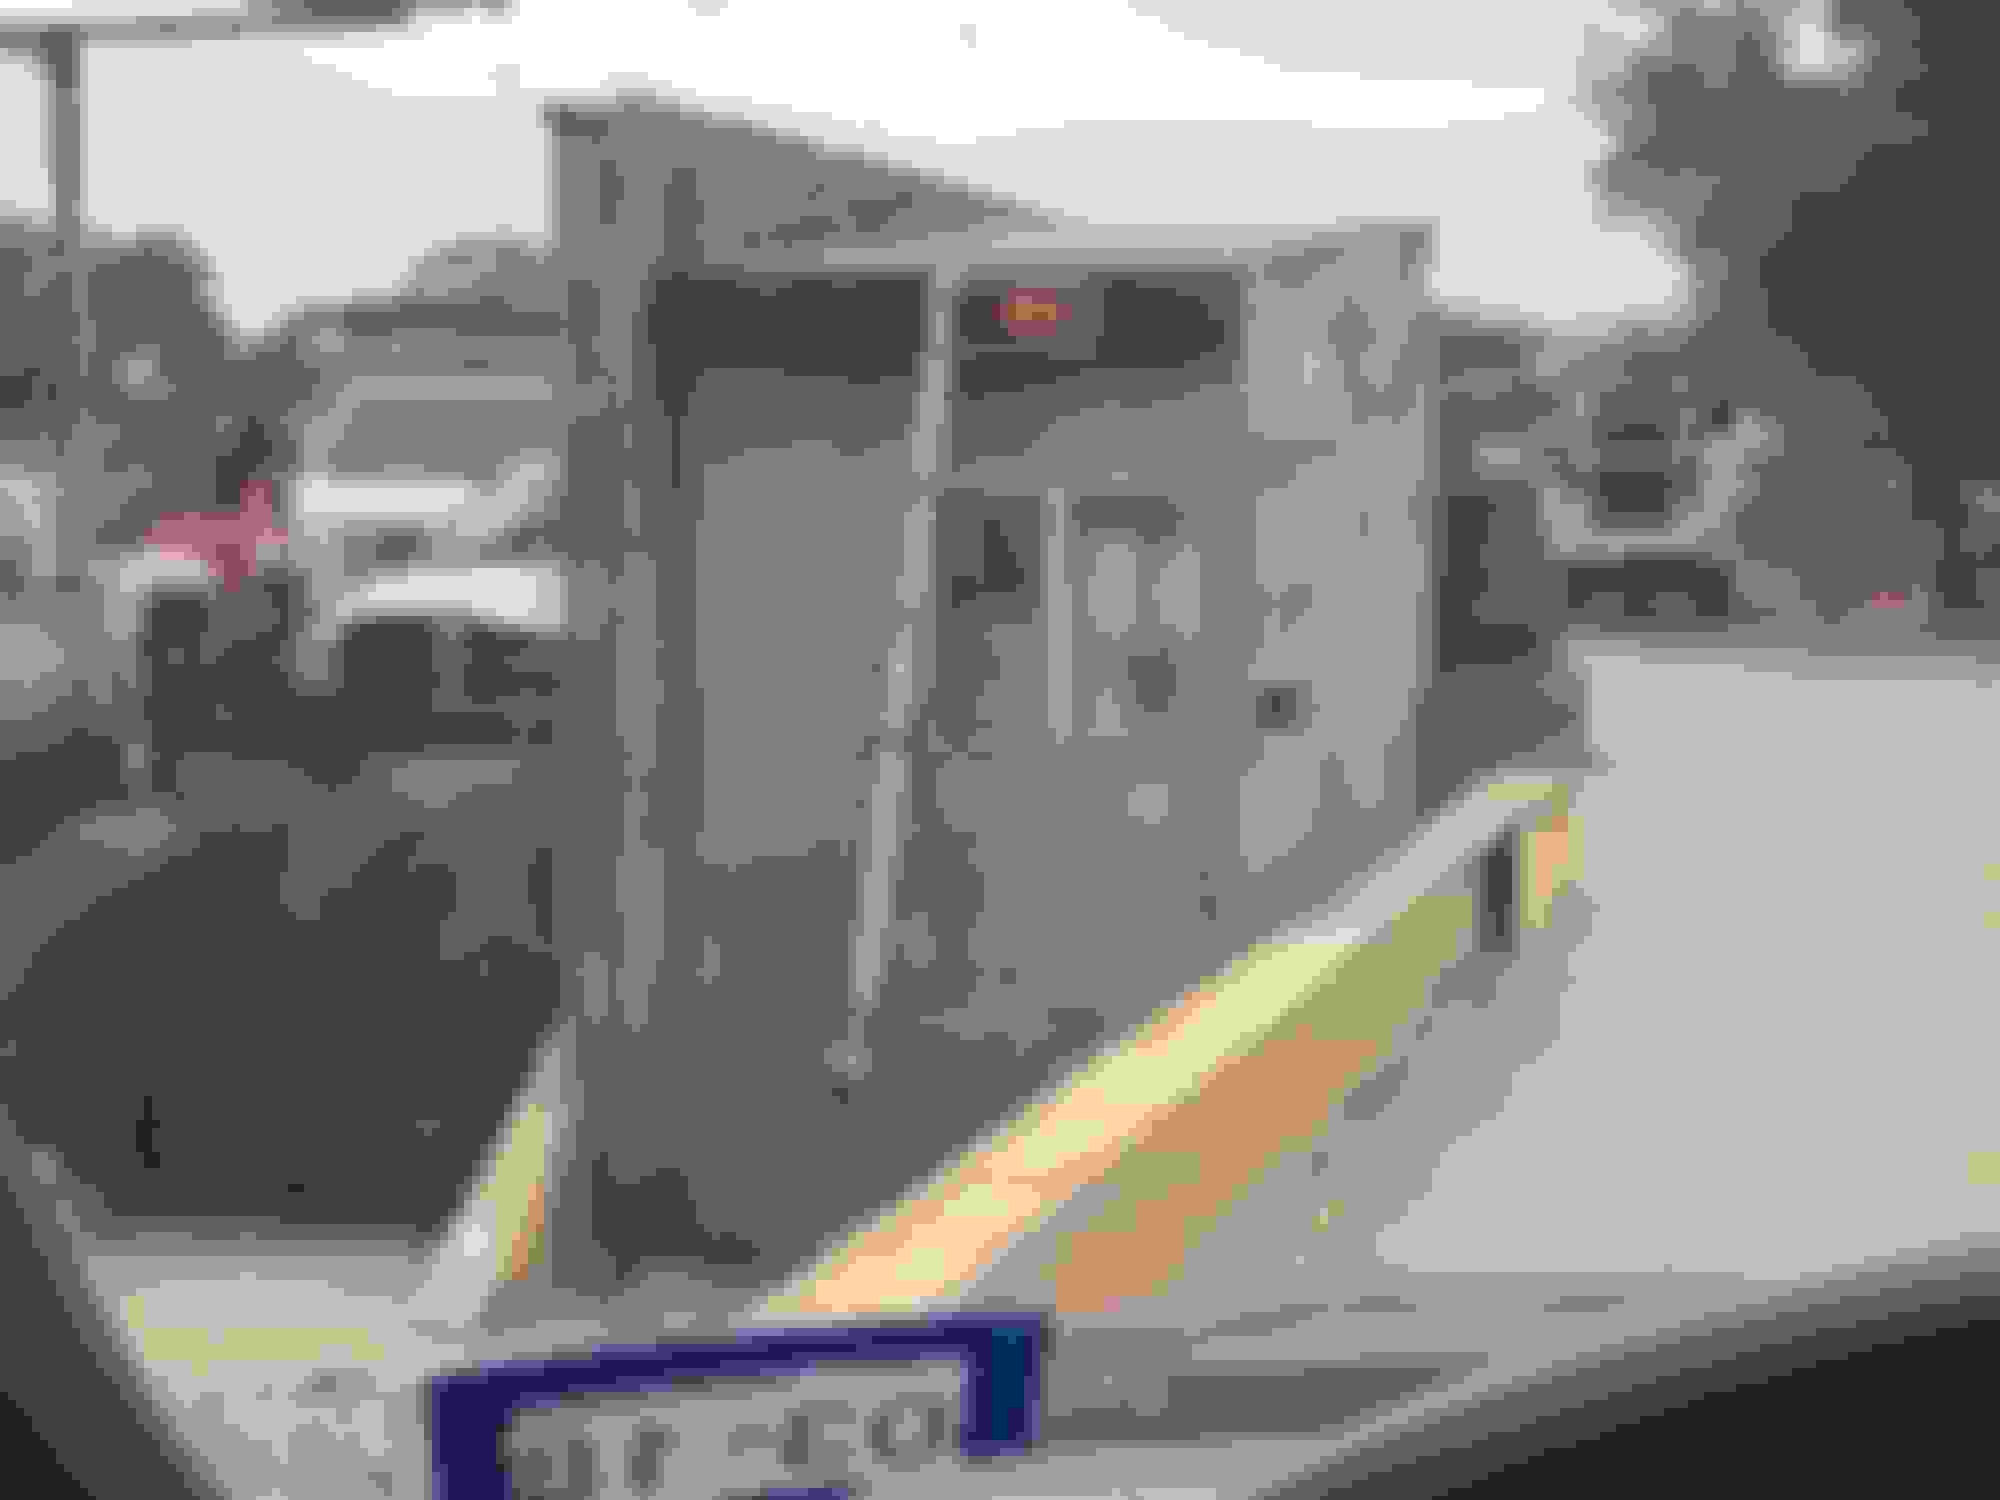
Oh those are my tow bar brackets I use to pull it around. Towed it to the exhaust shop. I do like the slot car style handling but I may do long travel front suspension on the truck with 4 link or 63" springs in the rear.
Oh those are my tow bar brackets I use to pull it around. Towed it to the exhaust shop. I do like the slot car style handling but I may do long travel front suspension on the truck with 4 link or 63" springs in the rear.

 Oct 10, 2017 | 06:02 PM