The4RunnerHouse's 1988 pickup build-wrecked but reviving
 06-28-2013, 05:09 PM
#1
The4RunnerHouse's 1988 pickup build-wrecked but reviving
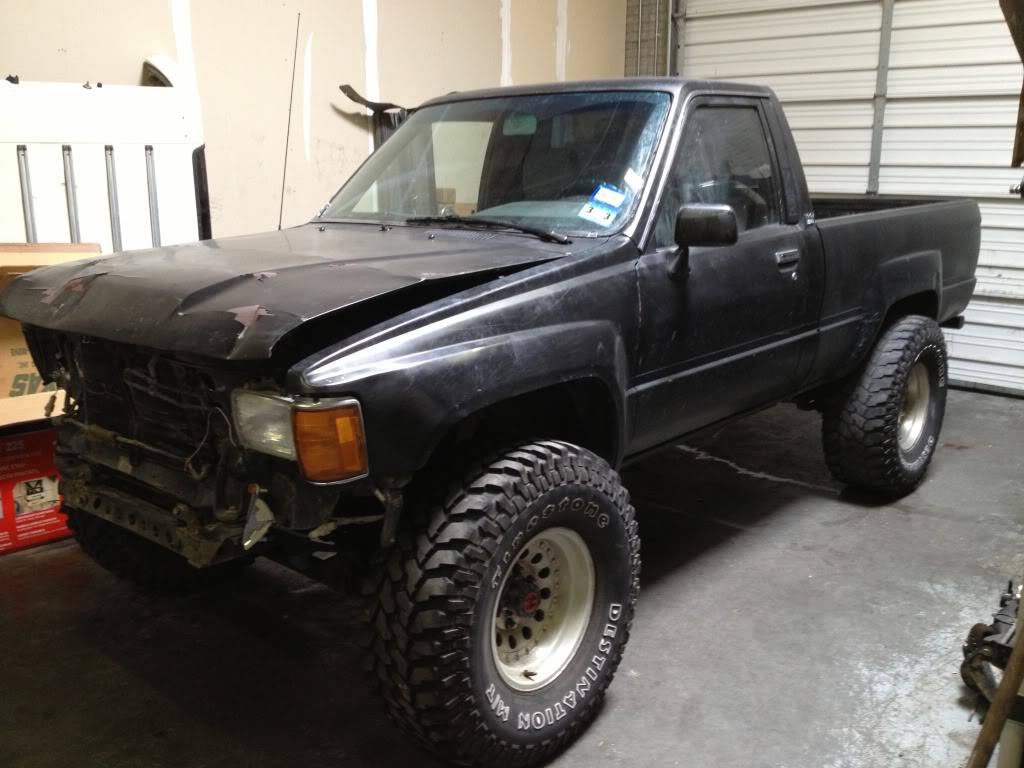
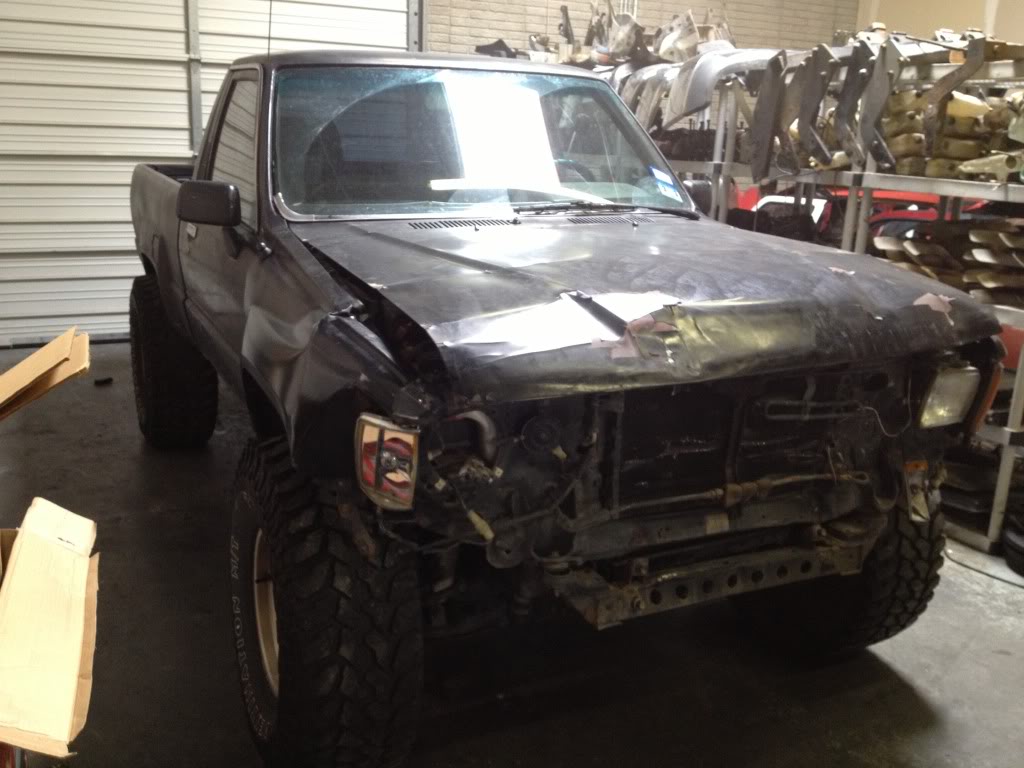
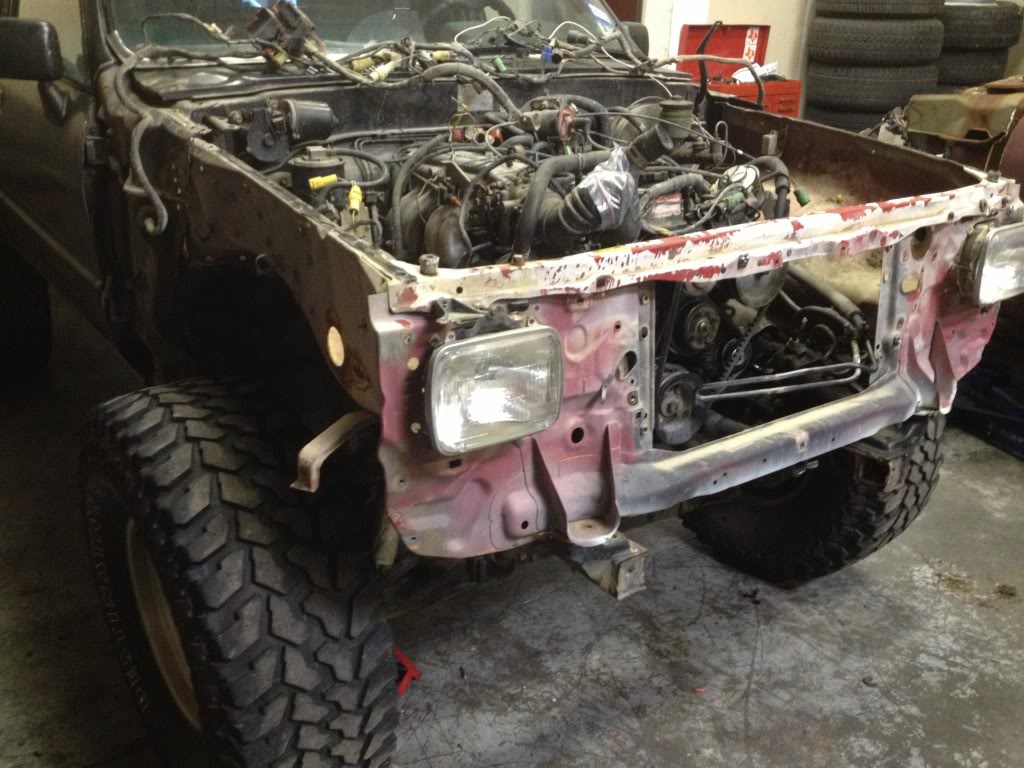
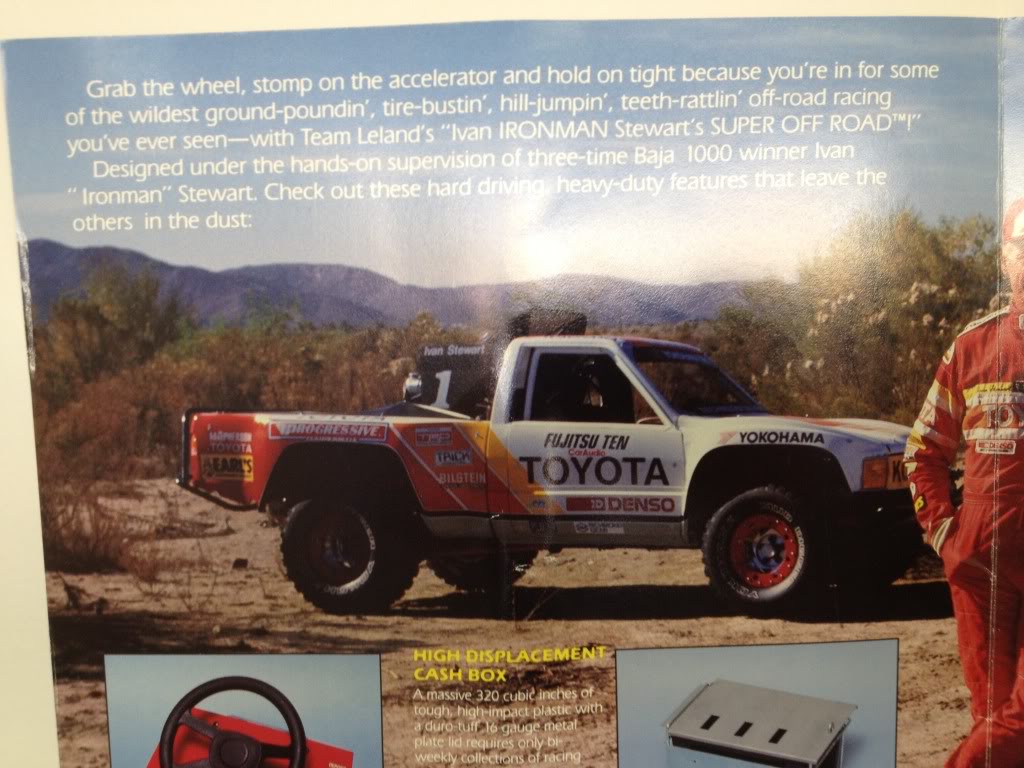
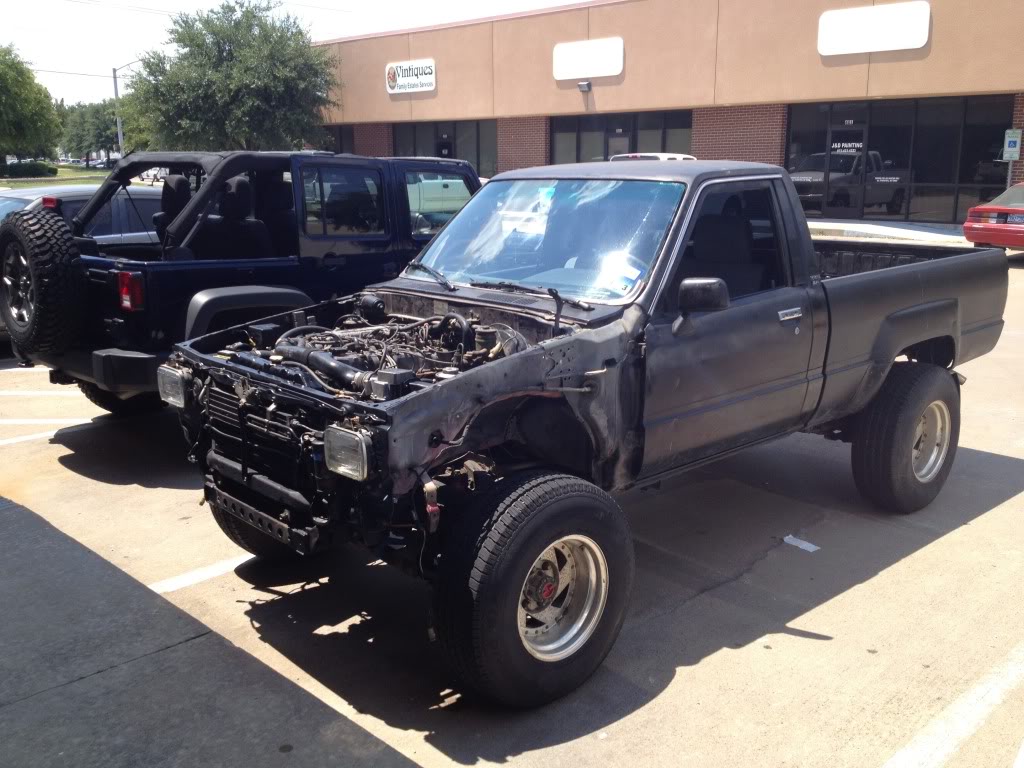
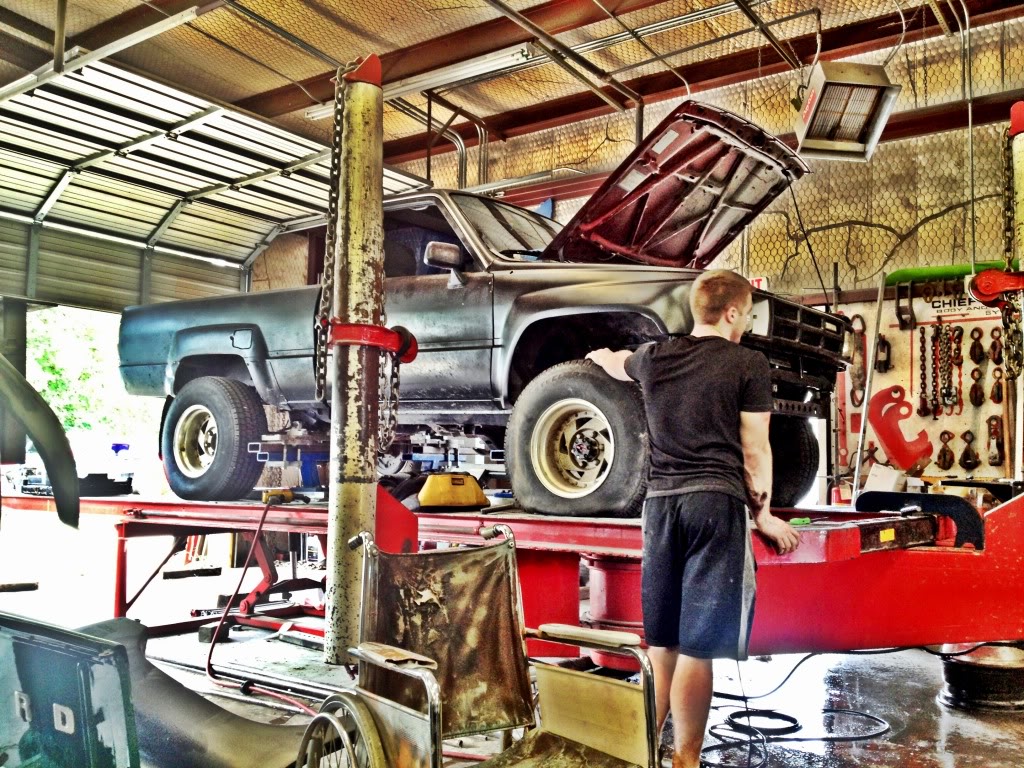
I bought this 88 base 4x4 pickup after it was wrecked and would of been for parts had anyone else got it. I tear down a ton of worn out and tired 4runners and pickups that need way more work than they are worth but I try to save them as much as possible. Even tho this truck reads 367k and the body is only decent I've decided to revive it and make it my shop truck and eventually an Ivan Stewart replica.
Here is a list of damaged parts:
Bumper
Hood
Fenders
Core support
Inner fenders
A/C lines
Condenser
Radiator
Fan shroud
Fan
Water pump
Steering lines
Ps pump pulley
Fuse box
Crossmember
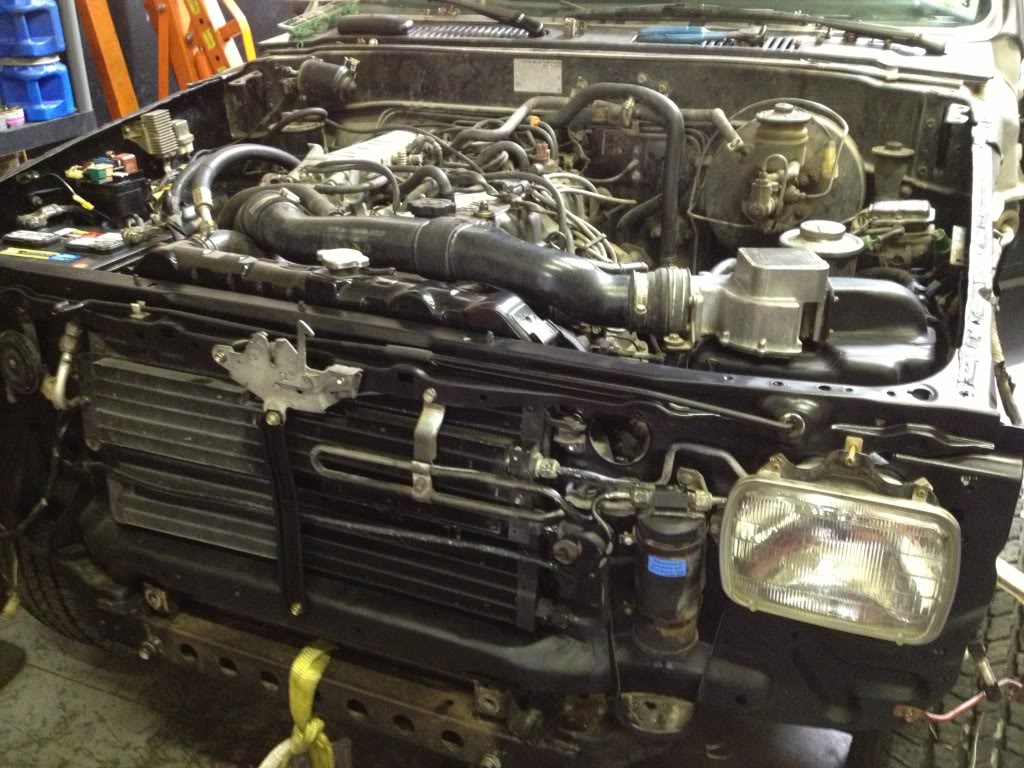
When the truck rear ended another truck it mashed the front so hard it pushed the radiator into the fan and pressed the water pump in to where it couldn't spin. The ps pump pulley was crinkled and fuse box was broke off all 3 mounts.
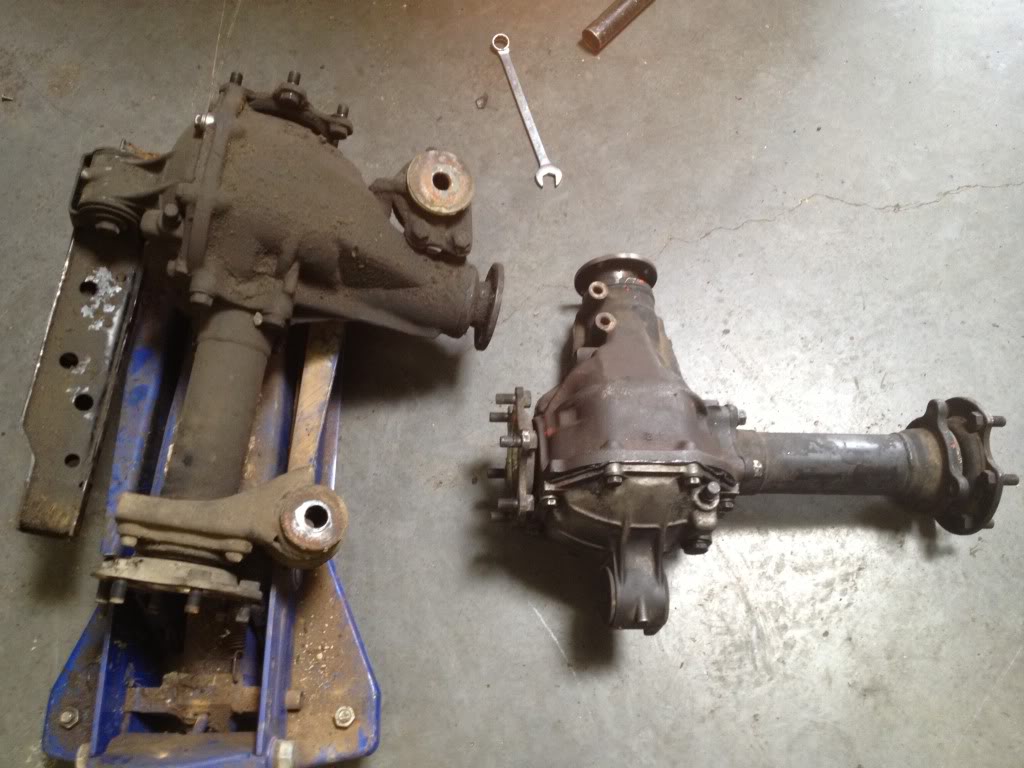
To make part replacement easier ive decided to convert most the accessories to 4runner style including the a/c condenser, compressor, lines, core support, ps lines, etc
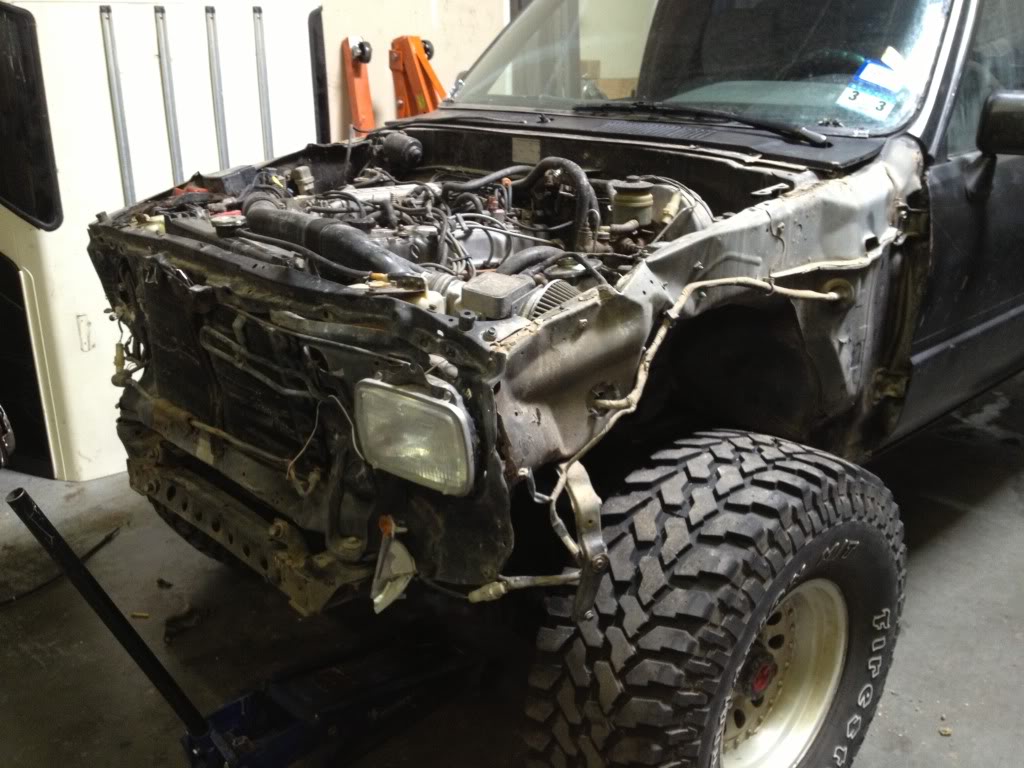
After tugging out the front end with a tow strap
Fitting up the 4runner donor core support/inner fenders
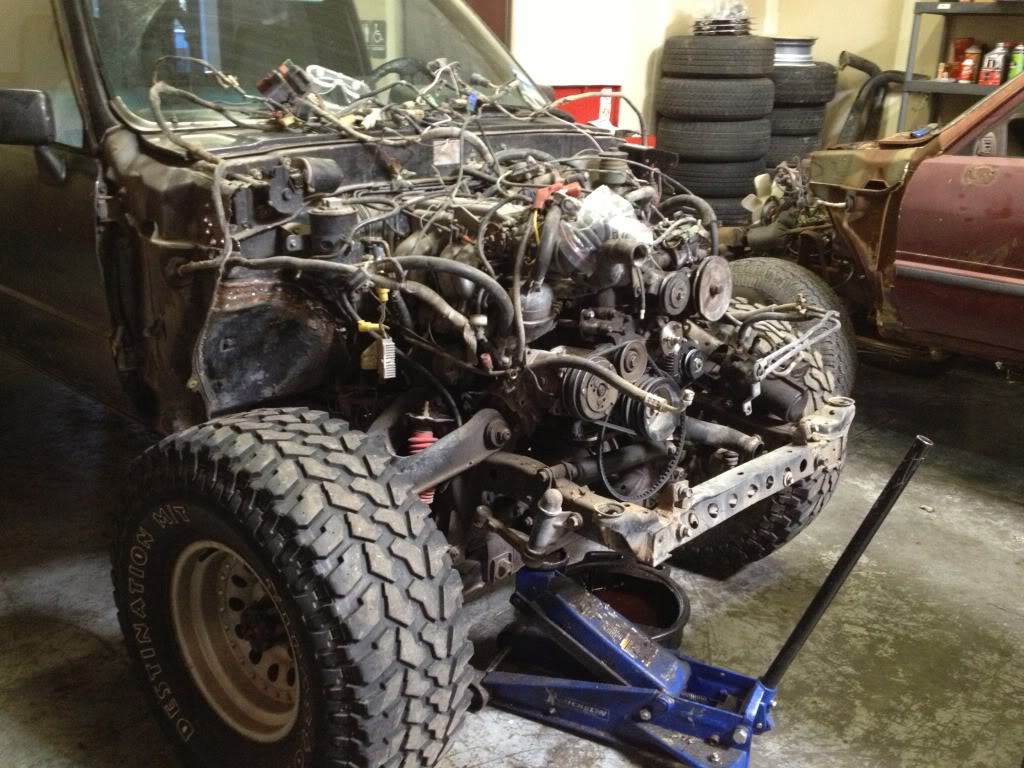
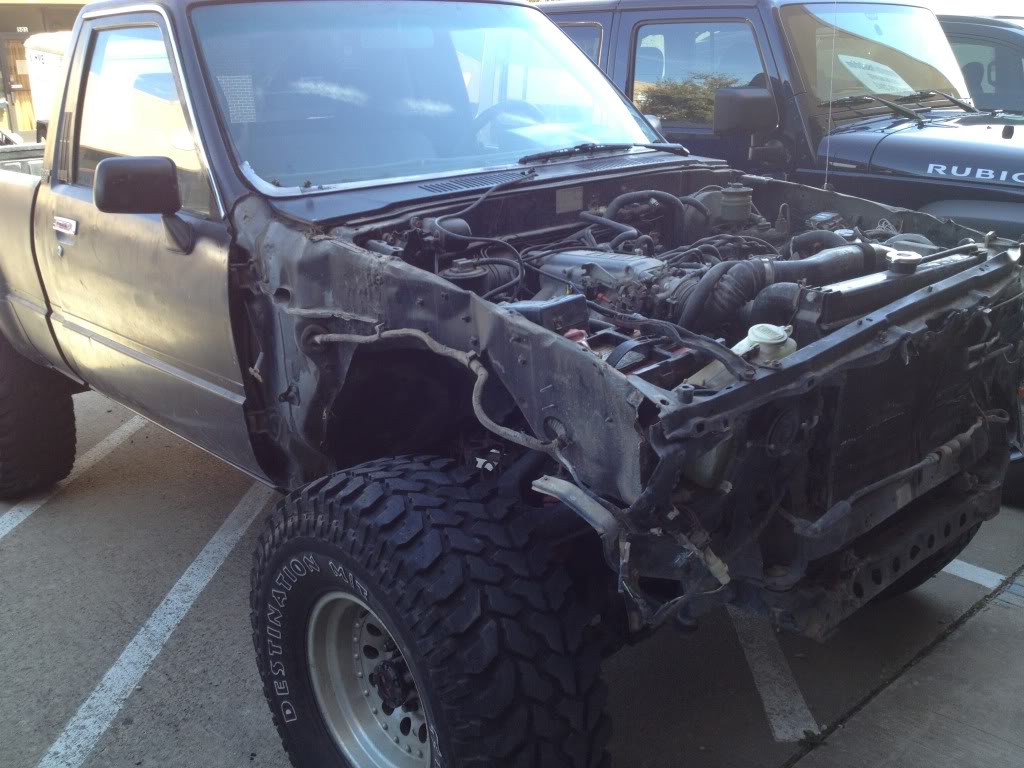
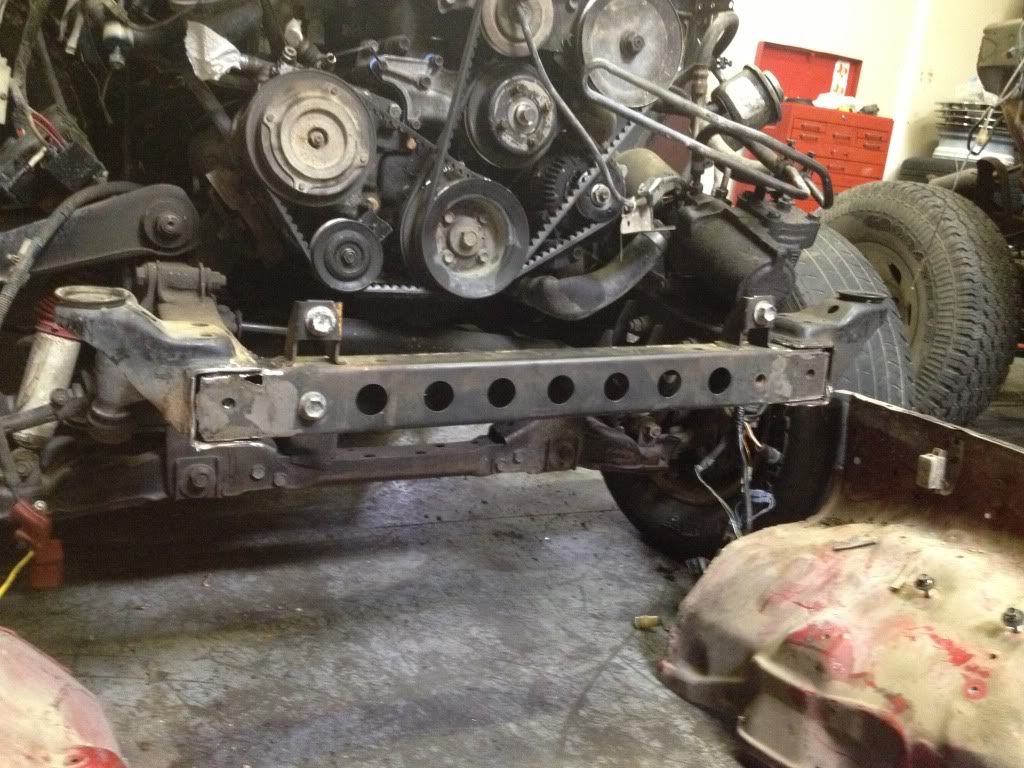
New cross member cut and in place.
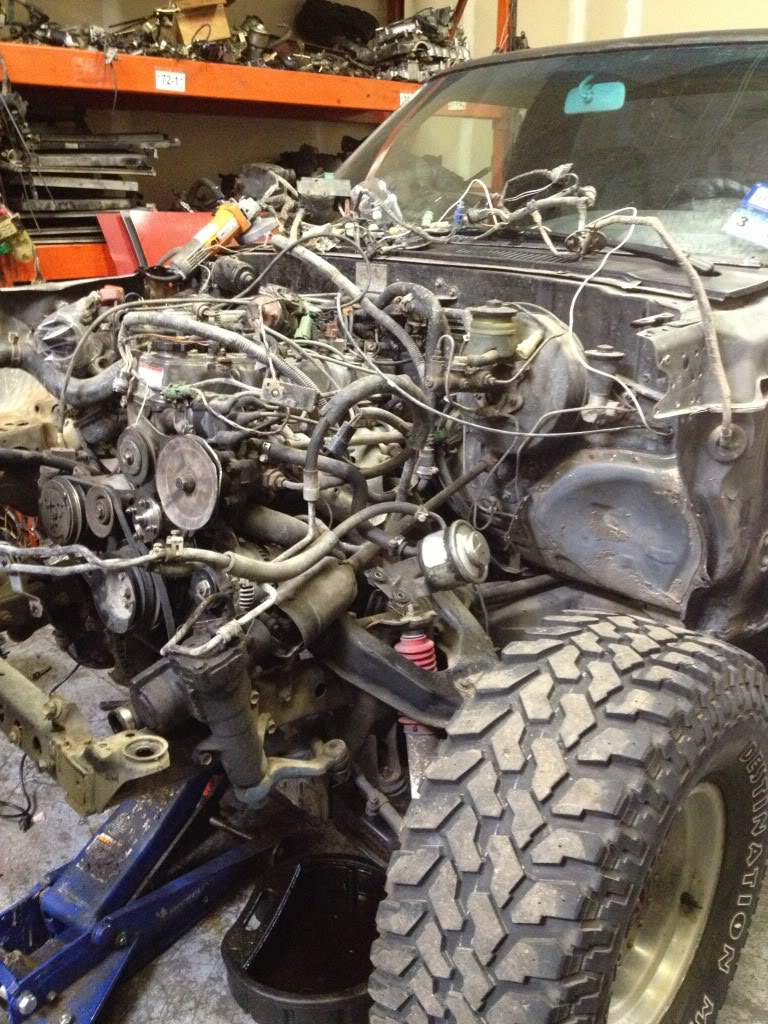
Converted to 4runner a/c compressor and Ps lines
Ps pulley and water pump replaced
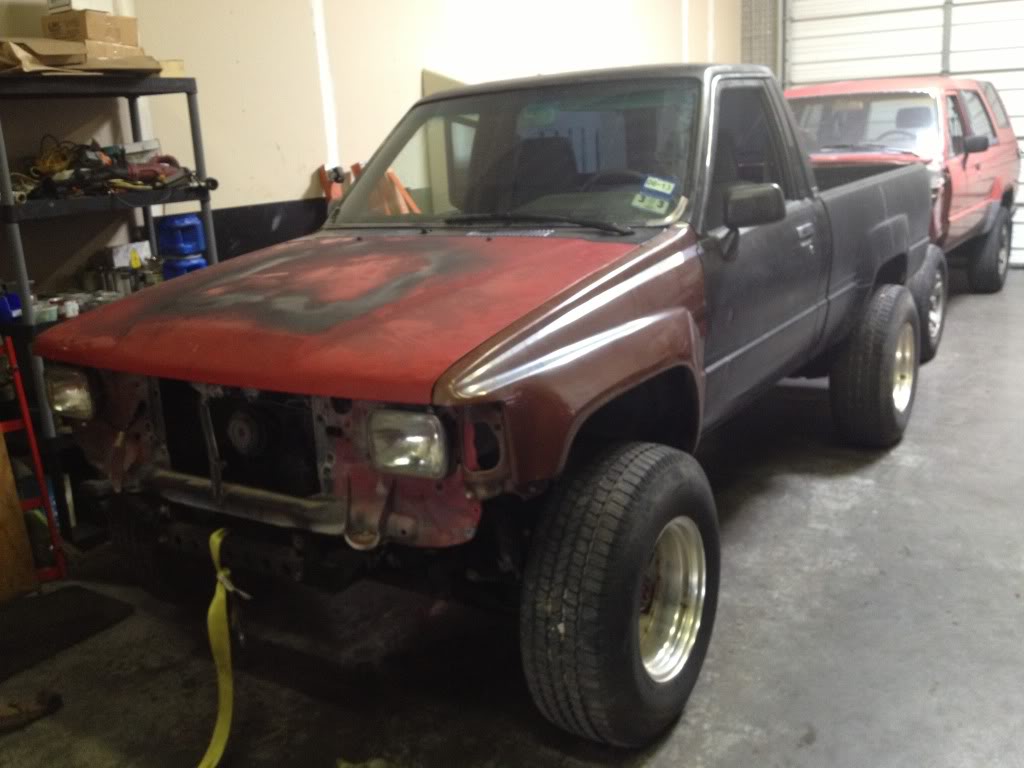
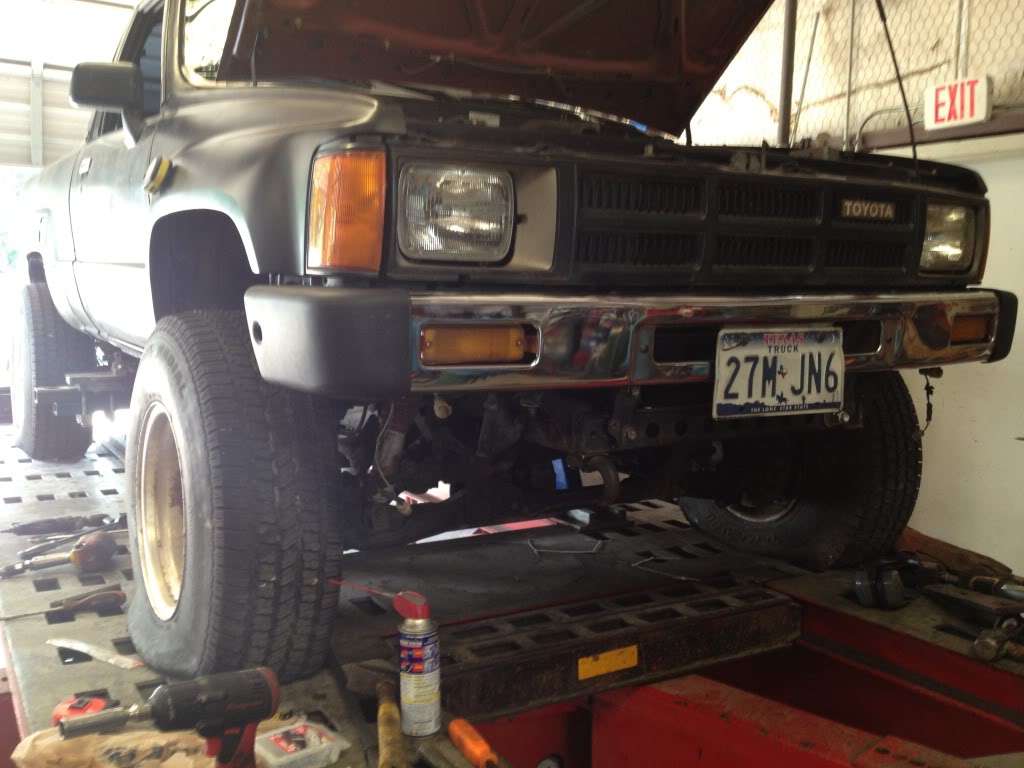
Just back from frame shop. Lining up hood and fenders before removal, prep and paint
Starting on the interior:
Already updated:
Gauge cluster surround
A/c faceplate
Converted to dash clock
Glove box
Right speaker cover
Right kick panel
Door handle trim
Right dash vent
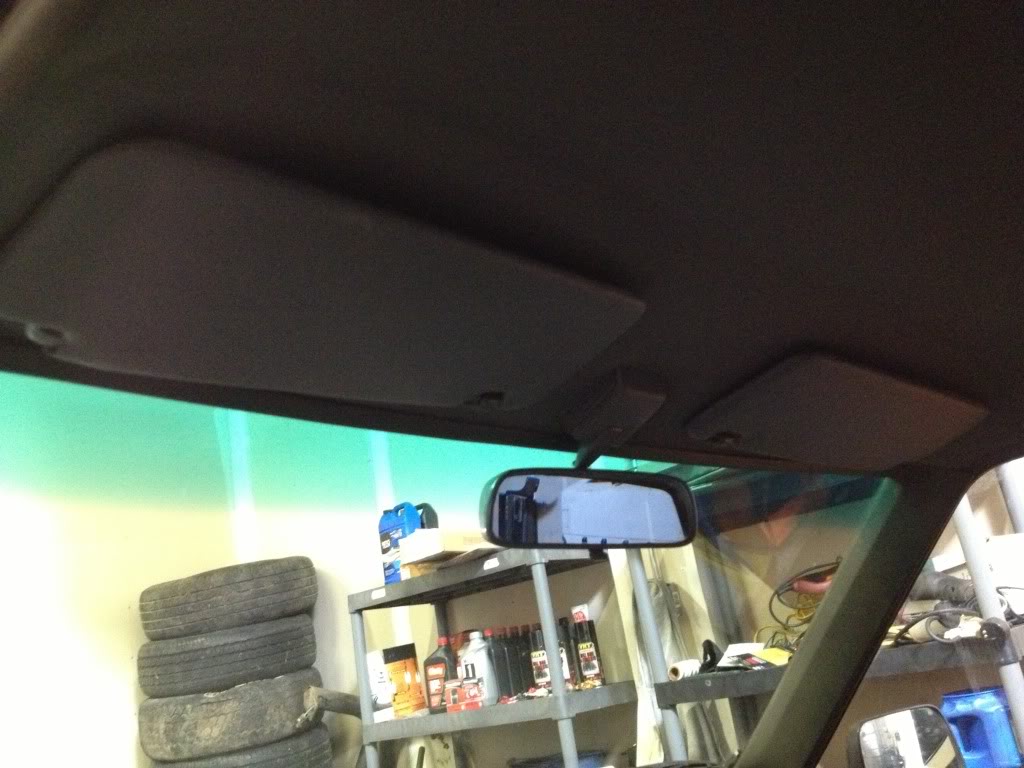
Mirror replace with original
Next updates:
Recover lower 1/4 of door panels with vinyl
Replace dash pad
New floor mats
Convert to buckets
Install SR5 cluster and run tach wire
Install the radio
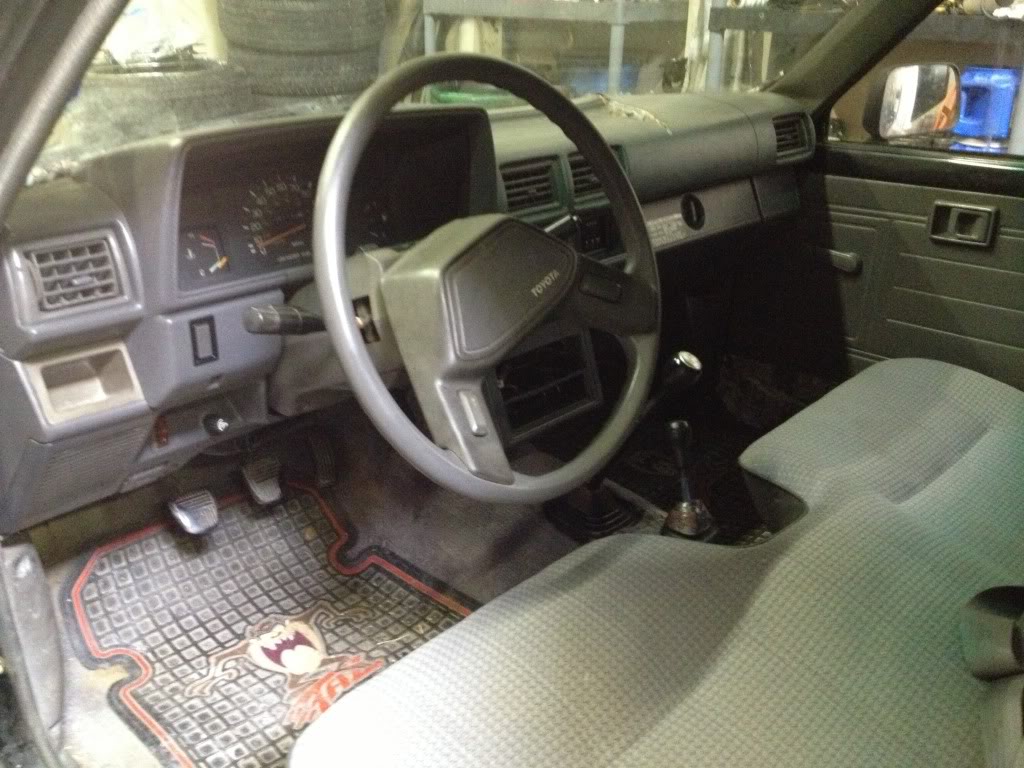
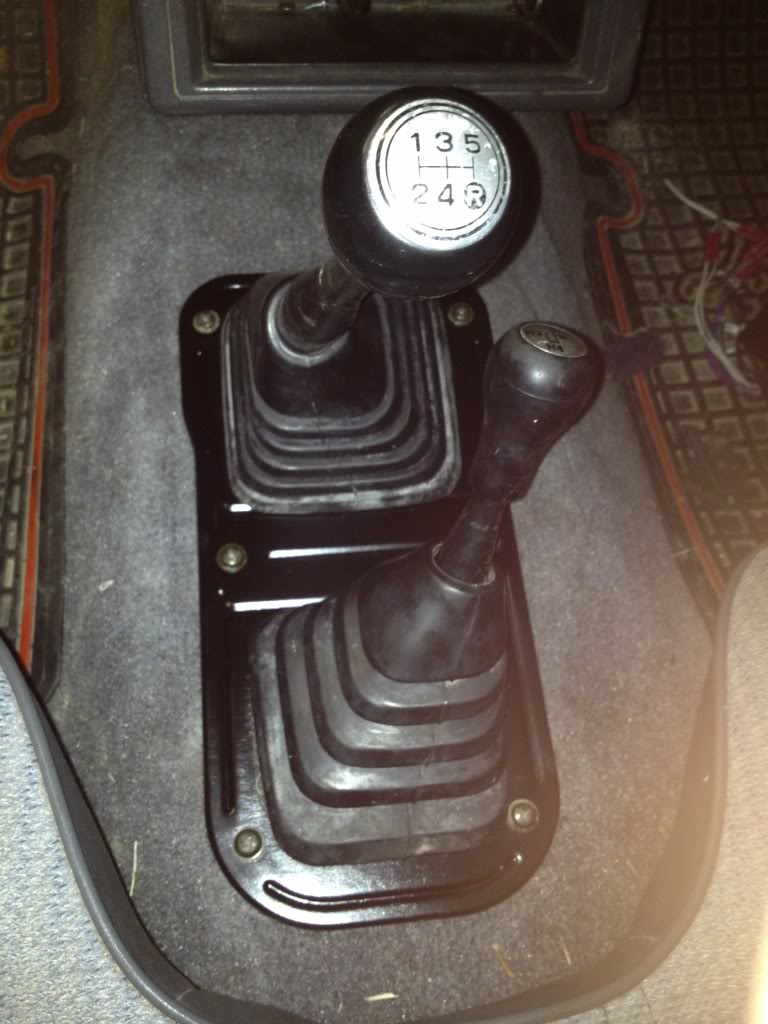
The shifter setup looked hideous before with rough cut leather glued to the boots and excessive trucker style shift knob with chains.
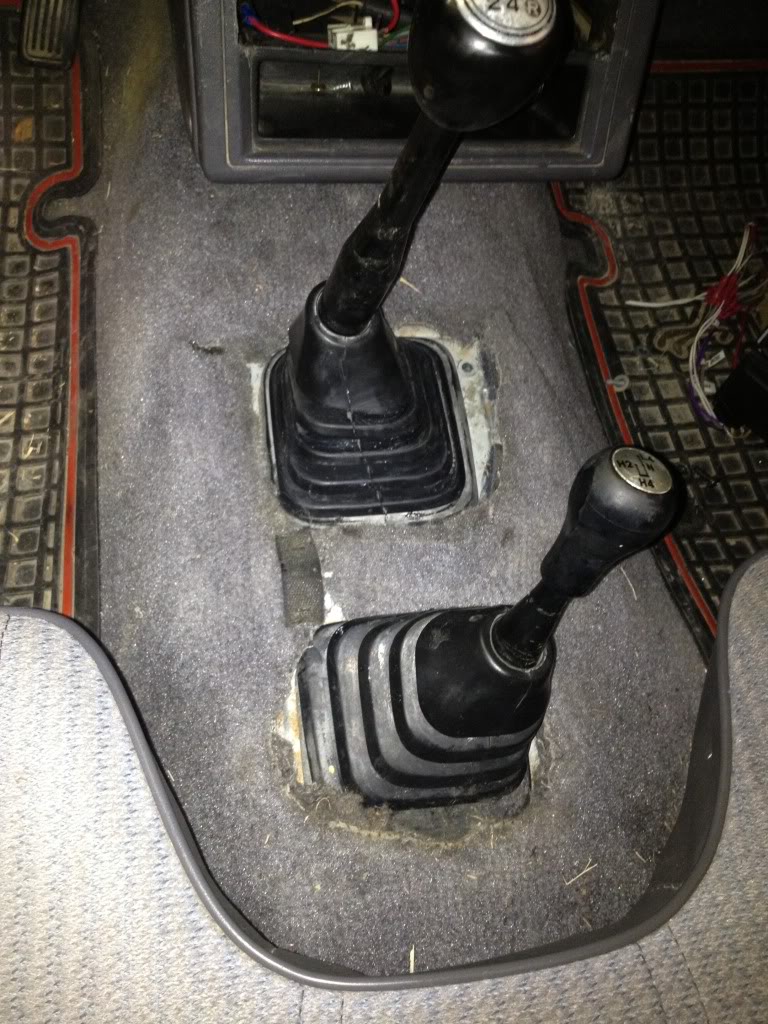
After installing new shifter boots, stock shift knobs, painting the shifter plate and mounting it over the carpet to clean up the cut carpet look
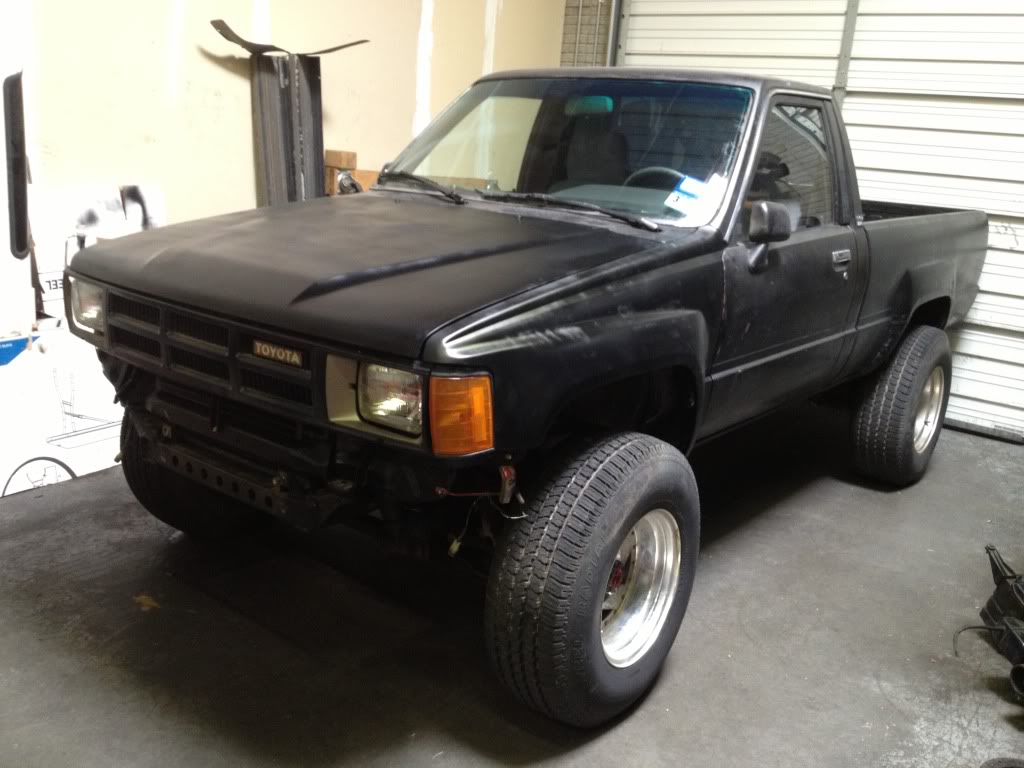
After having the core support/inner fenders sandblasted then priming. Halfway done painting
Replaced the passenger wiper arm that was snapped off

All painted and prefitting before permanently mounting
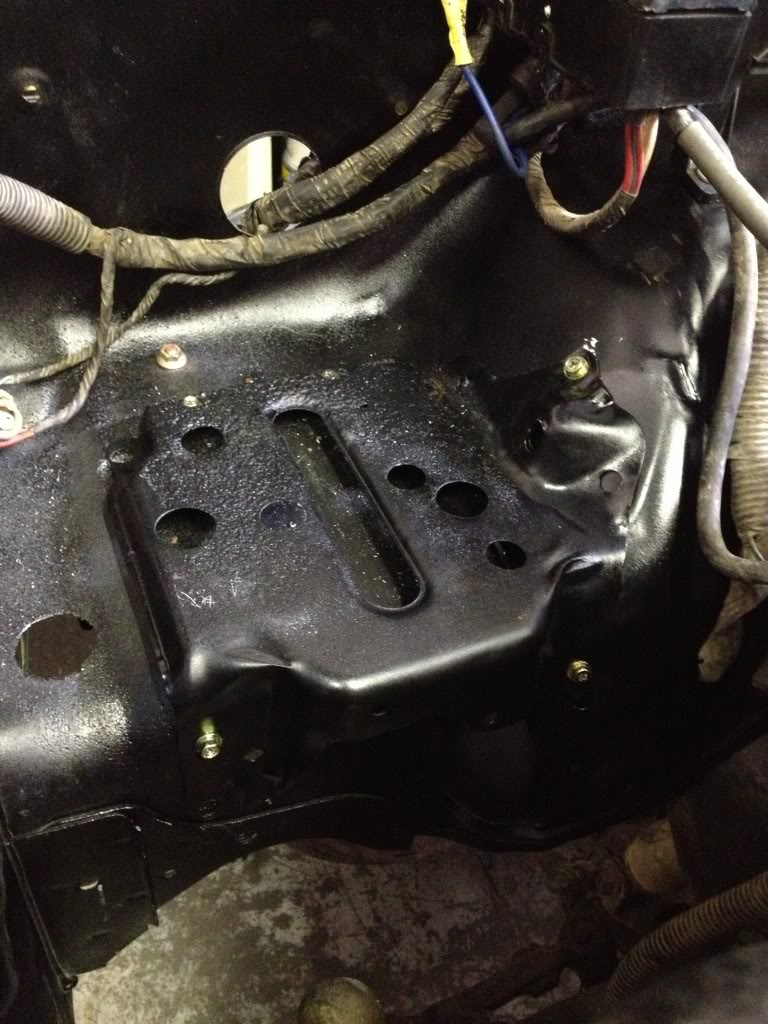
Also replaced the entire fuse box/harness since all 3 mounts were broken and both headlight plugs were crunched along with about everything else on the harness
Installed oil pressure sending unit for the SR5 cluster that's about to be installed.
Ditched the home job cold air and wooden mount for a factory air box

Decided to make the battery tray removable
Because it had a mumbo jumbo ac setup I had to have the high pressure line mated with a new fitting to work on the evaporator. Then ran an elbowed low pressure line to clear the canister and make the recharging easier.
The ac vacuum switch was missing in favor of an oddball vacuum switch screwed to the inner fender to turn on the compressor. That mess is gone and now it has a vacuum switch again.
I've taken loads of measurements from an arrow straight original 4Runner so I can make sure the truck comes out as straight as new
After the truck is complete I'm gonna get ahold of the fiberglass and my paint guy is up for replicating it and air brushing the decals, with a few revisions to the sponsors
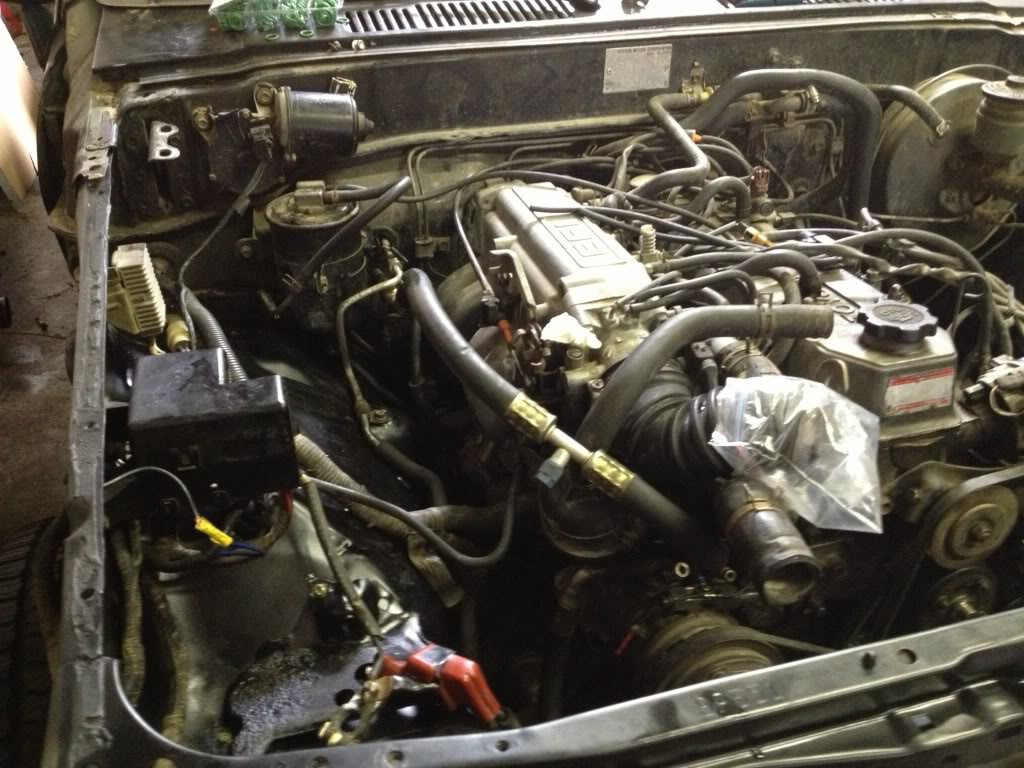
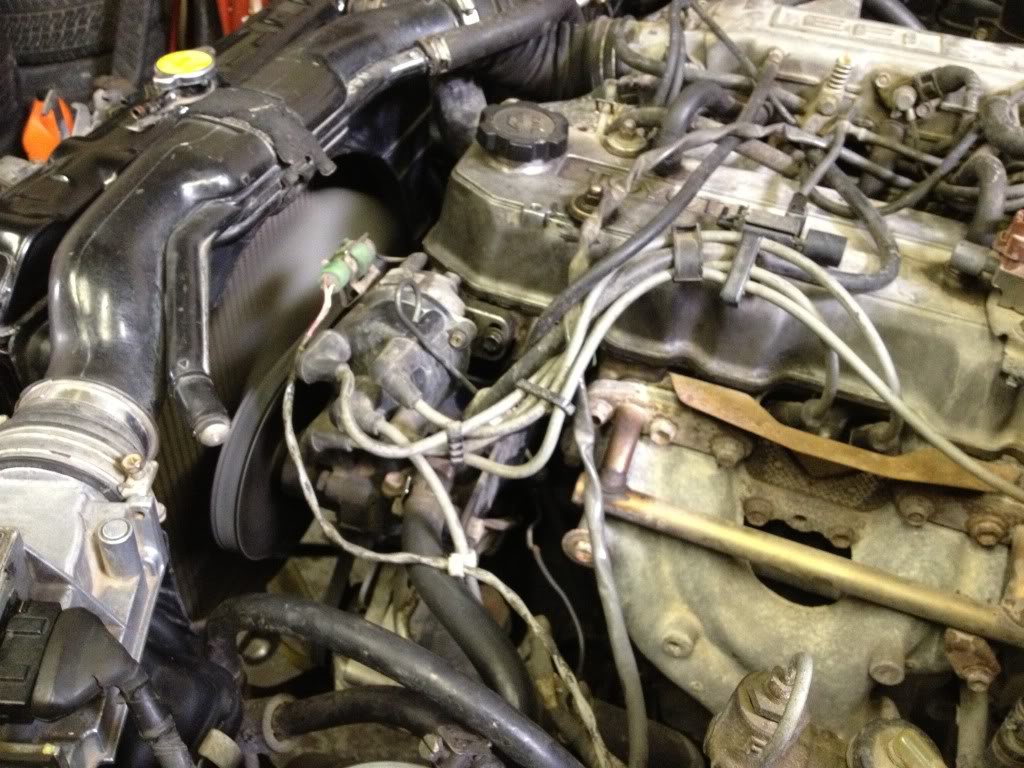
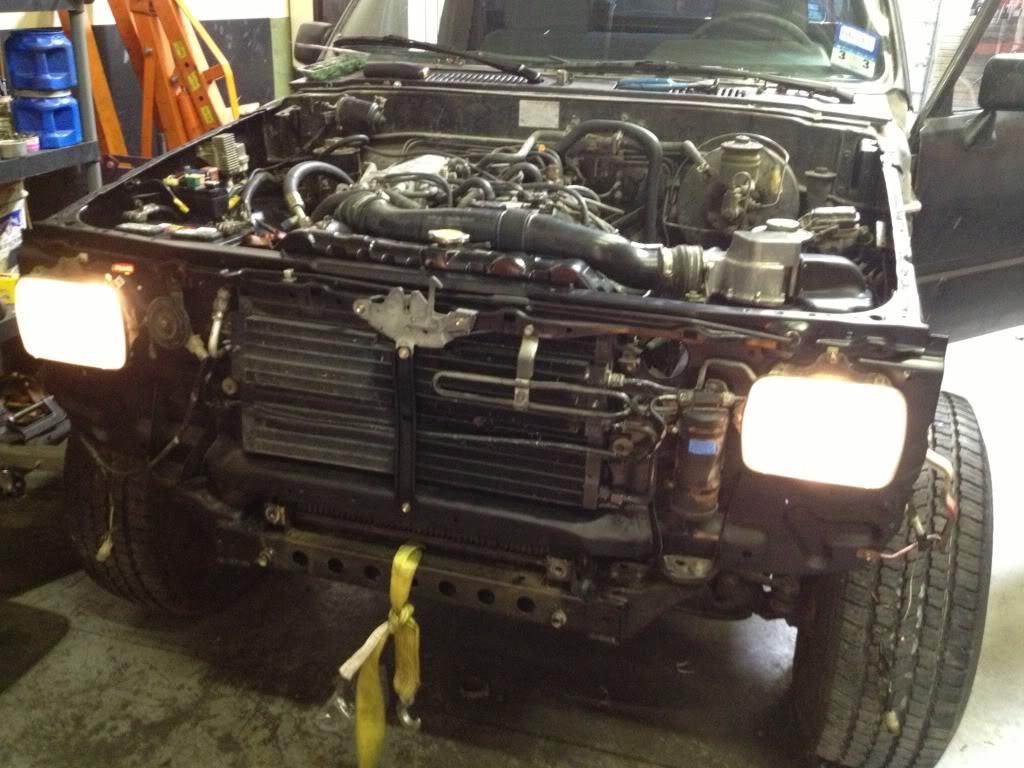
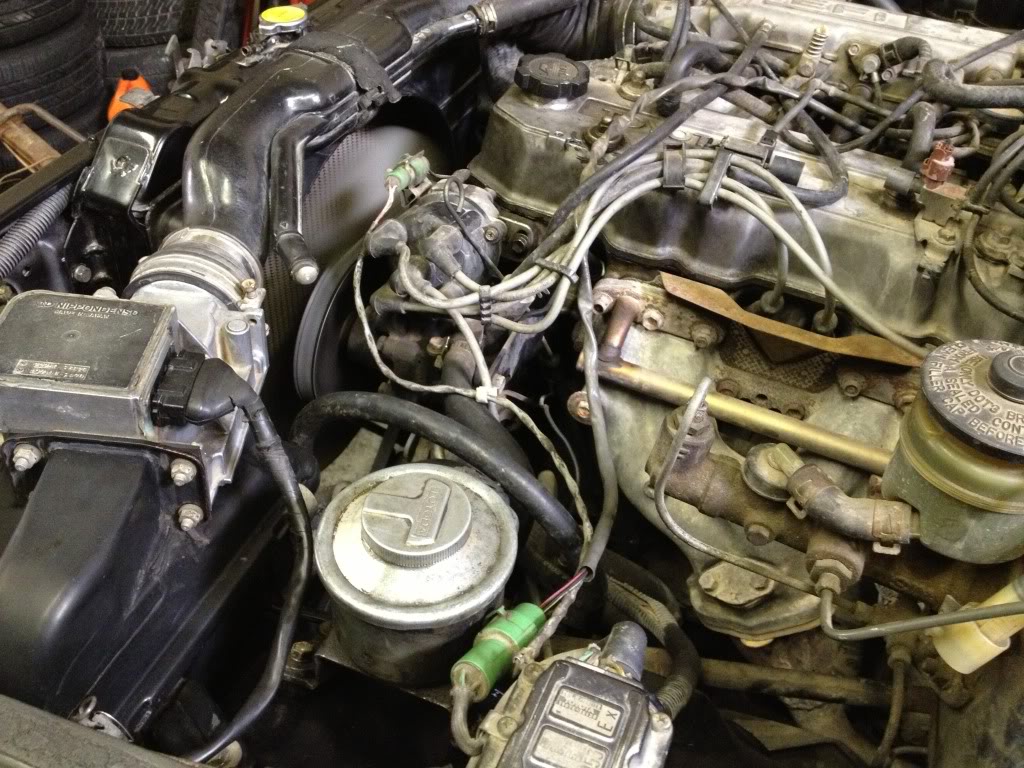
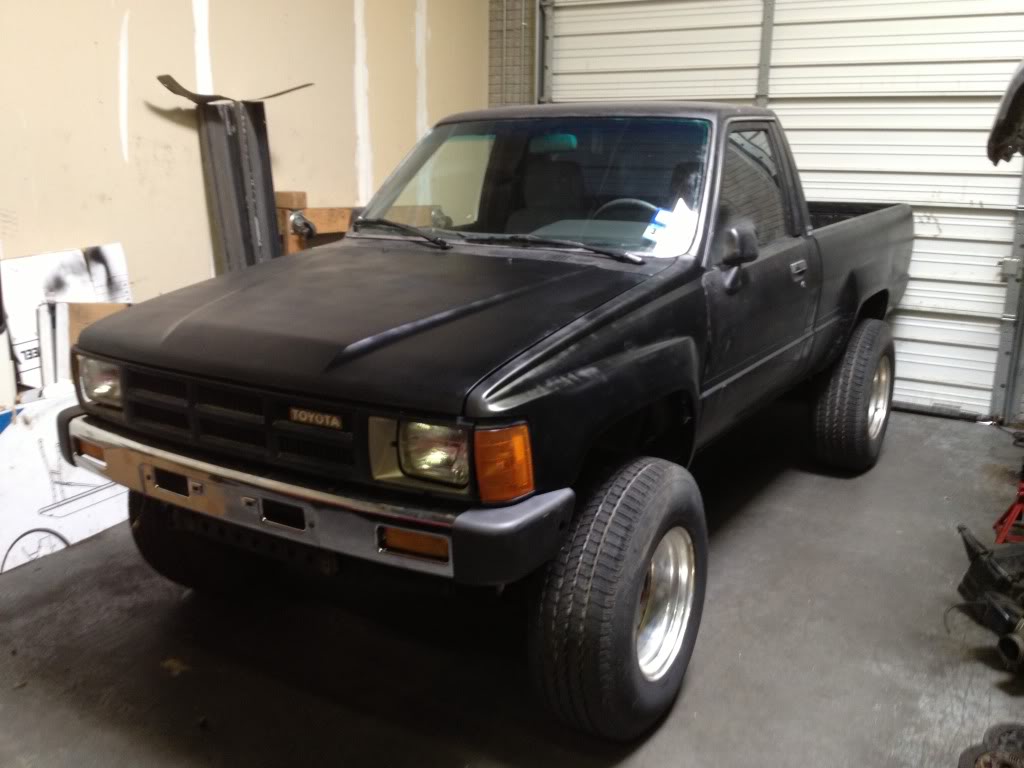
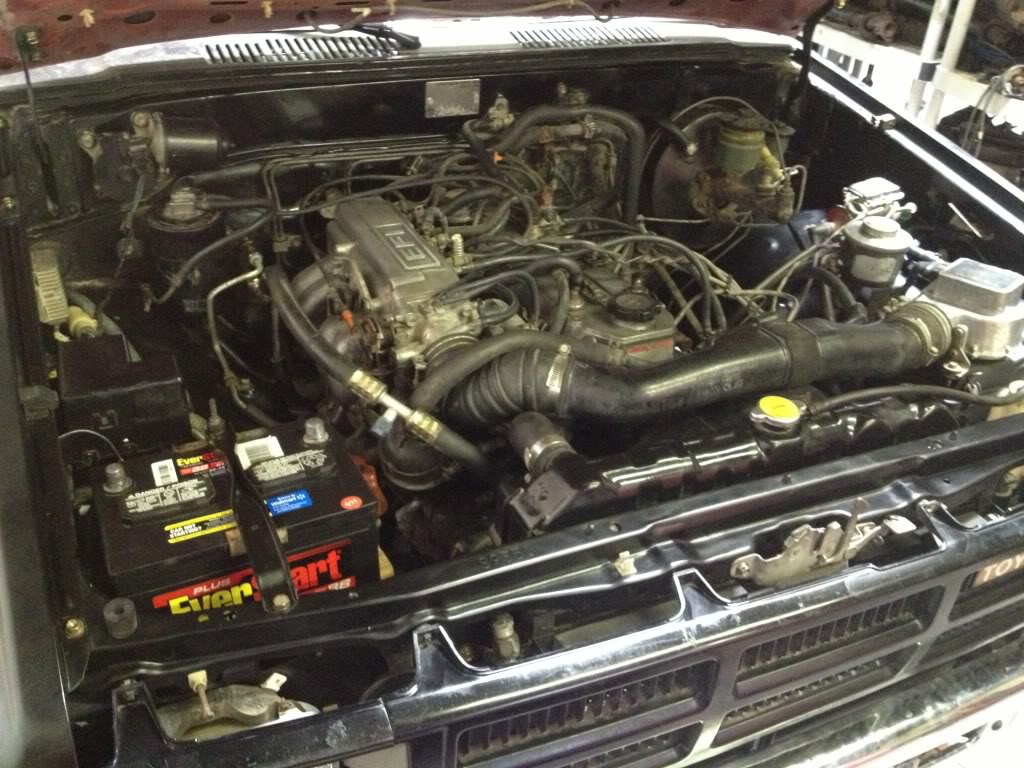
It lives! Put on the head lights, radiator, fan, shroud, intake/mass air and finished sealing the a/c lines then fired it up.

Here is a list of damaged parts:
Bumper
Hood
Fenders
Core support
Inner fenders
A/C lines
Condenser
Radiator
Fan shroud
Fan
Water pump
Steering lines
Ps pump pulley
Fuse box
Crossmember
When the truck rear ended another truck it mashed the front so hard it pushed the radiator into the fan and pressed the water pump in to where it couldn't spin. The ps pump pulley was crinkled and fuse box was broke off all 3 mounts.
To make part replacement easier ive decided to convert most the accessories to 4runner style including the a/c condenser, compressor, lines, core support, ps lines, etc
After tugging out the front end with a tow strap
Fitting up the 4runner donor core support/inner fenders
New cross member cut and in place.
Converted to 4runner a/c compressor and Ps lines
Ps pulley and water pump replaced
Just back from frame shop. Lining up hood and fenders before removal, prep and paint
Starting on the interior:
Already updated:
Gauge cluster surround
A/c faceplate
Converted to dash clock
Glove box
Right speaker cover
Right kick panel
Door handle trim
Right dash vent
Mirror replace with original
Next updates:
Recover lower 1/4 of door panels with vinyl
Replace dash pad
New floor mats
Convert to buckets
Install SR5 cluster and run tach wire
Install the radio
The shifter setup looked hideous before with rough cut leather glued to the boots and excessive trucker style shift knob with chains.
After installing new shifter boots, stock shift knobs, painting the shifter plate and mounting it over the carpet to clean up the cut carpet look
After having the core support/inner fenders sandblasted then priming. Halfway done painting
Replaced the passenger wiper arm that was snapped off
All painted and prefitting before permanently mounting
Also replaced the entire fuse box/harness since all 3 mounts were broken and both headlight plugs were crunched along with about everything else on the harness
Installed oil pressure sending unit for the SR5 cluster that's about to be installed.
Ditched the home job cold air and wooden mount for a factory air box
Decided to make the battery tray removable
Because it had a mumbo jumbo ac setup I had to have the high pressure line mated with a new fitting to work on the evaporator. Then ran an elbowed low pressure line to clear the canister and make the recharging easier.
The ac vacuum switch was missing in favor of an oddball vacuum switch screwed to the inner fender to turn on the compressor. That mess is gone and now it has a vacuum switch again.
I've taken loads of measurements from an arrow straight original 4Runner so I can make sure the truck comes out as straight as new
After the truck is complete I'm gonna get ahold of the fiberglass and my paint guy is up for replicating it and air brushing the decals, with a few revisions to the sponsors
It lives! Put on the head lights, radiator, fan, shroud, intake/mass air and finished sealing the a/c lines then fired it up.
Last edited by 86 SR5 4x4; 06-29-2013 at 10:48 AM.
 06-28-2013, 05:29 PM
#2
Sweet project man. I'm deffintaly subscribed to this one. Your pickup reminds me of my 93 in so many ways. Hopefully I can learn from what you have done so far. I purchased my 93 wrecked and been fixing it ever since. I've got mine on the road but still need to do some more body work. I have several questions for you if your interested in chatting with me. My cell number is 304-561-4657 feel free to shoot me a text and check out my build thread for my 93
 can't wait to see more!!
 06-29-2013, 02:10 PM
#7
That's awesome man. It's really cool seeing someone revive a truck rather then part it out or worse crush it. From the looks of it you seem to be a really intelligent guy.
As for the Baka kit I believe I'd leave it stock. If anything maybe some high clearance fenders with high clearance bedsides. There's a guy on here Slacker I believe AKA Corey who specializes in Toyota fiberglass. You may already know him as your not a newbie here to this site
As for the Baka kit
I believe I'd leave it stock. If anything maybe some high clearance fenders with high clearance bedsides. There's a guy on here Slacker I believe AKA Corey who specializes in Toyota fiberglass. You may already know him as your not a newbie here to this site
Trending Topics
 07-17-2013, 09:08 AM
#9
Working on my truck at the frame shop
Driving it back to the shop today
Looks a lot better now and drives right

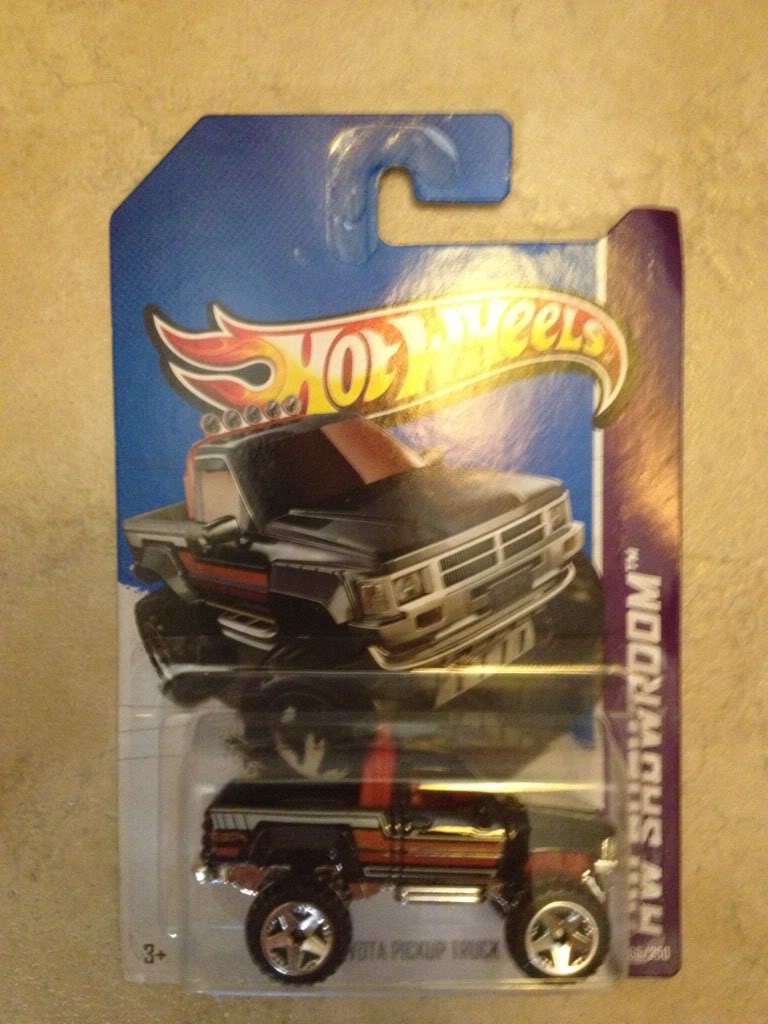
I will show you how to repair your badly cracked dash using a matching hot wheels truck.....
Driving it back to the shop today
Looks a lot better now and drives right
I will show you how to repair your badly cracked dash using a matching hot wheels truck.....
Last edited by 86 SR5 4x4; 07-17-2013 at 09:09 AM.
07-19-2013, 02:19 PM
#11
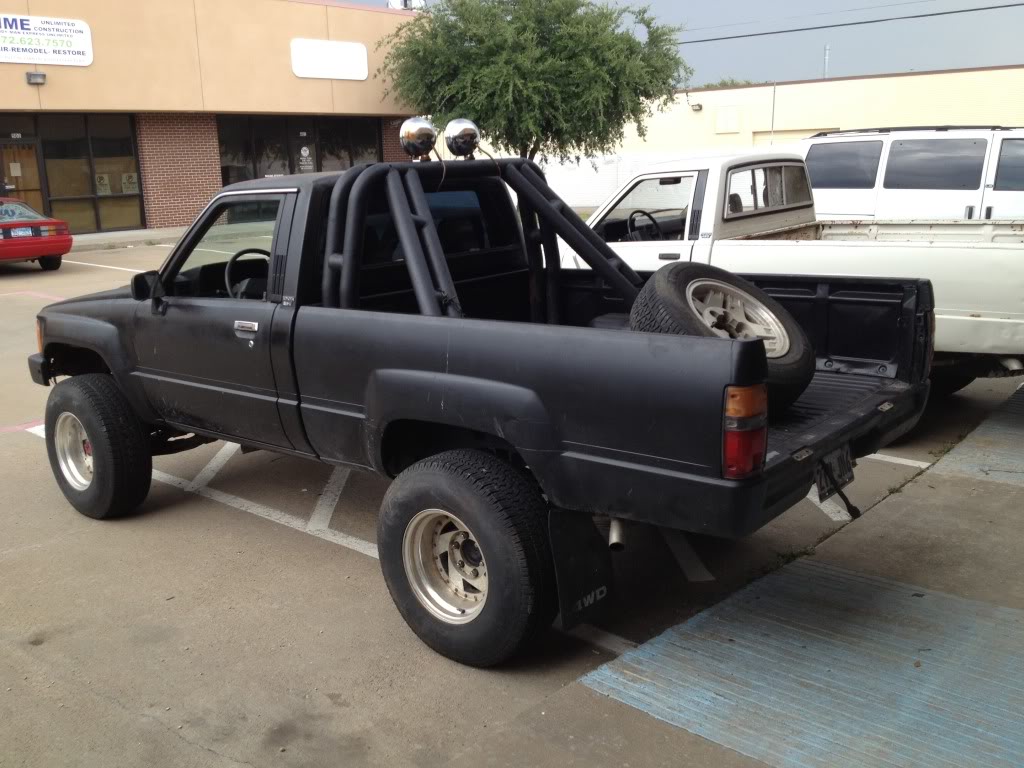
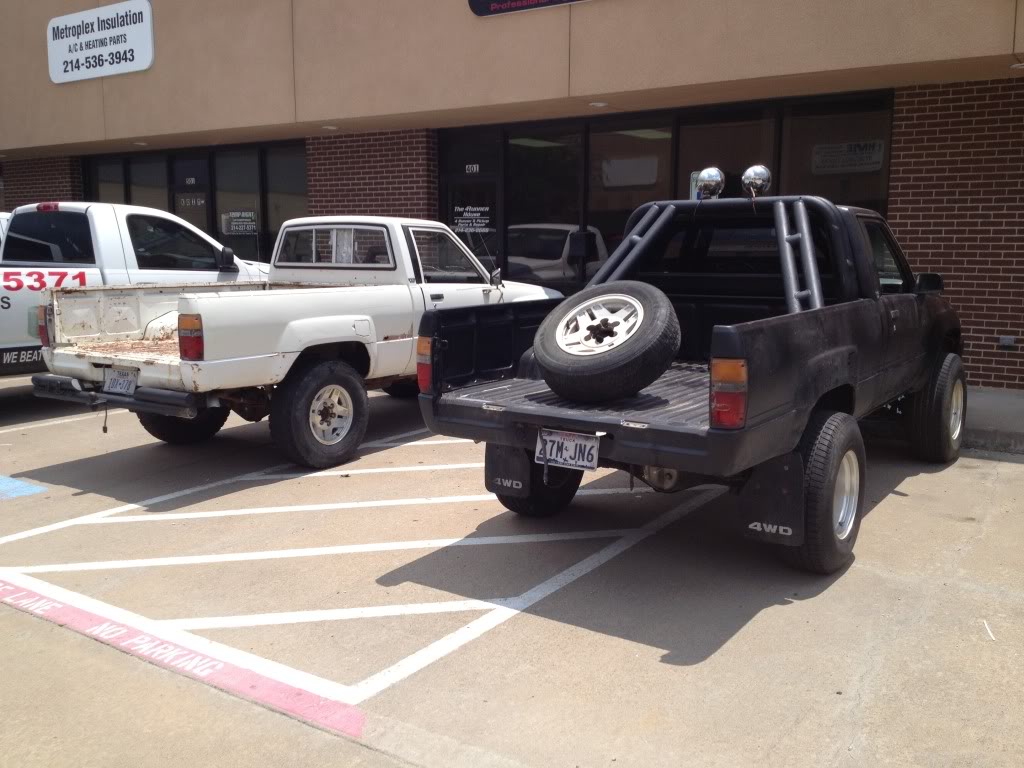
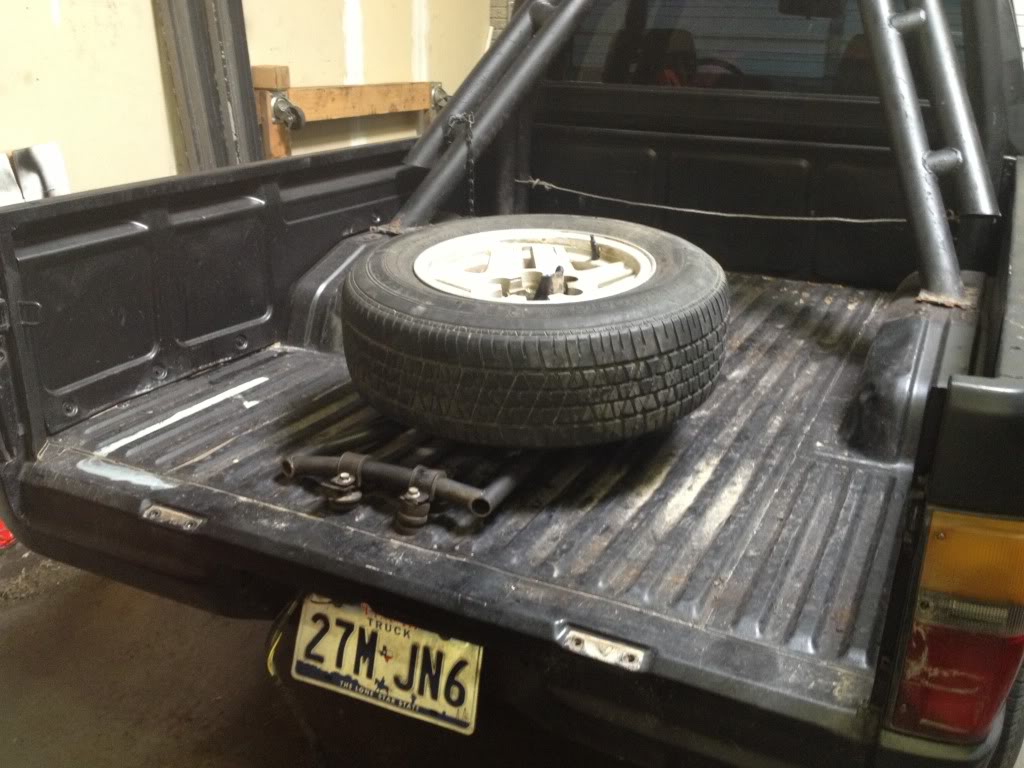
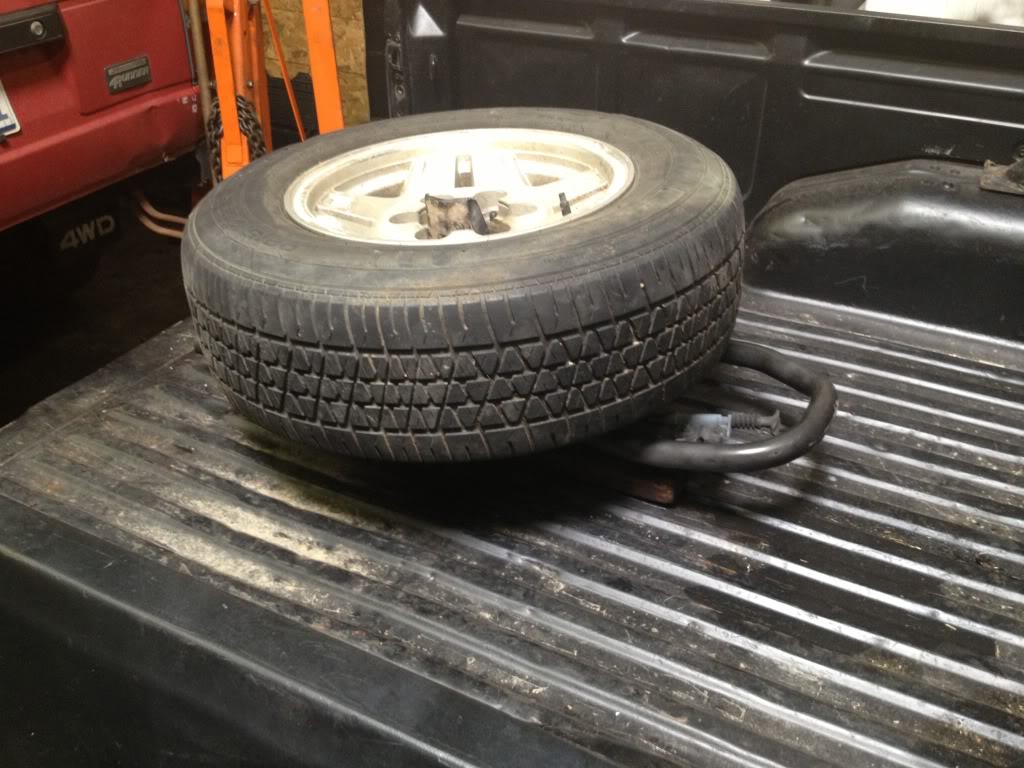
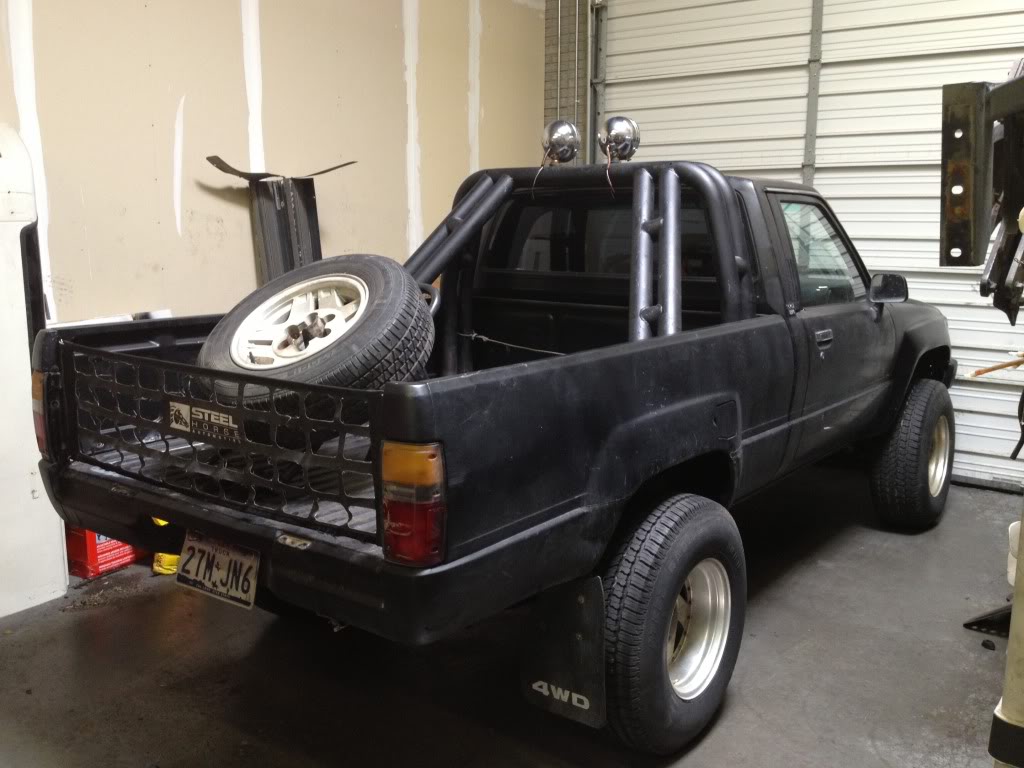
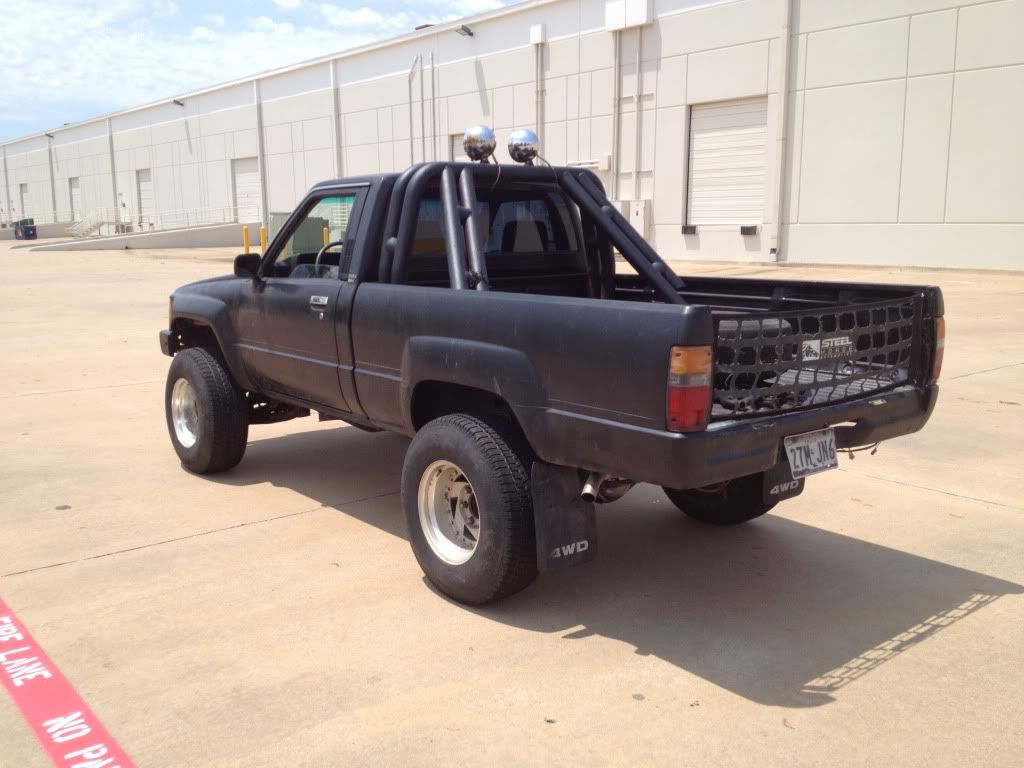
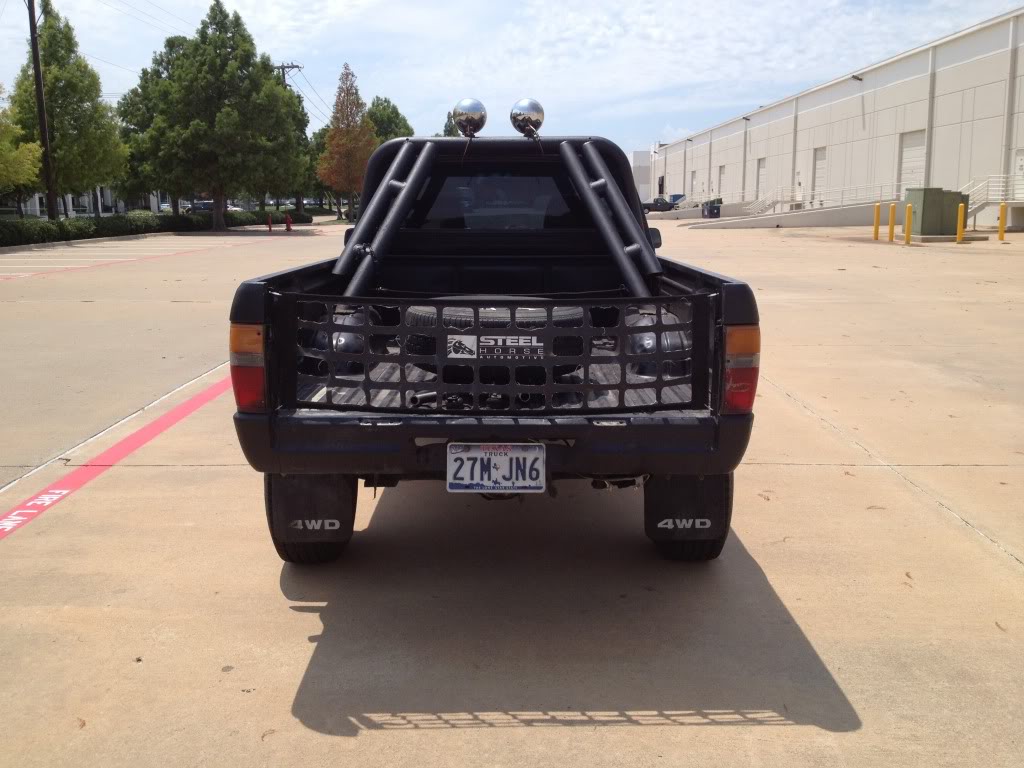
Added a roll bar and spare tire in the bed. I'm gonna cut up a 2nd gen 4runner tire carrier and use it as a removable bed mount spare tire carrier.
Just picked up the 84 next to it, gonna start on that one when the 88 is road legal.
Found where the 2 squeaks and rattles were coming from. Fixed the jack tool squeak and just need to add the window pads when I recover the door panels.
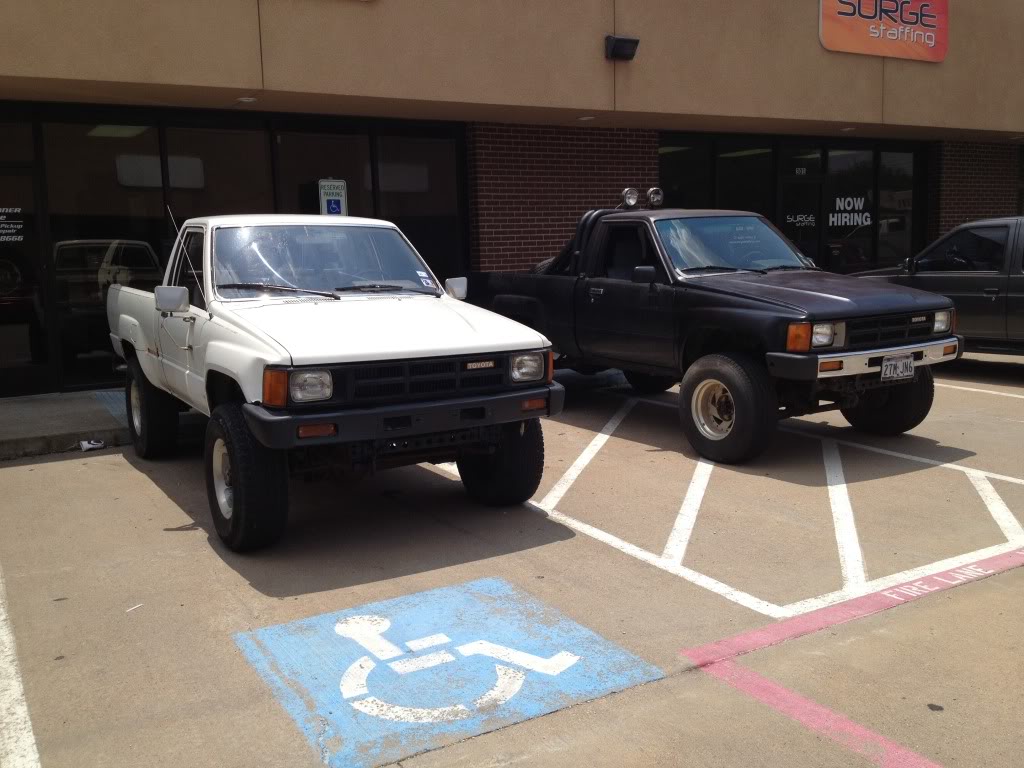
Just picked up the 84 next to it, gonna start on that one when the 88 is road legal.
Found where the 2 squeaks and rattles were coming from. Fixed the jack tool squeak and just need to add the window pads when I recover the door panels.
Last edited by 86 SR5 4x4; 07-19-2013 at 02:46 PM.
07-23-2013, 03:44 PM
#12
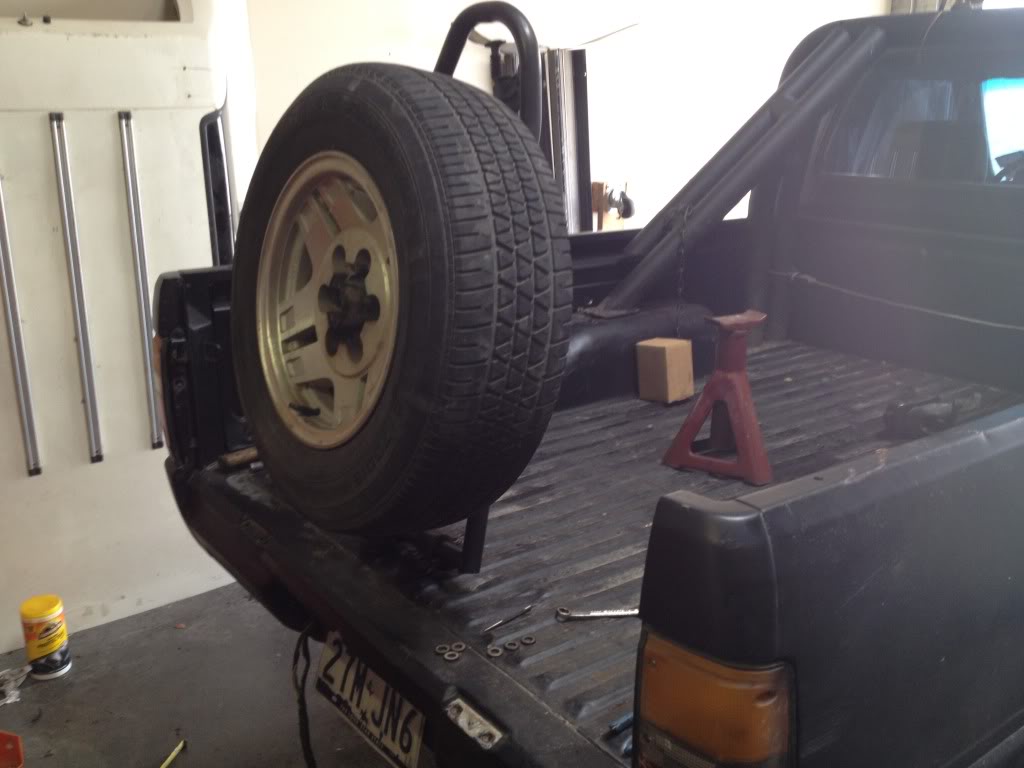
Made a swing up spare tire carrier using a 90-91 4runner swing out carrier. I used all toyota factory hardware to mount it including front sway bar bushings/mounts, core support bolts/bushings. Just need to mount the front latch bracket but first need to decide how much angle I want.
I've set up the carrier so it will swing up and sit in place so the spare will stand straight up on its own and will be really easy to take on and off. The way I mounted it was specific so that you have a straight shot at the bolts from underneath so its easy to remove if needed. Also it will fit at least a 35" tire with the tailgate on.

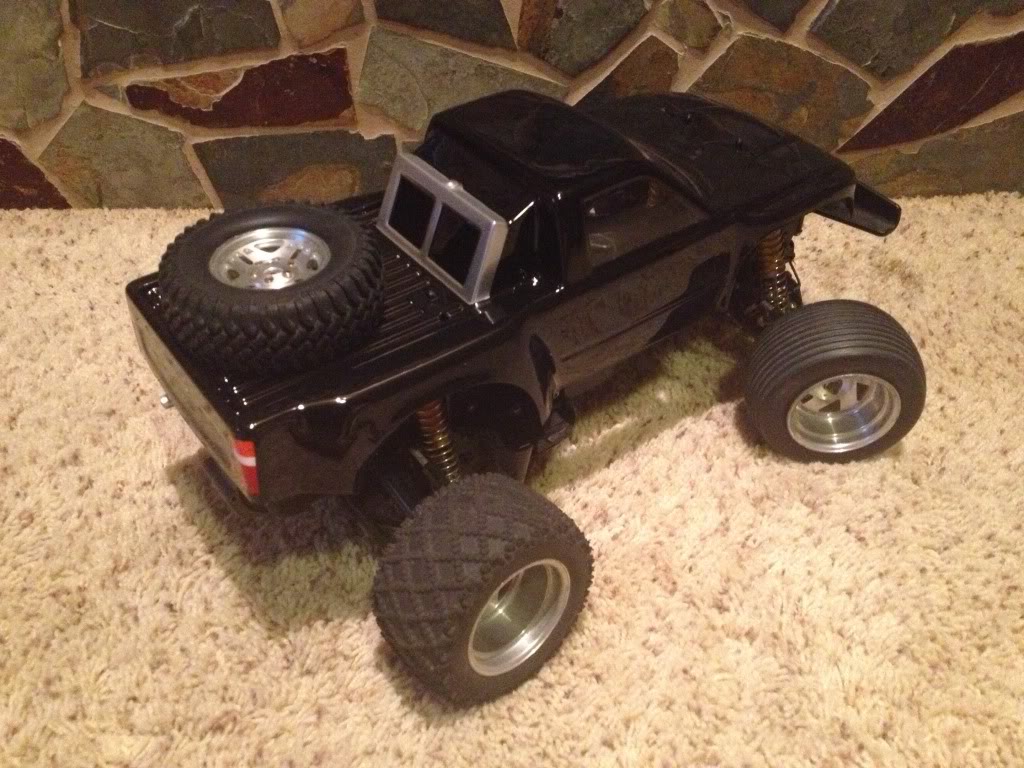
Goin for this look
I've set up the carrier so it will swing up and sit in place so the spare will stand straight up on its own and will be really easy to take on and off. The way I mounted it was specific so that you have a straight shot at the bolts from underneath so its easy to remove if needed. Also it will fit at least a 35" tire with the tailgate on.
Goin for this look
Last edited by 86 SR5 4x4; 07-23-2013 at 05:59 PM.
07-24-2013, 04:50 PM
#13
Super Moderator
Staff
iTrader: (1)
Join Date: Aug 2008
Location: Anderson Missouri
Posts: 11,788
Likes: 0
Received 21 Likes
on
19 Posts
Always like seeing big repair build. You have done a great job. Looking forward to seeing your dash repair and liked the little Hot Wheel. I got a chuckle out of your first test drive. I have gotten looks like that when taking one to the windshield shop and no windshield or missing a bed on a truck.
07-24-2013, 07:04 PM
#15
The gate will stand up on its own so its easy to remove/install the spare. I still wanna install a cable so it can't swing too far forward.
Trying to decide on the angle I want for the spare before I drill the bracket holes
Trying to decide on the angle I want for the spare before I drill the bracket holes
Last edited by 86 SR5 4x4; 07-24-2013 at 07:06 PM.
 03-24-2014, 11:59 AM
#17
Its been a long while since i've posted anything on the truck so heres a start on what i've done since
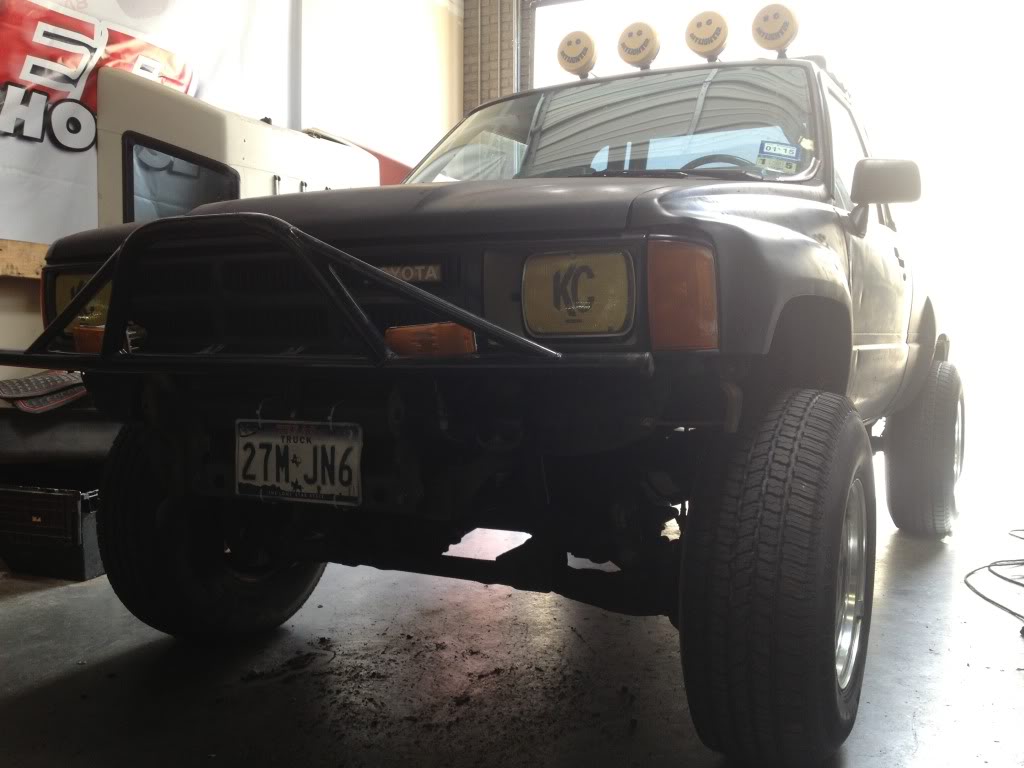
I acquired this pre-runner style light bar and instead of bolting it to the bumper I wanted to get rid of the chrome and the bumper altogether so I bolted it to the factory brackets using 2 22-RE exhhaust manifold block off plates and 14mm hardware and it holds very tight.
I added the rear pre-runner style bumper and a Carr light bar with 4 KC Daylighters
Next will be to make a skid plate, relocate and properly mount the turn signals, and add 2 KC Daylighters.
My sign guy made me the headlight covers to look like the ones used on the ivan stewart trucks. They are perforated so at night you would never know they are on but at day they look great
Last edited by 86 SR5 4x4; 03-24-2014 at 12:02 PM.
03-24-2014, 06:36 PM
#18
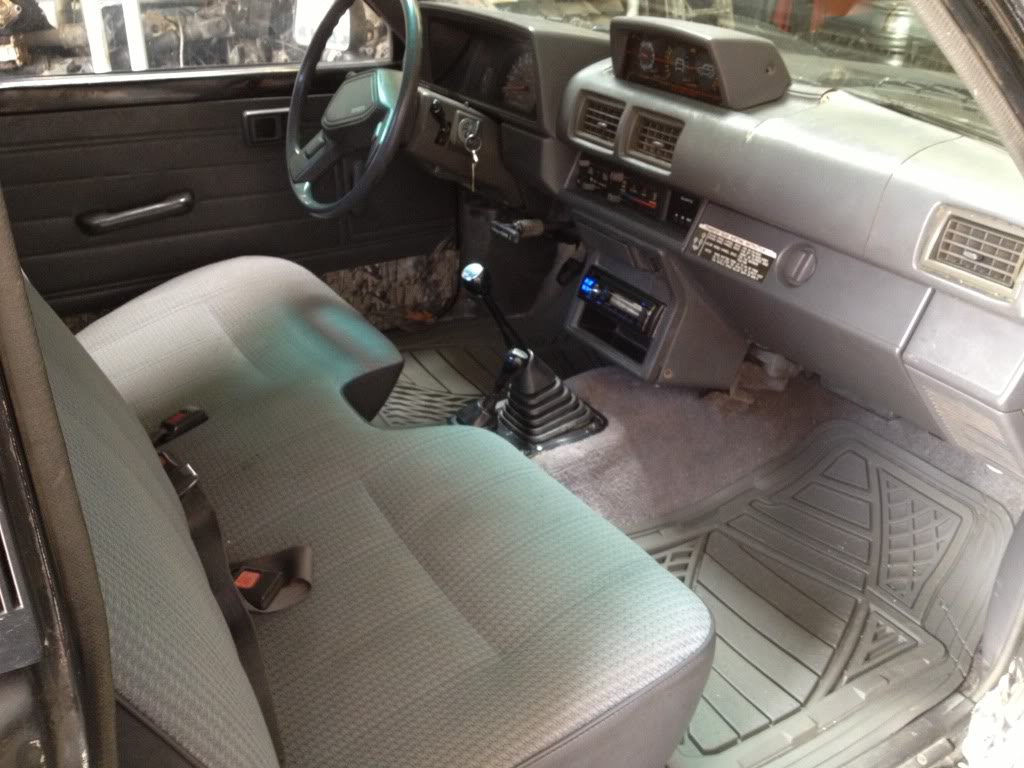
Put a nice alpine radio in the truck and some new floor mats. Also installed a newer foam in the bench seat since the old one was shot, the seat feels like new again.
Next is to address the dash and recover the lower 1/4 of the door panels.
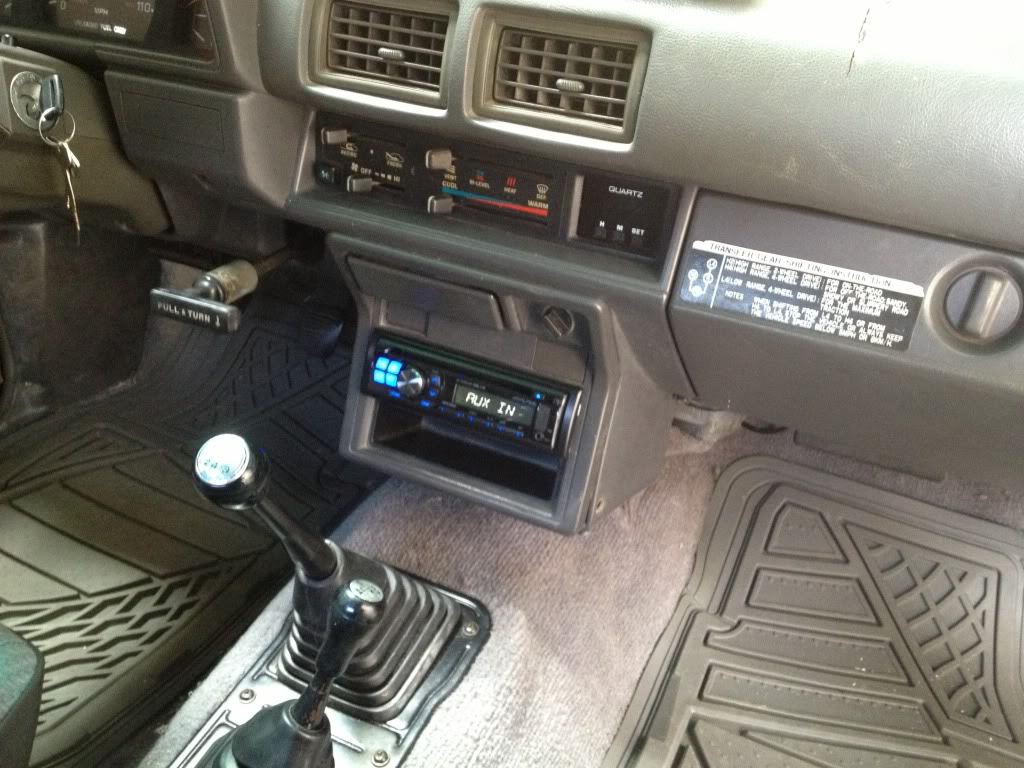
Next is to address the dash and recover the lower 1/4 of the door panels.
Last edited by 86 SR5 4x4; 03-24-2014 at 06:39 PM.
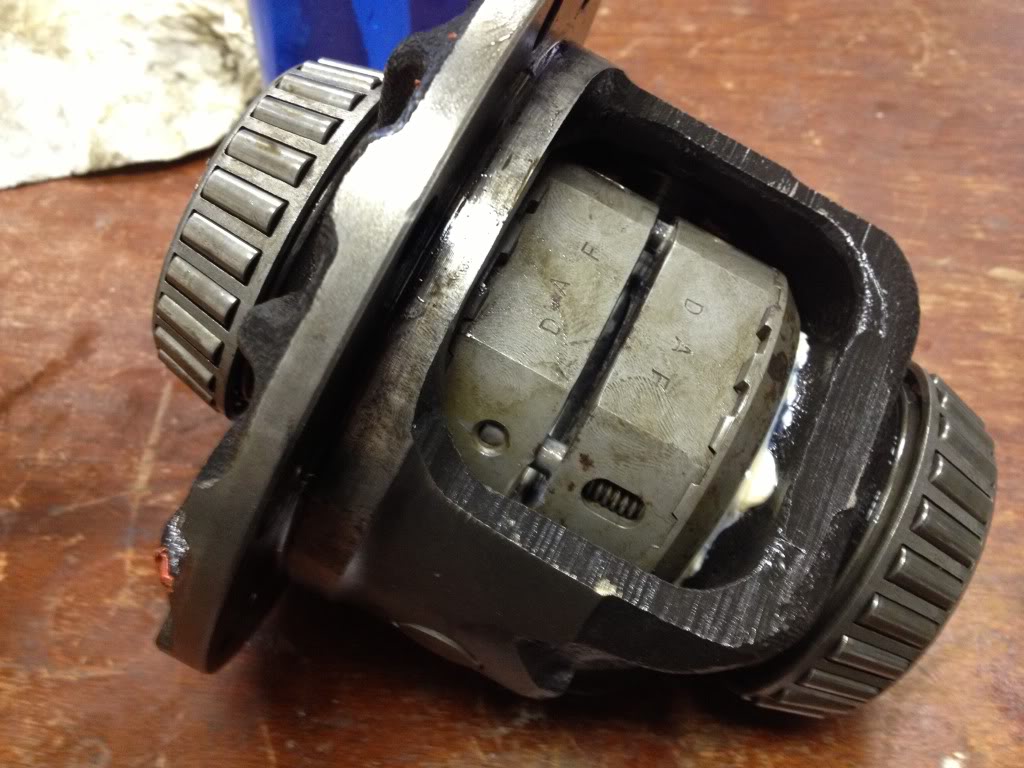
03-24-2014, 06:52 PM
#19
Acquired a front lock rite locker that was new in box from the 90's and installed it today. Of course I had to go test it out on some ditch crossings. The truck was teeter tottering but never slipped once. Next is to install the new spartan I have laying around for the rear