

 Mar 11, 2016, 02:57 PM
Last edit by: IB Advertising
See related guides and technical advice from our community experts:
Browse all: Exterior Guides
- Toyota 4Runner 1984-1995 How to Build Flatbed
Step by step instructions for do-it-yourself repairs
Browse all: Exterior Guides

Toyospearo's FLATBED build...
Sep 16, 2009 | 08:01 PM
#1
Thread Starter
Registered User

Joined: May 2008
Posts: 3,277
Likes: 23
From: way way nor cal
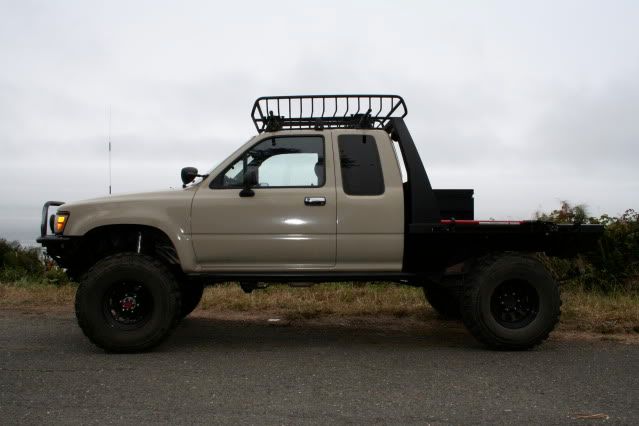
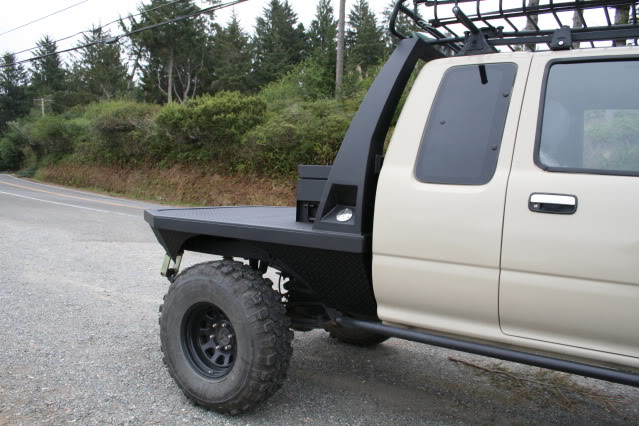
My original idea was to have a shop build a flatbed that I designed. I had a rough idea of what I was after. I wanted the flat bed to accentuate the look of the 94 ext. cab body. Rather than the bed just sitting there like a flatbed, I wanted it to look as if it were designed with the aesthetics in mind. In other words I wanted the flatbed to compliment the 94 body curve to curve. After pouring over the internet for ideas, beating the brush for shadetree fabricators and scouting around fabrication shops I had two conclusions, one, I couldn't afford the labor and two, I couldn't seem to settle on a production/custom flatbed. My only alternative was take a welding class/workshop and learn how to do it myself.  Luckily I found a great workshop here locally with a brilliant instructor. The workshop was through Unauthorized Art here in Arcata Ca. http://www.unauthorizedart.com/ and the instructor is John Robertson. A few things about John before I move on to the build. In addition to being a brilliant metal worker John is an artist. Here is his website http://www.jonrobertsondesign.com/.
A GREAT deal of the fabrication design John came up with. Every aspect of this flatbed build John was right there making sure things were coming together correctly.
This flatbed build took one month to complete. Roughly $1000.00 in materials from start to paint as well as an estimated 20 days at 8hrs a day = 160hrs
My rig is a trail rig more than a rock crawler. I designed it with this in mind. I am aware of the flex, clearance and cargo issues.
On to the build....
This is where it started....
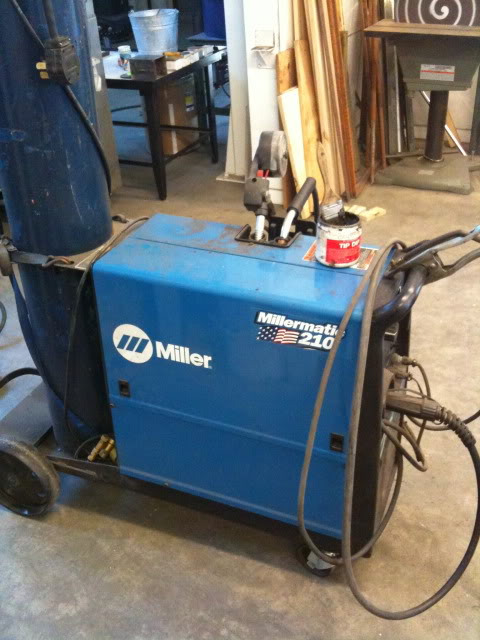
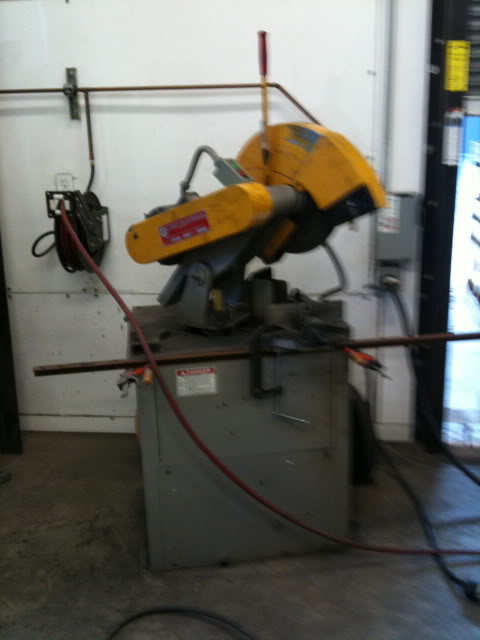
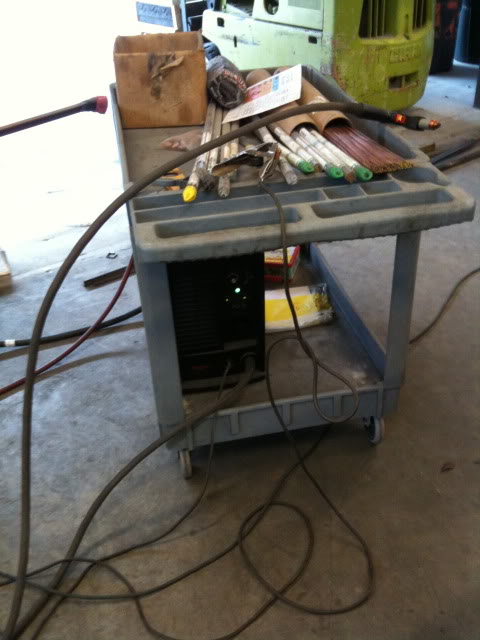
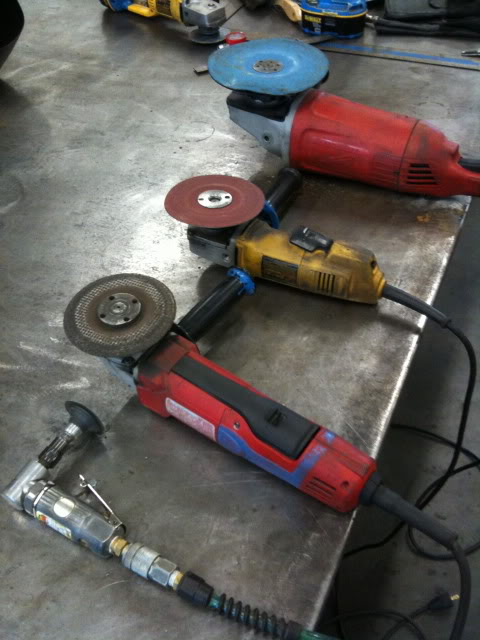
The arsenal...
OH MY MY..
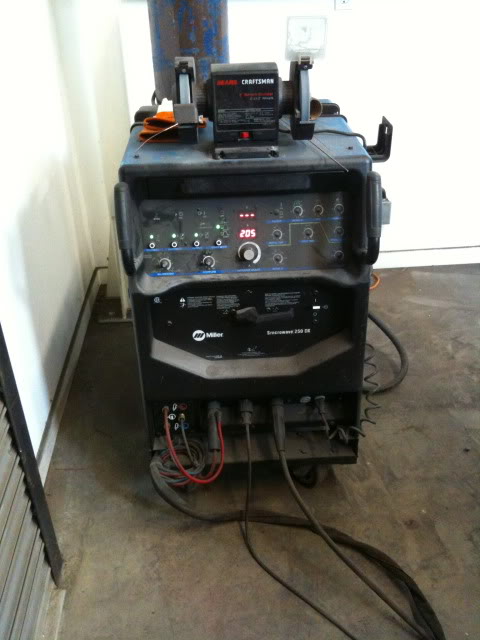
3 Phase PLASMA!!!!
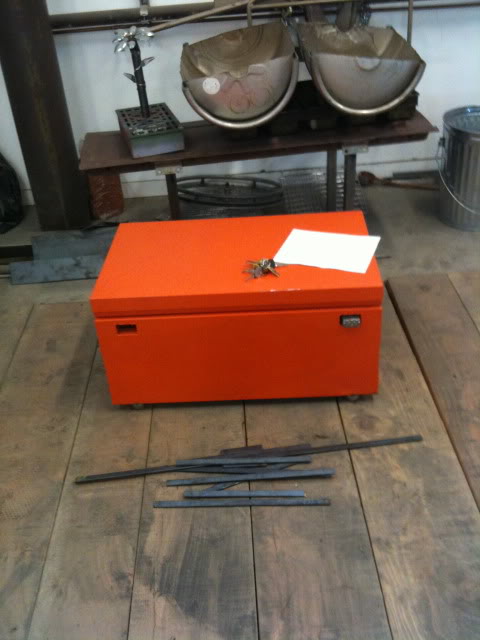
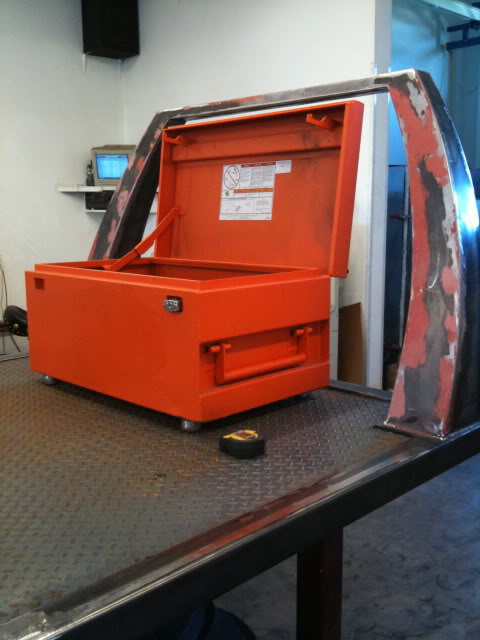
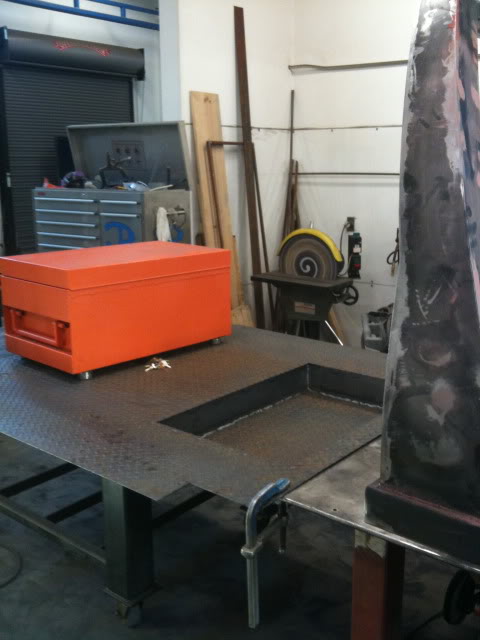
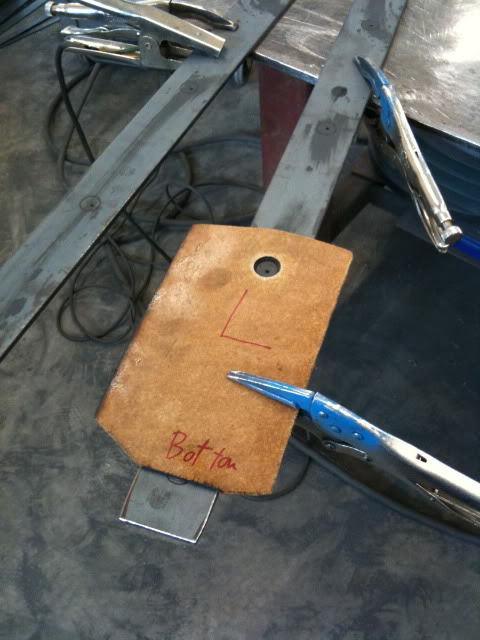
this was my first project for the flatbed. My Home Depot lock box needed new legs.
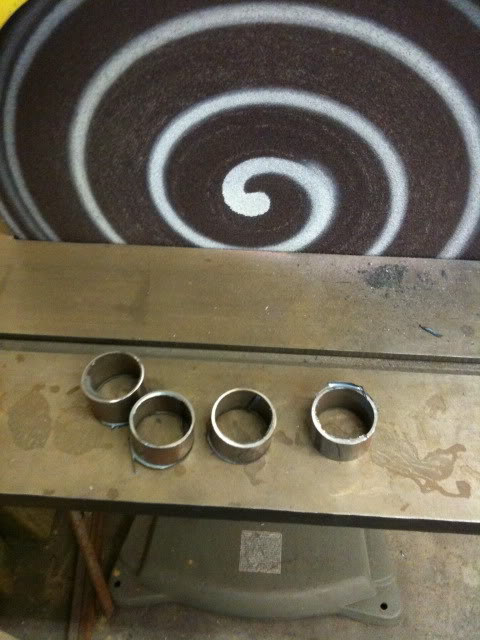
A trip to the toy store...
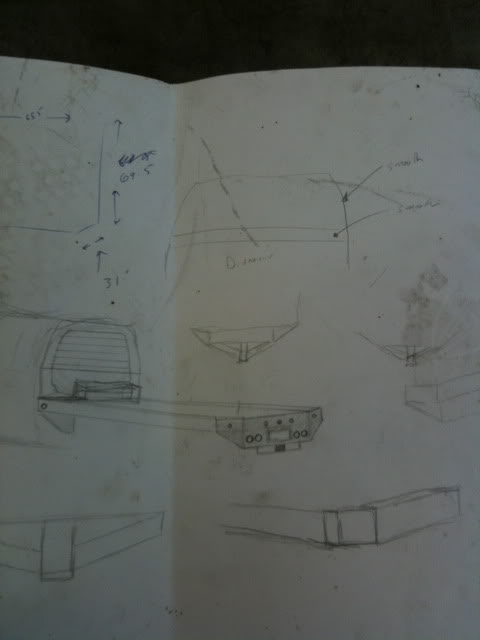
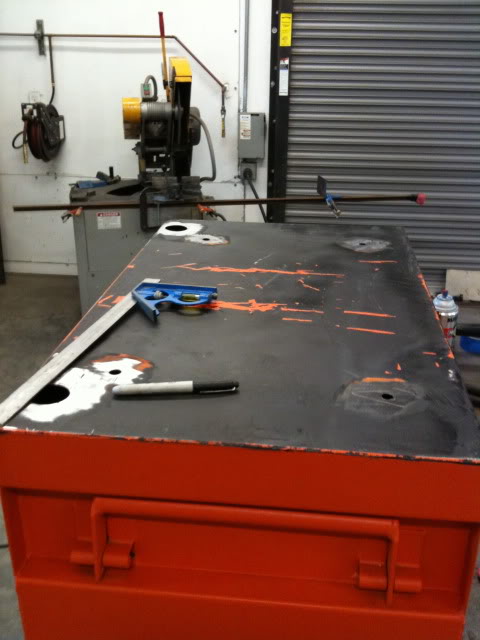
laying out the structure...
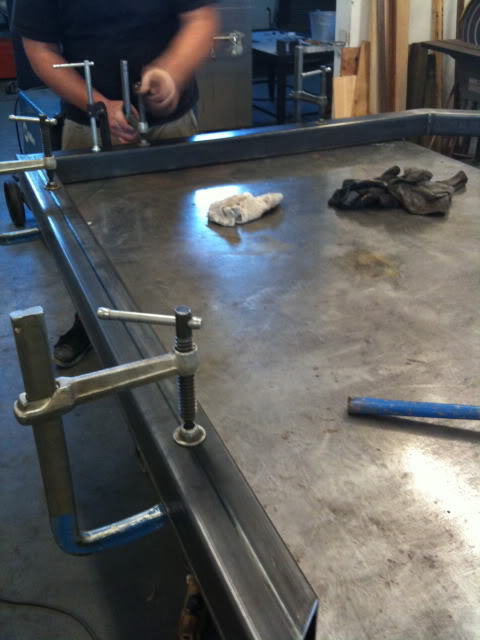
mocked up..
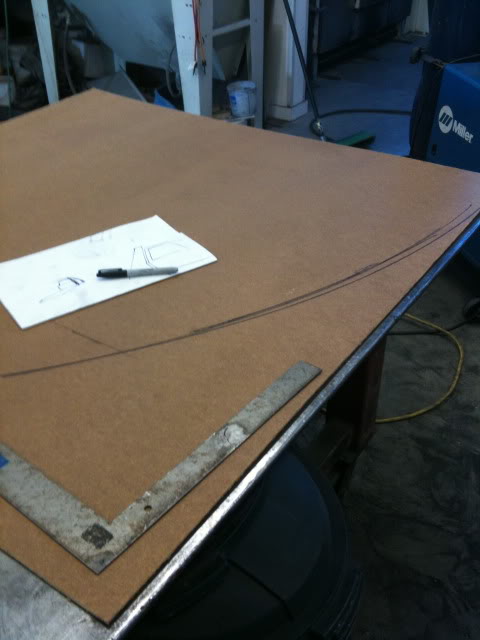
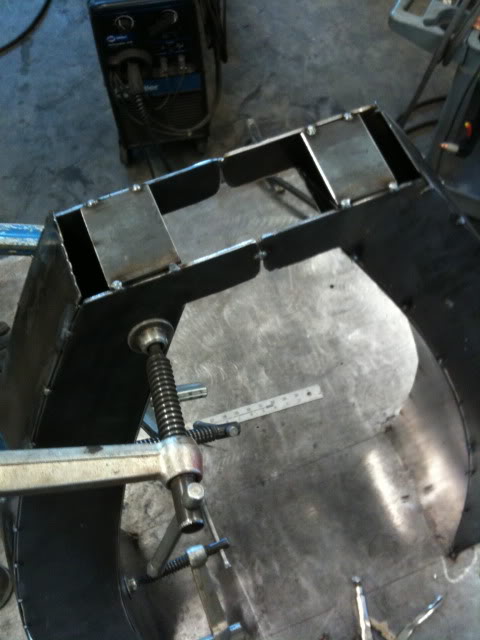
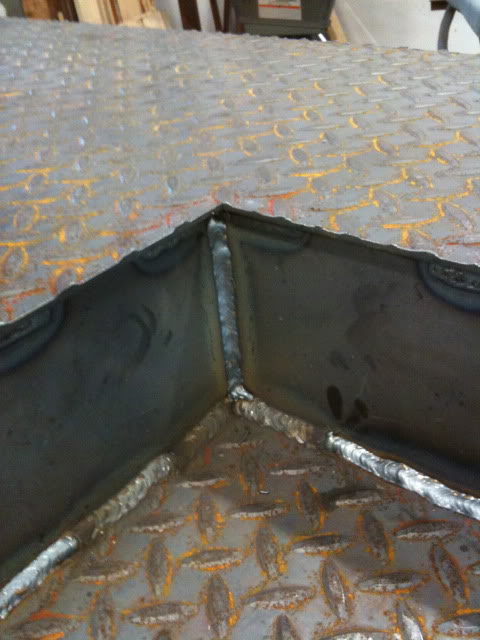
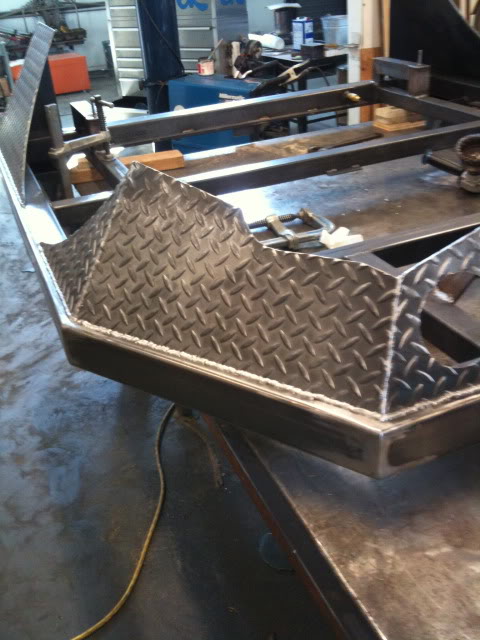
Tracing and cutting the headache rack...
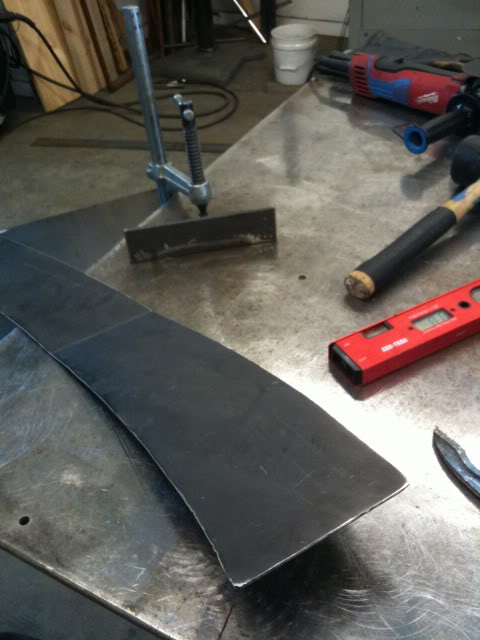
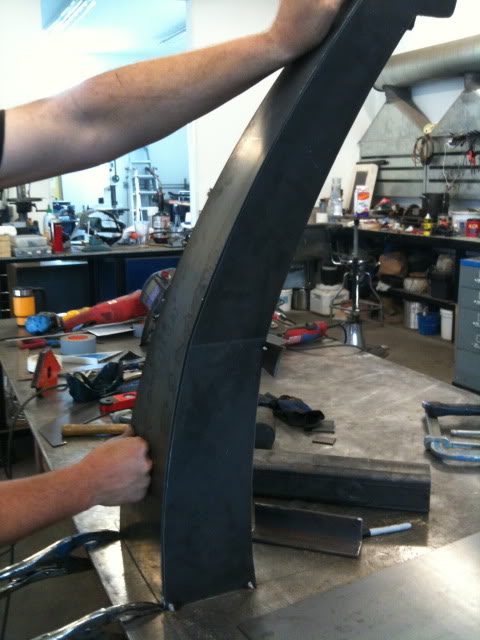
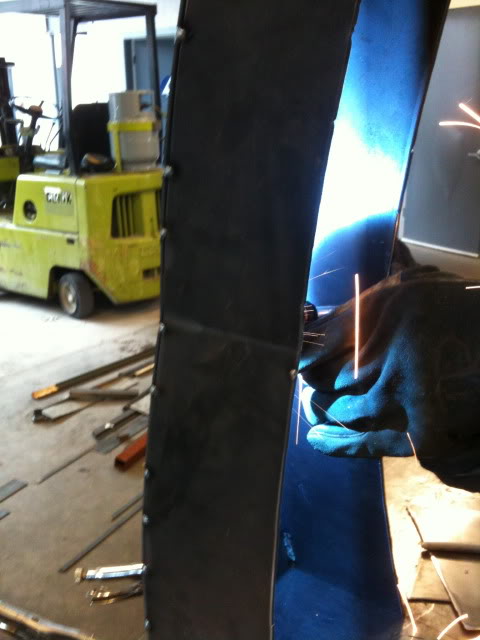
Fabbed up the one side, tacked it and mirrored it with the other...
Inside as well as out.. thats how I roll! or just in case I roll
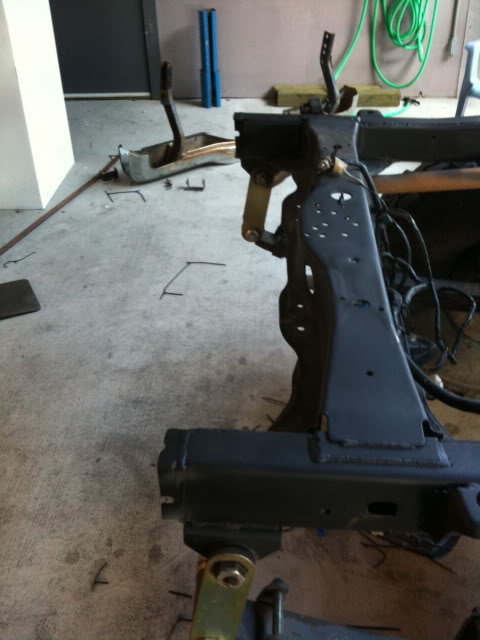
moved the frame in and checked everything out..
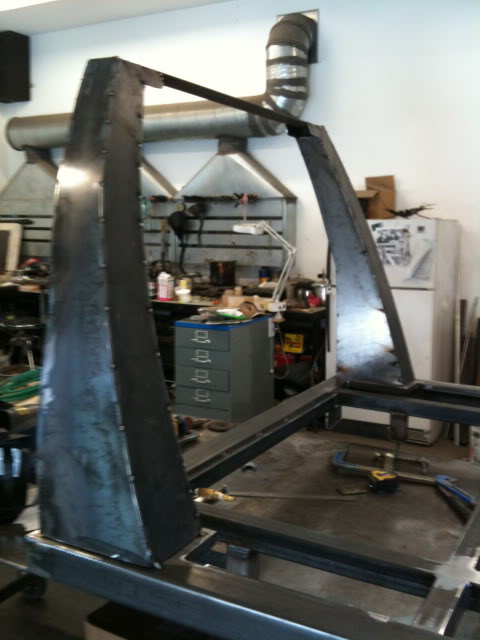
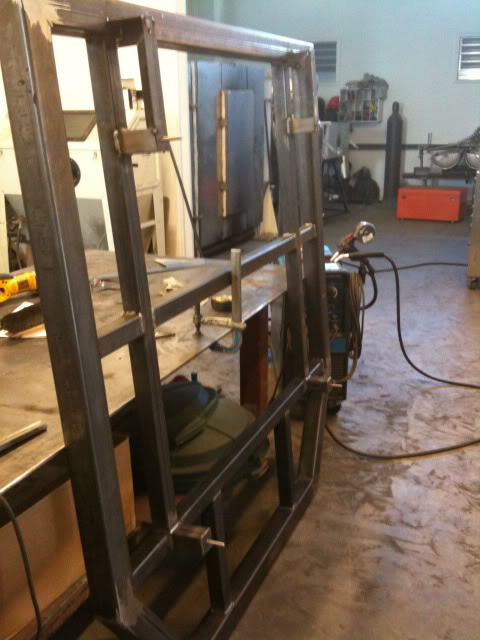
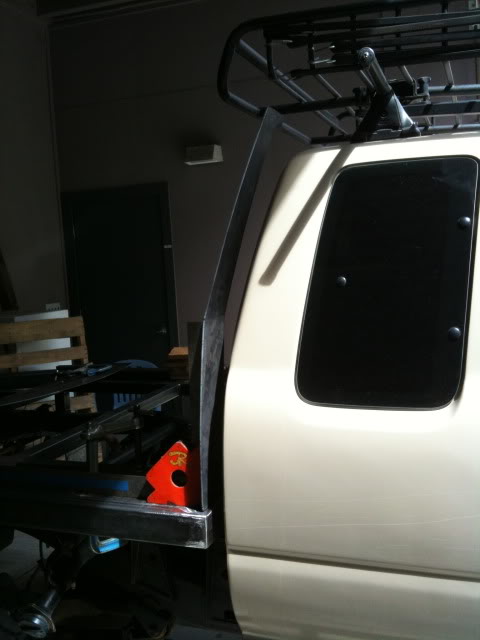
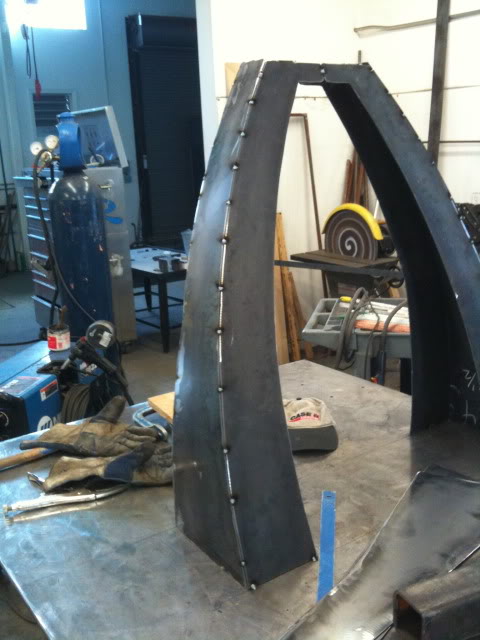
headache rack in place, tacked up...
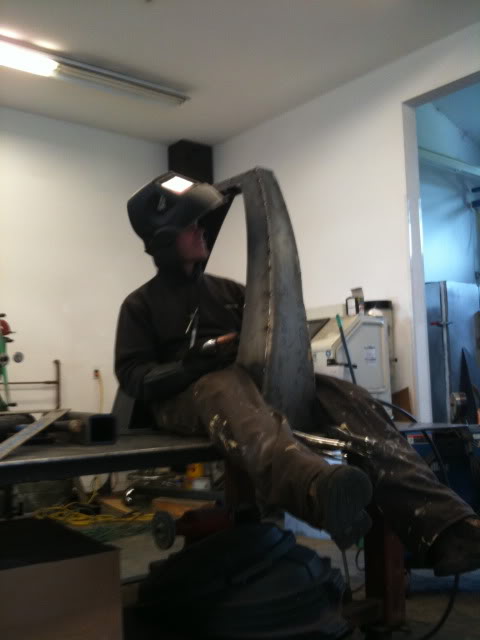

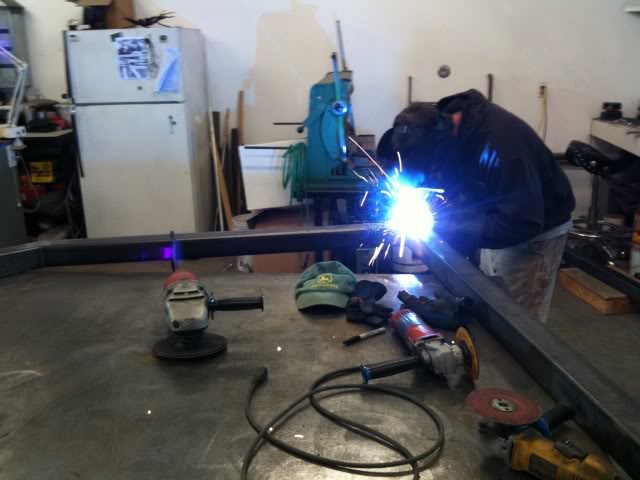
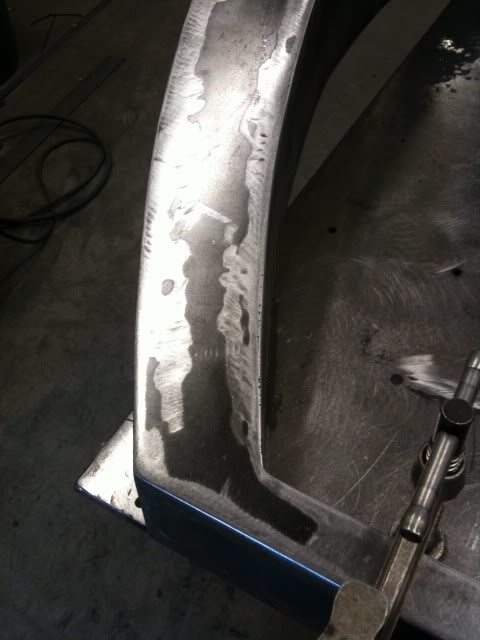
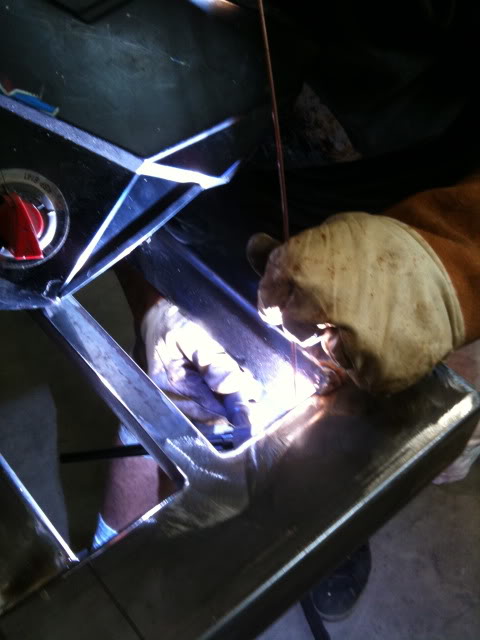
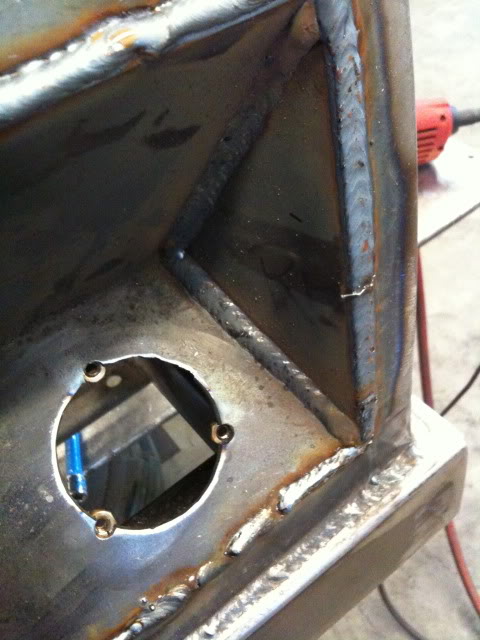
I was sweating that weld... Thats the visible one

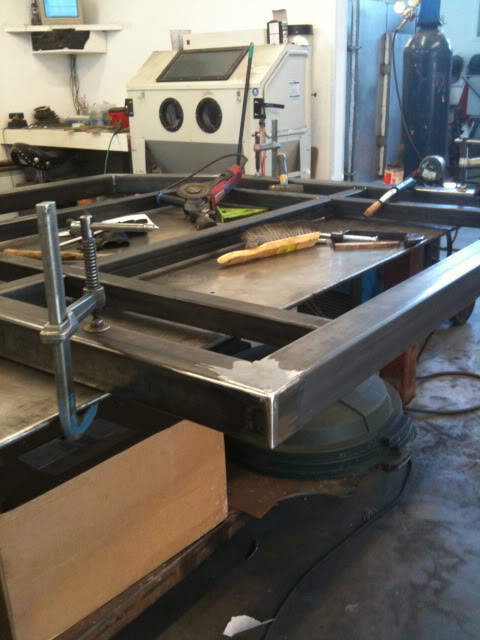
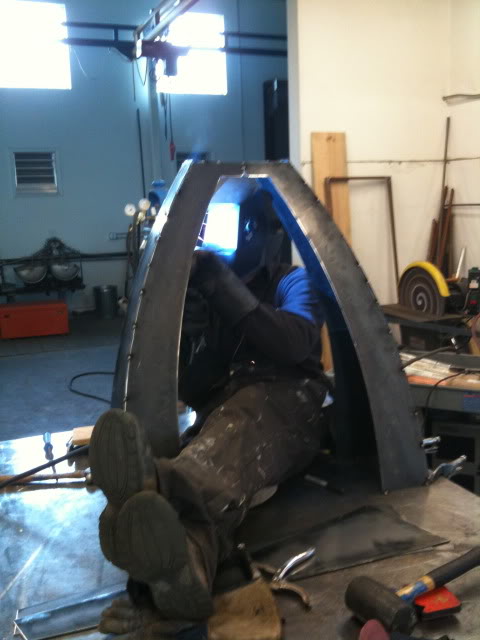
Grinding on the headache rack to make it purdy...
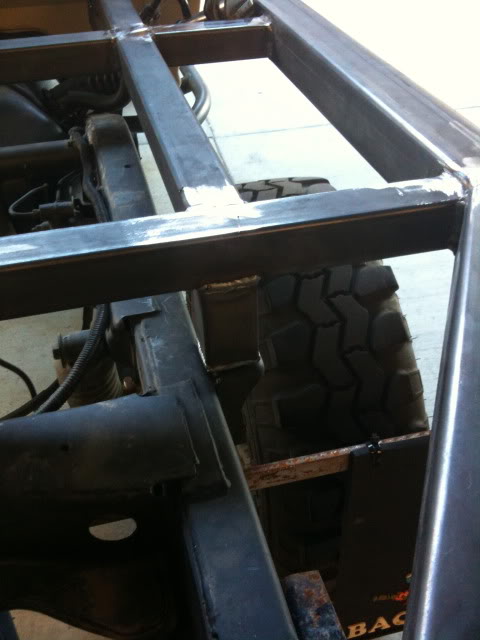
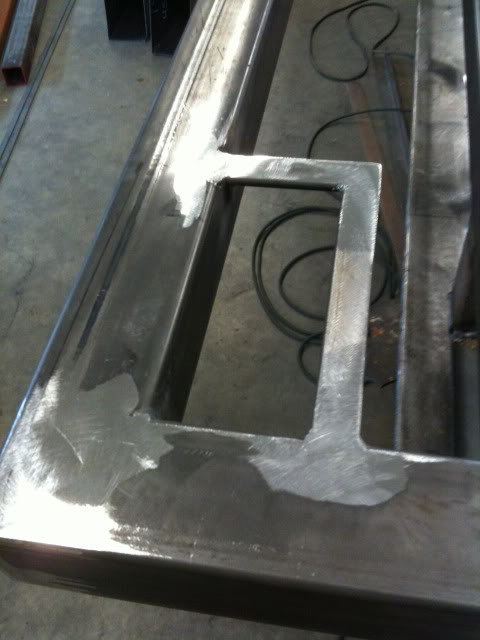
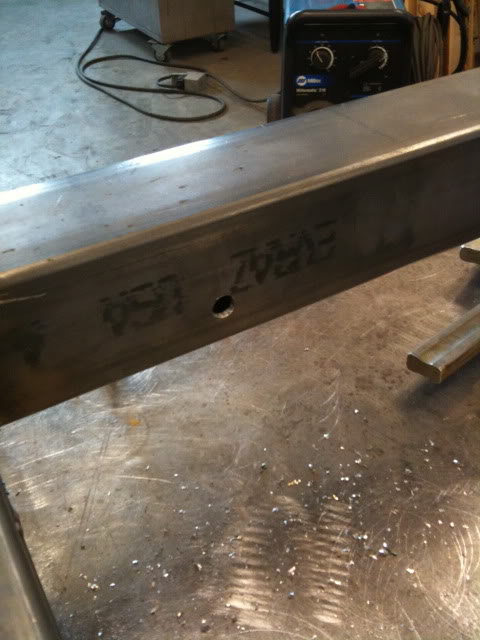
While we were finishing up the 45 degree seams on the frame John made this comment "why not make an air tank out of your flatbed frame "
"
So we did...
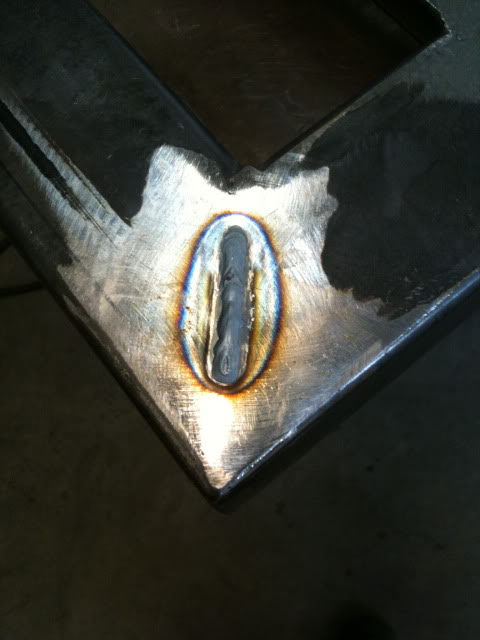
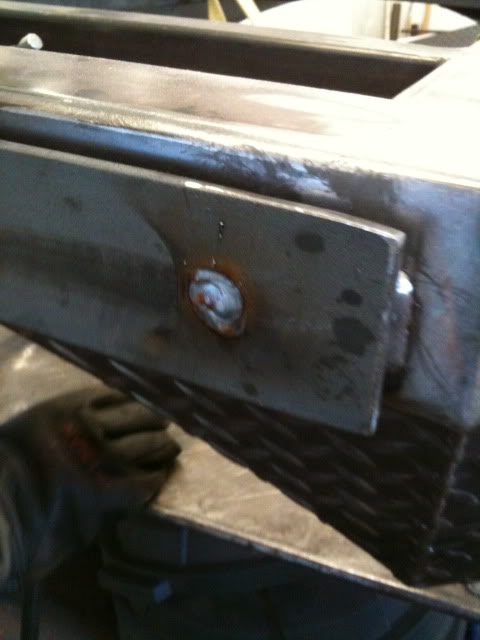
drilled and tapped hole...
TIG weld nut and fitting...
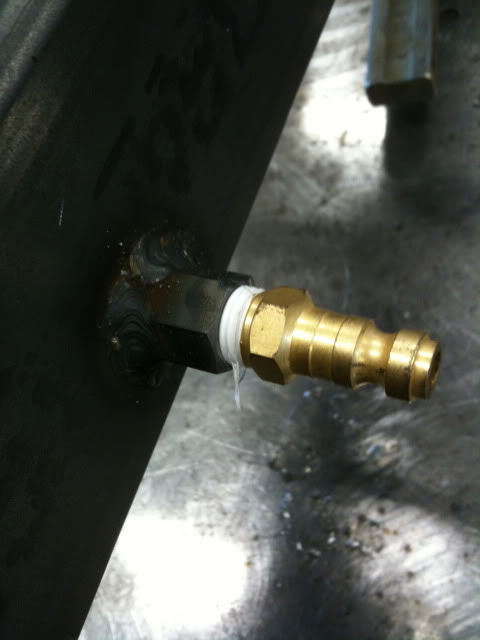
And there is its home...
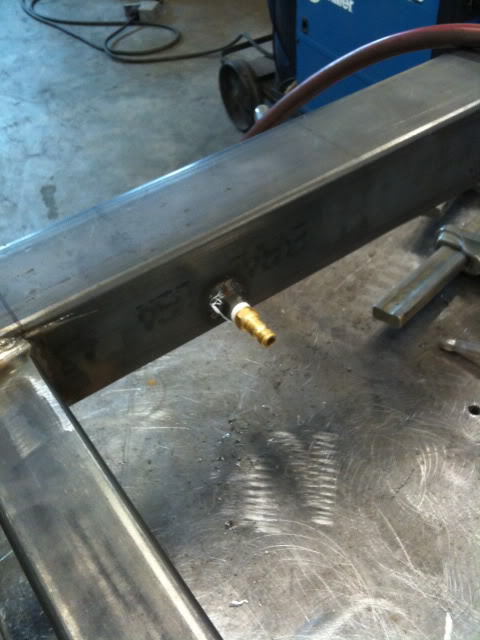
Testing for leaks. Yes there were quite a few. NO PROBLEM, get out the TIG!!
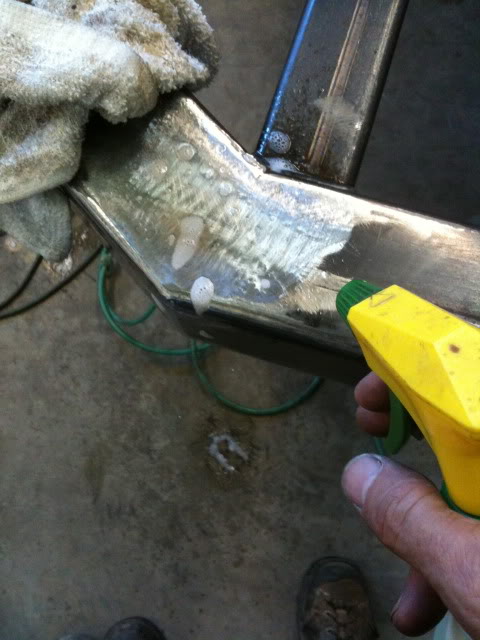
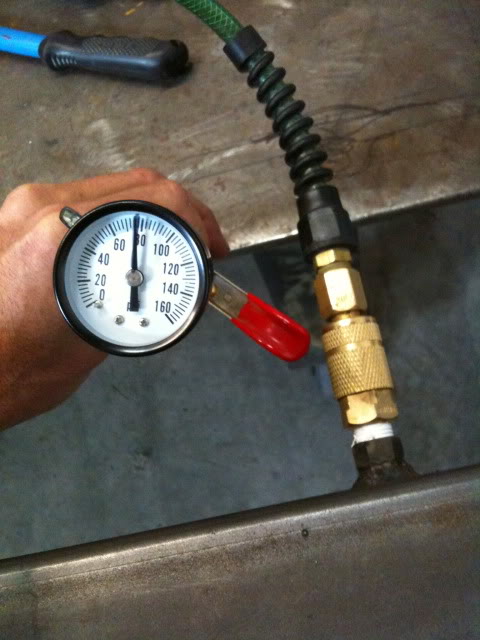
Finally got the leaks under control. This was the shop PSI after a few take on and take offs. It held at 80 PSI for 4 days. Not a drop of air gone
I have a little 12v air compressor rated at 250 PSI. I wired in a cig lighter in the passengers side compartment where the old jack went in addition to the hose and gauge. It works like a charm. An air tight flatbed holding roughly 8 gallons of air
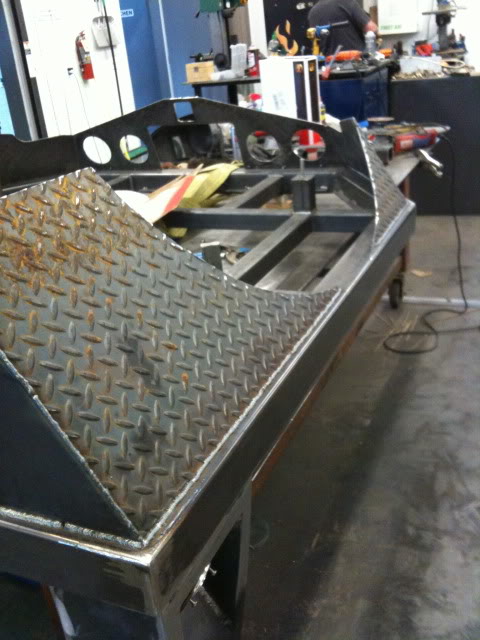
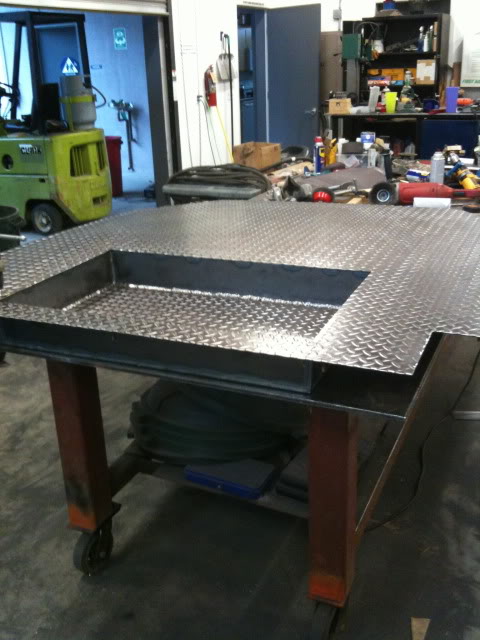
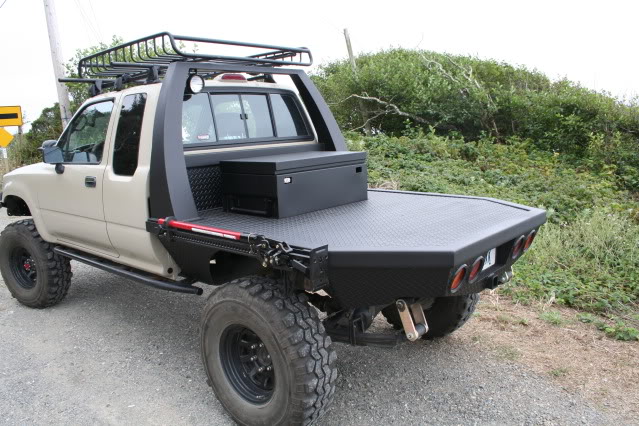
Time for the deck..
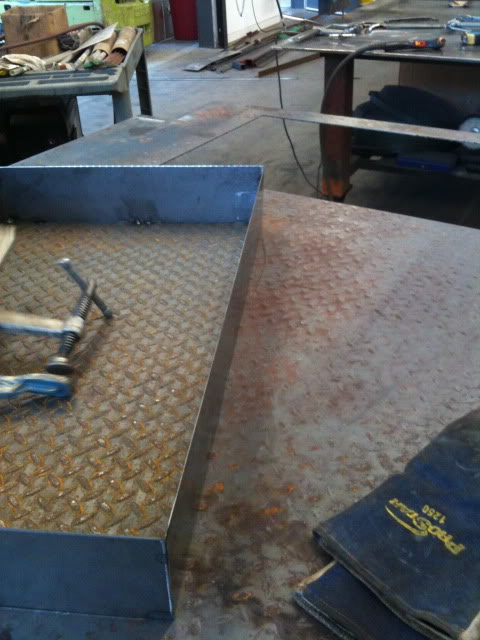
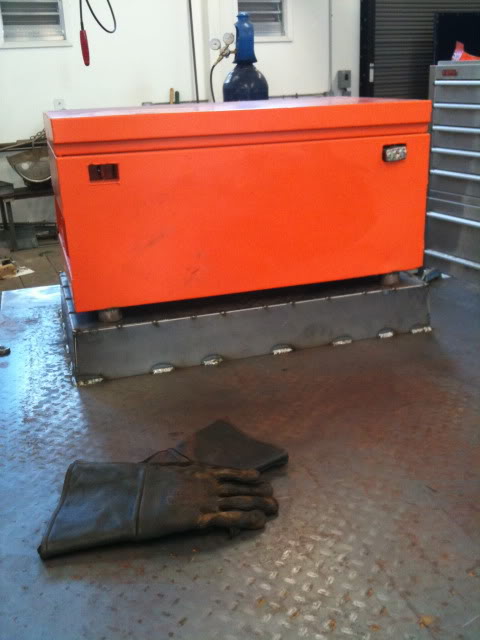
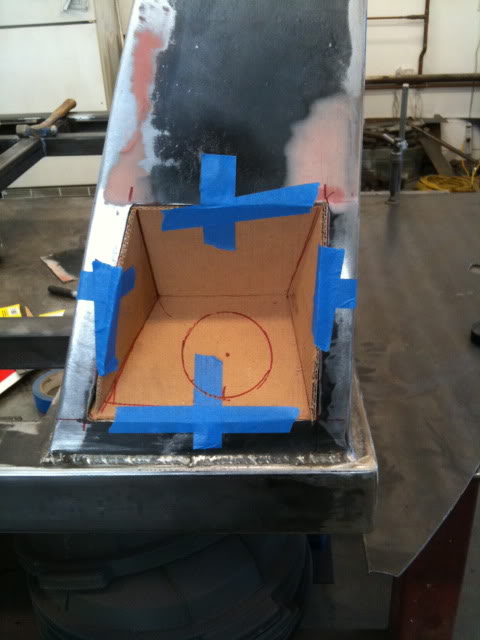
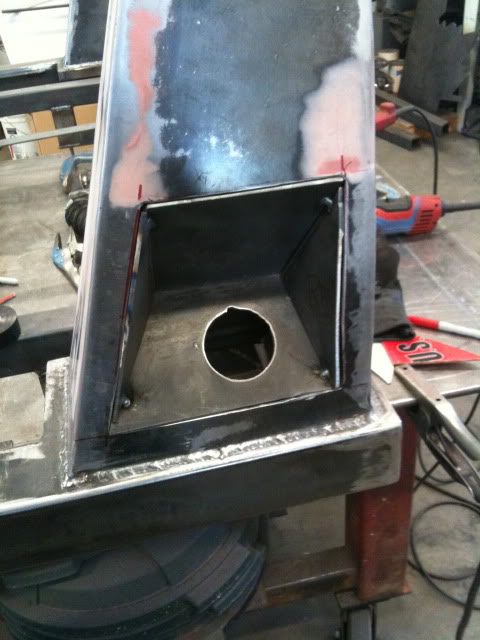
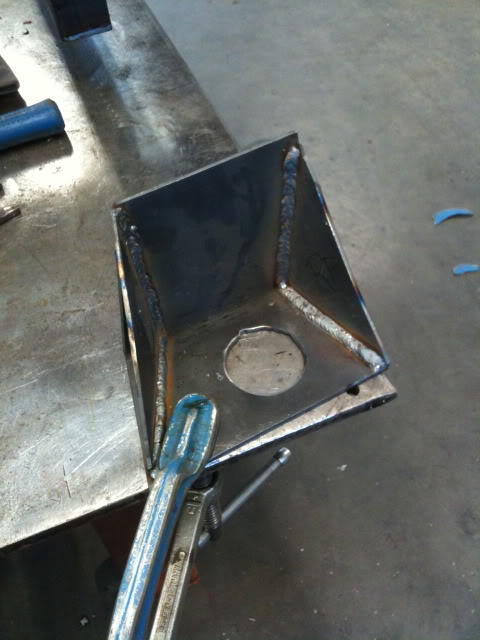
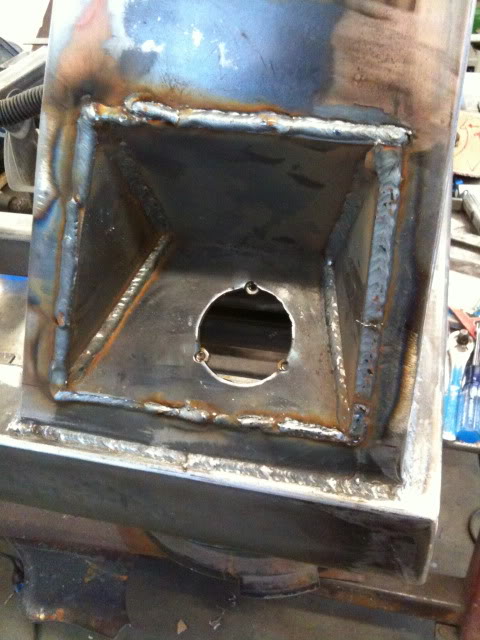
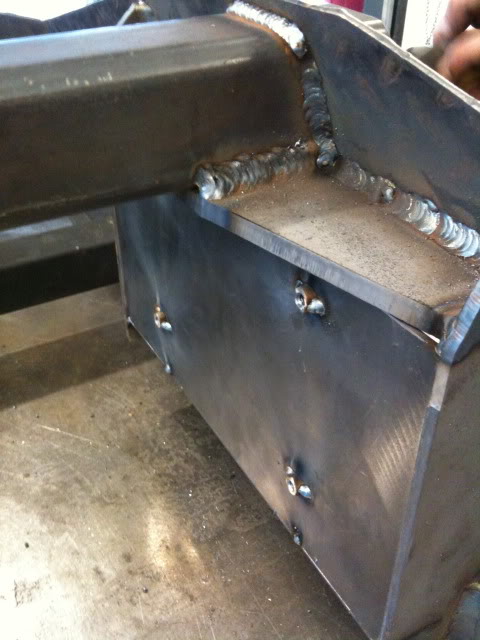
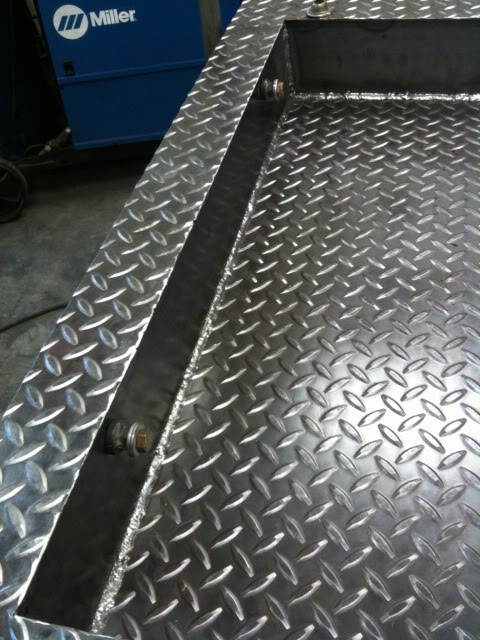
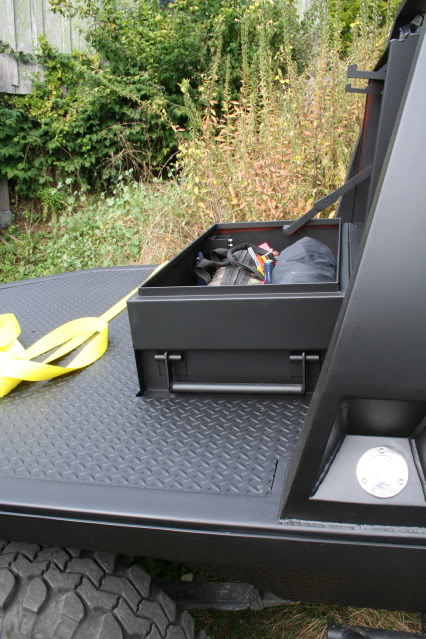
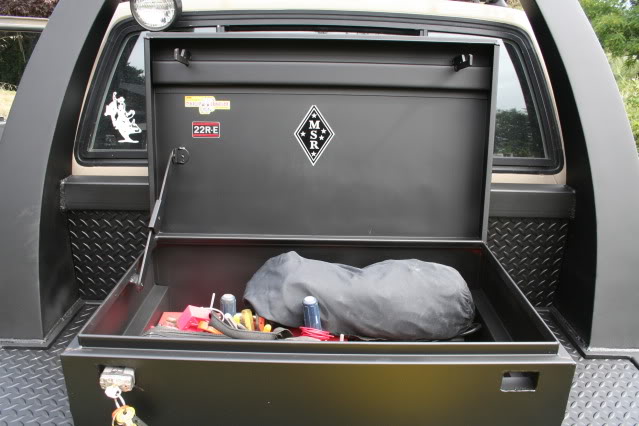
I wanted to recess the lock box down in the empty space above the gas tank. It was roughly 4". This also allowed me to secure the box from being stolen...
I made a box for the lock box to sit down in...
I had to stitch weld it to keep the heat transfer correct.
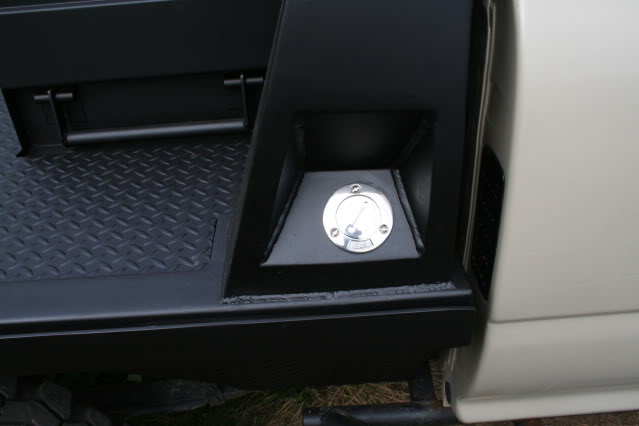
Time for the gas cap..
Cut the hole for placement and did templates for positioning..
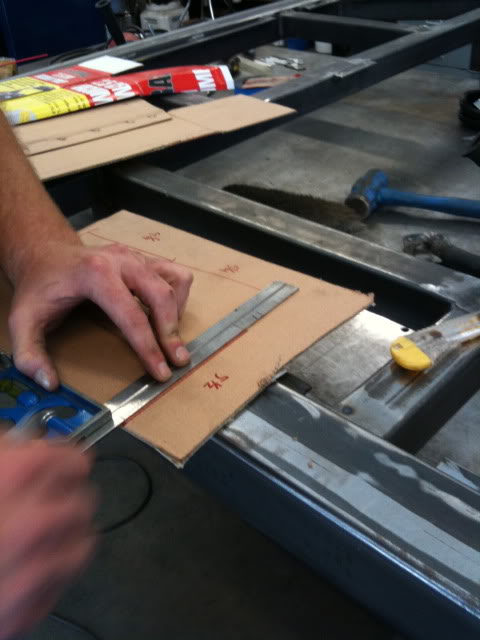
Template and the position of the gas cap a little forward to make the hose fitting correct...
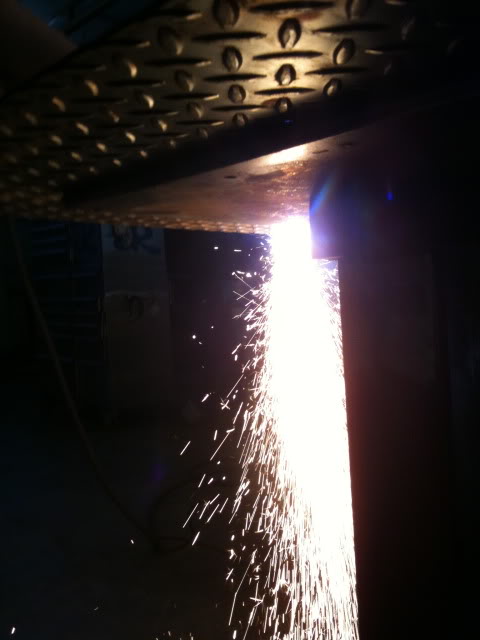
Plasmaed the gas hole...
It was easier to weld off the bed..
welded in little nuts to catch the screws from the cap...
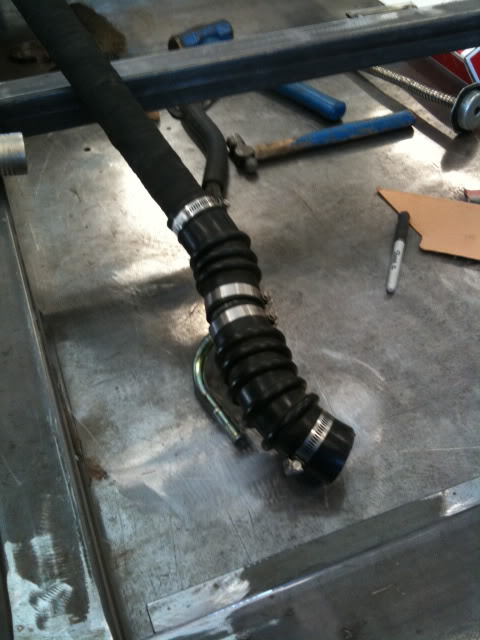
Gas line ready PITA...
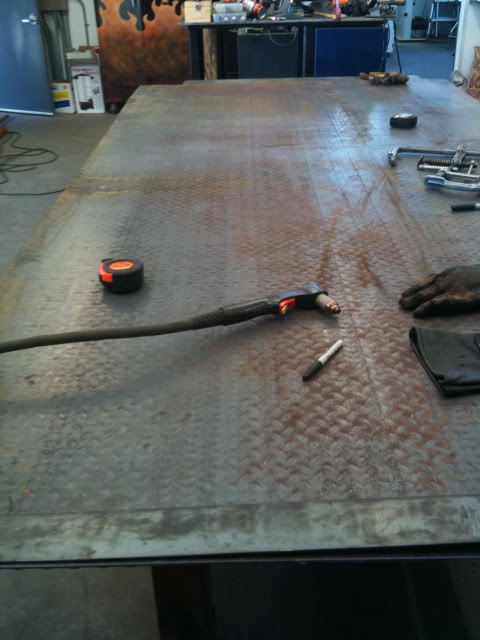
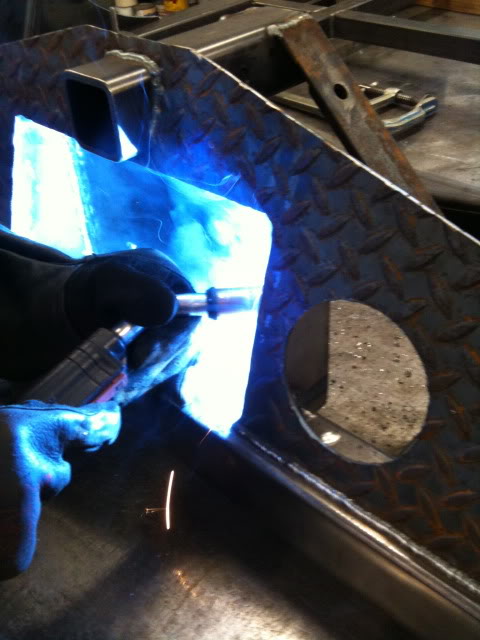
I thought this was interesting. I made a little video of the MIG dialed at 3 with a 35 line speed...

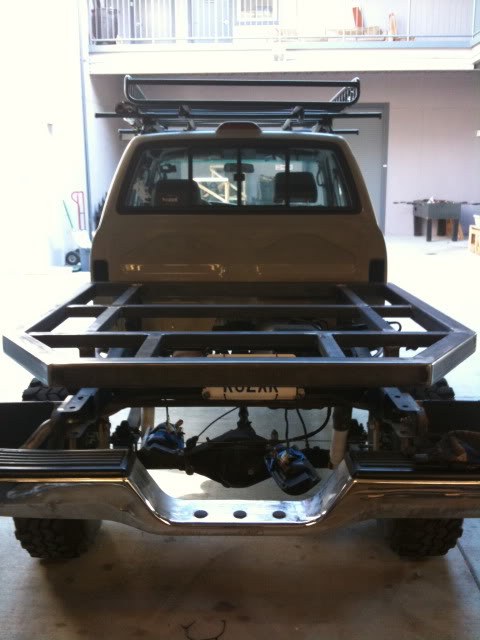
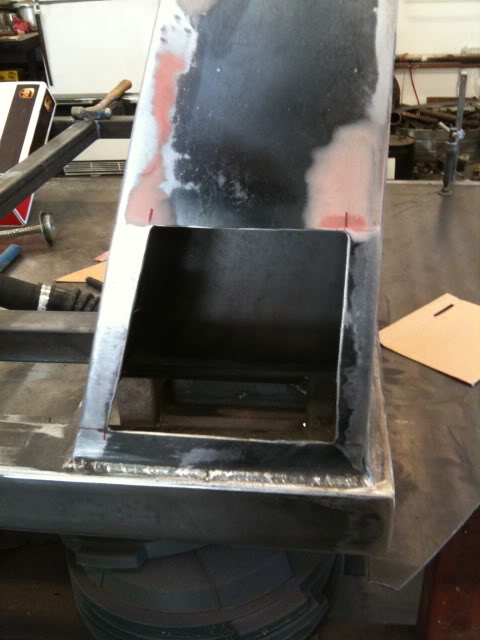
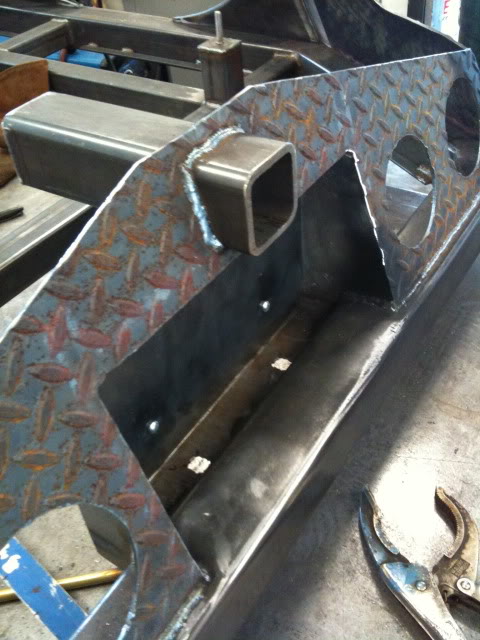
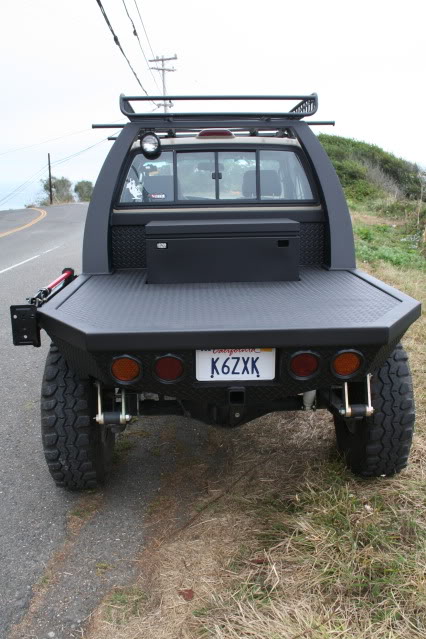
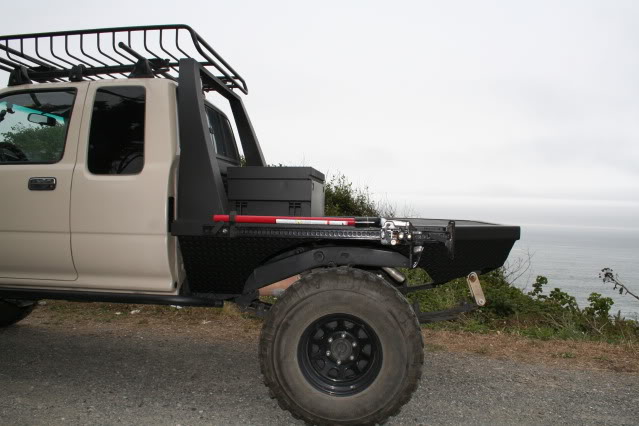
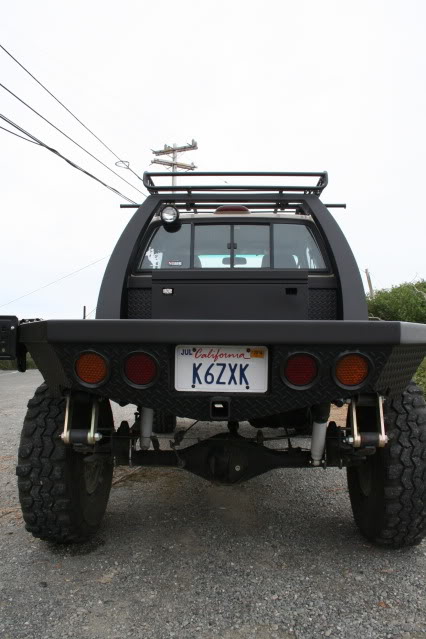
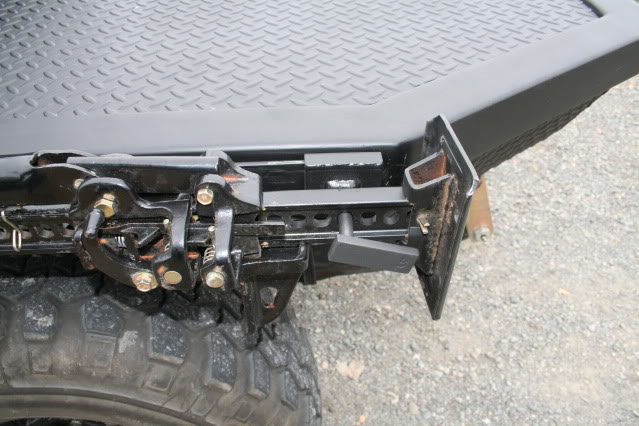
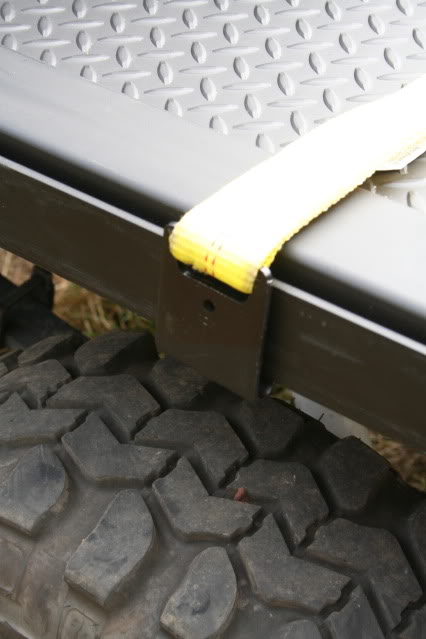
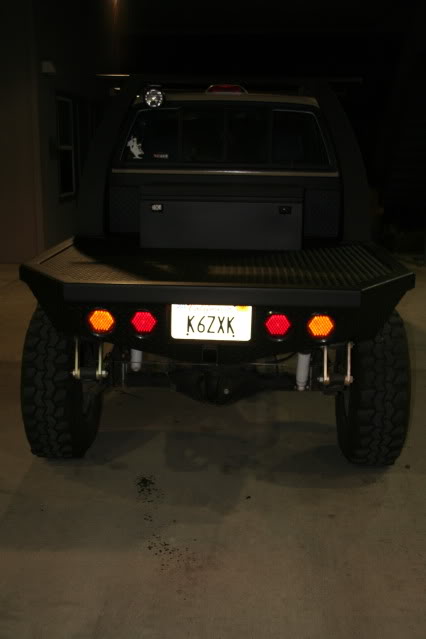
Trailer hitch and diamond place skirting...
I copied the license plate light template
license plate box. It is part of the structure for the hitch..
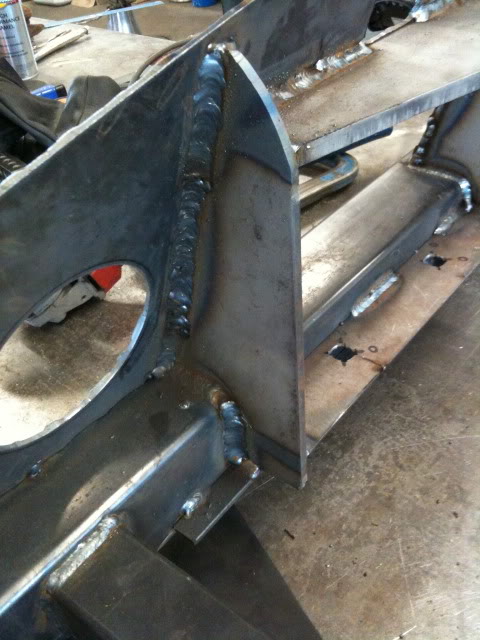
I had to use deep welds for this...
Box and rear end..
another little vid...
I knew at some point I was going to have to chop chop...
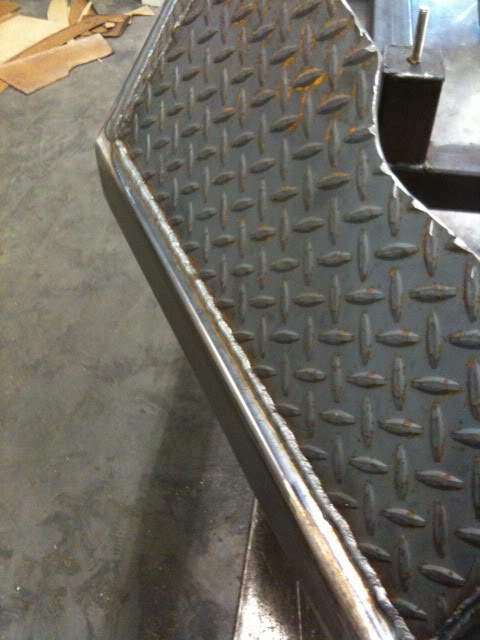
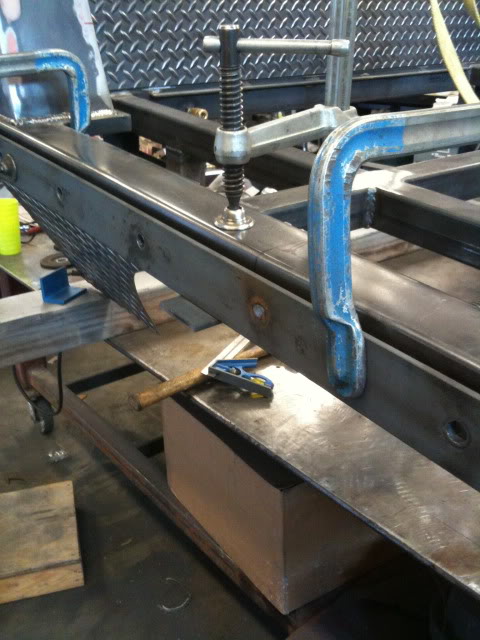
skirting getting welded on and shined up....
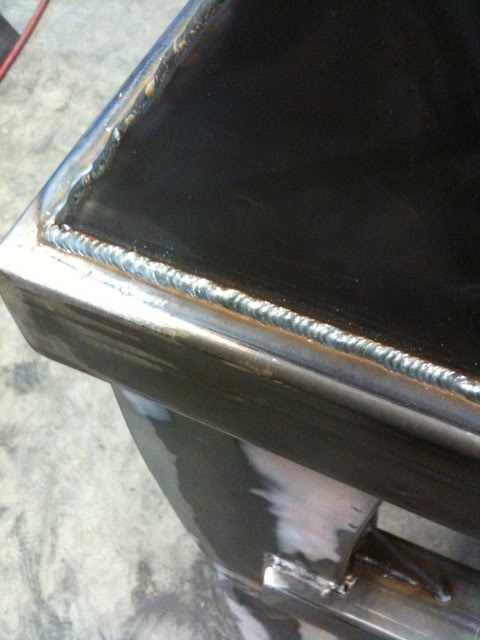
My best weld!! Yes, of course it is underneath
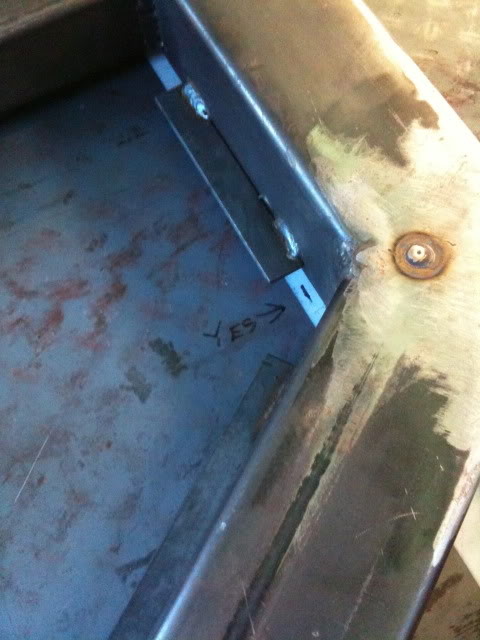
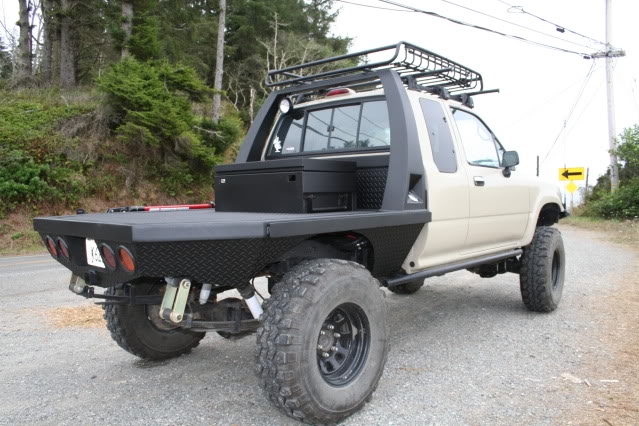
John suggested I make the diamond plate deck removable in order to have it rhino lined. I welded on bolts and angle iron on the frame to attach a lock nut and washer...
This was similar to what John had done on his rig. This set up is for the highlift jack to slide on and off as well as the winches..
I stitch welded the inside bar, plasmaed the holes and plug welded them on the frame and then sanded it all smooth...
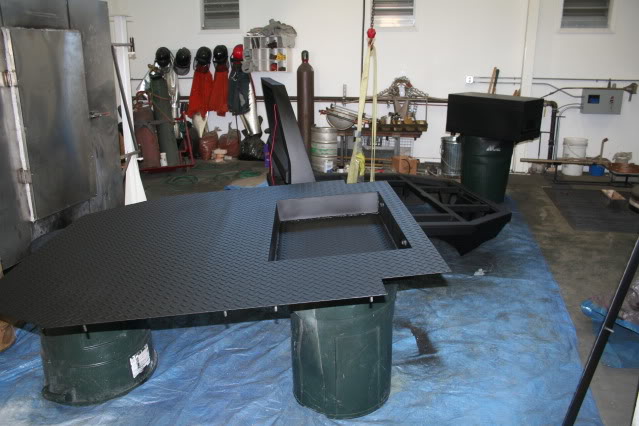
Time for PAINT!!!
I used an acid based primer and the paint is an industrial enamel used on most flatbeds...
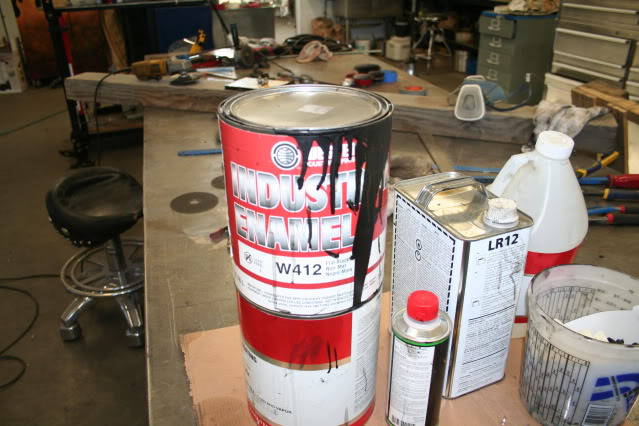
Primer..
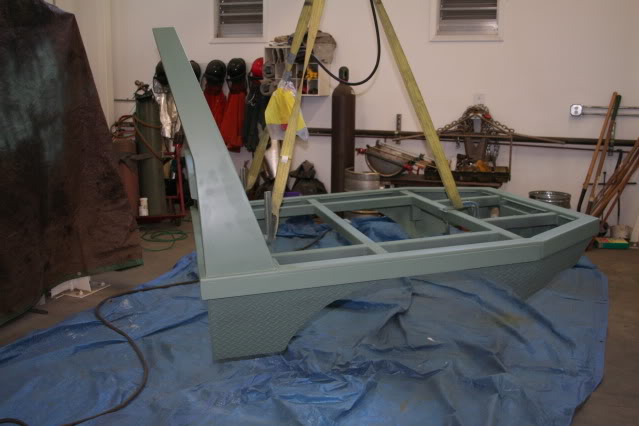
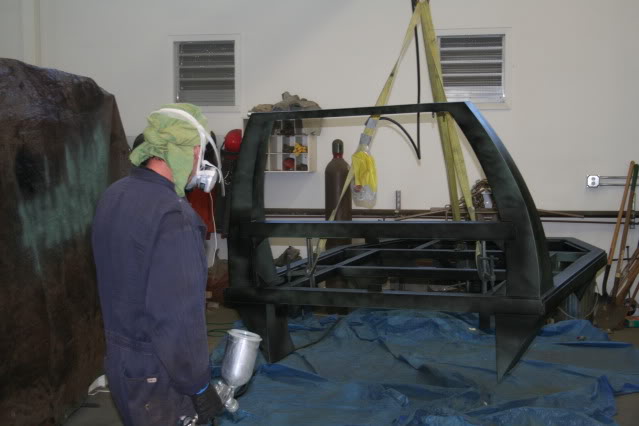
Paint tack coat... Kinda looks like I am facing off some giant evil metal creature.
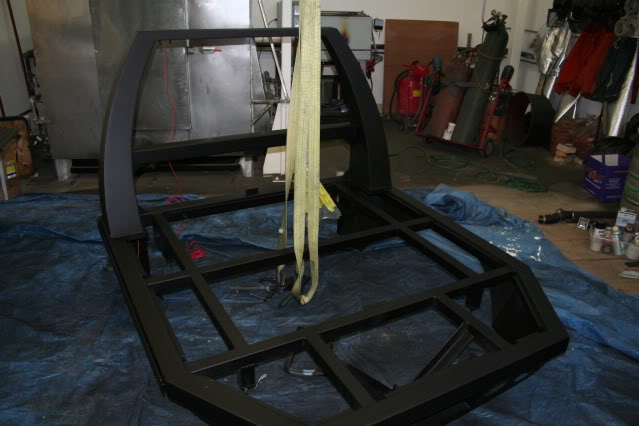
PAINTED!!!
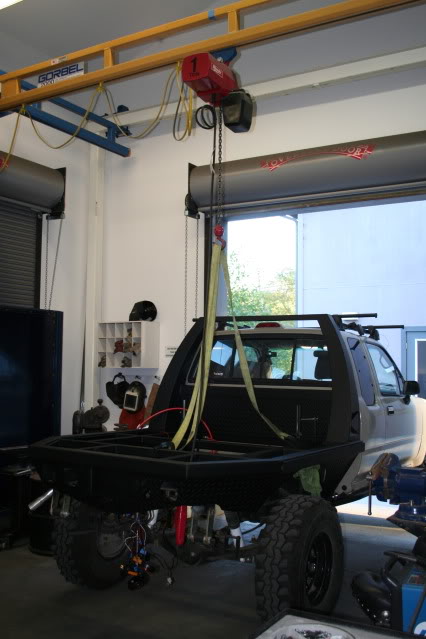
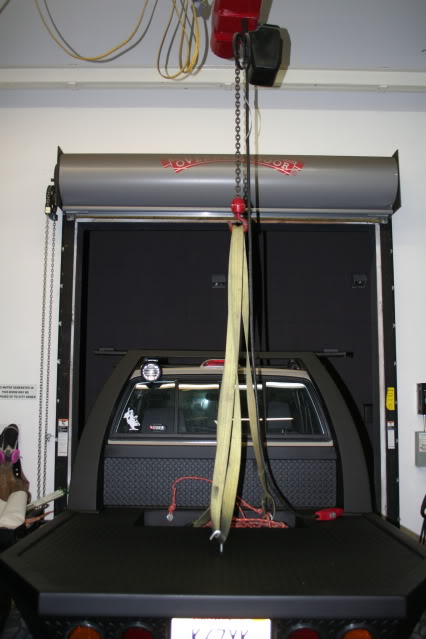
everyone needs a 1 ton hoist!!
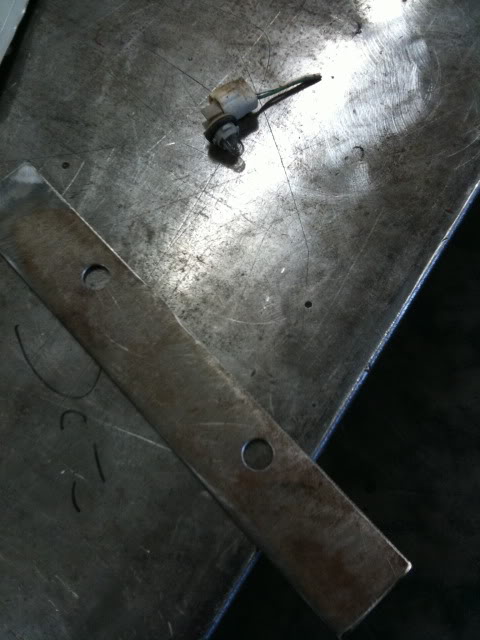
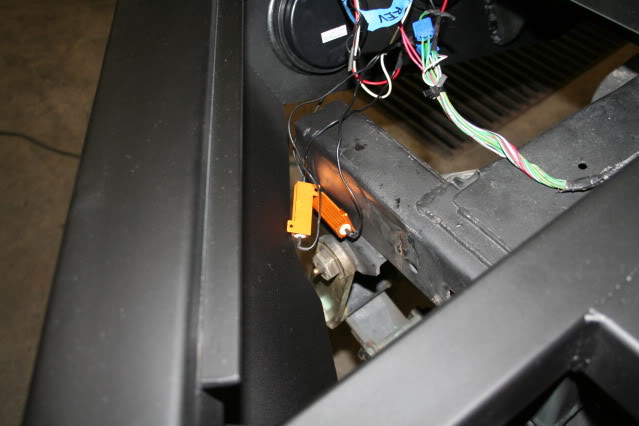
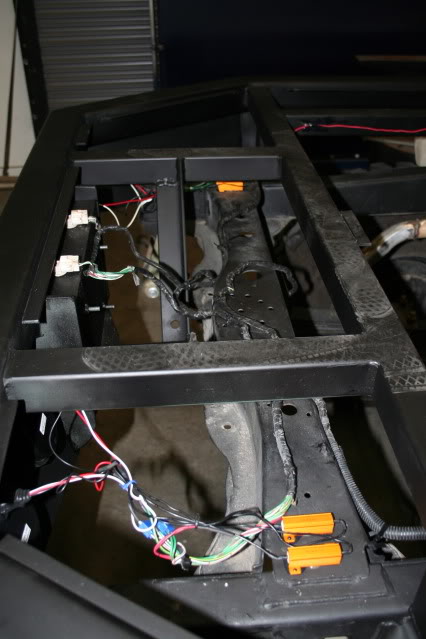
LED wiring..

LED load resistors...
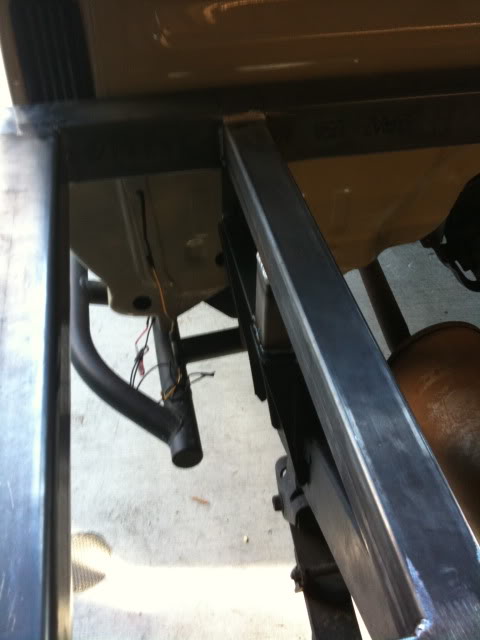
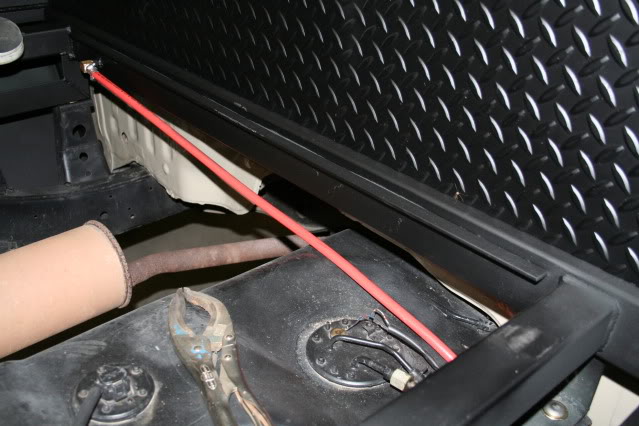
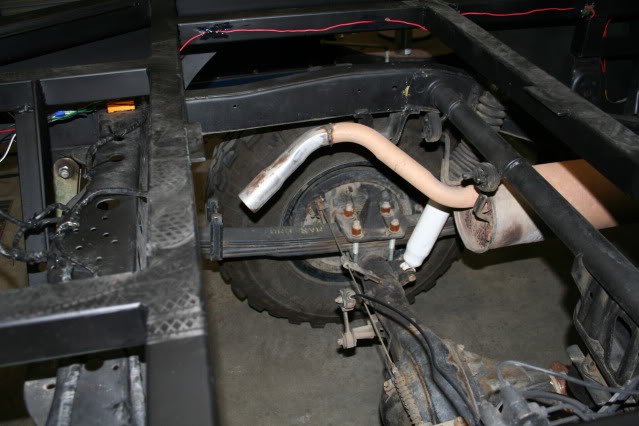
Air hose run under the passenger side firewall...
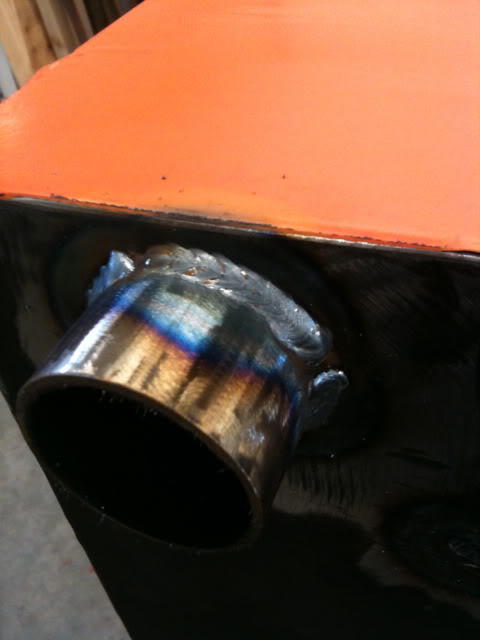
I had some issues with the muffler. I had to cut a chunk out and re weld it...
All wired in...
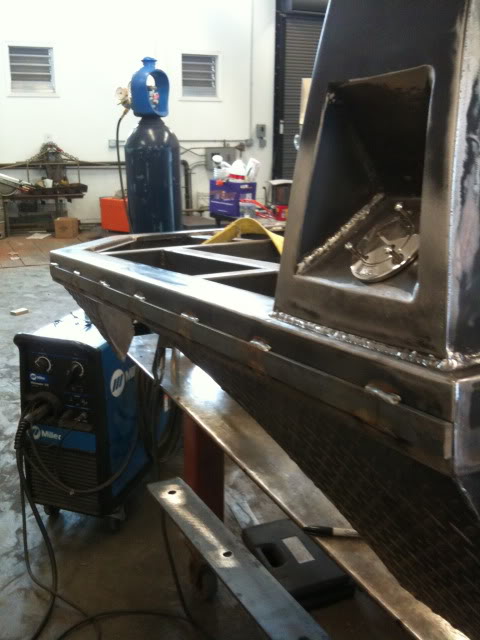
Deck going on...
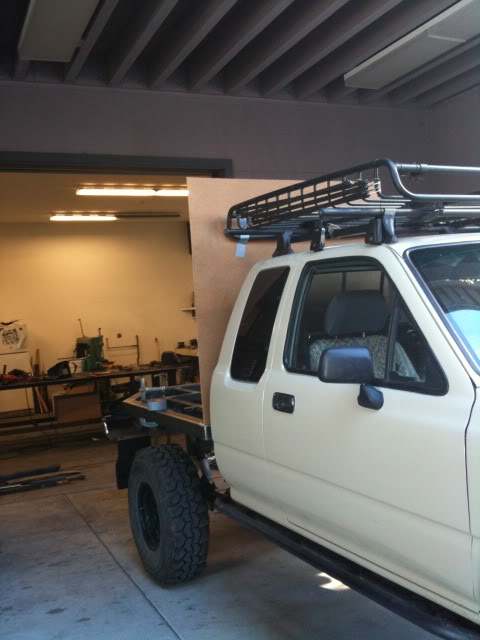
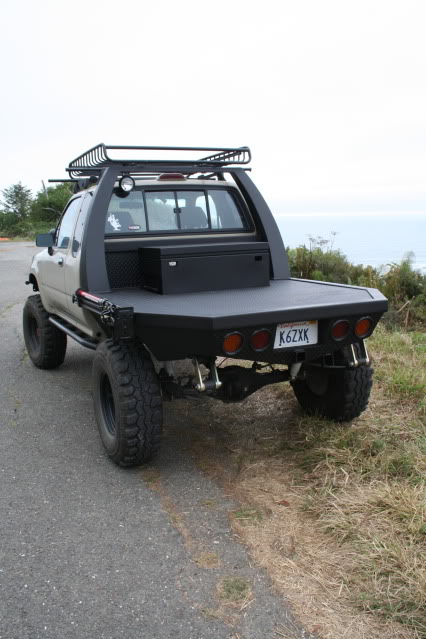
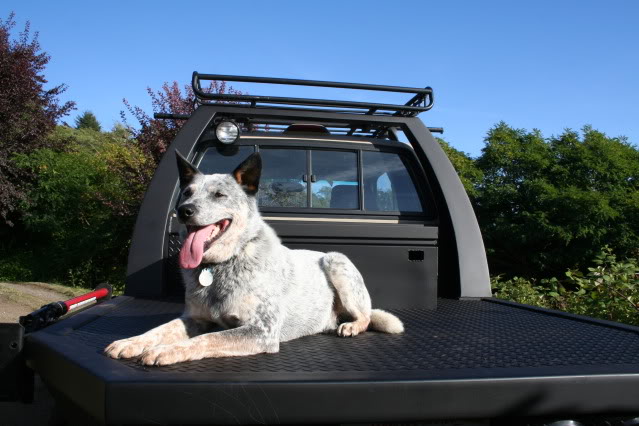
FINISHED!!!!!


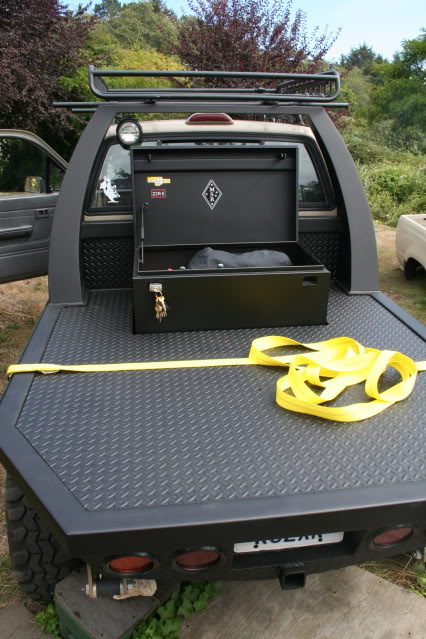
Here is what keeps it safe at night
Luckily I found a great workshop here locally with a brilliant instructor. The workshop was through Unauthorized Art here in Arcata Ca. http://www.unauthorizedart.com/ and the instructor is John Robertson. A few things about John before I move on to the build. In addition to being a brilliant metal worker John is an artist. Here is his website http://www.jonrobertsondesign.com/. A GREAT deal of the fabrication design John came up with. Every aspect of this flatbed build John was right there making sure things were coming together correctly.
This flatbed build took one month to complete. Roughly $1000.00 in materials from start to paint as well as an estimated 20 days at 8hrs a day = 160hrs
My rig is a trail rig more than a rock crawler. I designed it with this in mind. I am aware of the flex, clearance and cargo issues.
On to the build....
This is where it started....
The arsenal...
OH MY MY..
3 Phase PLASMA!!!!
this was my first project for the flatbed. My Home Depot lock box needed new legs.
A trip to the toy store...
laying out the structure...
mocked up..
Tracing and cutting the headache rack...
Fabbed up the one side, tacked it and mirrored it with the other...
Inside as well as out.. thats how I roll! or just in case I roll
moved the frame in and checked everything out..
headache rack in place, tacked up...
I was sweating that weld... Thats the visible one
Grinding on the headache rack to make it purdy...
While we were finishing up the 45 degree seams on the frame John made this comment "why not make an air tank out of your flatbed frame
" So we did...
drilled and tapped hole...
TIG weld nut and fitting...
And there is its home...
Testing for leaks. Yes there were quite a few. NO PROBLEM, get out the TIG!!
Finally got the leaks under control. This was the shop PSI after a few take on and take offs. It held at 80 PSI for 4 days. Not a drop of air gone
I have a little 12v air compressor rated at 250 PSI. I wired in a cig lighter in the passengers side compartment where the old jack went in addition to the hose and gauge. It works like a charm. An air tight flatbed holding roughly 8 gallons of air
Time for the deck..
I wanted to recess the lock box down in the empty space above the gas tank. It was roughly 4". This also allowed me to secure the box from being stolen...
I made a box for the lock box to sit down in...
I had to stitch weld it to keep the heat transfer correct.
Time for the gas cap..
Cut the hole for placement and did templates for positioning..
Template and the position of the gas cap a little forward to make the hose fitting correct...
Plasmaed the gas hole...
It was easier to weld off the bed..
welded in little nuts to catch the screws from the cap...
Gas line ready PITA...
I thought this was interesting. I made a little video of the MIG dialed at 3 with a 35 line speed...
Trailer hitch and diamond place skirting...
I copied the license plate light template
license plate box. It is part of the structure for the hitch..
I had to use deep welds for this...
Box and rear end..
another little vid...
I knew at some point I was going to have to chop chop...
skirting getting welded on and shined up....
My best weld!! Yes, of course it is underneath
John suggested I make the diamond plate deck removable in order to have it rhino lined. I welded on bolts and angle iron on the frame to attach a lock nut and washer...
This was similar to what John had done on his rig. This set up is for the highlift jack to slide on and off as well as the winches..
I stitch welded the inside bar, plasmaed the holes and plug welded them on the frame and then sanded it all smooth...
Time for PAINT!!!
I used an acid based primer and the paint is an industrial enamel used on most flatbeds...
Primer..
Paint tack coat... Kinda looks like I am facing off some giant evil metal creature.
PAINTED!!!
everyone needs a 1 ton hoist!!
LED wiring..
LED load resistors...
Air hose run under the passenger side firewall...
I had some issues with the muffler. I had to cut a chunk out and re weld it...
All wired in...
Deck going on...
FINISHED!!!!!
Here is what keeps it safe at night
Last edited by toyospearo; Nov 23, 2009 at 08:56 PM.

Trending Topics
 Sep 16, 2009 | 10:22 PM
#13
Registered User
Joined: Aug 2007
Posts: 5,334
Likes: 4
From: Vian, OK
holy ....
its
its
its BEAUTIFUL!!!!!
it is EASILY the MOST AMAZINGLY built flatbed EVER!!!!!
only thing i would add are like maybe a 1" or 2" rail going all the way around..just to keep things from rolling off ya know
but still..thats incredible..too bad your all the way in nor cal or i'd be paying you to build my front and rear bumpers..wow
its
its
its BEAUTIFUL!!!!!
it is EASILY the MOST AMAZINGLY built flatbed EVER!!!!!
only thing i would add are like maybe a 1" or 2" rail going all the way around..just to keep things from rolling off ya know
but still..thats incredible..too bad your all the way in nor cal or i'd be paying you to build my front and rear bumpers..wow
Sep 16, 2009 | 10:24 PM
#14
Registered User
Joined: Jul 2007
Posts: 1,705
Likes: 12
From: Yotatech, because Pirate is too expensive. NorCal.
OK the frame isnt an air compressor. Its an air tank.
Other than that, its very nice. Best flatbed I've seen. You lay down some nice welds too. Nice shop btw.
Other than that, its very nice. Best flatbed I've seen. You lay down some nice welds too. Nice shop btw.


