
Solid Axle Swap Has Begun!!!!!


 Dec 14, 2005 | 05:24 PM
#44

Thread Starter
Registered User
Joined: Jan 2005
Posts: 398
Likes: 1
From: High Point, NC/School at NC State
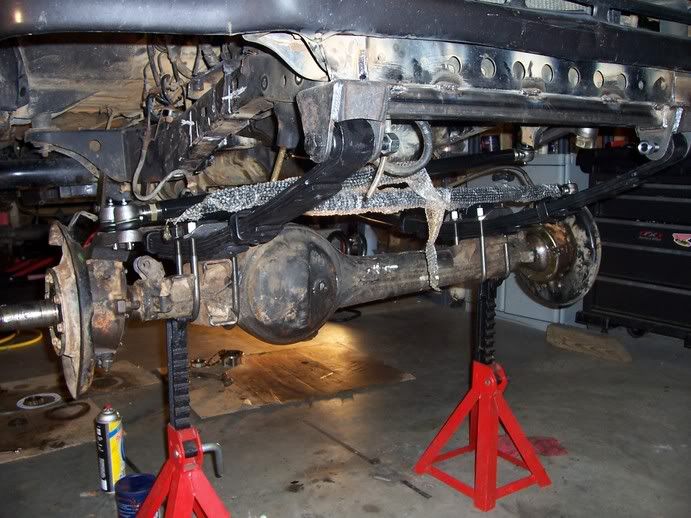
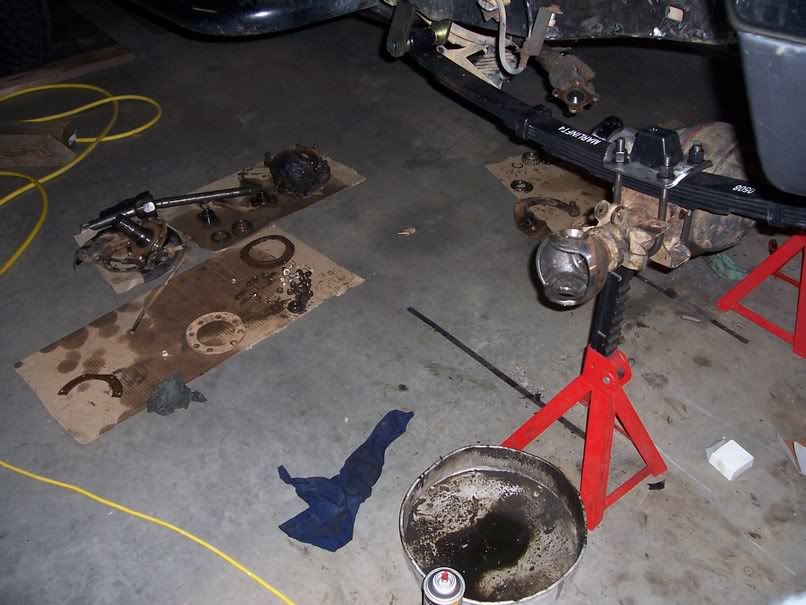
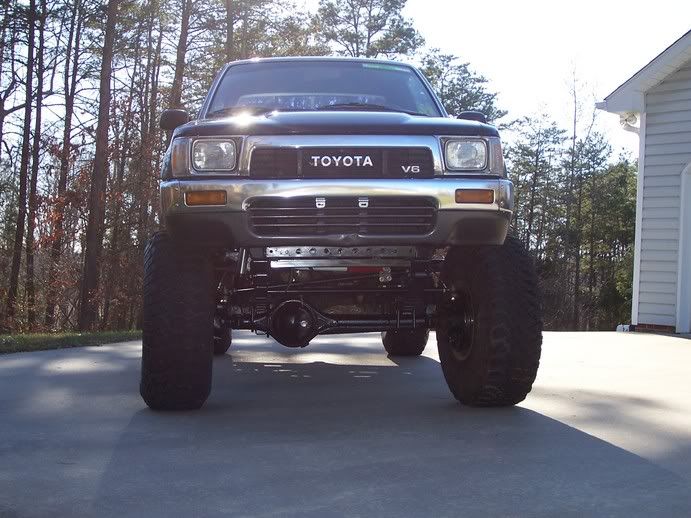
So today we pretty much finished up our SAS. The front axle was rebuilt, and all welding was finished. Still a small list though:
-Front end alignment needs adjusting
-Extended brake lines need to be put on/brakes need to be bled/new pads
-A front drive shaft would be useful
-Need a place to mount the tranny cooler
Here are a few pics:

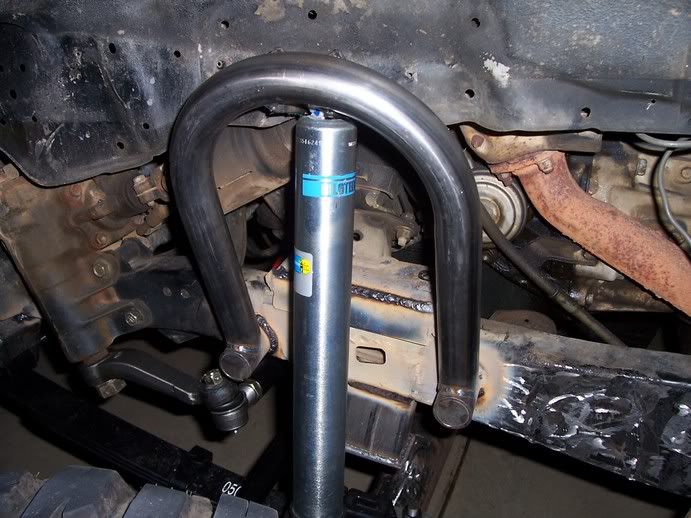
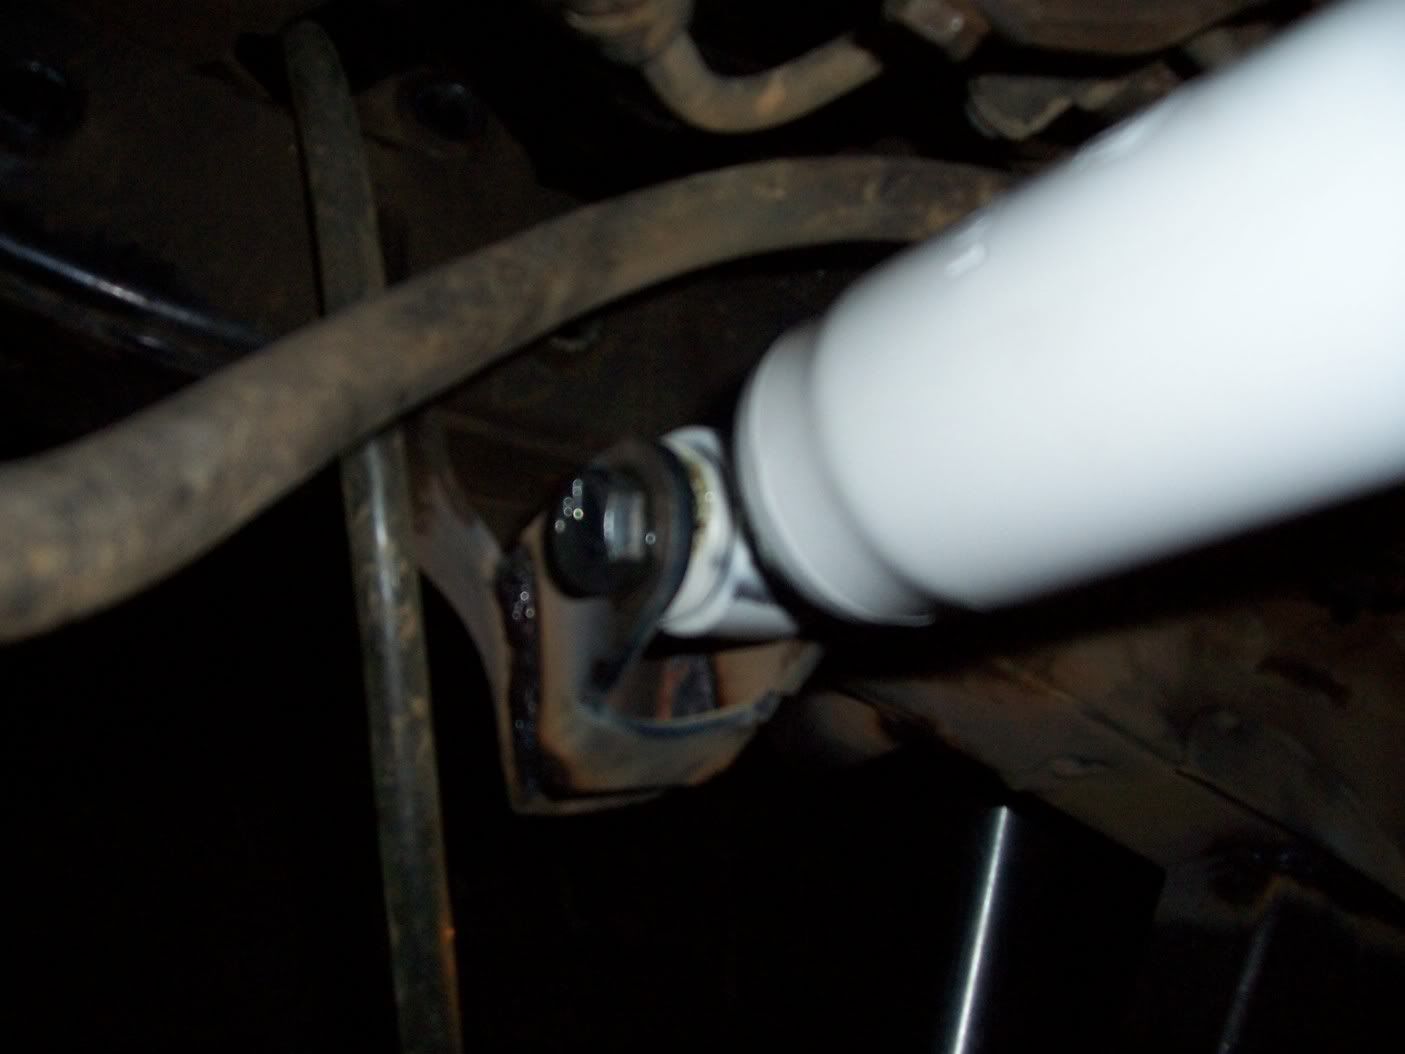
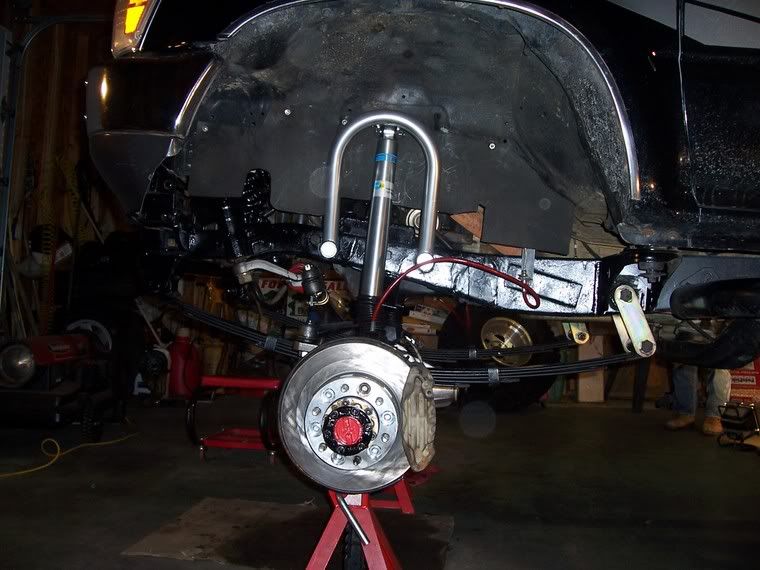
Dad had the clever idea to use the tab already on the frame to mount the steering stabilizer:
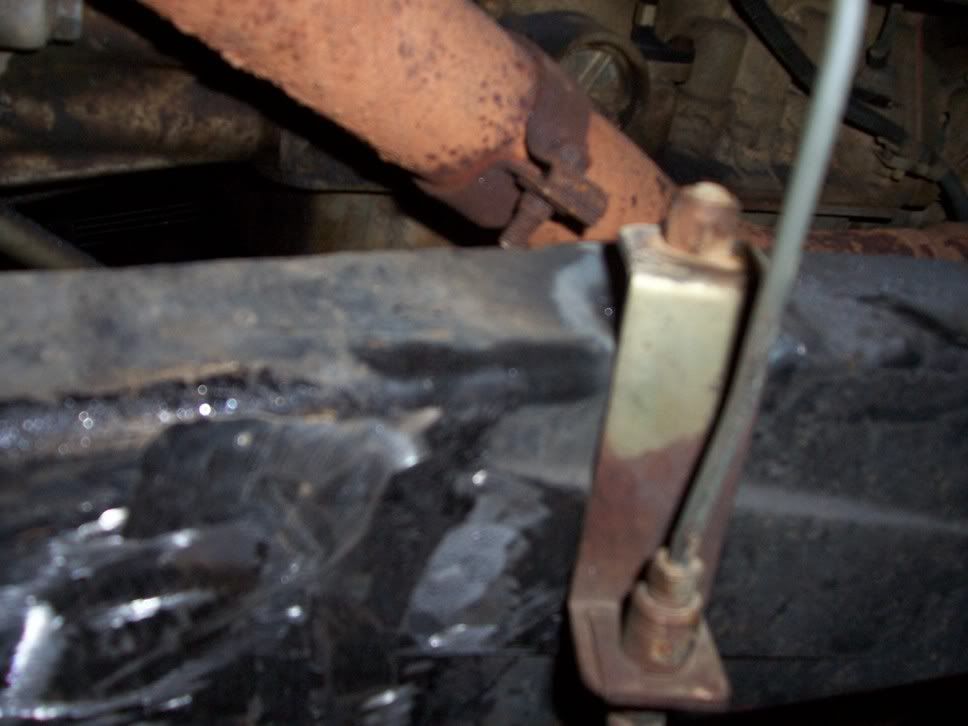
And he also had the idea to weld a bolt to the top of the frame to remount the brake line bracket:
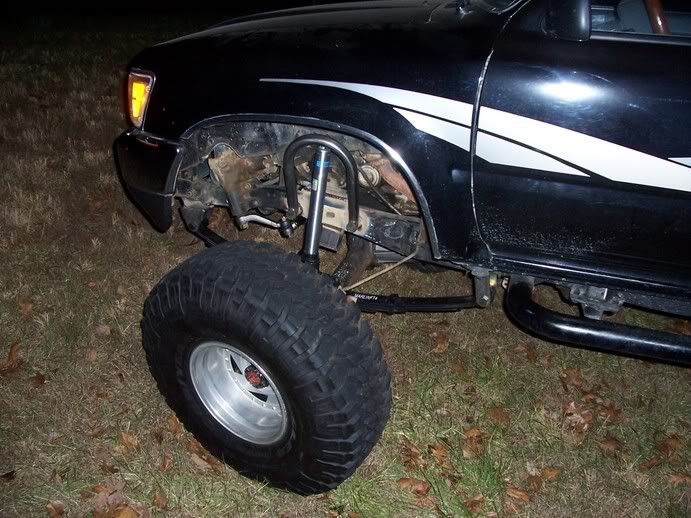
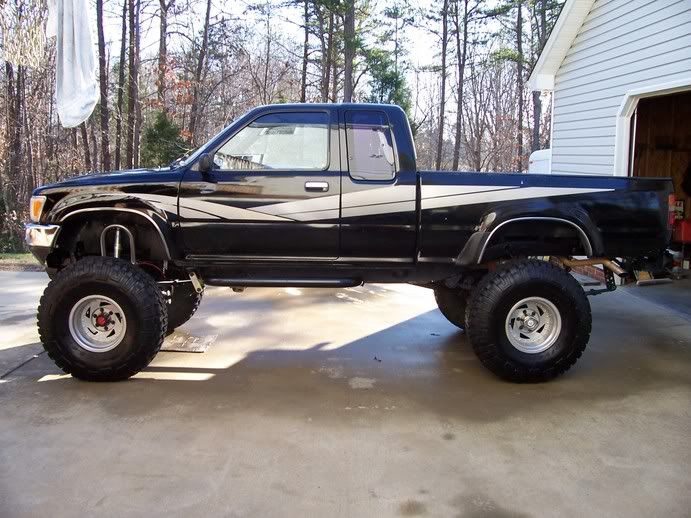
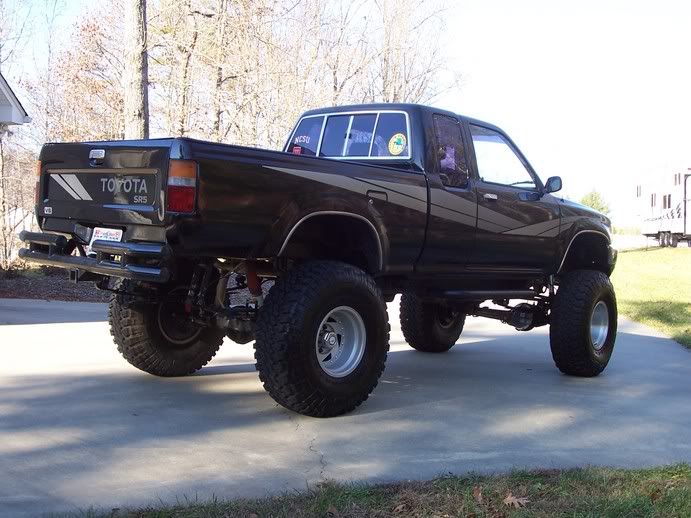
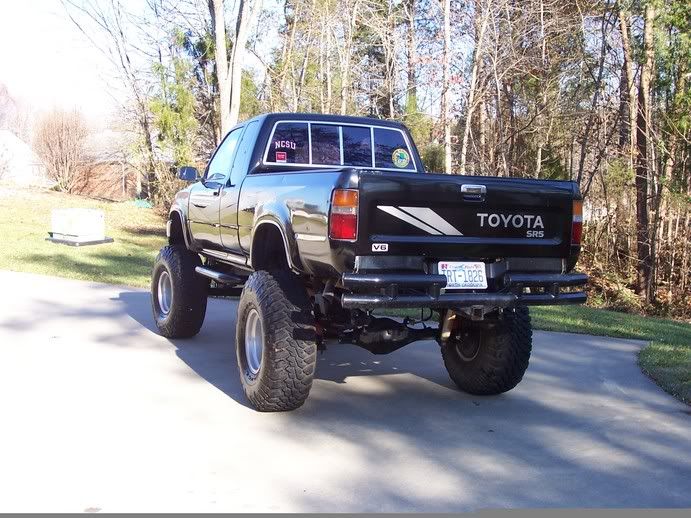
We took the first test drive, and it went very well. Here are some poser shots:
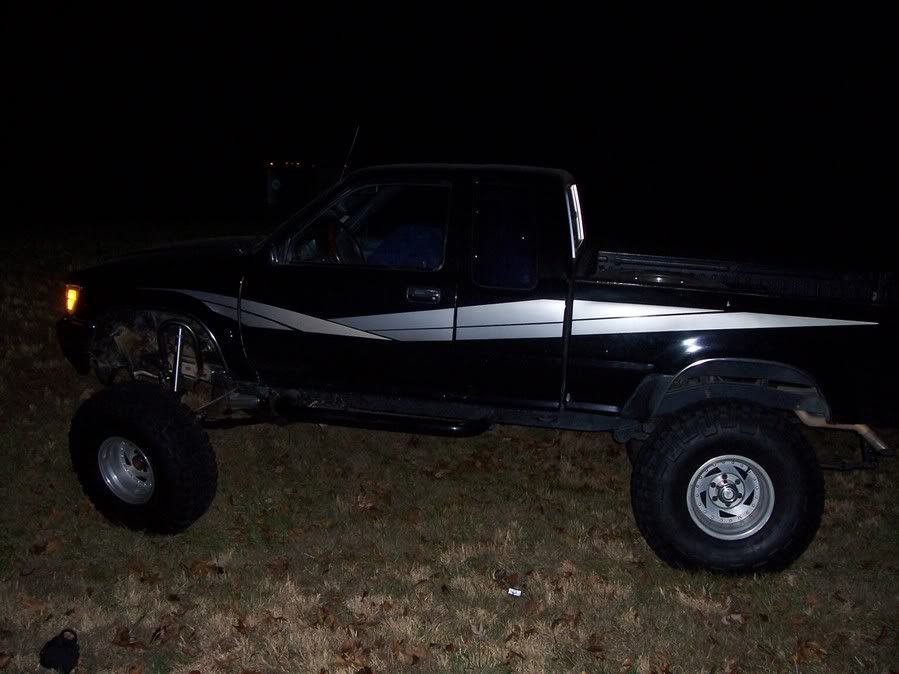
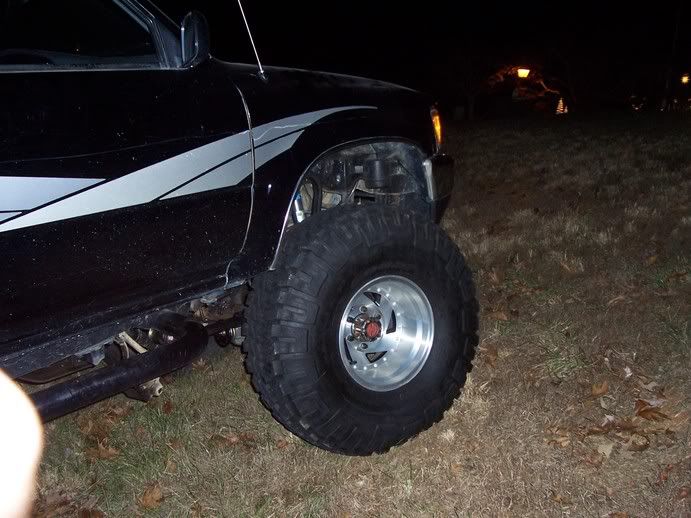

Can't wait to try it on the trail!
-Front end alignment needs adjusting
-Extended brake lines need to be put on/brakes need to be bled/new pads
-A front drive shaft would be useful
-Need a place to mount the tranny cooler
Here are a few pics:
Dad had the clever idea to use the tab already on the frame to mount the steering stabilizer:
And he also had the idea to weld a bolt to the top of the frame to remount the brake line bracket:
We took the first test drive, and it went very well. Here are some poser shots:
Can't wait to try it on the trail!
Last edited by 93ToyKid; Dec 14, 2005 at 05:34 PM.

 Dec 14, 2005 | 07:04 PM
#48
Thread Starter
Registered User
Joined: Jan 2005
Posts: 398
Likes: 1
From: High Point, NC/School at NC State
haha...yeah it didn't take but a little less than a week. that was working pretty solid every day though. as for those shock hoops, we looked at bracing them, and that would probably be a good idea, but there are two runs of welds on them, and you can grab ahold of them and rock the whole truck. they're as solid as can be. if need be, we'll add braces. btw waskilly...have you ever had trouble with your drag link hitting the connecting rod? ours is awfully close. thanks!
Dec 15, 2005 | 04:38 AM
#49
Originally Posted by 93ToyKid
haha...yeah it didn't take but a little less than a week. that was working pretty solid every day though. as for those shock hoops, we looked at bracing them, and that would probably be a good idea, but there are two runs of welds on them, and you can grab ahold of them and rock the whole truck. they're as solid as can be. if need be, we'll add braces. btw waskilly...have you ever had trouble with your drag link hitting the connecting rod? ours is awfully close. thanks!
Nope, never had any trouble w/ the drag link hitting the tie rod. I'm sure there are some pics on my website under the "front axle" buildup. I have the AP high steer kit. Did you move your box as far forward as possible?
 Dec 15, 2005 | 06:13 PM
#50
Registered User
Joined: Oct 2003
Posts: 1,264
Likes: 1
From: mayport FL
You probably need a flat pitman arm or a 3/4" less drop arm since your ifs box is in the stock location.
www.sky-manufacturing.com and OTC sells them.
www.sky-manufacturing.com and OTC sells them.
Last edited by 934rnr; Dec 15, 2005 at 06:15 PM.
Dec 15, 2005 | 06:18 PM
#51
Originally Posted by 934rnr
You probably need a flat pitman arm or a 3/4" less drop arm since your ifs box is in the stock location.
www.sky-manufacturing.com and OTC sells them.
www.sky-manufacturing.com and OTC sells them.

Yep, that is it after looking back at the pics.
Dec 16, 2005 | 02:51 AM
#52
Registered User
Joined: Oct 2003
Posts: 1,264
Likes: 1
From: mayport FL
OTC's website: http://www.ottindustries.com/index.htm
Dec 18, 2005 | 07:26 PM
#53
Thread Starter
Registered User
Joined: Jan 2005
Posts: 398
Likes: 1
From: High Point, NC/School at NC State
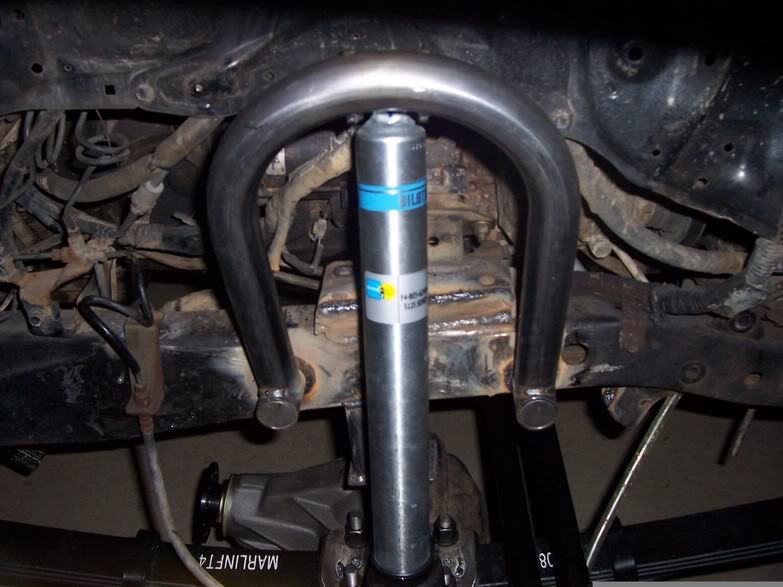
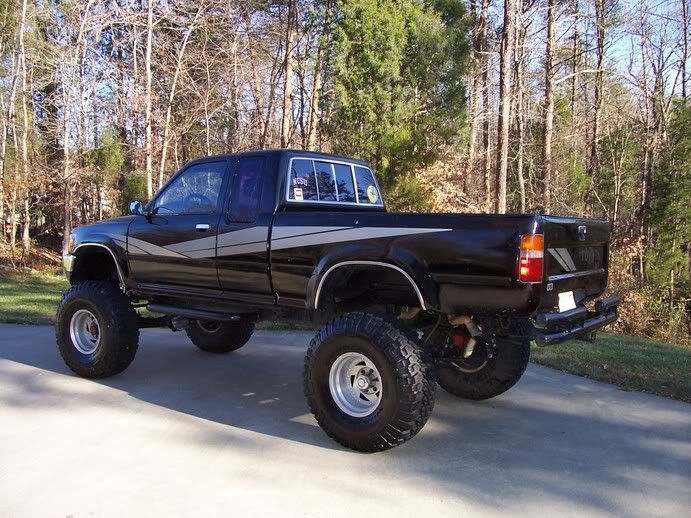
Solid axle swap is COMPLETE!!!! All we have to do now is pick up the front drive shaft from the shop tomorrow and bolt it on, then hit some trails!!! Here are some pics of the finished product (wheelin' pics will be up as soon as we go).


Dec 19, 2005 | 03:28 AM
#57

Banned
Joined: Jul 2004
Posts: 54
Likes: 0
From: ATL
Originally Posted by waskillywabbit
Looks good!
IMO, you need to brace those shock hoops something like this:

IMO, you need to brace those shock hoops something like this:
Dec 19, 2005 | 04:23 AM
#58

Me Like!

Originally Posted by ATLROACH
Brian you need to more your box forward. I see some binding in your future under compression on the driver's side. As much as you like fabricate stuff I'm suprise you haven't moved it up to the body mount and move your front axle forward.
Dec 19, 2005 | 06:01 AM
#60
Registered User
Joined: Aug 2003
Posts: 990
Likes: 0
From: Columbia, MO
Originally Posted by ATLRoach
Brian you need to more your box forward. I see some binding in your future under compression on the driver's side. As much as you like fabricate stuff I'm suprise you haven't moved it up to the body mount and move your front axle forward.


