ScubaFab Tacoma rear bumper
 May 10, 2010 | 11:00 PM
#1
Thread Starter
Registered User
Joined: Jan 2008
Posts: 11,338
Likes: 120
From: Austin, Texas
ScubaFab Tacoma rear bumper
Figured I'd just start this rather then adding pictures to the "my truck got rear ended thread"
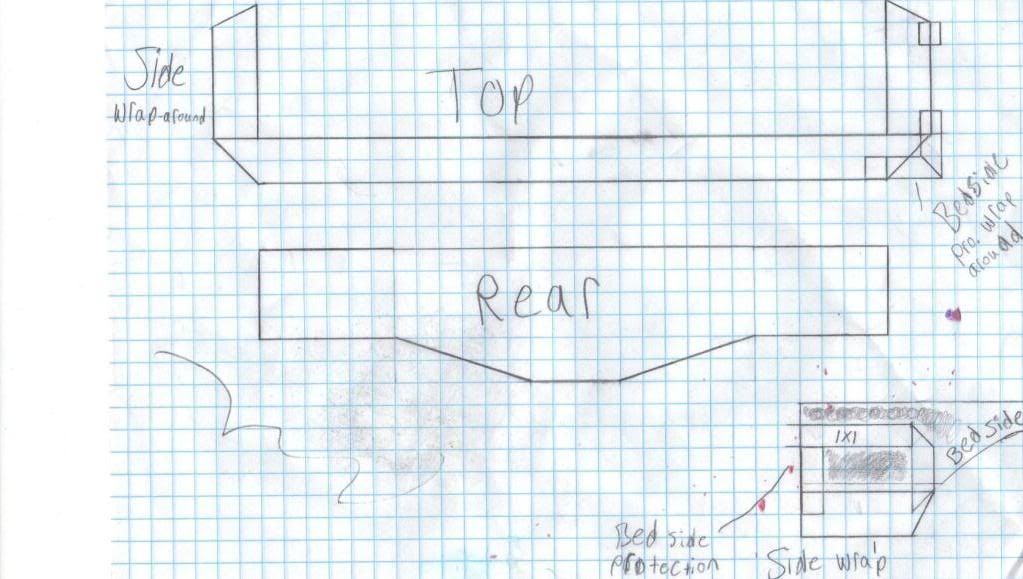
Plans : 4X2 for the main body, 2X2 for fender wrap around, 1.5X1.5 for the bed side and tail light protection. All of it is in the 3/16th's-1/4" flavor. I don't do tube, square is easy to work with.
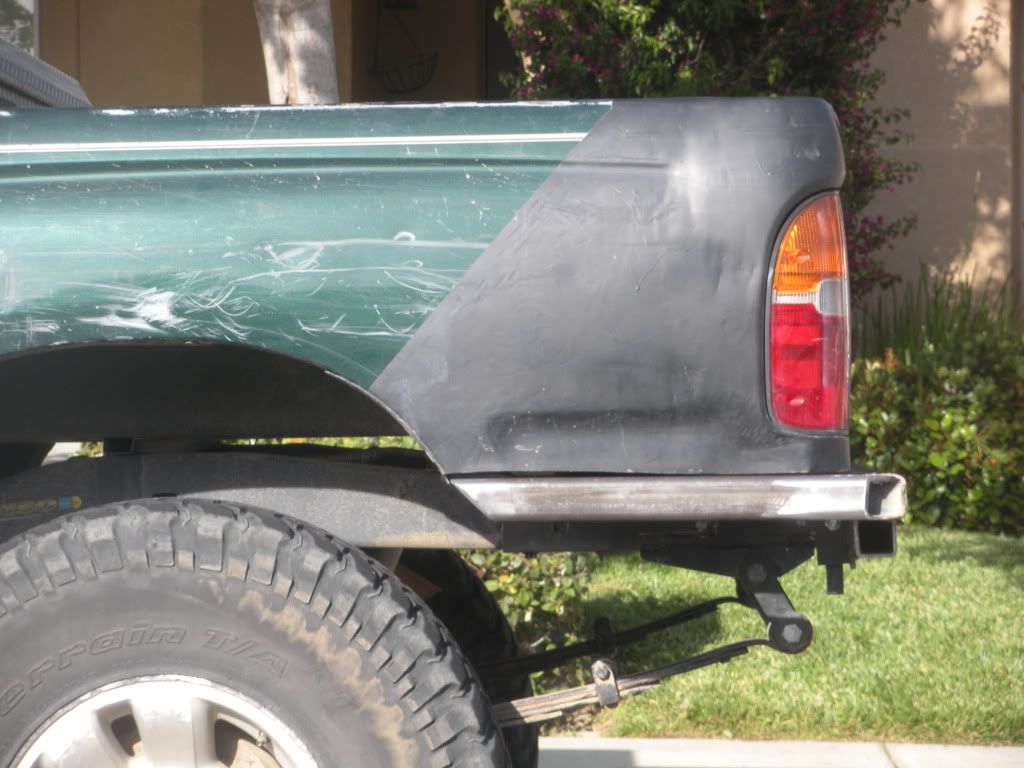
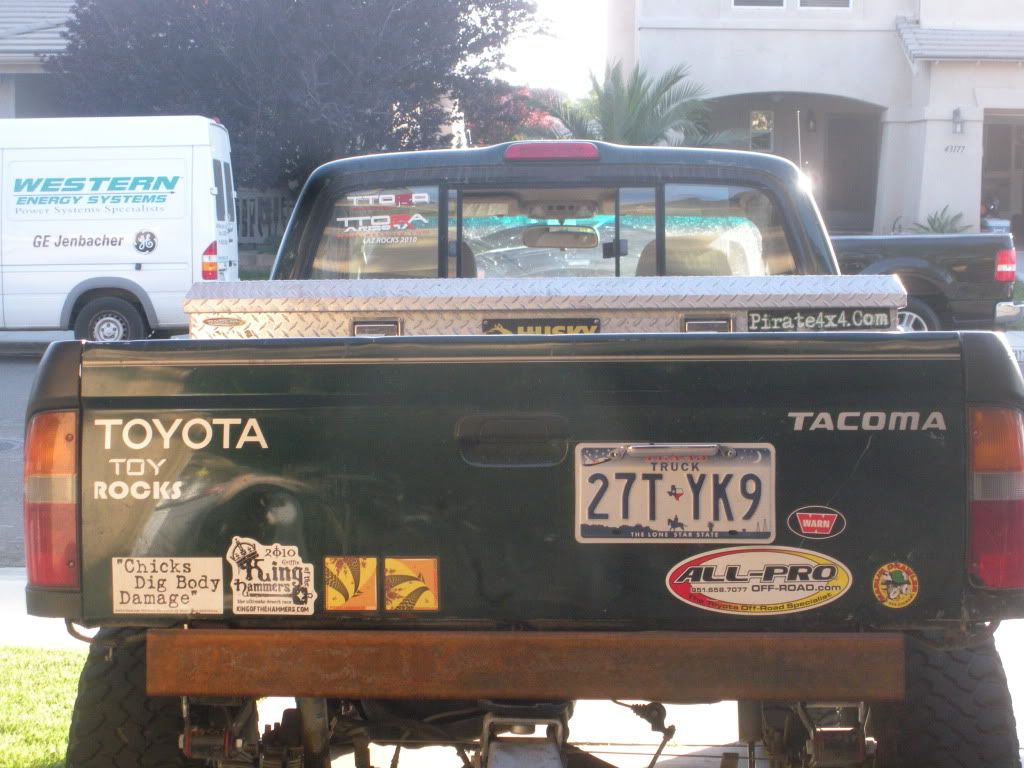
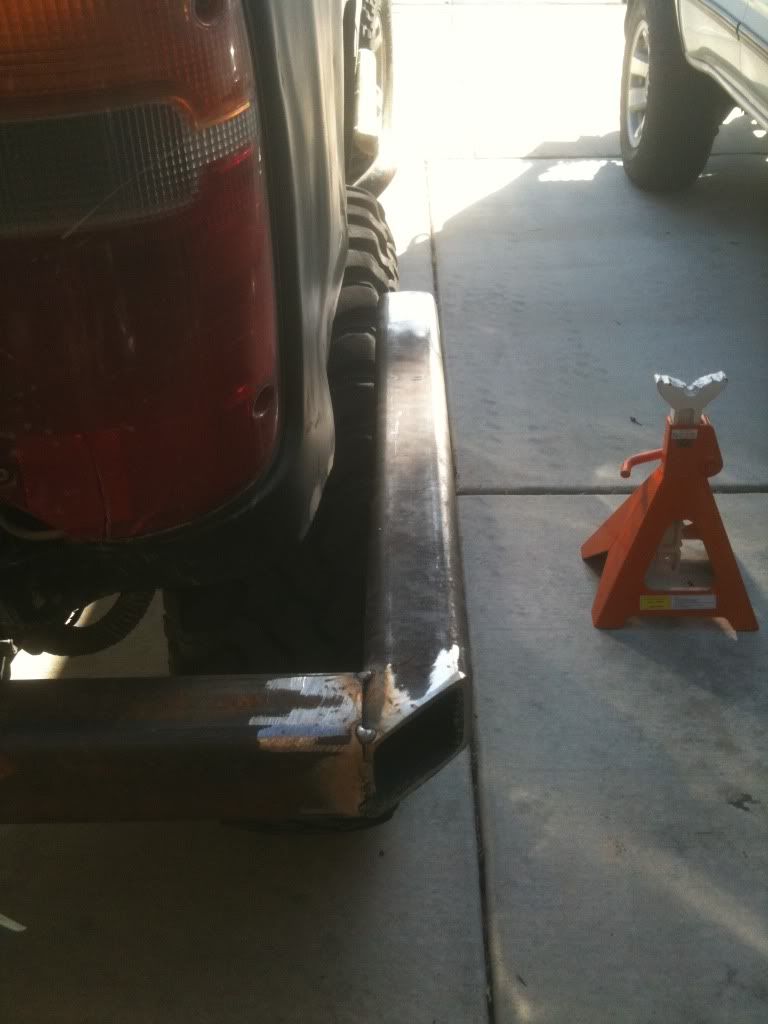
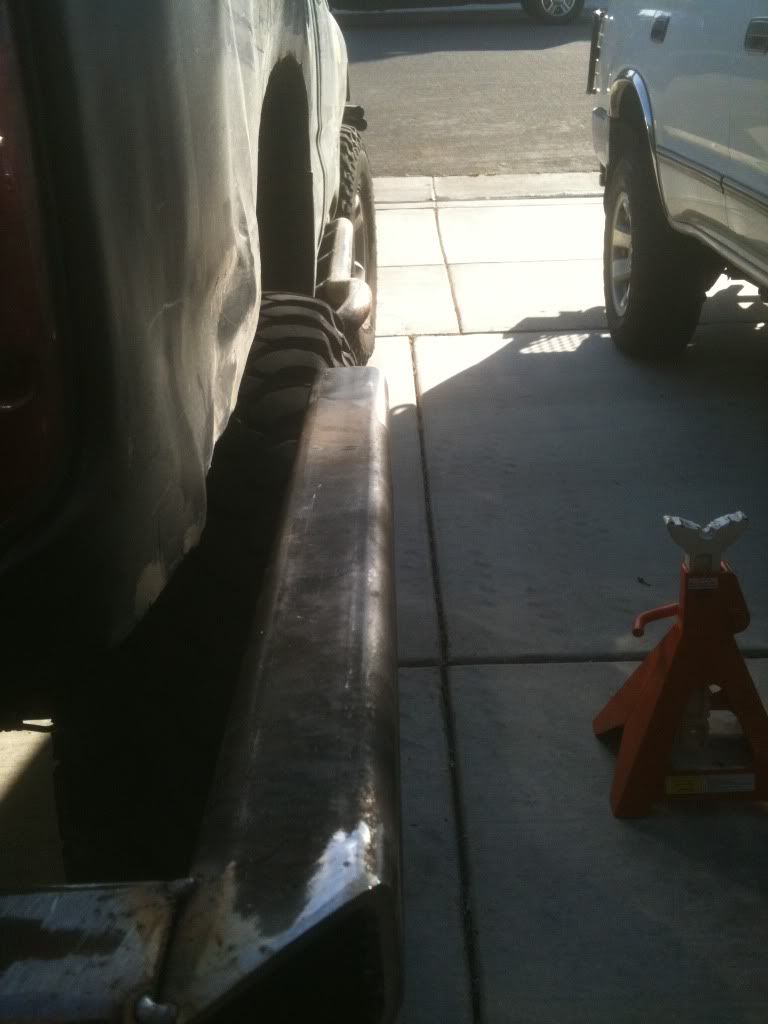
The empty candidate (Bobbed and high clearanced)
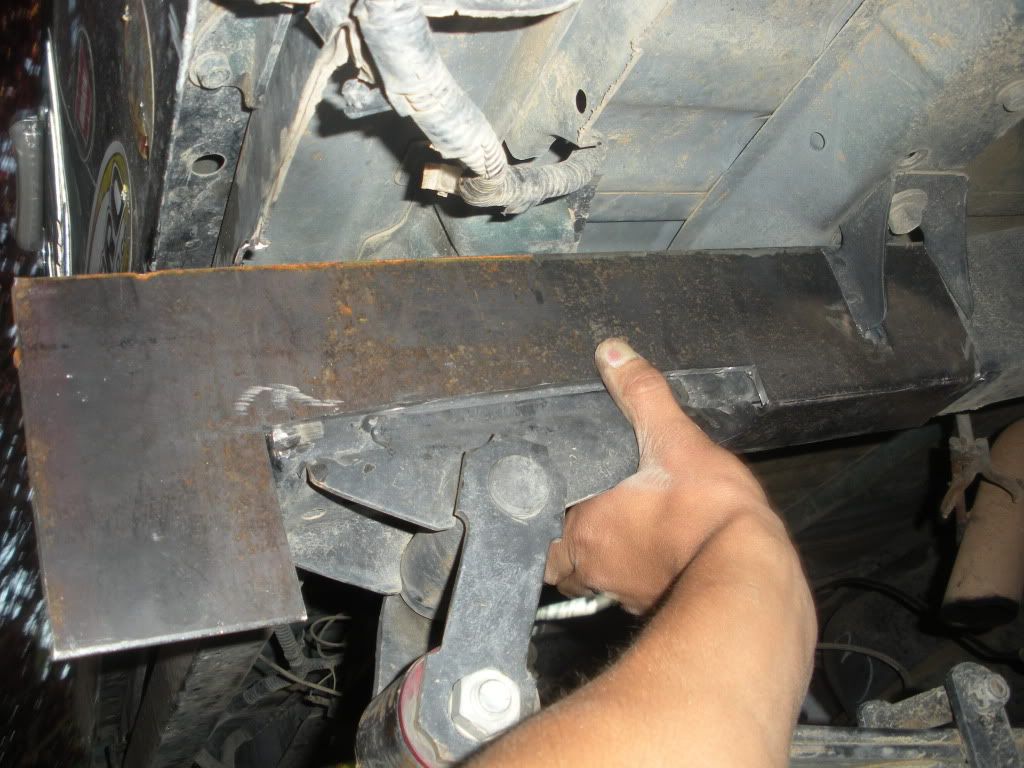
Mounts using existing holes in the frame
Mock up
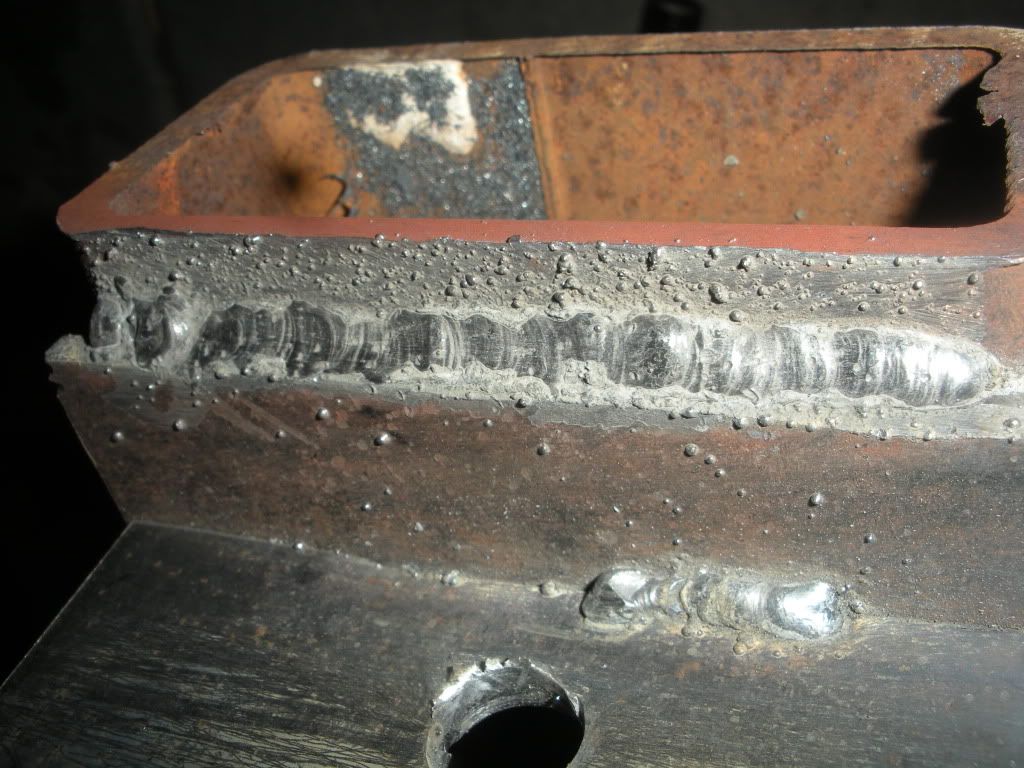
110V/135A Flux core
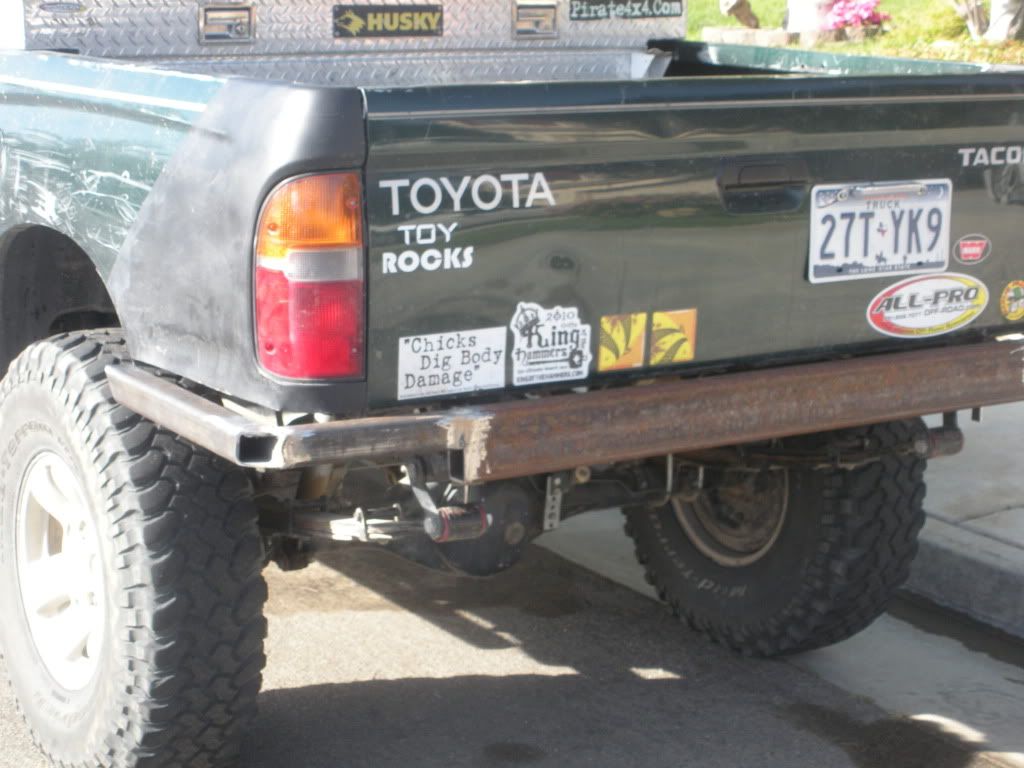
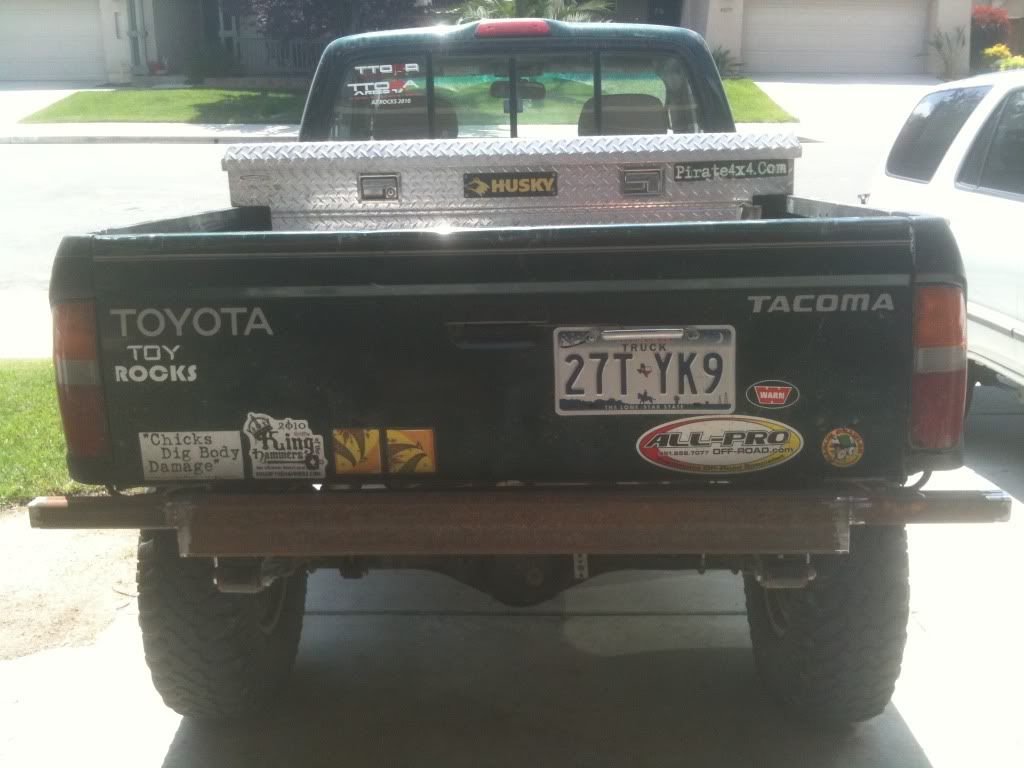
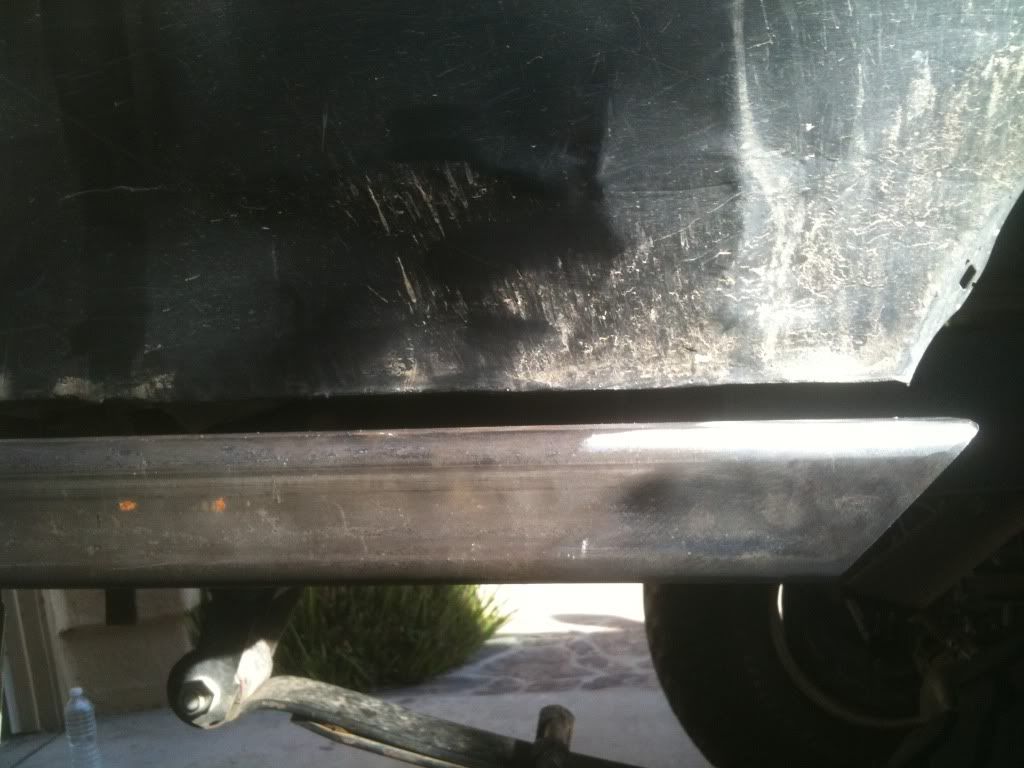
Current state. It looks bent down because the bedside directly under the light is pushed in. But I assure you that is just optical illusion
That's all for now.
Plans : 4X2 for the main body, 2X2 for fender wrap around, 1.5X1.5 for the bed side and tail light protection. All of it is in the 3/16th's-1/4" flavor. I don't do tube, square is easy to work with.
The empty candidate (Bobbed and high clearanced)
Mounts using existing holes in the frame
Mock up
110V/135A Flux core
Current state. It looks bent down because the bedside directly under the light is pushed in. But I assure you that is just optical illusion
That's all for now.


 May 11, 2010 | 07:07 AM
#4
Thread Starter
Registered User
Joined: Jan 2008
Posts: 11,338
Likes: 120
From: Austin, Texas

 May 11, 2010 | 08:34 AM
#5

Registered User
Joined: Jan 2009
Posts: 175
Likes: 0
Hey scub, if I may, when welding with flux core, you always want to drag your weld (puddle), using "C" patterns. When using MIG w/gas, you want to push the weld (puddle), and prep your weld surface as best you can to minimize splatter and better penetration. Keep your gun at a 4-5 degree angle (use two hands if need be). Looks good so far though........
May 11, 2010 | 06:02 PM
#7
Thread Starter
Registered User
Joined: Jan 2008
Posts: 11,338
Likes: 120
From: Austin, Texas
Getting the side wrap arounds done right now (taking a dinner break)
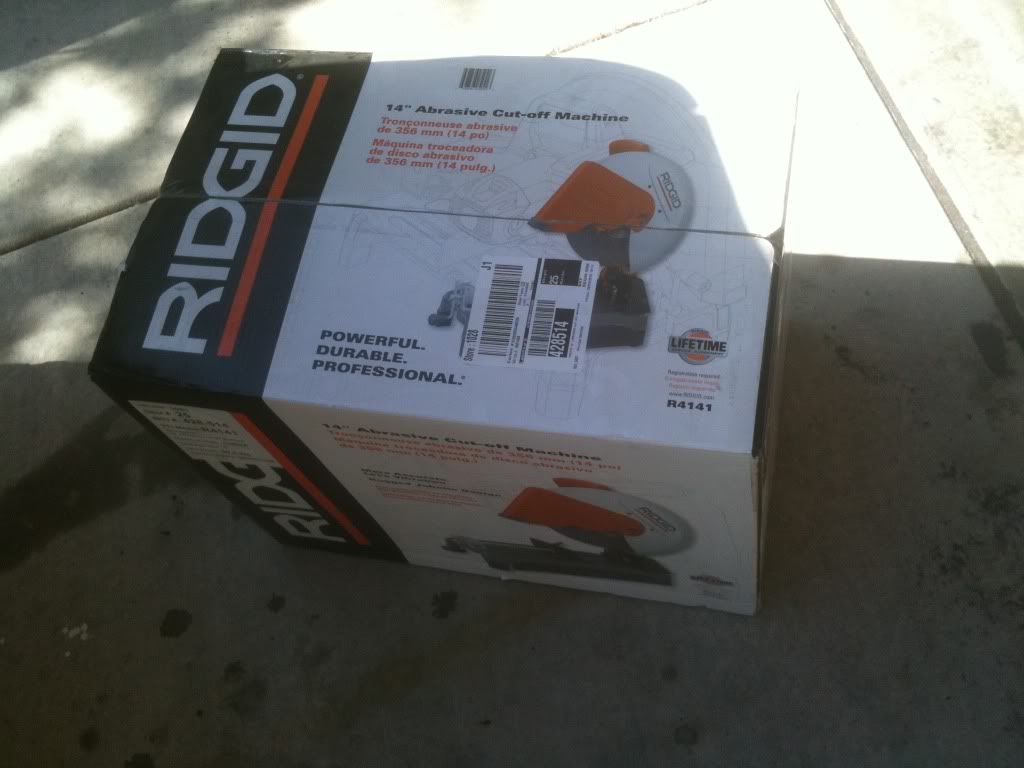
Had to get a new chop saw because my HF one took a dump on my chest today
I have the wrap around sticking out so far so that the 1.5x1.5 will fit on the whole 2x2. It only sticks out about an inch more then my sliders and I don't think it will be a detriment on the trail.
Had to get a new chop saw because my HF one took a dump on my chest today
I have the wrap around sticking out so far so that the 1.5x1.5 will fit on the whole 2x2. It only sticks out about an inch more then my sliders and I don't think it will be a detriment on the trail.
Trending Topics
May 11, 2010 | 07:09 PM
#8
Nice job on this thing. I am using my 115 volt $64 HF flux core welder. Figured for the price I got it (on sale plus a coupon) i can use it to learn to weld again...Flapper wheels cure a lot of splatter

Looking forward to seeing the finished product

edit: are you gonna run a brace behind the wheel well too?
Last edited by dropzone; May 11, 2010 at 07:11 PM.
May 11, 2010 | 07:13 PM
#9
Contributing Member
Joined: Nov 2005
Posts: 8,875
Likes: 3
From: Longmont, CO
Personally, I would cut the other crosspiece to keep the side wings just inside the outer edge of the tire.
May 11, 2010 | 09:40 PM
#11
Thread Starter
Registered User
Joined: Jan 2008
Posts: 11,338
Likes: 120
From: Austin, Texas
Nice job on this thing. I am using my 115 volt $64 HF flux core welder. Figured for the price I got it (on sale plus a coupon) i can use it to learn to weld again...Flapper wheels cure a lot of splatter
Looking forward to seeing the finished product
edit: are you gonna run a brace behind the wheel well too?
Looking forward to seeing the finished product
edit: are you gonna run a brace behind the wheel well too?
Brace from the side wing to the frame and the main mounts you mean ? Yes, they just aren't on the drawing.
I've already told my self : If I don't like the overall look with the square bed protection I'll cut it off and pay someone to do some tube work.
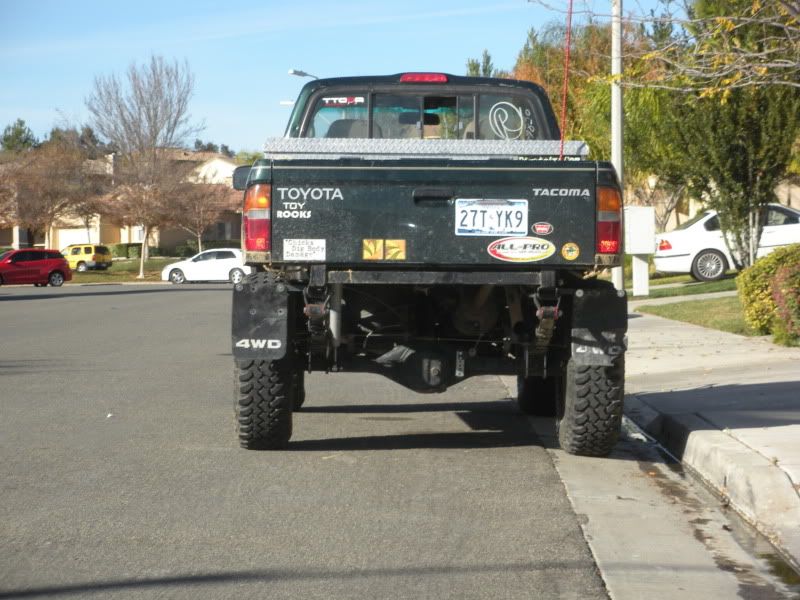
Update, both of the side wings are on, welded, ground down and welded again cause for some reason I was getting poopy welds. This mofo is getting heavy.
May 11, 2010 | 10:15 PM
#15
Thread Starter
Registered User
Joined: Jan 2008
Posts: 11,338
Likes: 120
From: Austin, Texas
 May 11, 2010 | 10:17 PM
#16
Registered User
Joined: Sep 2008
Posts: 3,887
Likes: 16
From: Spokane, WA
Oooo yeah i forgot to say this in the other post. I think you should bring in the side protectors a few inches..
It looks like if you were to go up against a tree or something that your bumper would get you hung up on the tree or rock or whatever.
Make it hug the body a bit, kinda like a set of sliders.
Plus there wont be as much leverage against the main body of the bumper.
It looks like if you were to go up against a tree or something that your bumper would get you hung up on the tree or rock or whatever.
Make it hug the body a bit, kinda like a set of sliders.
Plus there wont be as much leverage against the main body of the bumper.
May 11, 2010 | 10:19 PM
#17
Thread Starter
Registered User
Joined: Jan 2008
Posts: 11,338
Likes: 120
From: Austin, Texas
Thanks buddy
Yea I've spent around 25-30 hours on it so far. It's a lot of work, but I've only got 120 bucks into it. If I went to a fabber I'd be paying 4-600 bucks.. If I can do it myself why not.
A couple people have already asked me why not but one....
 May 12, 2010 | 02:23 PM
#19