My Camping Trailer Project

 11-10-2010, 04:50 PM
#122
Registered User
Thread Starter
Join Date: May 2007
Location: Summit County, Colorado
Posts: 1,441
Likes: 0
Received 0 Likes
on
0 Posts
I worked on it for a couple hours this last Sunday but I forgot the camera. I didn't get much done, just some bracing for the floor and a couple misc other things. I will take pictures the next time I work on it. The goal is to have the trailer ready by late Spring, so I will be working on it through the Winter.
11-14-2010, 07:14 PM
#123
Registered User
Thread Starter
Join Date: May 2007
Location: Summit County, Colorado
Posts: 1,441
Likes: 0
Received 0 Likes
on
0 Posts
I spent a couple hours working on the trailer this weekend (and a couple last weekend). Nothing major but every little bit helps.
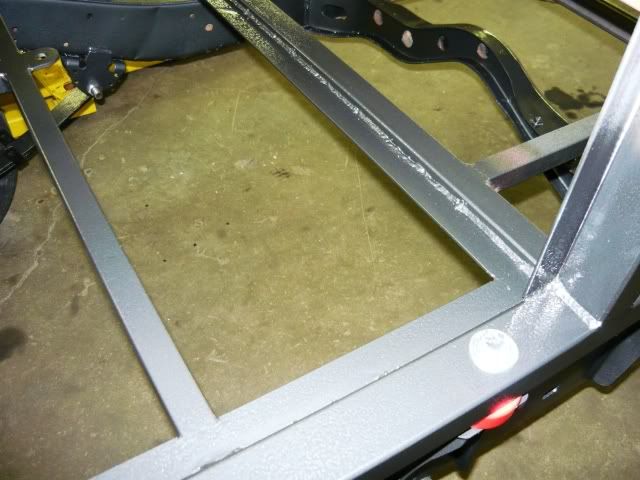
I added some bracing for the floor. I will be adding more, this is just the basic structure.
I plan to have a slide out tray for the front section of the trailer, this will hold a cooler or maybe two. I added a section of tubing to keep stuff from sliding all the way to the front of the trailer.
I added some bracing for the floor. I will be adding more, this is just the basic structure.
I plan to have a slide out tray for the front section of the trailer, this will hold a cooler or maybe two. I added a section of tubing to keep stuff from sliding all the way to the front of the trailer.
11-14-2010, 07:40 PM
#124
Registered User
Thread Starter
Join Date: May 2007
Location: Summit County, Colorado
Posts: 1,441
Likes: 0
Received 0 Likes
on
0 Posts
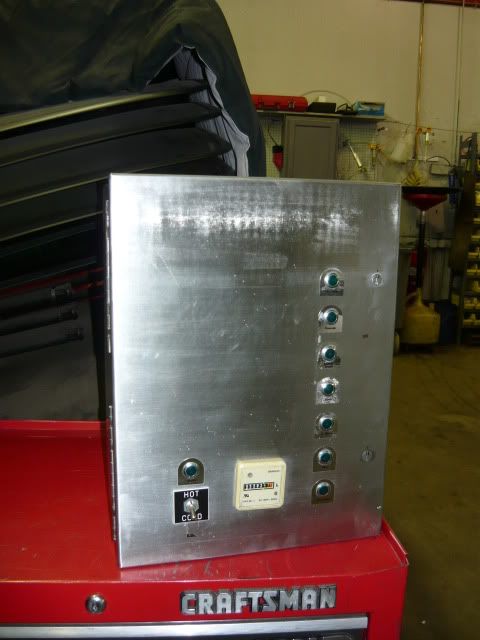
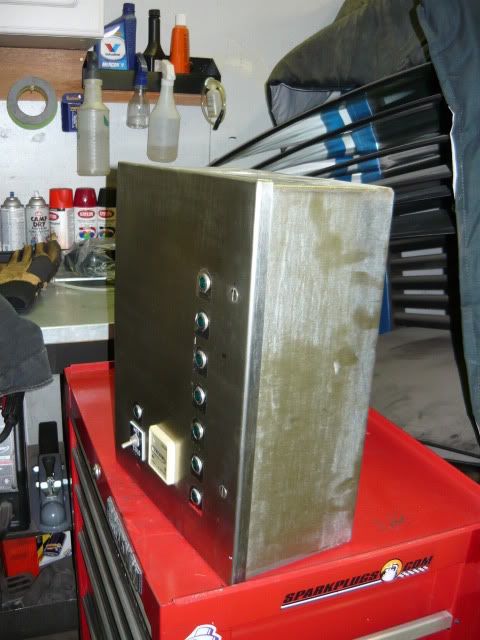
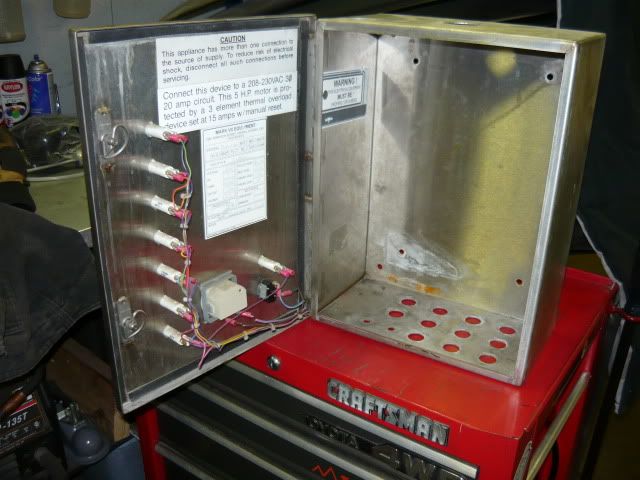
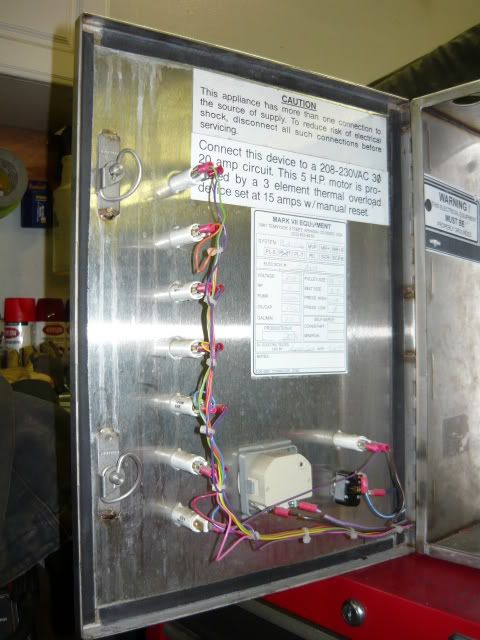
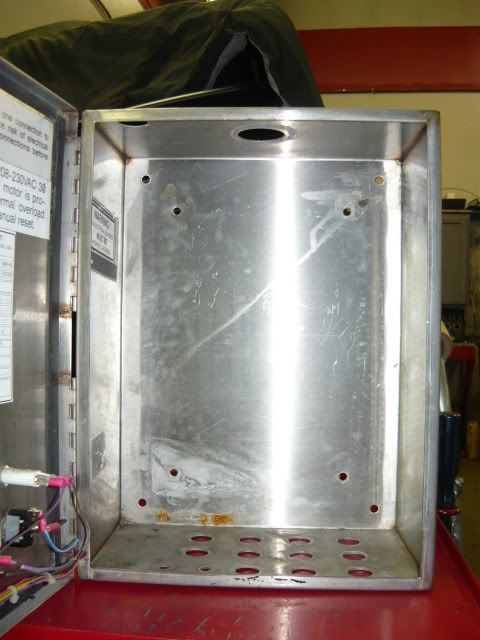
I found this really cool stainless steel electrical box that used to be part of a carwash. It fit the trailer, (was Free!) and seemed like a good place to house some of the random electrial and other misc stuff I have planned.
Last edited by DIRTCO; 11-15-2010 at 05:06 AM.

 11-15-2010, 04:19 PM
#129
Registered User
Thread Starter
Join Date: May 2007
Location: Summit County, Colorado
Posts: 1,441
Likes: 0
Received 0 Likes
on
0 Posts
11-15-2010, 04:52 PM
#130
Registered User
Thread Starter
Join Date: May 2007
Location: Summit County, Colorado
Posts: 1,441
Likes: 0
Received 0 Likes
on
0 Posts
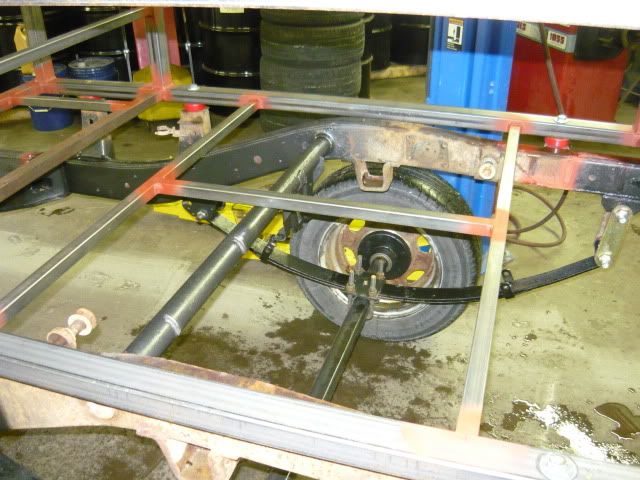
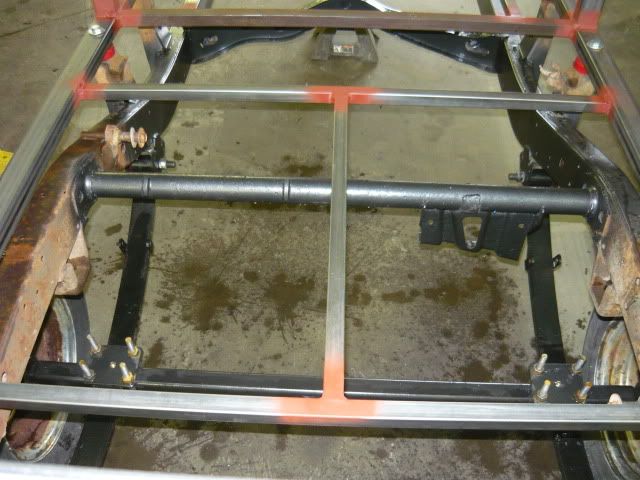
Thanks, the trailer is going to have the same wheels and tires as the 4Runner. I have a full size spare on the 4Runner, so I don't really need another spare on the trailer (I want to keep the weight as low as possible). I also carry a plug kit with extra plugs and glue, along with CO2 and a back up compressor. If I were to get more than one trashed tire on the truck I can rob the tires off the trailer (I plan on having four extended leveling jacks) and find the nearest town to get replacements.
11-17-2010, 07:24 PM
#132
Registered User
Thread Starter
Join Date: May 2007
Location: Summit County, Colorado
Posts: 1,441
Likes: 0
Received 0 Likes
on
0 Posts
Thanks! I think it should work out pretty good. I really hope to have room for two smaller coolers on the slide out; it would be awesome to have a standard cooler that gets used most of the time for drinks, snacks and food that does not have to stay super cold all the time. The other cooler would have extra insulation and be used for stuff that needs to stay cold for longer.
I know someone is going to suggest a fridge instead, and maybe one day I will get one. But right now that is out of my price range, so I'll give the coolers a shot and see how it works out.
I know someone is going to suggest a fridge instead, and maybe one day I will get one. But right now that is out of my price range, so I'll give the coolers a shot and see how it works out.
11-21-2010, 03:43 PM
#133
Registered User
Thread Starter
Join Date: May 2007
Location: Summit County, Colorado
Posts: 1,441
Likes: 0
Received 0 Likes
on
0 Posts
I was finally able to spend more than a couple hours working on the trailer!
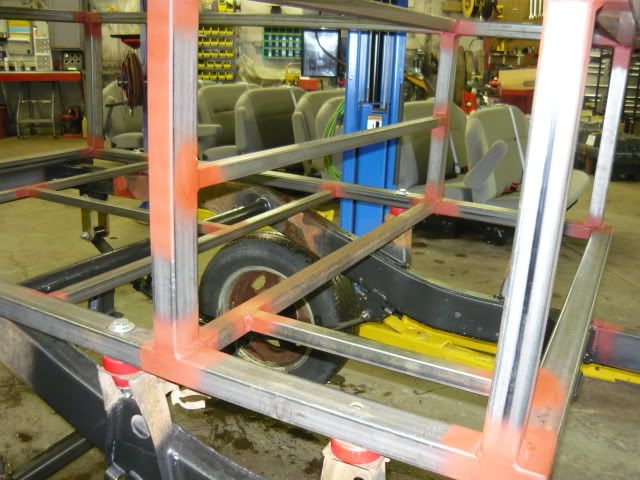
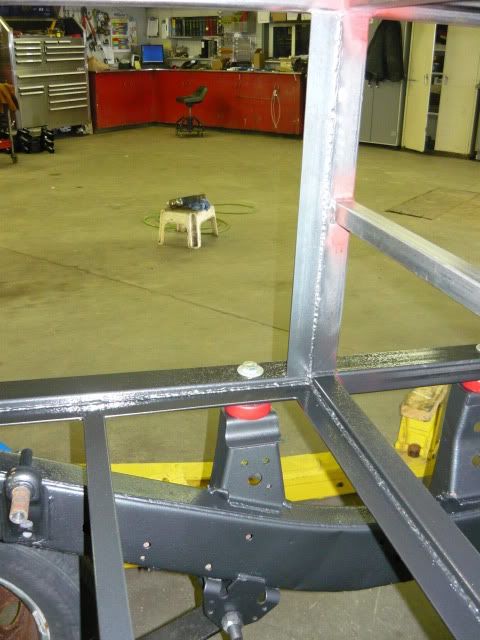
I started by welding all the vertical supports for the side skins, then all the flat steel for the edge of the flooring. The shop welder was broken so I was stuck using my little Lincoln 110 with flux core wire, after 20ft of bead I really wanted to vomit. That stuff is NASTY , but it did it's job and the welder is my trusty little stand by, so I can't complain too much.
I didn't bother taking any pictures in the process, but I'll get back to that in a minute...
I started by welding all the vertical supports for the side skins, then all the flat steel for the edge of the flooring. The shop welder was broken so I was stuck using my little Lincoln 110 with flux core wire, after 20ft of bead I really wanted to vomit. That stuff is NASTY
, but it did it's job and the welder is my trusty little stand by, so I can't complain too much.I didn't bother taking any pictures in the process, but I'll get back to that in a minute...
Last edited by DIRTCO; 11-21-2010 at 04:10 PM.
11-21-2010, 04:09 PM
#134
Registered User
Thread Starter
Join Date: May 2007
Location: Summit County, Colorado
Posts: 1,441
Likes: 0
Received 0 Likes
on
0 Posts
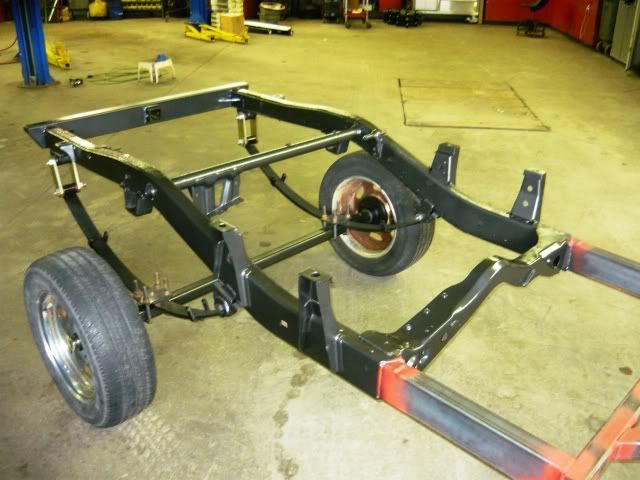
I have come to the conclusion that this trailer is like a huge puzzle without a picture, I have to to make the pieces and picture how it will all go together. On top of that, there is a certain order that everything has to be assembled for the whole thing to work. It's a challenge, but quite rewarding!
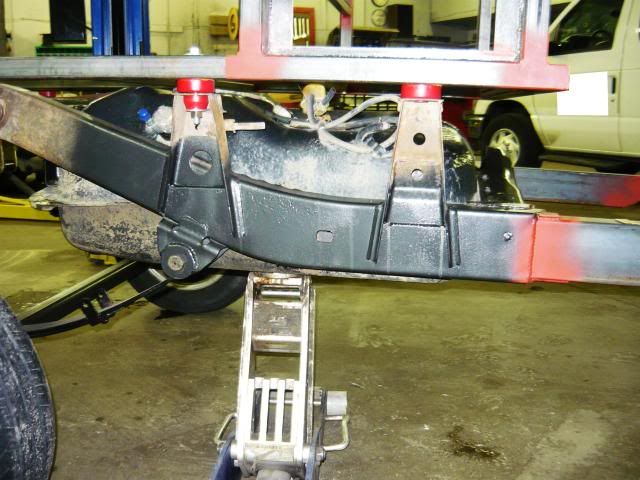
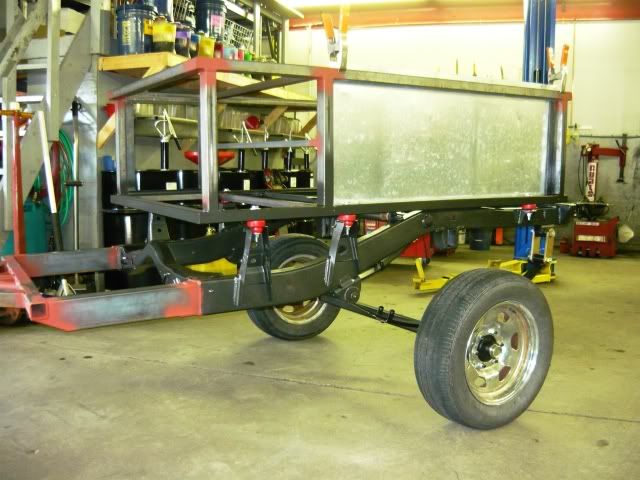
With the floor supports in place it was time to add some paint to the frame, and the lower section of the camper frame work.
First I lifted the body off and worked on painting the frame
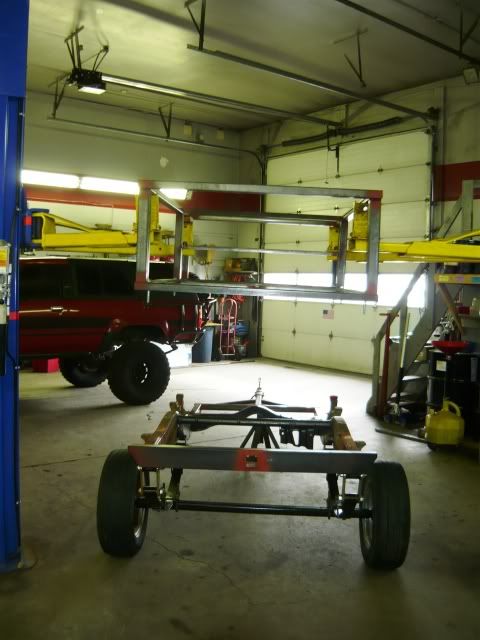
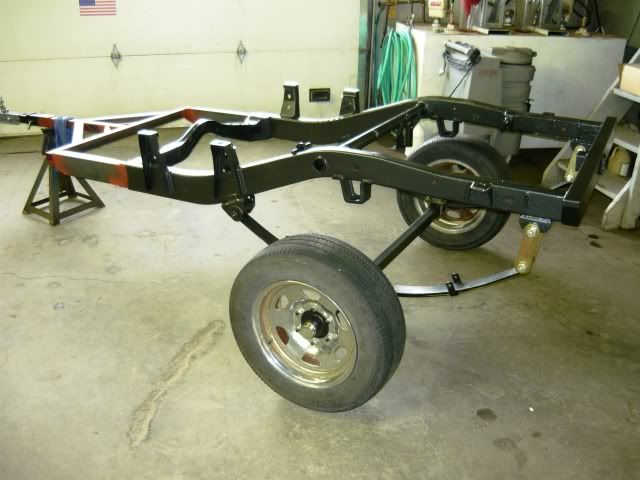
With the floor supports in place it was time to add some paint to the frame, and the lower section of the camper frame work.
First I lifted the body off and worked on painting the frame
11-21-2010, 04:22 PM
#135
Registered User
Thread Starter
Join Date: May 2007
Location: Summit County, Colorado
Posts: 1,441
Likes: 0
Received 0 Likes
on
0 Posts
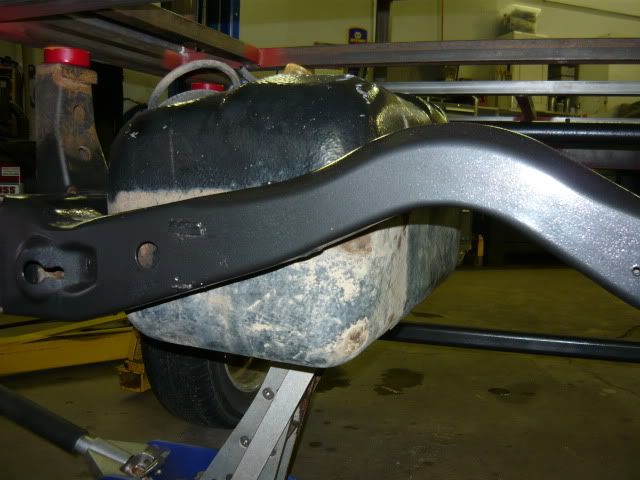
Then I painted the lower section of the trailer body, and bolted it back in place.
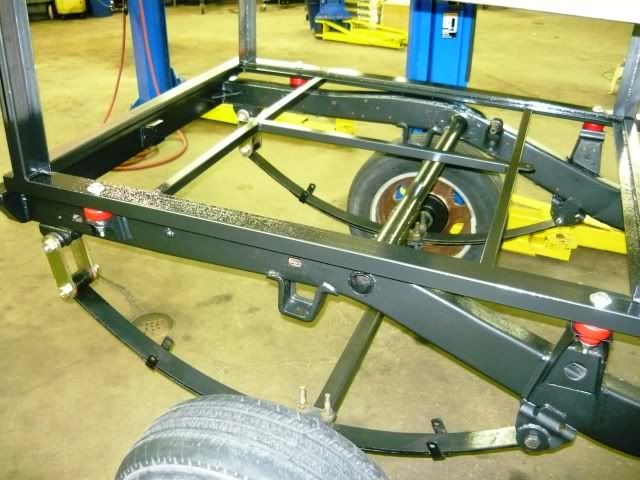
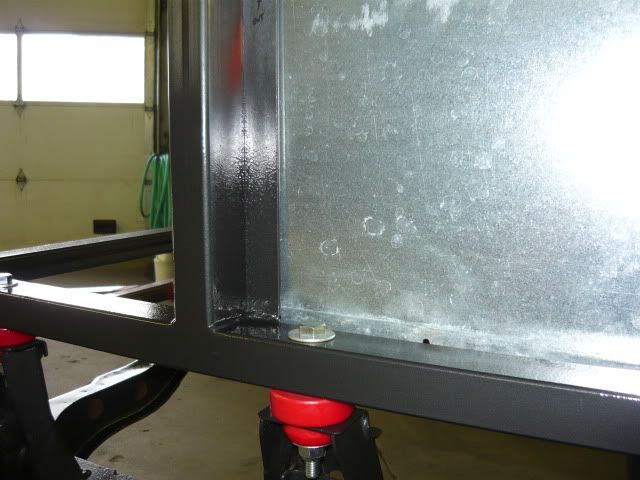
Here is the vertical support for the skins, I welded the back side for a cleaner look.

And here is the steel that the floor will bolt to, I still need to drill all the holes for the bolts.
Here is the vertical support for the skins, I welded the back side for a cleaner look.
And here is the steel that the floor will bolt to, I still need to drill all the holes for the bolts.
 11-21-2010, 04:40 PM
#137
Registered User
Thread Starter
Join Date: May 2007
Location: Summit County, Colorado
Posts: 1,441
Likes: 0
Received 0 Likes
on
0 Posts
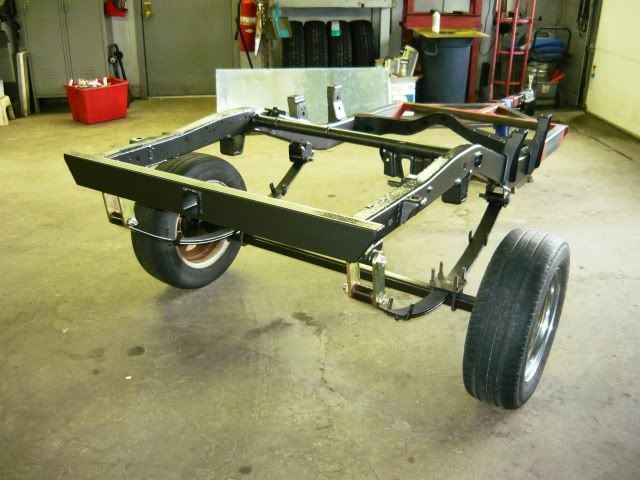
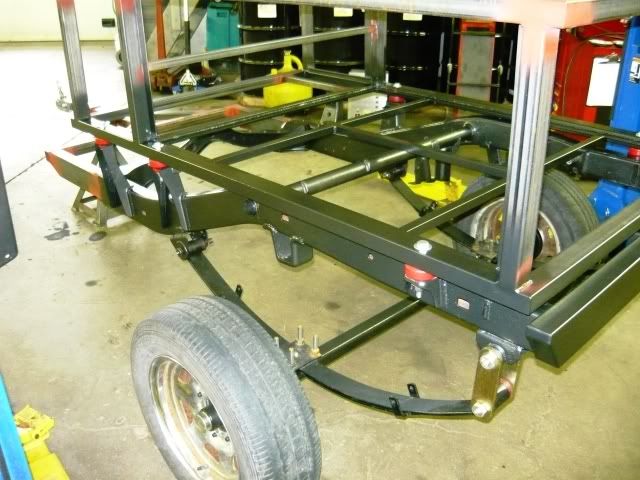
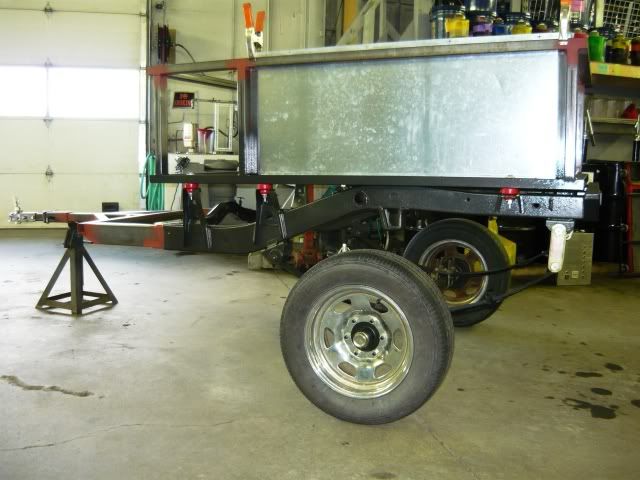
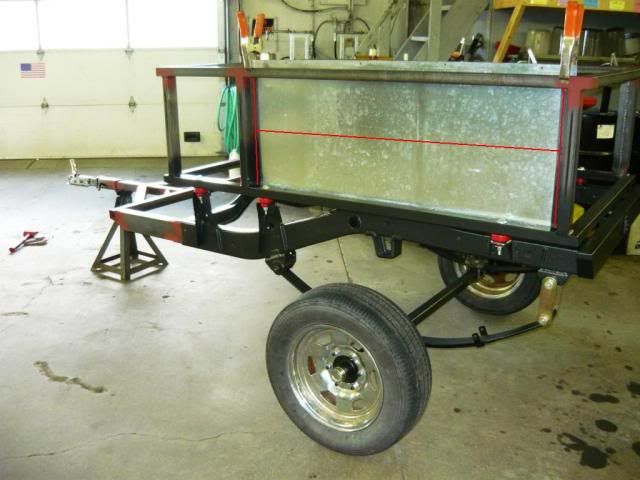
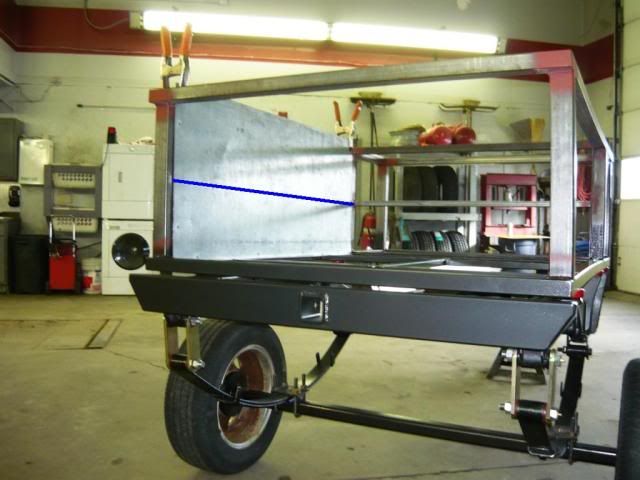
With everything in place I test fit one of the skins to see how it would look and fit. It's galvanized steel sheet that used to be part of some shelving, it's a little thin but not too bad.
11-21-2010, 04:48 PM
#138
Registered User
Thread Starter
Join Date: May 2007
Location: Summit County, Colorado
Posts: 1,441
Likes: 0
Received 0 Likes
on
0 Posts
It looks a little dirty but the galvanized steel should clean up okay, the red circle is the test spot where I cleaned it.
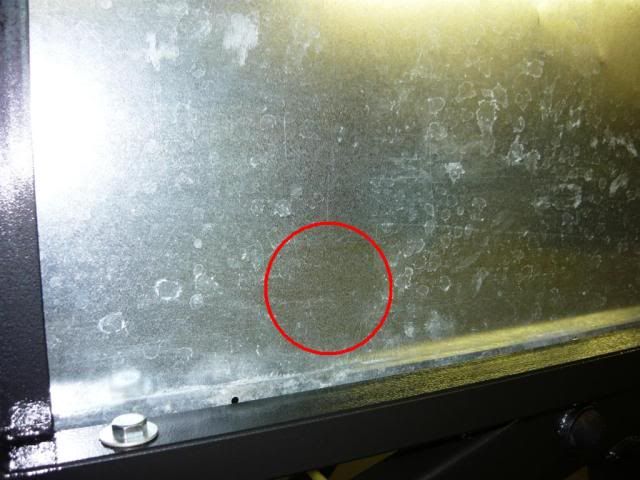
The sheet will be riveted and glued in place, there will be an extra support in the middle of the skin (on the inside) for more strength and to keep stuff from contacting the skin. It will also have hold downs for the cargo.
Red lines are where the rivets will attach the sheet
Blue line is the support for the back side
Last edited by DIRTCO; 11-21-2010 at 04:52 PM.
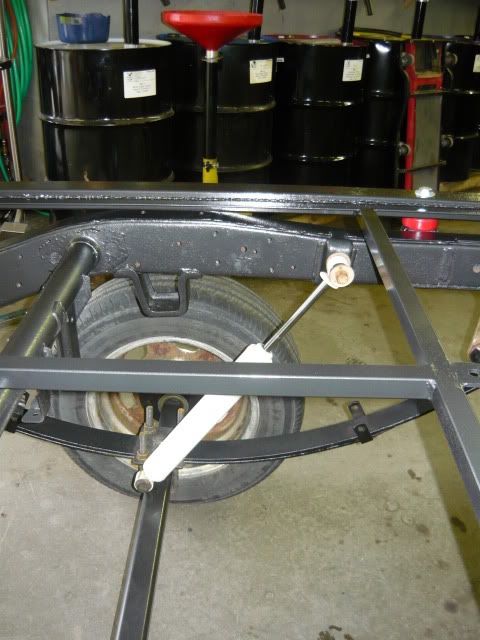
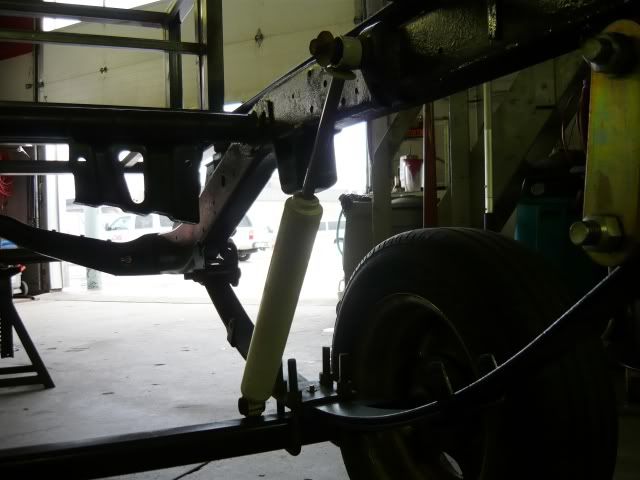
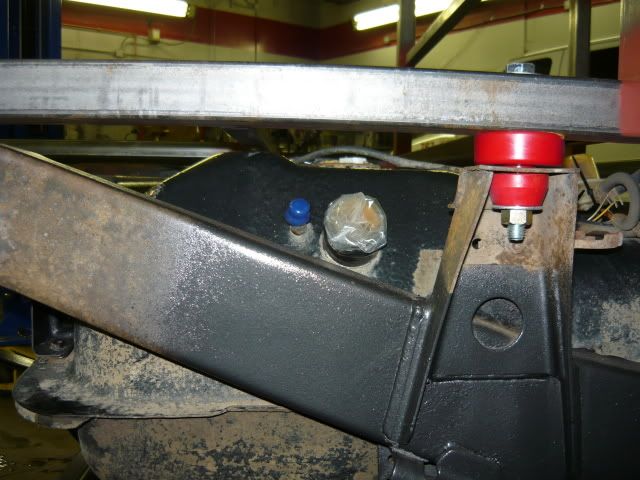
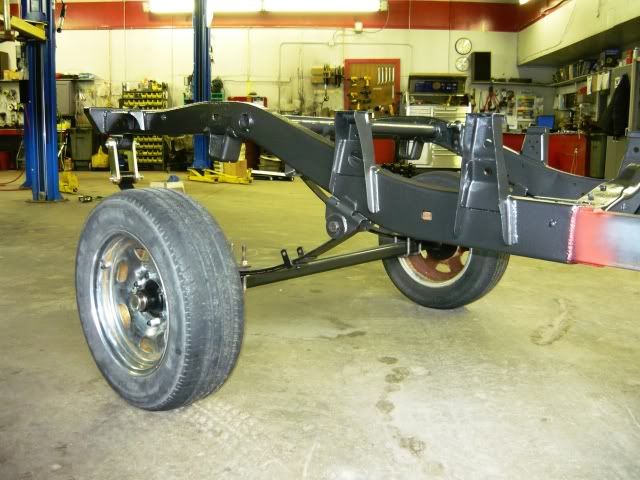
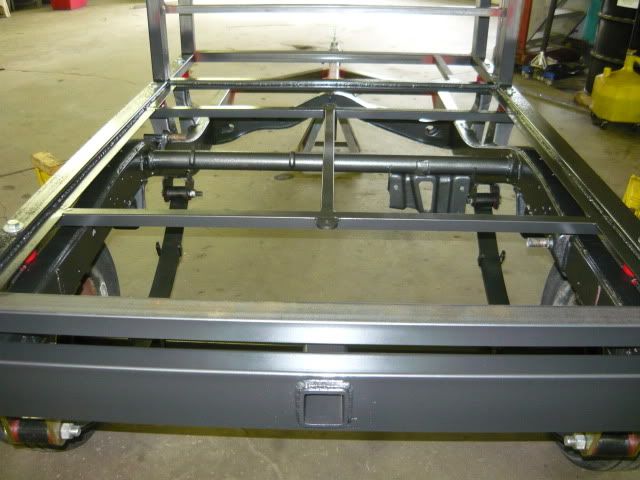
11-21-2010, 05:27 PM
#139
Registered User
Thread Starter
Join Date: May 2007
Location: Summit County, Colorado
Posts: 1,441
Likes: 0
Received 0 Likes
on
0 Posts
While I had the trailer in the shop I test fit the shocks, they were on the truck so I knew they should work. I have some new lower shock mounts and wanted to see how everything would line up. The shocks and mounts should work fine, the lower mount will set another 1"-2" higher.