
First Gen 4runner rear plate bumper
 Feb 6, 2015 | 11:32 PM
#1
Thread Starter
Registered User
Joined: May 2013
Posts: 25
Likes: 0
From: Ringgold Ga, Montgomery Al
First Gen 4runner rear plate bumper
Its well past midnight here in Montgomery and my roommate is dead asleep while I'm wide awake. So i think it's time to finally get around to writing a thread on my rear bumper. Ill talk first and add my string of pictures next.
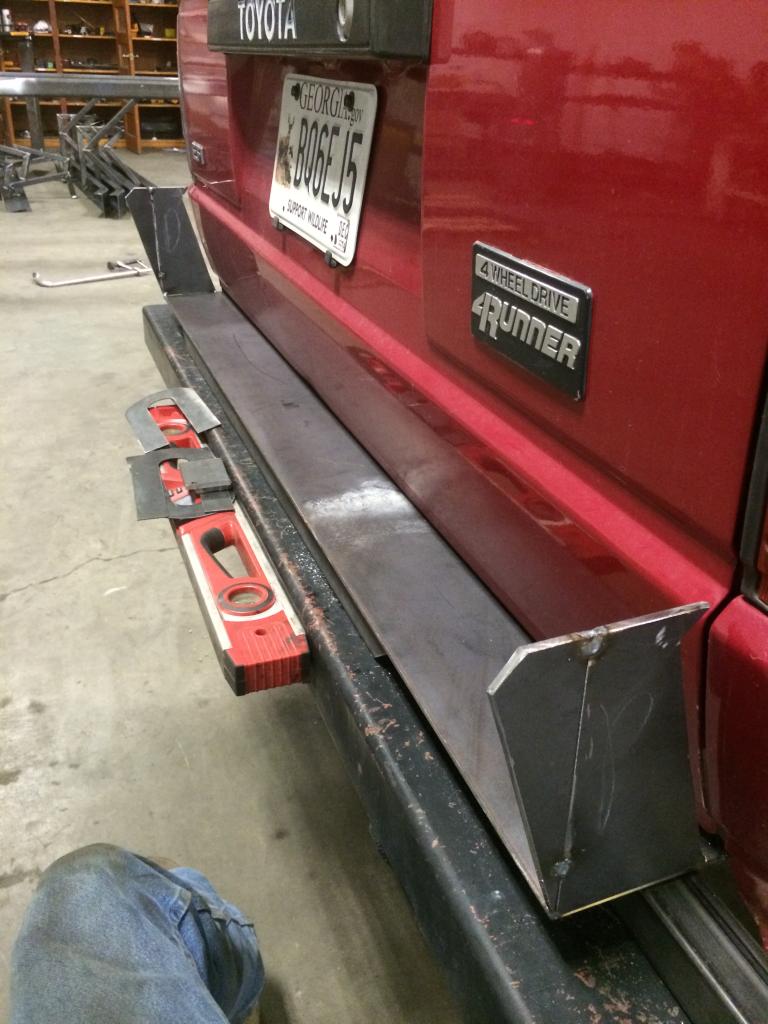
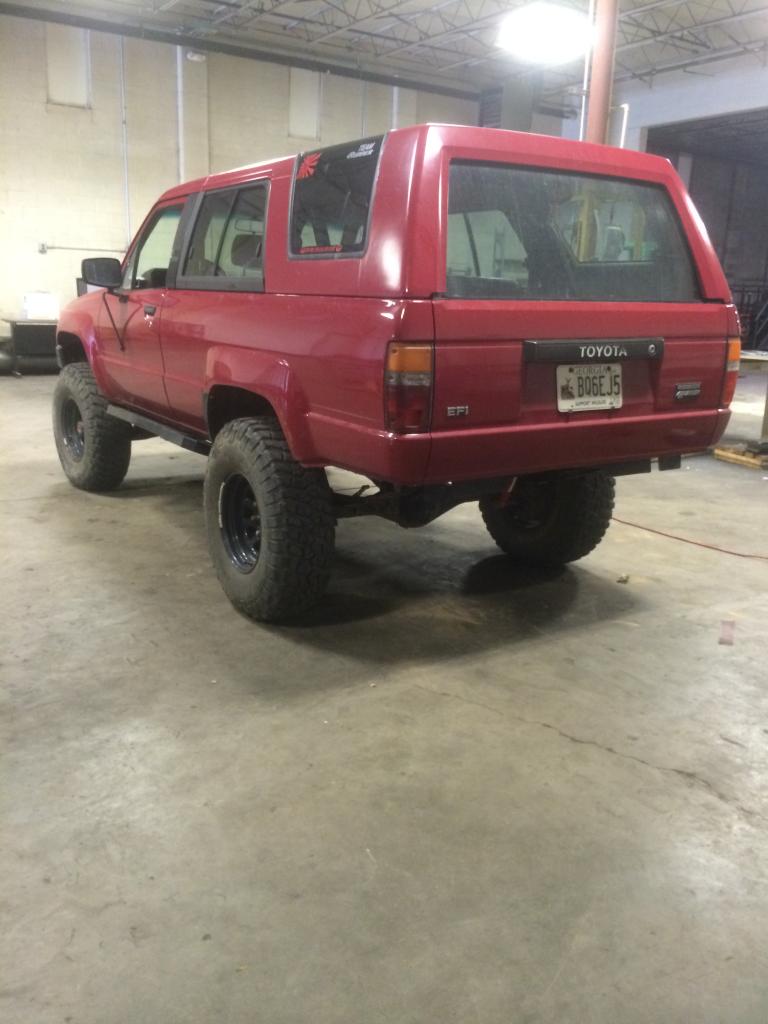
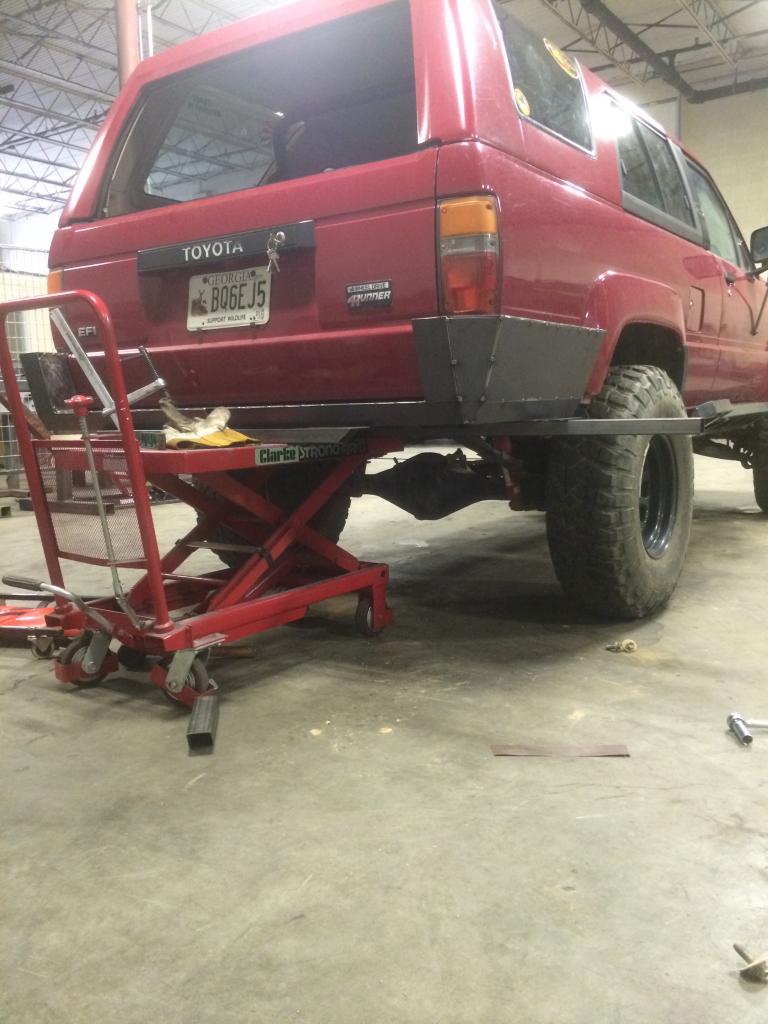
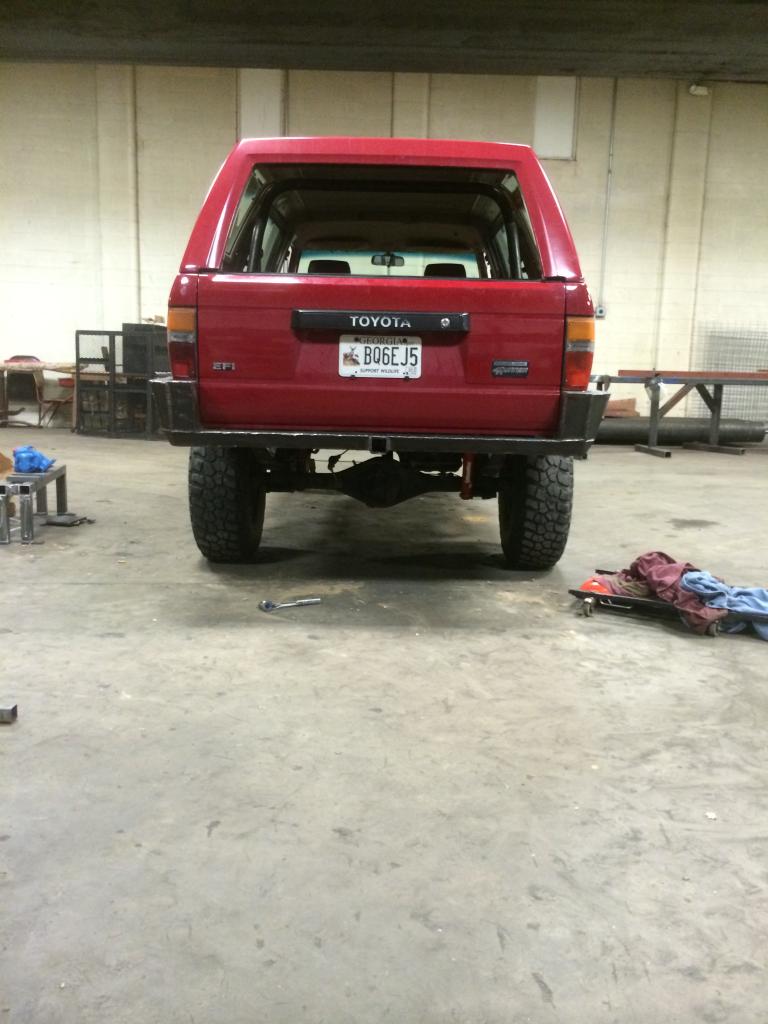
My truck origionaly had a piece of 3"x5" square tube welded on top of the factory bumper mounts. It was plain, ugly, and hung up on everything. From the bottom of the mounts to the tailgate was around 5.5". I wanted something much higher clearance and aesthetically pleasing. I also wanted it to wrap from fender well to fender well and follow just below the body line on the "bed".
I used all 3/16" plate and 2"-3/16"wall square tubing.
I really liked the no bumper look but too risky for me.
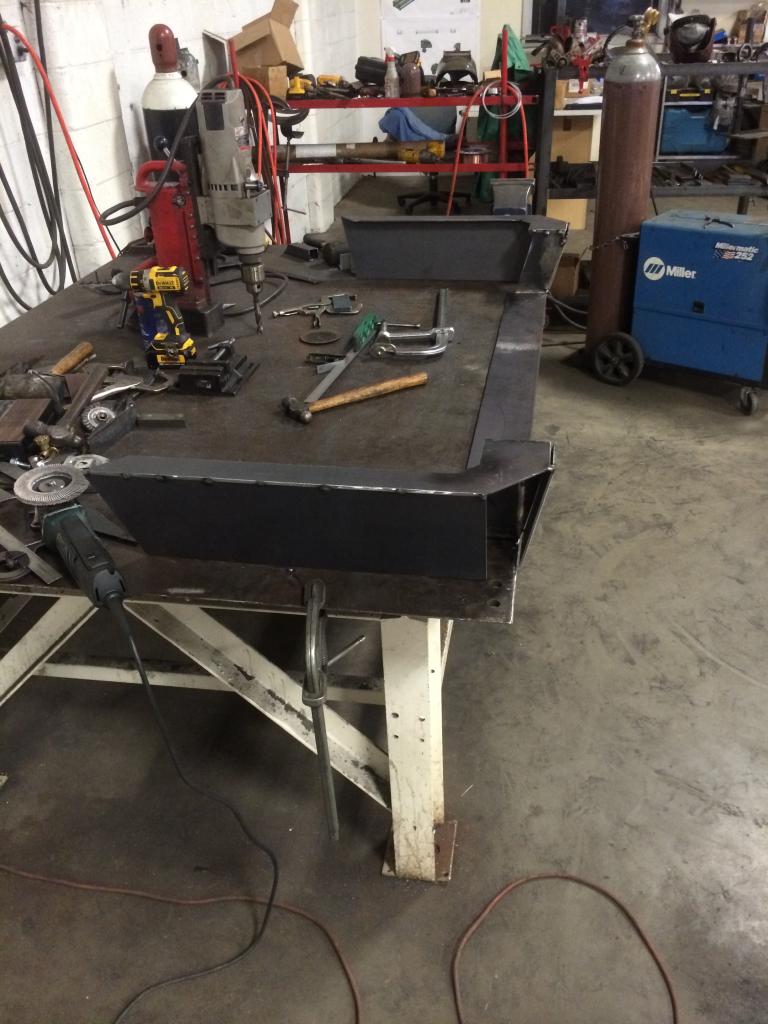
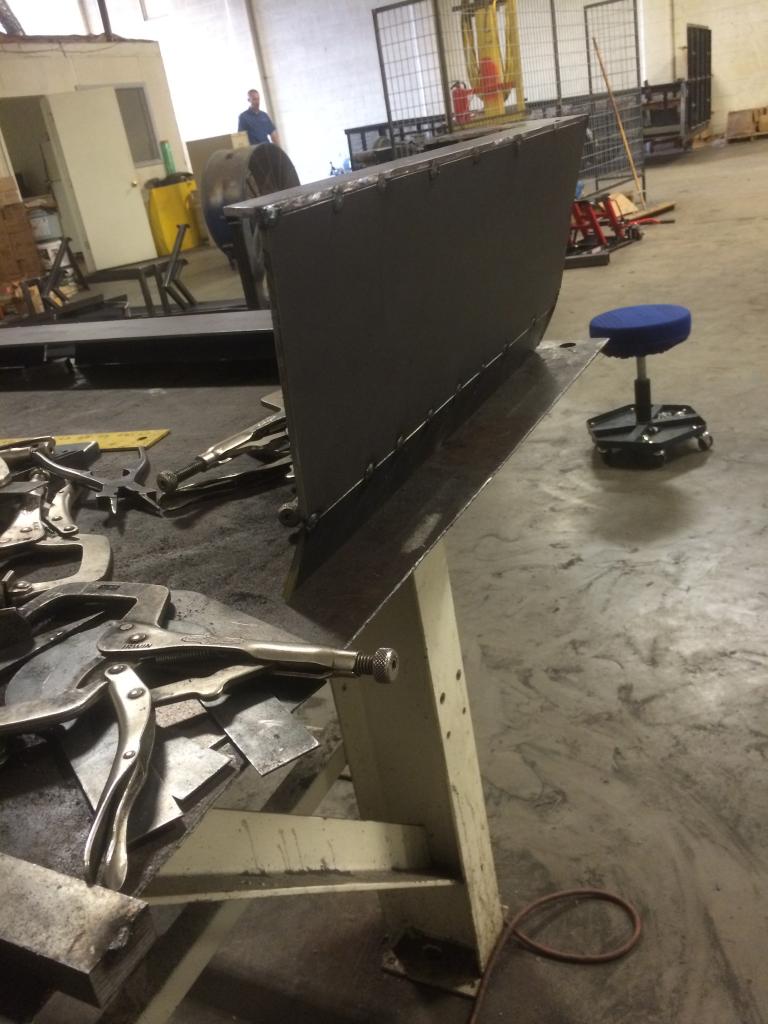
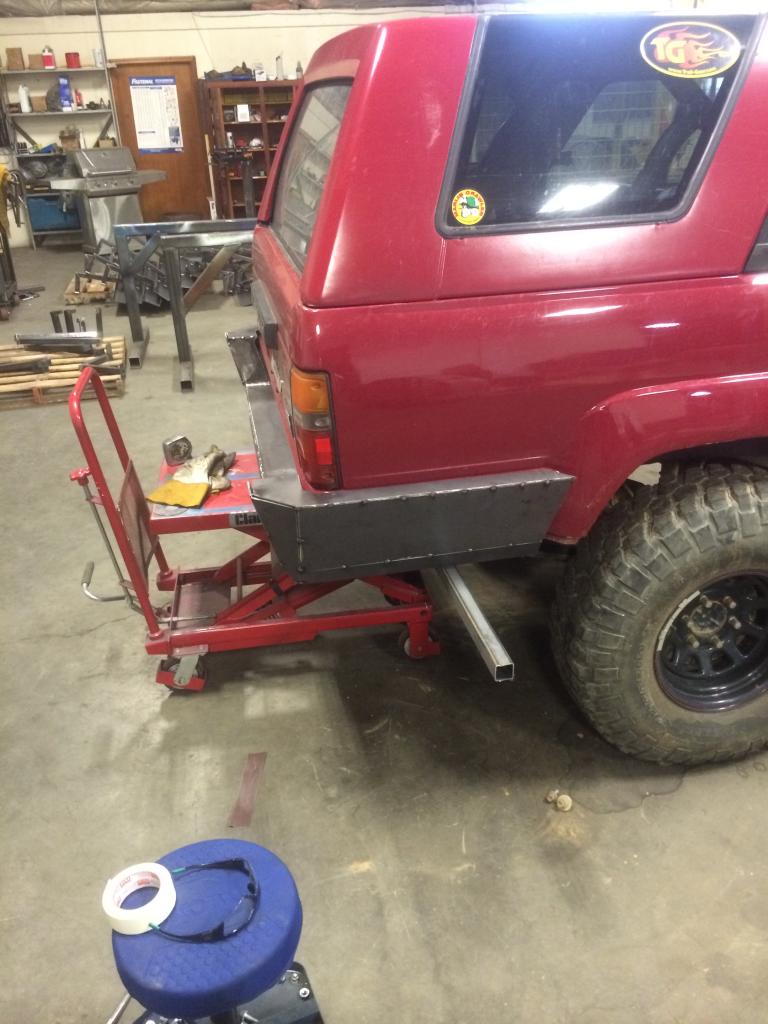
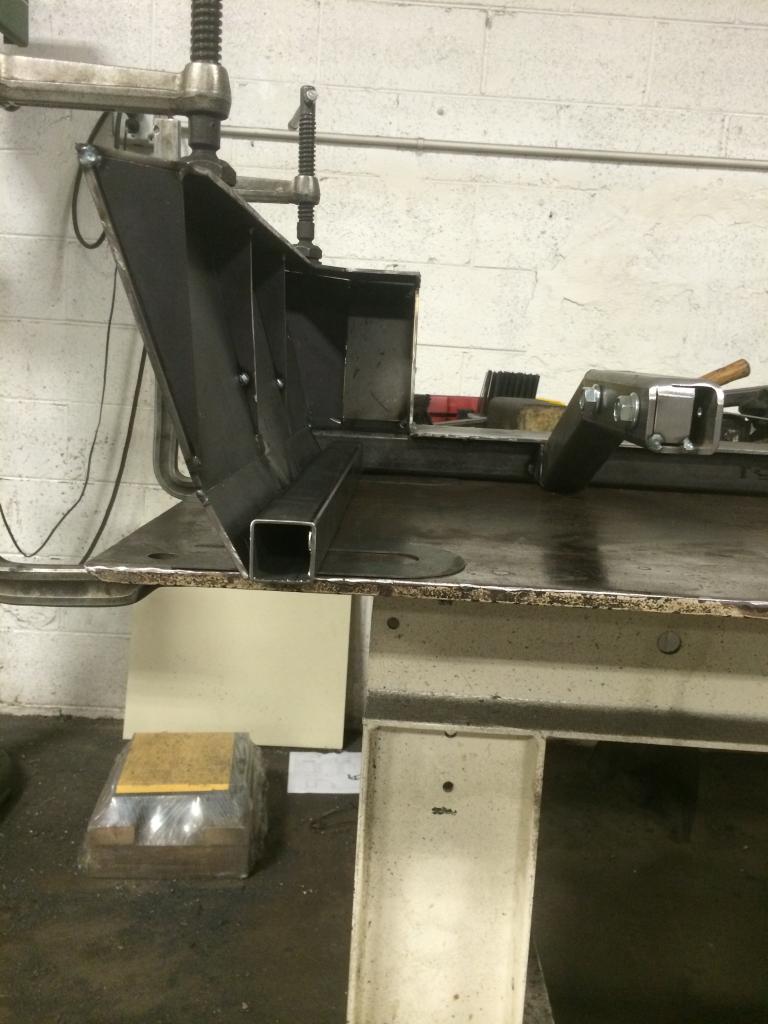
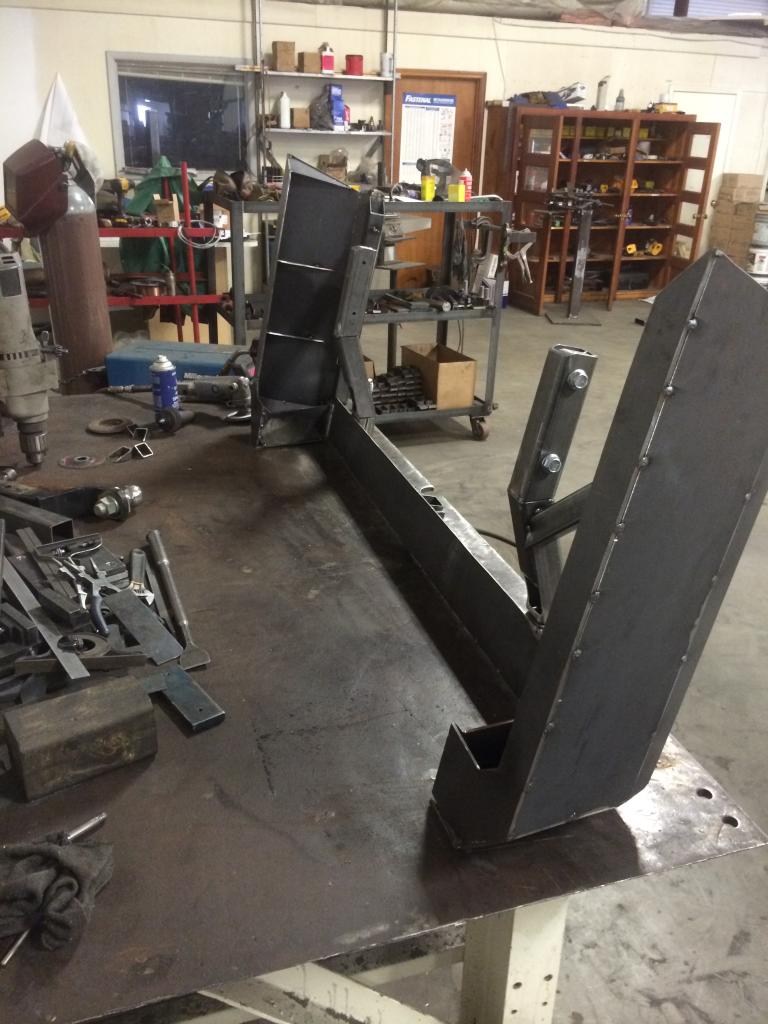
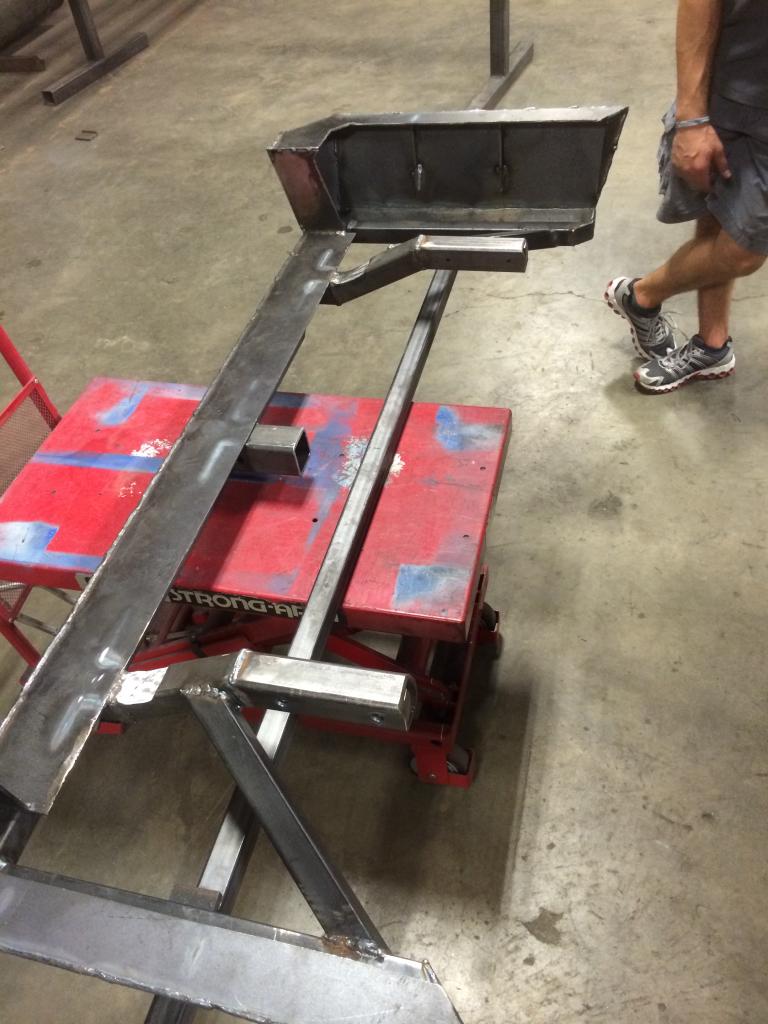
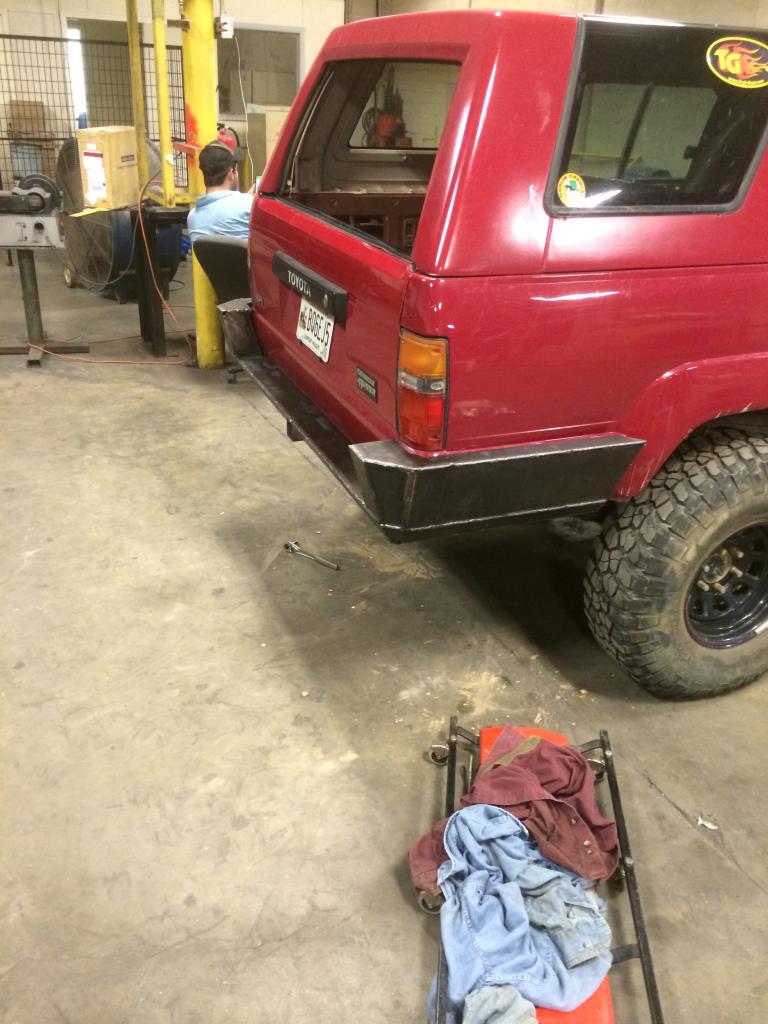
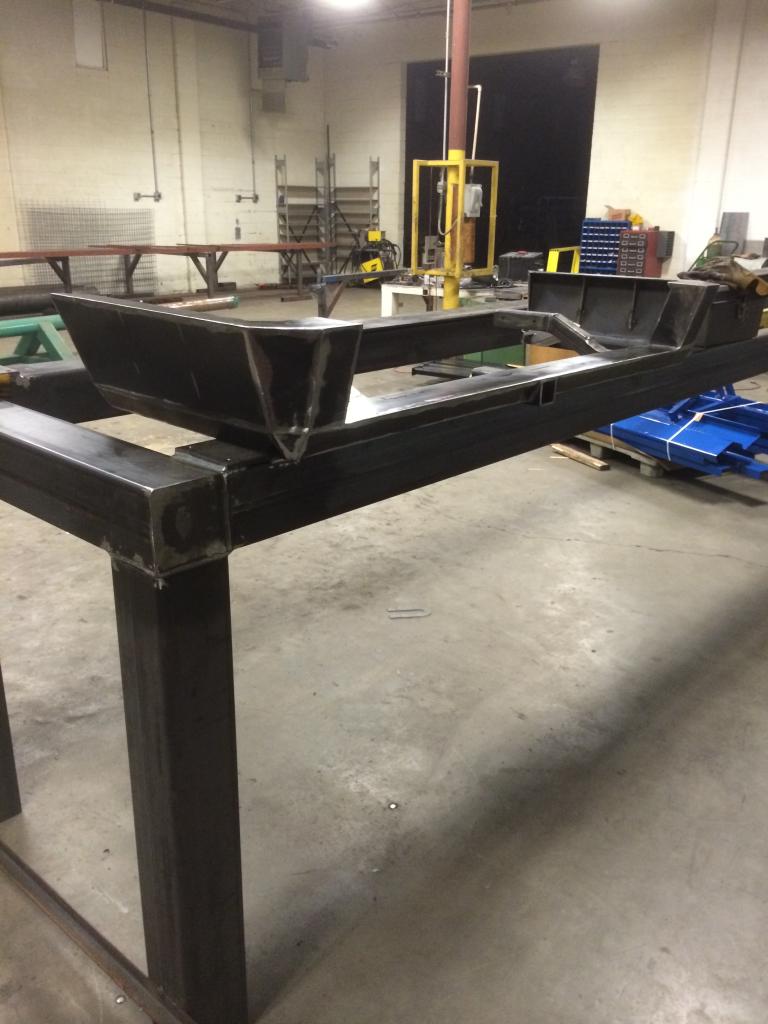
First mock up on the truck. The Clark table lift was unbelievably helpful.
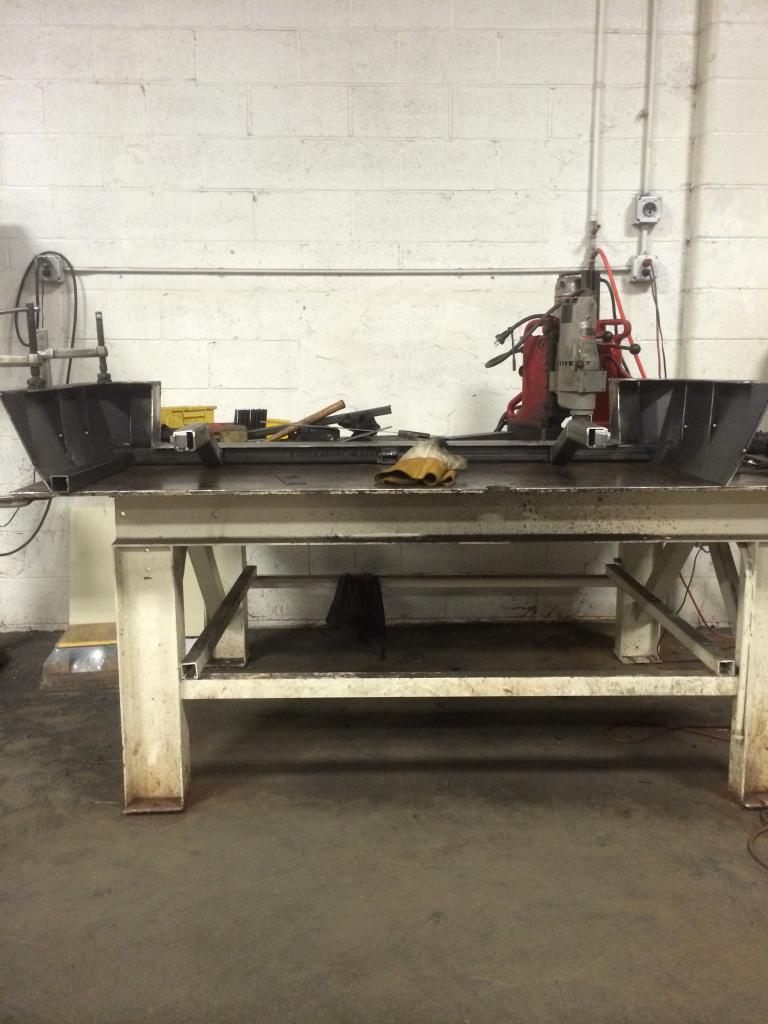
Placed three small gussets on each side and started to tack in 1.5" square tubing to keep the long sides stiff.
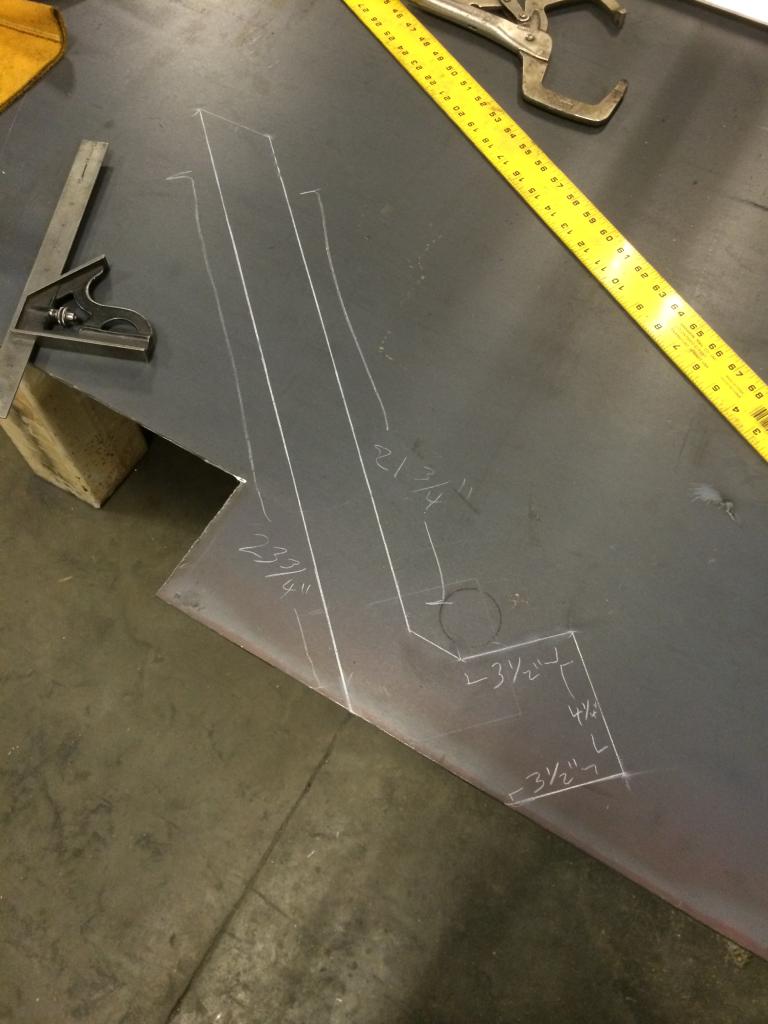
I measured the hole in the frame and traced them onto a 1"x.675" bar, then drilled and tapped for 1/2" bolts. Should hold fairly strong!
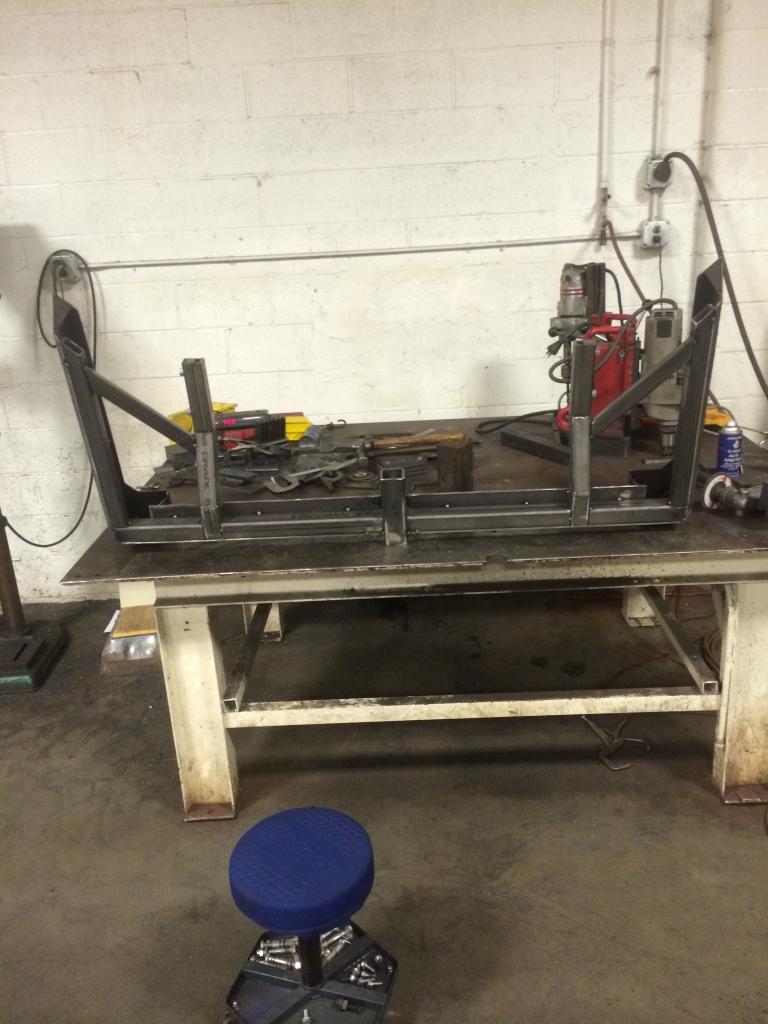
I ran into a clearance problem opening and closing the tailgate so i had to cut out the holes in the legs that go into the frame. i filled them back in with .25" plate, so hopefully no week spot.
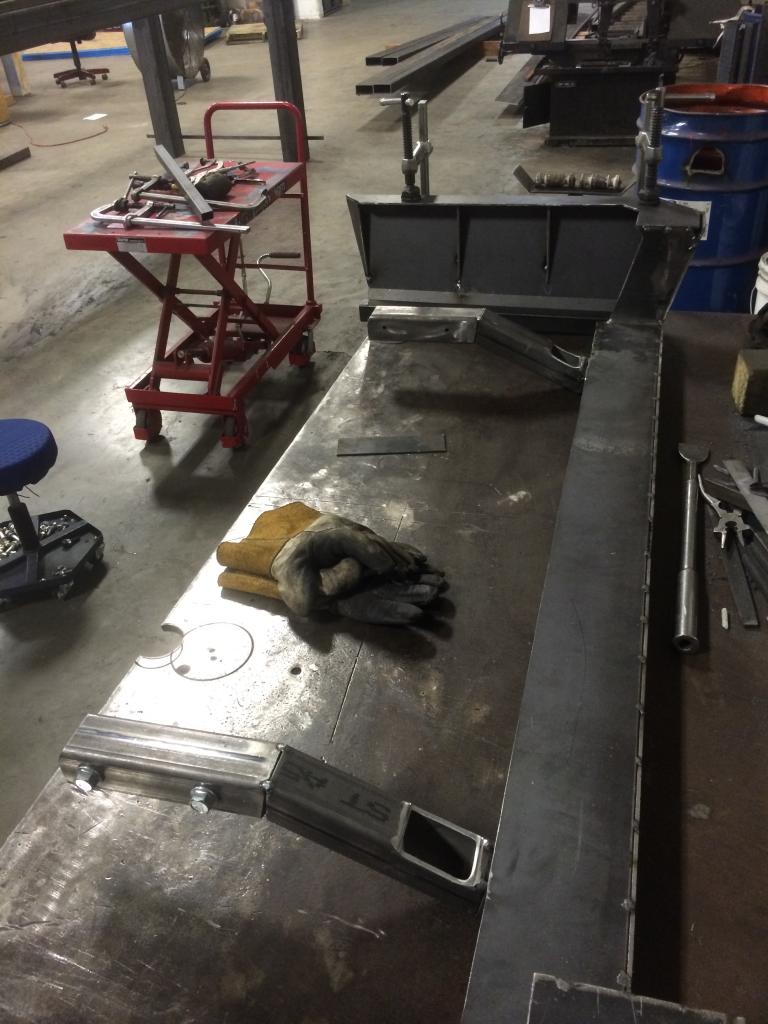
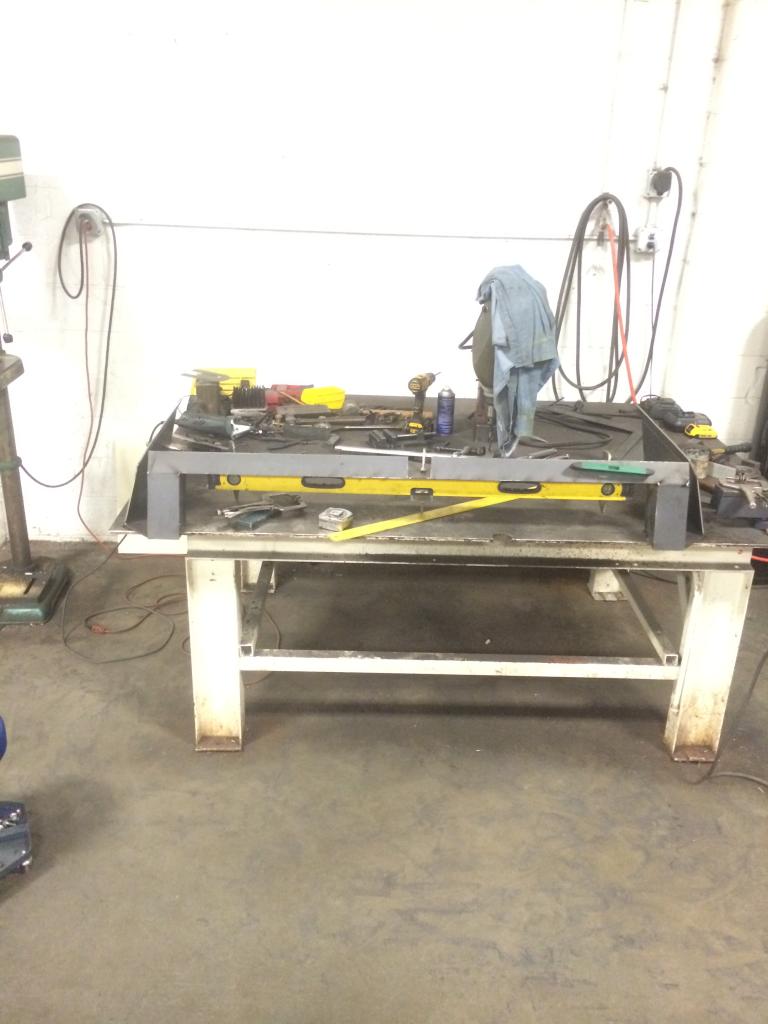
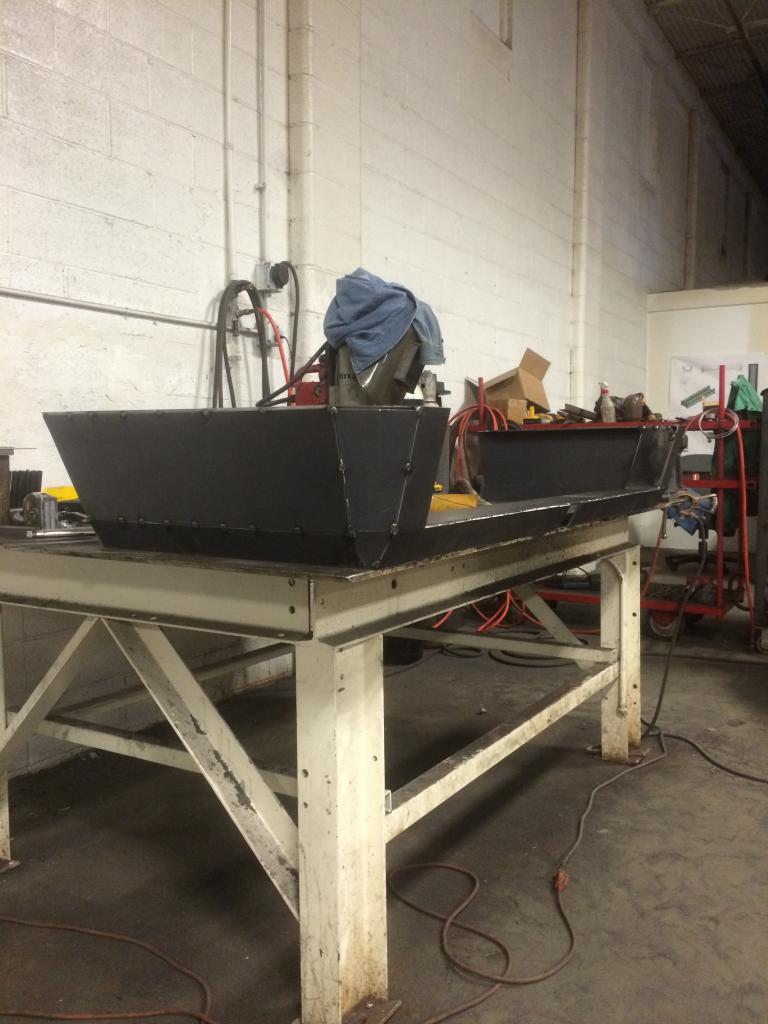
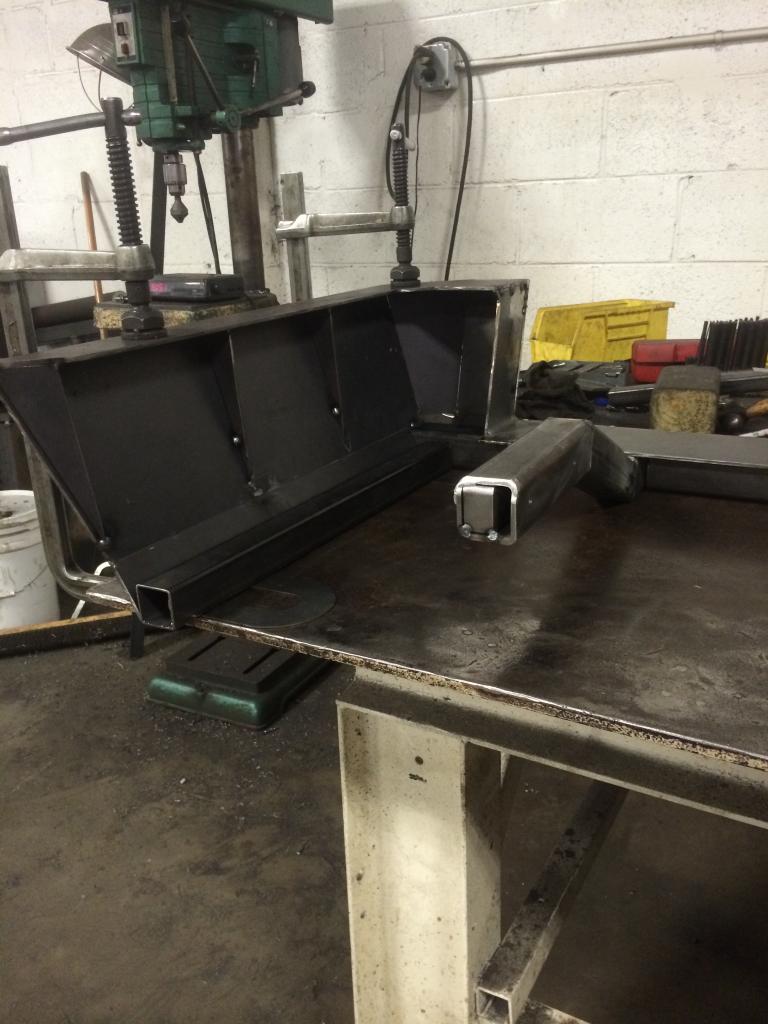
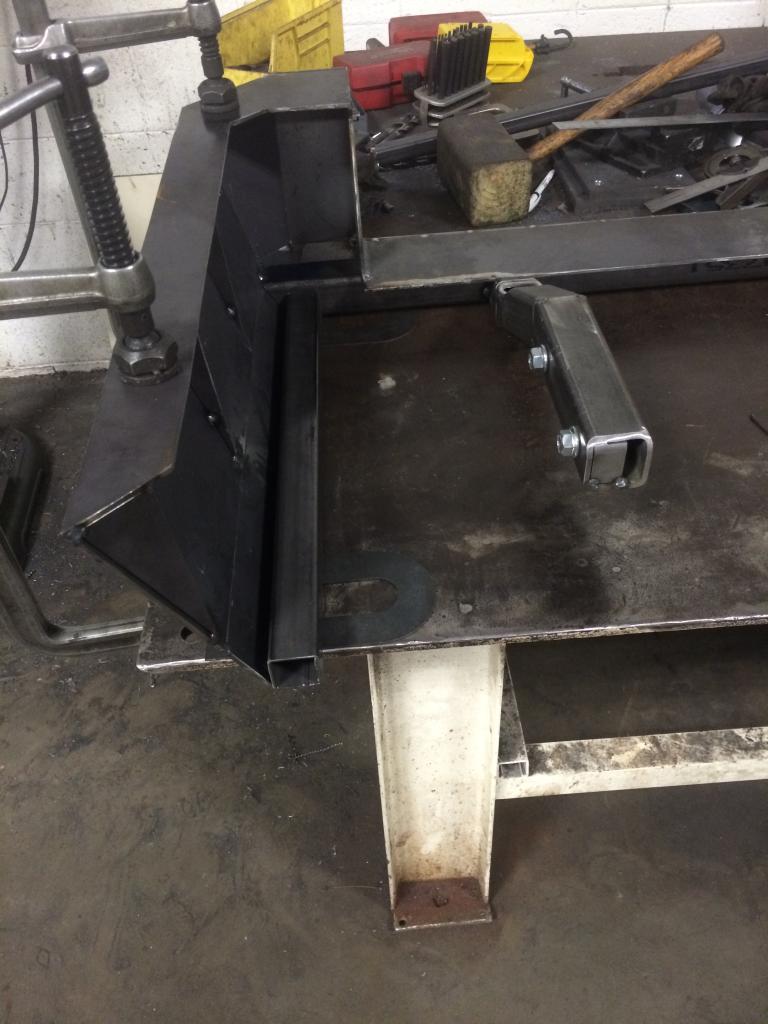
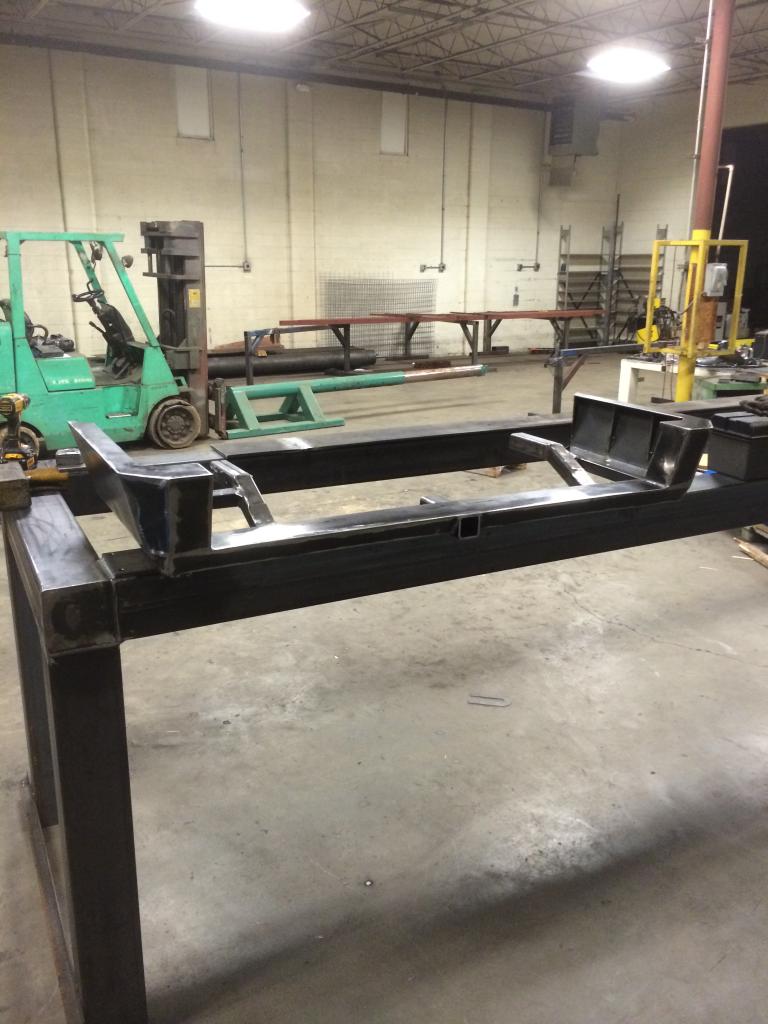
I put the 2" square all along the bottom to give it a lot more strength and rigidity as well as to hold its shape better while welding.
I also used 1.5" square to run from the ends of the outside, back to the legs on the rear of it.
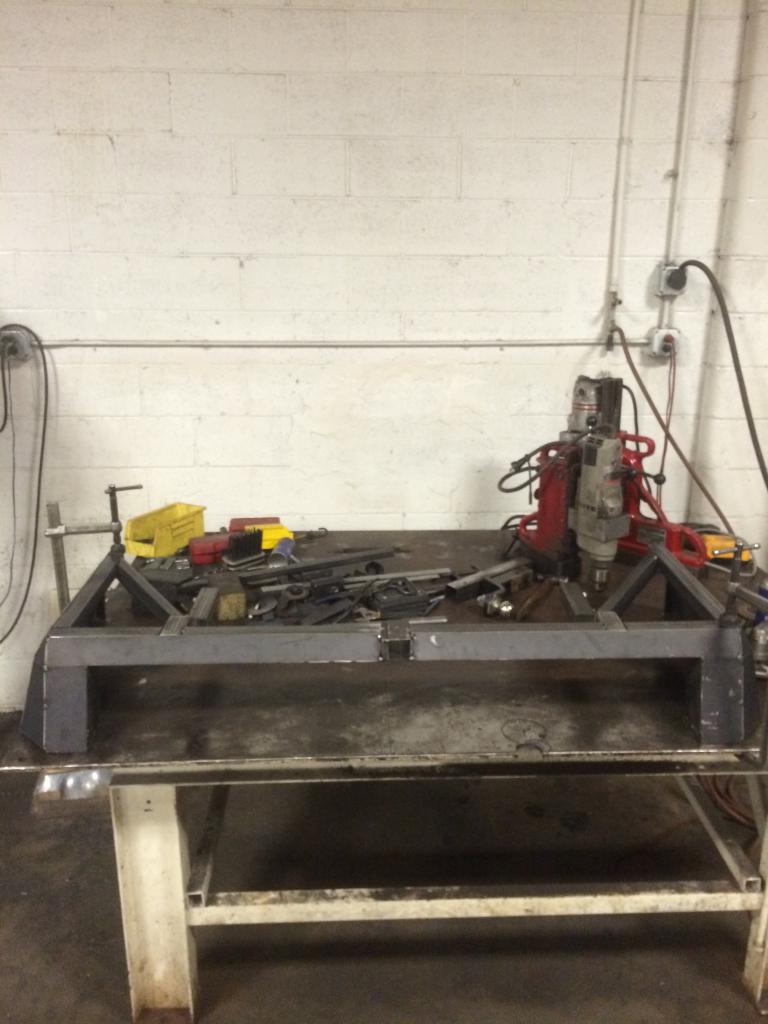
I have a piece of 2" tacked to a piece of .5" plate to take the place of the receiver until i got some tubing for it (2.5"-.25"wall)

Got it in finally.

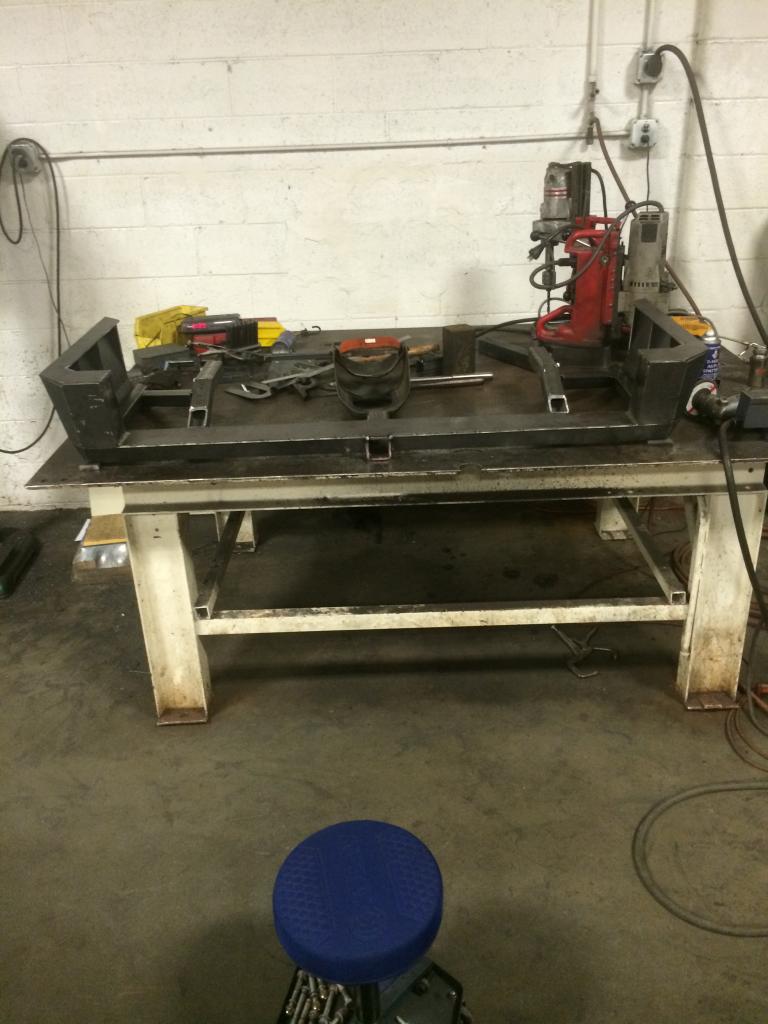
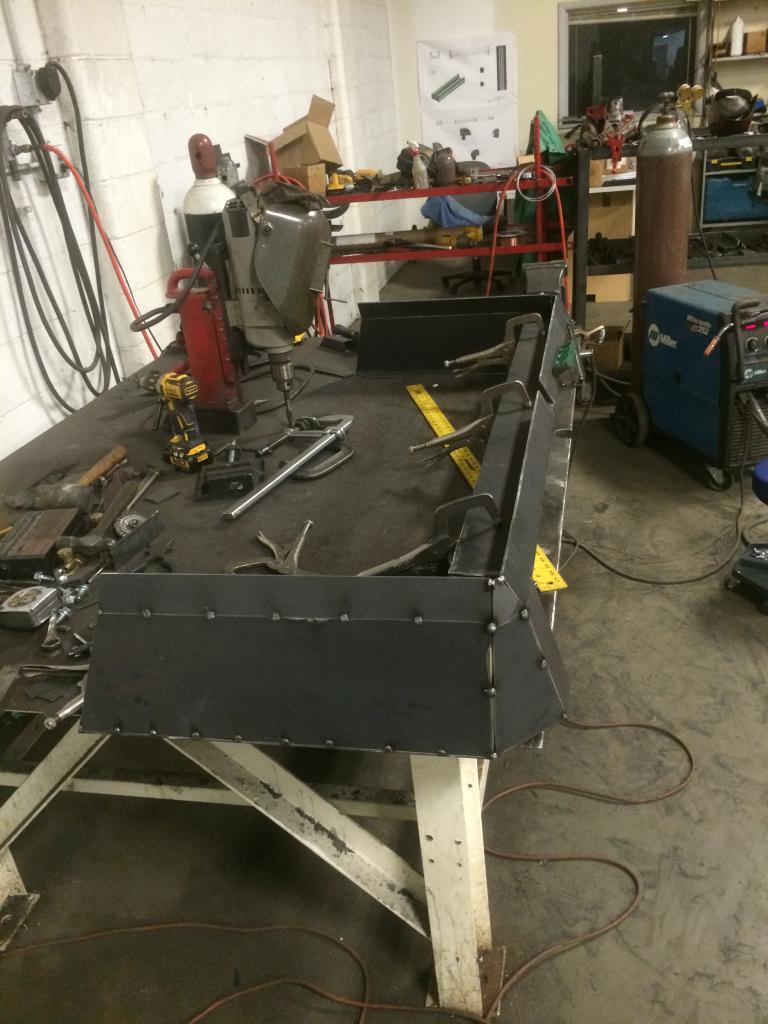
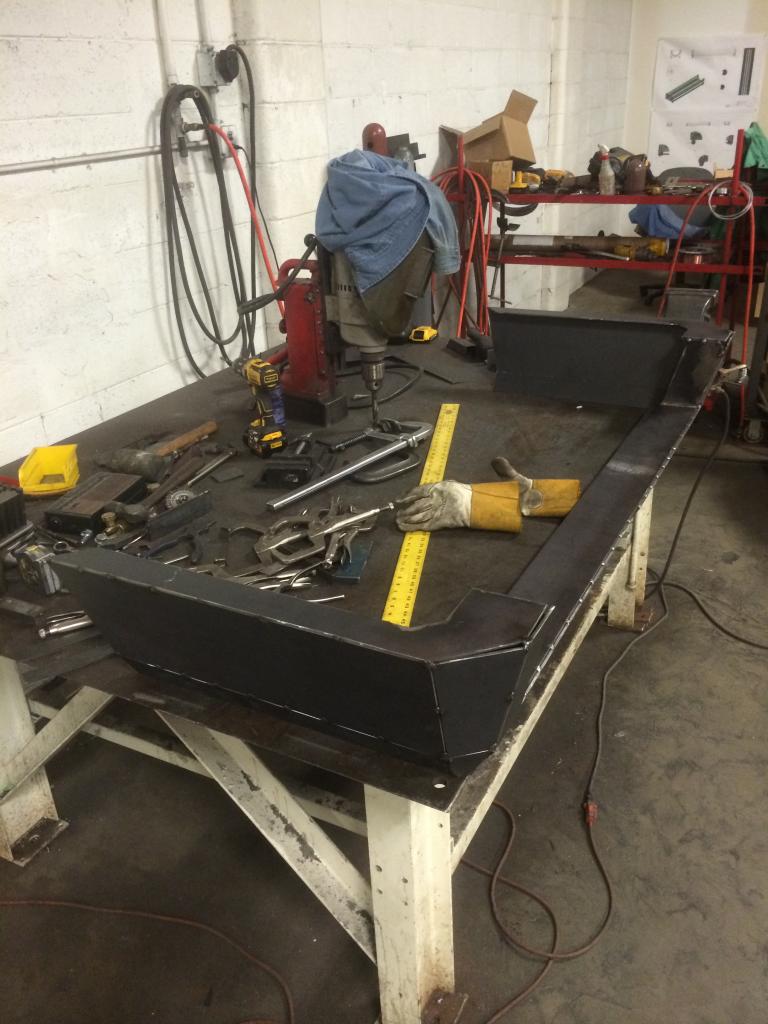
After two weeks of measuring and running cuttoff wheels (yes everything was cut with a grinder because the plasma was dead) i was finally ready to start welding
 . I wish i knew what i did now and i probably would have saved a couple hours grinding!
  btw i used a millermatic 252 w/ 0.35 and 85/15 mix
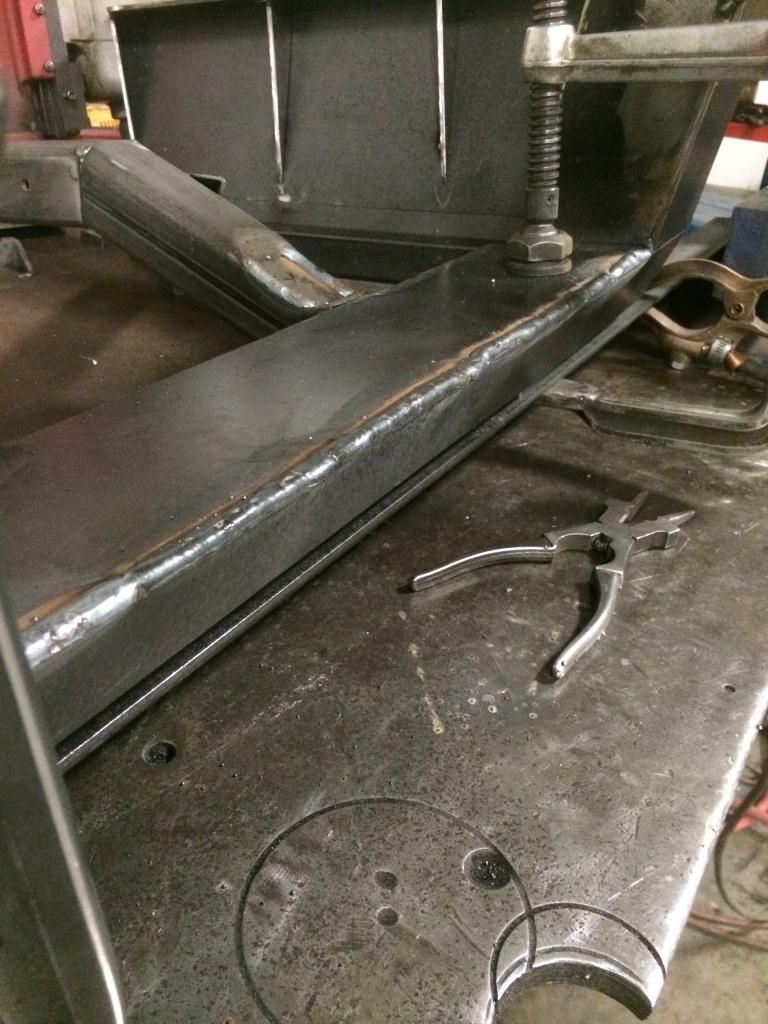
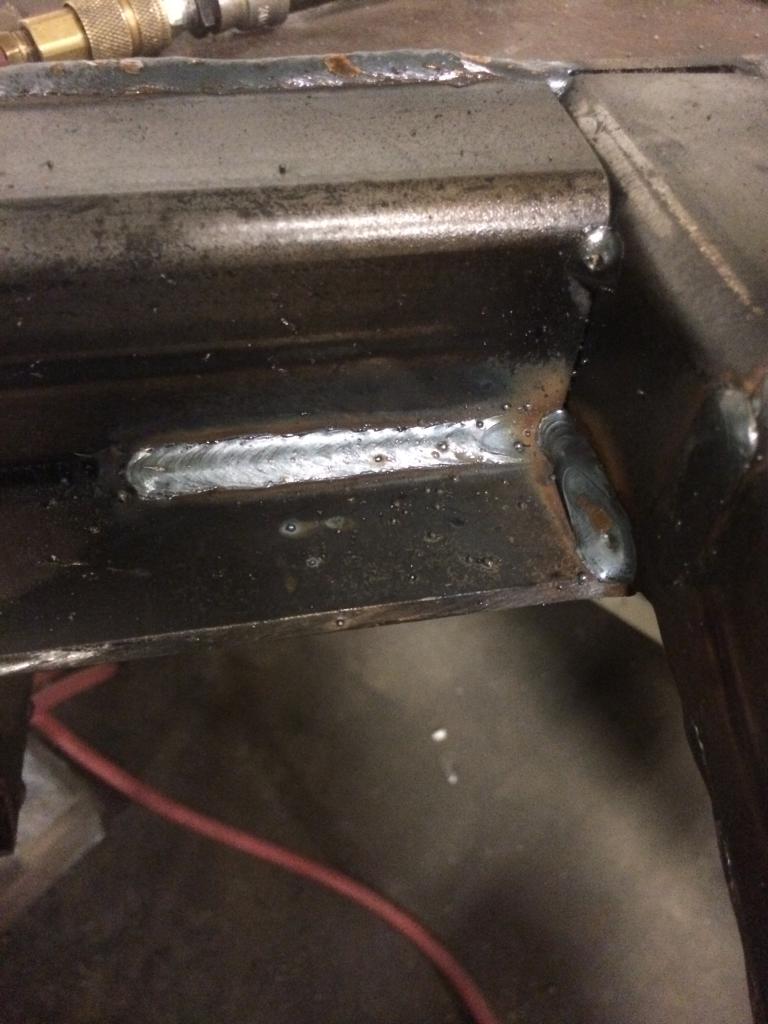
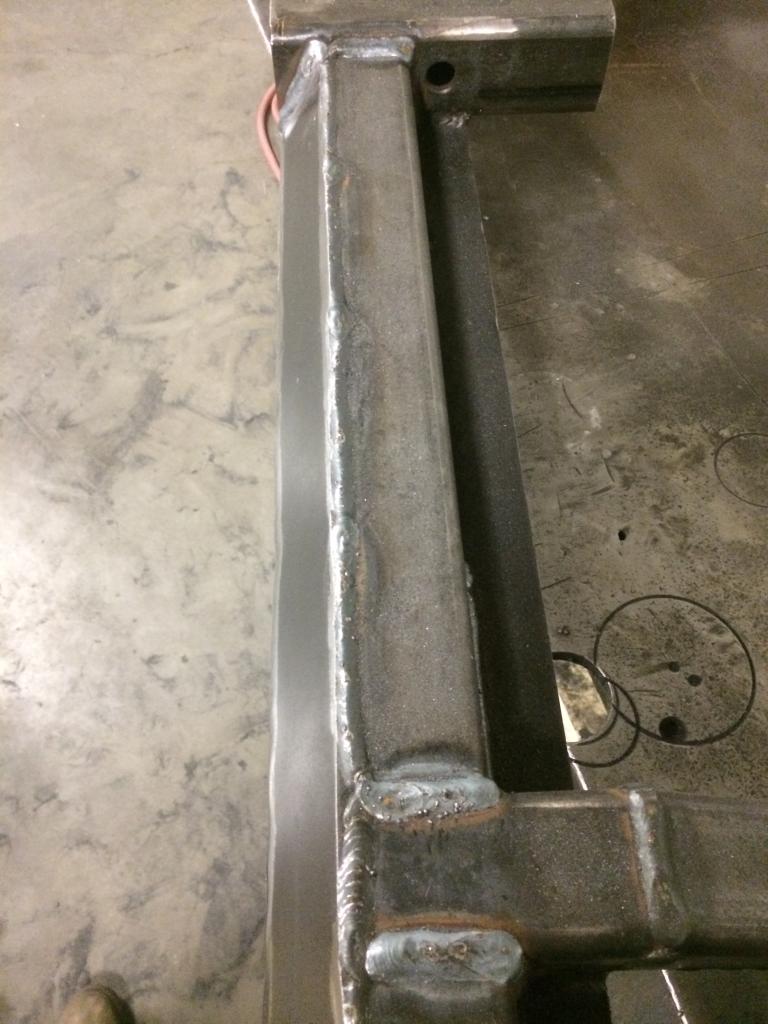
T joints are easy lol.

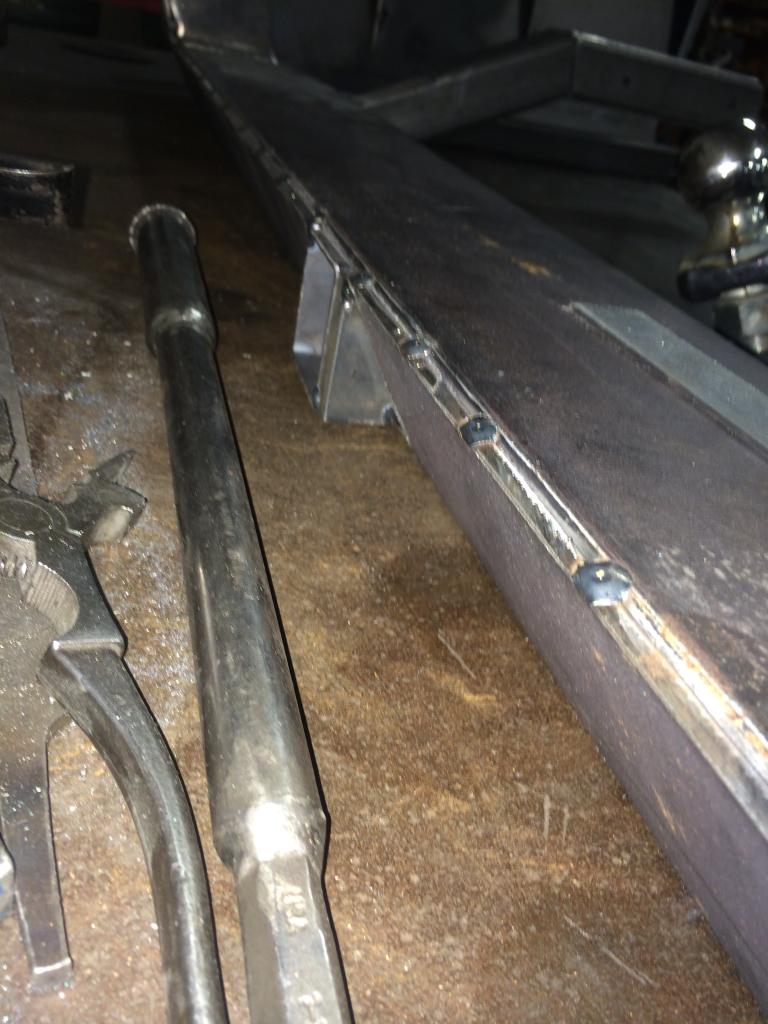
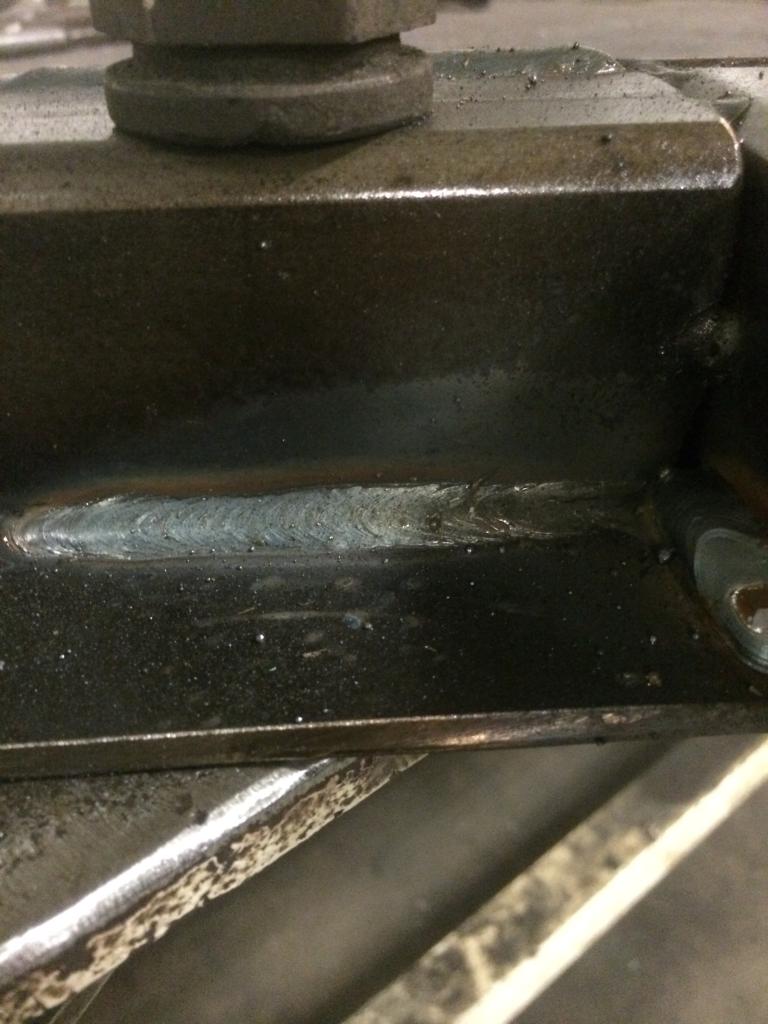
I welded everything 4"-6" at a time to prevent warping so as you can imagine, it took a while. And it still freaking moved on me a little bit.
My welds also aren't exactly uniform with my starts and stops, but i can assure that there was great penetration.
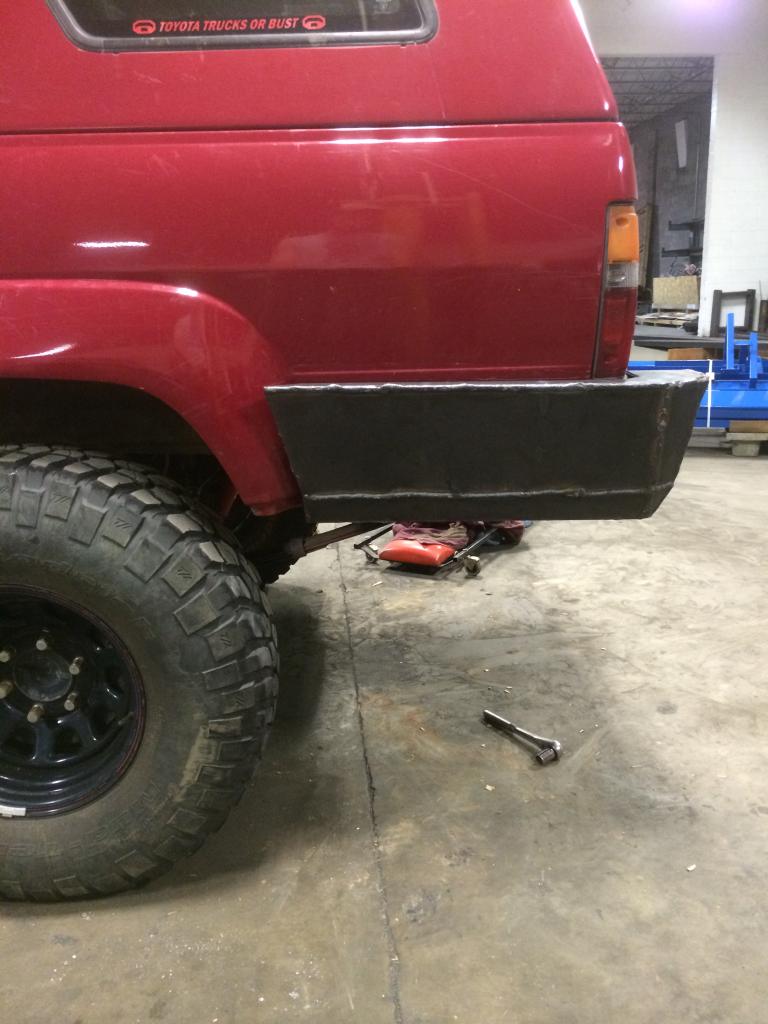
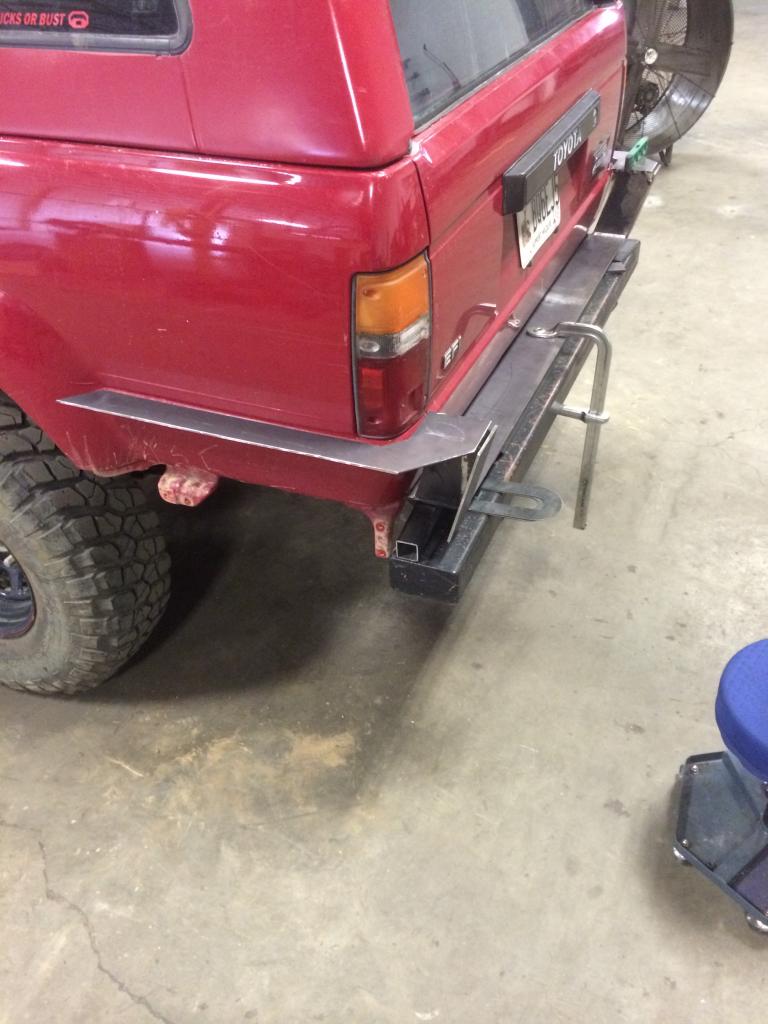
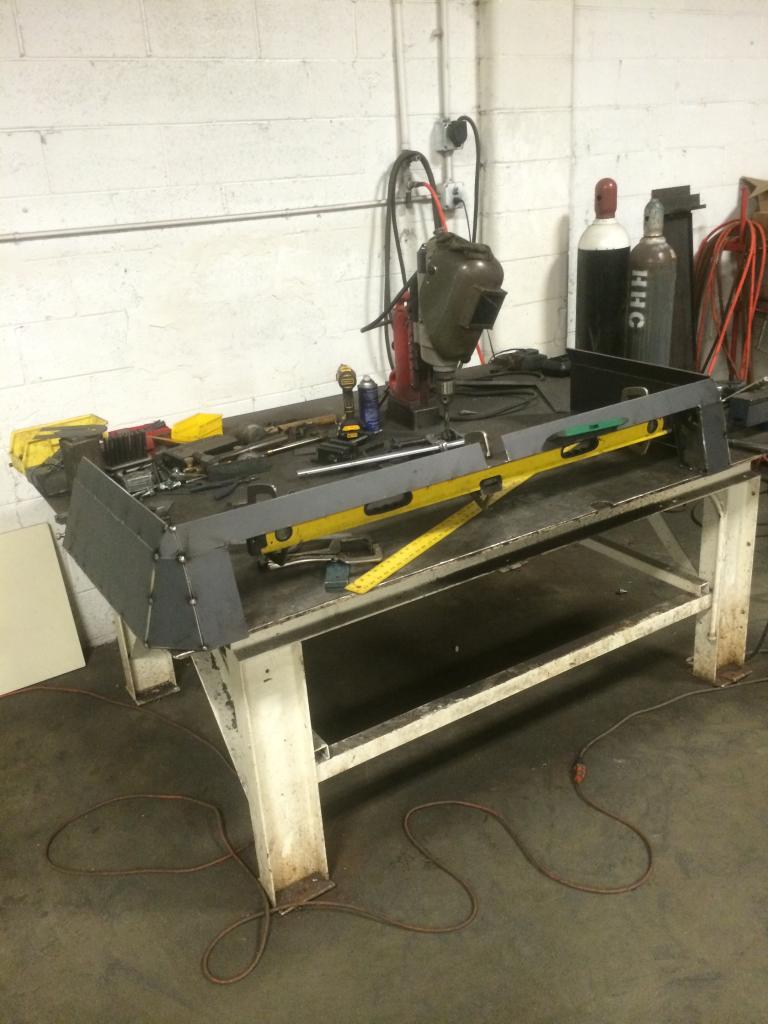
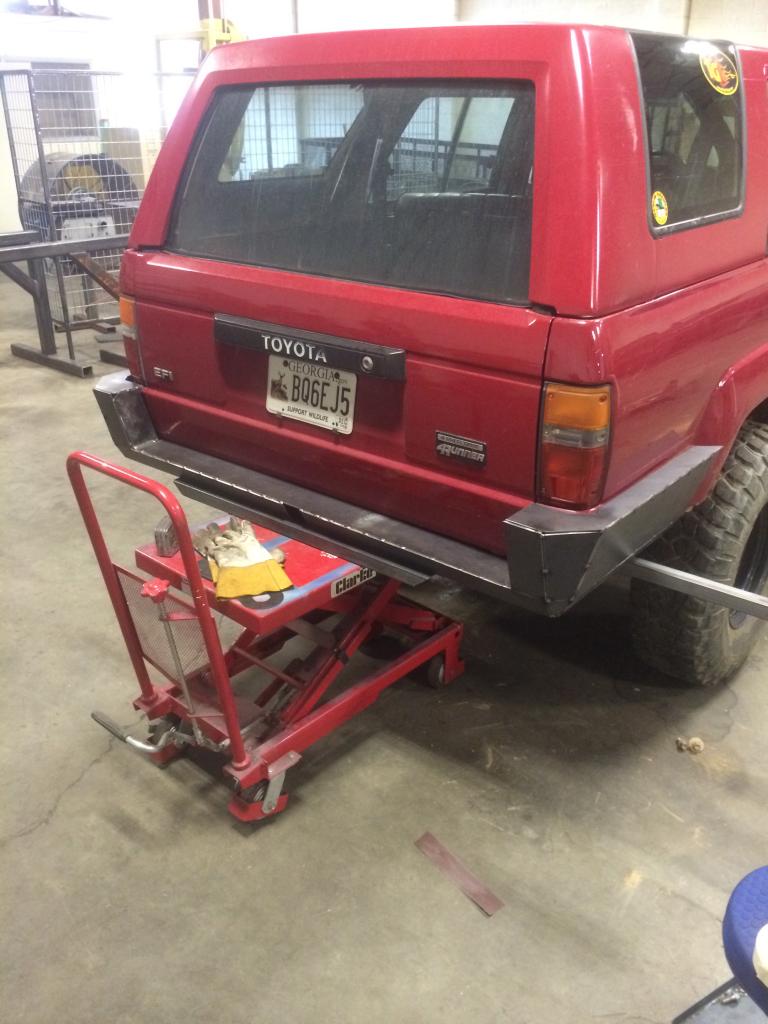
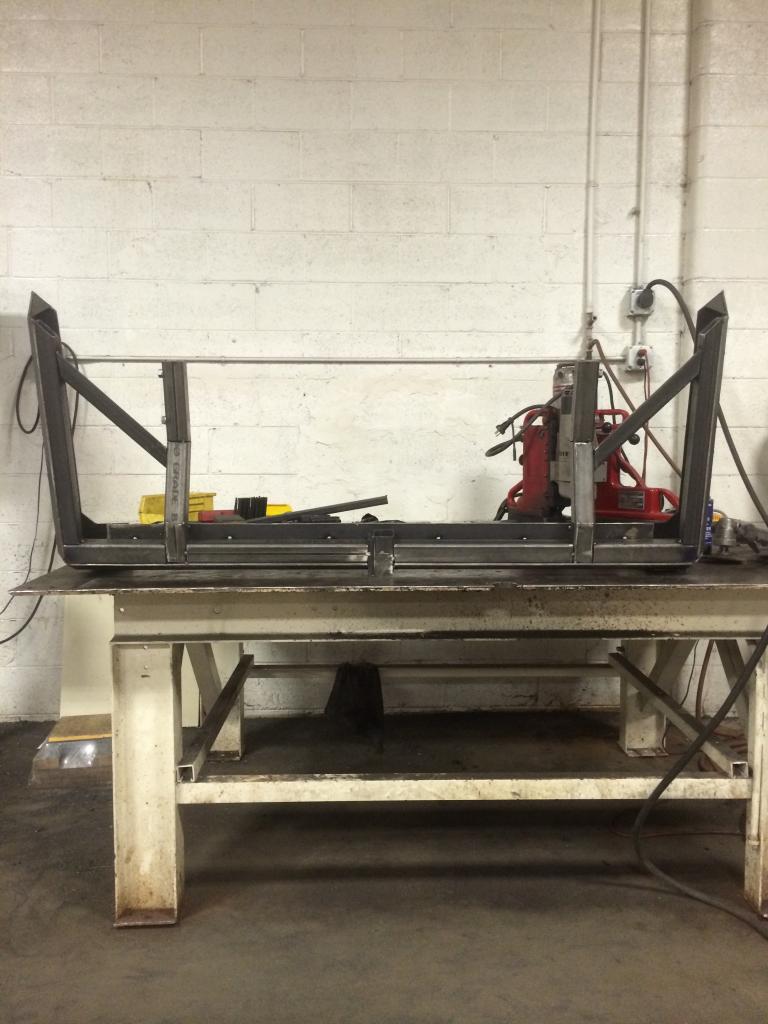
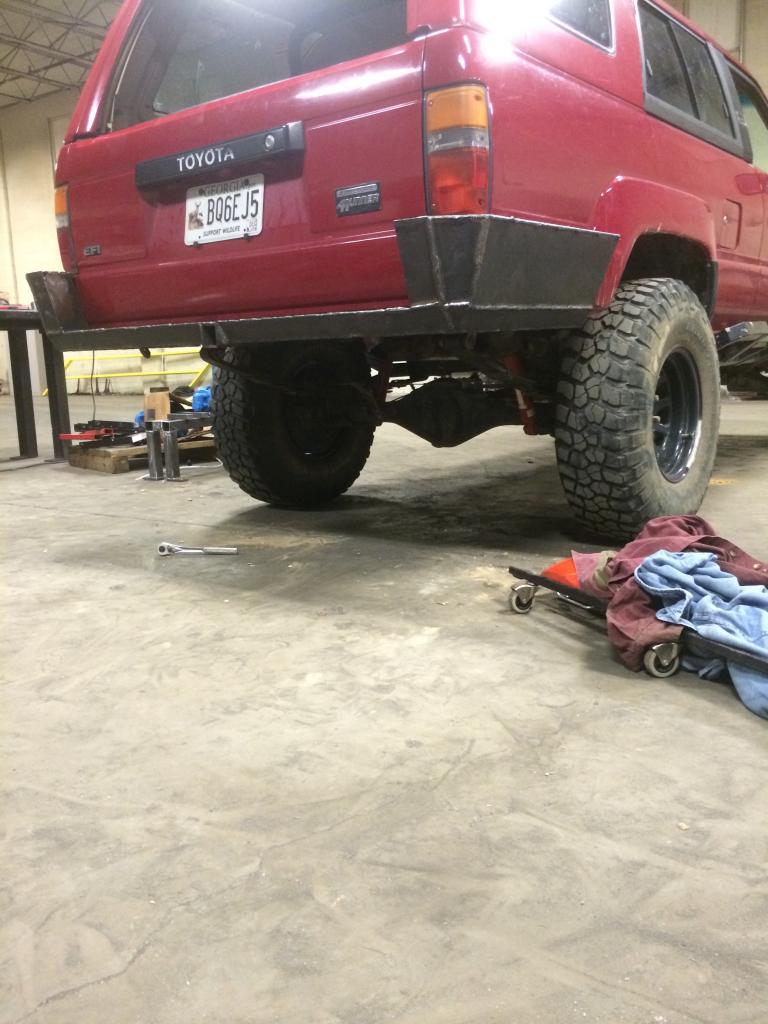
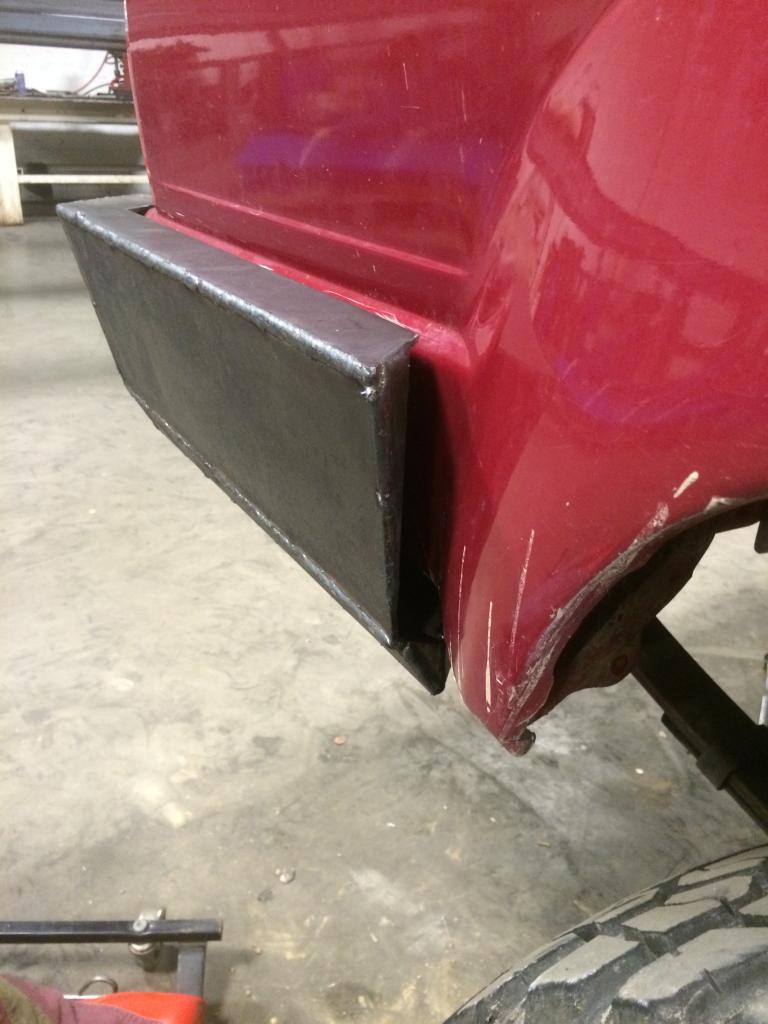
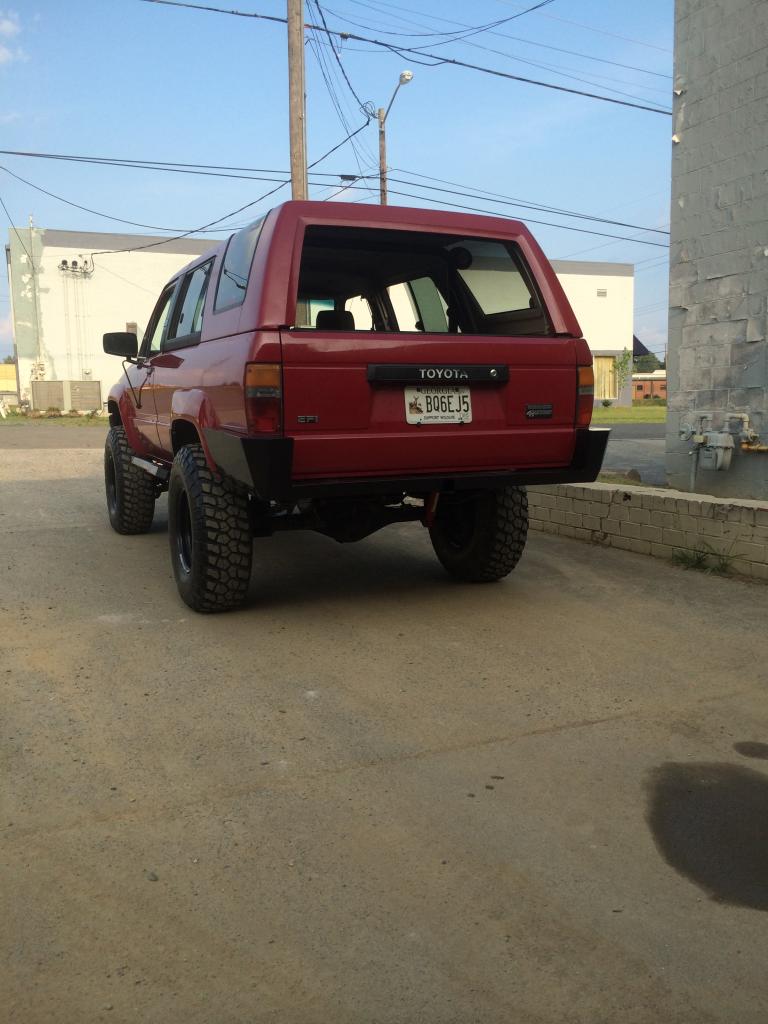
As you can see, bolted on it doesn't still follow the body line as well as it did before all the welding.
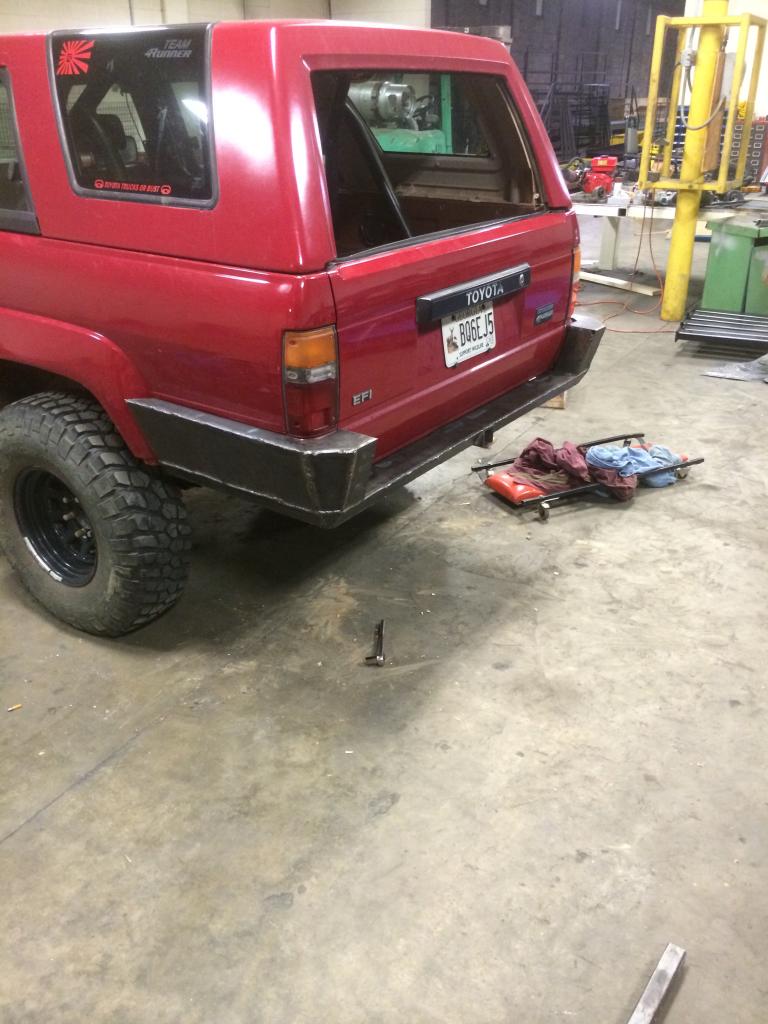
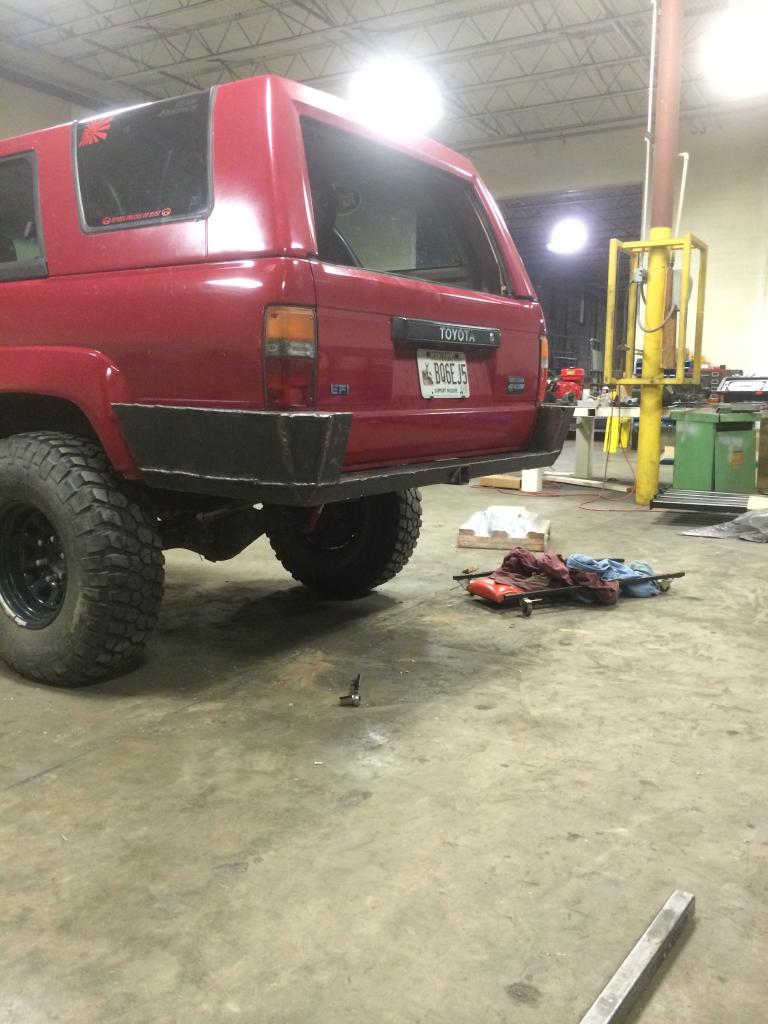
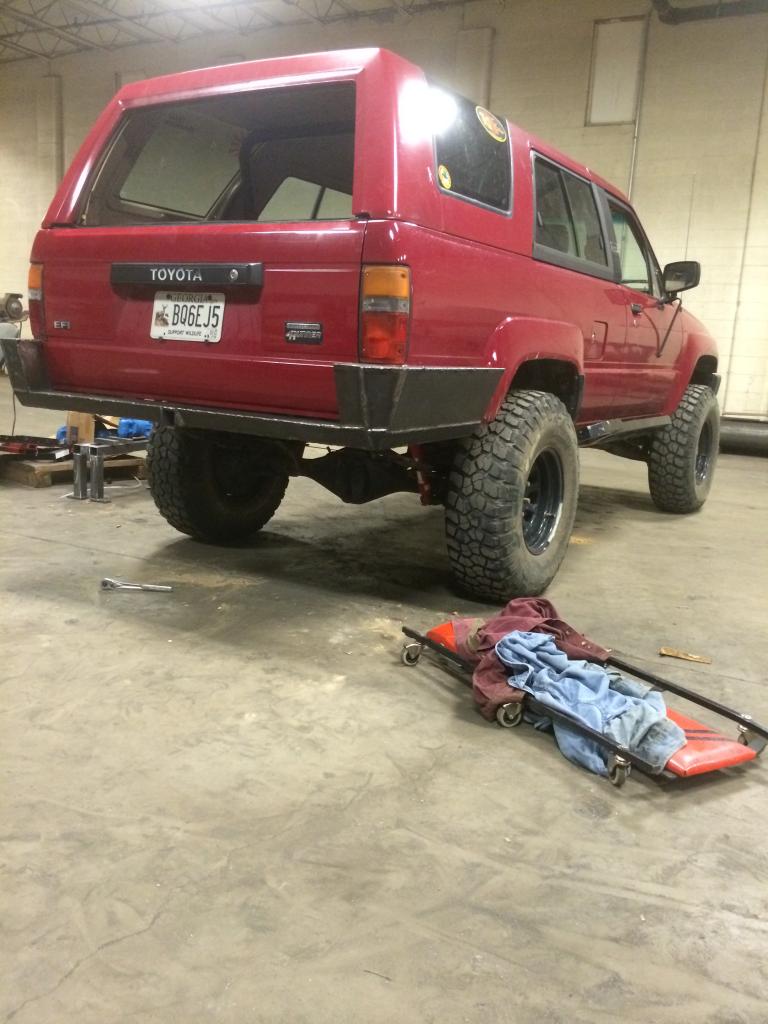
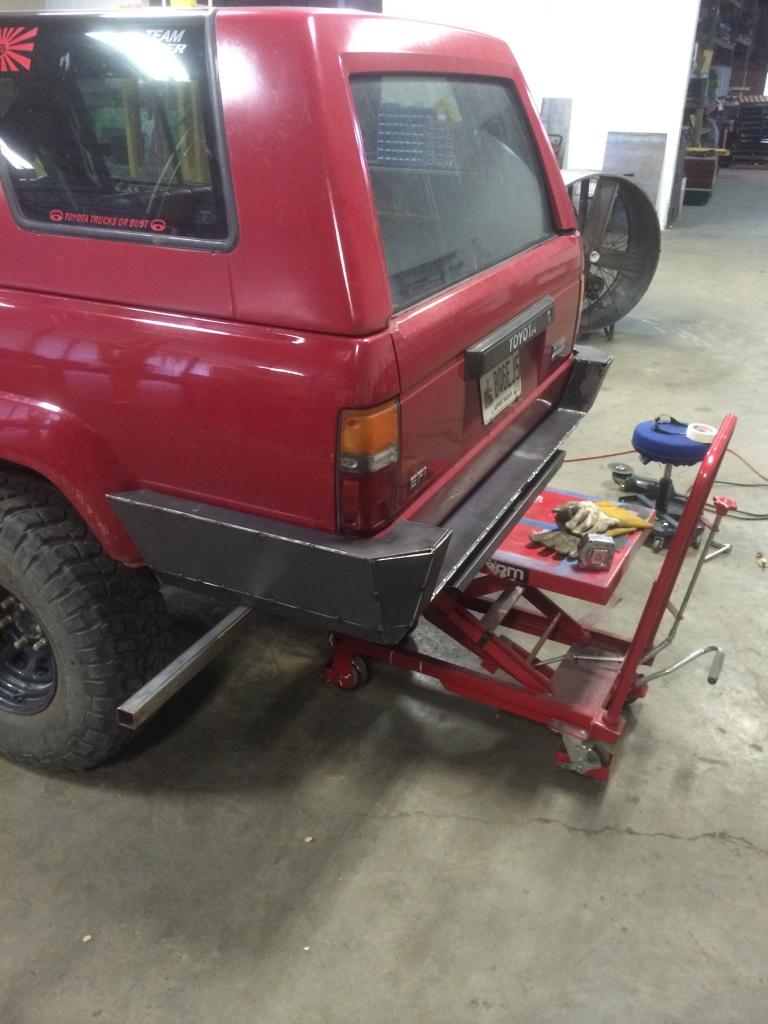
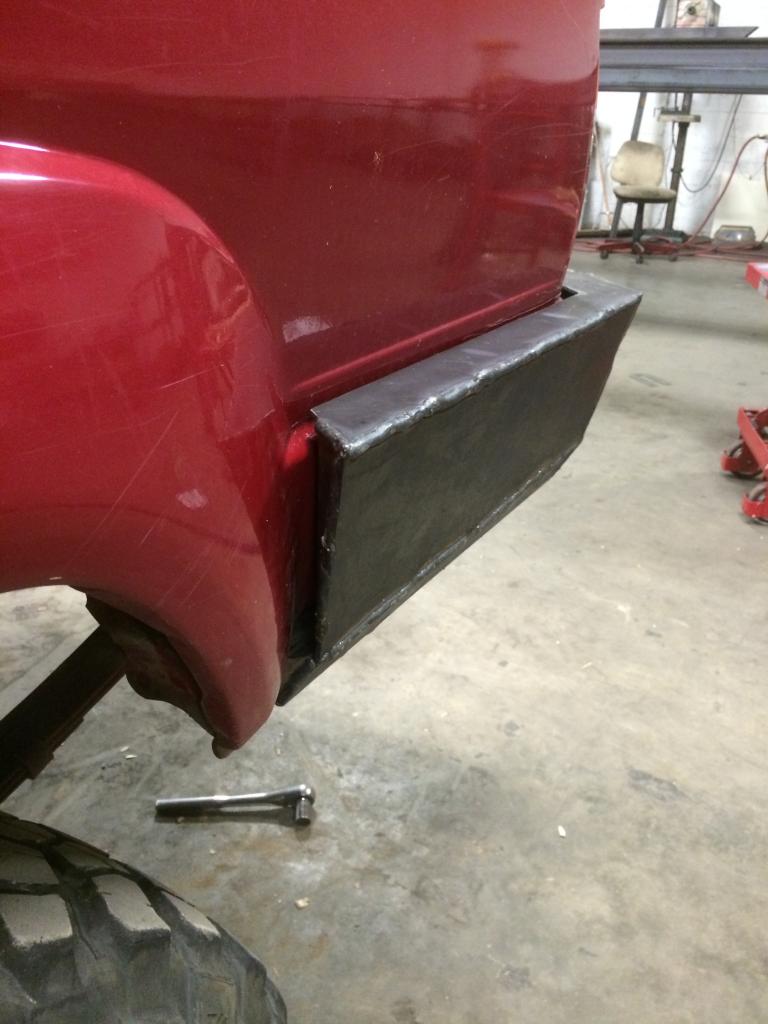
This side follows the body line a little better. You can also see where I scuffed my paint mocking up from the second or third picture from the top.
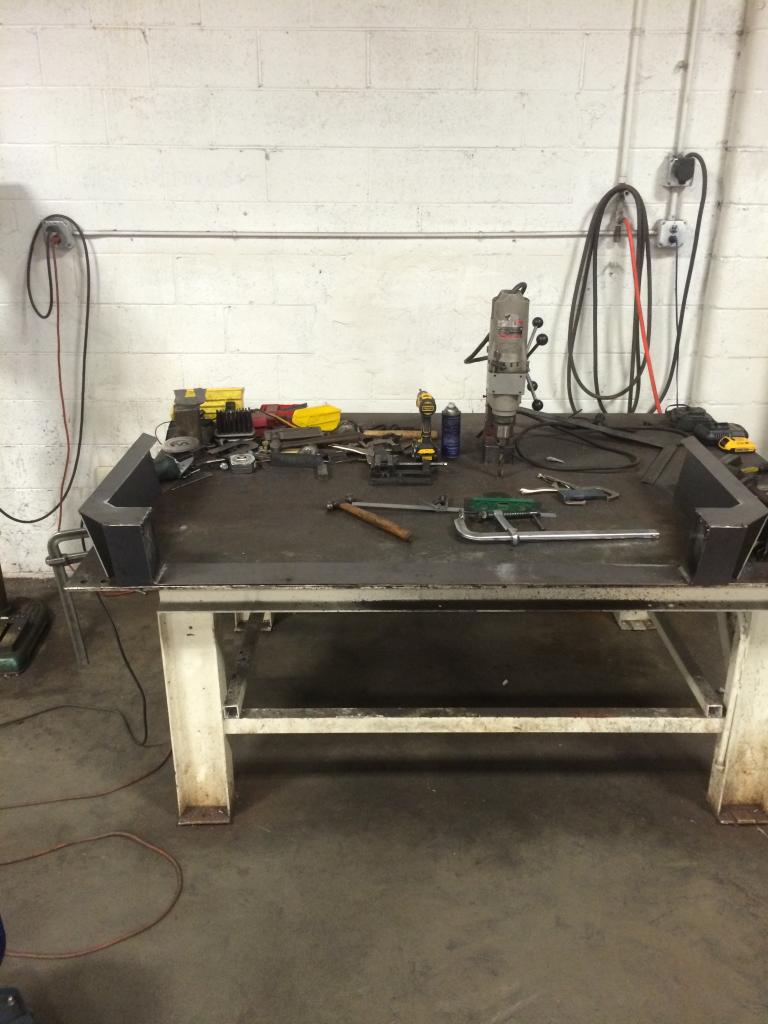
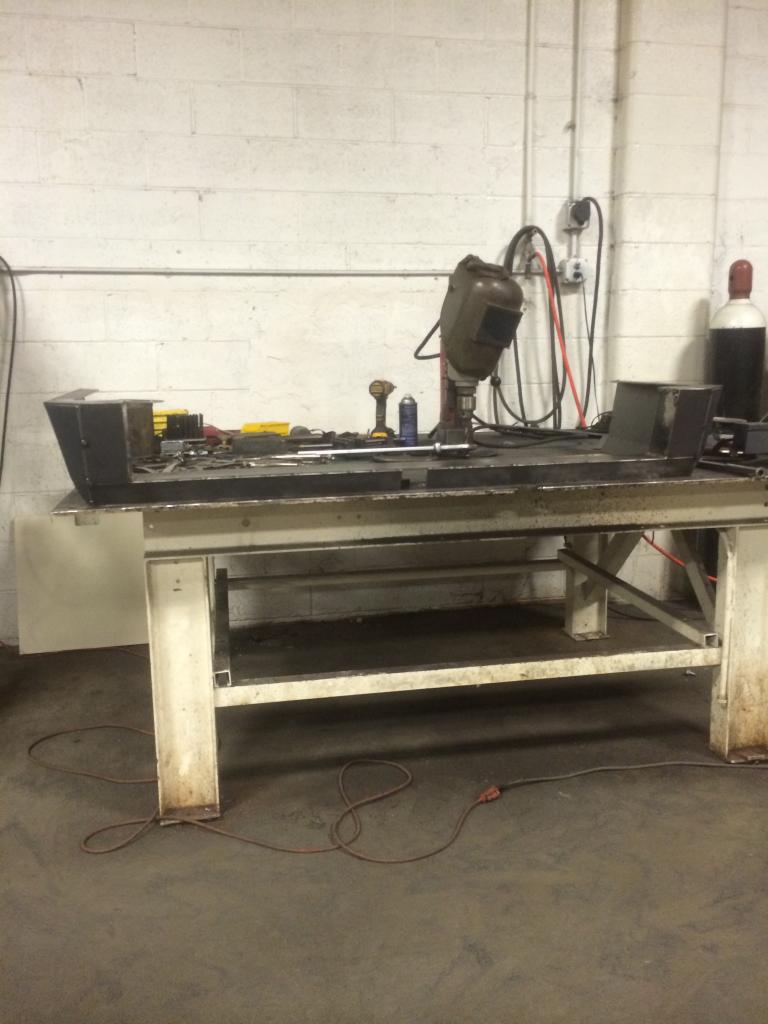
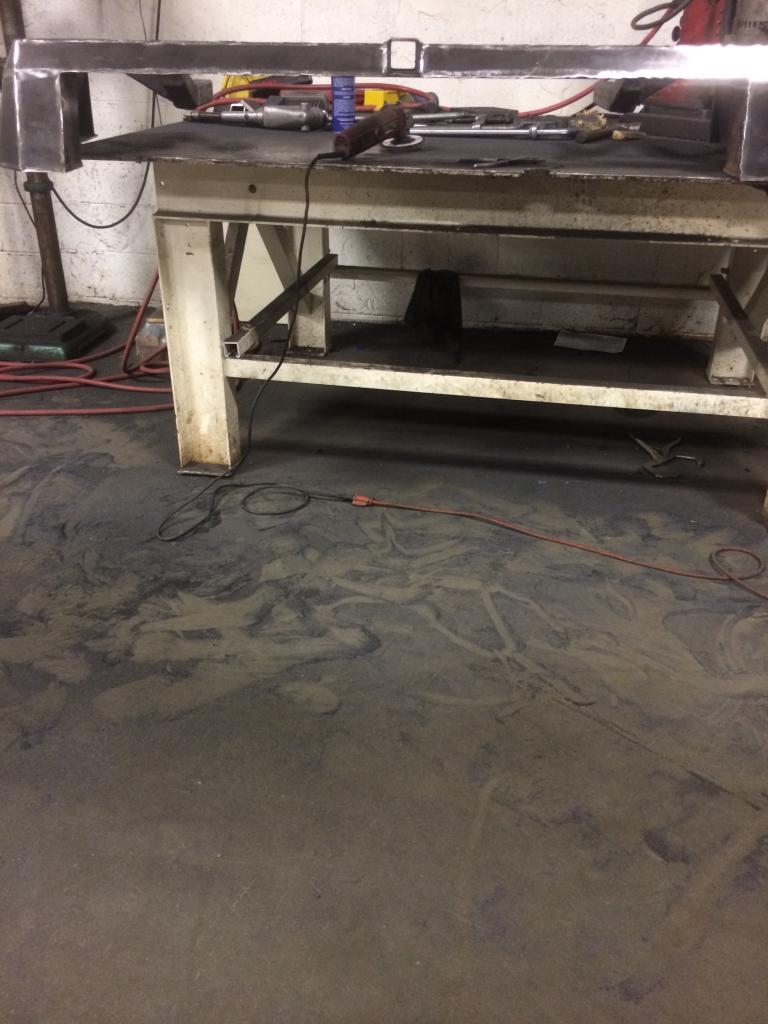
The floor after i started to grind away the welds.
All cleaned up!
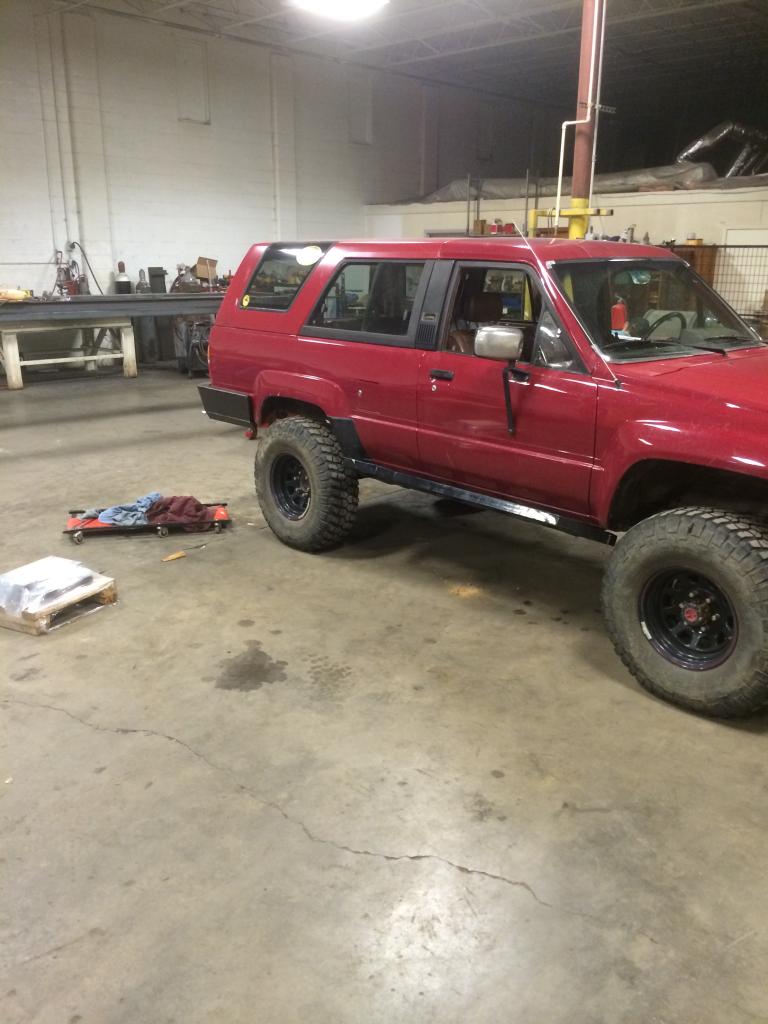
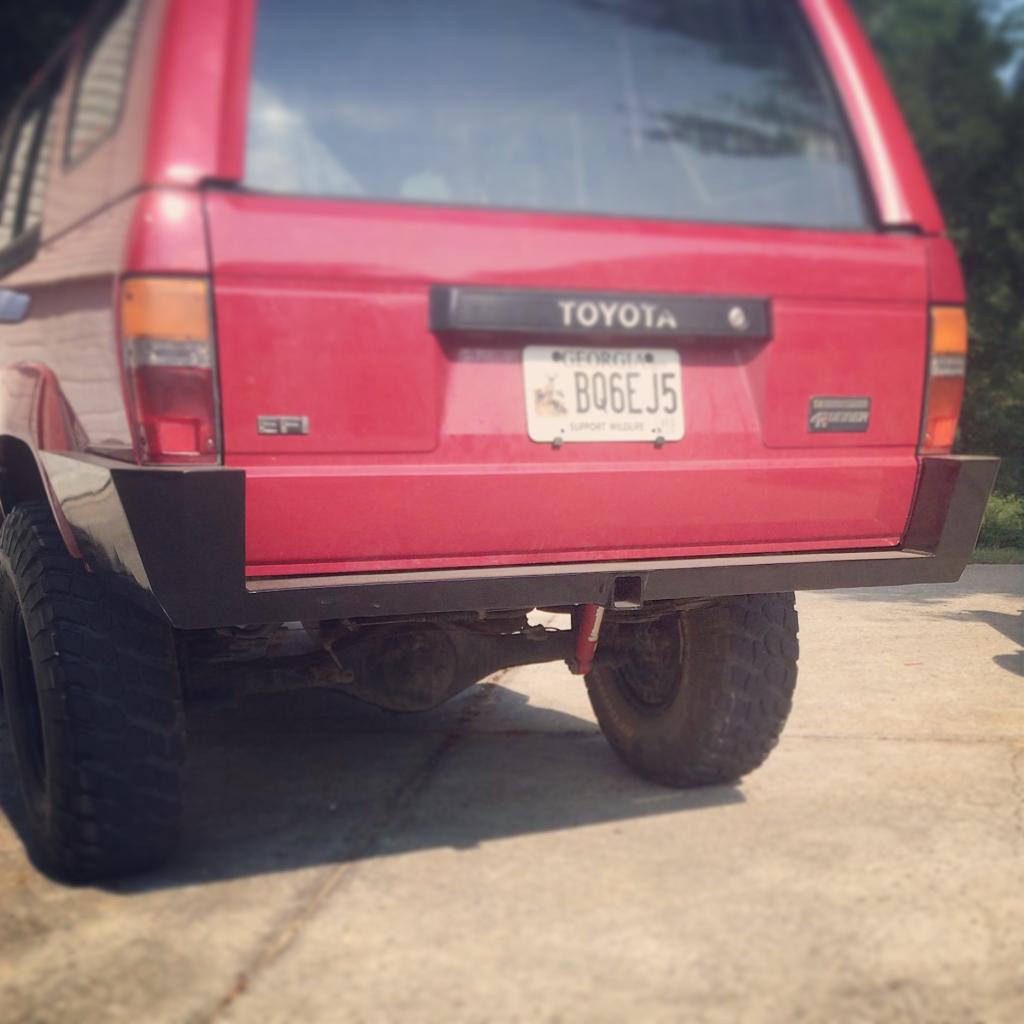
I got the bumper sand blaster and powder coated gloss black. Looks good when my runner is actually cleaned up!


Here's a little instagram edit
If you have any questions let me know! I am posting this here on Bamaoffroadgroup.com as well as Yotatech.com
My truck origionaly had a piece of 3"x5" square tube welded on top of the factory bumper mounts. It was plain, ugly, and hung up on everything. From the bottom of the mounts to the tailgate was around 5.5". I wanted something much higher clearance and aesthetically pleasing. I also wanted it to wrap from fender well to fender well and follow just below the body line on the "bed".
I used all 3/16" plate and 2"-3/16"wall square tubing.


I really liked the no bumper look but too risky for me.

First mock up on the truck. The Clark table lift was unbelievably helpful.


Placed three small gussets on each side and started to tack in 1.5" square tubing to keep the long sides stiff.

I measured the hole in the frame and traced them onto a 1"x.675" bar, then drilled and tapped for 1/2" bolts. Should hold fairly strong!


I ran into a clearance problem opening and closing the tailgate so i had to cut out the holes in the legs that go into the frame. i filled them back in with .25" plate, so hopefully no week spot.


I put the 2" square all along the bottom to give it a lot more strength and rigidity as well as to hold its shape better while welding.
I also used 1.5" square to run from the ends of the outside, back to the legs on the rear of it.


I have a piece of 2" tacked to a piece of .5" plate to take the place of the receiver until i got some tubing for it (2.5"-.25"wall)

Got it in finally.


After two weeks of measuring and running cuttoff wheels (yes everything was cut with a grinder because the plasma was dead) i was finally ready to start welding
. I wish i knew what i did now and i probably would have saved a couple hours grinding! btw i used a millermatic 252 w/ 0.35 and 85/15 mix


T joints are easy lol.


I welded everything 4"-6" at a time to prevent warping so as you can imagine, it took a while. And it still freaking moved on me a little bit.
My welds also aren't exactly uniform with my starts and stops, but i can assure that there was great penetration.

As you can see, bolted on it doesn't still follow the body line as well as it did before all the welding.


This side follows the body line a little better. You can also see where I scuffed my paint mocking up from the second or third picture from the top.


The floor after i started to grind away the welds.

All cleaned up!


I got the bumper sand blaster and powder coated gloss black. Looks good when my runner is actually cleaned up!


Here's a little instagram edit

If you have any questions let me know! I am posting this here on Bamaoffroadgroup.com as well as Yotatech.com
Feb 7, 2015 | 01:05 AM
#2
Nice write up, I really like your design, it turned out sweet! I like how you followed the body lines. I was going to ask if you planned on adding a swing out tire carrier...but I would guess not, since you already had it powder coated, lol.
Last edited by rustED; Feb 7, 2015 at 01:09 AM.
Feb 7, 2015 | 09:21 AM
#3
Thread Starter
Registered User
Joined: May 2013
Posts: 25
Likes: 0
From: Ringgold Ga, Montgomery Al
I had considered it but I had some time restraints that kept me from doing it. But I'm glad I decided against it. I'm gonna mount the spare off the roll bar inside the truck. If I get in a wreck I don't want it pushing into the body and I really didn't wanna take up my whole back window. Although I do love the look of a swing out, it's not worth the cons to me.
Feb 7, 2015 | 08:51 PM
#5
Thread Starter
Registered User
Joined: May 2013
Posts: 25
Likes: 0
From: Ringgold Ga, Montgomery Al


Thread
Thread Starter
Forum
Replies
Last Post
Team420
95.5-2004 Tacomas & 96-2002 4Runners
4
Jan 12, 2021 04:57 PM
infinityisfive
Other Makes Cars/Trucks
0
Jun 16, 2015 06:51 PM


