gornish_hick's 99 Black Stallion 4Runner Build
 09-16-2012, 05:24 PM
#21
Registered User
Thread Starter
Join Date: Jan 2009
Location: Fredericton, NB, Canada
Posts: 80
Likes: 0
Received 0 Likes
on
0 Posts
Spent a little time on the Runner this weekend. After keying down my 4wd problem (checked vacuum and lines) I came to the conclusion the problem was the Actuator, So friday I picked up an Actuator from the junk yard for $100 and replaced it. It was a tight fit to remove and put the new one in but I got it. Replaced the diff fluid as well. After it was all installed I put it in 4wd and it WORKED! green dash light came on and I was quite relieved.
 10-10-2012, 03:47 PM
#22
Registered User
Thread Starter
Join Date: Jan 2009
Location: Fredericton, NB, Canada
Posts: 80
Likes: 0
Received 0 Likes
on
0 Posts
A little Update on the runner, after installing my new actuator my 4wd drive still would not engage in the front, but the 4wd light would come on. so like i figured i screwed up on installing the new actuator. I removed the actuator and positioned the sleeve that the forks are too sit on, bolted er all back up and, whatta ya know, I got my 4Bi back!! Then on Saturday morning I lost my brakes coming to a stop sign on my road. On inspection I discovered the rear main brake line rusted a hole though it right where it goes by the top shock and coil mount. So I rushed to Crappy Tire and got 8ft of brake line and replaced it. luckily the replacement went smoothly.
11-07-2012, 04:31 PM
#23
Registered User
Thread Starter
Join Date: Jan 2009
Location: Fredericton, NB, Canada
Posts: 80
Likes: 0
Received 0 Likes
on
0 Posts
UPDATE:
Last Week I lost my 4WD once AGAIN!!! after inspecting the front end I noticed one of the new CV axles I replaced was Pushed out of its seat. So once I pulled it off I realized what happened. It sheared right off at the C-clip.

Thanks for warranty, I was back on the road again the next day
Last Week I lost my 4WD once AGAIN!!! after inspecting the front end I noticed one of the new CV axles I replaced was Pushed out of its seat. So once I pulled it off I realized what happened. It sheared right off at the C-clip.
Thanks for warranty, I was back on the road again the next day
05-12-2013, 05:51 AM
#24
Registered User
Thread Starter
Join Date: Jan 2009
Location: Fredericton, NB, Canada
Posts: 80
Likes: 0
Received 0 Likes
on
0 Posts
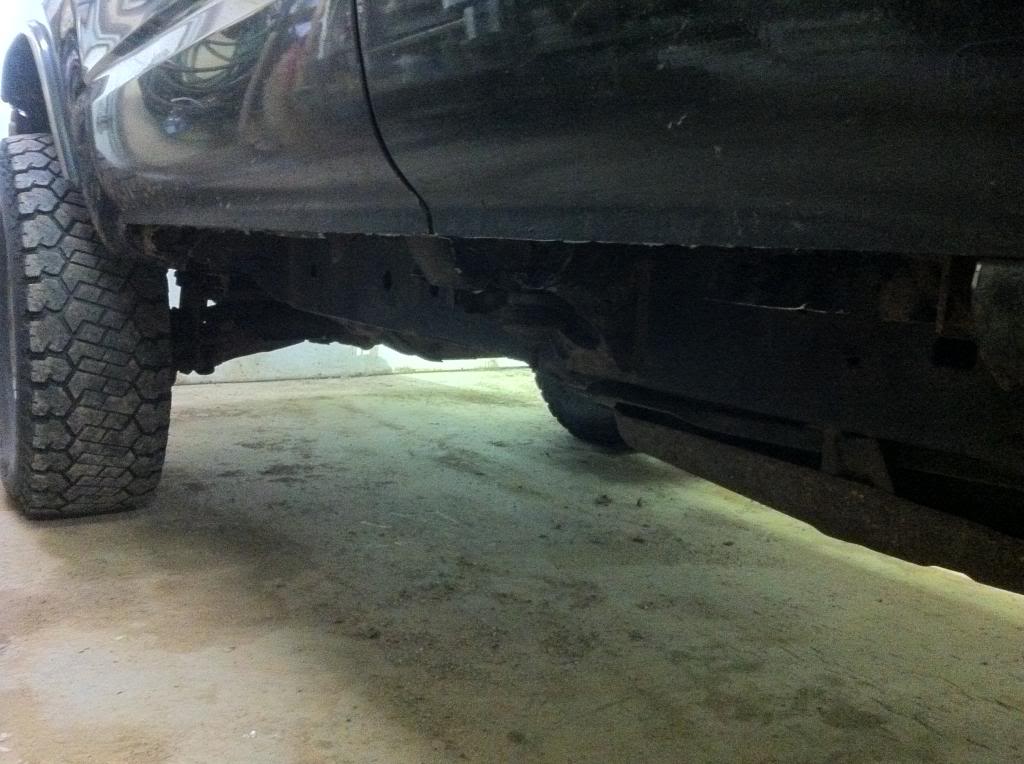
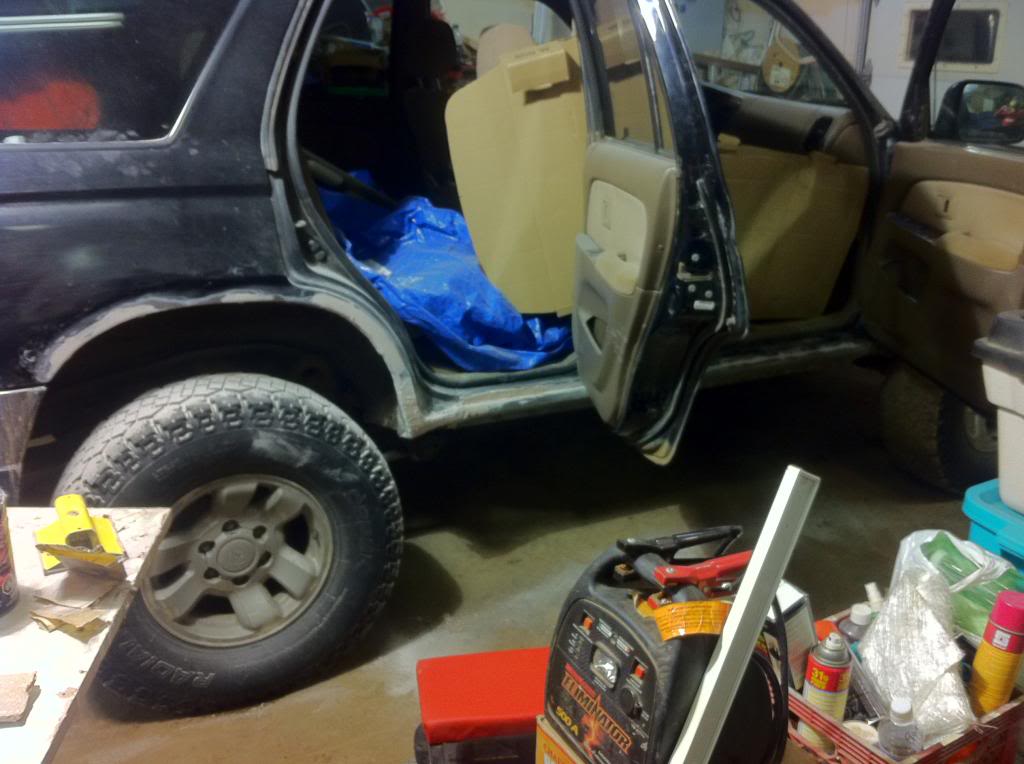
Been a while since i did some updating so here it is, few weeks ago I did a major cancer surgery on my Runner here it is
Last summer I removed my running boards and discovered all the cancer that was collected over the past 14 years of my Runners life. It wasn't good, the harsh Canadian winters pretty much ate them off
3ac49cb7-758c-4b59-8e20-a8fbdf2f255f.jpg?t=1366150504

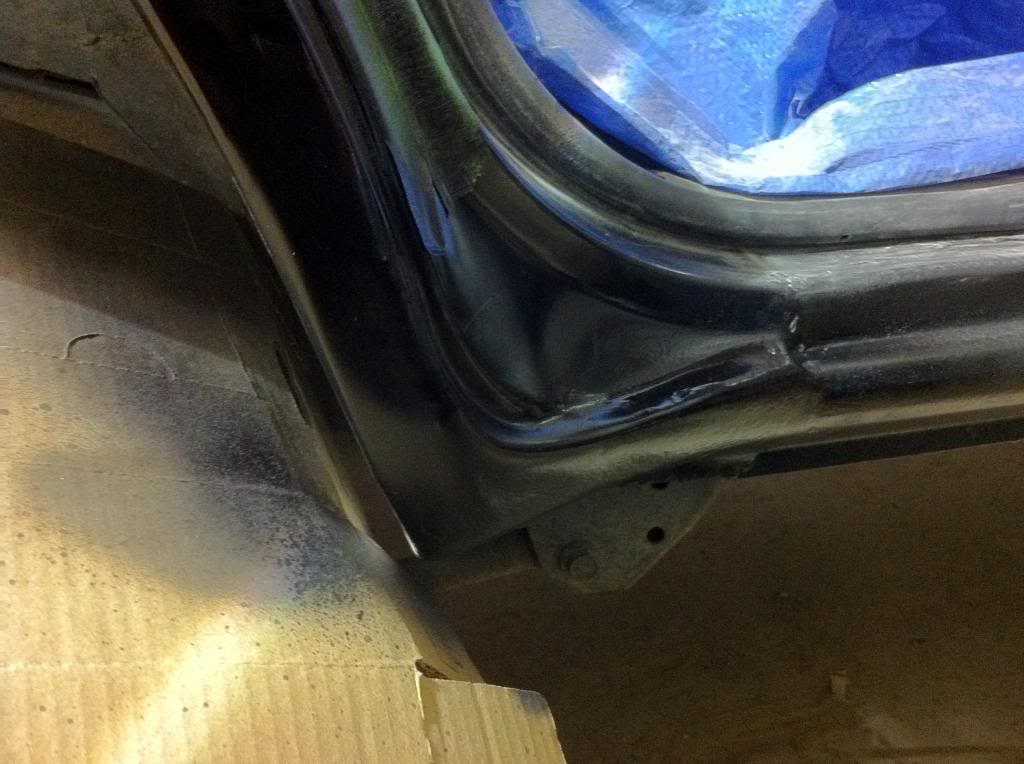
So I went a few months and my eyes couldn't handle looking at these horrid rusty rockers and rust bubbles/holes around my rear wheel wells. After shopping around and discovering what body shops were charging, I decided to tackle this problem myself. I started out by visiting a good buddy of mine who works at a local welding shop. we made template of the old rockers (shape and lengths). My inner rockers were rusted as well so we measured them too. He then cut and pressed me some new rockers for both sides! only cost me a case of beer!!
So then I went at the dirty work. I cut the old rockers completely off and made sure all rust was grinded and completely removed.
(left Rocker Panel Gone!!)
Then I grinded the rust bubbles and small holes back to good metal.
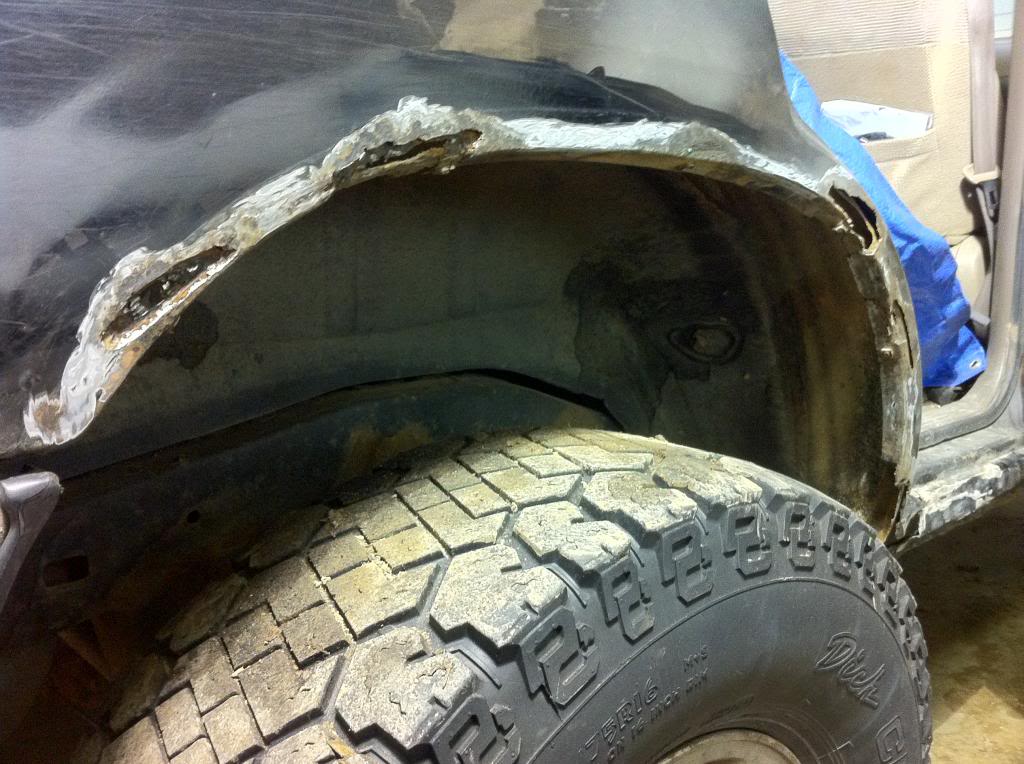
(Note grinding in this picture wasnt complete I removed a little more later on)
(left side hole)
Once all my prep work was done to my liking, I welded my rocker panels on. Both sides Inner/outers. with some help from a good buddy of mine, we welded them as tight and sealed as possible.
(right side rocker Panel)
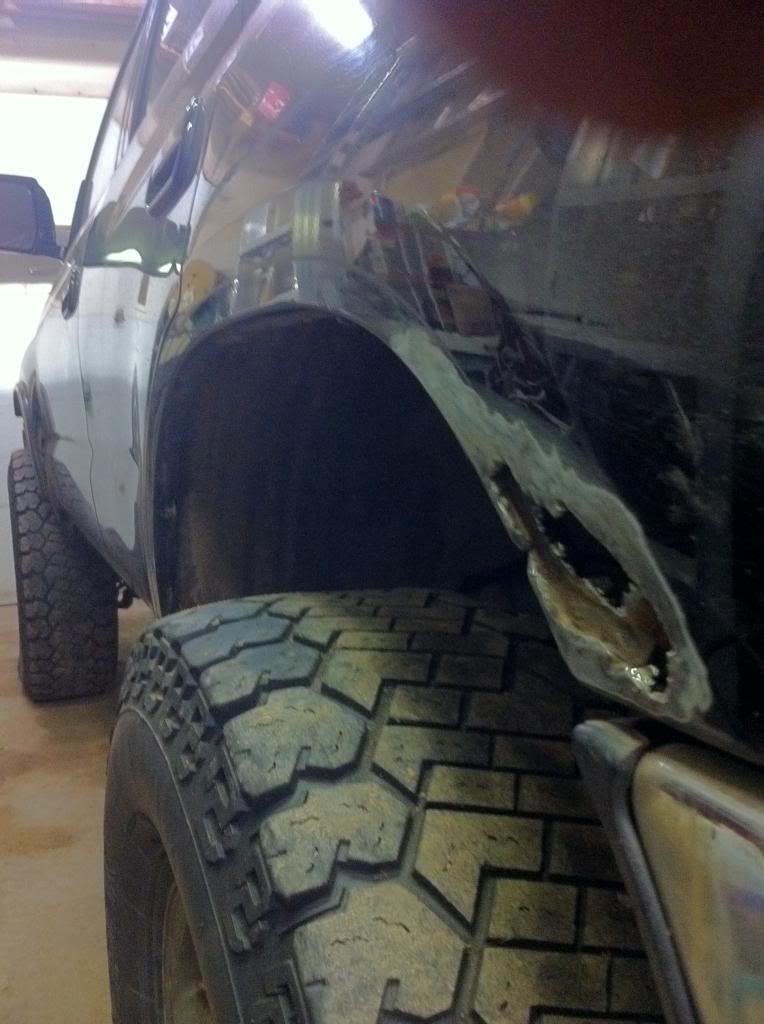
The front corner of my right wheel well was patched up with body fill by the previous owner so I decided to just grind it all off and weld on and reshape a entire new piece.
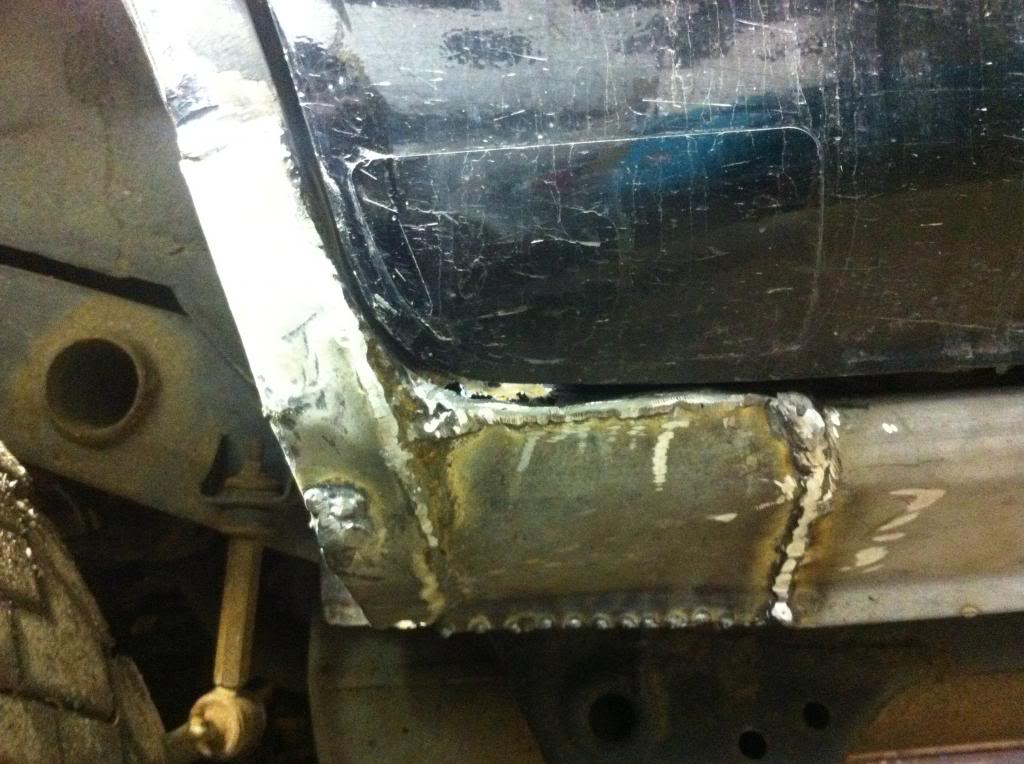
(right side patch up)
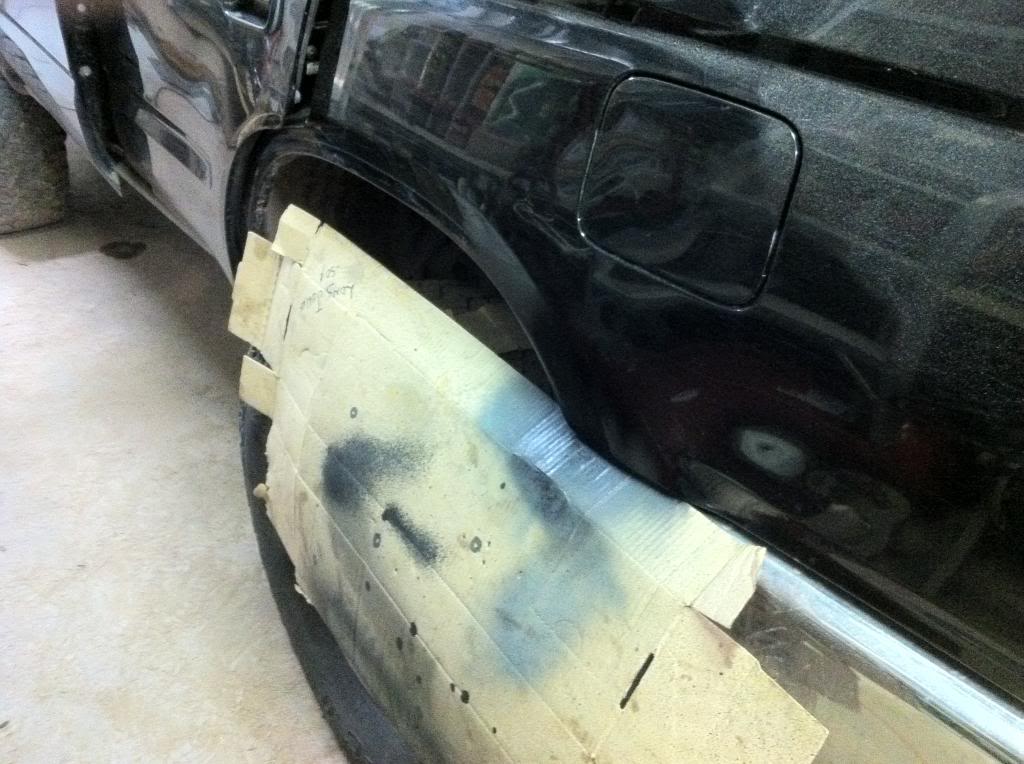
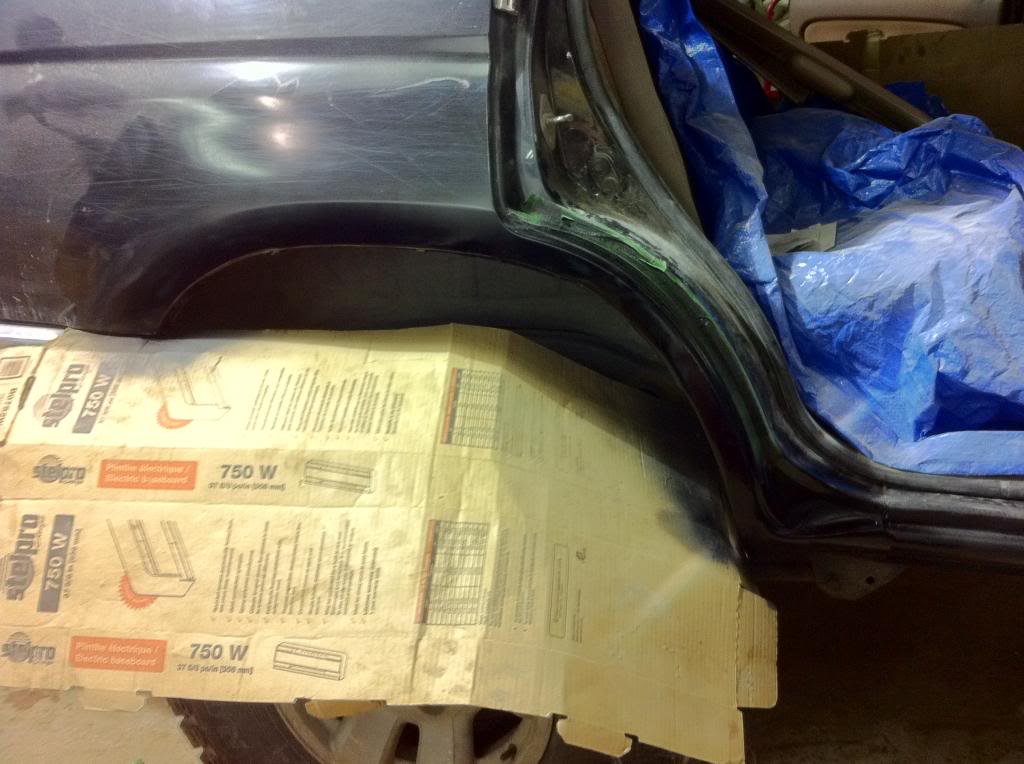
After the welding and grinding got all wrapped up I pulled out the body fill for some finishing touches. I took my time sanding and getting it just perfect to my liking.
(mid way finished!)
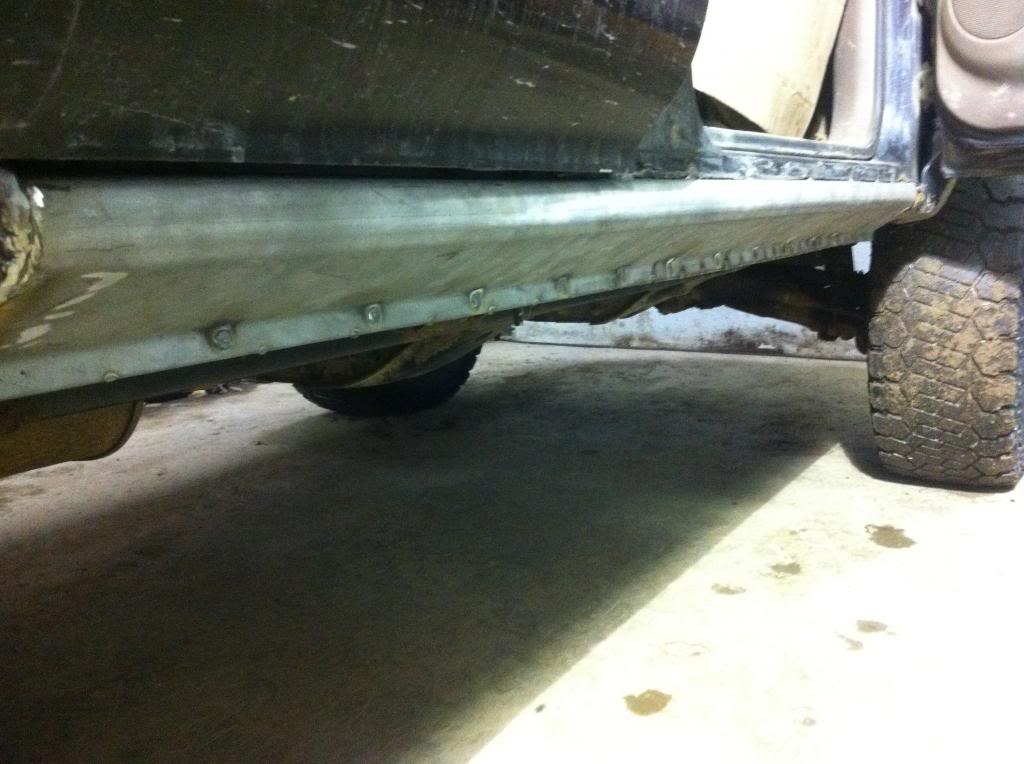
Final came the priming and painting. For the body part of my repair I used 2 cans black sandable primer with duplicolor perfect match paint and a few good coats of clear-coat. Which to my surprise came out well and matched up to the original paint pretty good. I then proceeded to spray my rocker panels with primer and then Rocker Guard. laid about 4 good coats on both outer and inner panels. I then applied an undercoat spray to the inner rockers underneath the body and in the wheel wells.
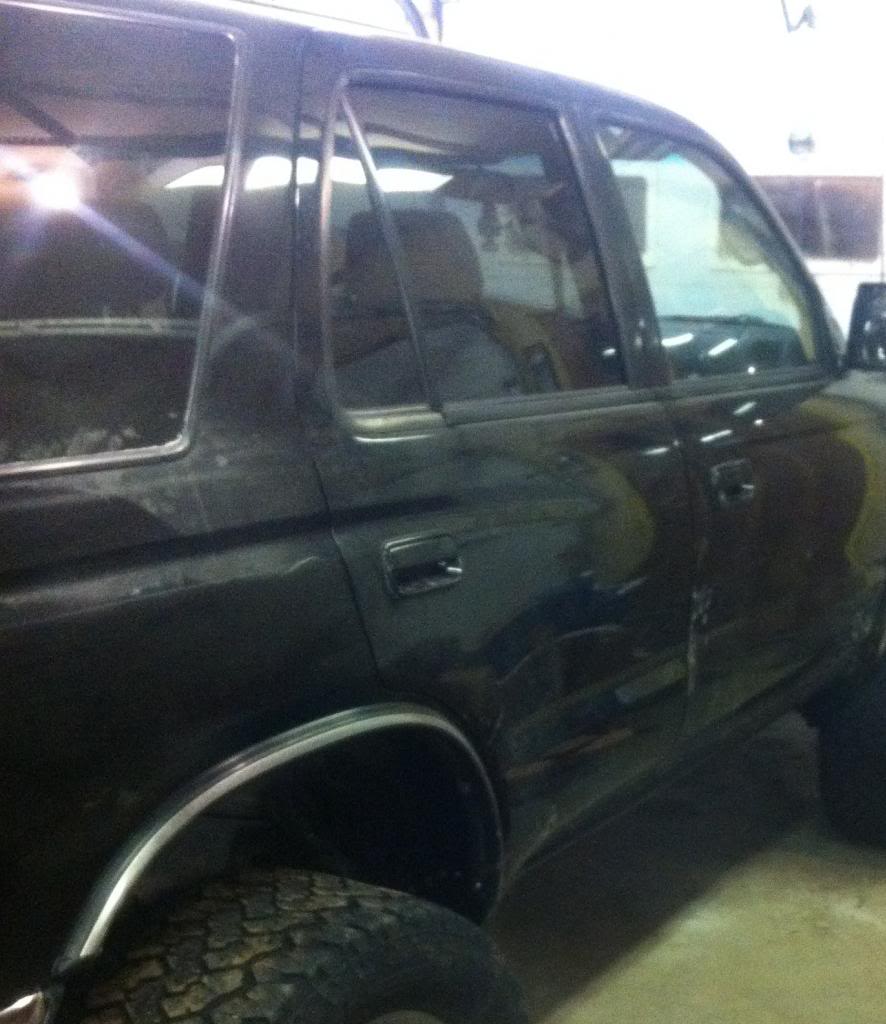
After all said and done I saved myself a crap load of money and was pretty happy with the outcome!
Last summer I removed my running boards and discovered all the cancer that was collected over the past 14 years of my Runners life. It wasn't good, the harsh Canadian winters pretty much ate them off
3ac49cb7-758c-4b59-8e20-a8fbdf2f255f.jpg?t=1366150504
So I went a few months and my eyes couldn't handle looking at these horrid rusty rockers and rust bubbles/holes around my rear wheel wells. After shopping around and discovering what body shops were charging, I decided to tackle this problem myself. I started out by visiting a good buddy of mine who works at a local welding shop. we made template of the old rockers (shape and lengths). My inner rockers were rusted as well so we measured them too. He then cut and pressed me some new rockers for both sides! only cost me a case of beer!!
So then I went at the dirty work. I cut the old rockers completely off and made sure all rust was grinded and completely removed.
(left Rocker Panel Gone!!)
Then I grinded the rust bubbles and small holes back to good metal.
(Note grinding in this picture wasnt complete I removed a little more later on)
(left side hole)
Once all my prep work was done to my liking, I welded my rocker panels on. Both sides Inner/outers. with some help from a good buddy of mine, we welded them as tight and sealed as possible.
(right side rocker Panel)
The front corner of my right wheel well was patched up with body fill by the previous owner so I decided to just grind it all off and weld on and reshape a entire new piece.
(right side patch up)
After the welding and grinding got all wrapped up I pulled out the body fill for some finishing touches. I took my time sanding and getting it just perfect to my liking.
(mid way finished!)
Final came the priming and painting. For the body part of my repair I used 2 cans black sandable primer with duplicolor perfect match paint and a few good coats of clear-coat. Which to my surprise came out well and matched up to the original paint pretty good. I then proceeded to spray my rocker panels with primer and then Rocker Guard. laid about 4 good coats on both outer and inner panels. I then applied an undercoat spray to the inner rockers underneath the body and in the wheel wells.
After all said and done I saved myself a crap load of money and was pretty happy with the outcome!
05-21-2013, 06:27 PM
#25
Registered User
Thread Starter
Join Date: Jan 2009
Location: Fredericton, NB, Canada
Posts: 80
Likes: 0
Received 0 Likes
on
0 Posts
Thought I would do a little update once again. Yesterday was a rainy day here so I took the opportunity to tackle a grille mod that I have been thinking about doing for a while now. so I started off by removing my 99 grille and started cutting out the ribs
[IMG] [/IMG]
[IMG] [/IMG]
I used gutter mesh That came in sheets with 5 in a pack (just enough incase of screw ups!
[IMG] [/IMG]
Then I cut and filled in. I sorta messed up around the toyota emblem so this weekend I will probably redo to top mesh, but heres the outcome.
[IMG] [/IMG]
[IMG] [/IMG]
Let me Know what You all think! I wouldn't mind a little input on this project!
[IMG]
 [/IMG]
 [IMG]
 [/IMG]
I used gutter mesh That came in sheets with 5 in a pack (just enough incase of screw ups!
[IMG]
 [/IMG]
Then I cut and filled in. I sorta messed up around the toyota emblem so this weekend I will probably redo to top mesh, but heres the outcome.
[IMG]
 [/IMG]
[IMG]
 [/IMG]
Let me Know what You all think! I wouldn't mind a little input on this project!

Thread
Thread Starter
Forum
Replies
Last Post
RedRunner_87
95.5-2004 Tacomas & 96-2002 4Runners (Build-Up Section)
84
06-01-2021 01:51 PM
steve miller
General Electrical & Lighting Related Topics
2
10-10-2015 01:40 AM


