
aa1911's Taco OME suspension install/upgrade
 Jan 27, 2012 | 04:37 PM
#1
Thread Starter
Registered User
iTrader: (1)
Joined: Sep 2009
Posts: 1,286
Likes: 3
From: Western Washington
aa1911's Taco OME suspension install/upgrade
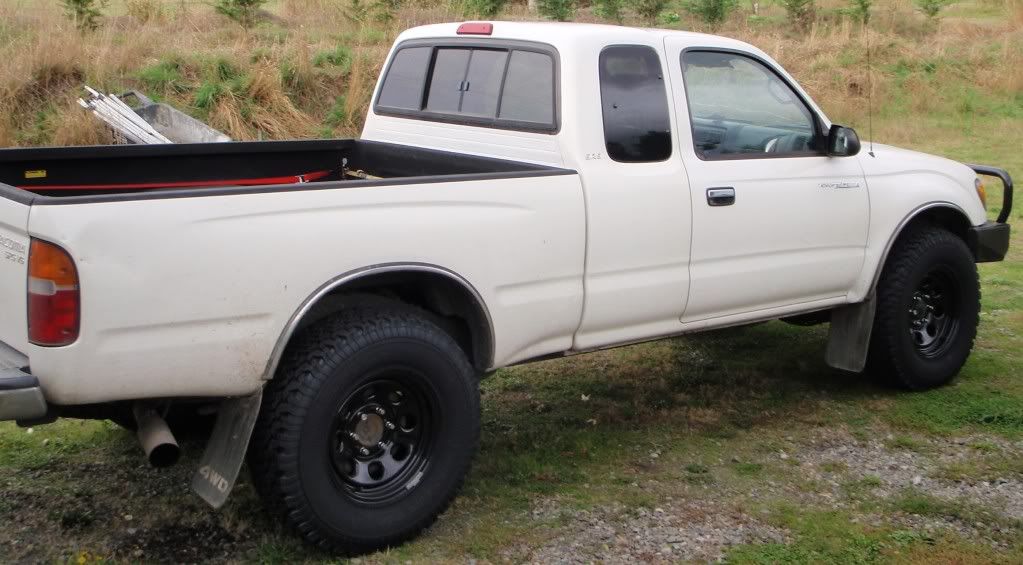
OK folks, time has finally arrived for new suspension on the Taco!!!
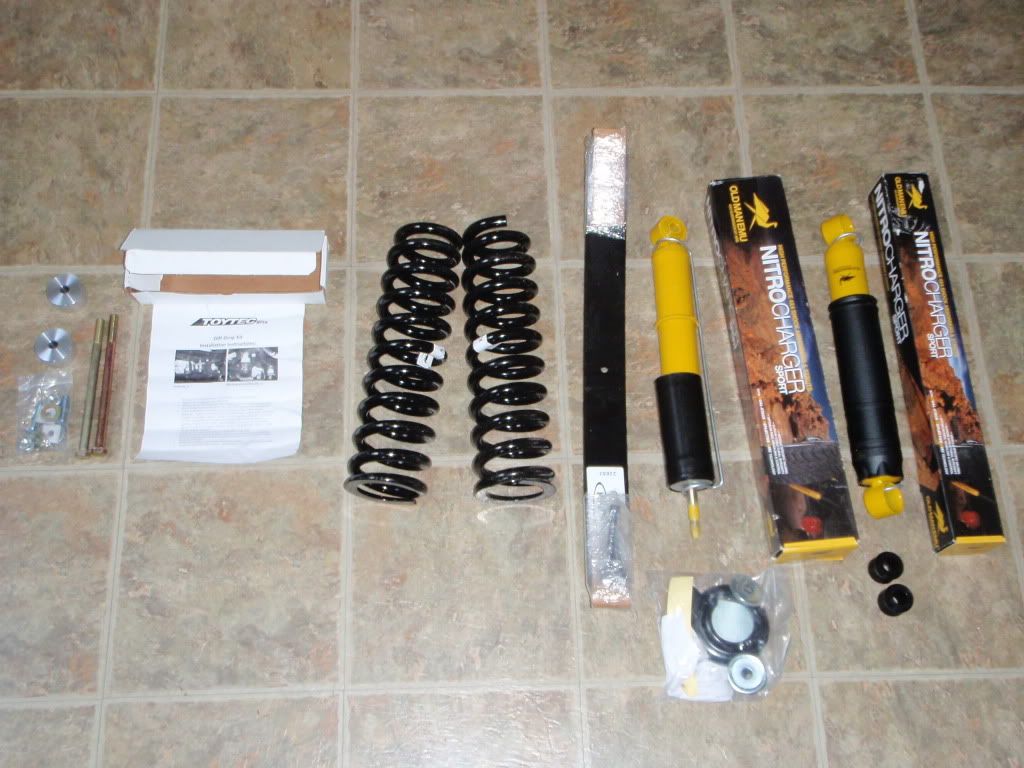
Thanks to WabFab, I now have in my hands an OME suspension kit which includes:
-882 Coils / nitros up front
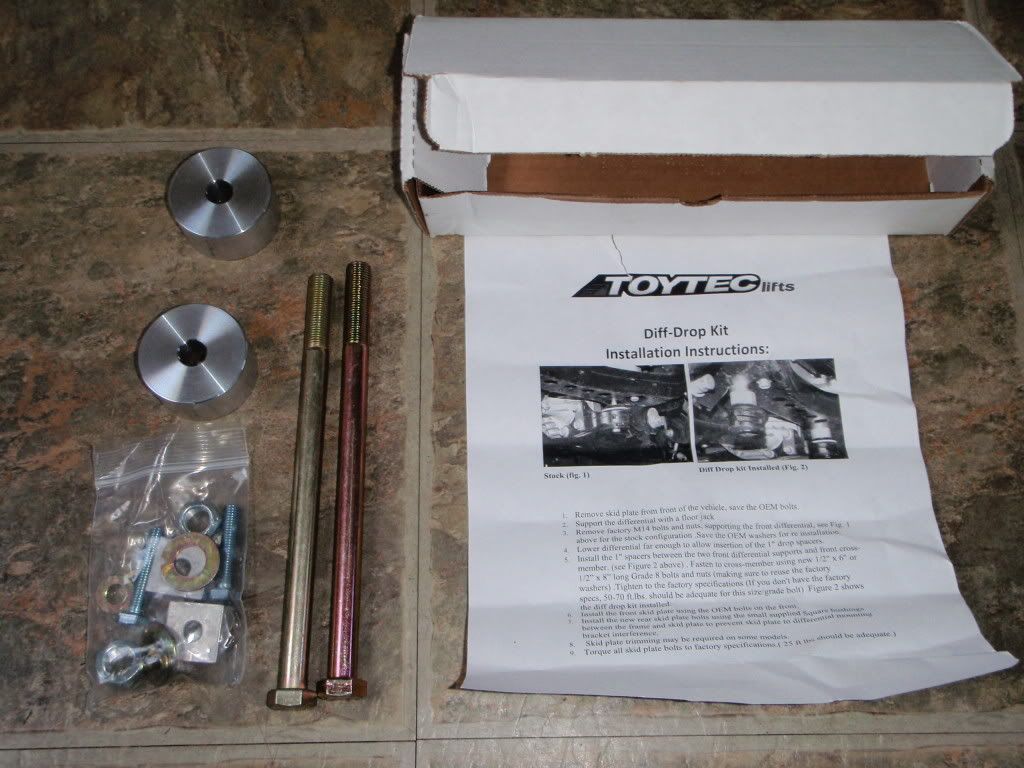
-1" Diff drop
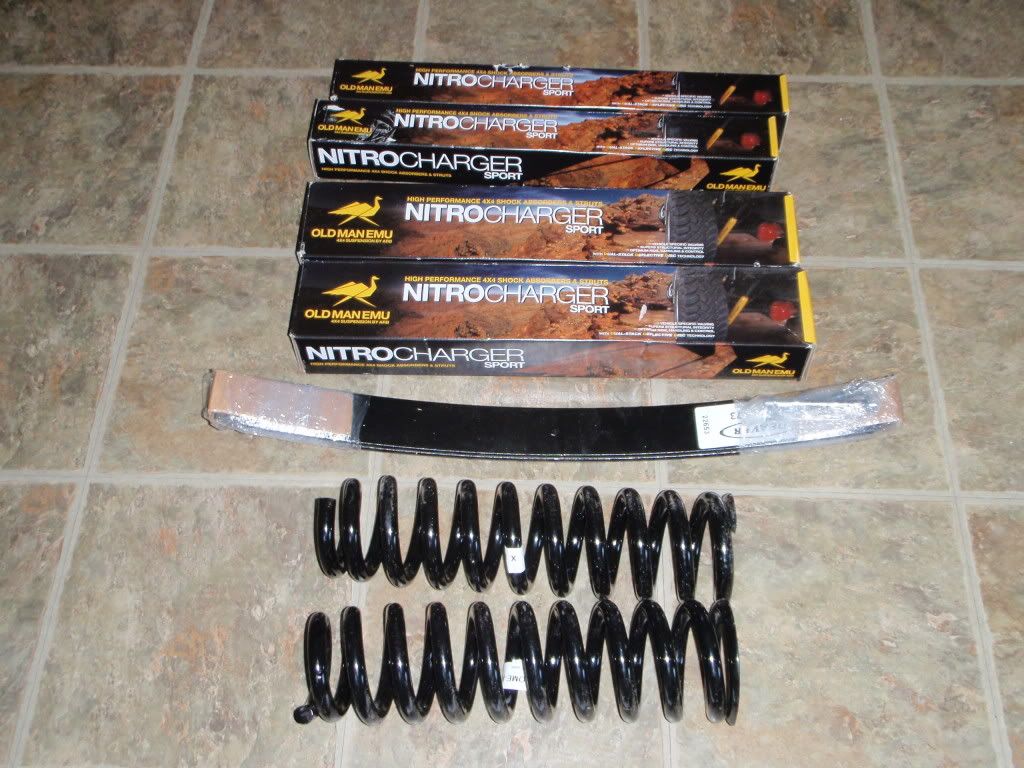
-AAL High Arch rear springs / nitros
I also still have my Energy Suspension master bushing kit that I have yet to really install; I've done the body mounts and some steering bushings but wanted to hold off on all the control arms, etc...
Sooo, this week, going to a buddy's garage to do the install; all new bushings and full suspension, can't wait!
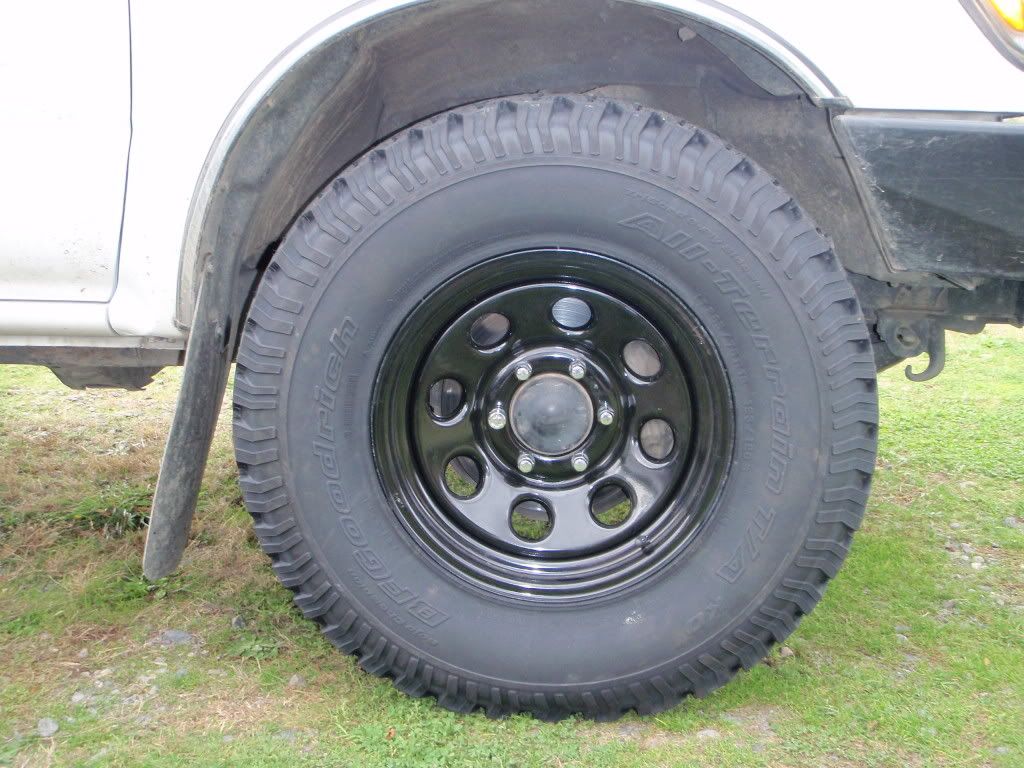
I have some slight rub up front with my new tires/wheels, running 265/75 R16 BFG A/T's on Cragar Soft 8's. The wheels barely clear the calipers up front and the tires rub on the mudflap/plastic trim at 2/3 turn and any mush of the suspension so the OME kit will eliminate that plus give me that extra 2" clearance. (and provide an expected much better ride, stock springs are terrible)
U-bolt flip and rear locker will come later on this year hopefully....
and of course pics...
Thanks to WabFab, I now have in my hands an OME suspension kit which includes:
-882 Coils / nitros up front
-1" Diff drop
-AAL High Arch rear springs / nitros
I also still have my Energy Suspension master bushing kit that I have yet to really install; I've done the body mounts and some steering bushings but wanted to hold off on all the control arms, etc...
Sooo, this week, going to a buddy's garage to do the install; all new bushings and full suspension, can't wait!
I have some slight rub up front with my new tires/wheels, running 265/75 R16 BFG A/T's on Cragar Soft 8's. The wheels barely clear the calipers up front and the tires rub on the mudflap/plastic trim at 2/3 turn and any mush of the suspension so the OME kit will eliminate that plus give me that extra 2" clearance. (and provide an expected much better ride, stock springs are terrible)
U-bolt flip and rear locker will come later on this year hopefully....
and of course pics...
 Jan 27, 2012 | 04:43 PM
#3
Thread Starter
Registered User
iTrader: (1)
Joined: Sep 2009
Posts: 1,286
Likes: 3
From: Western Washington
I plan on hosing off all the road dirt and spraying bolts with some penetrating oil to hopefully speed things up next week, any other suggestions/things to plan on?
brake lines look like they have plenty of flex, can't think of much else that needs to be prepared. the U-bolts look like they are long enough to accommodate but it might be close. there's about 5/8" extra threads on them; there is a local auto parts that stocks good quality U-bolts so I can always run up there if the stock ones won't work.
My biggest concern is yoinking the control arms and steering components but I do plan on taking this directly to Toyota afterwards and getting a front end alignment done.
game on!

Trending Topics
Jan 28, 2012 | 04:22 PM
#8
Thread Starter
Registered User
iTrader: (1)
Joined: Sep 2009
Posts: 1,286
Likes: 3
From: Western Washington
You know it! I plan on getting this done next week, maybe tuesday or wednesday at a buddy's place. He's in between Rainier and Tenino out in the back 40 but fairly easy to find. He works weekends so will have to do this during the week.
Give me a buzz or PM me and I can give you directions Vital! I will let you know what day we hammer down.
and Thanks! the more the merrier for sure
got underneath the taco today after messing with my Sequoia (plugs and bled the brakes) and hit everything with PB blaster (which was on sale at Autozone btw, 2 cans for $8...) they don't look too bad but few have moved since the manufacture date.
Jan 28, 2012 | 04:48 PM
#11
Thread Starter
Registered User
iTrader: (1)
Joined: Sep 2009
Posts: 1,286
Likes: 3
From: Western Washington
ahh, no worries. Where you hitting the steelhead? I want to hit up the Cowlitz or anywhere else close, chum have been blown out of the Nasty here for a few weeks now... smoker is sitting idle...
Jan 31, 2012 | 09:13 AM
#13
Thread Starter
Registered User
iTrader: (1)
Joined: Sep 2009
Posts: 1,286
Likes: 3
From: Western Washington
OK guys, install party is tomorrow (Wed), putting a list of tools and supplies together so I don't forget tomorrow. Will be taking lots of pics as we go for sure.
Will pack up tools, and remove the skidplate tonight and hit everything with PB blaster one last time so she's ready for new legs tomorrow.
I feel like a kid on Christmas eve, ha!
Will pack up tools, and remove the skidplate tonight and hit everything with PB blaster one last time so she's ready for new legs tomorrow.
I feel like a kid on Christmas eve, ha!
Jan 31, 2012 | 04:42 PM
#14
Thread Starter
Registered User
iTrader: (1)
Joined: Sep 2009
Posts: 1,286
Likes: 3
From: Western Washington
skidplates removed, hit all remaining bolts with a good dose of PB and did a second drenching of the rest. Cleaned off most of the grime, lots to go though.
Got plenty of tools, jacks and stands, air compressor, impact guns x3 and sockets to go with, etc... grease, never seize, measuring tape for before/after heights, torch and extra cylinders... a 6' plus friend...
...and duct tape if something doesn't work, hahaha!
Got plenty of tools, jacks and stands, air compressor, impact guns x3 and sockets to go with, etc... grease, never seize, measuring tape for before/after heights, torch and extra cylinders... a 6' plus friend...
...and duct tape if something doesn't work, hahaha!
Feb 1, 2012 | 09:51 PM
#15
Thread Starter
Registered User
iTrader: (1)
Joined: Sep 2009
Posts: 1,286
Likes: 3
From: Western Washington
OK, not very much progress today; started at 10 this morning, had too many distractions and an unexpected trip to autozone for a better spring compression tool and THEN got called into work unexpectedly with no truck so had to get a ride, jeez.
started on the front end, pulled the springs and then couldn't get the new ones smooshed enough to fit with my crappy (and bent up) compression tool so went to autozone and rented a better one but ran out of time.
Energey suspension bushings will have to wait on the control arms, not even messing with those now; pulled the upper control arms and tried to eject the bushings to no avail. Used hammer, C-clamp, torch, vice grips, channel locks, countless rounds of PB blaster, more torch, a gear puller, would not budge.
Anyway, back at it tomorrow AM, at least the bolts were in good shape and turned with nothing more than average oompf so no issue there. removed the sway bar links to get more flex but need to monkey with the new compression tool to get a good fit.
The new springs are only about 1" longer than stock but much heavier and thicker coil (which is great because that will be the end of front end sag) but ups the effort quite a bit.
Word to the wise, order the assembled shocks for the extra $100 bucks, after way too much time and effort, really wish I had just spent the extra bucks, I would be rolling by now even with the time setbacks.
Anywhoo, been taking lots of pics (my buddy started making fun of me right away when I started snapping pics, "what are you, toyota paparatzi?" ... well, yes, now that you ask... ha!) you will all appreciate the pics I'm sure, I know I always do...
if it's any consolation, got to drive my new Sequoia to work and home instead of my lifted Taco so can't complain too much! 5.7L of fury baby... it's a muscle car cadillac...
OK, enough ramble, will post up the finished (fingers crossed) results tomorrow. Once the front springs go in the rear should go quick and then diff drop and back on the road.
 Feb 2, 2012 | 07:26 AM
#17
Thread Starter
Registered User
iTrader: (1)
Joined: Sep 2009
Posts: 1,286
Likes: 3
From: Western Washington
hey, no worries! live and learn. I didn't get them because I had done this myself earlier when I put my bilsteins on but these springs are much heavier duty and I for sure would have benifited with the assembled ones.
back at it here in about an hour or so, can't wait to finish these up and take her for a spin!
back at it here in about an hour or so, can't wait to finish these up and take her for a spin!
Feb 2, 2012 | 06:45 PM
#18
Thread Starter
Registered User
iTrader: (1)
Joined: Sep 2009
Posts: 1,286
Likes: 3
From: Western Washington
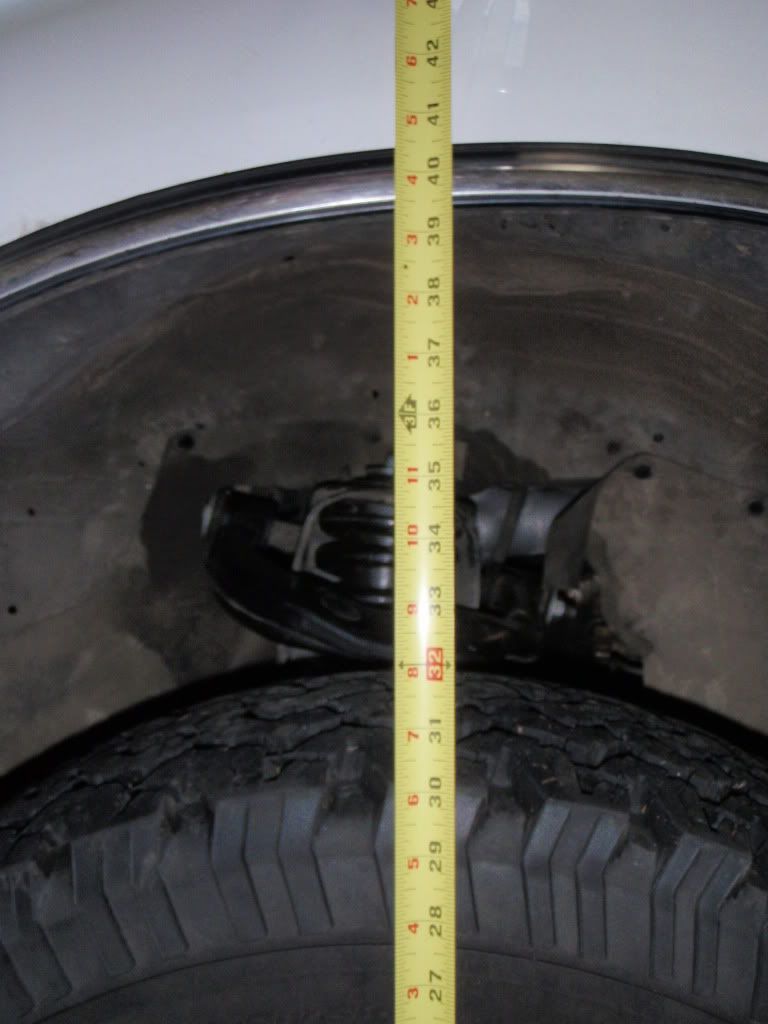
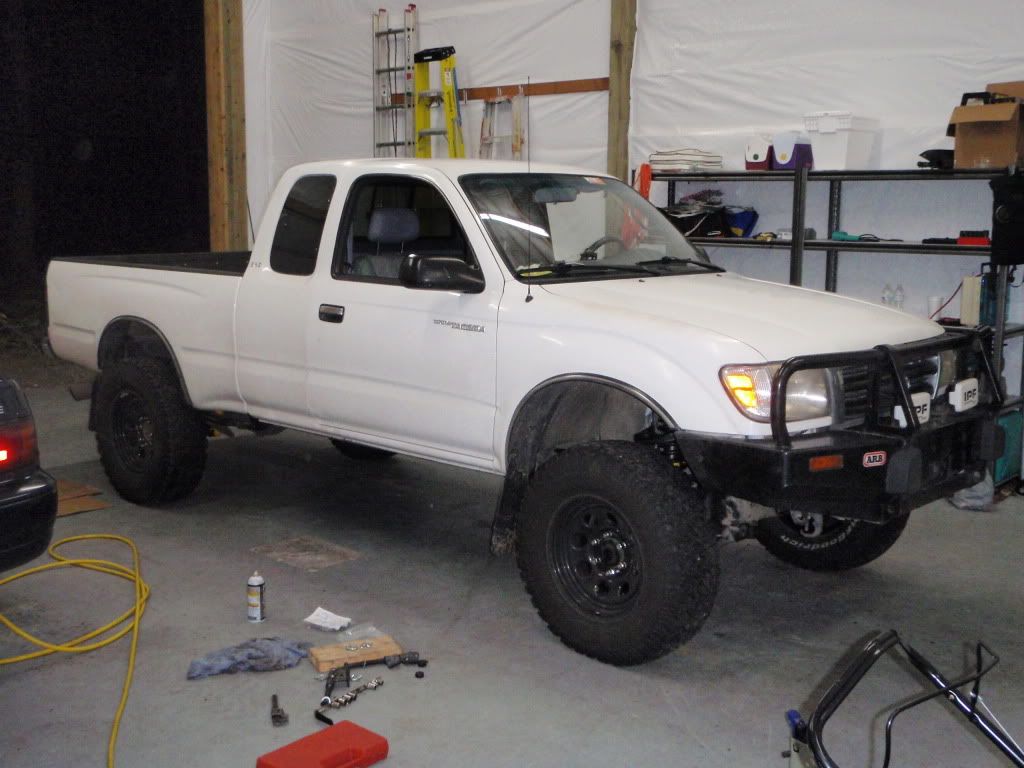
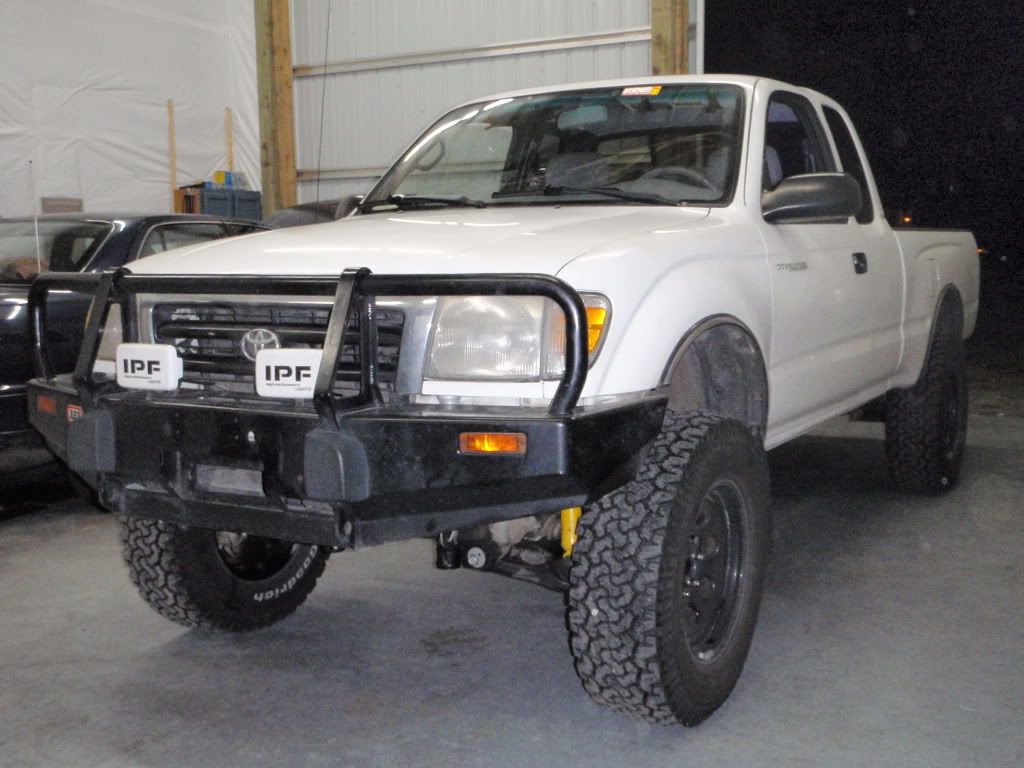
All right, project complete! finished up tonight around 530 or so, ground to fender is up from 35.5 to 39" (front) and no rub; nice and level, fenders are within less than 1/2" height so nice and level. rolls smooth, feels tight but doesn't dump on turns as much and is a tad smoother over bumps. Only drove about 15-20 miles so far but all seems well.
Once the front springs were in, took but a short time to throw in the diff drop spacers and do the rear AAL's. She looks awesome and rides fantastic so far. Pics to come, waiting on photobucket to load the pics...
new legs!
Once the front springs were in, took but a short time to throw in the diff drop spacers and do the rear AAL's. She looks awesome and rides fantastic so far. Pics to come, waiting on photobucket to load the pics...
new legs!
 Feb 3, 2012 | 08:54 AM
#20
Thread Starter
Registered User
iTrader: (1)
Joined: Sep 2009
Posts: 1,286
Likes: 3
From: Western Washington
OK, front wheel ground to fender before:
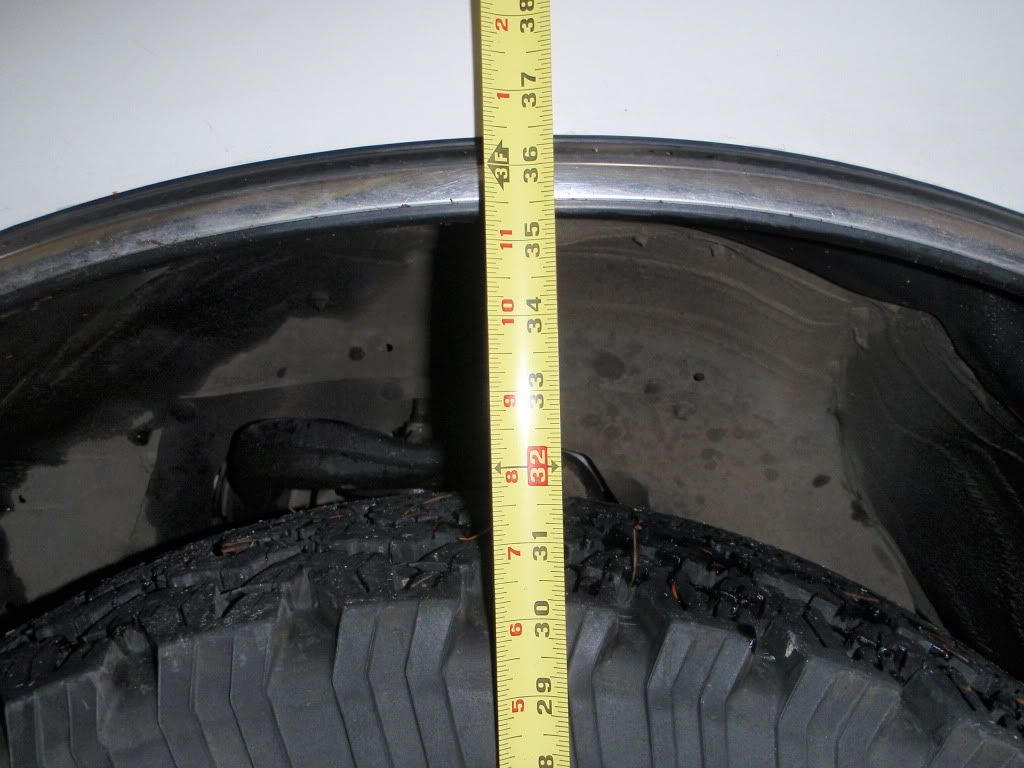
front wheel after:
rear wheel before:

and rear wheel after:
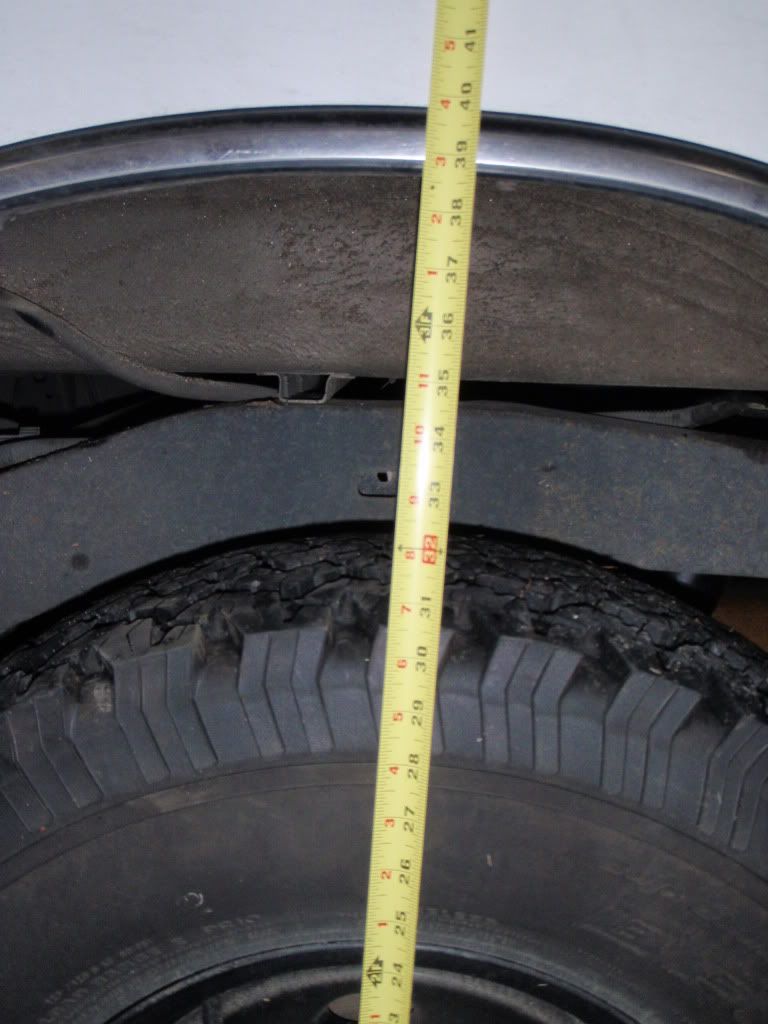
so pretty good, leveled here out within 1/2" of each fender to ground front to back and she sits beautiful!
oh yeah, baby, new legs at last!
OK, now some pics of the install and other components to follow...
front wheel after:
rear wheel before:
and rear wheel after:
so pretty good, leveled here out within 1/2" of each fender to ground front to back and she sits beautiful!
oh yeah, baby, new legs at last!
OK, now some pics of the install and other components to follow...


