
OEM mini header install for 2.7L*(Pics)*
 Nov 8, 2008 | 06:15 PM
#22
Thread Starter
Registered User
Joined: Aug 2007
Posts: 801
Likes: 1
From: Merritt Island FL
Well got it all together today pics coming soon
does anybody know what the torque specs are on the nuts that hold the manifold to the head (there the ones that go on the studs coming out of the head, don't want to pull the studs out of the alumi head)
Found it 36flbs
does anybody know what the torque specs are on the nuts that hold the manifold to the head (there the ones that go on the studs coming out of the head, don't want to pull the studs out of the alumi head)
Found it 36flbs
Last edited by 96redtoy; Nov 9, 2008 at 01:40 PM.
Nov 9, 2008 | 08:04 AM
#24
Thread Starter
Registered User
Joined: Aug 2007
Posts: 801
Likes: 1
From: Merritt Island FL
so here it goes
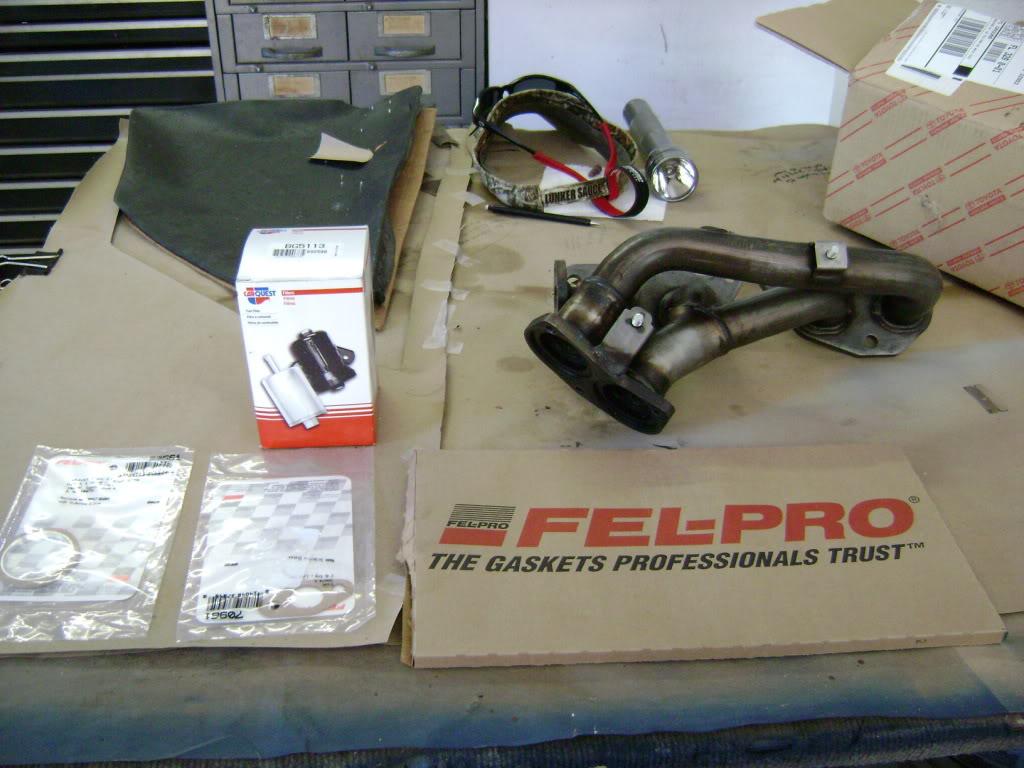
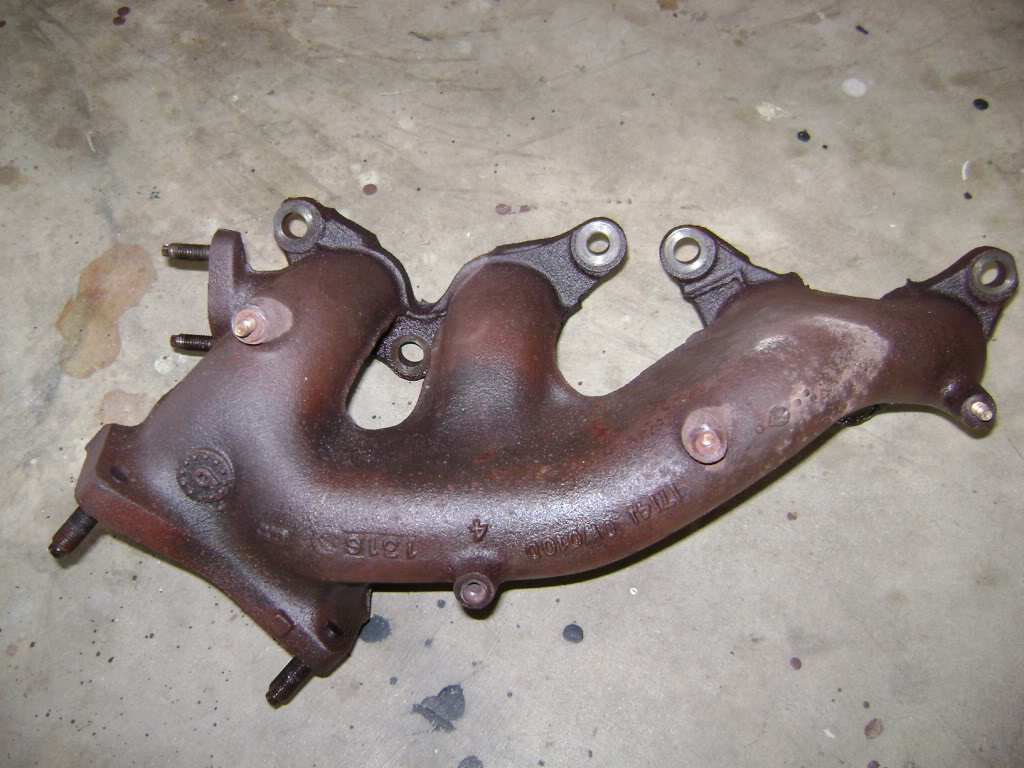
well i got this in the mail
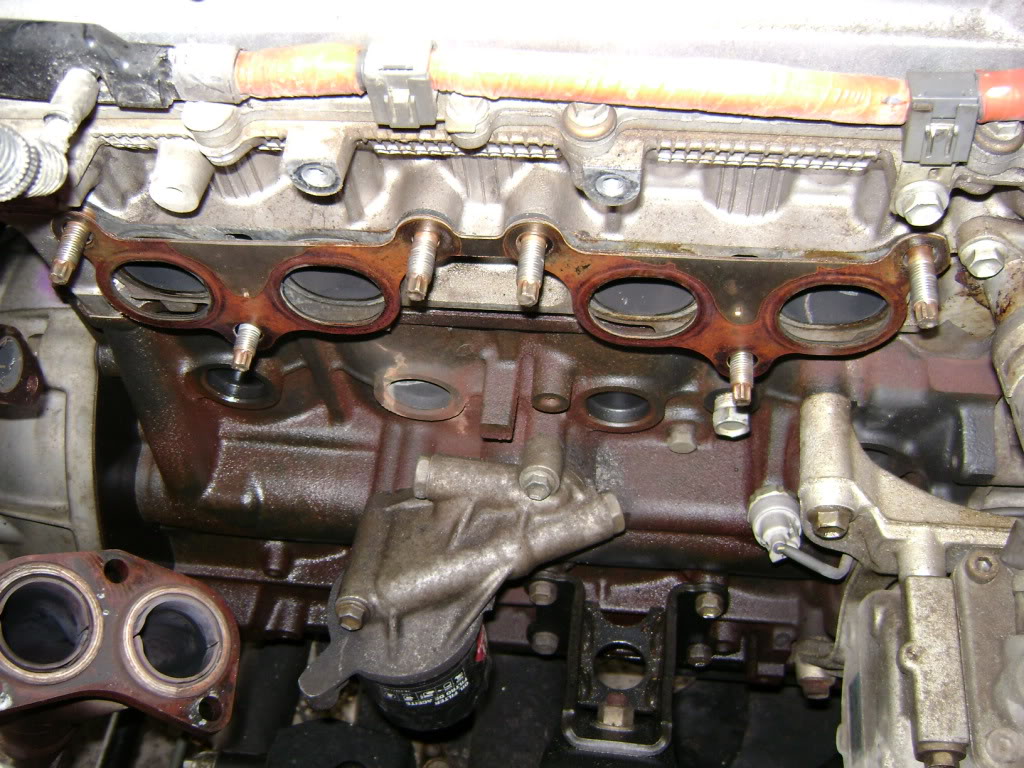
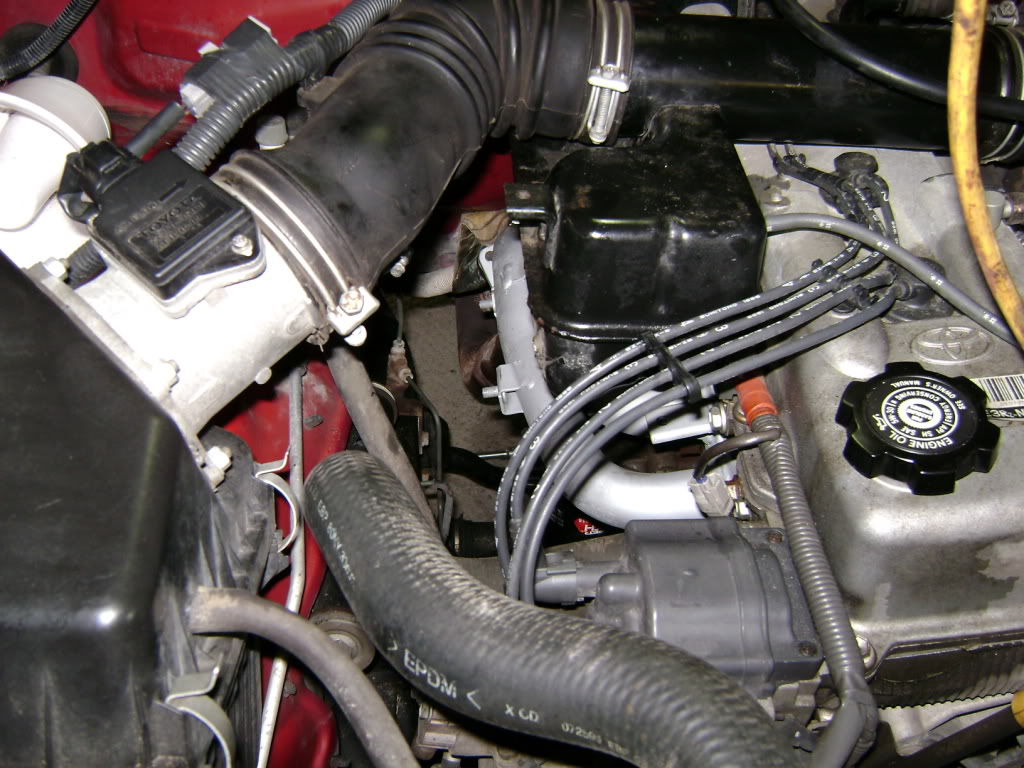
then removed all the intake stuff and got to the manifold
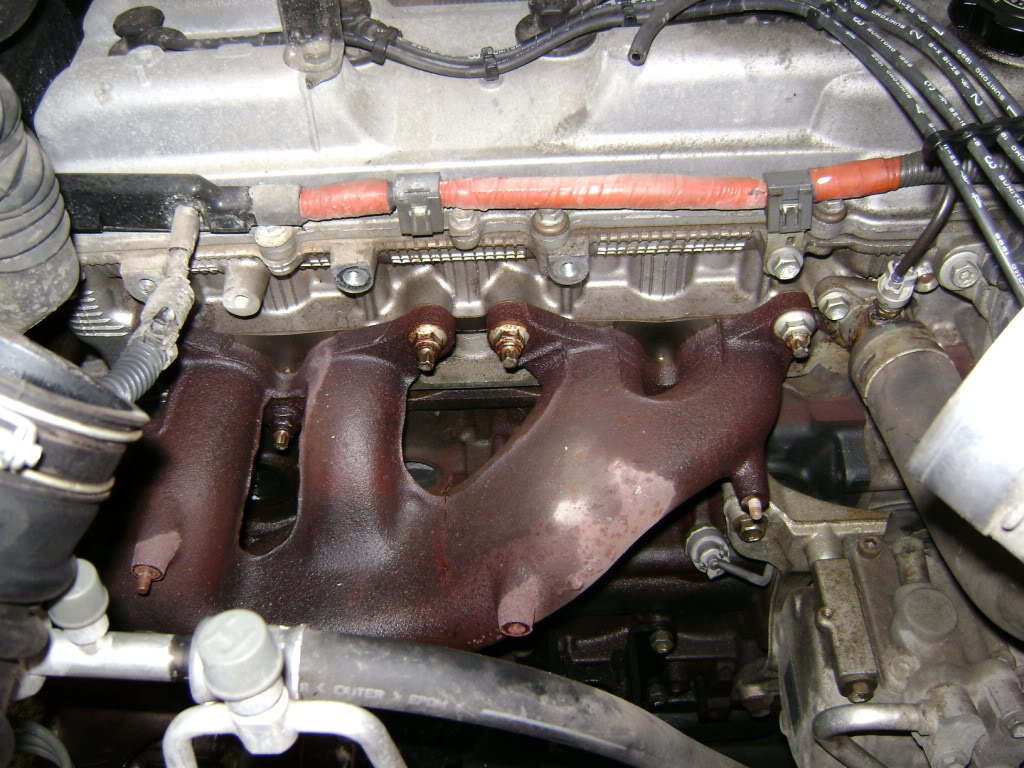
then I removed all the nuts which I sprayed throughout the week with penitrating oil
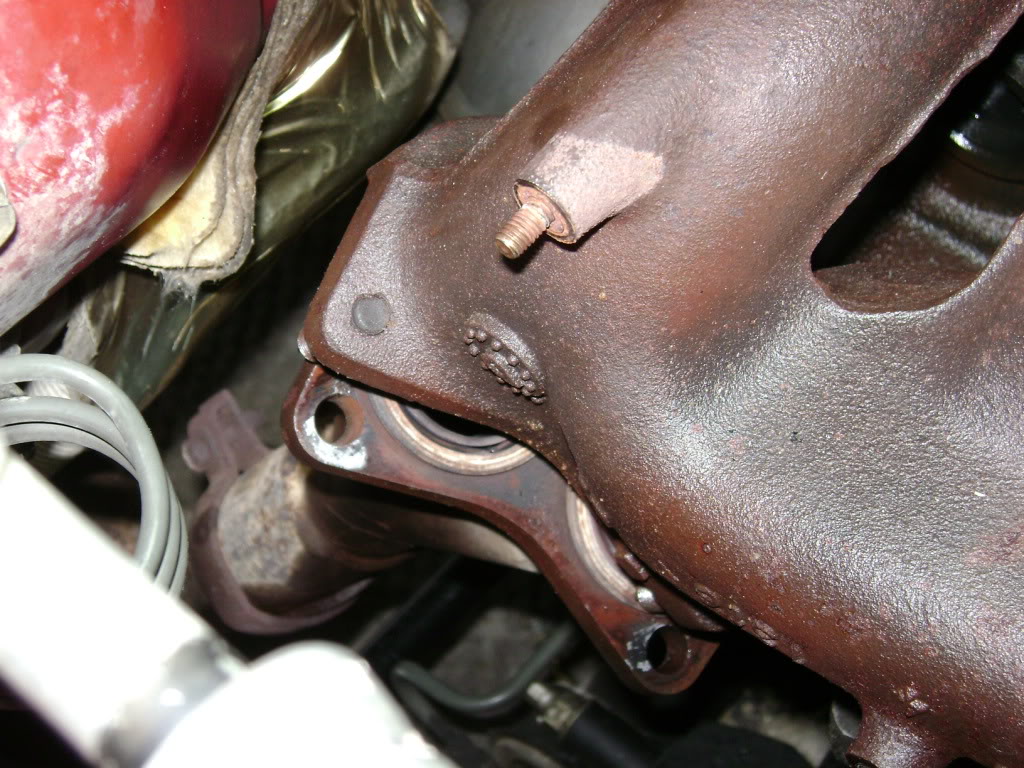
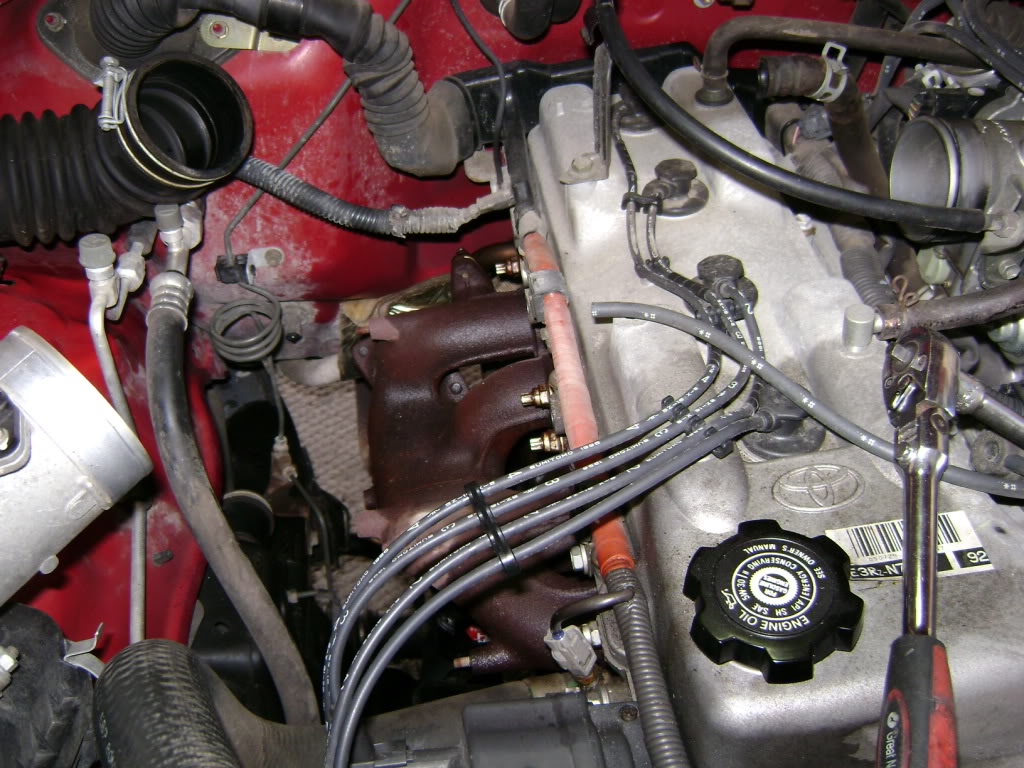
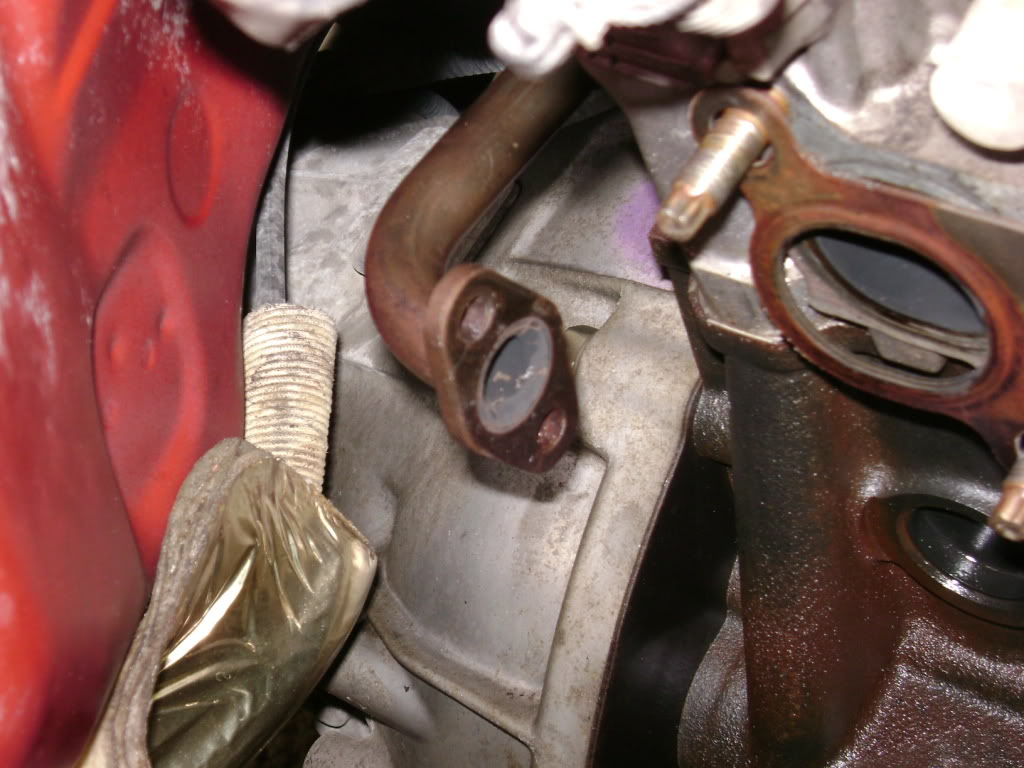
then I had to drop the exhaust down so the studs coming out of the manifold would clear it so I could pull it off the head
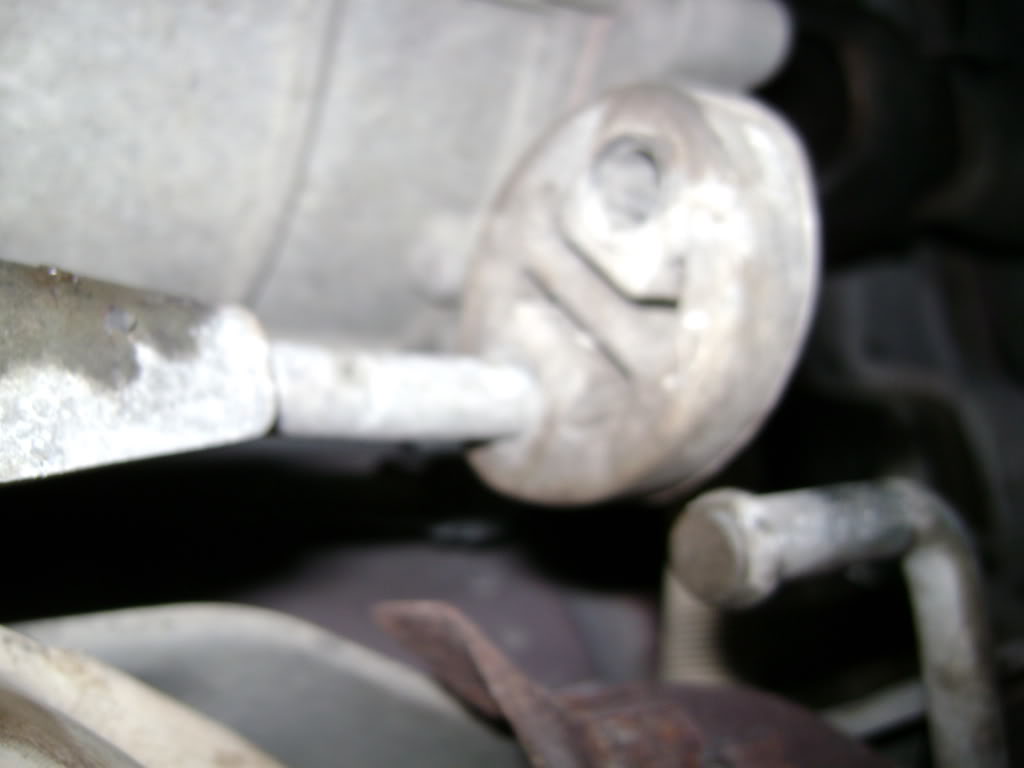
had to take out those two bolts to let the exhaust drop down

also had to take off the hanger
well i got this in the mail
then removed all the intake stuff and got to the manifold
then I removed all the nuts which I sprayed throughout the week with penitrating oil
then I had to drop the exhaust down so the studs coming out of the manifold would clear it so I could pull it off the head
had to take out those two bolts to let the exhaust drop down
also had to take off the hanger
Last edited by 96redtoy; Nov 9, 2008 at 01:42 PM.
Nov 9, 2008 | 08:14 AM
#25
Thread Starter
Registered User
Joined: Aug 2007
Posts: 801
Likes: 1
From: Merritt Island FL
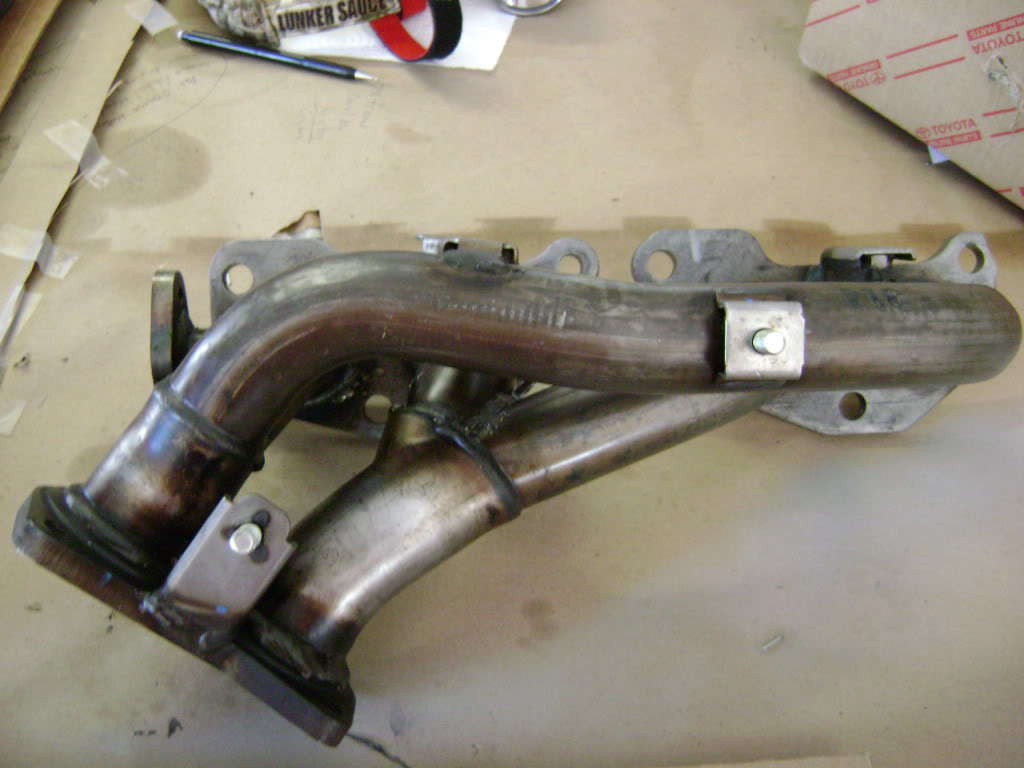
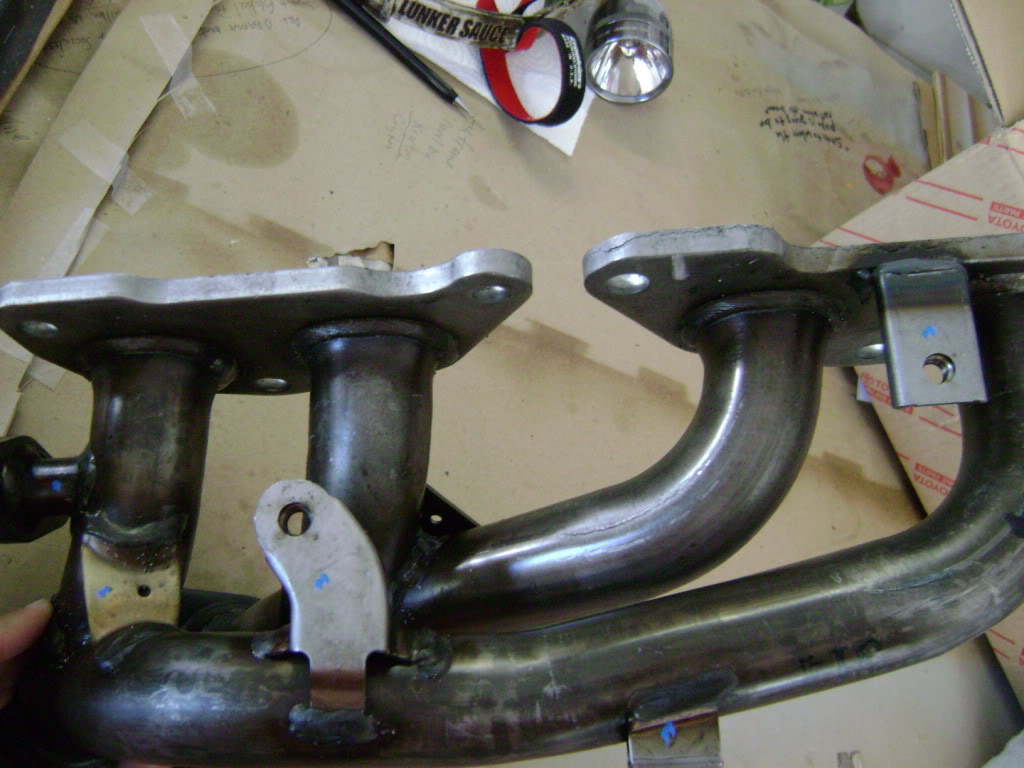
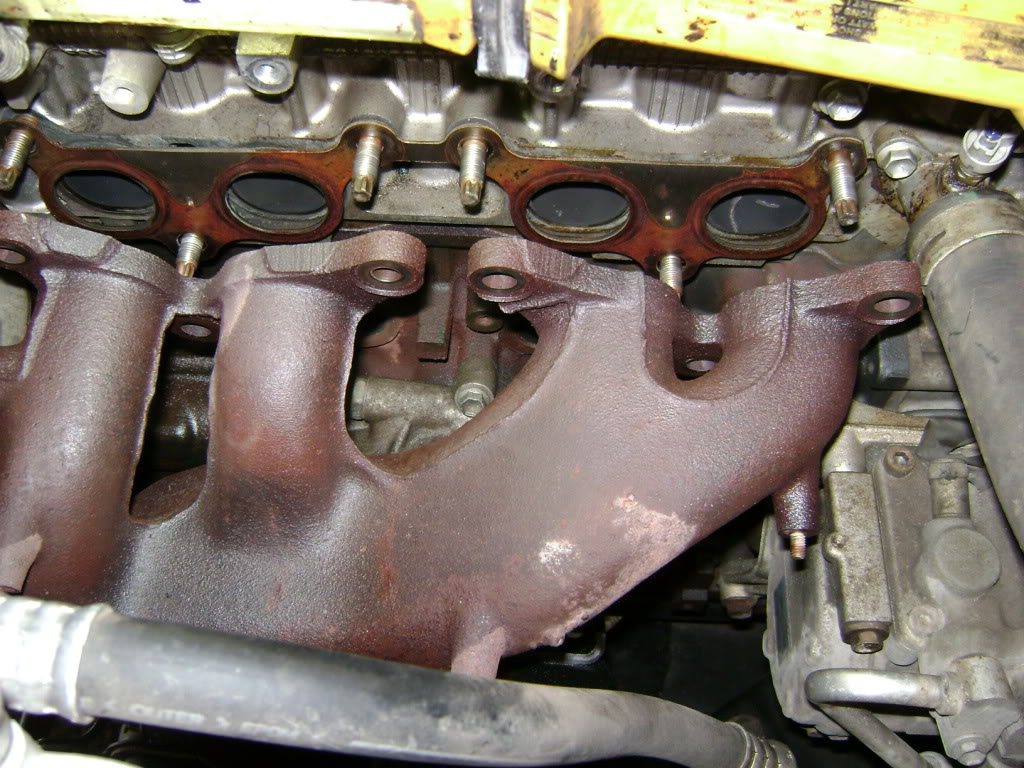
then I got it off yeah
This little sucker was pretty tough to get of but I got it
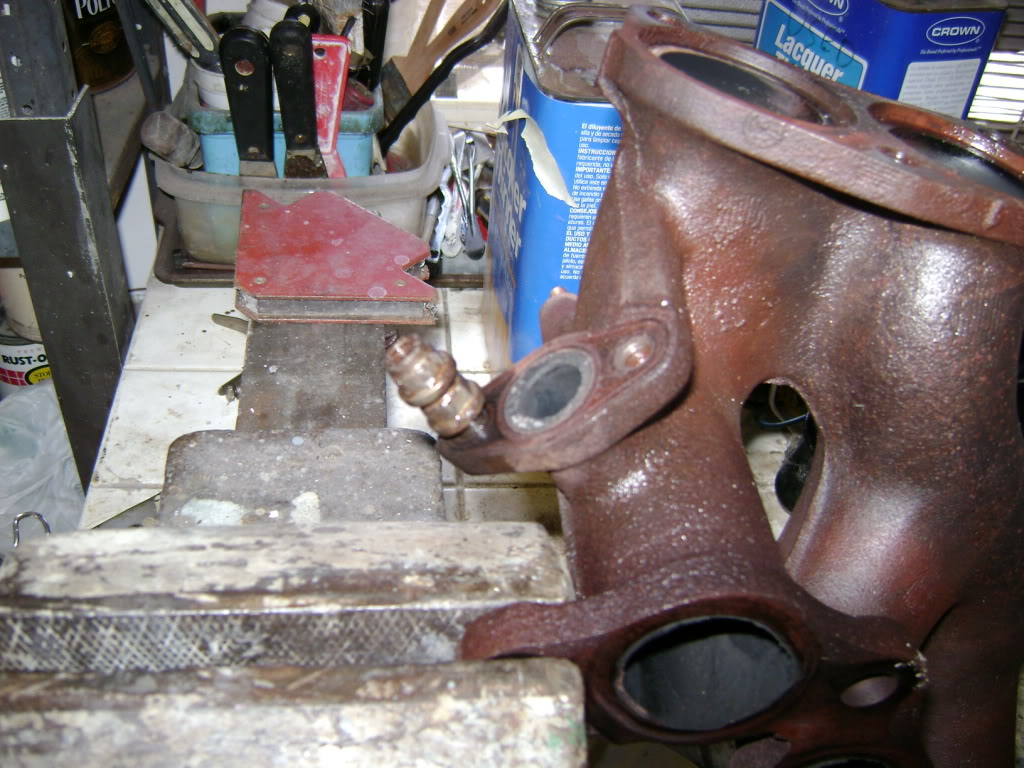
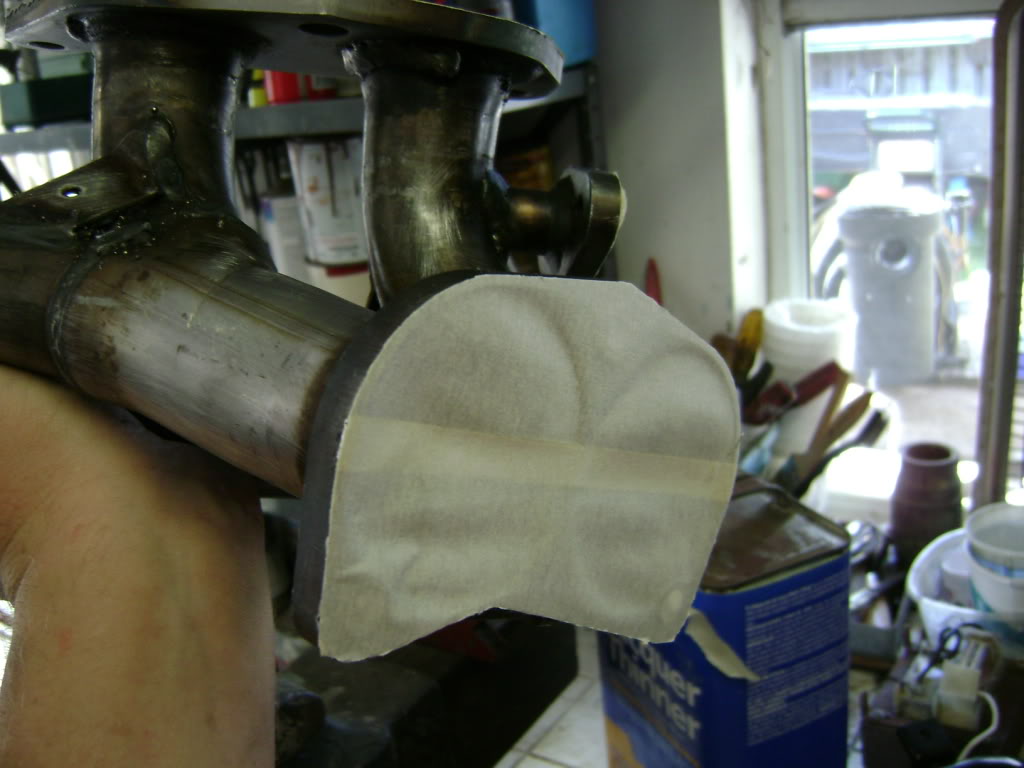
taped off the ends
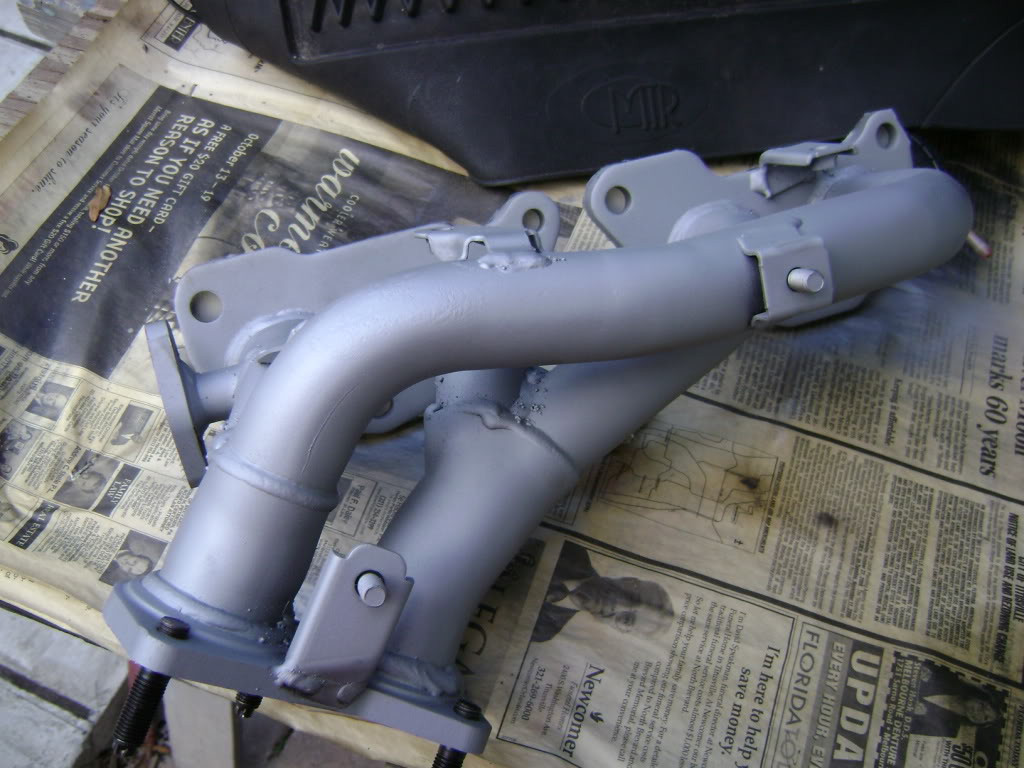
painted
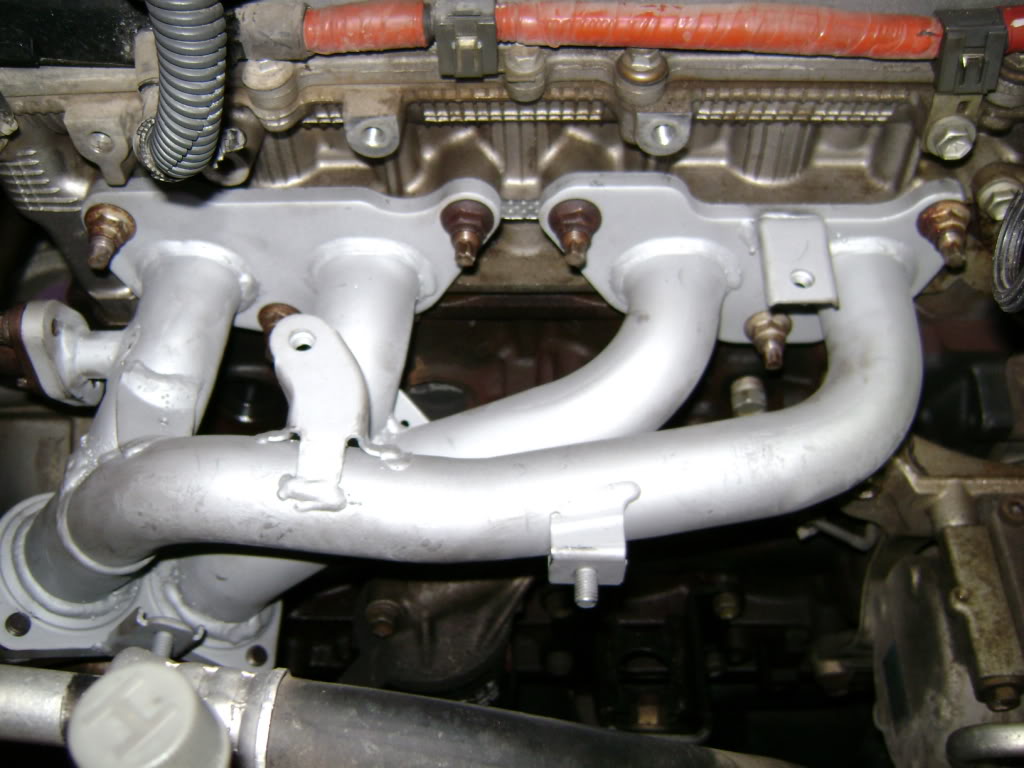
all together
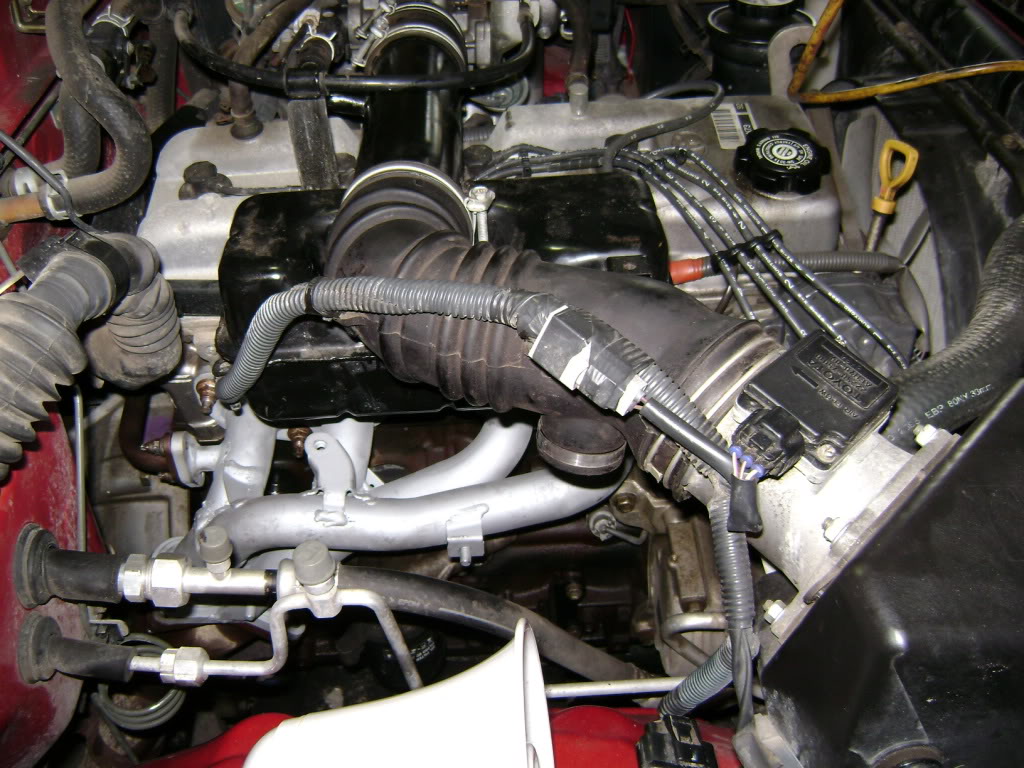
Started right up and ran real nice.
Took about 3hours and ran into no problems what so ever. I would recommend that a week before you start this project to get some good penitrating oil on all the bolts and studs that will be removed helped out alot because everything came apart like it was built yesterday. I oiled them three times before I went at it
It feels like I might have a little better throtle responce and a little harder pull in the higher RPMS If I had an after market exhaust the rest of the way I am sure it would be much more noticible.
This little sucker was pretty tough to get of but I got it
taped off the ends
painted
all together
Started right up and ran real nice.
Took about 3hours and ran into no problems what so ever. I would recommend that a week before you start this project to get some good penitrating oil on all the bolts and studs that will be removed helped out alot because everything came apart like it was built yesterday. I oiled them three times before I went at it
It feels like I might have a little better throtle responce and a little harder pull in the higher RPMS If I had an after market exhaust the rest of the way I am sure it would be much more noticible.
Last edited by 96redtoy; Nov 9, 2008 at 01:36 PM.
Nov 9, 2008 | 02:10 PM
#26


Joined: Jan 2003
Posts: 17,692
Likes: 58
From: Marysville, WA
I just bought this exact setup for one of my customers locally. Good to see this works perfectly.
Toyota tried to tell me it wasn't going to work....but I knew otherwise
Toyota tried to tell me it wasn't going to work....but I knew otherwise
 Nov 12, 2008 | 05:29 AM
#30
Thread Starter
Registered User
Joined: Aug 2007
Posts: 801
Likes: 1
From: Merritt Island FL
Yes new gaskets all the way around
You need two collector gaskets
One manifold too block gasket
and the EGR gasket (make sure they give you the one on the exhaust side not the intake side)
You will have to retorque the nuts on on the manifold a few times before it sets correctly (make sure you do it when the engine is at operating temp also)
Last edited by 96redtoy; Nov 12, 2008 at 05:31 AM.
Nov 15, 2008 | 06:09 AM
#34

Registered User
Joined: Nov 2003
Posts: 88
Likes: 0
From: Oregon
Thanks for posting these pics, and the tips on the swap.
I'm acquiring parts for this swap for my 2000 3RZ 4runner. I will probably buy a junkyard mini-header for ~$100 or so- if someone can tell me a reason why this is not a good idea, fire away...
I'm curious- did your new part come with the heat shield? If not, do you foresee any issues running without it?
Also, is there any performance or longevity reason to paint the mini-header? Or did you do that mainly for appearance? I'm guessing you must have used some kind of high heat tolerant paint...
I'm still researching mufflers and after-market cats- not convinced a new "free flow" cat is needed, although LCE offers one. But I am set on going with 2 1/4" pipe. Stock is 2" I believe.
Nov 15, 2008 | 09:31 AM
#36
Thread Starter
Registered User
Joined: Aug 2007
Posts: 801
Likes: 1
From: Merritt Island FL
no it has not yet still looks like it did in the picture
it was VHT very high temperature paint 1300-2000 degrees
silica ceramic coating
bought at advanced auto $10 for a can
it was VHT very high temperature paint 1300-2000 degrees
silica ceramic coating
bought at advanced auto $10 for a can
Nov 18, 2008 | 07:46 AM
#37
Thread Starter
Registered User
Joined: Aug 2007
Posts: 801
Likes: 1
From: Merritt Island FL
Thanks for posting these pics, and the tips on the swap.
I'm acquiring parts for this swap for my 2000 3RZ 4runner. I will probably buy a junkyard mini-header for ~$100 or so- if someone can tell me a reason why this is not a good idea, fire away...
I'm curious- did your new part come with the heat shield? If not, do you foresee any issues running without it?
Also, is there any performance or longevity reason to paint the mini-header? Or did you do that mainly for appearance? I'm guessing you must have used some kind of high heat tolerant paint...
I'm still researching mufflers and after-market cats- not convinced a new "free flow" cat is needed, although LCE offers one. But I am set on going with 2 1/4" pipe. Stock is 2" I believe.
I'm acquiring parts for this swap for my 2000 3RZ 4runner. I will probably buy a junkyard mini-header for ~$100 or so- if someone can tell me a reason why this is not a good idea, fire away...
I'm curious- did your new part come with the heat shield? If not, do you foresee any issues running without it?
Also, is there any performance or longevity reason to paint the mini-header? Or did you do that mainly for appearance? I'm guessing you must have used some kind of high heat tolerant paint...
I'm still researching mufflers and after-market cats- not convinced a new "free flow" cat is needed, although LCE offers one. But I am set on going with 2 1/4" pipe. Stock is 2" I believe.
No the new manifold did not come with a heatsheild, but could be bought at the location I bought the manifold from. I am not running one mostly because I don't want to spend any more money on one that would fit the new manifold. With enough thought and welding the old one would fit.

I do not see a real need to run one because there is nothing important that is close to the manifold that could melt or get over heated, and every body that runs other headers don't seem to have any problems not having a sheild.
I did some reasearch over on TTORA and they say that without the heatsheild the engine bay is not any hotter then before. I cannot varify that this is true, but it does not seem any hotter to me.
I painted the header because it would start to rust almost instantly and I hate rust
Nov 19, 2008 | 05:07 PM
#40
Registered User
Joined: Jul 2006
Posts: 84
Likes: 0
I have that header stock on my 2000 4runner. It must be a California thing because I also have 2 Cats and a LEV sticker under the hood. It is the same 150hp rating as other years. It is unpainted and covered with a heat shield. It has only gotten a little surface rust on it.
I was going to do the LC header route when I first bought it, but when I saw the extra cat and the header I figured it wasn't worth the trouble.
I was going to do the LC header route when I first bought it, but when I saw the extra cat and the header I figured it wasn't worth the trouble.


