
mounting rearview onto glass
 May 16, 2004 | 06:06 AM
#1

Thread Starter
Contributing Member
Joined: Dec 2003
Posts: 6,729
Likes: 0
From: boston, ma
mounting rearview onto glass
anyone know if companies like giant glass will mount a rearview for free? i thought i heard this before.
i bought a couple of those rearview kits, but i cannot for the life of me get the damn thing to stick. I have no idea what i'm doing wrong, but am frustrated.
so where can i get this done for me?
thanks.
i bought a couple of those rearview kits, but i cannot for the life of me get the damn thing to stick. I have no idea what i'm doing wrong, but am frustrated.
so where can i get this done for me?
thanks.
May 16, 2004 | 07:14 AM
#2
Registered User
Joined: Sep 2002
Posts: 11,199
Likes: 2
From: Pittsburgh, PA
The button mounting to glass is easy.
You need to use the "cleaner" on the glass and the button and then put the "glue" on the button. Press it on to the glass and hold it for 60 seconds or so.
You are supposed to let it cure for at least 24 hours before mounting the mirror to the button.
Mine has been on for a year so far...
You need to use the "cleaner" on the glass and the button and then put the "glue" on the button. Press it on to the glass and hold it for 60 seconds or so.
You are supposed to let it cure for at least 24 hours before mounting the mirror to the button.
Mine has been on for a year so far...
May 16, 2004 | 11:20 AM
#3

Registered User
Joined: Jun 2003
Posts: 78
Likes: 0
From: Cincinnati
I used a kit from Autozone or somebody like that on my Chevy Cadaver, i mean Cavalier, and had no problems. (prior to my 4 Runner days).
I used it just like Cebby has in his post.
I had it for on for about a year with no problems and my brother-in-law has had it now for another year without out any problems.
I used it just like Cebby has in his post.
I had it for on for about a year with no problems and my brother-in-law has had it now for another year without out any problems.
Trending Topics
May 16, 2004 | 07:25 PM
#8
Thread Starter
Contributing Member
Joined: Dec 2003
Posts: 6,729
Likes: 0
From: boston, ma
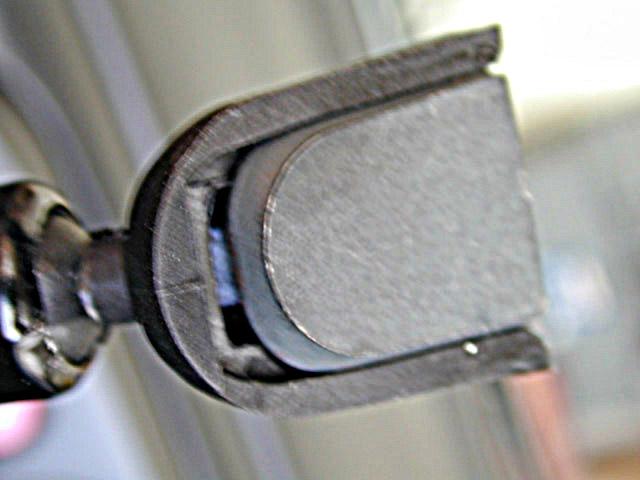
awesome, saw the screw.. looks like i need an alan wrench which i do not have at the moment 
tomorrow will be the day this thing is finally fully installed... well i guess tuesday as I need to allow for the 24 hrs of curing time
thanks.
tomorrow will be the day this thing is finally fully installed... well i guess tuesday as I need to allow for the 24 hrs of curing time
thanks.
May 17, 2004 | 09:22 AM
#10

Registered User
Joined: Mar 2004
Posts: 40
Likes: 0
From: Kent, WA
Also, don't crank on the screw the first couple of days. I yanked the first wedge off when I screwed it down too tight, even after 24 hours. My 2nd try I just let it sit a couple of days with the mirror on, before tightening it down.
May 17, 2004 | 09:52 AM
#11
Thread Starter
Contributing Member
Joined: Dec 2003
Posts: 6,729
Likes: 0
From: boston, ma
that was my plan anyhow. it actually gripped on real tight already (did it around noon today), so I'm gonna let it sit on till around noon tomorrow, then plug the mirror in, secure the ground, remove the old mirror, hook the new mirror on, hide all wiring in the little maplight console, then put it all back together.
only tricky part is that im using the screw that holds the maplight console up as the ground.. gotta be sure that stays fastened securely when i put the whole thing back in.
man, i cant wait to just have it all in and done! thanks for the advice...
only tricky part is that im using the screw that holds the maplight console up as the ground.. gotta be sure that stays fastened securely when i put the whole thing back in.
man, i cant wait to just have it all in and done! thanks for the advice...

 May 17, 2004 | 10:02 AM
#13
Thread Starter
Contributing Member
Joined: Dec 2003
Posts: 6,729
Likes: 0
From: boston, ma
true... but only because i'm a newb at modifications. each little mod like this teaches me more and more.. so its all been great, especially with your help.
keep your fingers crossed on it coming together right tomorrow
May 18, 2004 | 08:45 AM
#14
Thread Starter
Contributing Member
Joined: Dec 2003
Posts: 6,729
Likes: 0
From: boston, ma
well, it's all done! i may have mounted it a smidge too low, but thats ok, its fine. adds a tiny bit of a blind spot, but nothing dangerous. i love it!!
so far i have driven around the block here at work just to see the compass change. in case you were wondering, my runner is currently facing SW
so far i have driven around the block here at work just to see the compass change. in case you were wondering, my runner is currently facing SW
May 18, 2004 | 05:13 PM
#16

Registered User
Joined: Aug 2003
Posts: 100
Likes: 0
hey lee, sound like you finally have it on! good job man! hope you are enjoying it...now, if you want to recalibrate it (which you might want to do) you hold down the compass button, till the LCD flashes or something like that, and drive VERY slow in tight circles until the normal compass shows up again! if this doesn't work, tell me aite.
May 18, 2004 | 07:30 PM
#17
Thread Starter
Contributing Member
Joined: Dec 2003
Posts: 6,729
Likes: 0
From: boston, ma
it actually worked for a little while, then only showed a "C" which i assumed was "calibrate". so i held down compass (i had known that from an earlier thread) and it went to the number 12... so i hit it over and over till it got back to 1 (from 15), then did a circle all the way up to 15. then let go and hit compass again. that worked!
ill post some pics tomorrow, had no time today/tonight. Thanks!
ill post some pics tomorrow, had no time today/tonight. Thanks!
May 19, 2004 | 04:44 AM
#19
Thread Starter
Contributing Member
Joined: Dec 2003
Posts: 6,729
Likes: 0
From: boston, ma
thanks man. so am i! i love it. its actually not even a smidge too low, as the holding arm can move up high enough. cant wait to get you guys some pics as a "reward" for putting up with me!
May 21, 2004 | 11:06 AM
#20
Thread Starter
Contributing Member
Joined: Dec 2003
Posts: 6,729
Likes: 0
From: boston, ma
BUMP

mounted! ...facing SW.

i ran the wire behind the 'fast lane' (toll booth paying) device so you cant see anything on the inside at least.

wire runs in through where the old mirror used to come out of.
thanks again, all. comments, questions etc are welcome!
mounted! ...facing SW.
i ran the wire behind the 'fast lane' (toll booth paying) device so you cant see anything on the inside at least.
wire runs in through where the old mirror used to come out of.
thanks again, all. comments, questions etc are welcome!


