
Limited fender flare Install
 Mar 27, 2011 | 11:02 PM
#1
Thread Starter
Registered User
Joined: Jul 2009
Posts: 198
Likes: 0
From: California City, CA
Limited fender flare Install
Hello everyone, I got a set of Limited fender flares for my 1997 4Runner SR5. Does anyone have any experience installing these to a non- Limited truck? The set I got didn't come with any hardware for installation. What I need to know is, what hardware do I need to buy and if I need to drill out my fenders and doors in order to get this installed. Thanks!
Mar 27, 2011 | 11:52 PM
#3

Registered User
Joined: Mar 2011
Posts: 27
Likes: 0
From: Huntsville, Alabama
Mar 31, 2011 | 10:23 PM
#4
Thread Starter
Registered User
Joined: Jul 2009
Posts: 198
Likes: 0
From: California City, CA
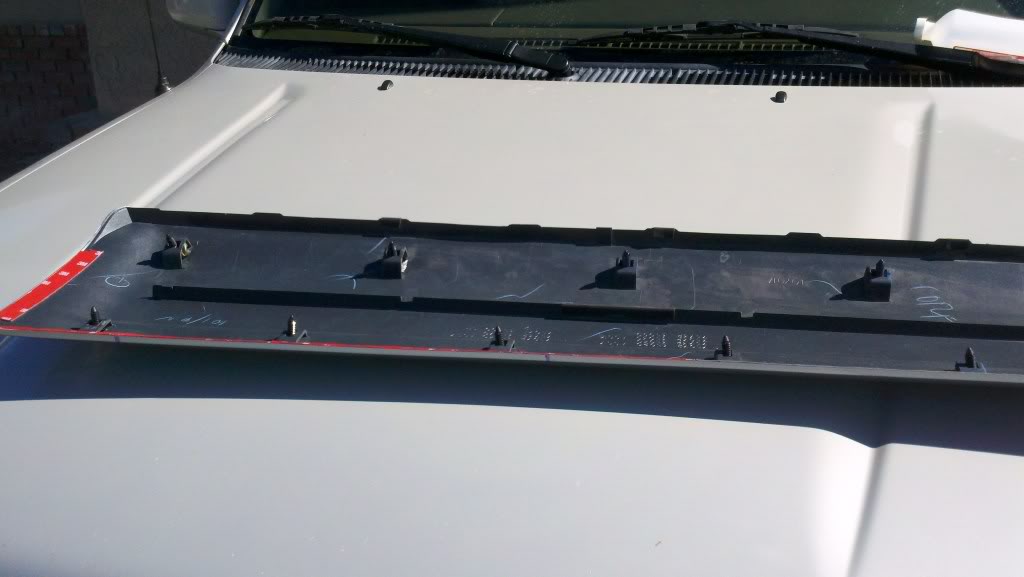
Thanks "8sm"! I've seen that black 4runner you are talking about. He did an outstading job with the flares. I'll be doing the same thing he did. I did received my Limited flares yesterday, and with the hardware the flares came with, there are four metal rectagular pieces that I'm not sure where they go. I call the guy who I bought them from, he said he thinks they go behind the door claddings. Is anybody familiar with the Limited fender flares installation that can tell me where this go? Thanks!!
Apr 5, 2011 | 02:43 AM
#5
Thread Starter
Registered User
Joined: Jul 2009
Posts: 198
Likes: 0
From: California City, CA
Is anybody familiar with the installation of 1997 4Runner Limited Fender Flares? The rear fender flares have a metal bracket that I think, goes bolted to the rear doors, and then the flares are riveted to brackets. The problem I have is that if I bolt the bracket to the doors then there is not enough room to attach the flares to the brackets. And if I rivet in the flares to the brackets again there is no room to install the screws that secure the brackets to the doors. Help!!!
Apr 5, 2011 | 05:40 PM
#6

Registered User
Joined: Oct 2008
Posts: 129
Likes: 0
From: Dallas, TX
the semi "mooned" shape bracket does get attached to the door, and then the flare gets clipped in and riveted in from the back side. I have one of my flares off my truck right now that i need to reinstall after a little mishap with some mud and fences. I'll try to get pictures of my soon for you to kind of show how it goes together.
Apr 19, 2011 | 03:35 AM
#7
Thread Starter
Registered User
Joined: Jul 2009
Posts: 198
Likes: 0
From: California City, CA
Well, I finally finished installing the fender flares, below are some pictures of the process and after I was done:
This are the Flares after a quick wash, jsut before starting the install:
[IMG]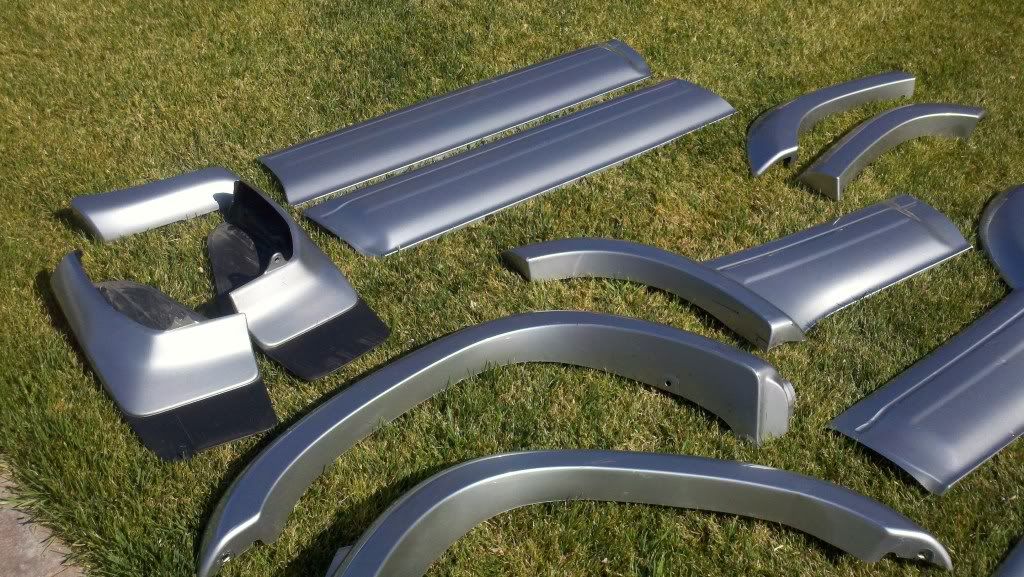 [/IMG]

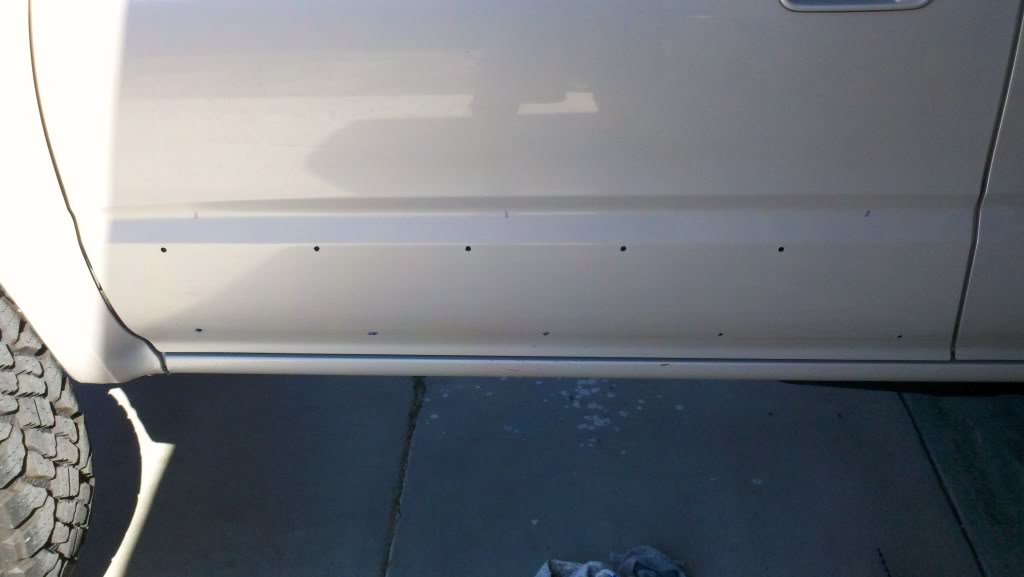
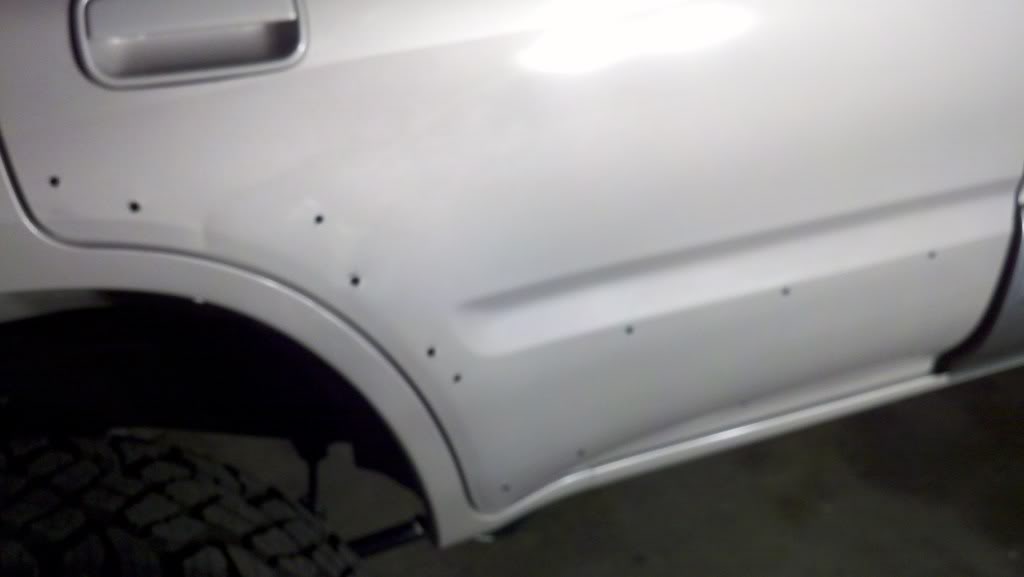
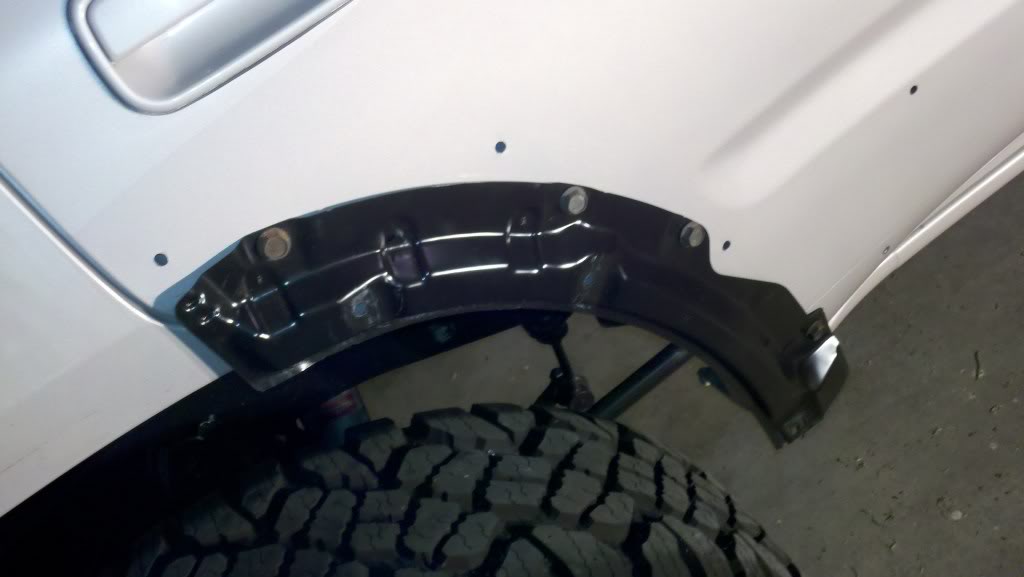
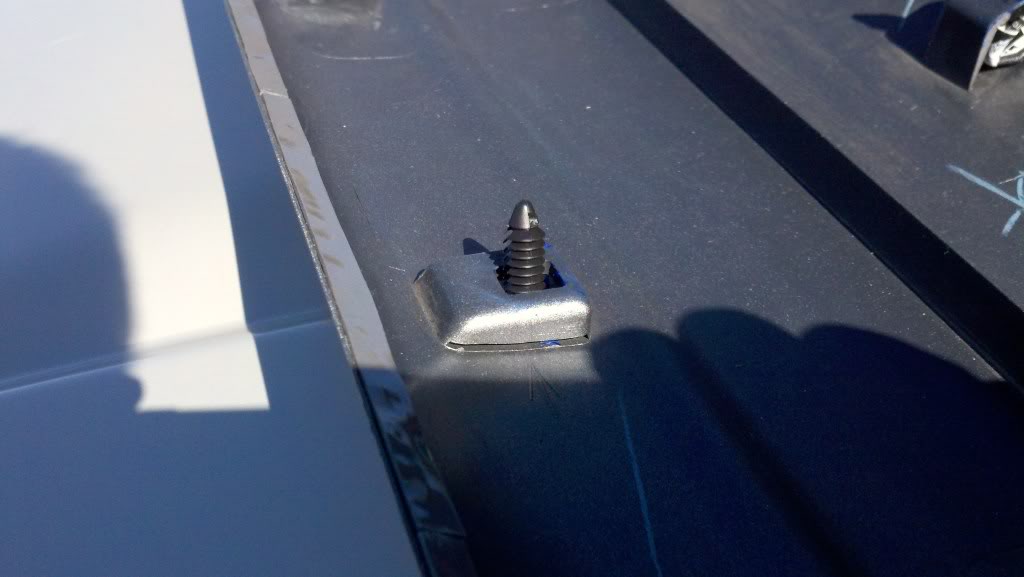
Next, Here are some shots of how I had to drill the doors and panels in order to get the flares installed:
When I priced the OEM clips that I would need to get this flares installed, my local Toyota dealer quoted me $287.00 for all the clips and brackets required for the install. I had to improvise, I went to my local ACE hardware store and found this clips. I also got some 3M double sided tape and some screws and bolts:
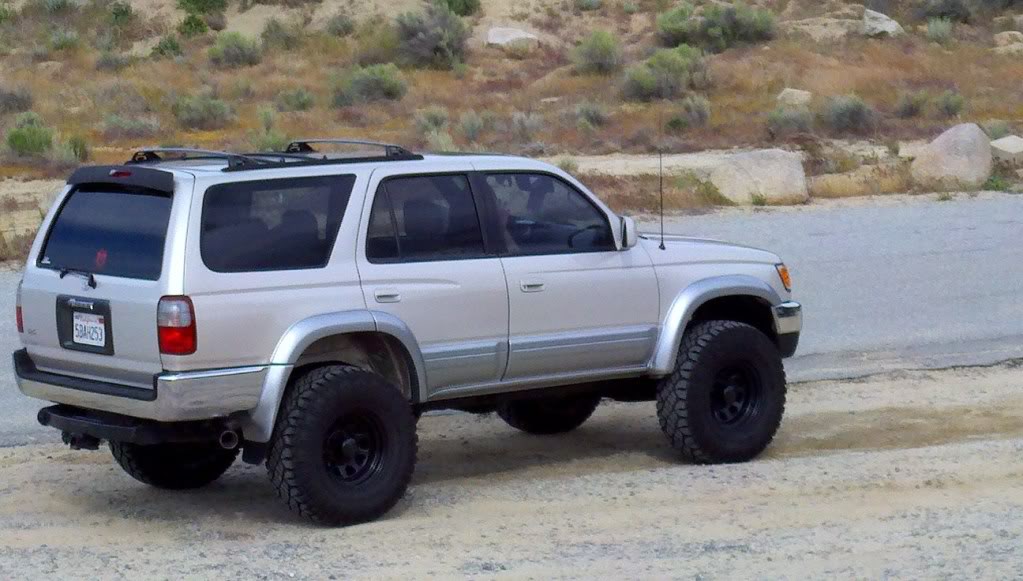
And after working at it for about four days (I was been extremely careful), here is the final product:
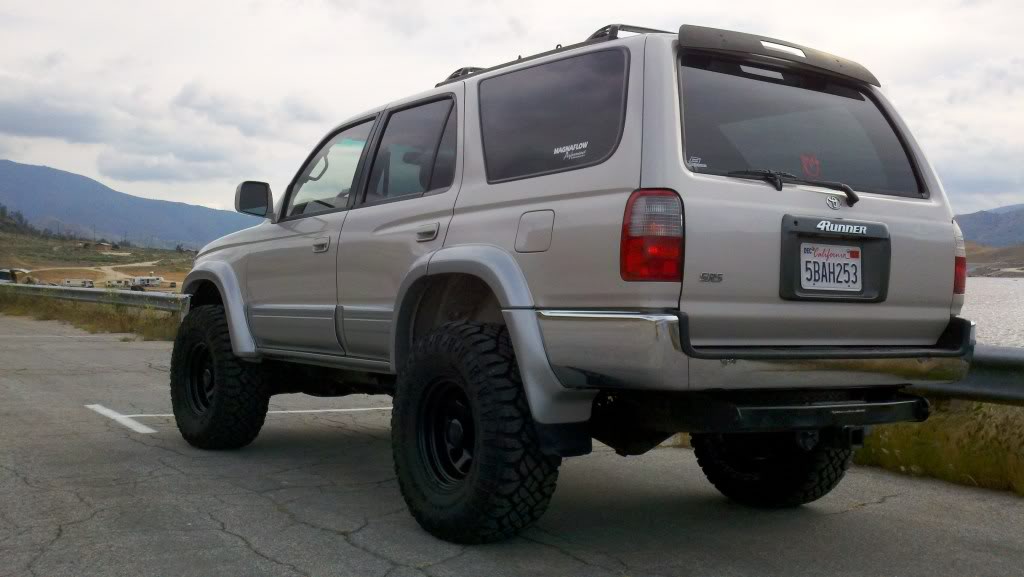
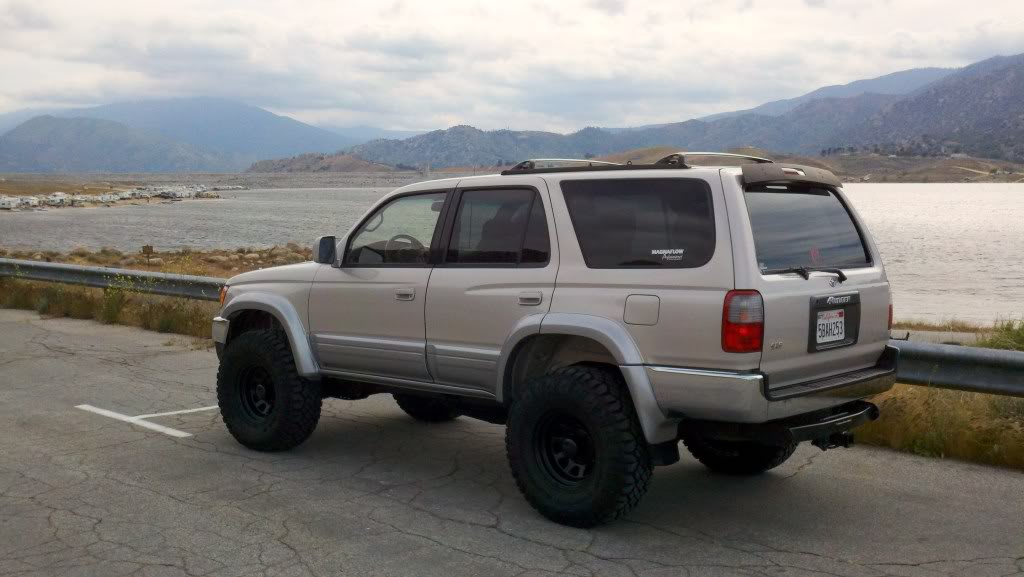
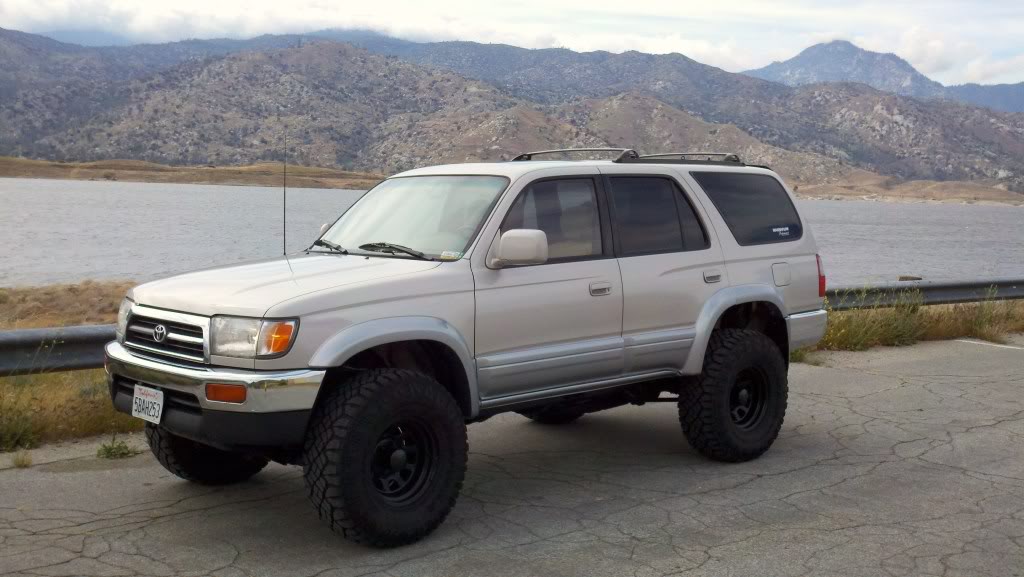
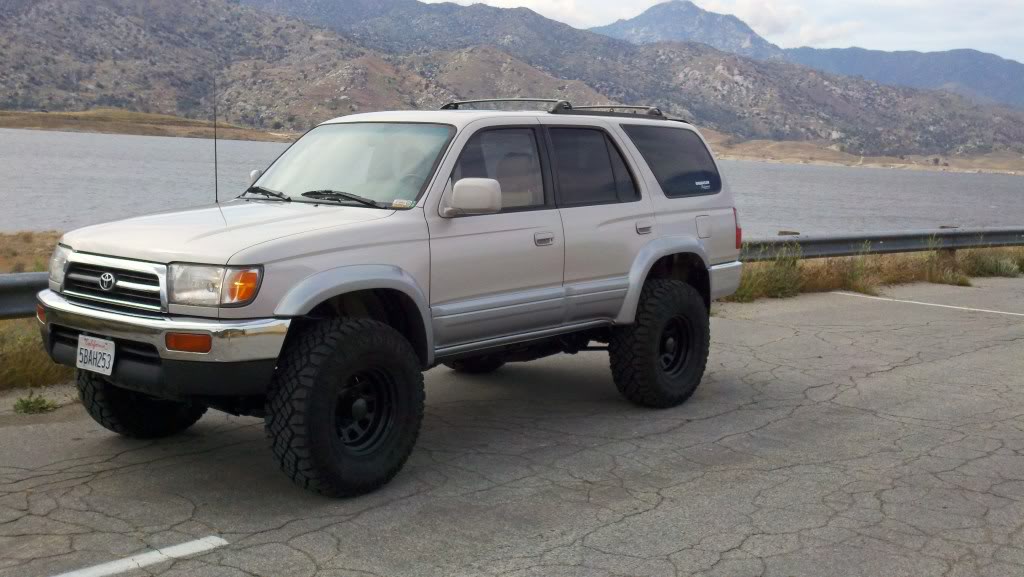
It was a lot of work, measuring 10 times before drilling and stuff, but it was worth it. Let me know what you all think. O I got this flares from someone who had listed them in ebay. I paid $320.00 for them.
This are the Flares after a quick wash, jsut before starting the install:
[IMG]
[/IMG]Next, Here are some shots of how I had to drill the doors and panels in order to get the flares installed:
When I priced the OEM clips that I would need to get this flares installed, my local Toyota dealer quoted me $287.00 for all the clips and brackets required for the install. I had to improvise, I went to my local ACE hardware store and found this clips. I also got some 3M double sided tape and some screws and bolts:
And after working at it for about four days (I was been extremely careful), here is the final product:
It was a lot of work, measuring 10 times before drilling and stuff, but it was worth it. Let me know what you all think. O I got this flares from someone who had listed them in ebay. I paid $320.00 for them.
Last edited by traxxi2003; Apr 19, 2011 at 04:03 AM. Reason: Adding Pictures
Trending Topics
Apr 19, 2011 | 05:59 AM
#8
Registered User

Joined: Jul 2009
Posts: 247
Likes: 0
From: Ontario, Canada
Looks great! Awesome execution! The Stealership will often charge up the arse for little things like clips! I paid like $10.00 for a pair of the plastic caps that go over the nuts that hold on the windshield wipers! CRAZY!
Anyway, nice work on improvising.....that's what real modding is all about anyway!
Anyway, nice work on improvising.....that's what real modding is all about anyway!
Apr 20, 2011 | 12:52 AM
#12
Thread Starter
Registered User
Joined: Jul 2009
Posts: 198
Likes: 0
From: California City, CA
Does anyone out there happens to have a "Limited" front bumper flare piece, passenger side? Silver would be great! Send PM:
Jose
rrotaryjoe@yahoo.com
Jose
rrotaryjoe@yahoo.com
Apr 20, 2011 | 10:03 AM
#13
Nice work Jose!  It really takes some guts to drill holes in your truck like that so I give you massive props for doing so.
I see you got your wheels to fit too. They look great! Your truck is really coming along nicely. Maybe its time to start a build thread... Keep up the good work
It really takes some guts to drill holes in your truck like that so I give you massive props for doing so. I see you got your wheels to fit too. They look great! Your truck is really coming along nicely. Maybe its time to start a build thread... Keep up the good work
Apr 21, 2011 | 12:47 AM
#15
Thread Starter
Registered User
Joined: Jul 2009
Posts: 198
Likes: 0
From: California City, CA
Hey Jimmy Thanks! I'll be honest at first I was concern about drilling my truck like that. But thanks to another member who had a nice thread about installing flares, I employed the "paint transfer" technic he used. And of course I took extra care making sure everything was perfectly aligned before i started drilling. That is why it took me four days to complete the install. Well, not quite finished yet, I still need to find the front bumper flare piece that i need.
Apr 21, 2011 | 05:34 AM
#17
Hey Jimmy Thanks! I'll be honest at first I was concern about drilling my truck like that. But thanks to another member who had a nice thread about installing flares, I employed the "paint transfer" technic he used. And of course I took extra care making sure everything was perfectly aligned before i started drilling. That is why it took me four days to complete the install. Well, not quite finished yet, I still need to find the front bumper flare piece that i need.
 It looks like the technique you used worked perfectly because your truck looks like it came from the factory with the flares.
For that last piece, I would check out you local junk yard and see if you can find a silver 4Runner with the fender flares. I would also keep an eye on eBay, Craigslist, and, of course, the various part-out forums on here. I will keep an eye out for you and let you know if I find anything. Good luck!
 Jan 22, 2012 | 05:00 PM
#20
Thread Starter
Registered User
Joined: Jul 2009
Posts: 198
Likes: 0
From: California City, CA
I found these flares on ebay, I paid $340.00 for them. I had been looking for them for over a year before I found them. Another option for you would be to get a set of the Buswacker Extended -Aa flares. They are as wide as the limited but without the door cladding.


