
X94YodaX's 94 Pick up Build Thread
 Dec 21, 2011 | 09:55 AM
#22

Registered User
Joined: Nov 2006
Posts: 730
Likes: 2
From: Indiana
I'll start looking up that part number on different manufacturers and find a match, thanks for taking the time to get it for me :}
How about a pic on the seat and console installed, so we can see how nice it looks :}
How about a pic on the seat and console installed, so we can see how nice it looks :}
Dec 24, 2011 | 07:32 AM
#23
Thread Starter
Registered User
Joined: Apr 2011
Posts: 110
Likes: 0
From: Rigby, ID
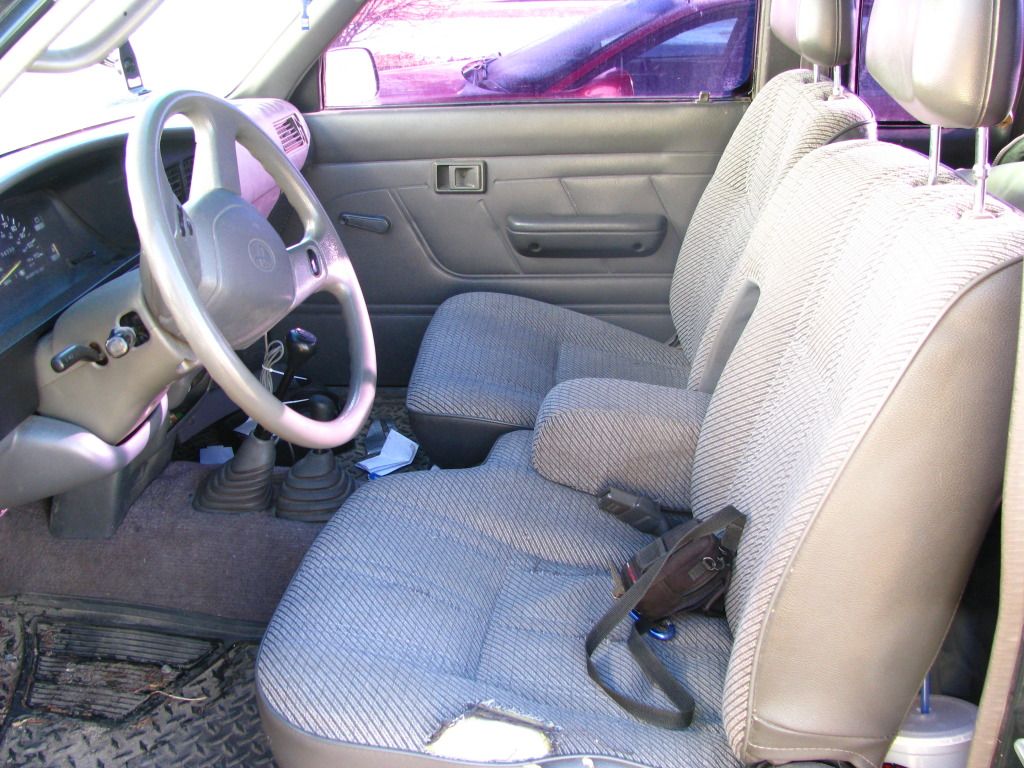
Heres what I had in the truck stock.... And then...

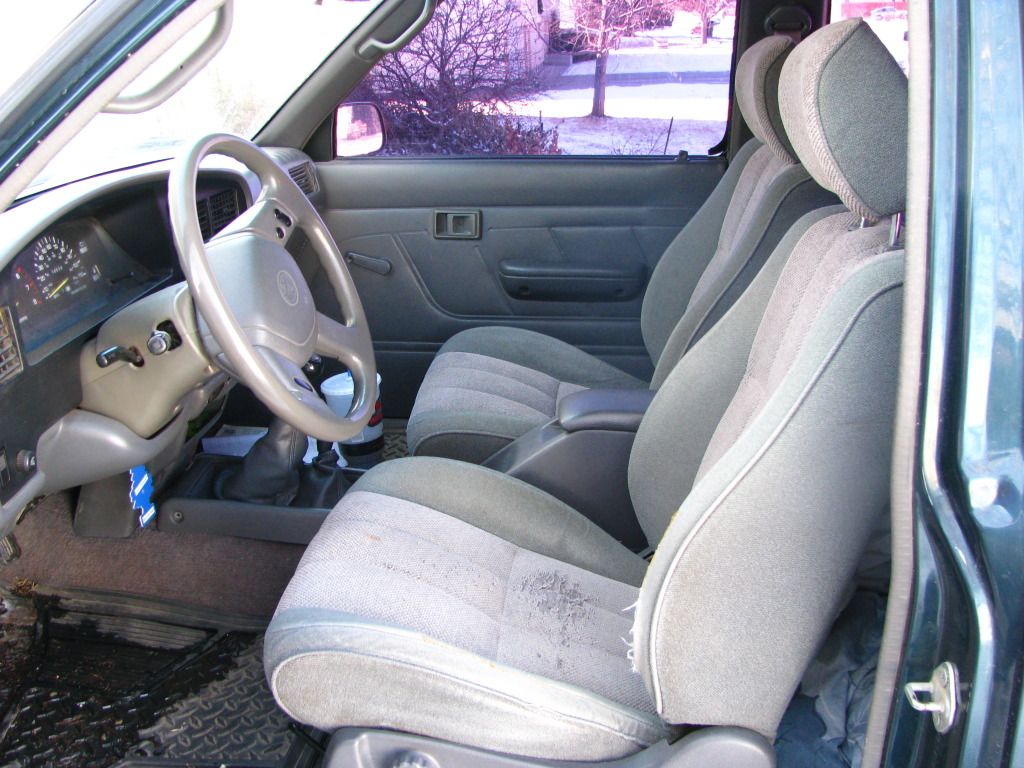
92 4runner Sr5 bucket seats and center console. So now I have a place to put a switch for my off road lights. Also the drivers seat was a little rough but I was able to stich most of the disrepair back together.
Dec 31, 2011 | 10:18 AM
#25
Registered User
Joined: Nov 2006
Posts: 730
Likes: 2
From: Indiana
Those buckets and console with the leather shifter boots are AWESOME, I so much want to do that too :} Plus would again give me more storage in my reg. cab :}
Ps. Looks like you need a new passenger side window crank, You pick one up while at salvage yard?
Ps. Looks like you need a new passenger side window crank, You pick one up while at salvage yard?
Last edited by john4wd; Jan 2, 2012 at 12:54 PM.
Jan 2, 2012 | 06:06 AM
#26
Thread Starter
Registered User
Joined: Apr 2011
Posts: 110
Likes: 0
From: Rigby, ID
our salvage yards are picked clean of toyota pickup parts. There is a guy here parting out 4 4runners so that's where I snagged the interior, and I was able to get a windowcrank for the drivers side. But next time im over there I'm snagging another one...
Jan 7, 2012 | 08:31 PM
#27
Thread Starter
Registered User
Joined: Apr 2011
Posts: 110
Likes: 0
From: Rigby, ID
Have most of my home made battery tray built, just have a few adjustments to make. Also have myself a cone filter adapter to and the cold air intake from ebay setup, I'm planning on using it to make the intake battery swap . Just have to shorten the pipe up and make something to hold the AFM still on the passenger side. Also I plan on fabricating a closed off box to seperate the the filter from the rest of the engine bay heat and only get the nice cold air she needs.
Jan 14, 2012 | 12:50 PM
#29
Thread Starter
Registered User
Joined: Apr 2011
Posts: 110
Likes: 0
From: Rigby, ID
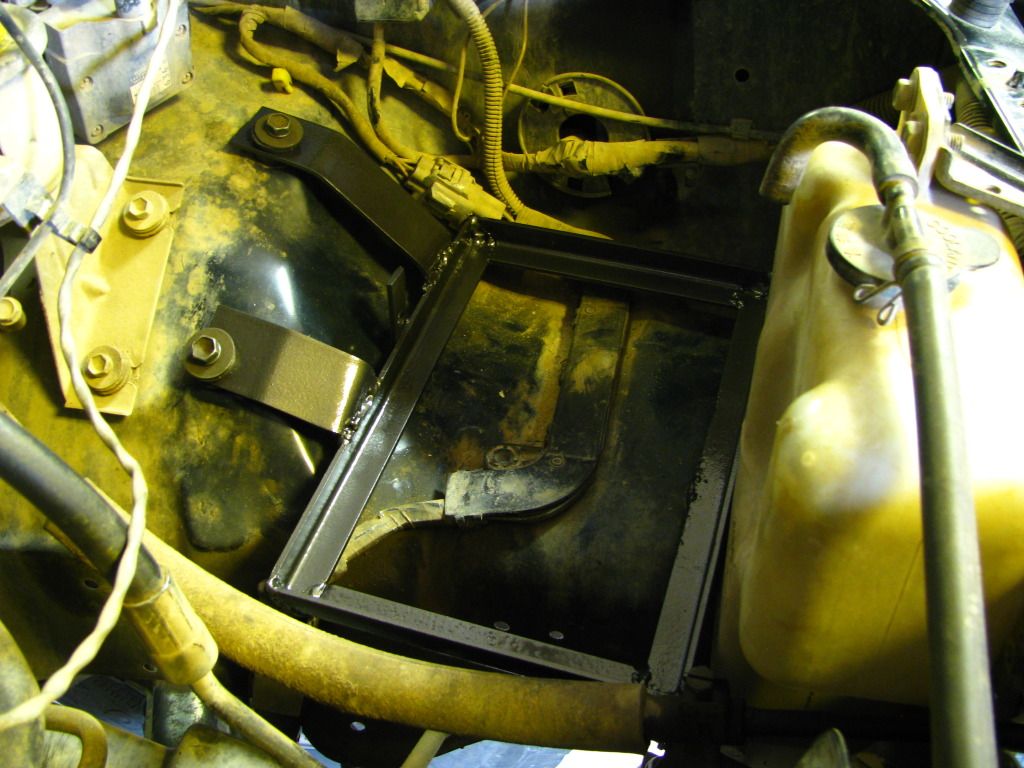
here is my new battery tray I built for the swap. I made it to fit the air intake mounts.
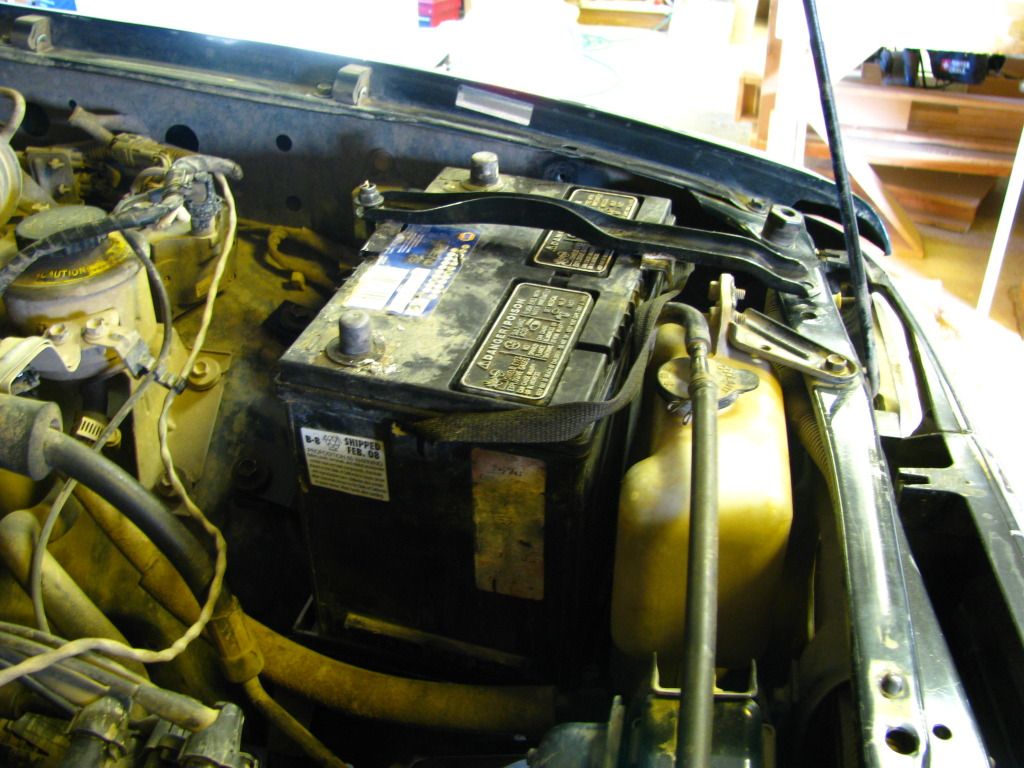
Here is how it looks with the battery in. I decided to use the stock battery tie down.
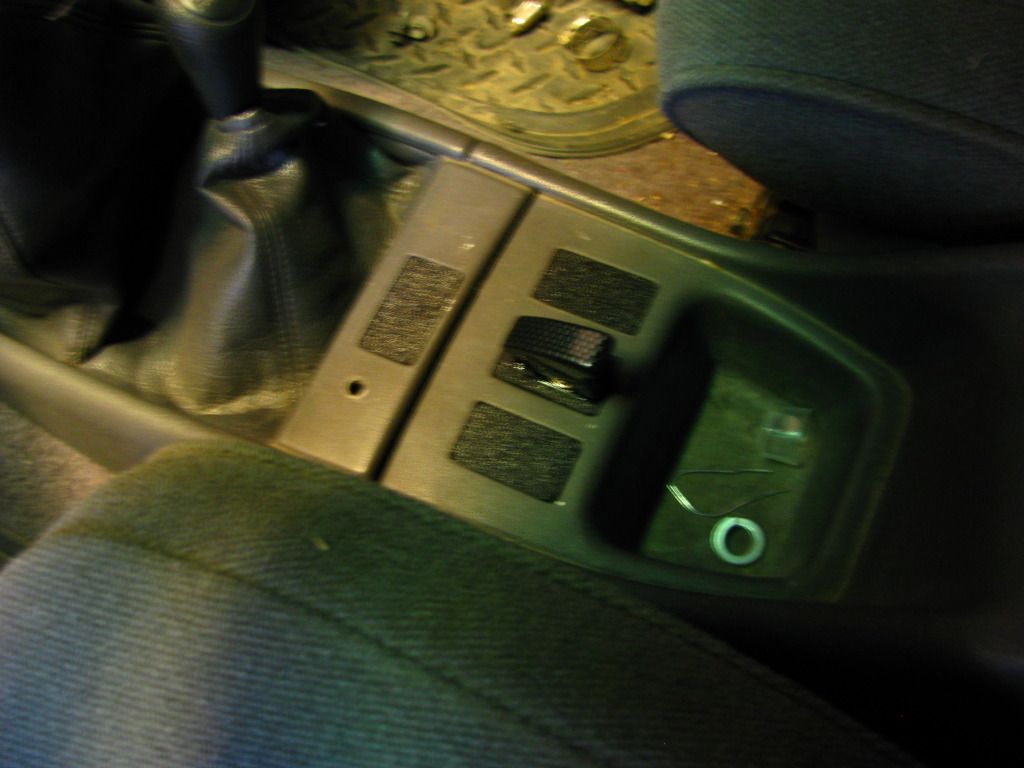
here is the end of the interior of the car how I did my switch for future use of some kc's
Still building the nes air box and cone filter placement.
Jan 17, 2012 | 06:50 PM
#34
Thread Starter
Registered User
Joined: Apr 2011
Posts: 110
Likes: 0
From: Rigby, ID
yeah a second battery is a possiblity that I haven't ruled out yet, but that would be way in the future. Right now I'm just changing the basics and getting some more power and better response from my 22re.
Jan 19, 2012 | 09:50 AM
#35
Thread Starter
Registered User
Joined: Apr 2011
Posts: 110
Likes: 0
From: Rigby, ID
hopefully this saturday I should have a new front differential. I just have to go and get it myself, erggghhh. oh well. so I have to have my intake done before then. Pics coming soon.
Jan 23, 2012 | 12:44 PM
#36
Thread Starter
Registered User
Joined: Apr 2011
Posts: 110
Likes: 0
From: Rigby, ID
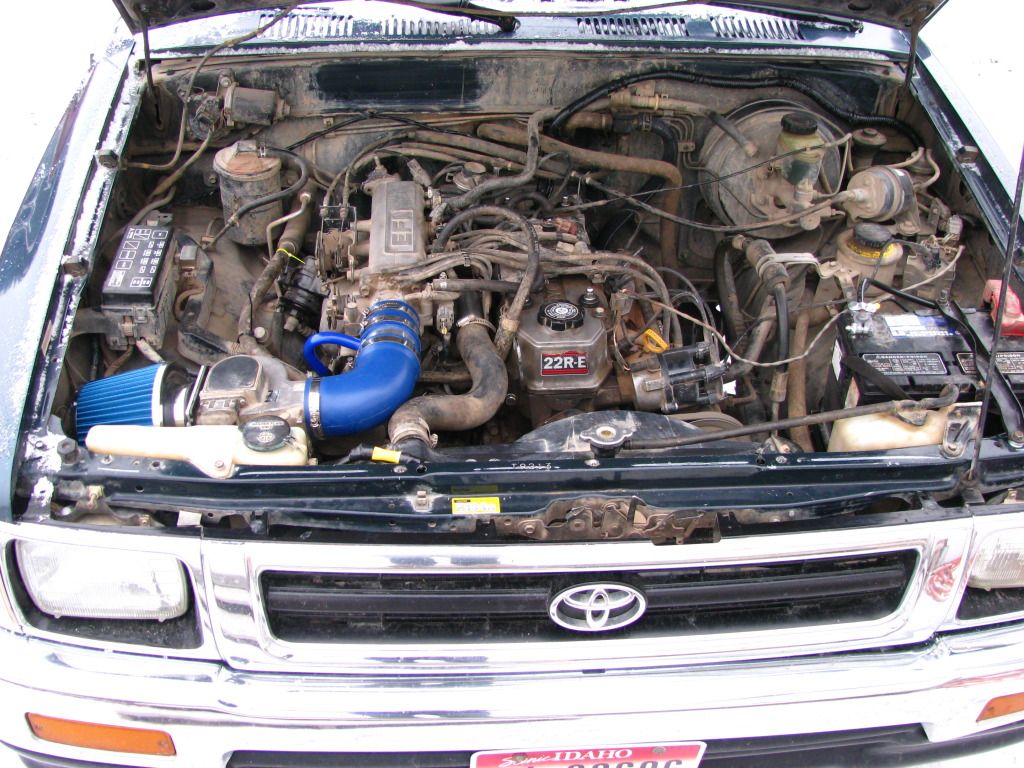
Heres a my intake battery swap unfinished. I still need to build a splash shield for the filter.
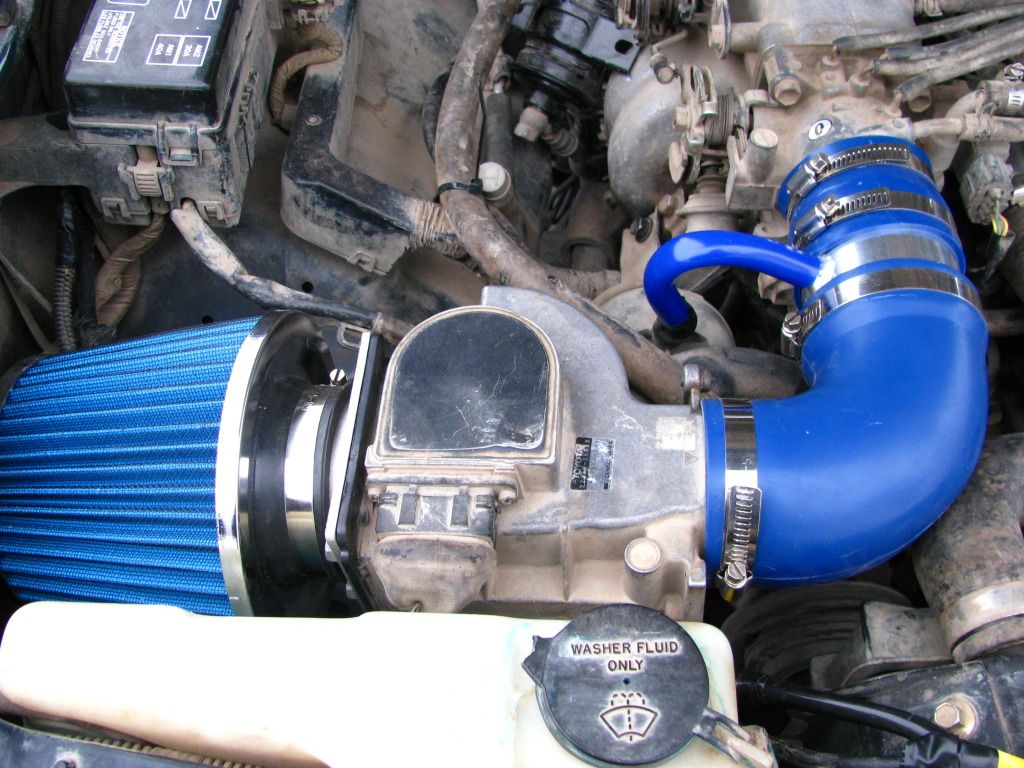
I chose the cold air intake on ebay as a set up for it. That way it came with all the parts I wanted. Mainly the cone filter adapter and the inlet for the canister on the intake. I just cut it down to 3" instead of the 24" pipe then I actually cut open the wireloom and re-ran the AFM wiring harness to the other side of the truck. Now I just need to Find a Supra AFM to replace there. (keep my fingers crossed).


