
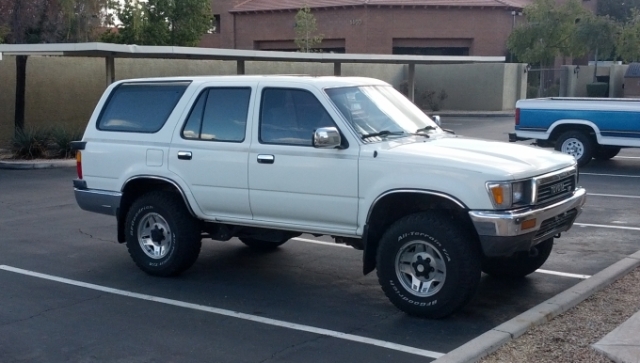
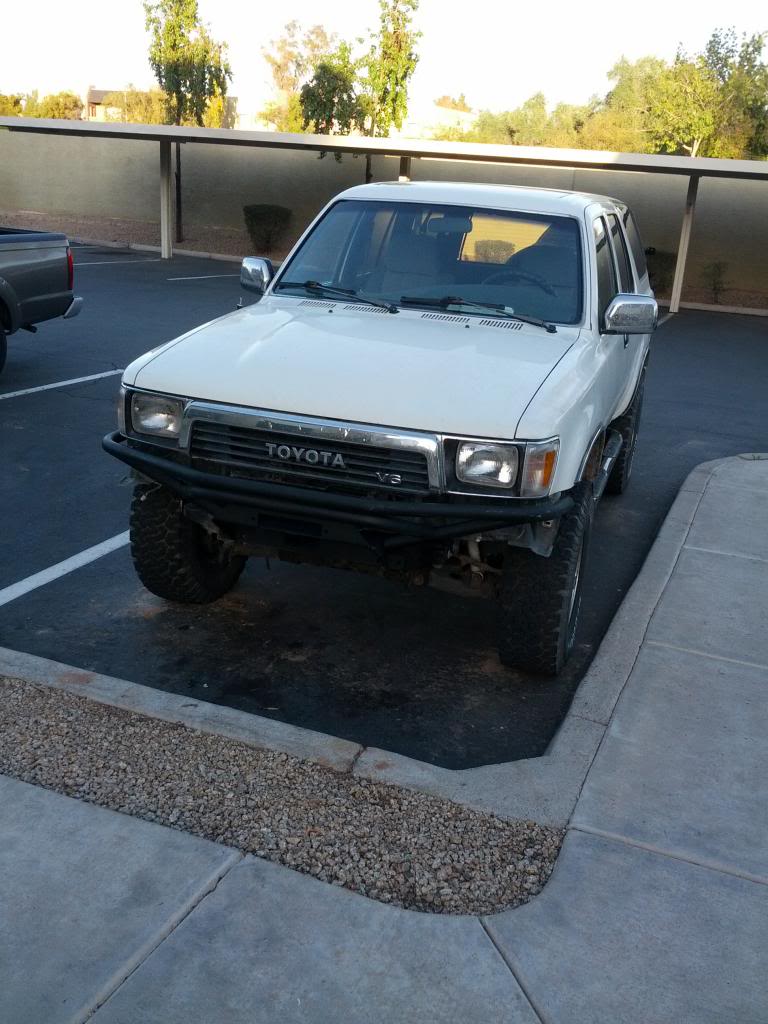
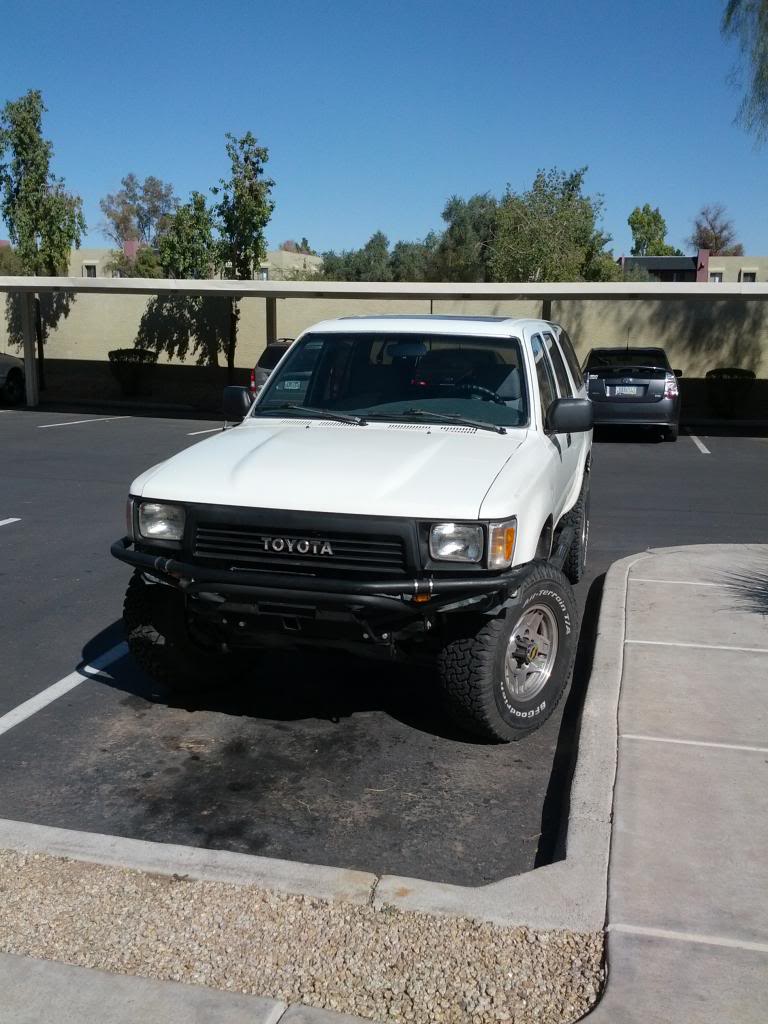
tony's 1990 4runner build-up
 Feb 4, 2013 | 07:41 PM
#1
Thread Starter
Registered User
Joined: Jan 2013
Posts: 271
Likes: 0
From: AZ
tony's 1990 4runner build-up
Been reading around here and there a bit, decided to start up my own build-up thread to keep track of progress and get input.
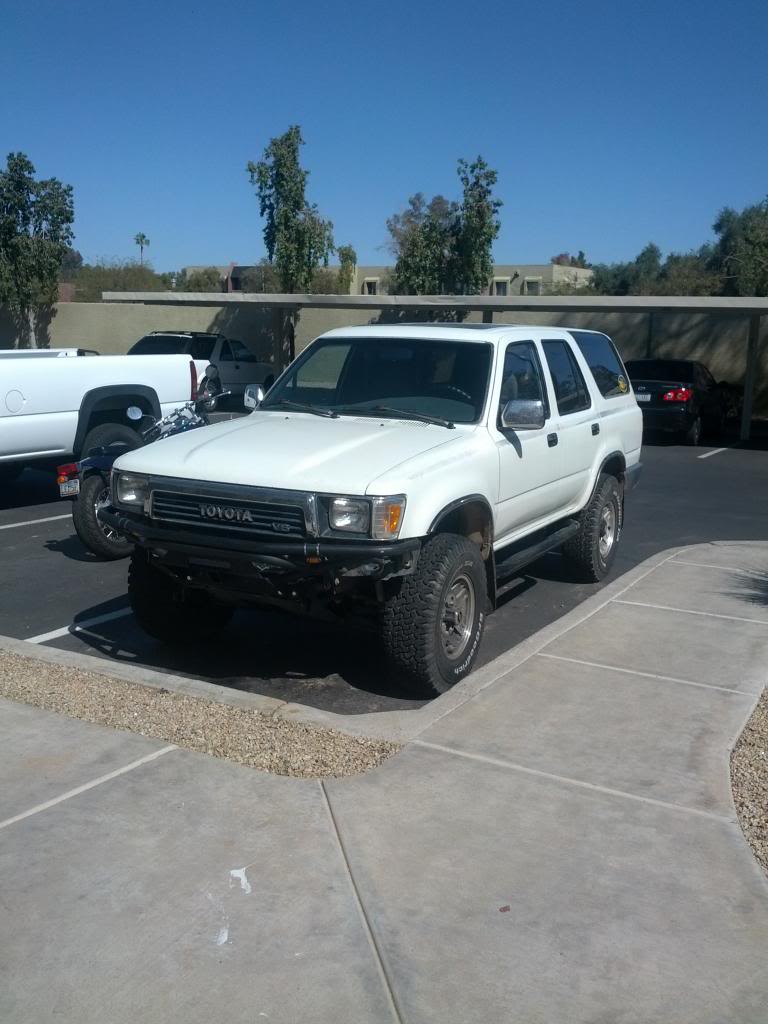
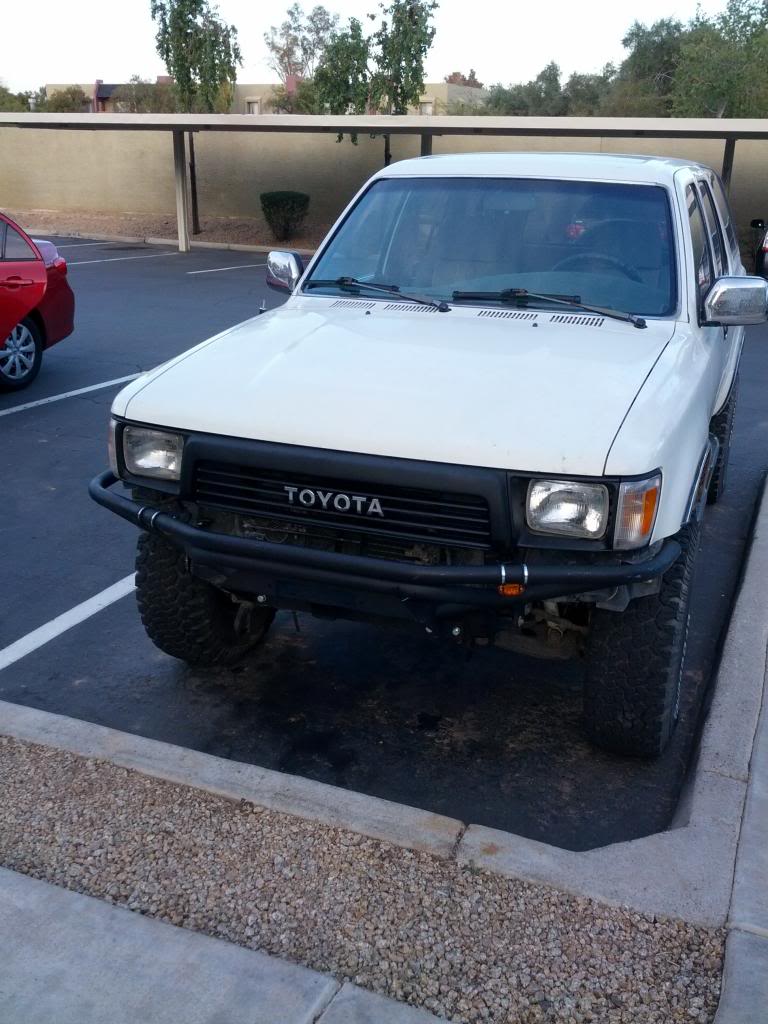
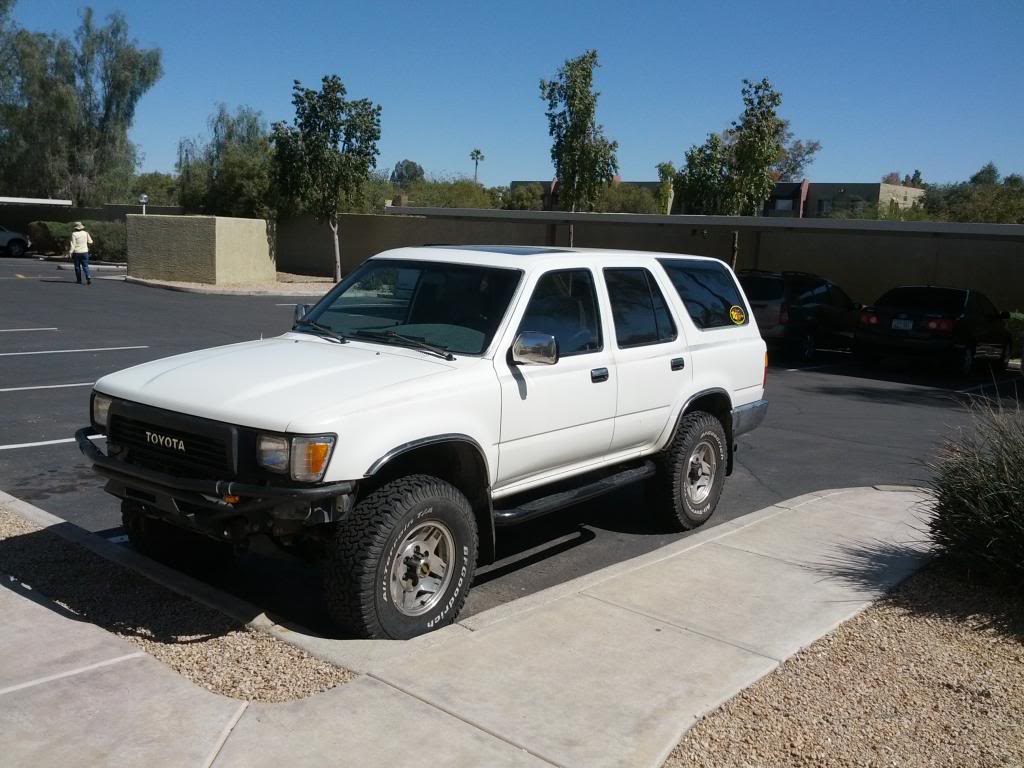
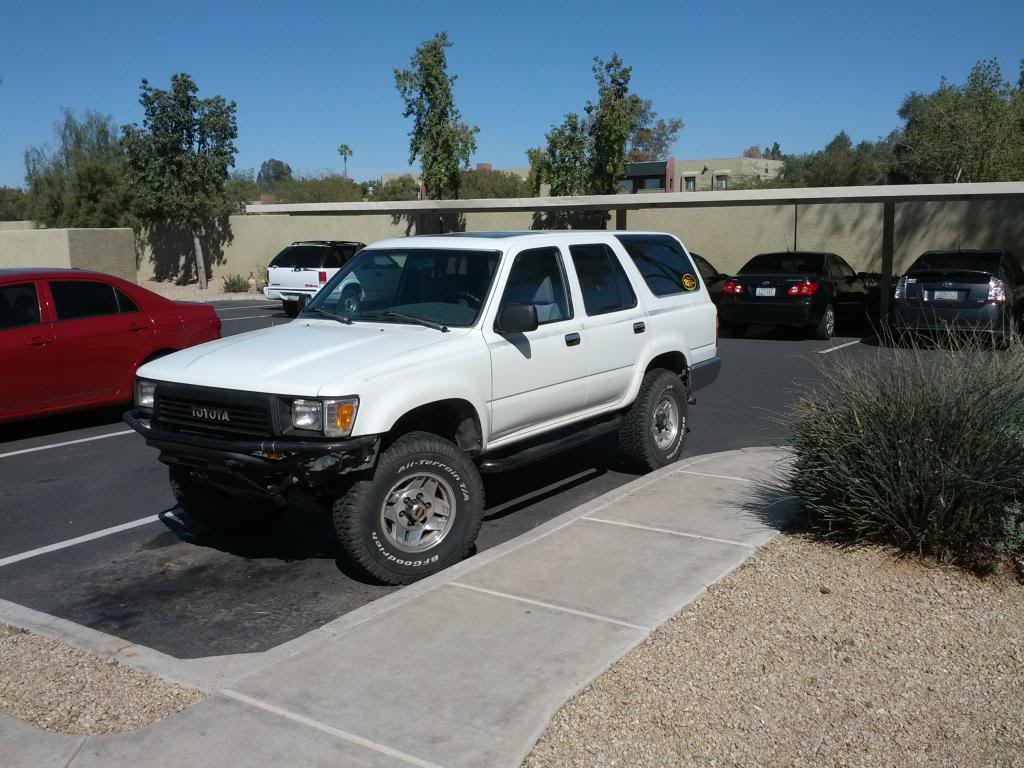
It is a 1990 4Runner, v6 auto, got it the end of January

Here is what I have done so far:
This is what I plan on doing, it will take some time and money:
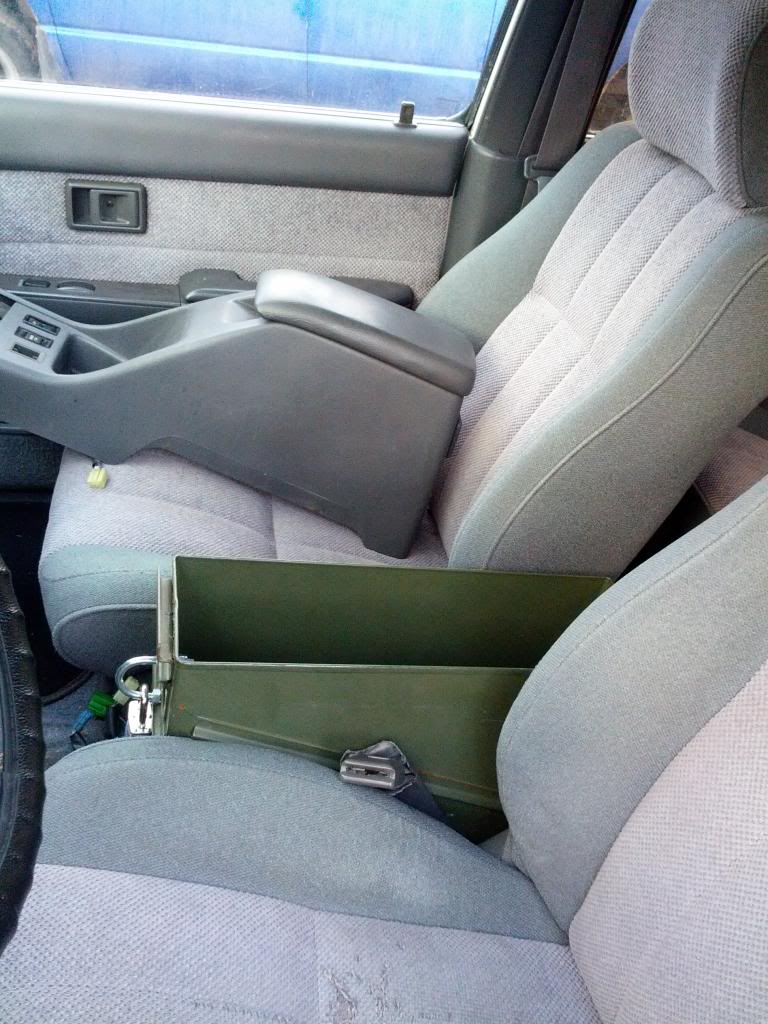
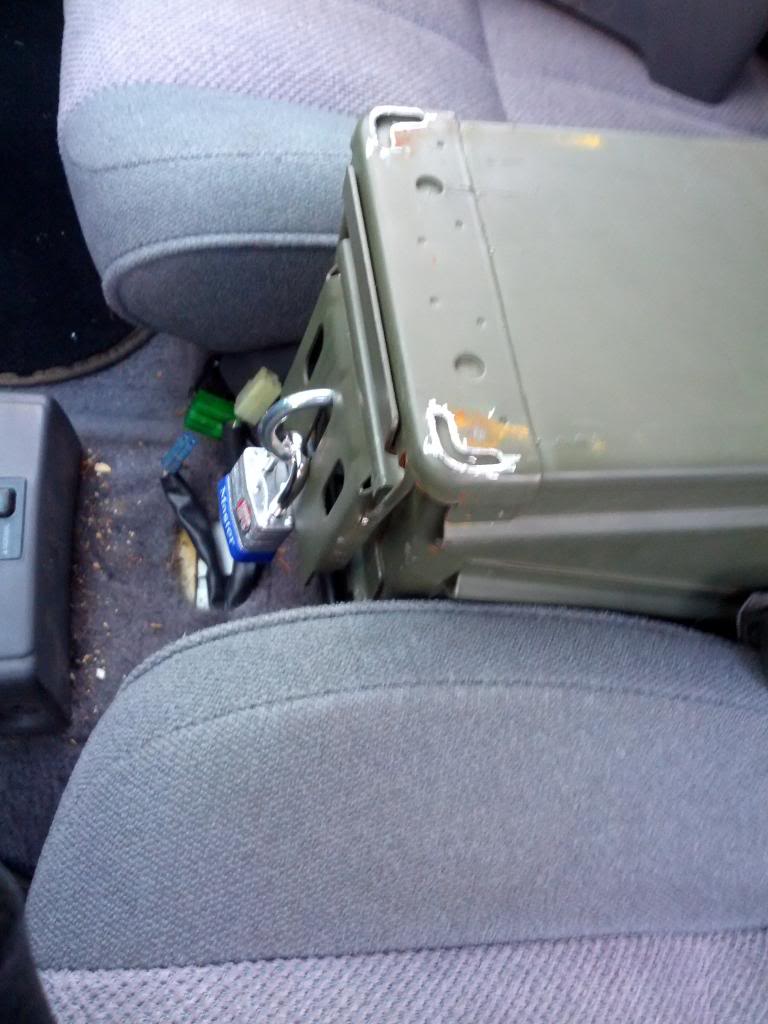
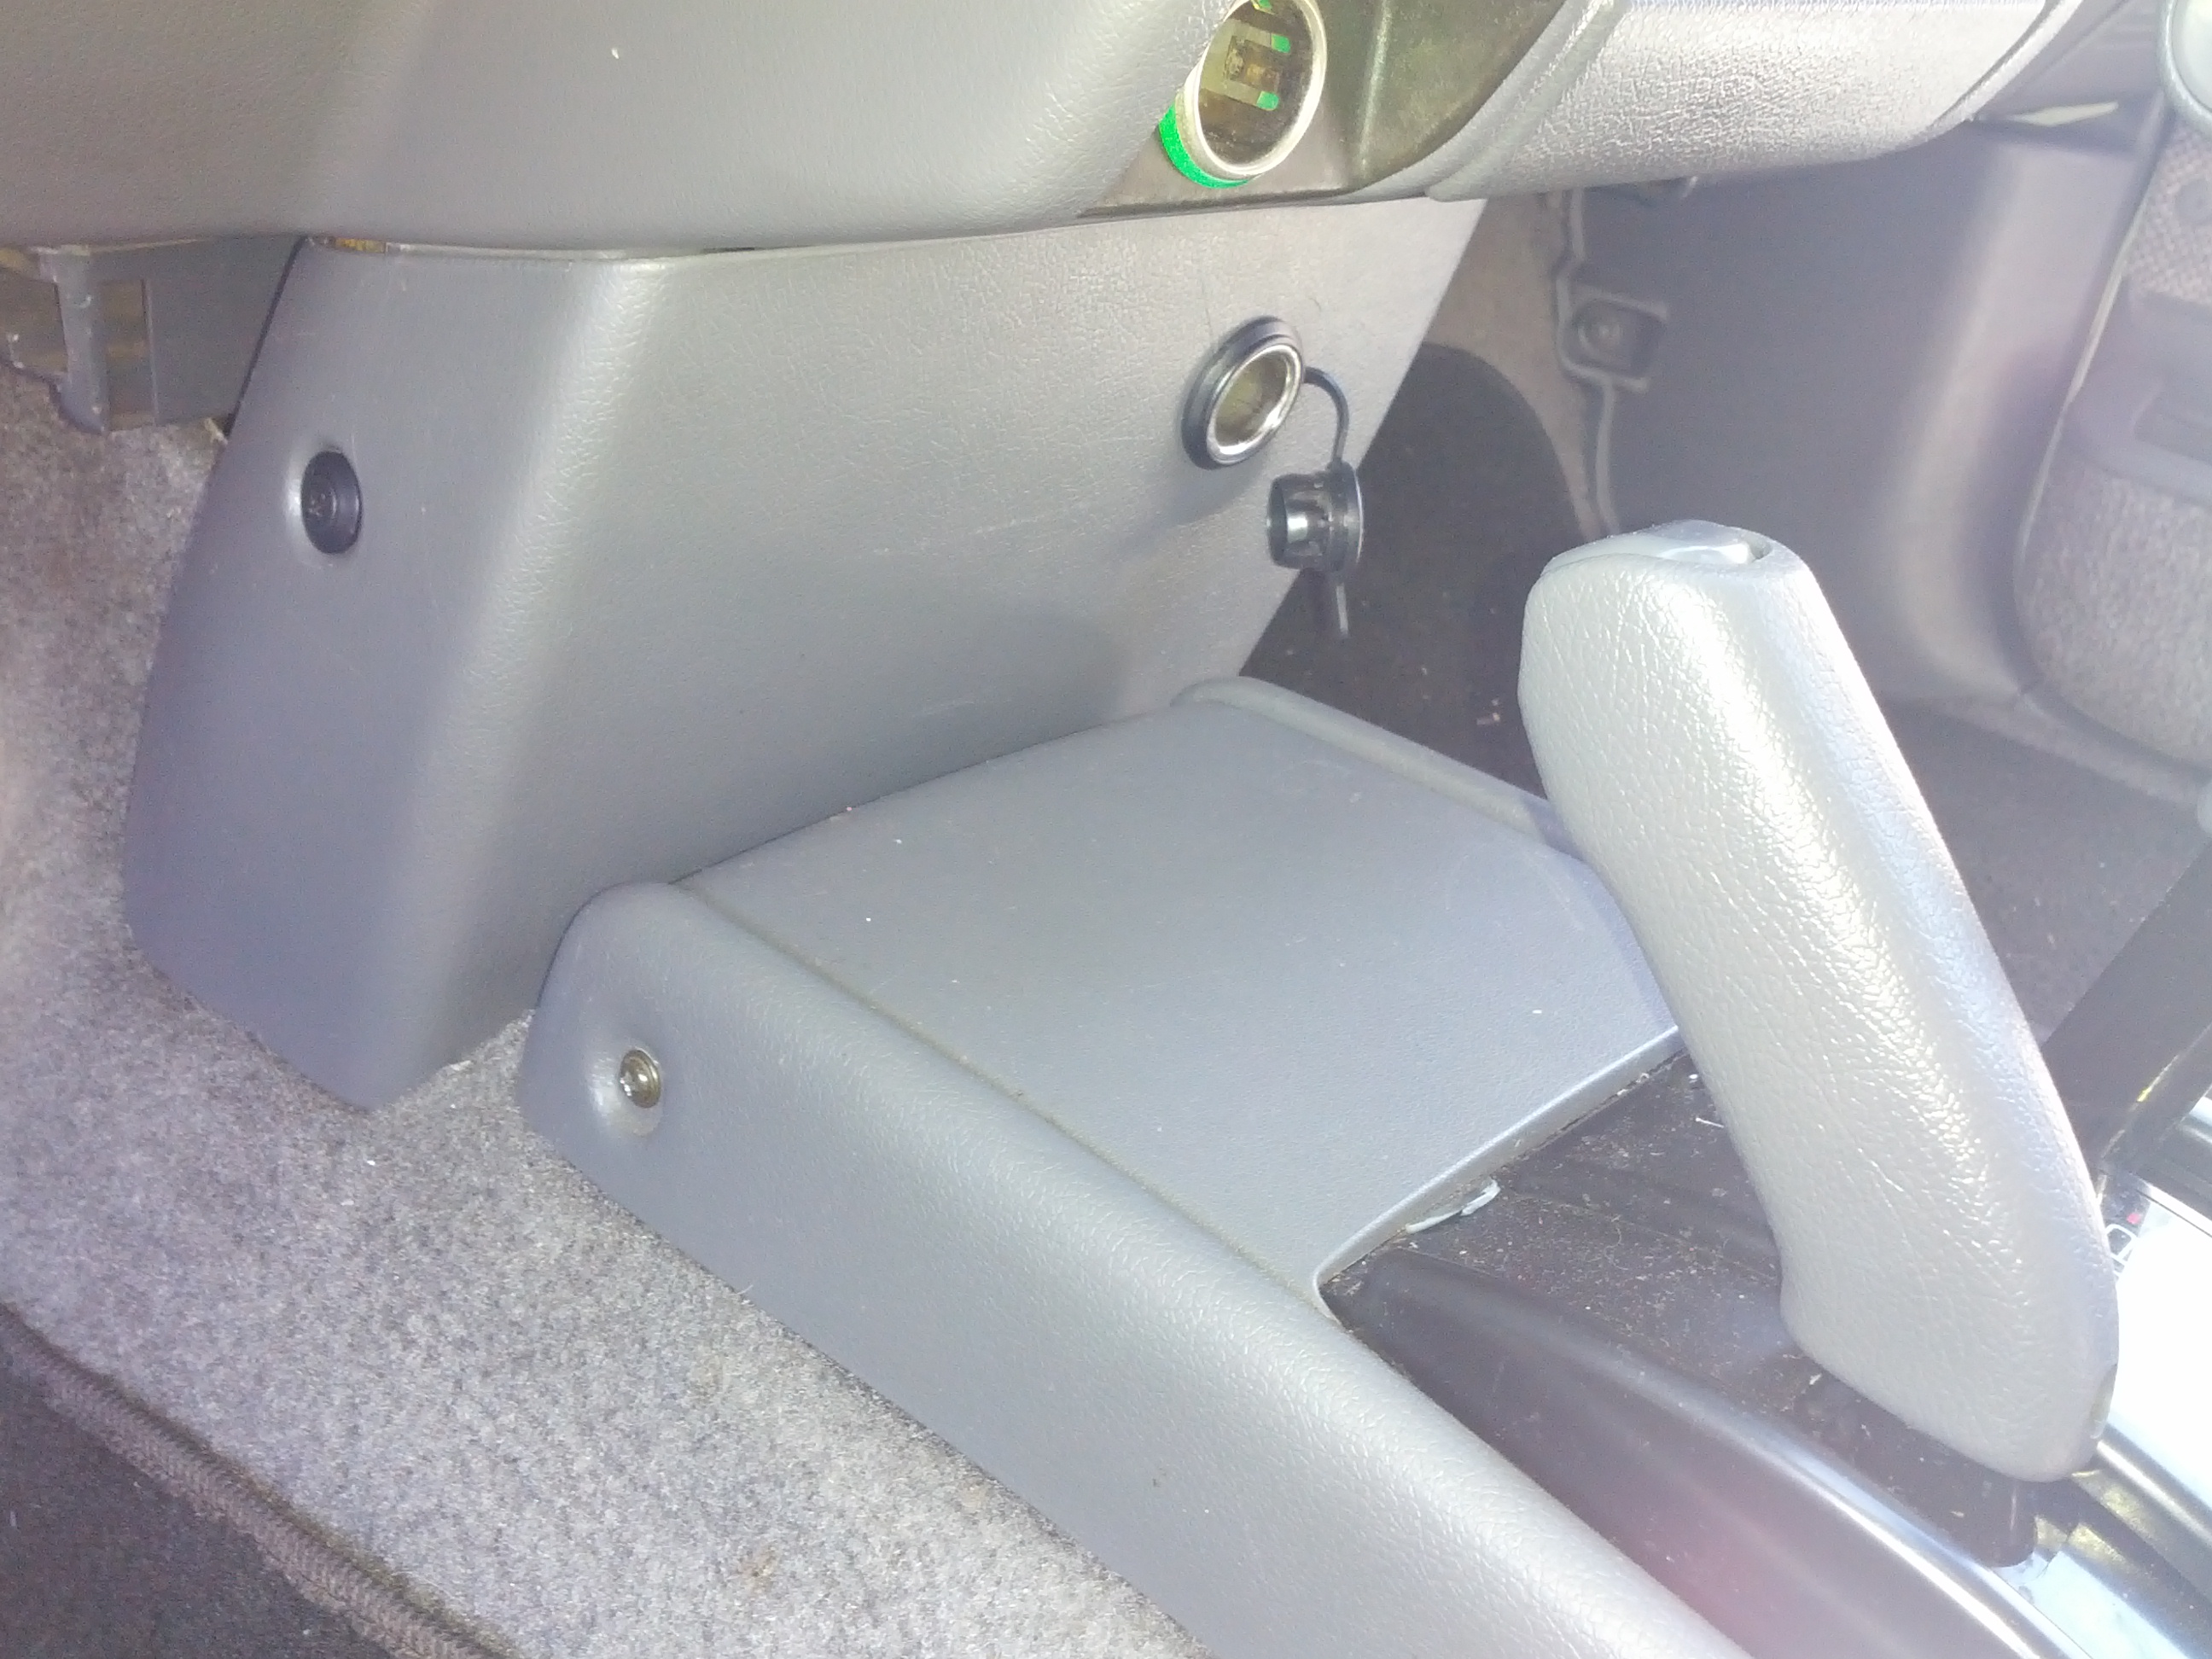
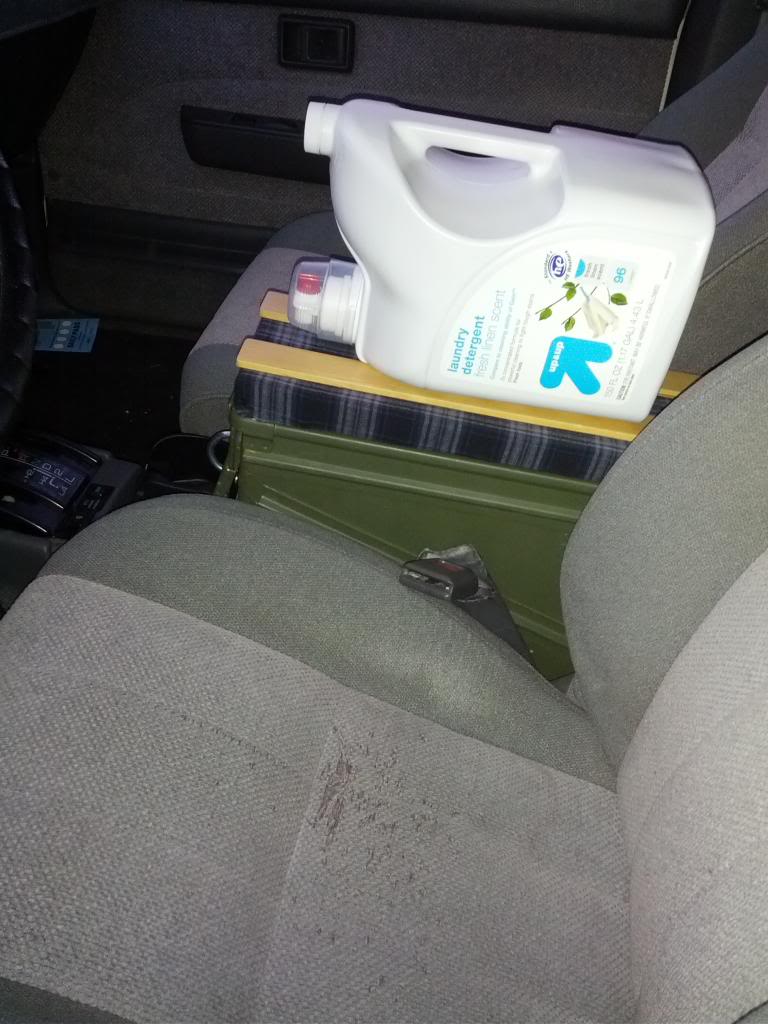
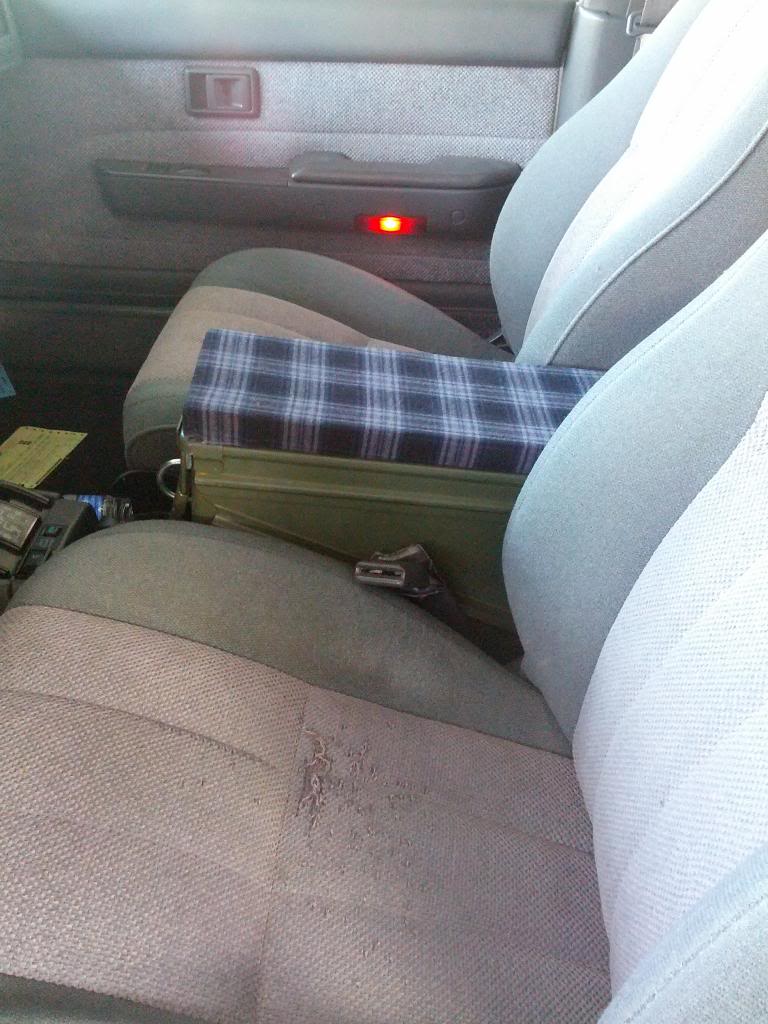
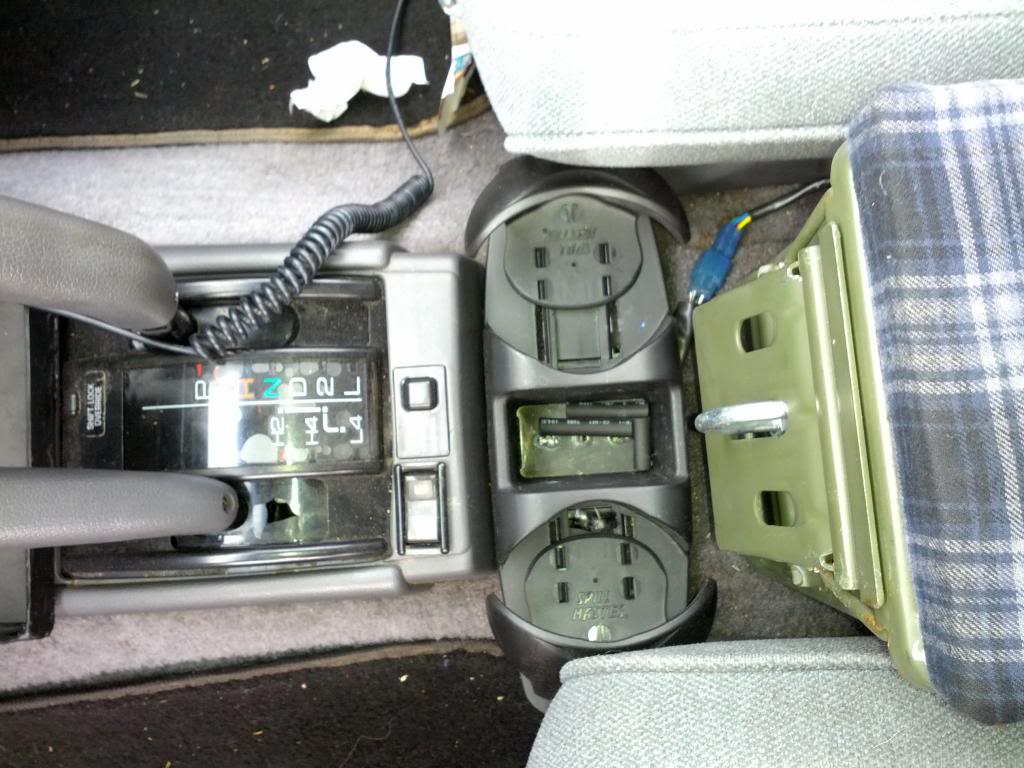
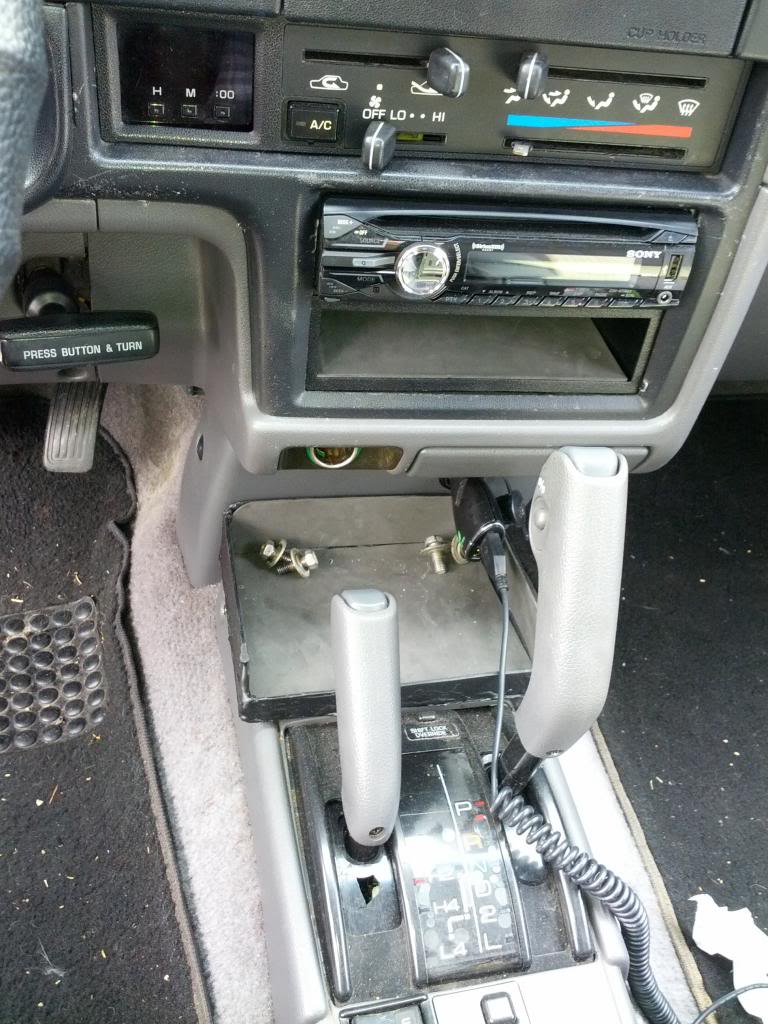
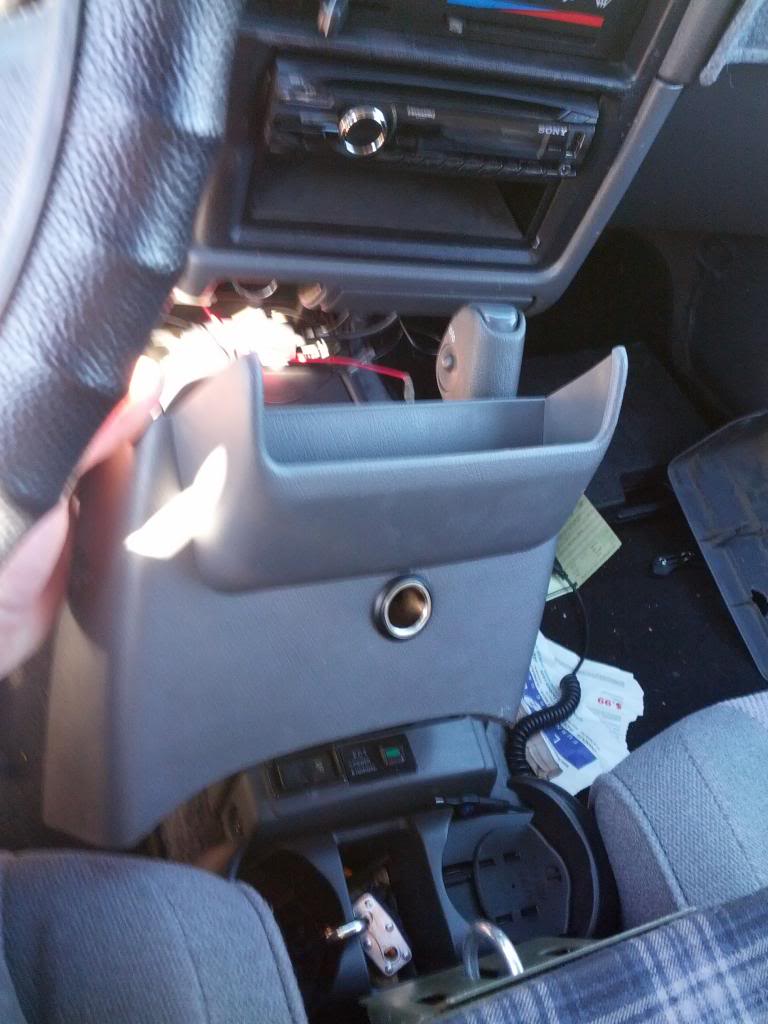
center console:
Removing the coolant lines from the engine bay to the rear heater area was the most difficult part of this.
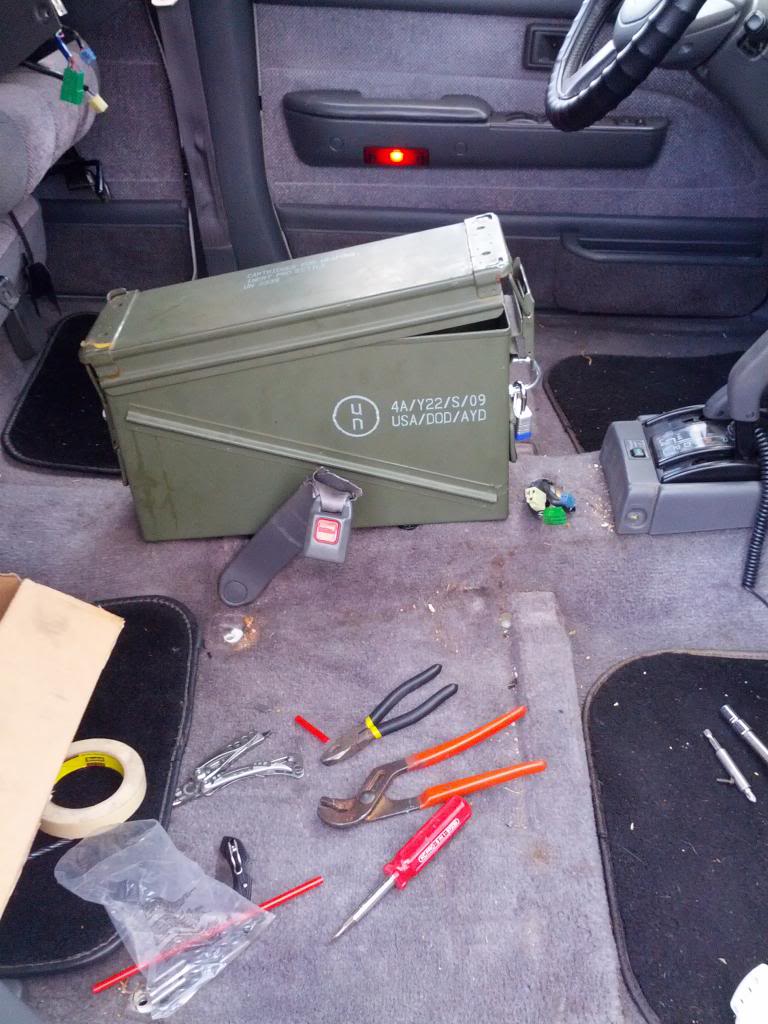

here is a pic of the 12v plug:

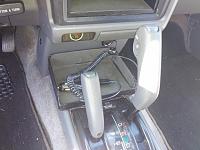
Here I added an extra little tray made of acrylic, silicon, and epoxy in front of the shifters, I have it velcroed in place so I can remove it if I need to.
Any thoughts and input will be great!
It is a 1990 4Runner, v6 auto, got it the end of January
Here is what I have done so far:
- Added another 12v plug in center
- new radio with sirius tuner connected
- keyless entryf
- A/C recharged r134a but there is still a leak, it's empty after a day
- Added another tray in front of shifters to for stuff like phone and wallet, and trim from a 92 4runner
- fixed rear window going down, needed to replace wire from key switch on tail gate to the relay
- warn manual locking hubs
- replace center console with ammo can, and remove rear heater
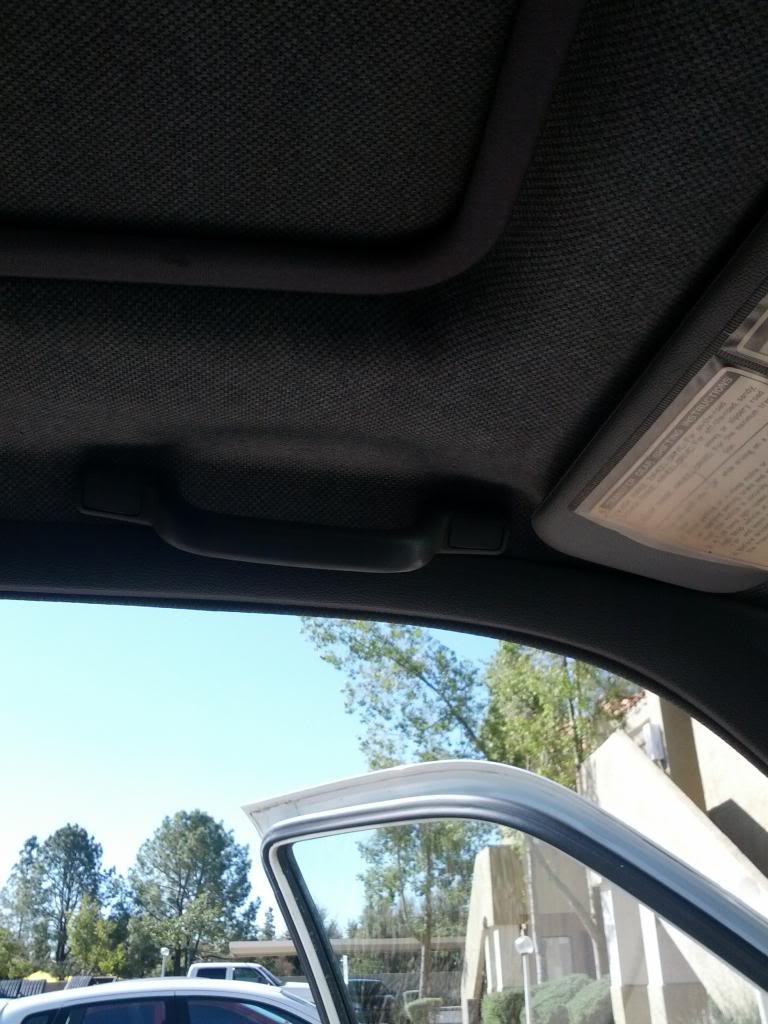
- added driver side grab bar
- Got most of the chrome off
- OME steering stabalizer
- OME shocks on all corners, and coils in rear
This is what I plan on doing, it will take some time and money:
- add storage under back, where spare tire would go under car
- LCE proformace headers
- 33x10.5x15 tires when I need new tires
- skid plates
- rock sliders- one day I will pay someone to weld some on or learn to weld to to it myself
center console:
Removing the coolant lines from the engine bay to the rear heater area was the most difficult part of this.
here is a pic of the 12v plug:
Here I added an extra little tray made of acrylic, silicon, and epoxy in front of the shifters, I have it velcroed in place so I can remove it if I need to.

Any thoughts and input will be great!
Last edited by a51young; Sep 2, 2013 at 03:40 PM.
Feb 4, 2013 | 07:47 PM
#2
Registered User
Joined: Apr 2012
Posts: 153
Likes: 1
Great start man. Clean rig too for it's age.
Don't forget, if you're bringing the rear up with a new leaf pack (OME Dakars, possibly without the third leaf down) you're also going to need some lift up front. Probably a Ball Joint Spacer, which is relatively cheap, maybe 1.5" or so, then adjust the t-bars to get it level and riding smooth.
Also, I miss you man . . .
(No homo^ Tony and I served in the Corps together, this here is my brother)
 Your to do list is like 90% equivalent to mine hahaha. . . looking forward to the build!
Feb 4, 2013 | 07:52 PM
Your to do list is like 90% equivalent to mine hahaha. . . looking forward to the build!
Feb 4, 2013 | 07:52 PM
#4
Registered User
Joined: Apr 2012
Posts: 153
Likes: 1
Did you take it somewhere to get the keyless entry done or do it yourself? I've never even thought of that as an option but come to think of it, I would enjoy not having to walk around and unlock the door to let passengers in sometimes . . .
Feb 4, 2013 | 07:54 PM
#5
Thread Starter
Registered User
Joined: Jan 2013
Posts: 271
Likes: 0
From: AZ
miss you too bro!
That might be one of the next few things I do, the suspension stuff. I will get my warn hubs in the mail tomorrow or the next day, and my ammo can on friday, so those things will get taken care of by the weekend, then I'll get the suspension stuff next.
The center console has been bothering me for a while, hardly any space for stuff with that rear heater taking up so much space in the console.
Feb 4, 2013 | 08:00 PM
#6
Thread Starter
Registered User
Joined: Jan 2013
Posts: 271
Likes: 0
From: AZ
They do sell kits to convert manual locks to power locks and probably have that put in with key less entry as well. That would be tough though, running the wires all over your place and working in the tight place, might be better to pay someone to do that unless you have a whole day for it.
this is the kit I got
Feb 15, 2013 | 07:14 AM
#7
Thread Starter
Registered User
Joined: Jan 2013
Posts: 271
Likes: 0
From: AZ
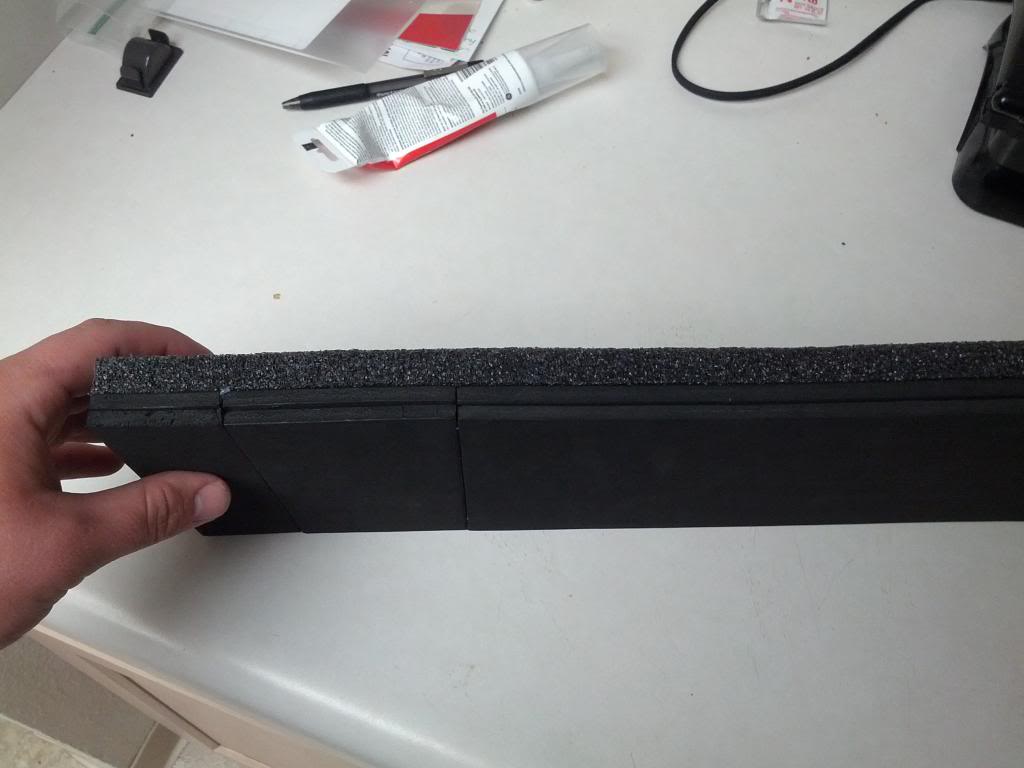
Put on a foam block with an old shirt around it on my armrest, just glued it on with stuff I found, couldn't find my sowing kit for some reason
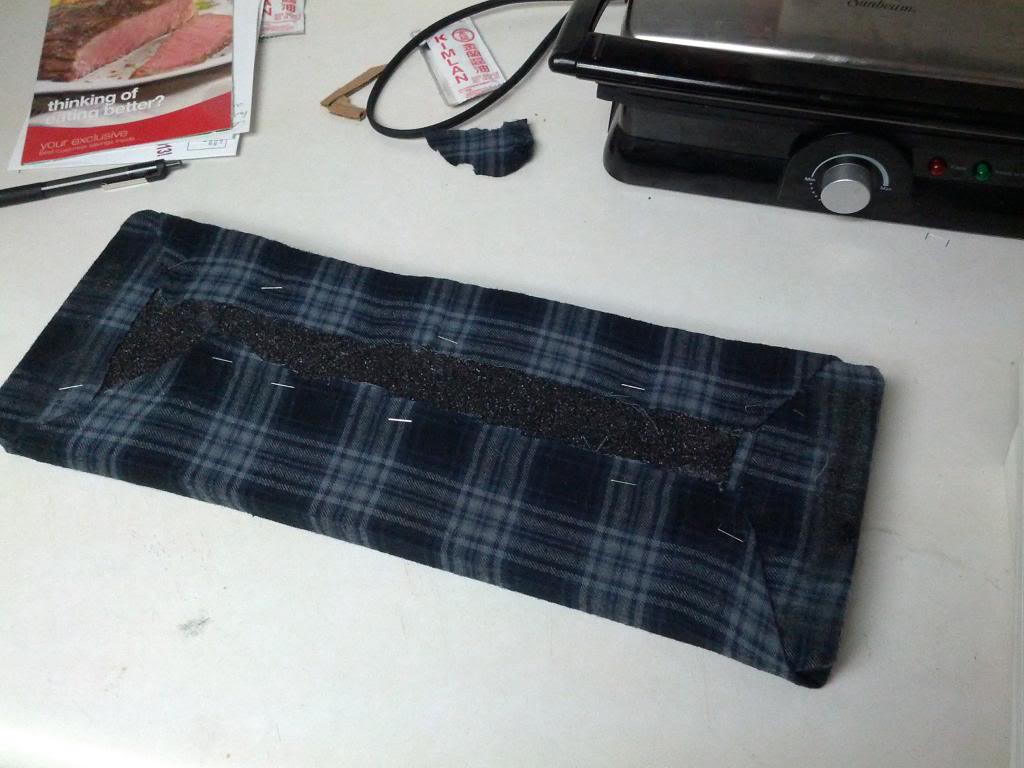
and completed:
and completed:
Last edited by a51young; Feb 15, 2013 at 07:50 AM.
Trending Topics


 Mar 1, 2013 | 05:26 AM
#12
Thread Starter
Registered User
Joined: Jan 2013
Posts: 271
Likes: 0
From: AZ
It's made by trail gear, wabfab is a vendor with the best price I found
http://www.wabfab.org/component/opti...roduct_id,828/
I got the turn signal tabs put on last night as well, but I think one day I'm going to combine the parking and turn signal following this guide
http://www.4crawler.com/4x4/CheapTri...rnSignal.shtml
http://www.wabfab.org/component/opti...roduct_id,828/
I got the turn signal tabs put on last night as well, but I think one day I'm going to combine the parking and turn signal following this guide
http://www.4crawler.com/4x4/CheapTri...rnSignal.shtml
Mar 5, 2013 | 11:58 AM
#13
Registered User
Joined: Apr 2012
Posts: 153
Likes: 1
It's the same as the other just without the stinger.
You thought about putting another tray or storage area between the ammo can and where the shifter plastic starts? That's my only qualm with my truck, no where to put little stuff like my ipod and phone. I'm going to build a little net compartment thing to go in the center of my bench seat in the cutout by the shifter.
You thought about putting another tray or storage area between the ammo can and where the shifter plastic starts? That's my only qualm with my truck, no where to put little stuff like my ipod and phone. I'm going to build a little net compartment thing to go in the center of my bench seat in the cutout by the shifter.
Mar 5, 2013 | 12:07 PM
#14
Thread Starter
Registered User
Joined: Jan 2013
Posts: 271
Likes: 0
From: AZ
Yeah dude, I went to O'rileys and got a little cup holder thing with some space, it is a little too long, so I can not adjust the both cup holders easily, but it works for now. There is another one where the cup holders adjust at an angle, so I am thinking that will work better, but will need a bit of cutting to get fitting right, it is a bit wide and has extra things.
But here is what I have now
But here is what I have now
Mar 5, 2013 | 12:14 PM
#15
Registered User
Joined: Apr 2012
Posts: 153
Likes: 1
Nice! I usually have my thermos thing or bottled drinks so I have no need for cup holders. Sometimes I use the ones stock in the truck but it's right in front of the heater so smoothies or whatever melt pretty quick if that's on haha. Someday I'll get my custom seat covers and sew a little basket storage dealio in there . . .
Mar 7, 2013 | 04:18 PM
#16
Thread Starter
Registered User
Joined: Jan 2013
Posts: 271
Likes: 0
From: AZ
Took off my grill to see if I could see any holes in the AC lines, nothing, but then decided to paint my grill, it was looking dirty and the shiny stuff was bubbling up
before:
After:
Next I'll have to get my mirrors and door handles
before:
After:
Next I'll have to get my mirrors and door handles
Mar 12, 2013 | 02:21 PM
#17
Thread Starter
Registered User
Joined: Jan 2013
Posts: 271
Likes: 0
From: AZ
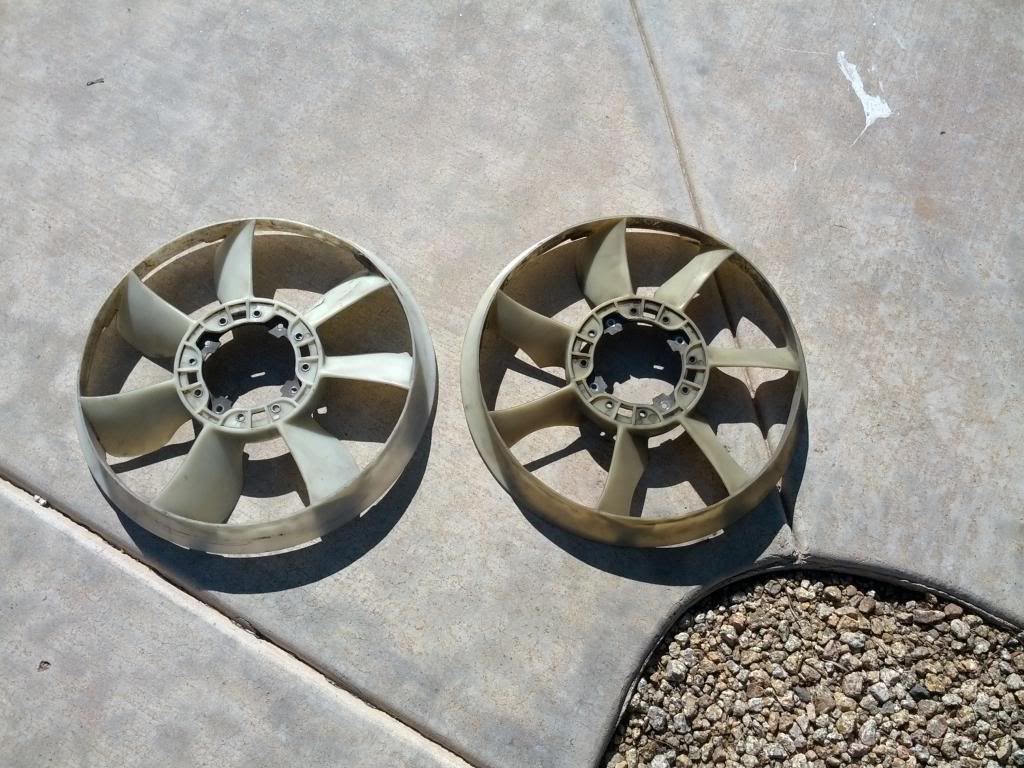
Made a trip to a pick-a-part and got a few things
Added this grab bar on the drivers side
replaced my fan with one that didnt have all but one blade broke
and got another piece of trim with a little pocket, drilled another hole for the extra outlet and was good to go.
and the other day replaced the timing belt, one of the idler pulleys, and resealed the water pump to stop a leak. That took all day.
Mar 14, 2013 | 02:04 PM
#19
Thread Starter
Registered User
Joined: Jan 2013
Posts: 271
Likes: 0
From: AZ
Got the side mirrors painted, and unplugged the power antenna, it was broken and sending power to it when ever the car was turned on or off. Still get great reception with the little nub stuck up. While I was in there, took off the fender trim and thought about leaving it off. I took them all off to see what it would look like, and painted them black, don't know if I want them back on though... I also removed the mud flaps
This morning:
Done:
This morning:
Done:


