
thebeeler 1994 Pickup Build-Up Thread


 Apr 27, 2015 | 11:59 AM
#66

Thread Starter
Registered User
Joined: Oct 2012
Posts: 160
Likes: 0
From: Yuma, AZ
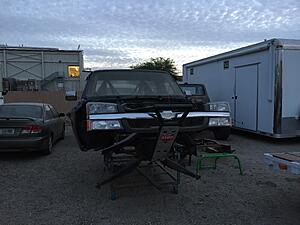
Well I guess I should update this. Ended up getting a full size Chevy to stick the LS1 and all the other parts I have been accumulating. I was getting tired of seeing my perfectly good truck in pieces, so I put it back together. Called up ENGNBLDR with the expectations of building a ˟˟˟˟ty engine with ˟˟˟˟ty parts. Ordered oversized stainless valves, springs, .270 Cam, full rebuild kit, and some other parts. When the parts came in I was surprised by the quality of the parts. I would recommend them to anyone looking to rebuild a 22RE on a budget. Engine has around 1k miles on it to date and has been preforming flawlessly, getting around 17mpg mixed city/highway
The Chevy that I am building, center mount front end, 4 link rear, full 2" 4130
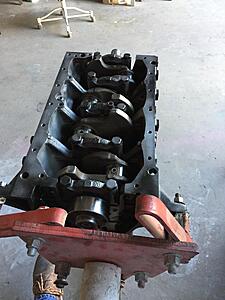
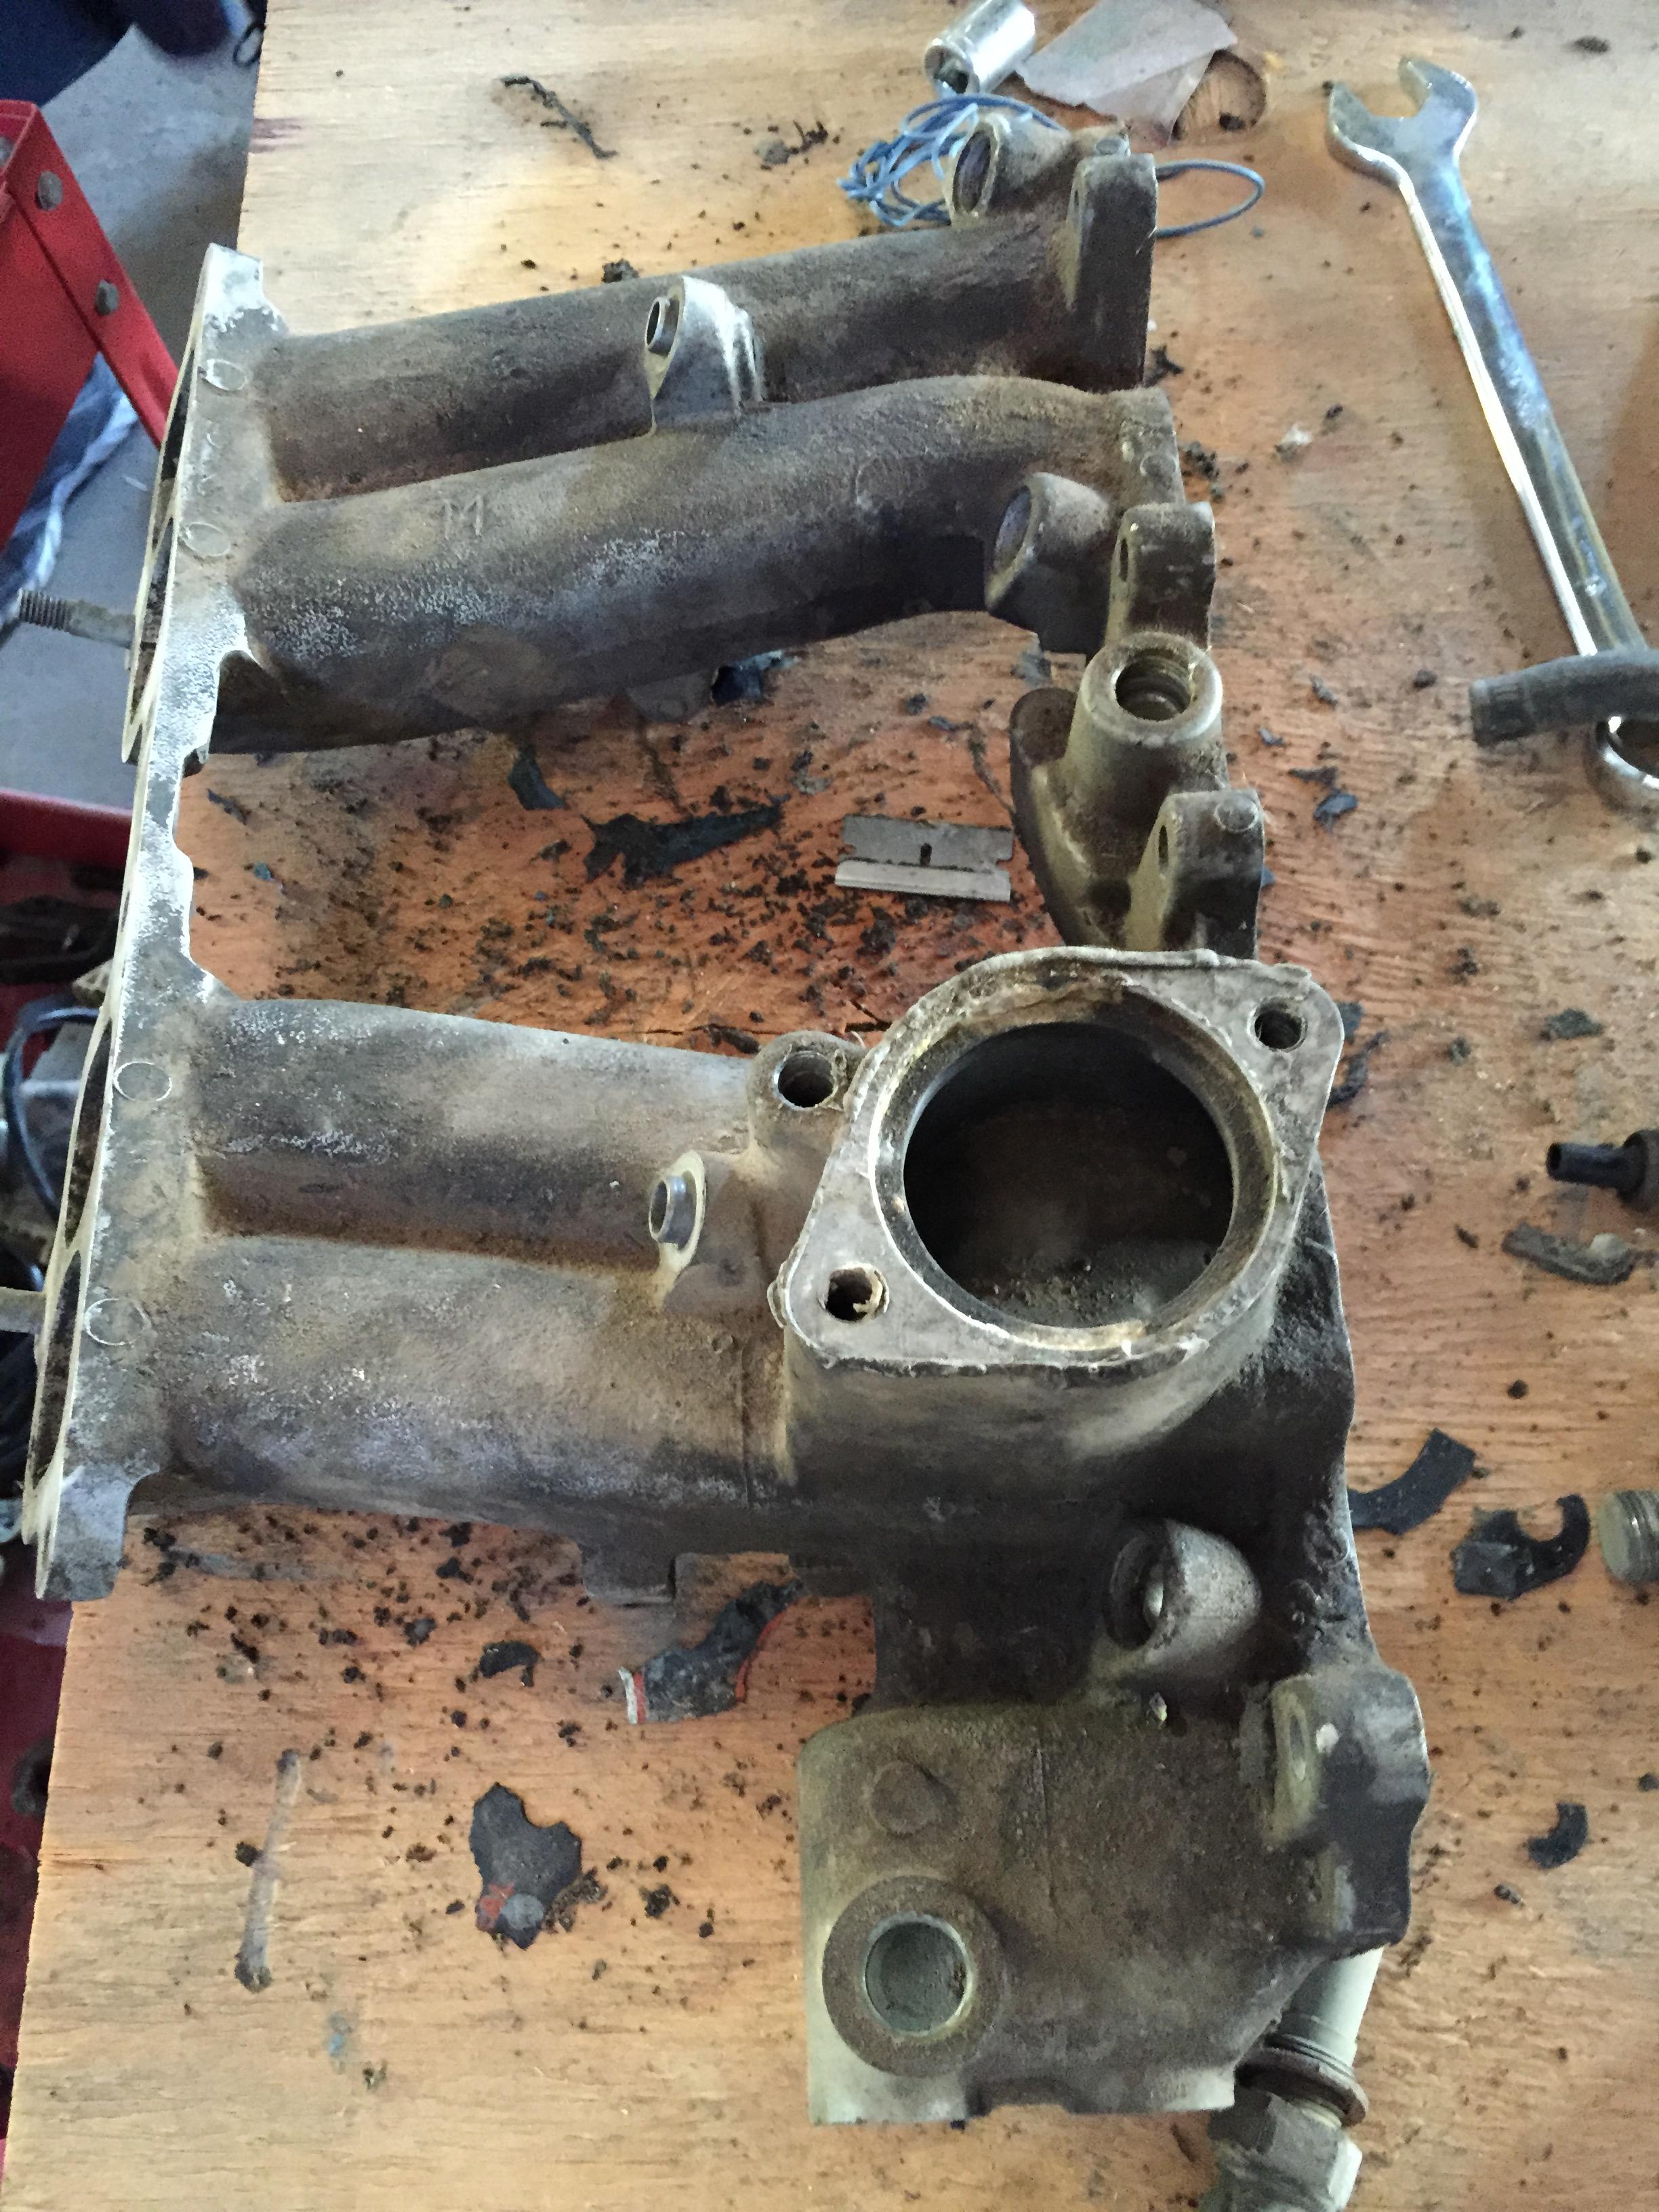
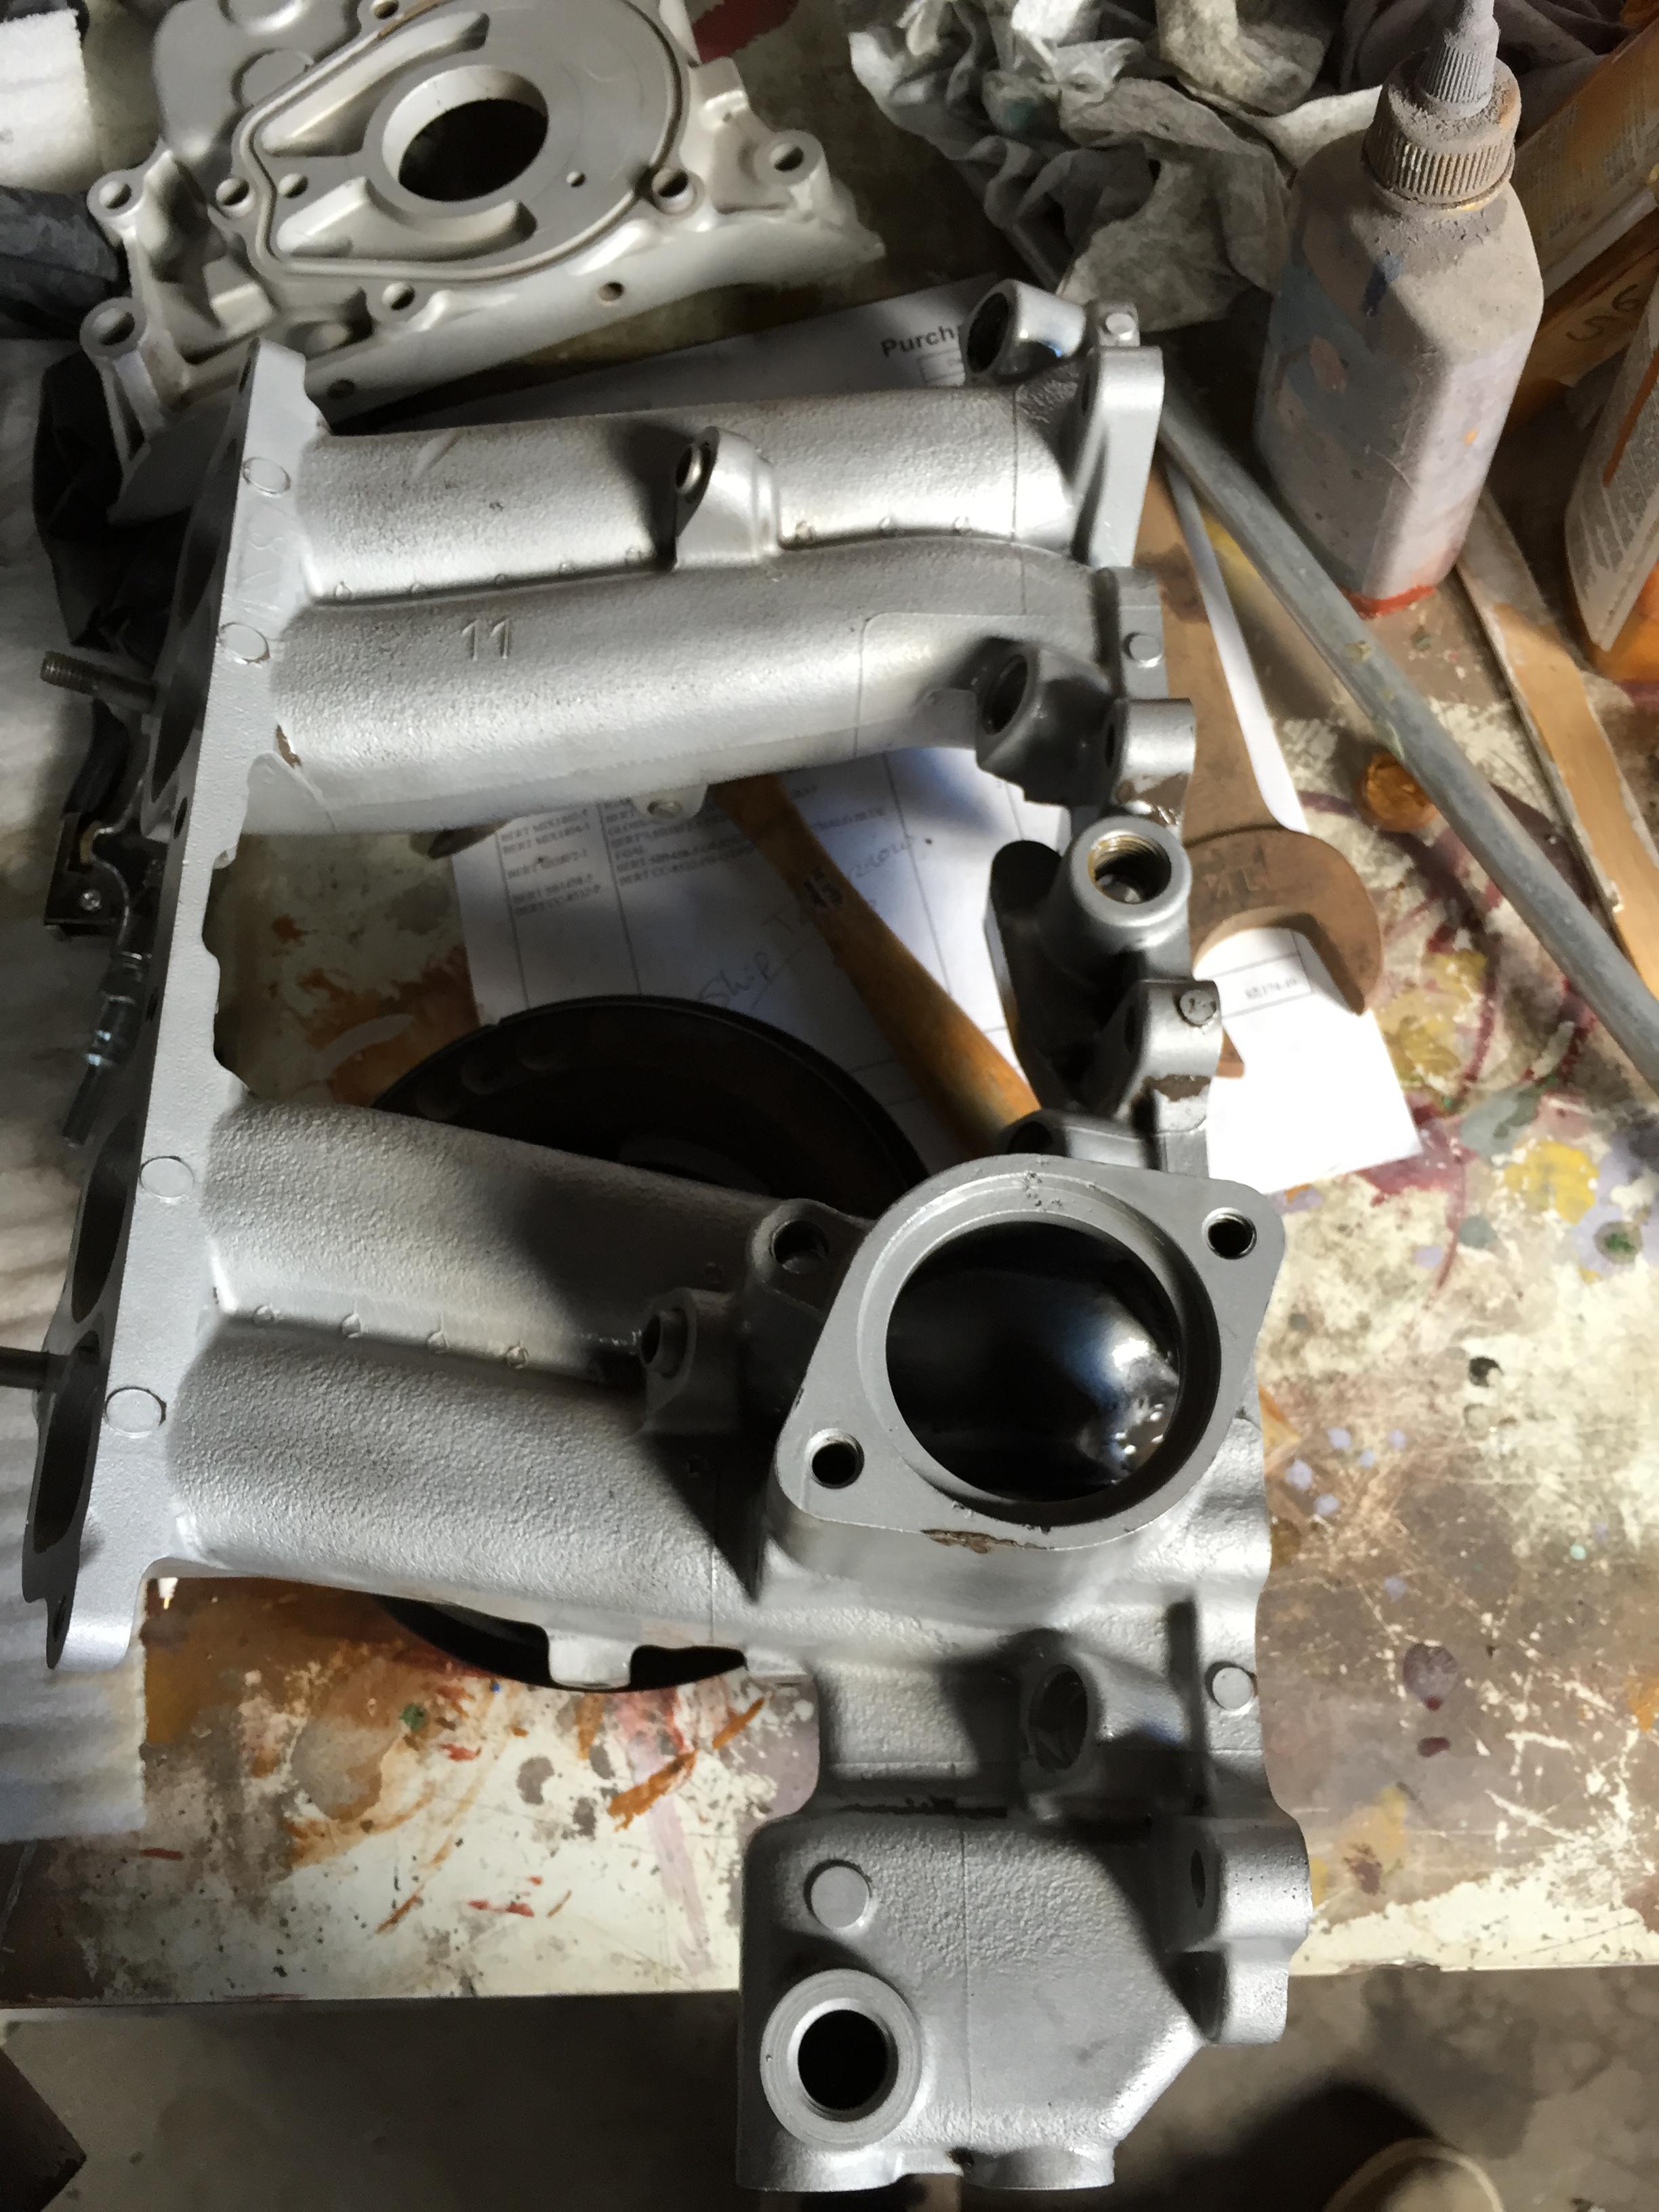
Putting the short block together.
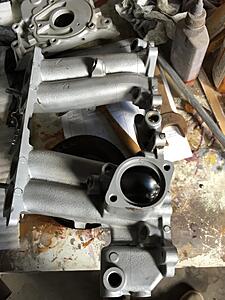
Cleaning up some parts, most if not all parts got glass beaded.

Assembled ready to drop in

The Chevy that I am building, center mount front end, 4 link rear, full 2" 4130
Putting the short block together.

Cleaning up some parts, most if not all parts got glass beaded.
Assembled ready to drop in

Last edited by thebeeler; Apr 27, 2015 at 12:16 PM.
Apr 27, 2015 | 12:03 PM
#67
Thread Starter
Registered User
Joined: Oct 2012
Posts: 160
Likes: 0
From: Yuma, AZ
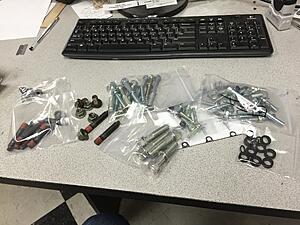
Ran into some issues while putting it together. Broke a couple studs/bolts so a call to 22RE performace was in order. I got all new hardware.
Ran into some Fuel line issues as well, had custom -4AN lines made at One Stop Shop so all the OEM rubber lines are eliminated.
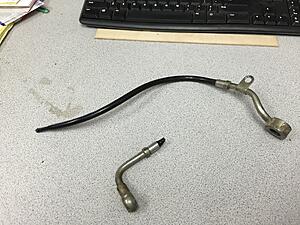
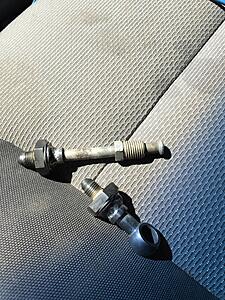
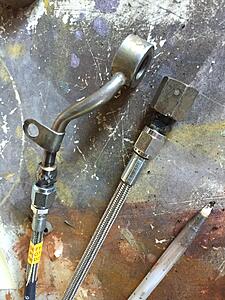
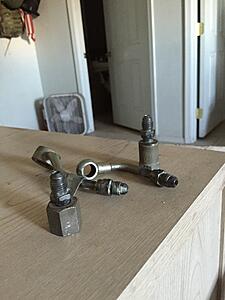

Ran into some Fuel line issues as well, had custom -4AN lines made at One Stop Shop so all the OEM rubber lines are eliminated.


Last edited by thebeeler; Apr 27, 2015 at 12:04 PM.
Apr 27, 2015 | 12:08 PM
#68
Thread Starter
Registered User
Joined: Oct 2012
Posts: 160
Likes: 0
From: Yuma, AZ
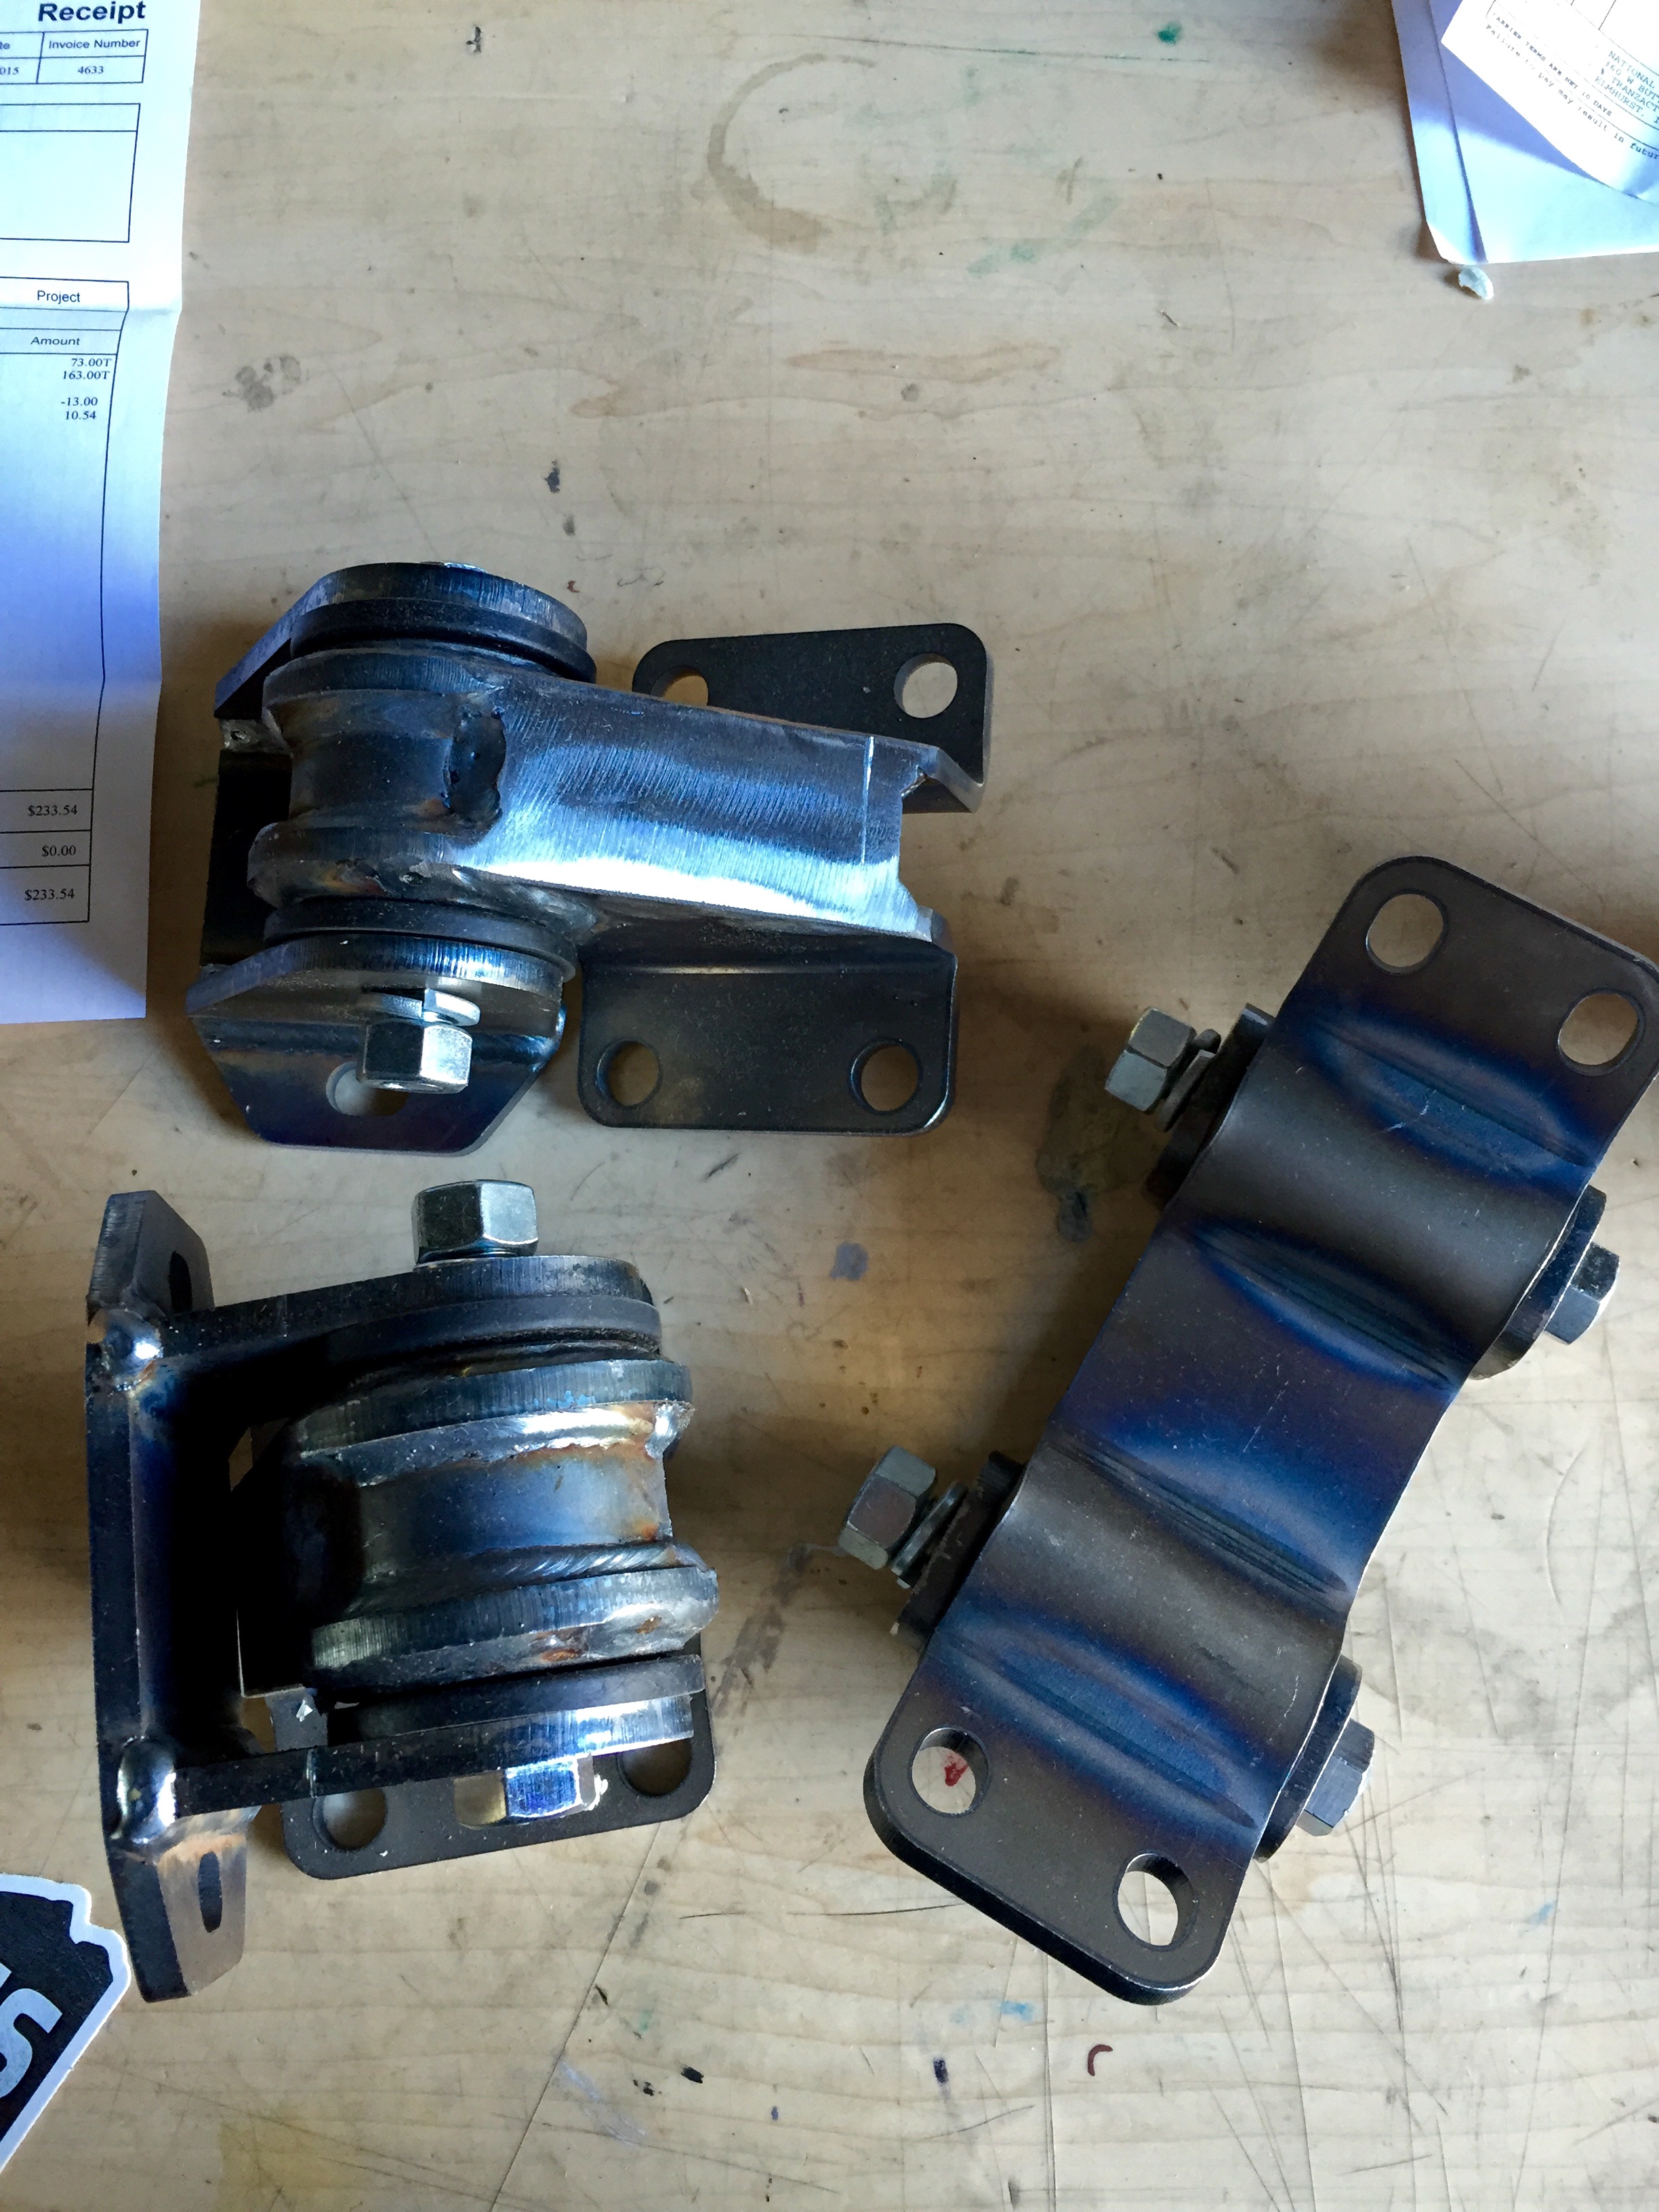
While the engine was out went ahead and got some solid engine mounts from 4x Innovations.

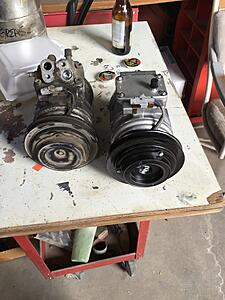
New Ac pump as well
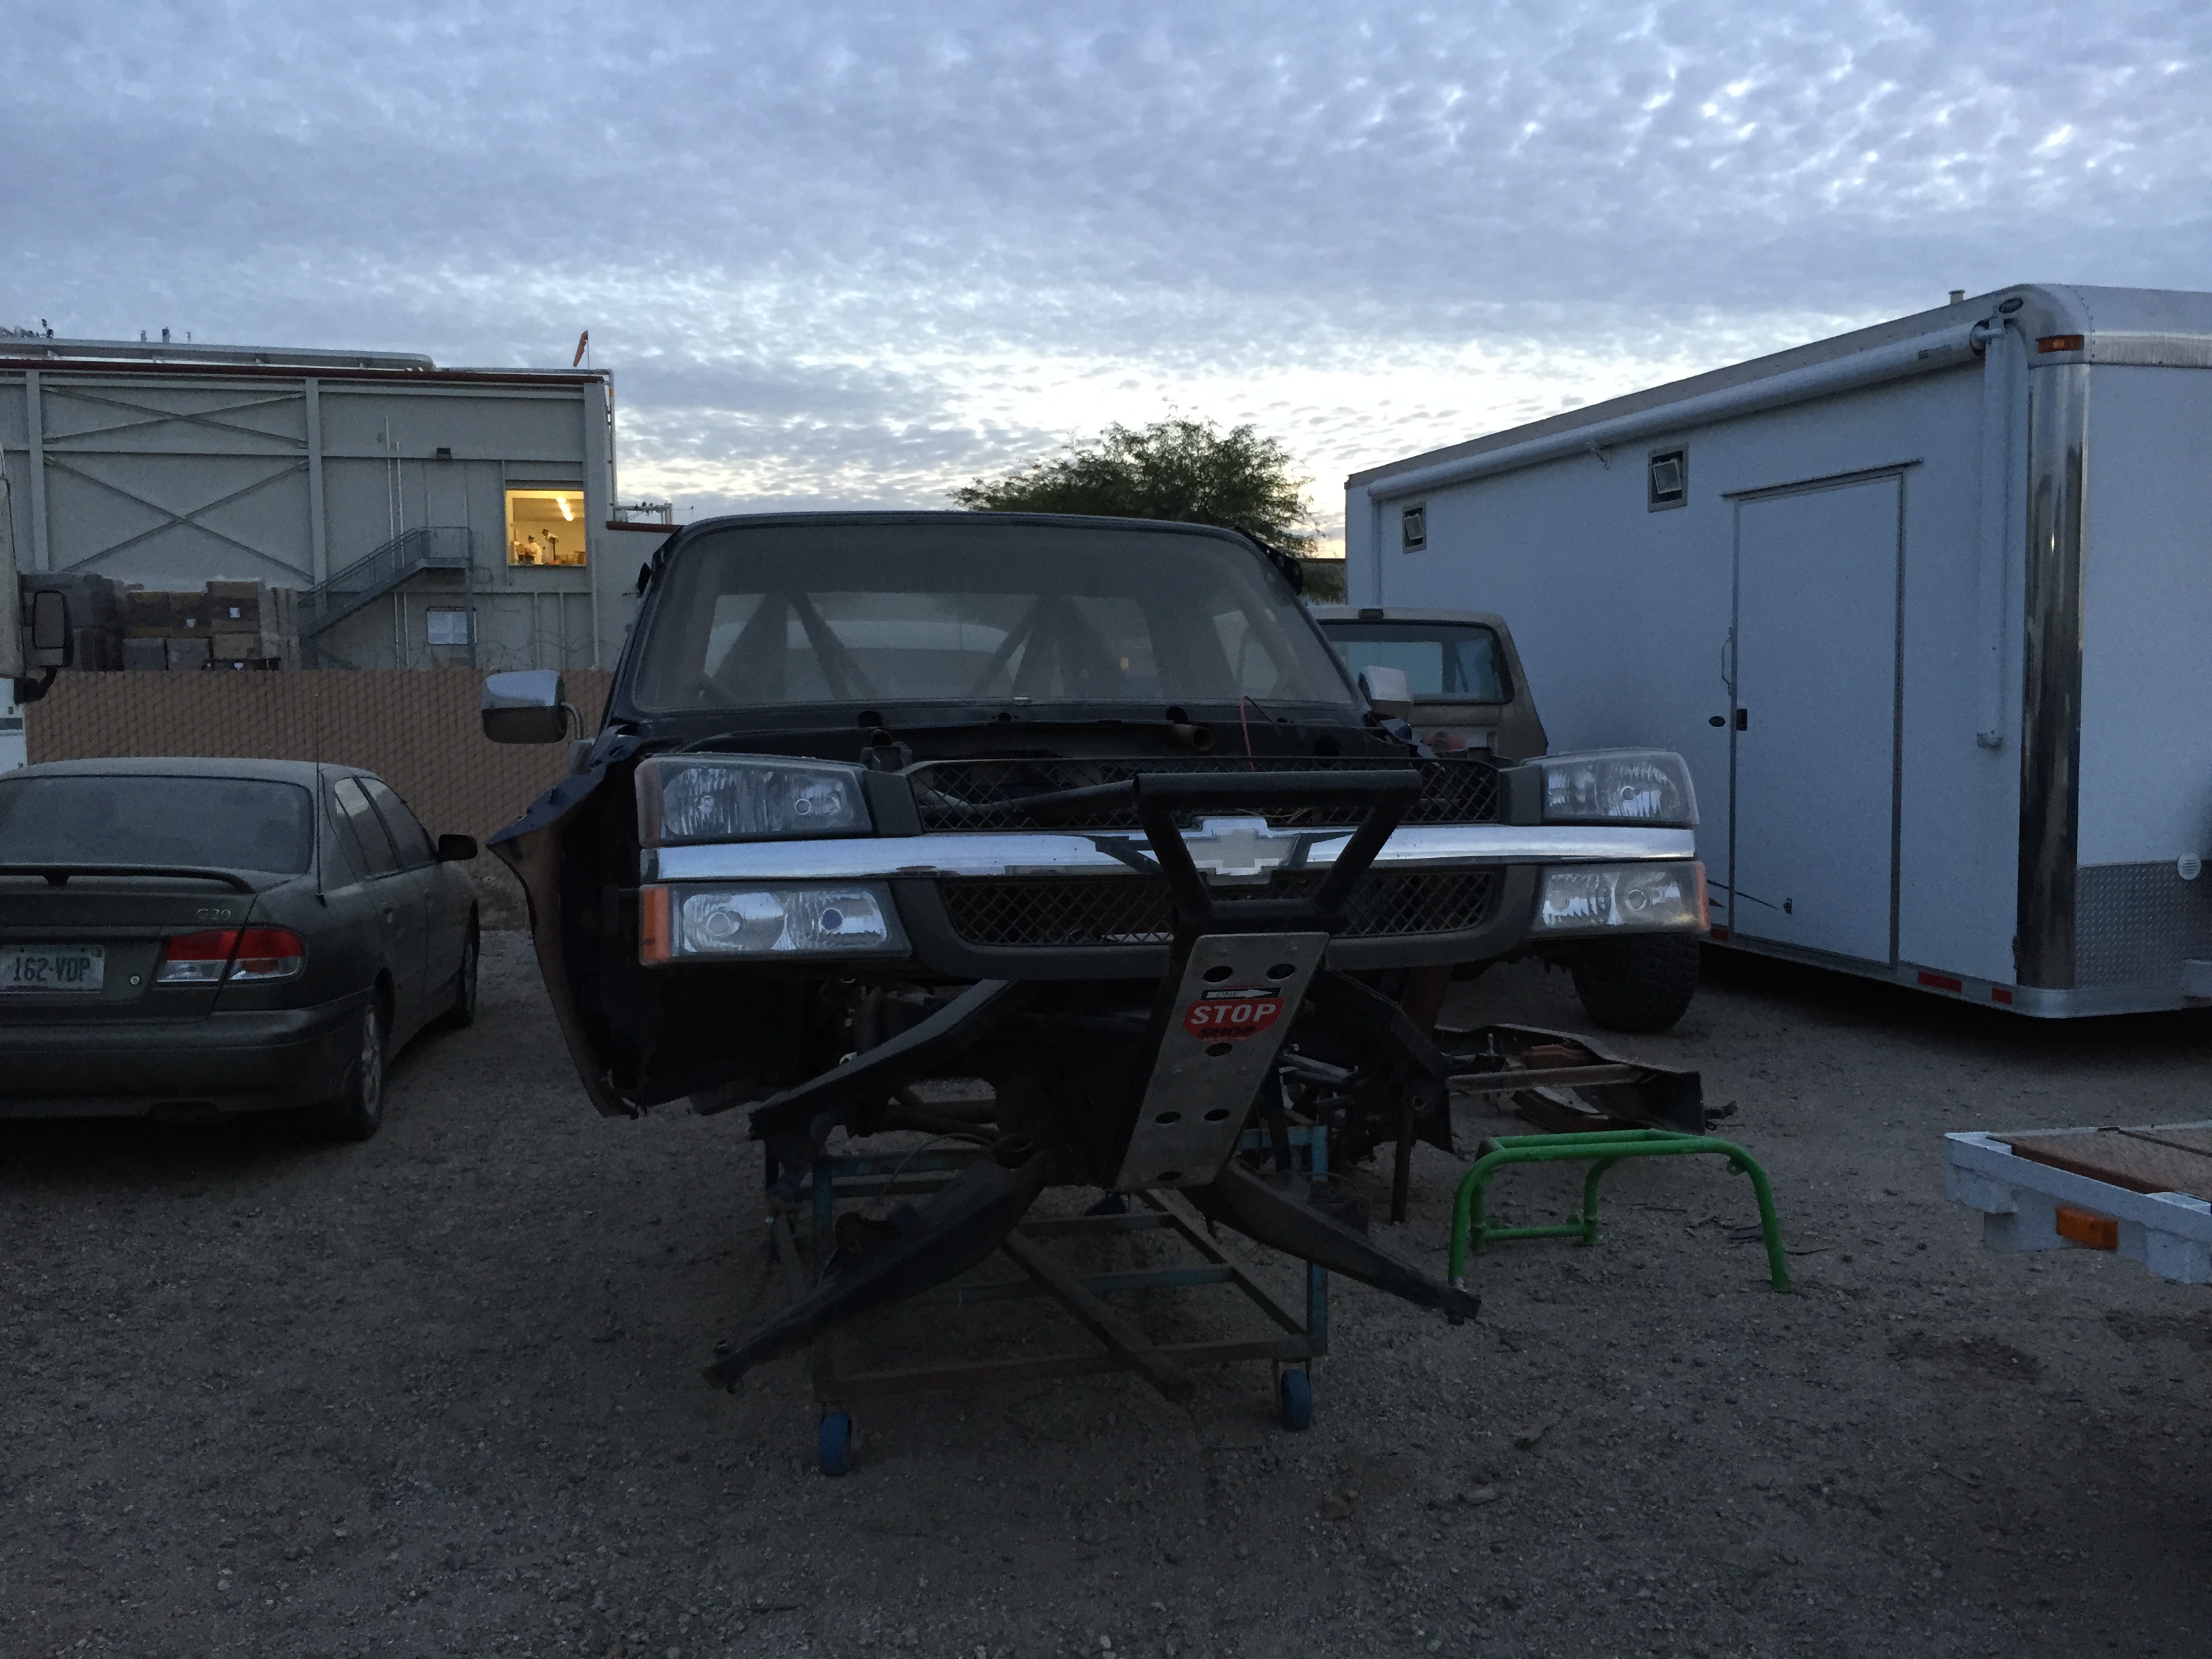
How much I had to cut off my grille to make it stop rubbing on the Addicted Offroad plate bumper.

New Ac pump as well

How much I had to cut off my grille to make it stop rubbing on the Addicted Offroad plate bumper.
 Apr 27, 2015 | 12:10 PM
#69
Thread Starter
Registered User
Joined: Oct 2012
Posts: 160
Likes: 0
From: Yuma, AZ
Also got my BudBuilt skids all painted and put on.
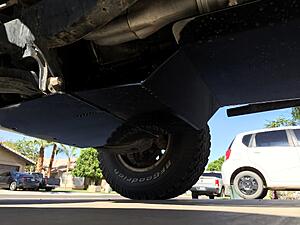
Under carriage has a nicer paint job than the rest of my truck now
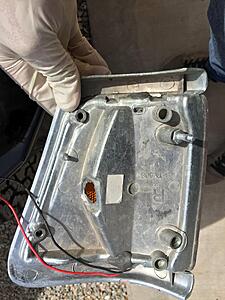
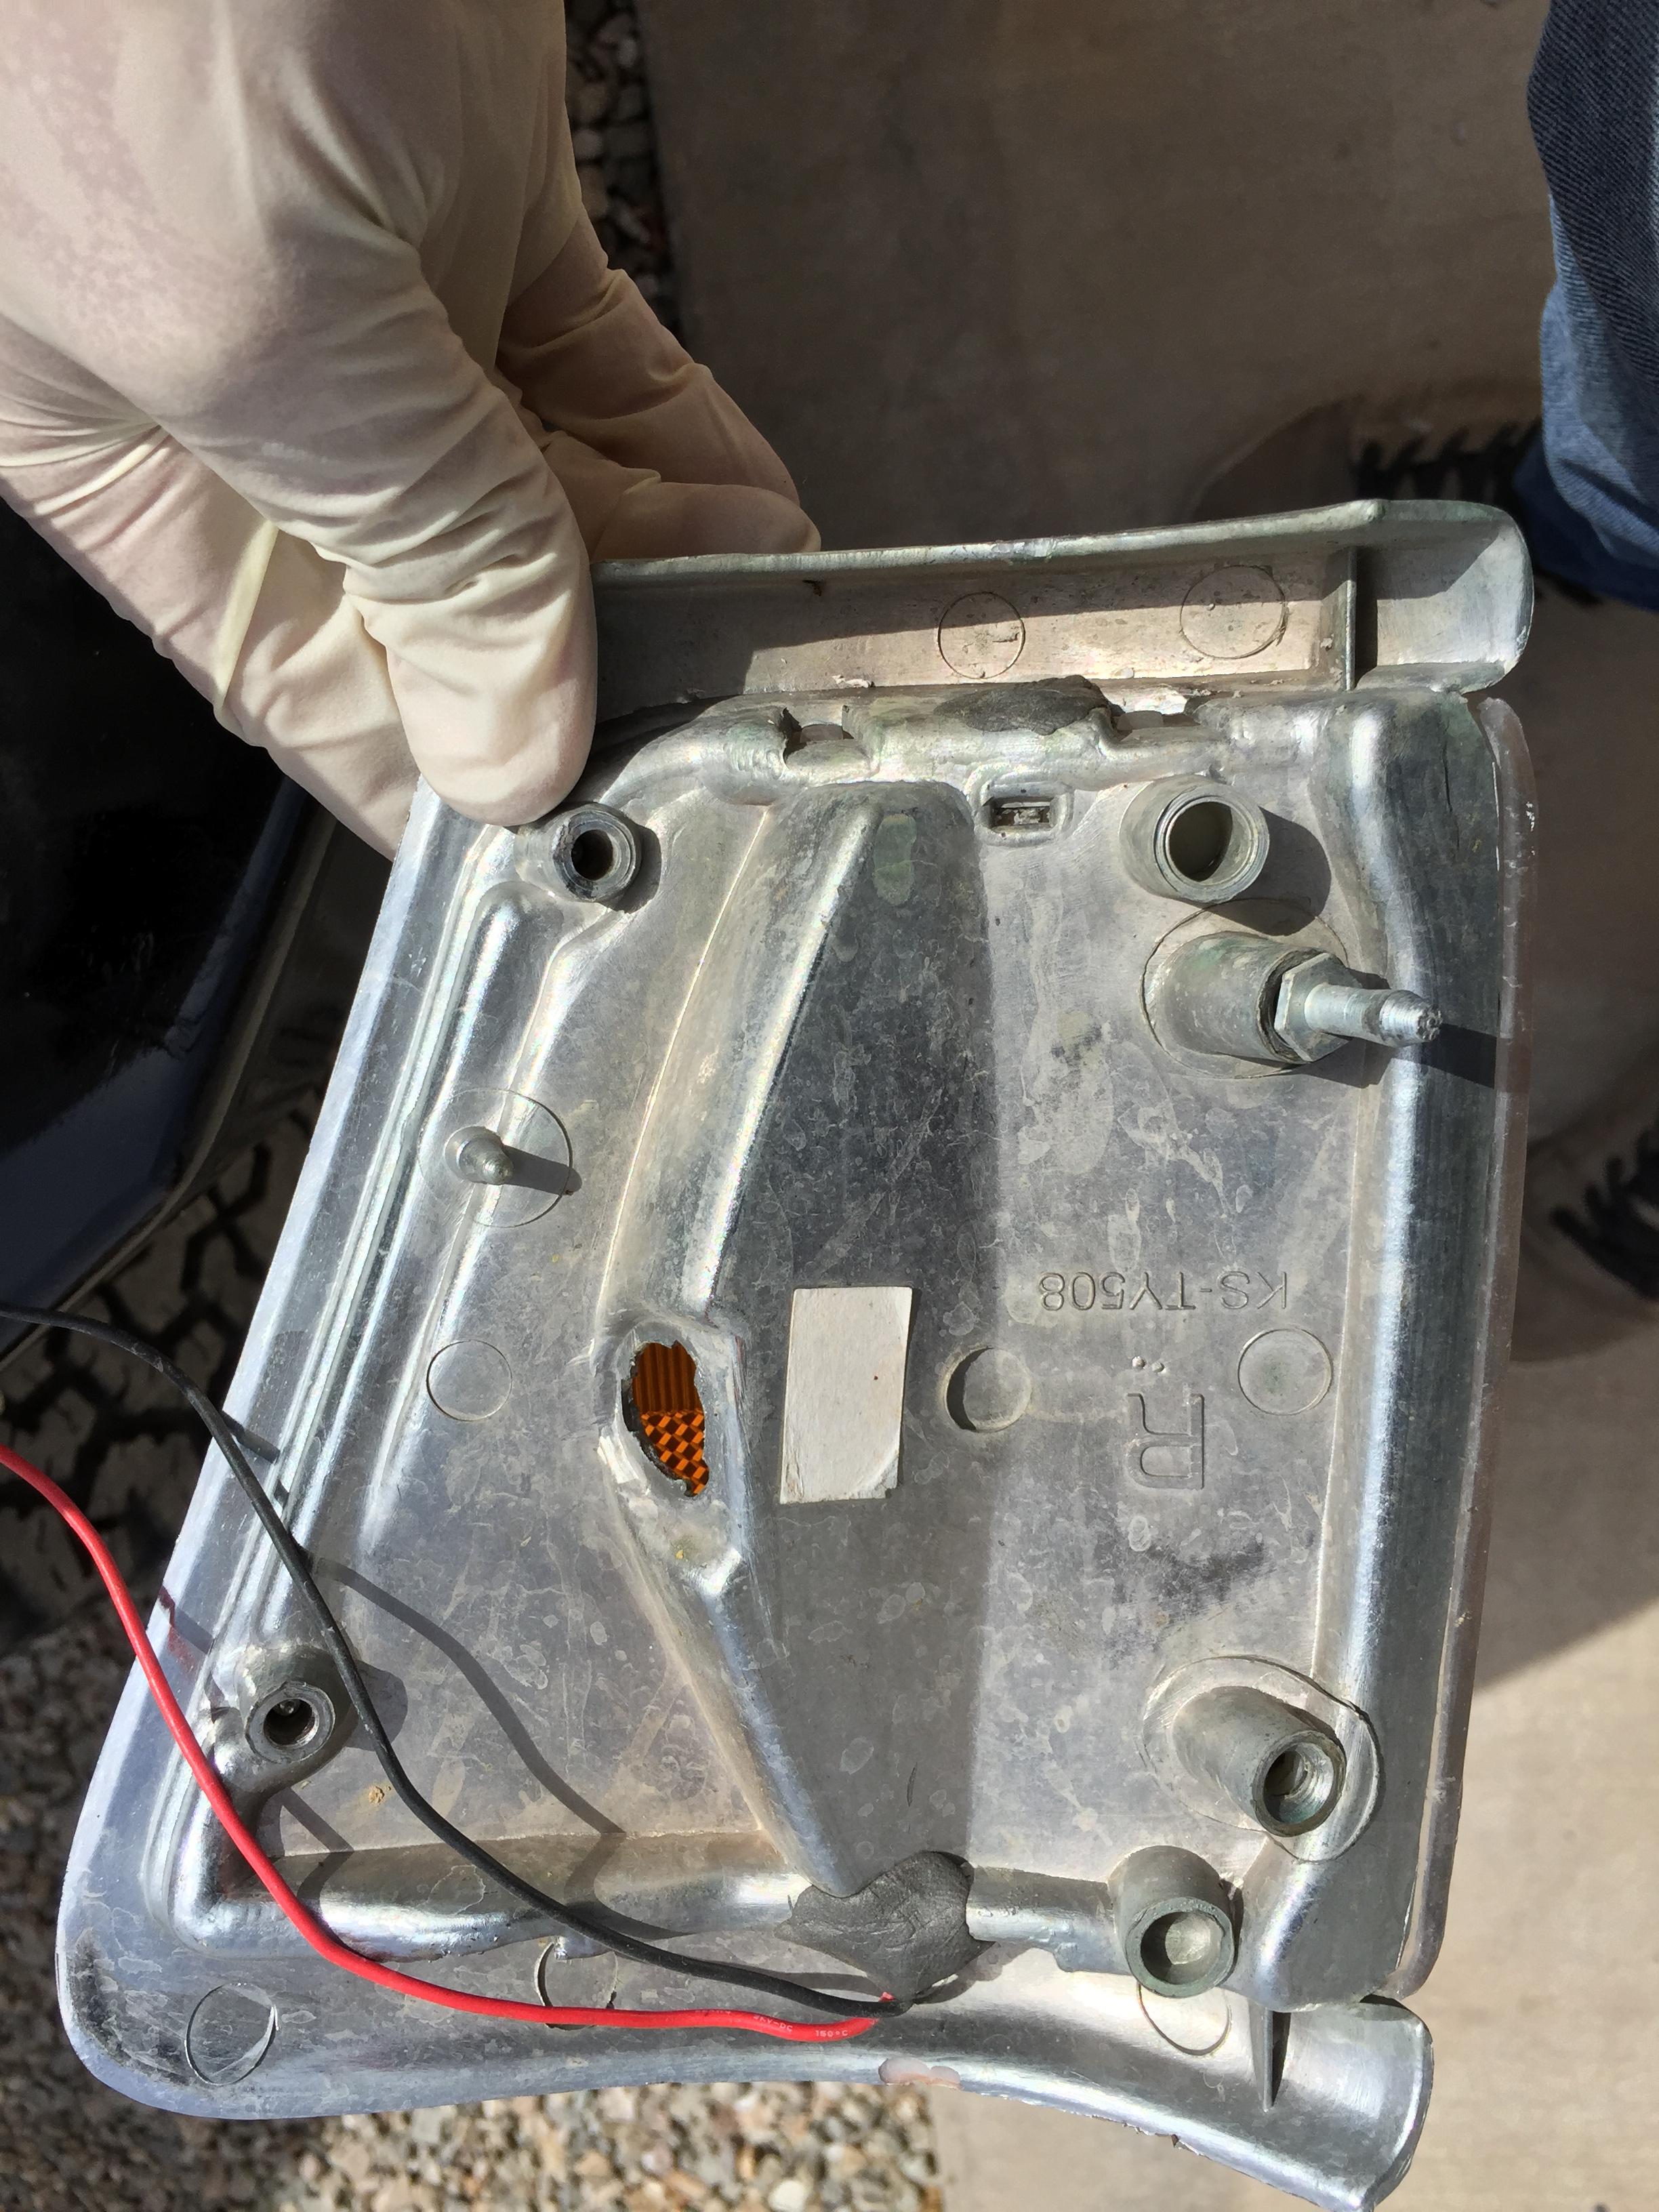
Did the corner marker light, turn signal mod with some XB LED strips in amber from The Retrofit Source. They are rear firing and illuminate the marker light very well.
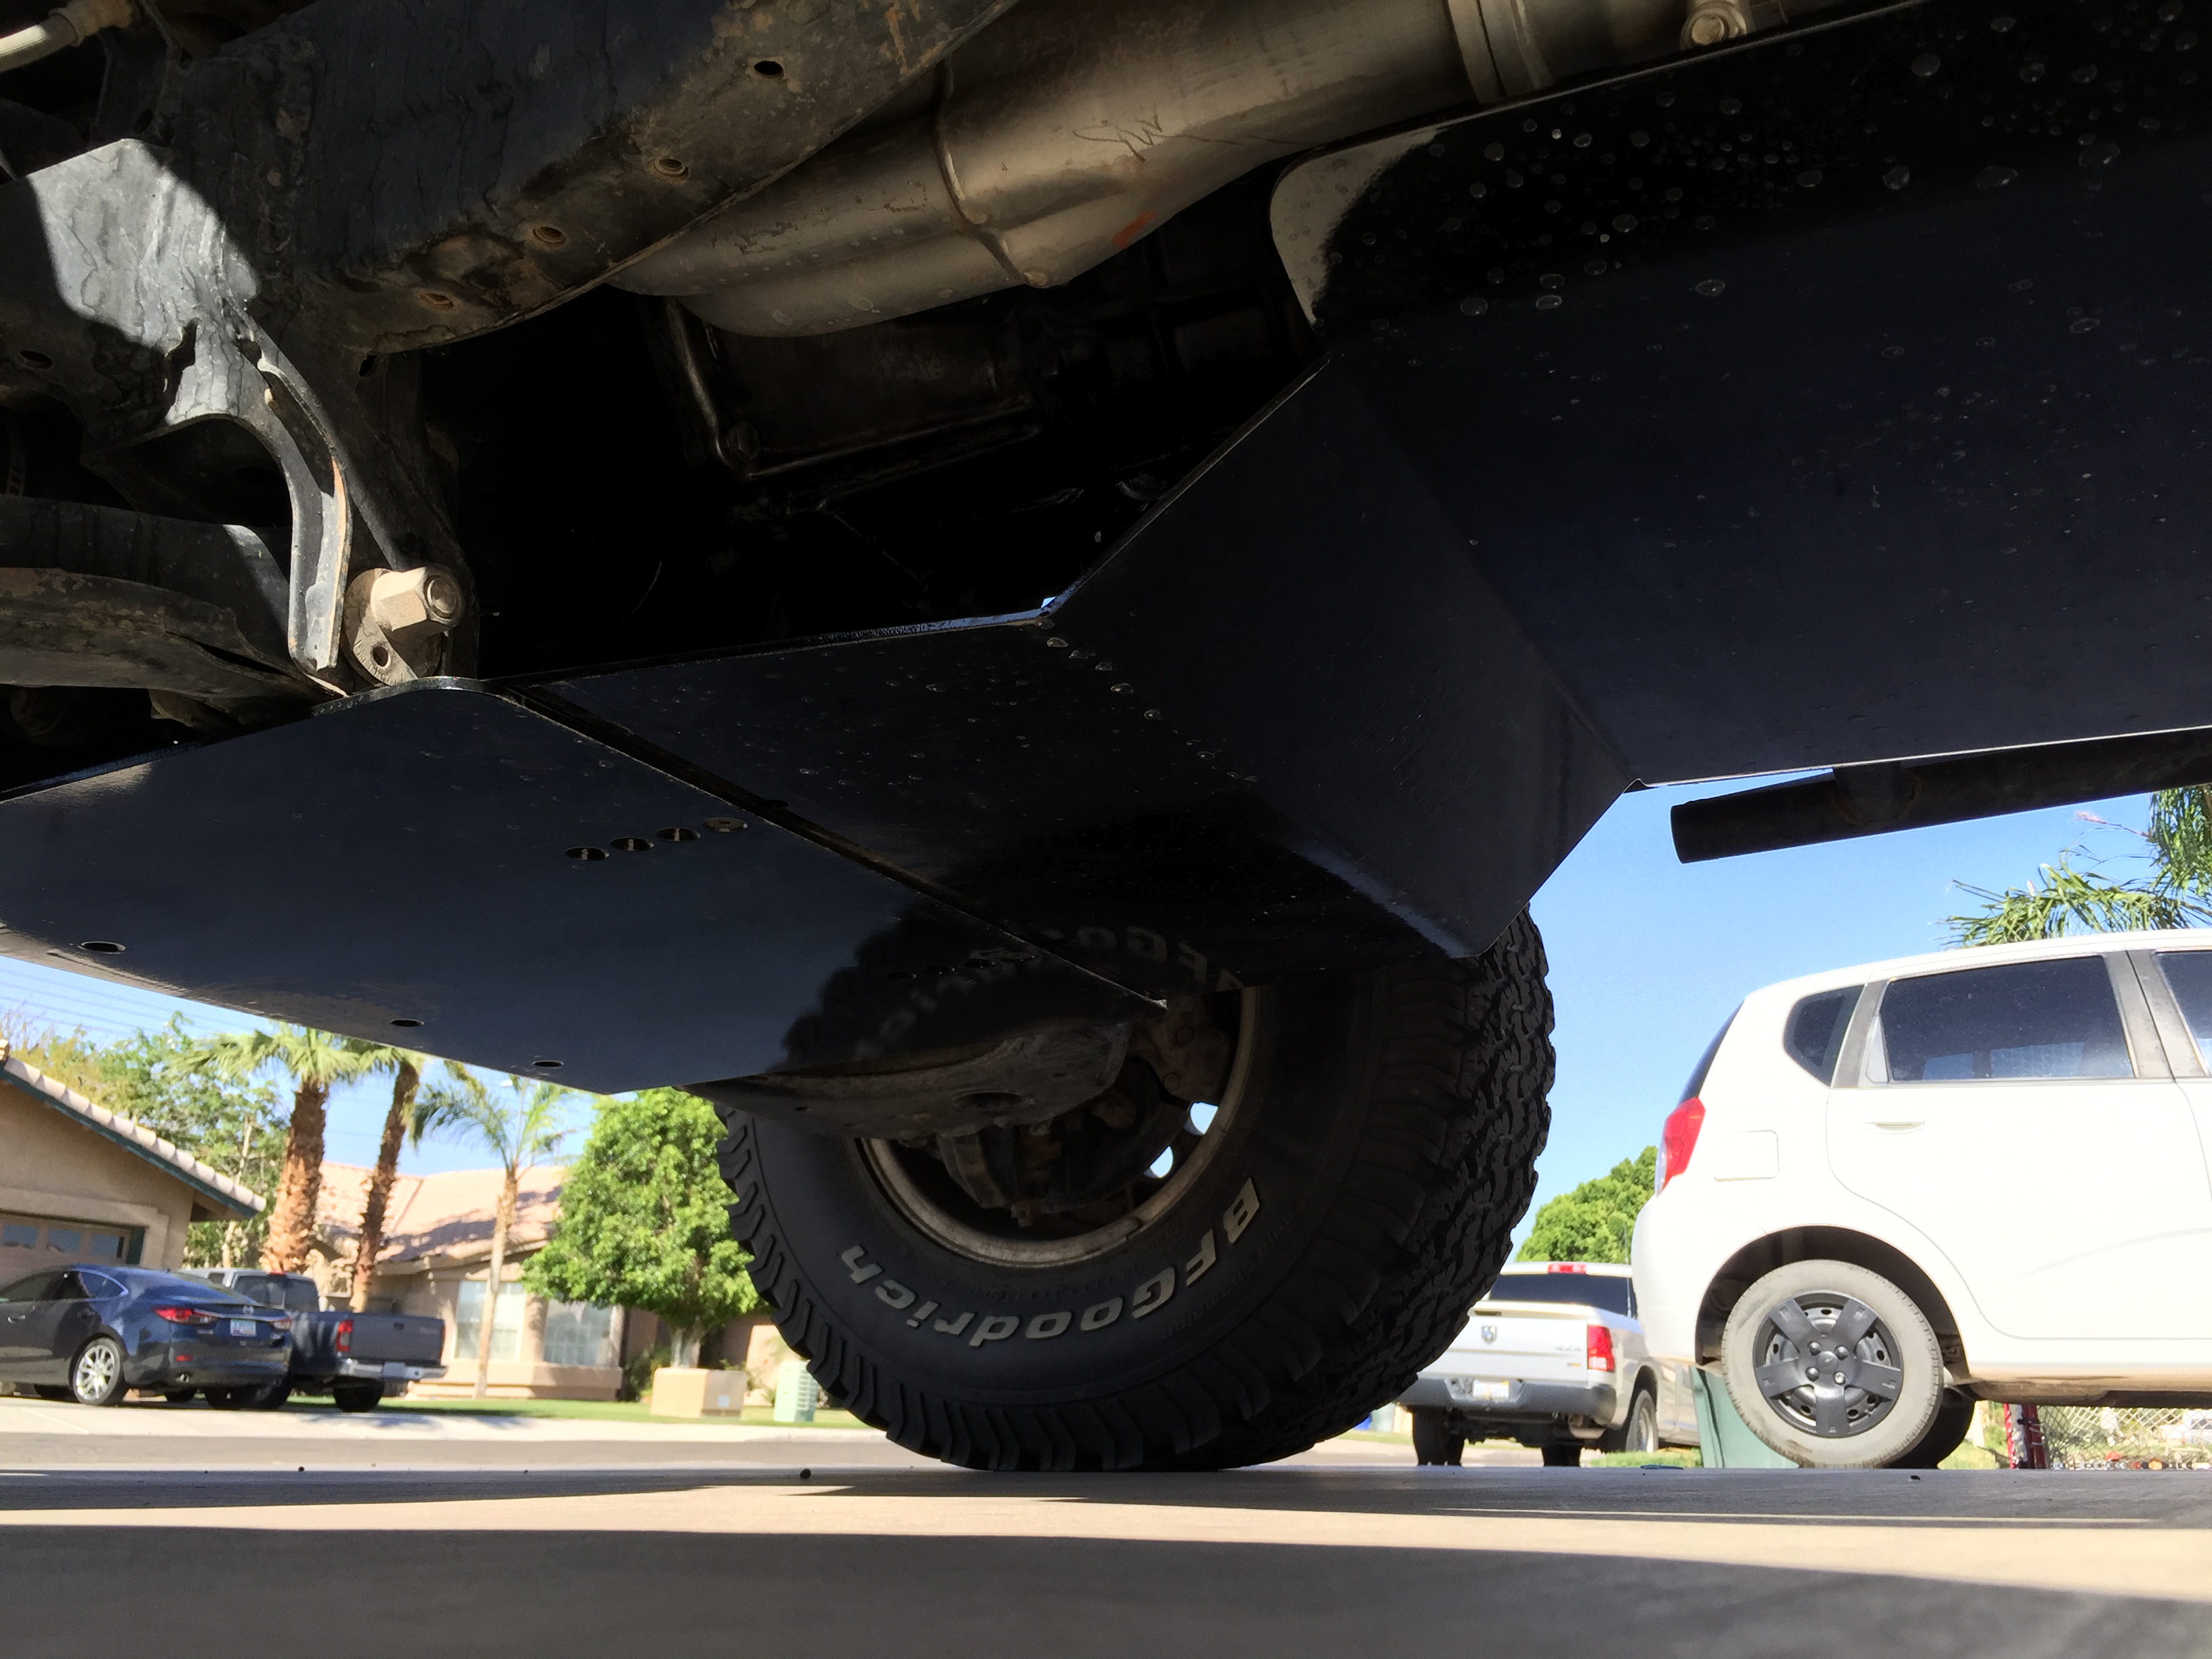
Under carriage has a nicer paint job than the rest of my truck now

Did the corner marker light, turn signal mod with some XB LED strips in amber from The Retrofit Source. They are rear firing and illuminate the marker light very well.
Last edited by thebeeler; Apr 27, 2015 at 12:11 PM.
Jul 21, 2015 | 10:06 AM
#70
Thread Starter
Registered User
Joined: Oct 2012
Posts: 160
Likes: 0
From: Yuma, AZ
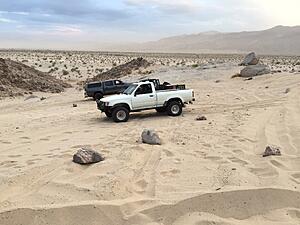
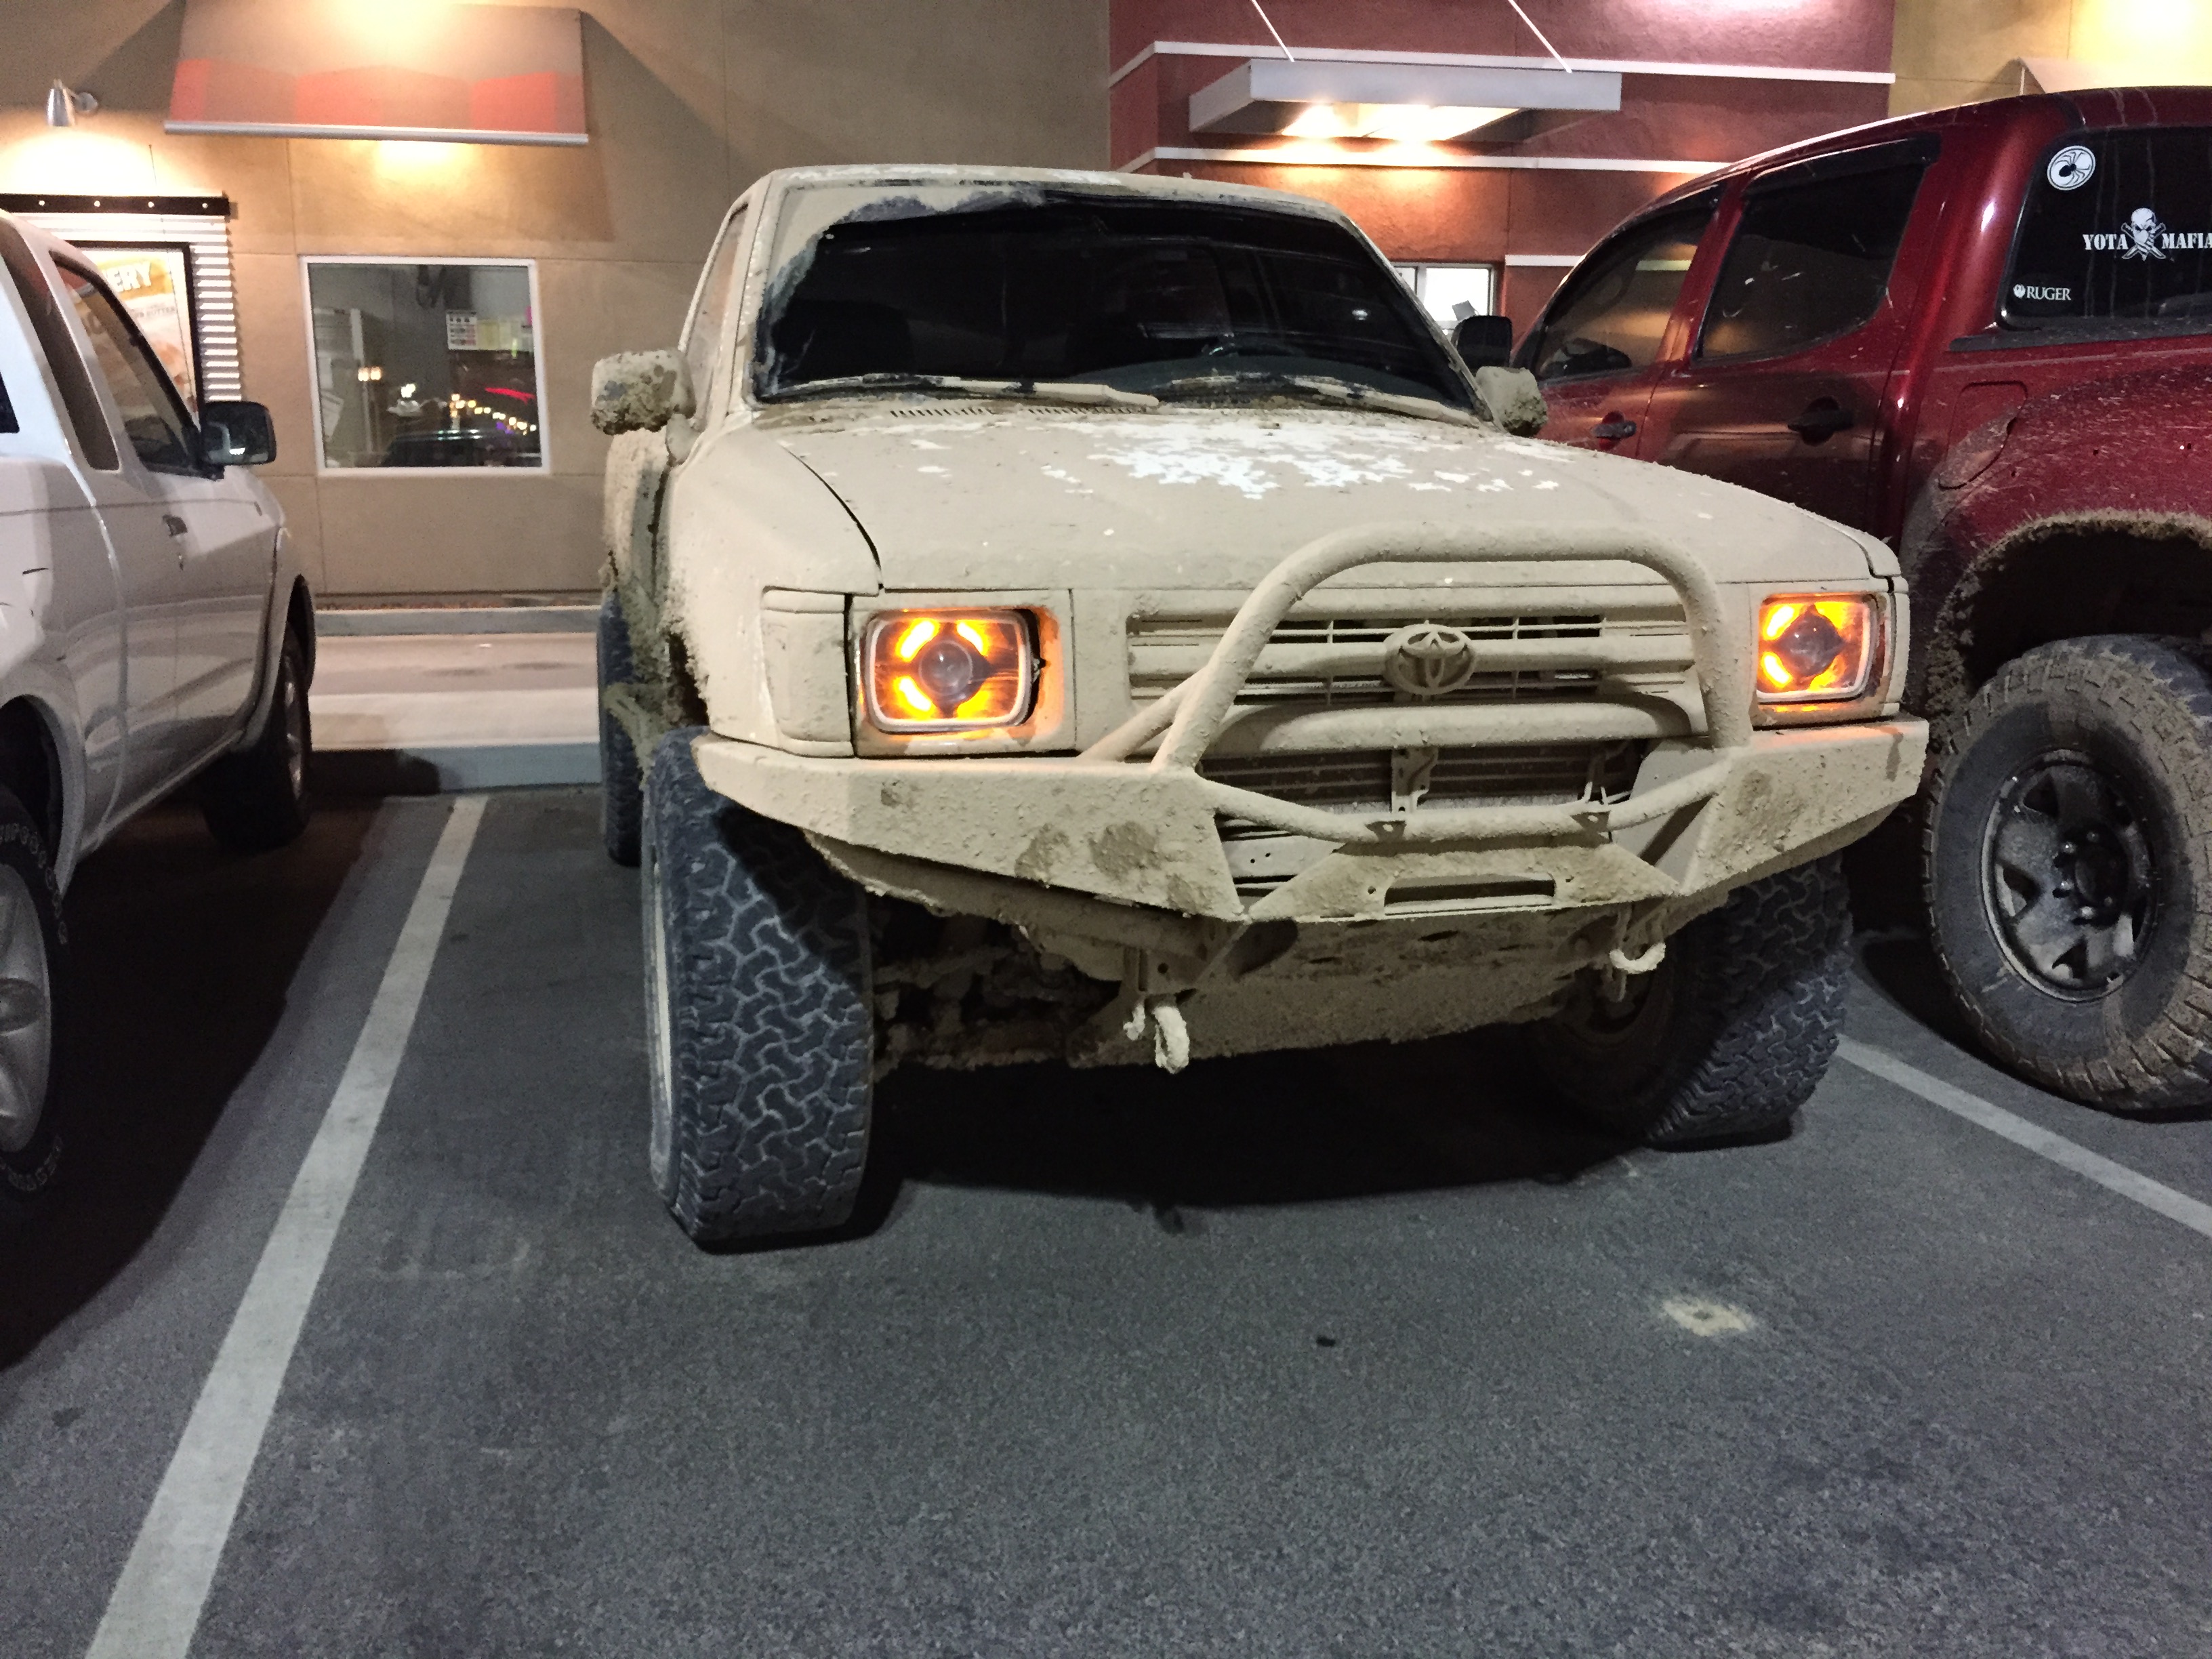
Truck has been running great, engine hasn't had any problems yet. Went on another night at Ocotillo Wells run with a group of Toyotas from Tacomaworld. Alternator died when I got back home, couldn't handle the mud/water I guess.
Siting up towards the top of Blow Sand.
About 30minutes later at Devils Slide
Top of Shell Reef
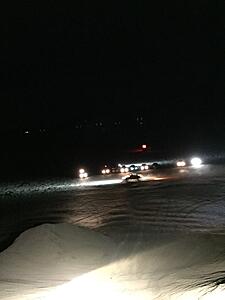
The group at Shell Reef

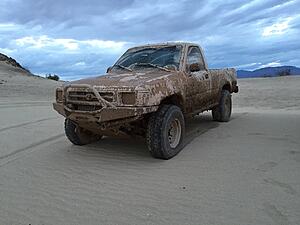
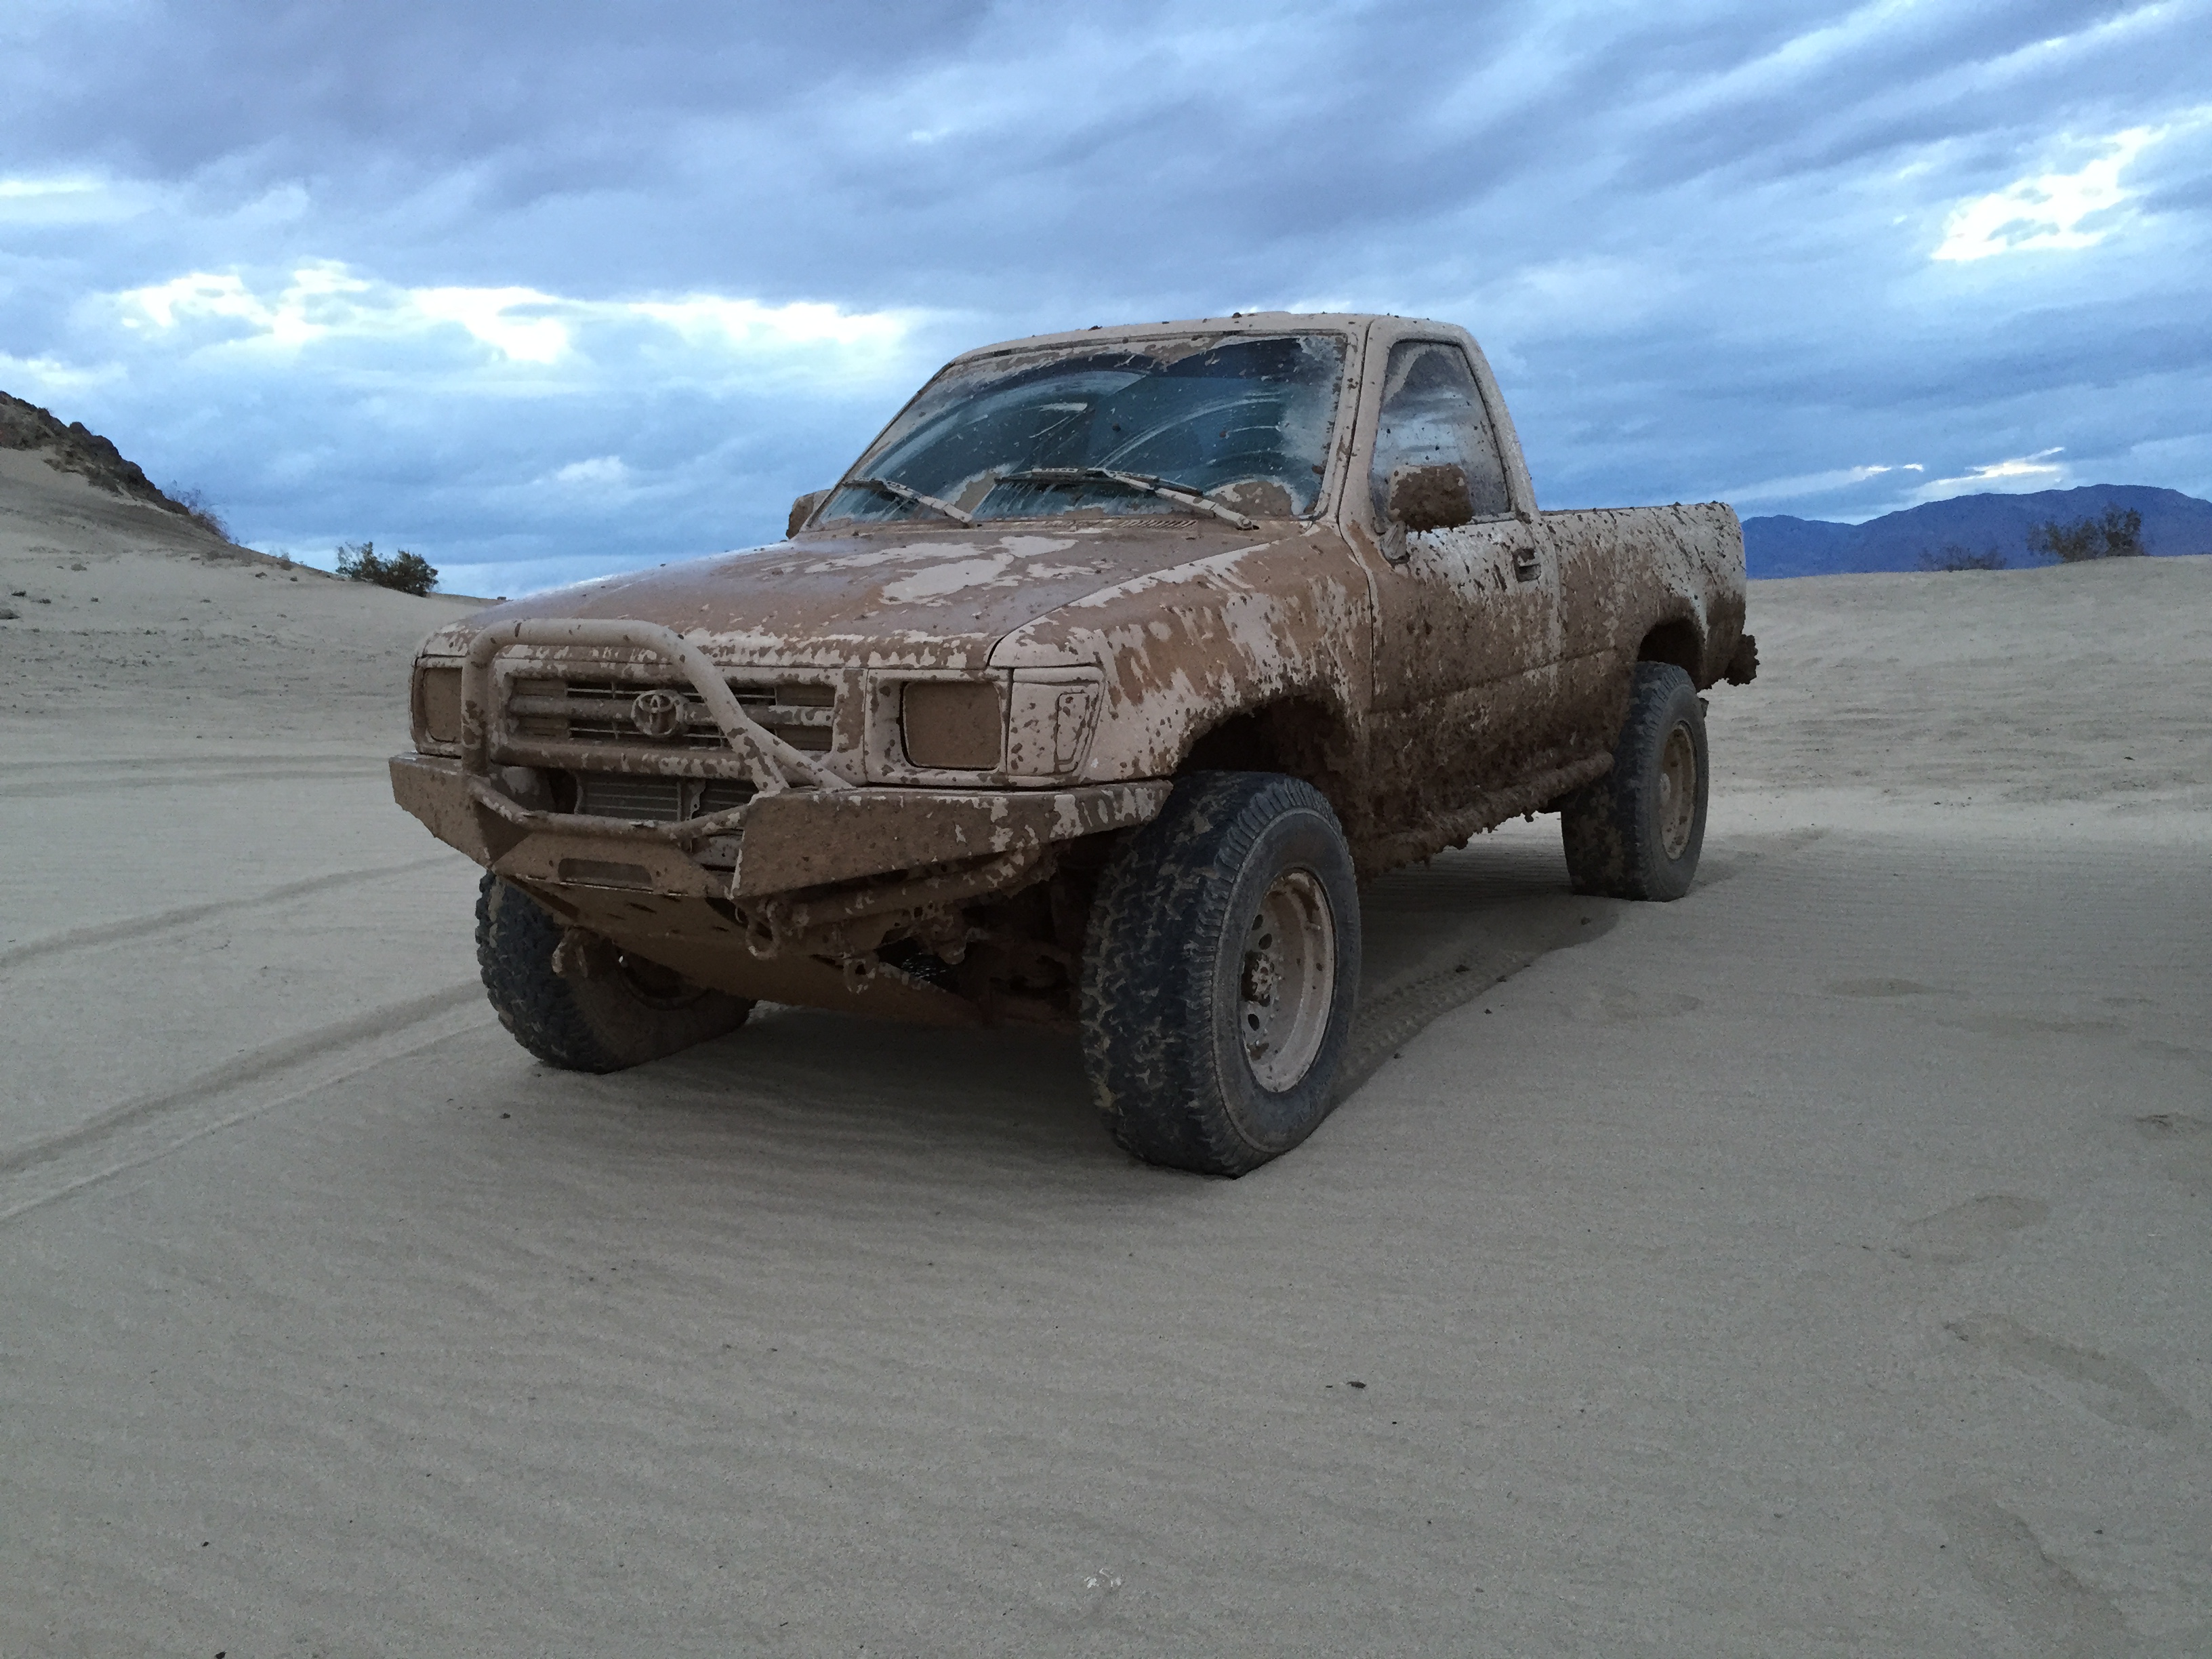
Gasin up at the Arco by Salton Sea, tons of random people snapped pictures of my truck because of how dirty it was.

Siting up towards the top of Blow Sand.

About 30minutes later at Devils Slide
Top of Shell Reef

The group at Shell Reef

Gasin up at the Arco by Salton Sea, tons of random people snapped pictures of my truck because of how dirty it was.
 Aug 18, 2015 | 03:28 PM
#71
Thread Starter
Registered User
Joined: Oct 2012
Posts: 160
Likes: 0
From: Yuma, AZ
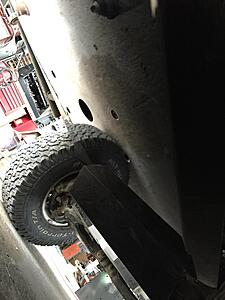
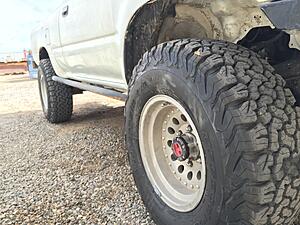
At 3.5years old my BFG KO's were starting to show their age, they were a little louder and a little rougher than they used to be. But that is to be expected from a tire as they wear out. I have no complaints about them at all. This is the second set I have personally worn out. So an order for a new set of Ko2's in 31x10.50R15 was made.

 Aug 18, 2015 | 03:35 PM
#72
Thread Starter
Registered User
Joined: Oct 2012
Posts: 160
Likes: 0
From: Yuma, AZ
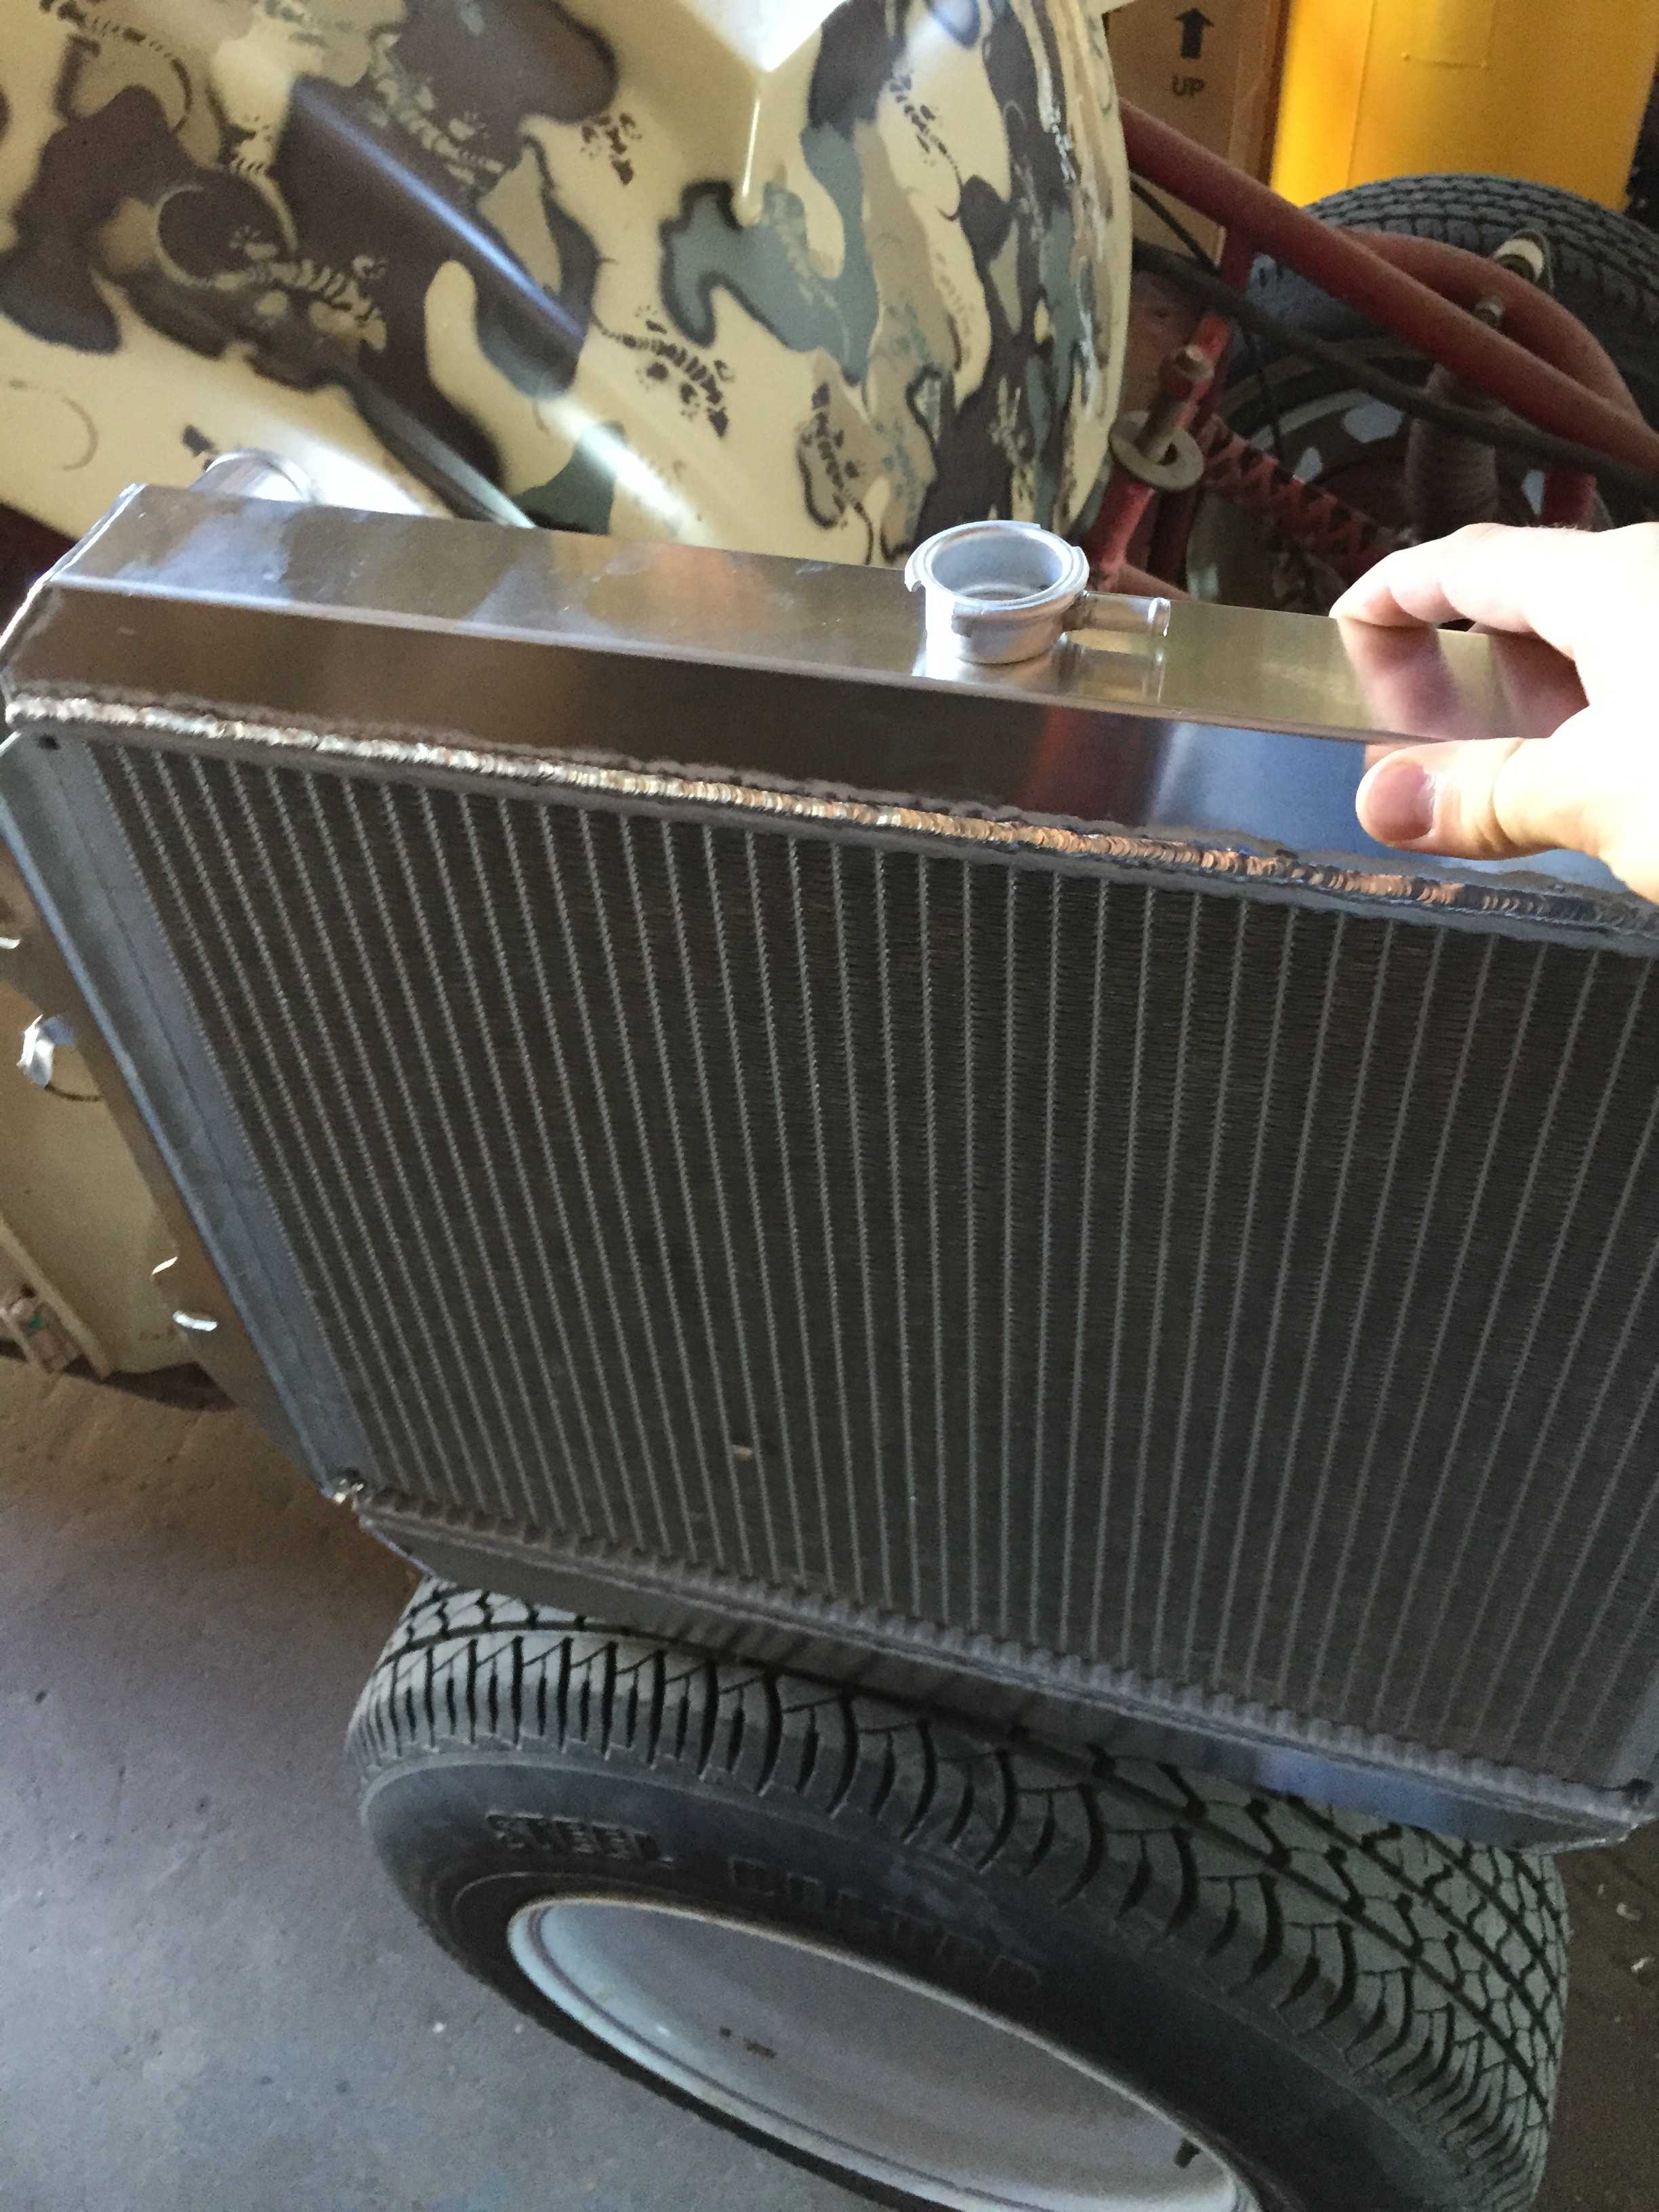
Had noticed the smell of anti-freeze when the thermostat was opening up, started looking around, noticed my radiator was starting to leak at the tank seams. Order an new one from the local radiator shop, shop ordered me an all aluminum radiator. Quality of it is pretty good, was the same price as a normal one with plastic tanks. So if it lasts longer than 3years, average life of a radiator in my trucks, i'll end up ahead.
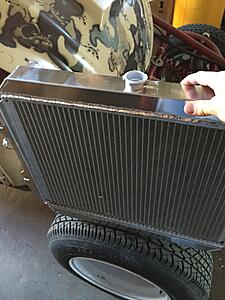
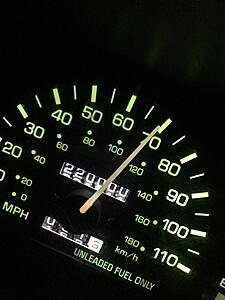
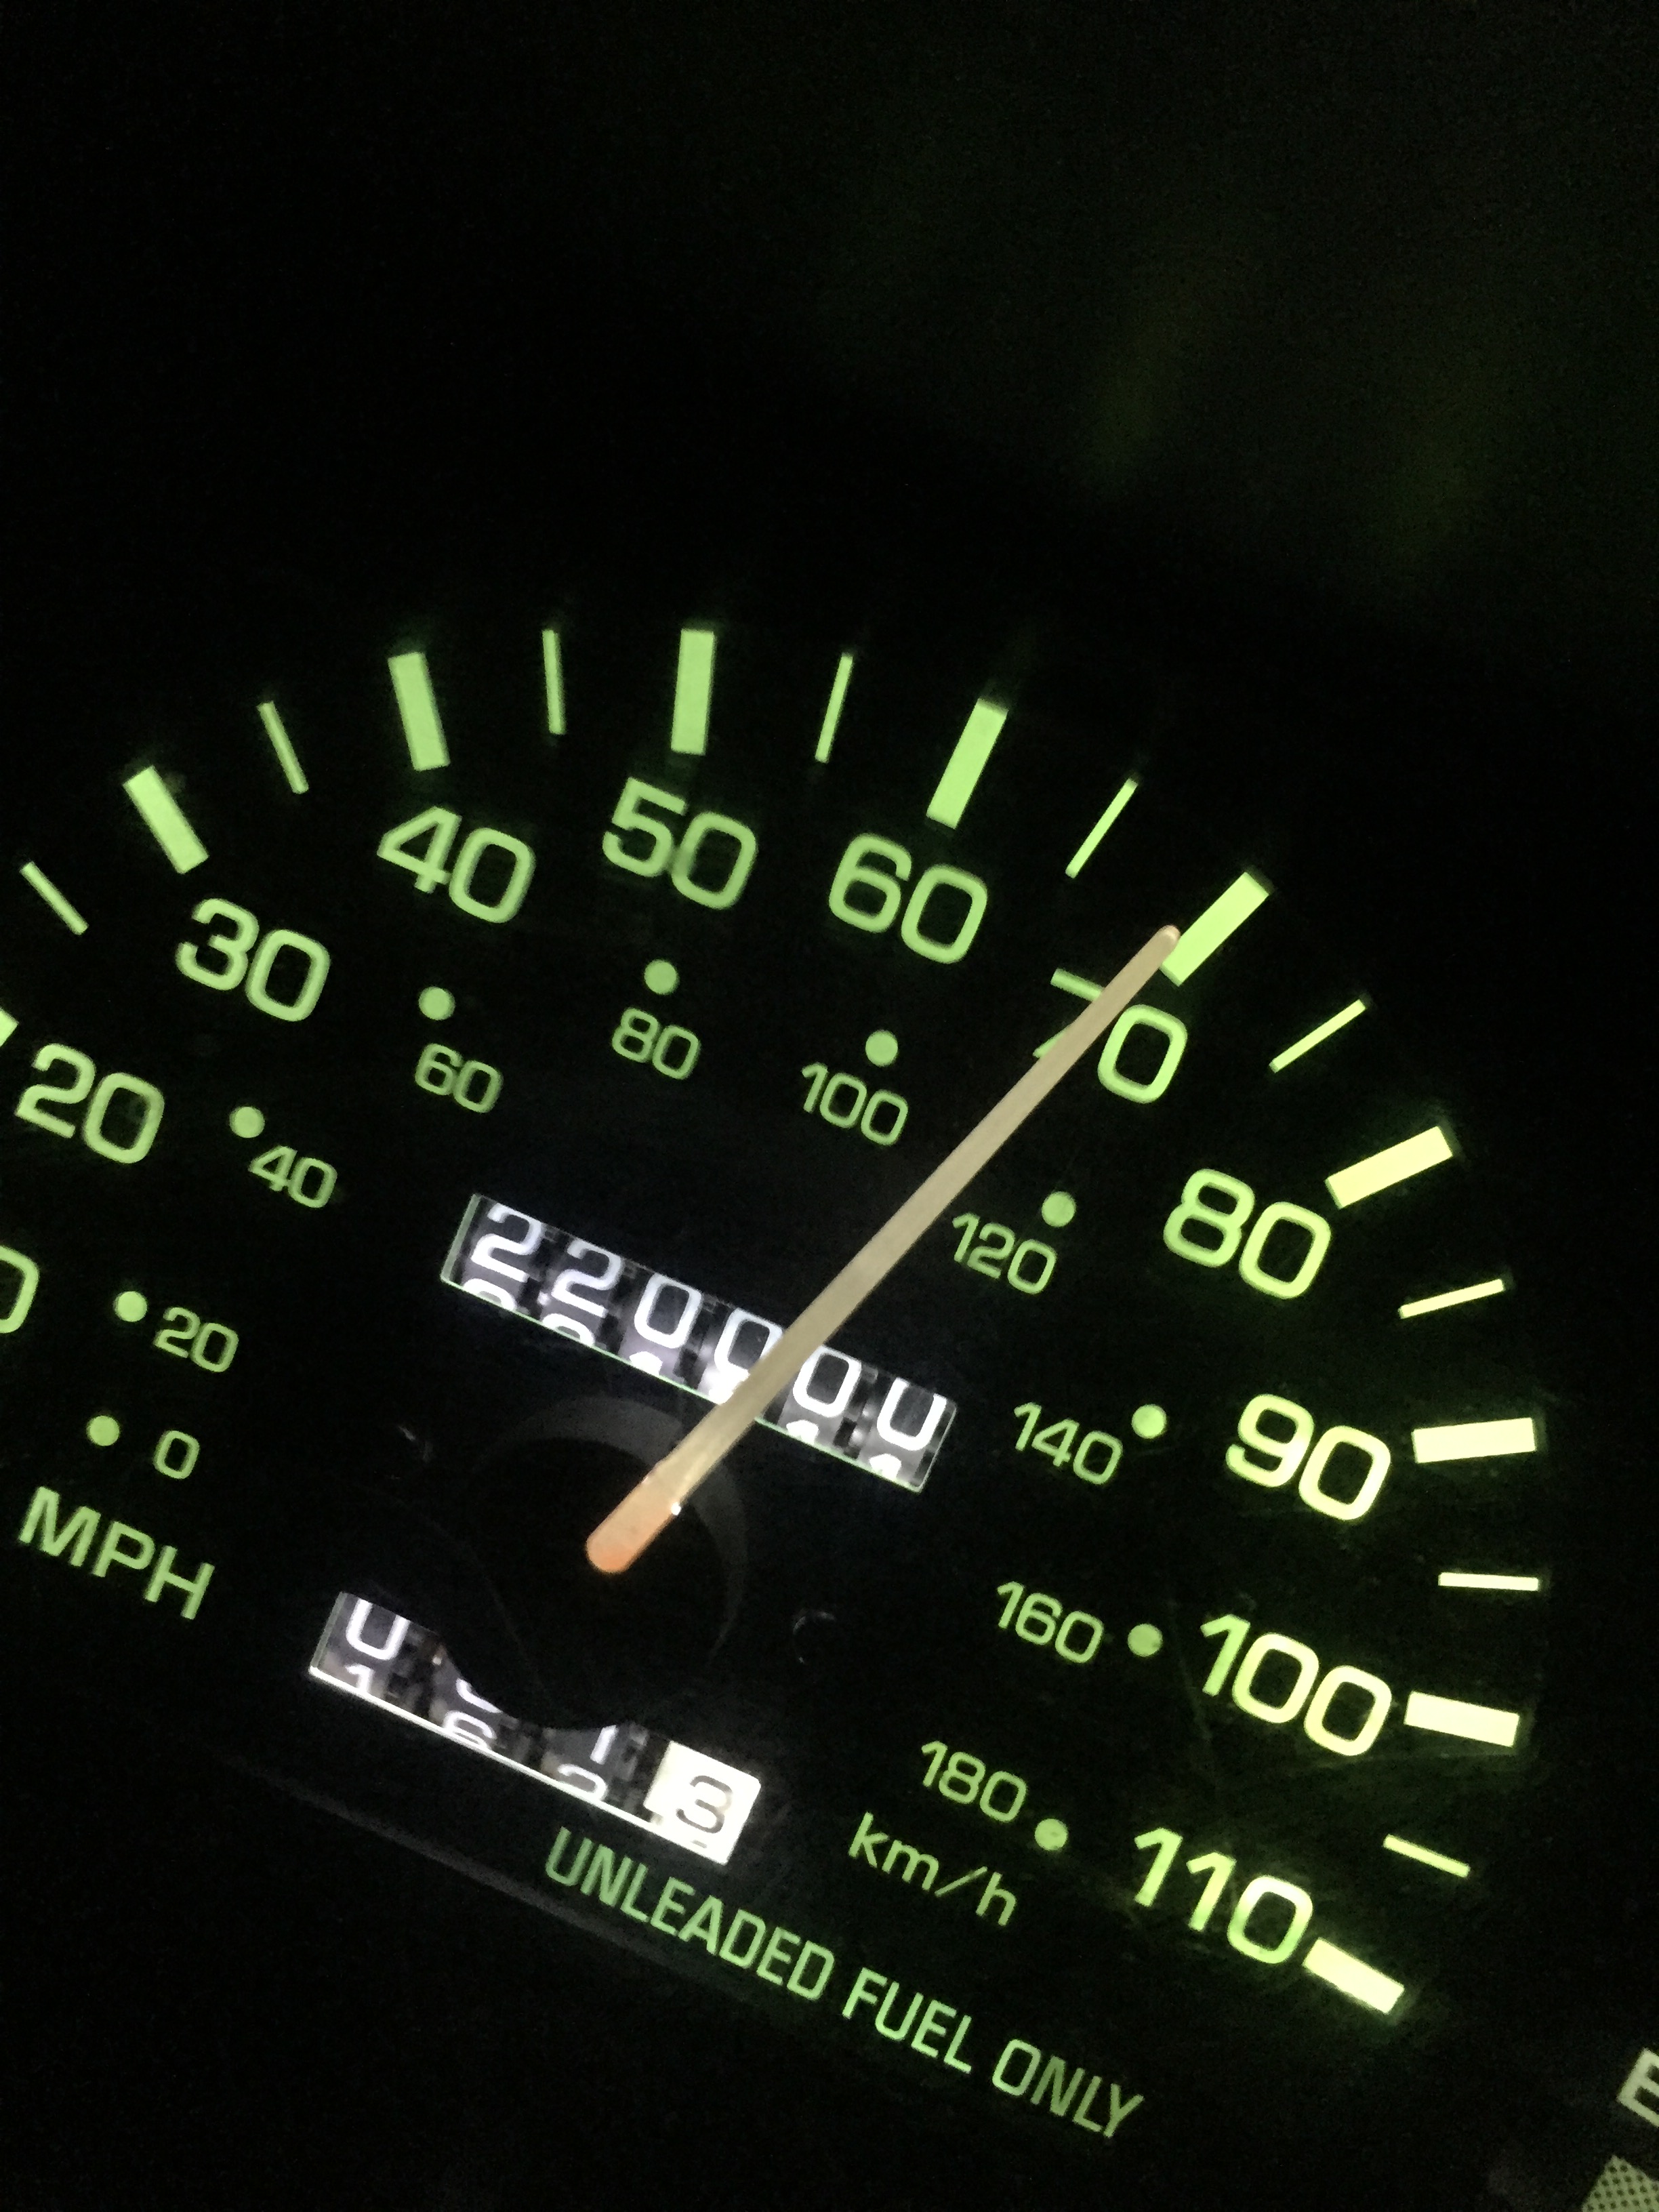
Also hit 220k the other day
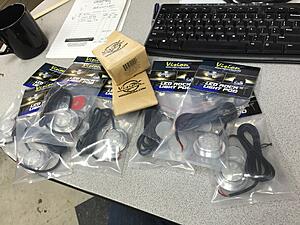
Was having some problems with my Vision X Tantrum light kit, it's not a very good kit. But anyways they sent me out 8 new lights that won't work with my existing kit so that was pretty cool of them.
Also hit 220k the other day
Was having some problems with my Vision X Tantrum light kit, it's not a very good kit. But anyways they sent me out 8 new lights that won't work with my existing kit so that was pretty cool of them.

Last edited by thebeeler; Aug 18, 2015 at 03:39 PM.


 Mar 16, 2016 | 11:37 AM
#77
Thread Starter
Registered User
Joined: Oct 2012
Posts: 160
Likes: 0
From: Yuma, AZ
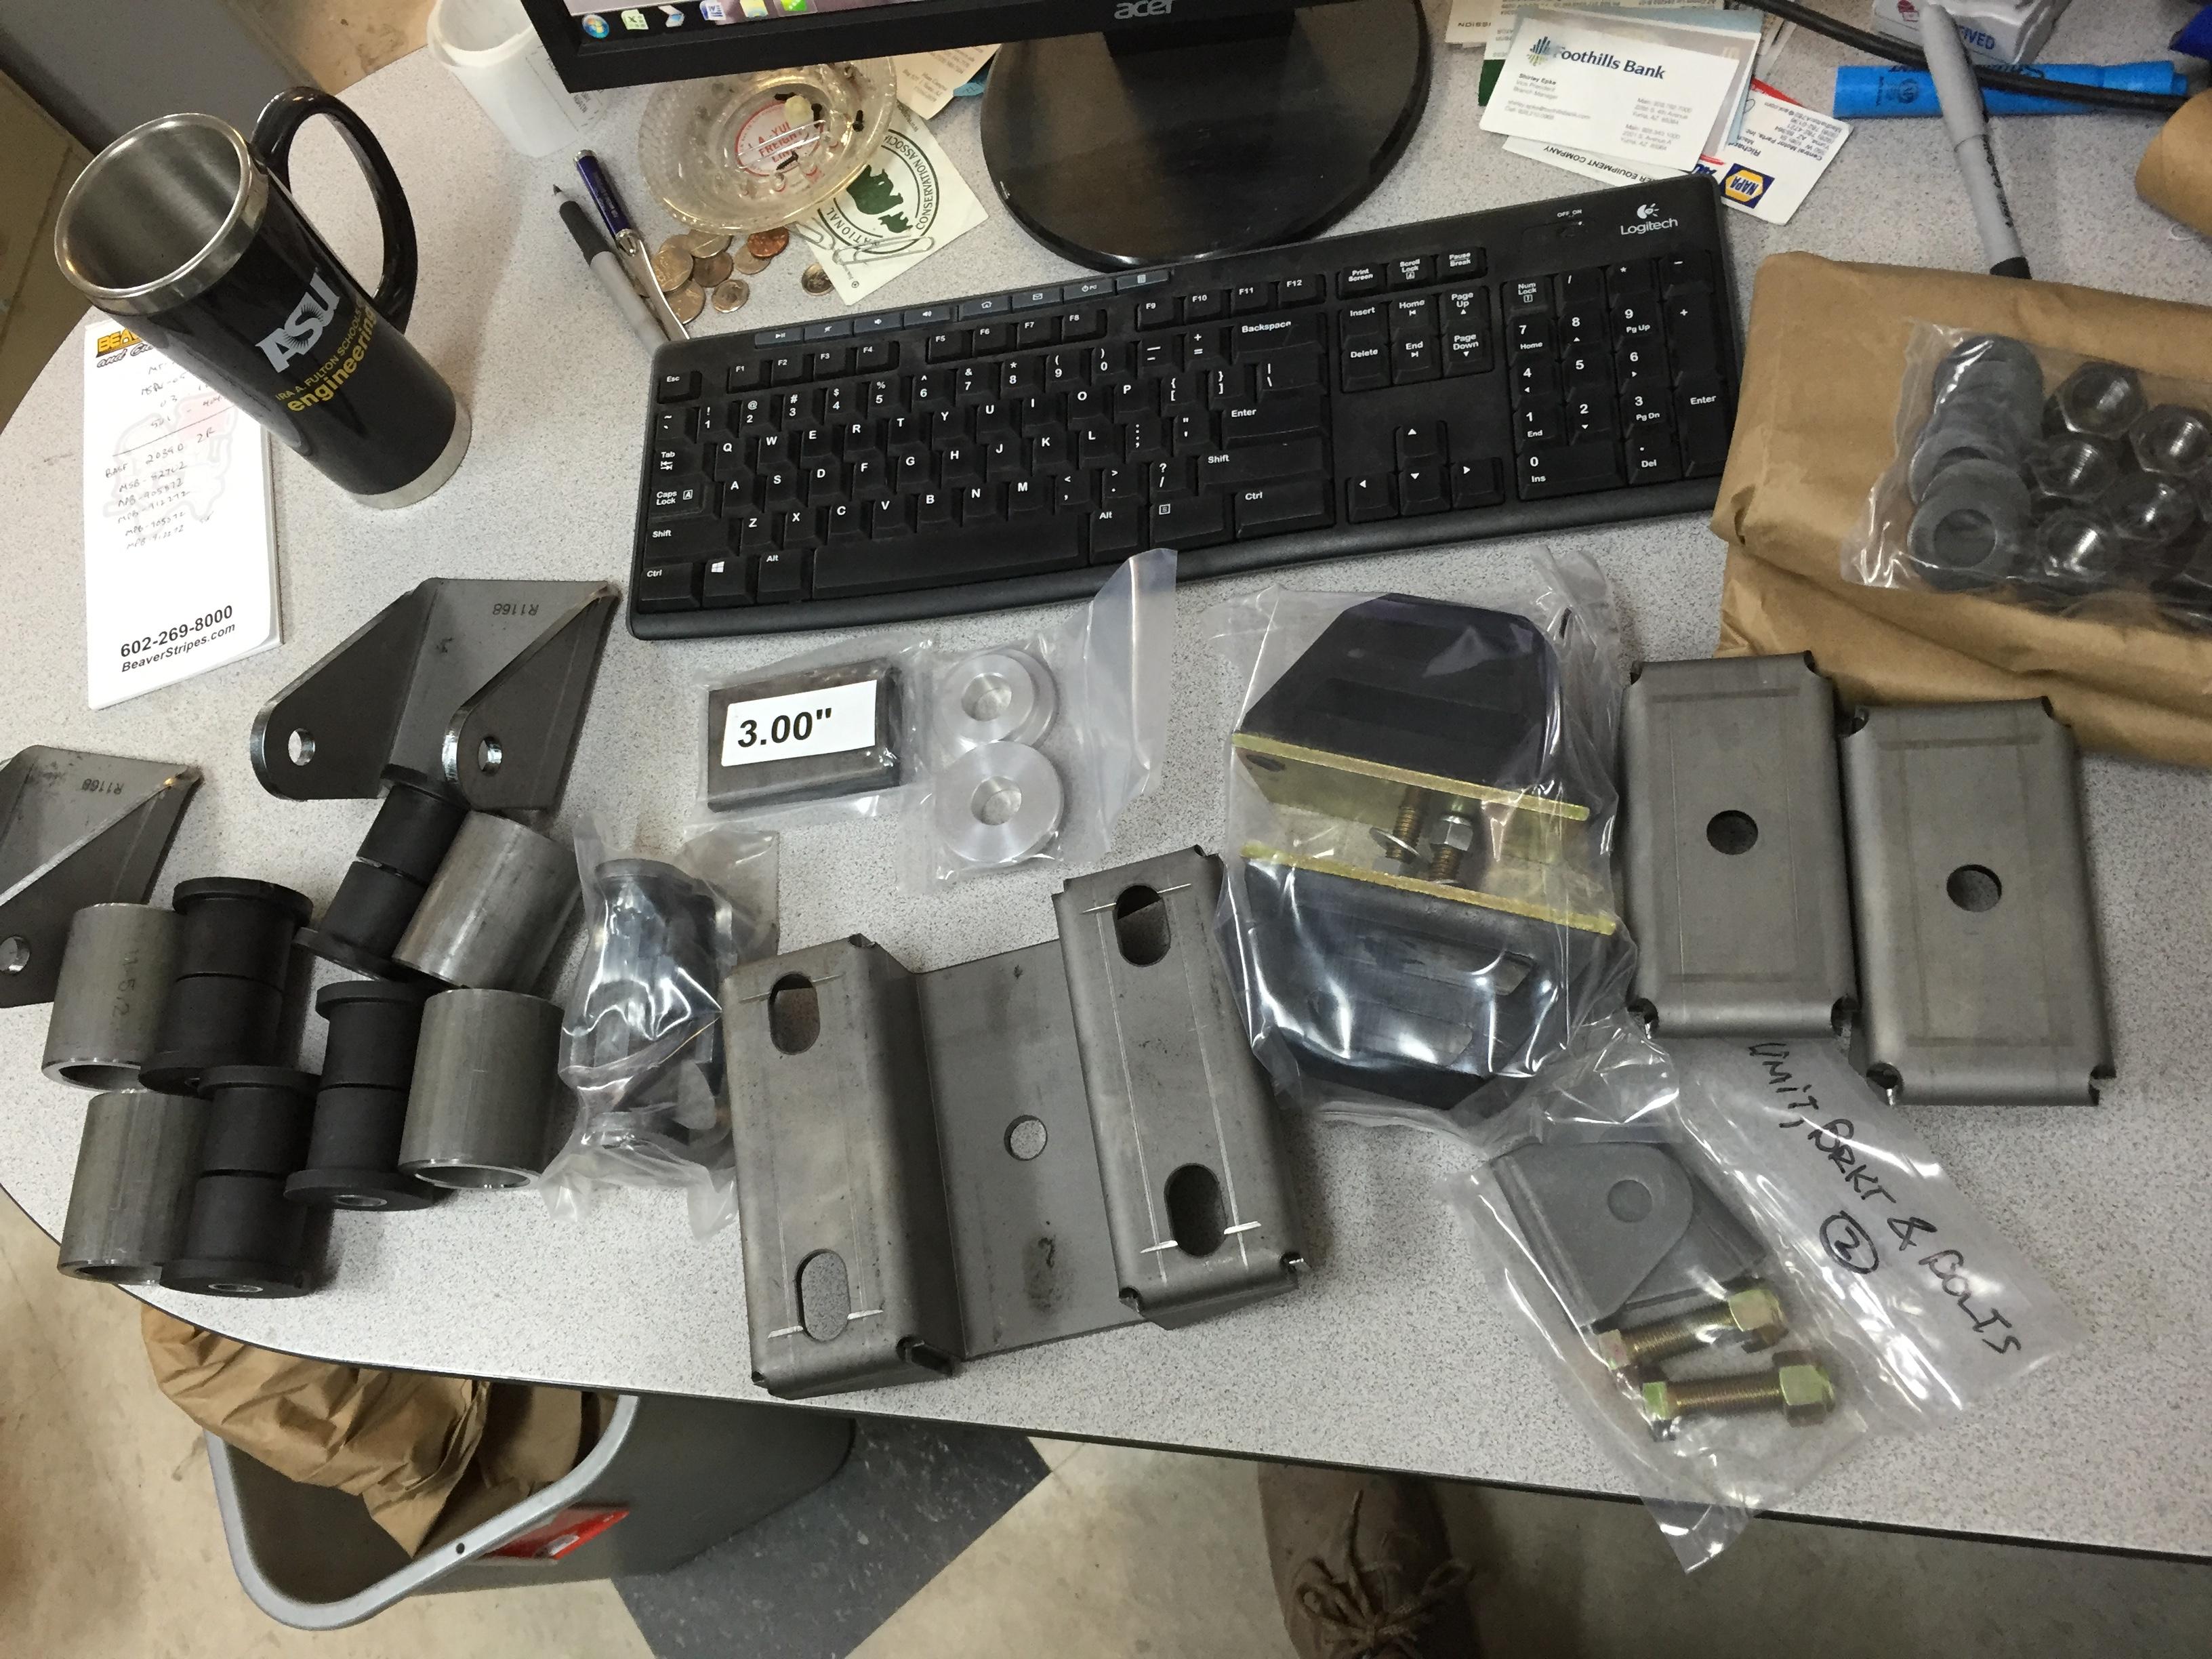
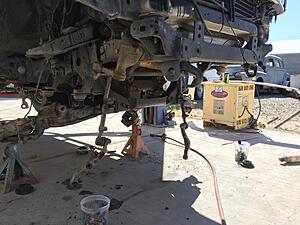
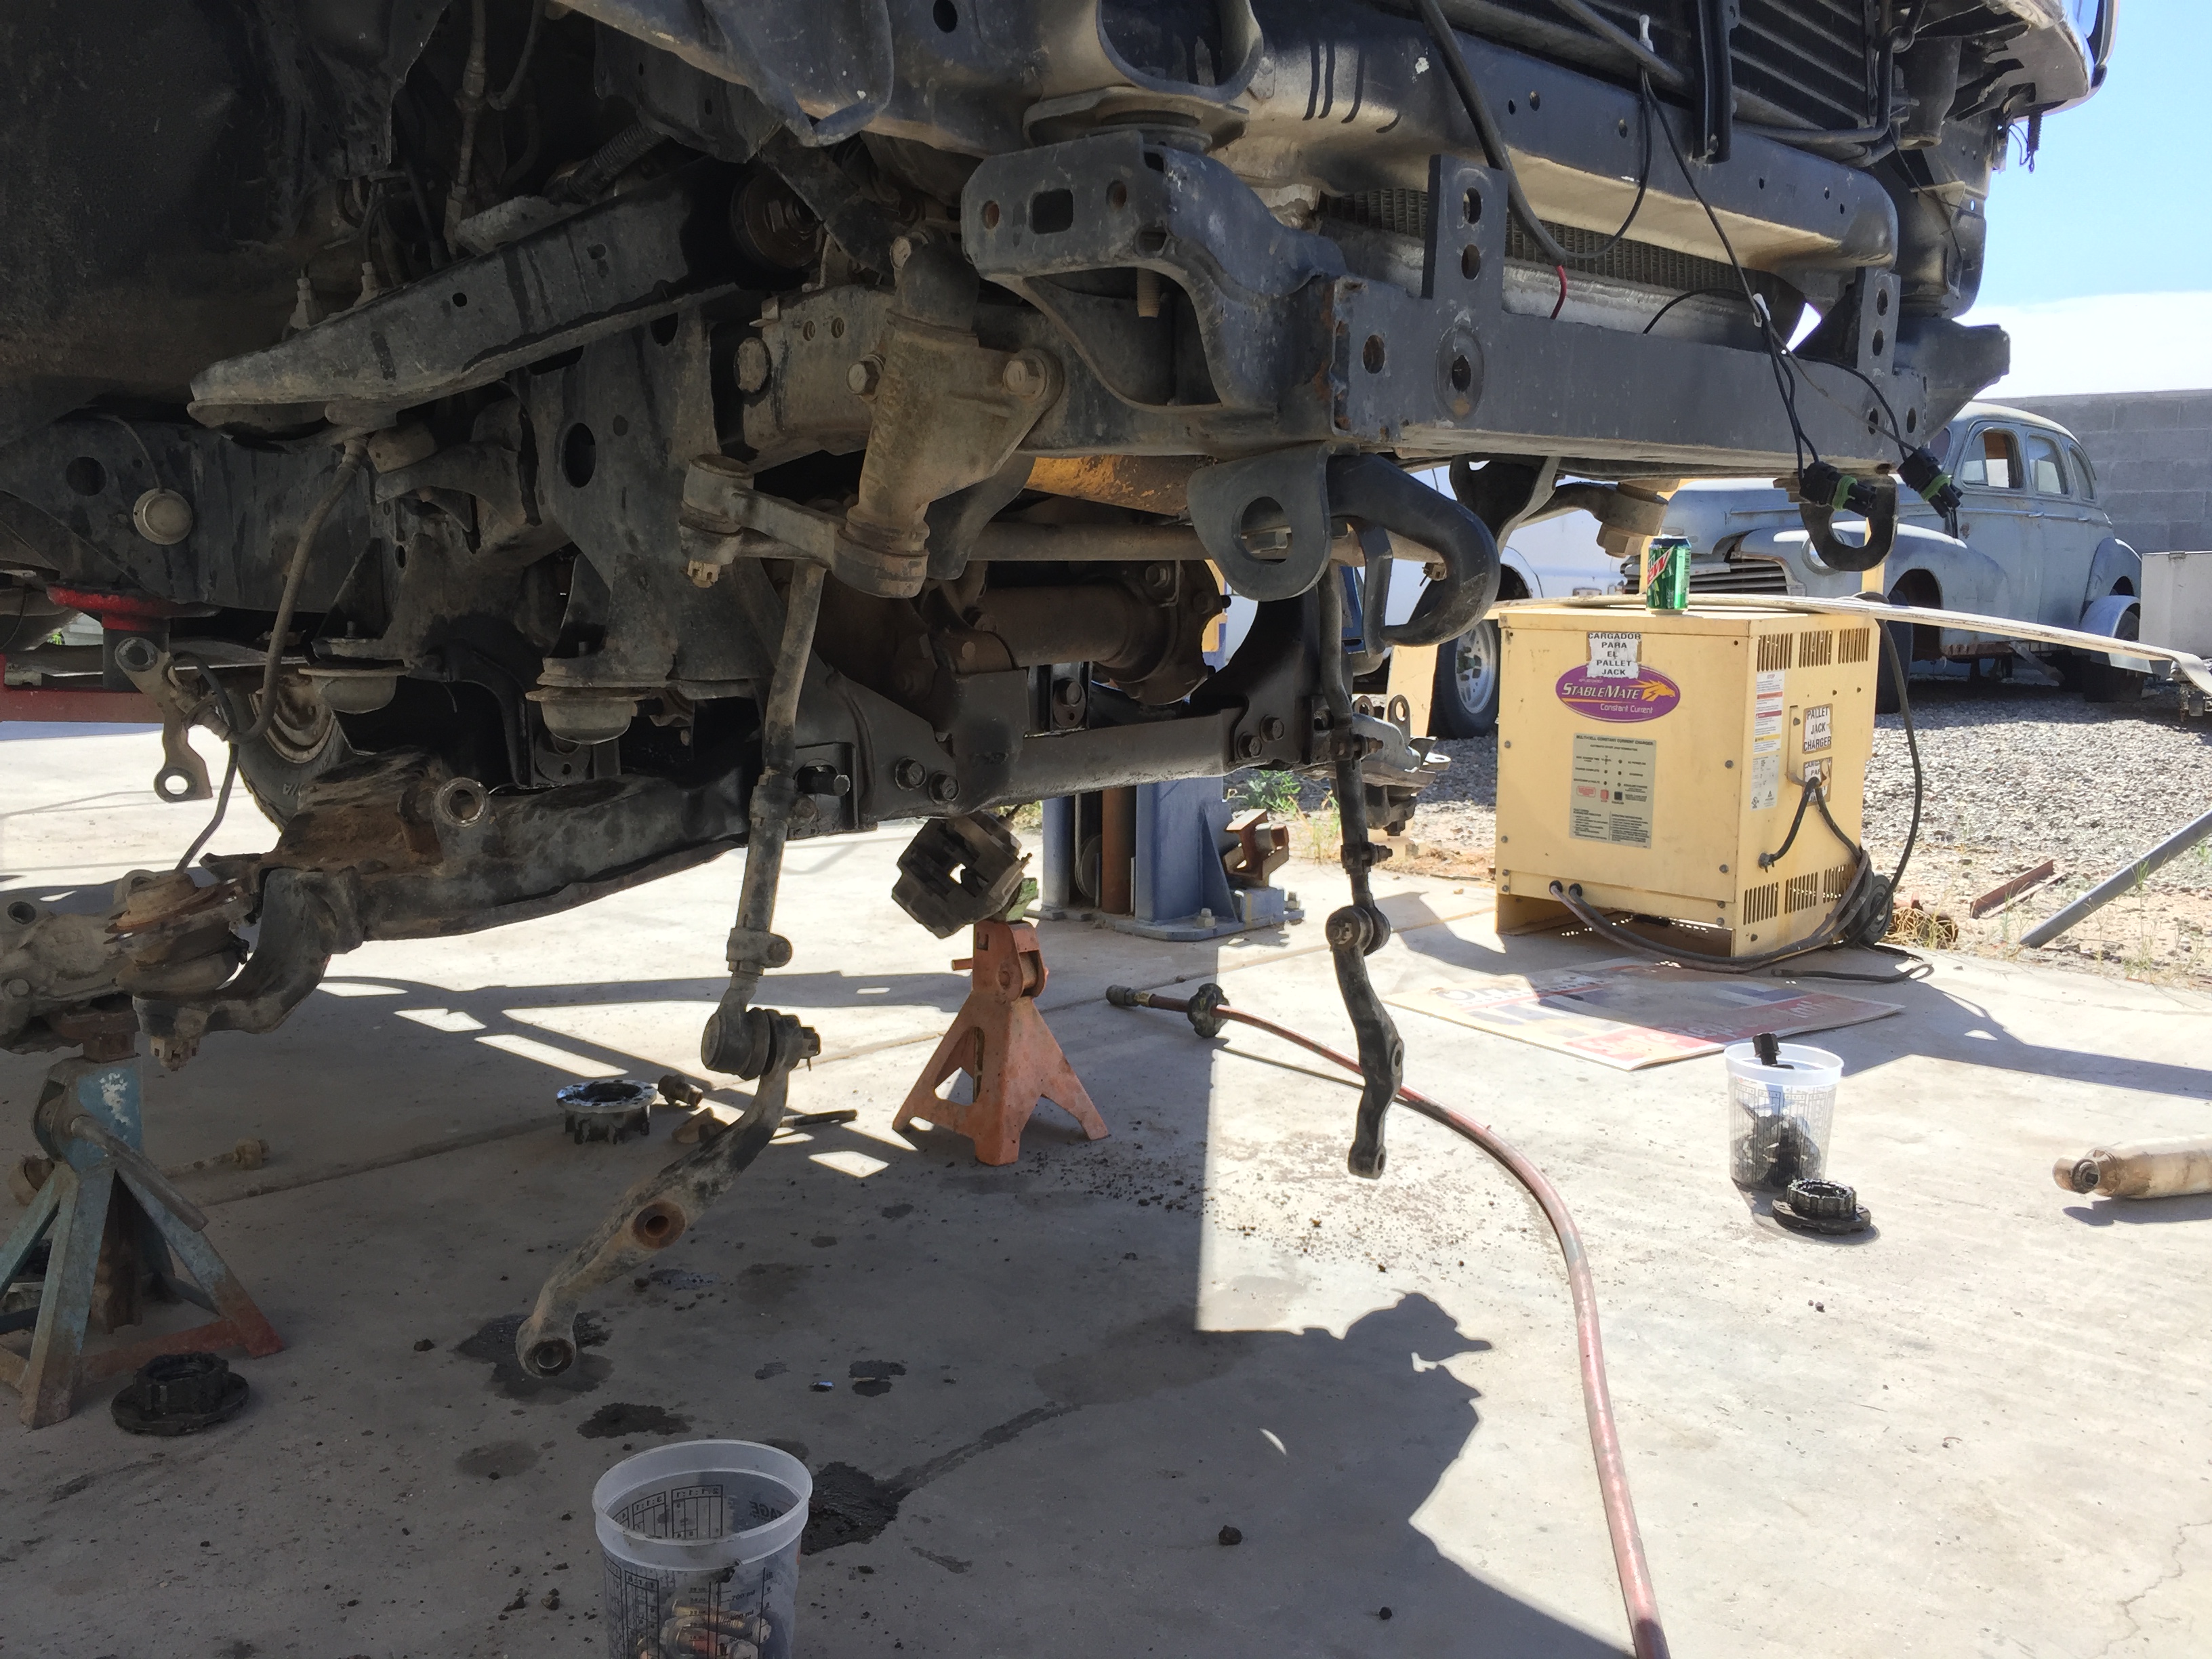
Was going to change out all the bushings for urethane's since my UCA bushings had fallen apart after 235k miles, not bad for stock parts. Went to remove the LCA, and 3 out cam tab bolts would not come out. An air hammer managed to break one more free, leaving me with two stuck bolts that would not come out. The result of this was having to cut the arms and bolts off. Then install Total chaos, the difference in price to put it back to stock vs "Long Travel" was worth it to me. It offers added security when wheeling in remote locations alone, which is how most of my wheeling is done.
Start of tear down
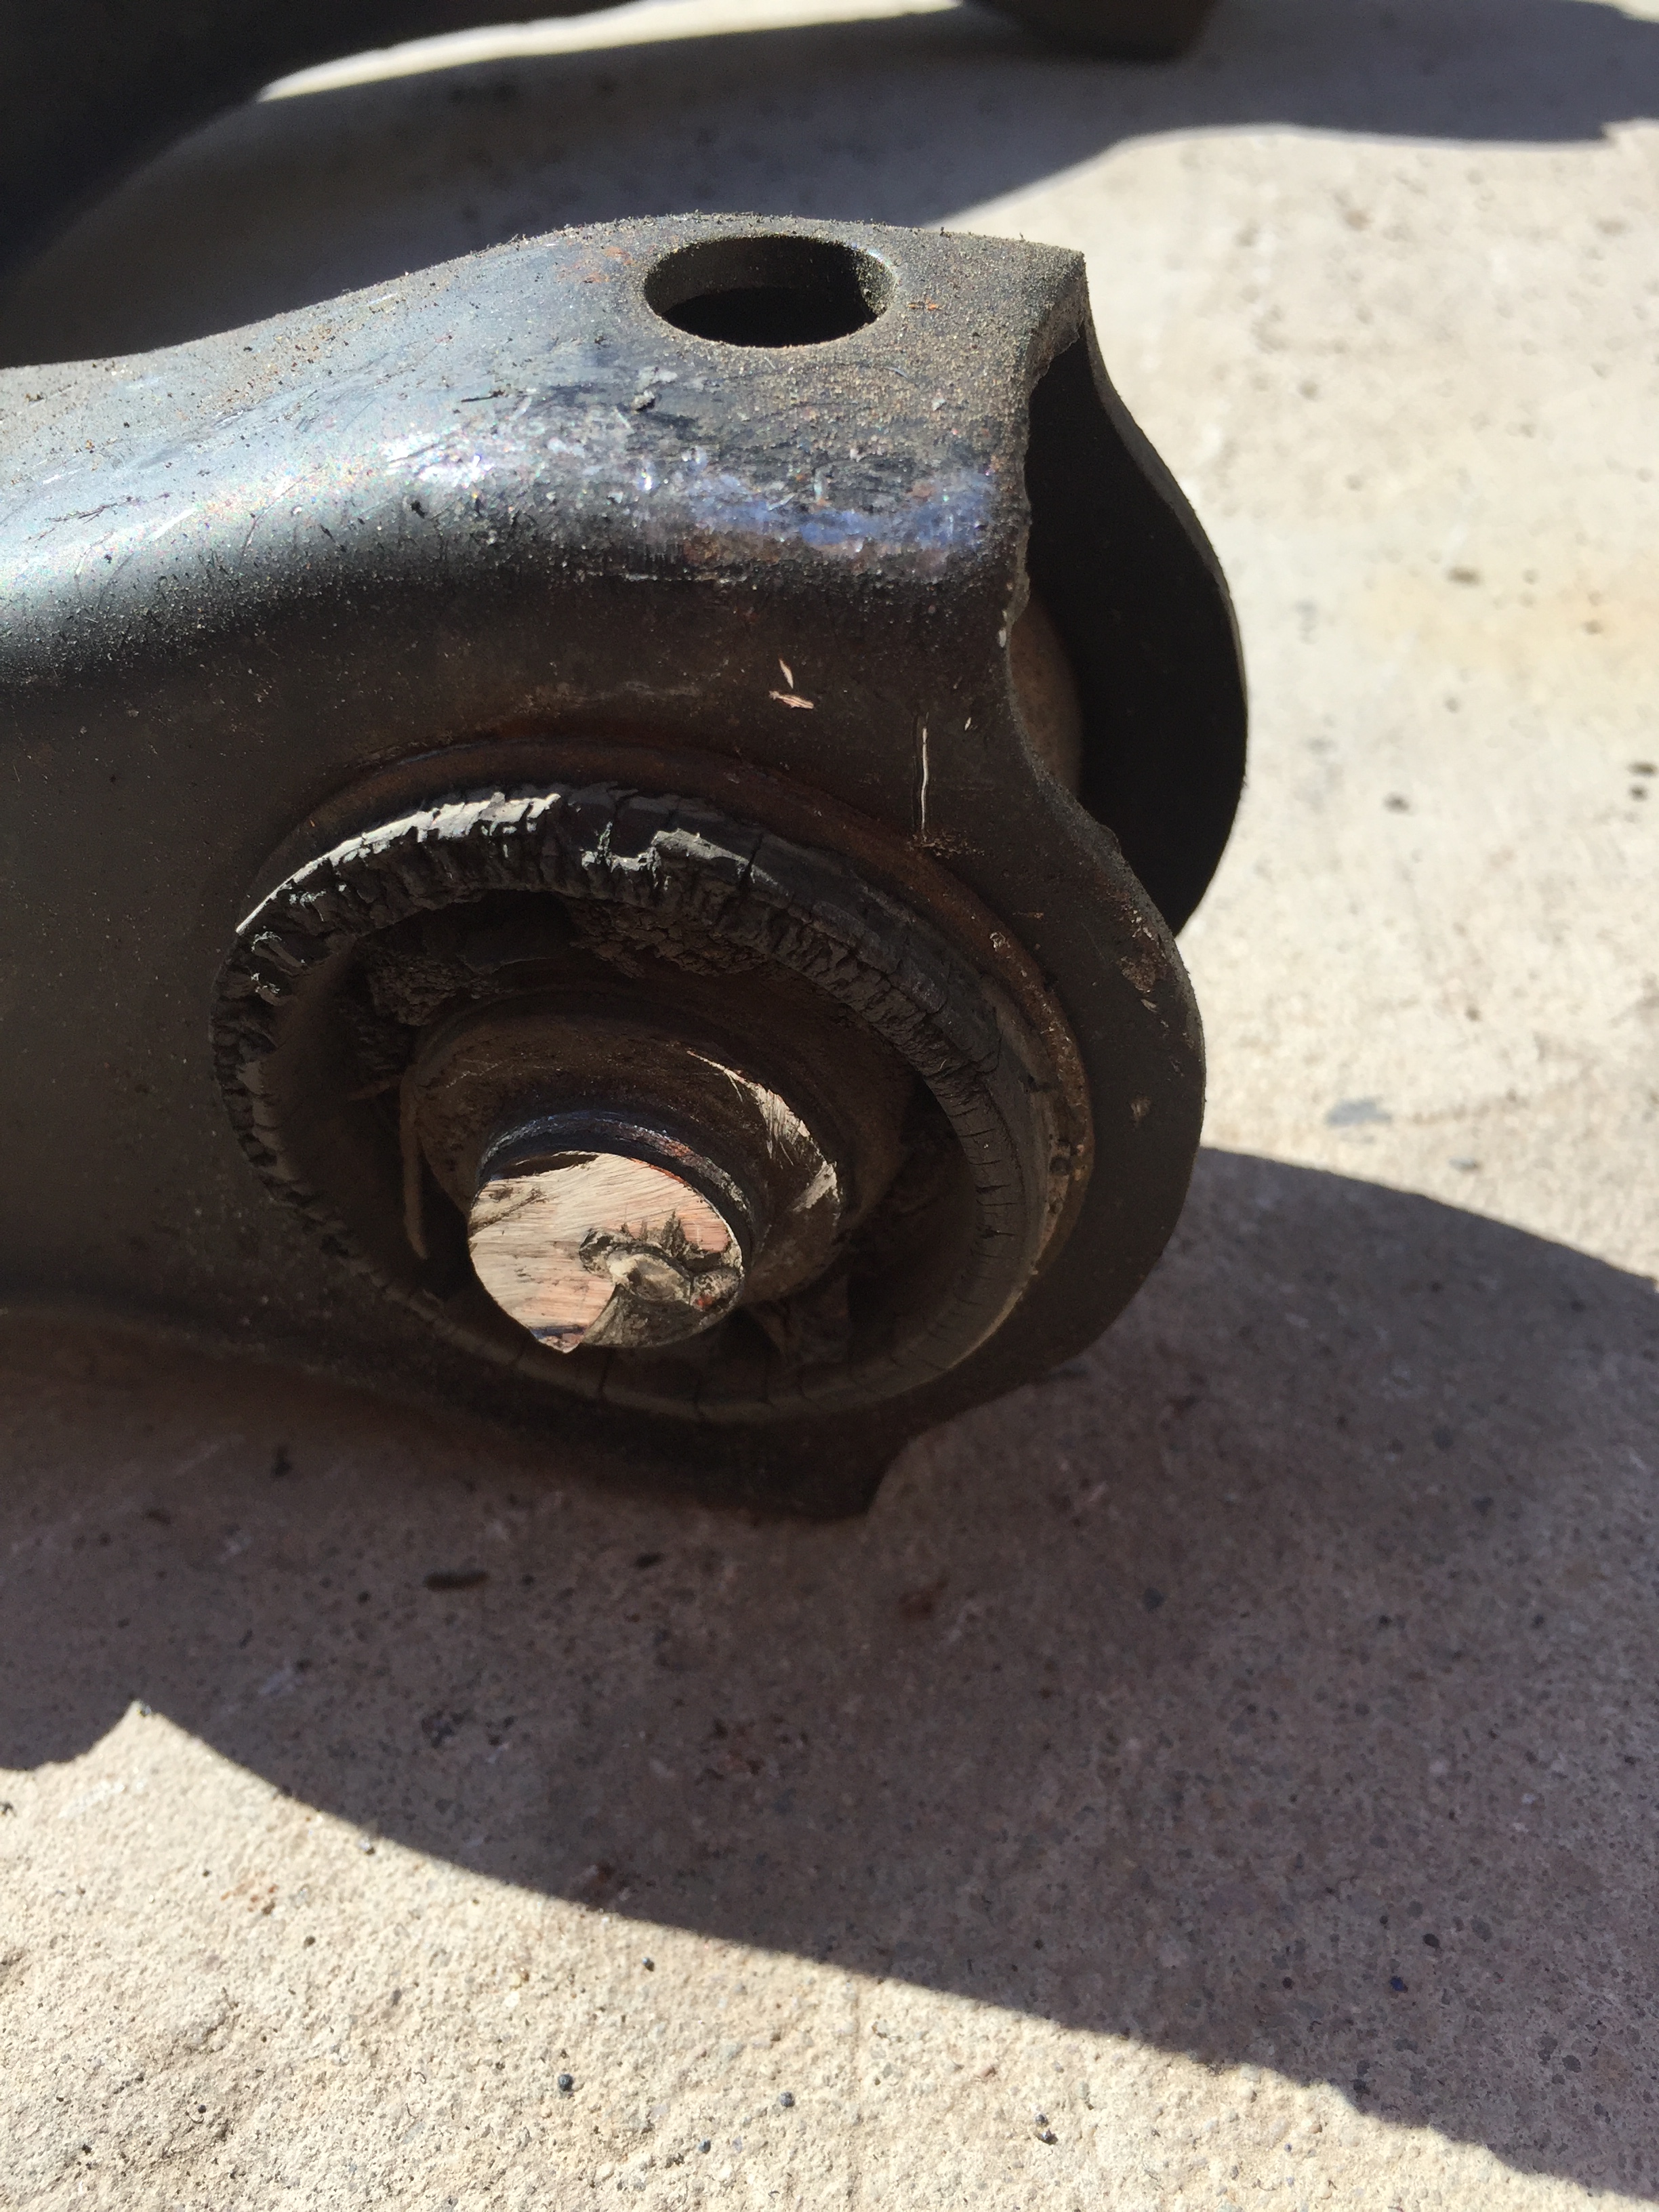
Cut bolt


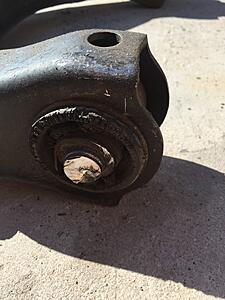
More little ˟˟˟˟ that turns a simple job into a night mare
The allen are nice, cause they sit flush. But they strip easy and fill with debris


Start of tear down
Cut bolt
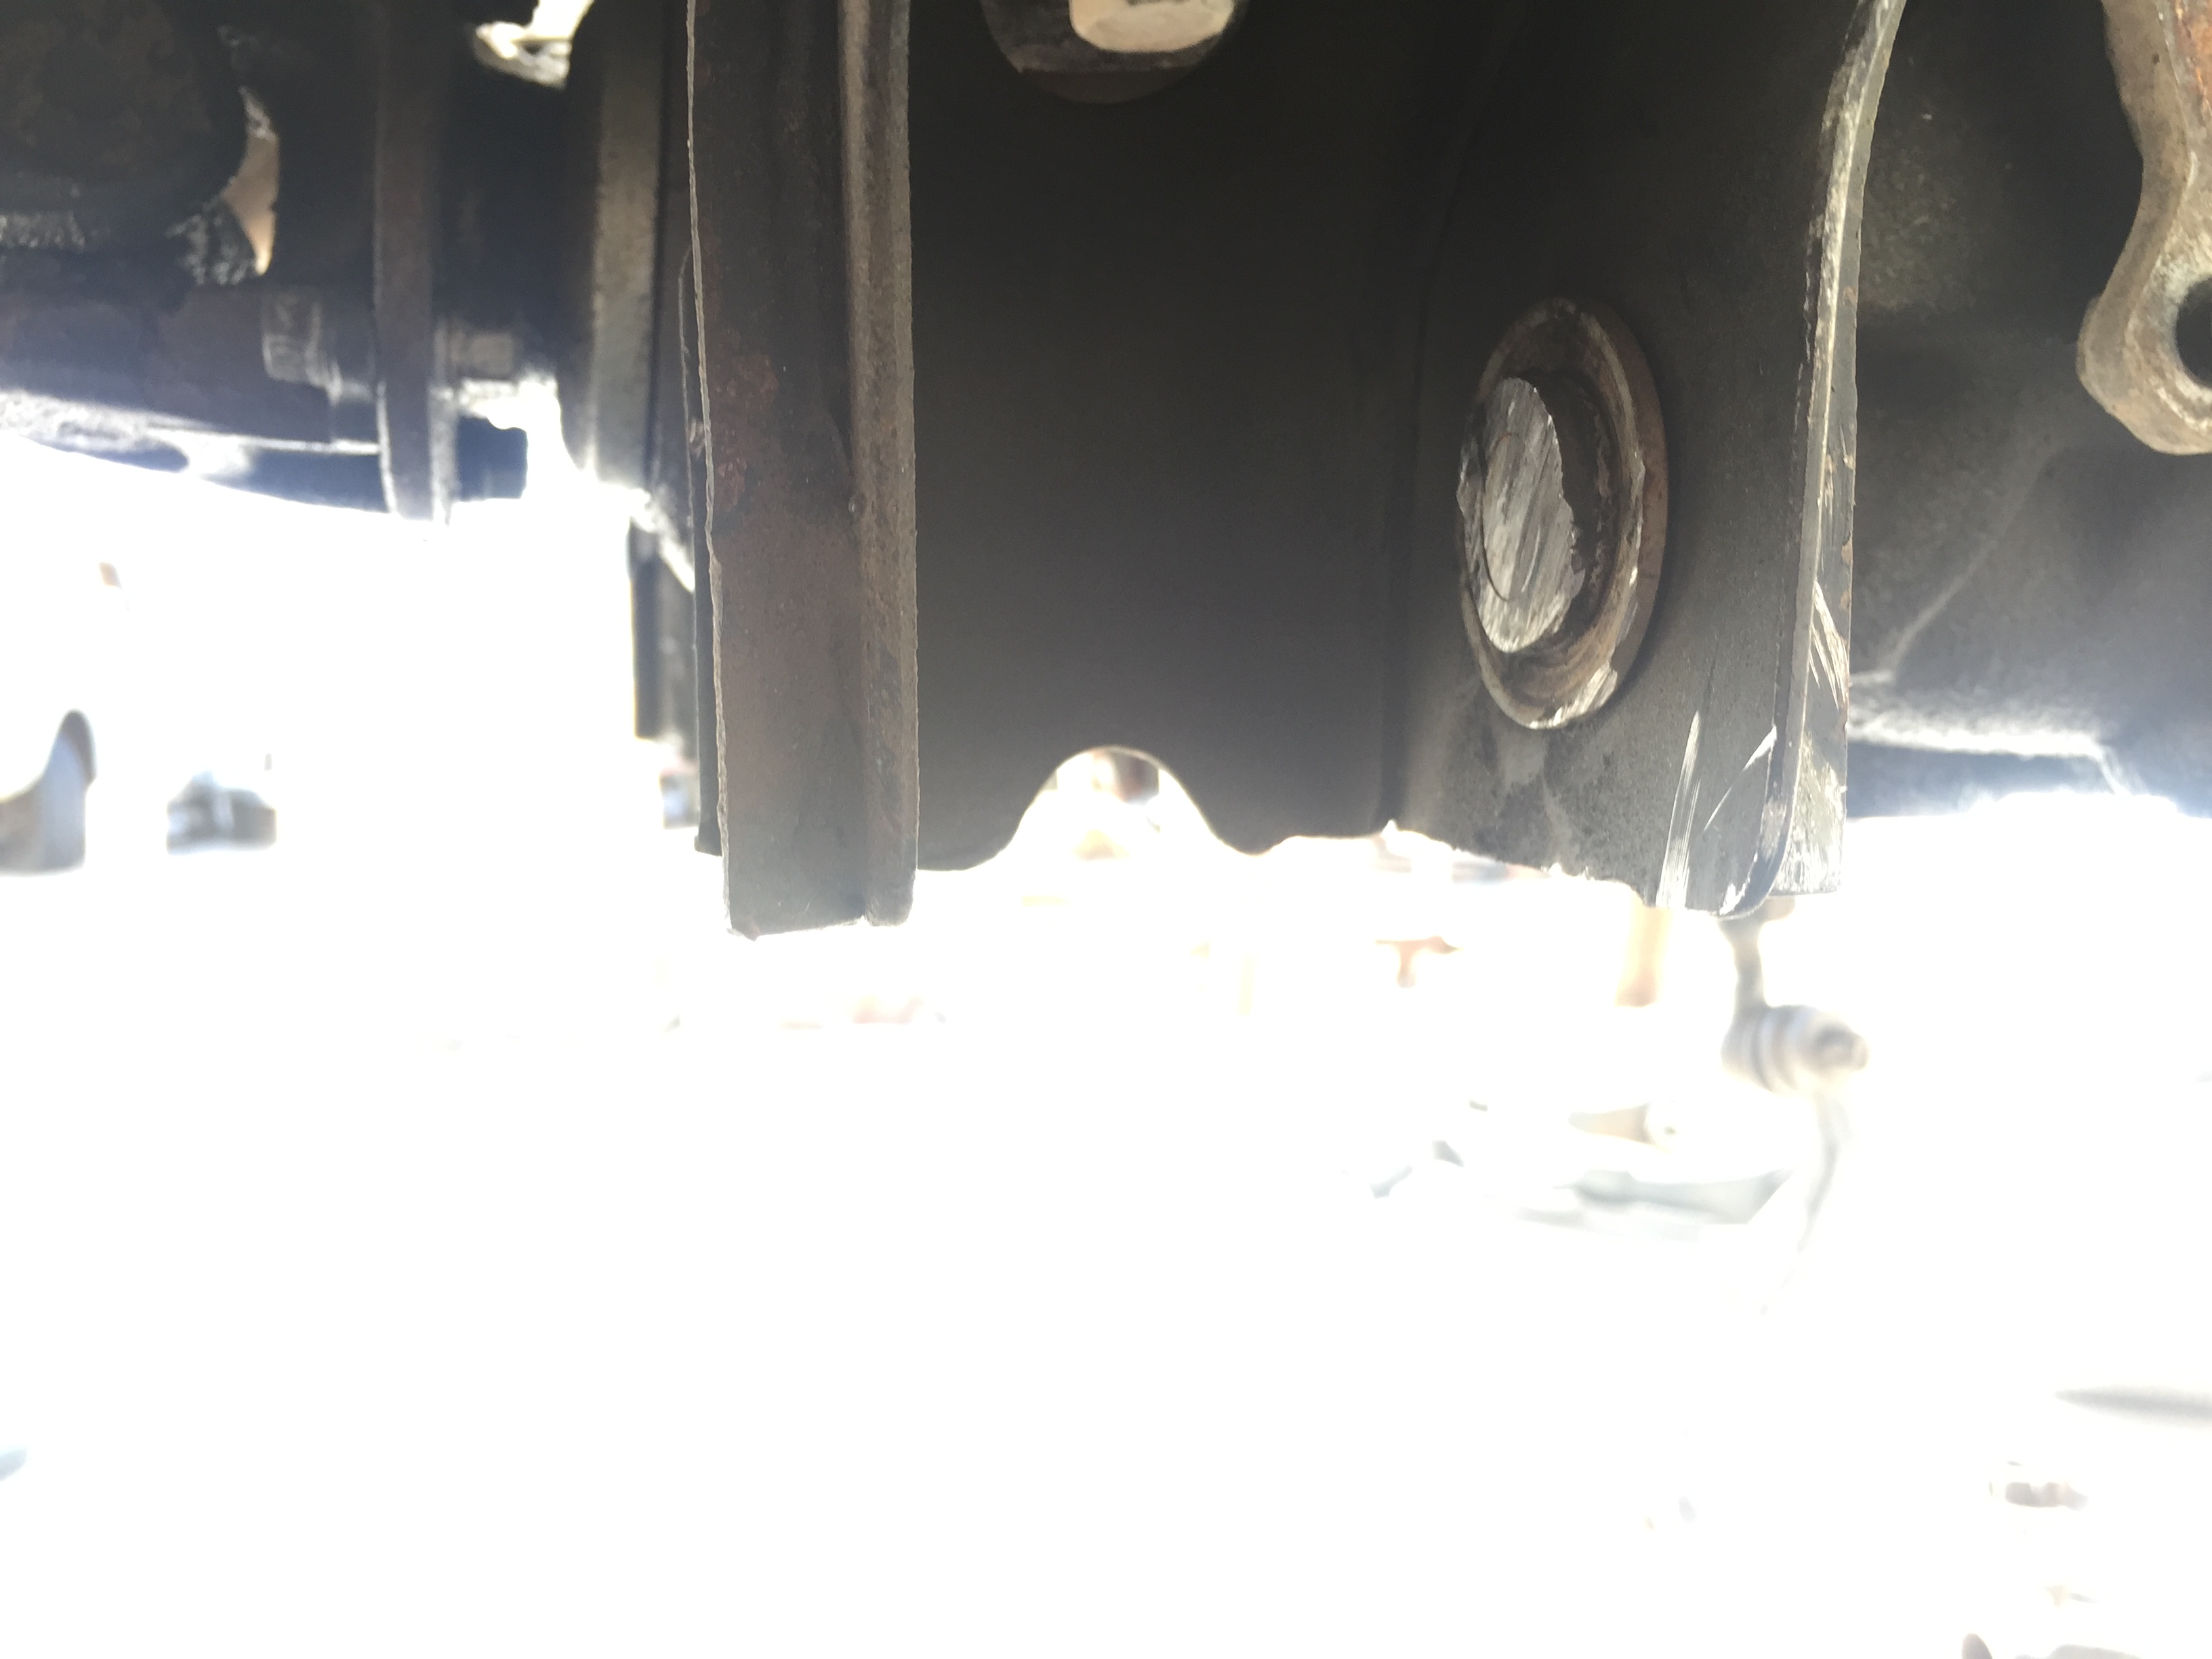

More little ˟˟˟˟ that turns a simple job into a night mare
The allen are nice, cause they sit flush. But they strip easy and fill with debris

 Mar 16, 2016 | 11:44 AM
#78
Thread Starter
Registered User
Joined: Oct 2012
Posts: 160
Likes: 0
From: Yuma, AZ
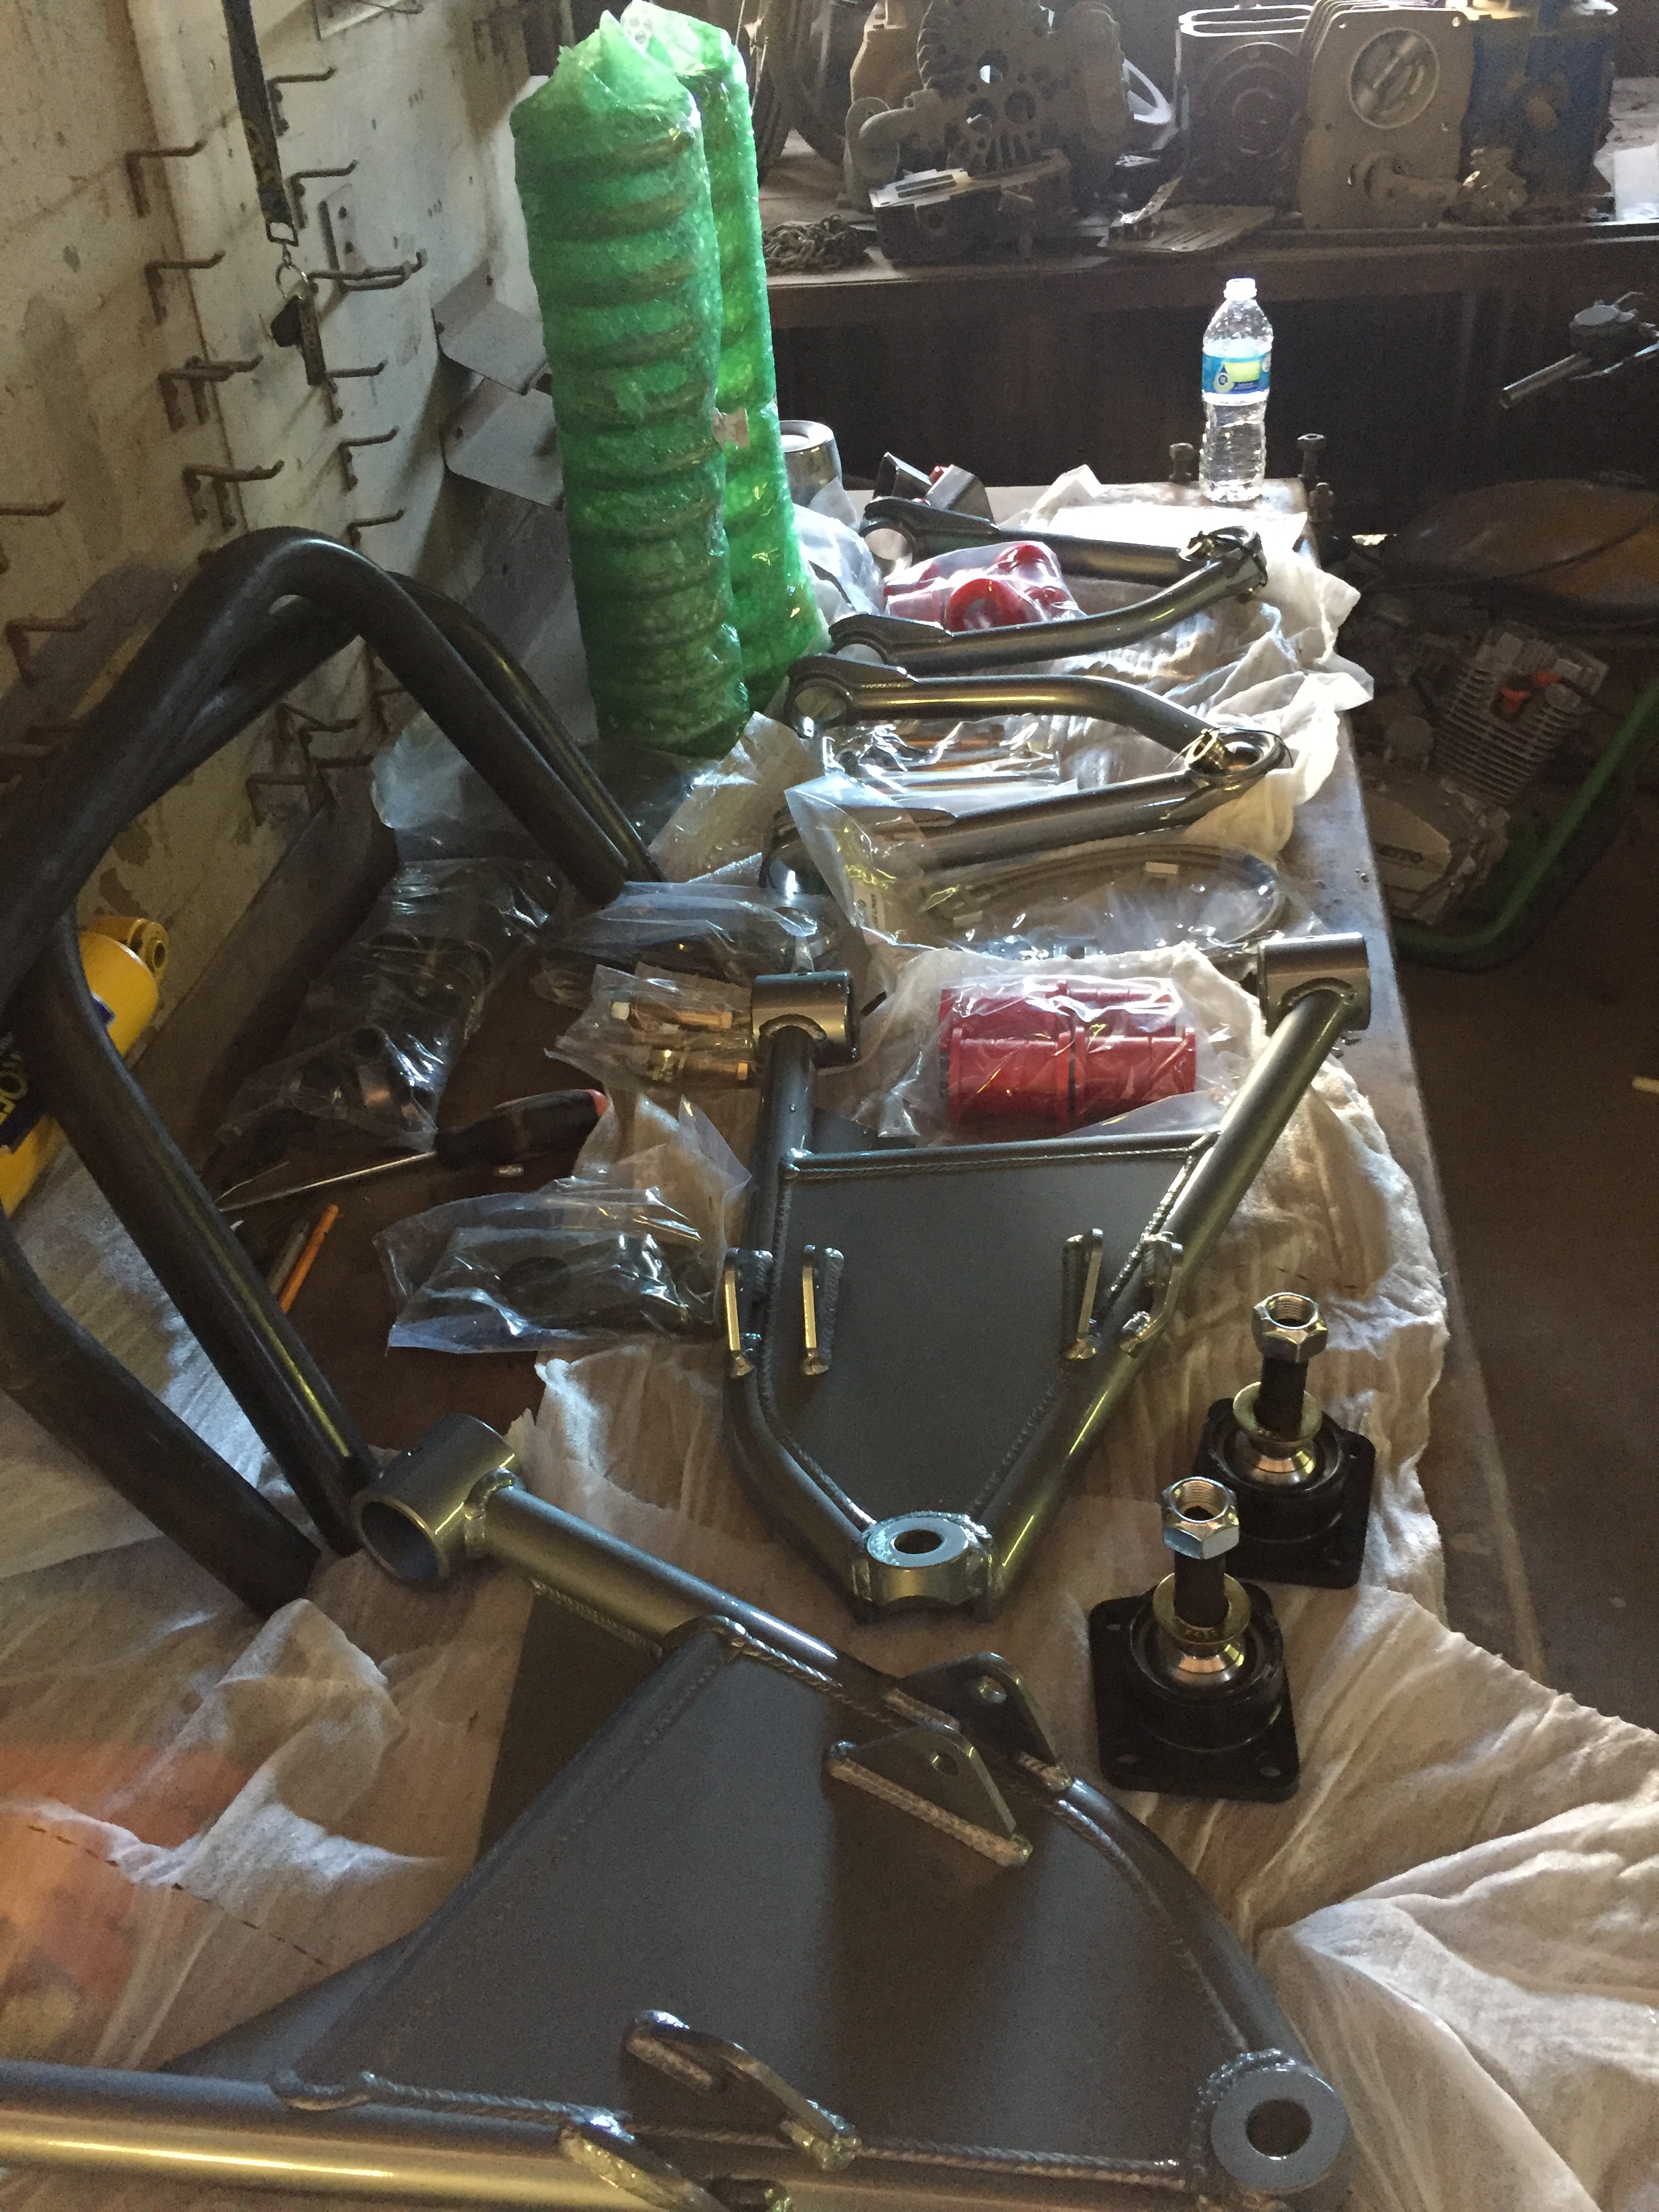
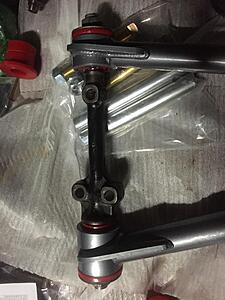
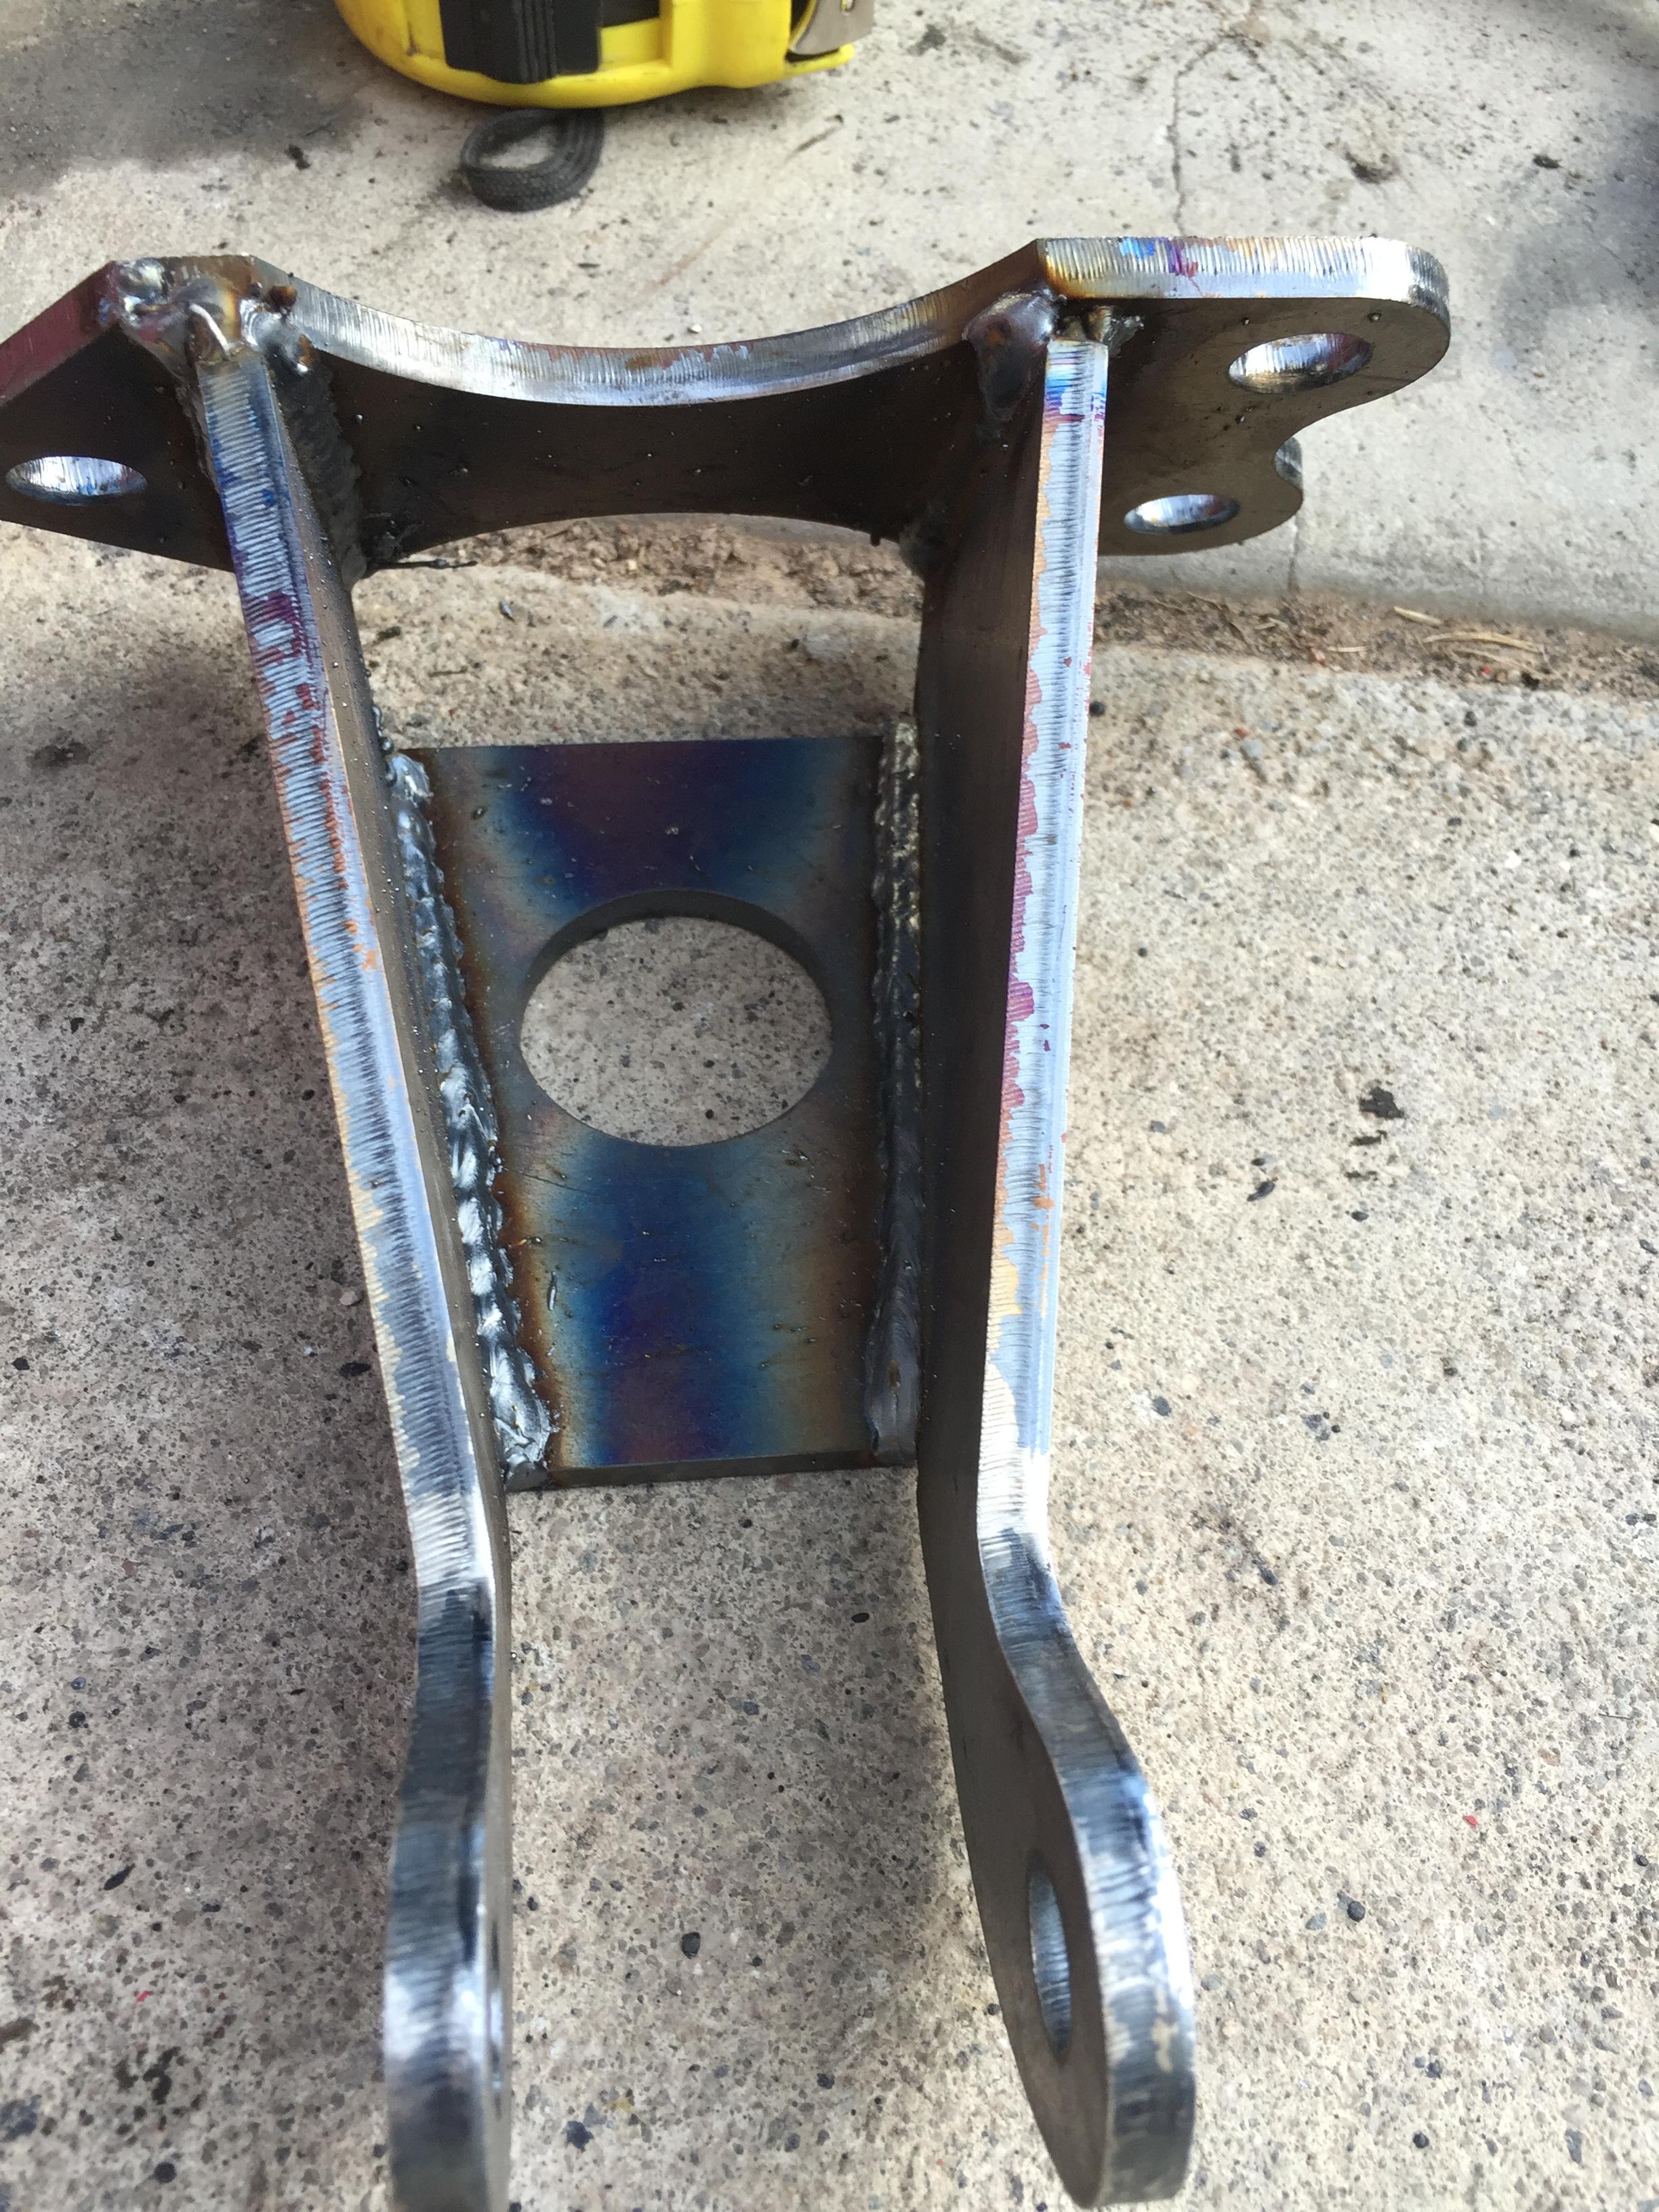
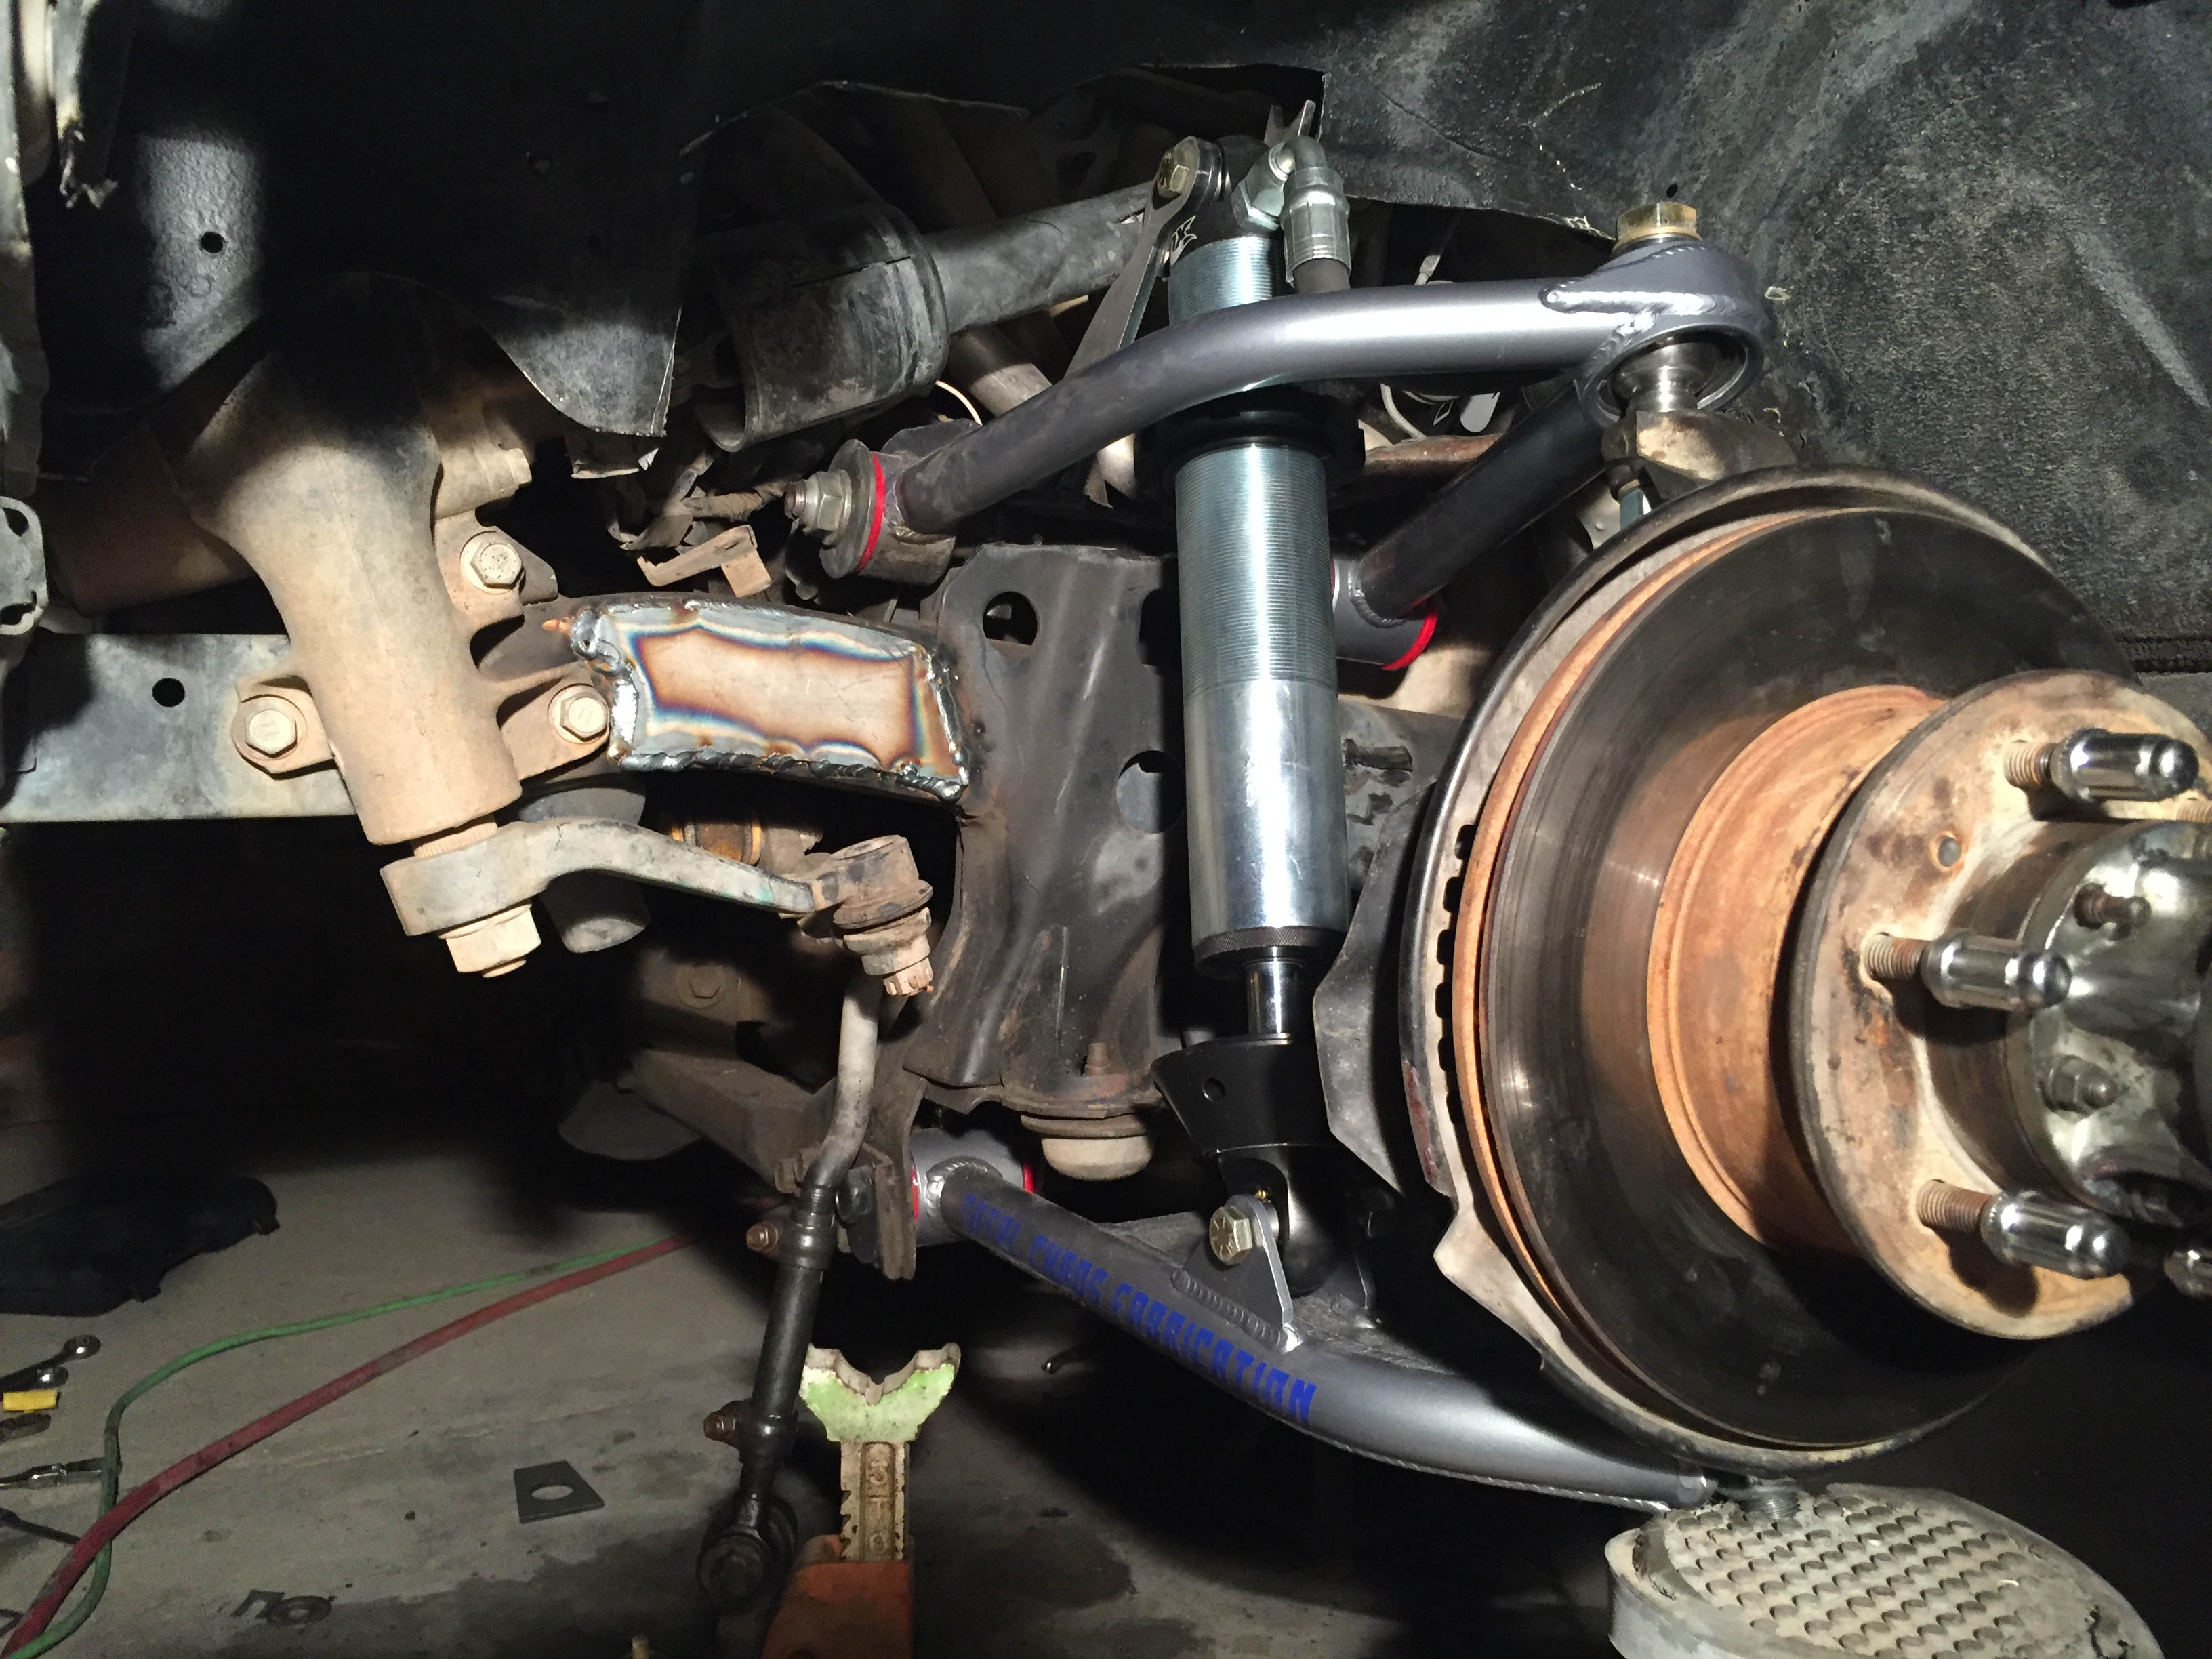
Kit was very easy to put on, everything bolted right into place. It requires the building of a shock tower and hoop. You also have to remove your old torsion bars and the stock shock mounts.
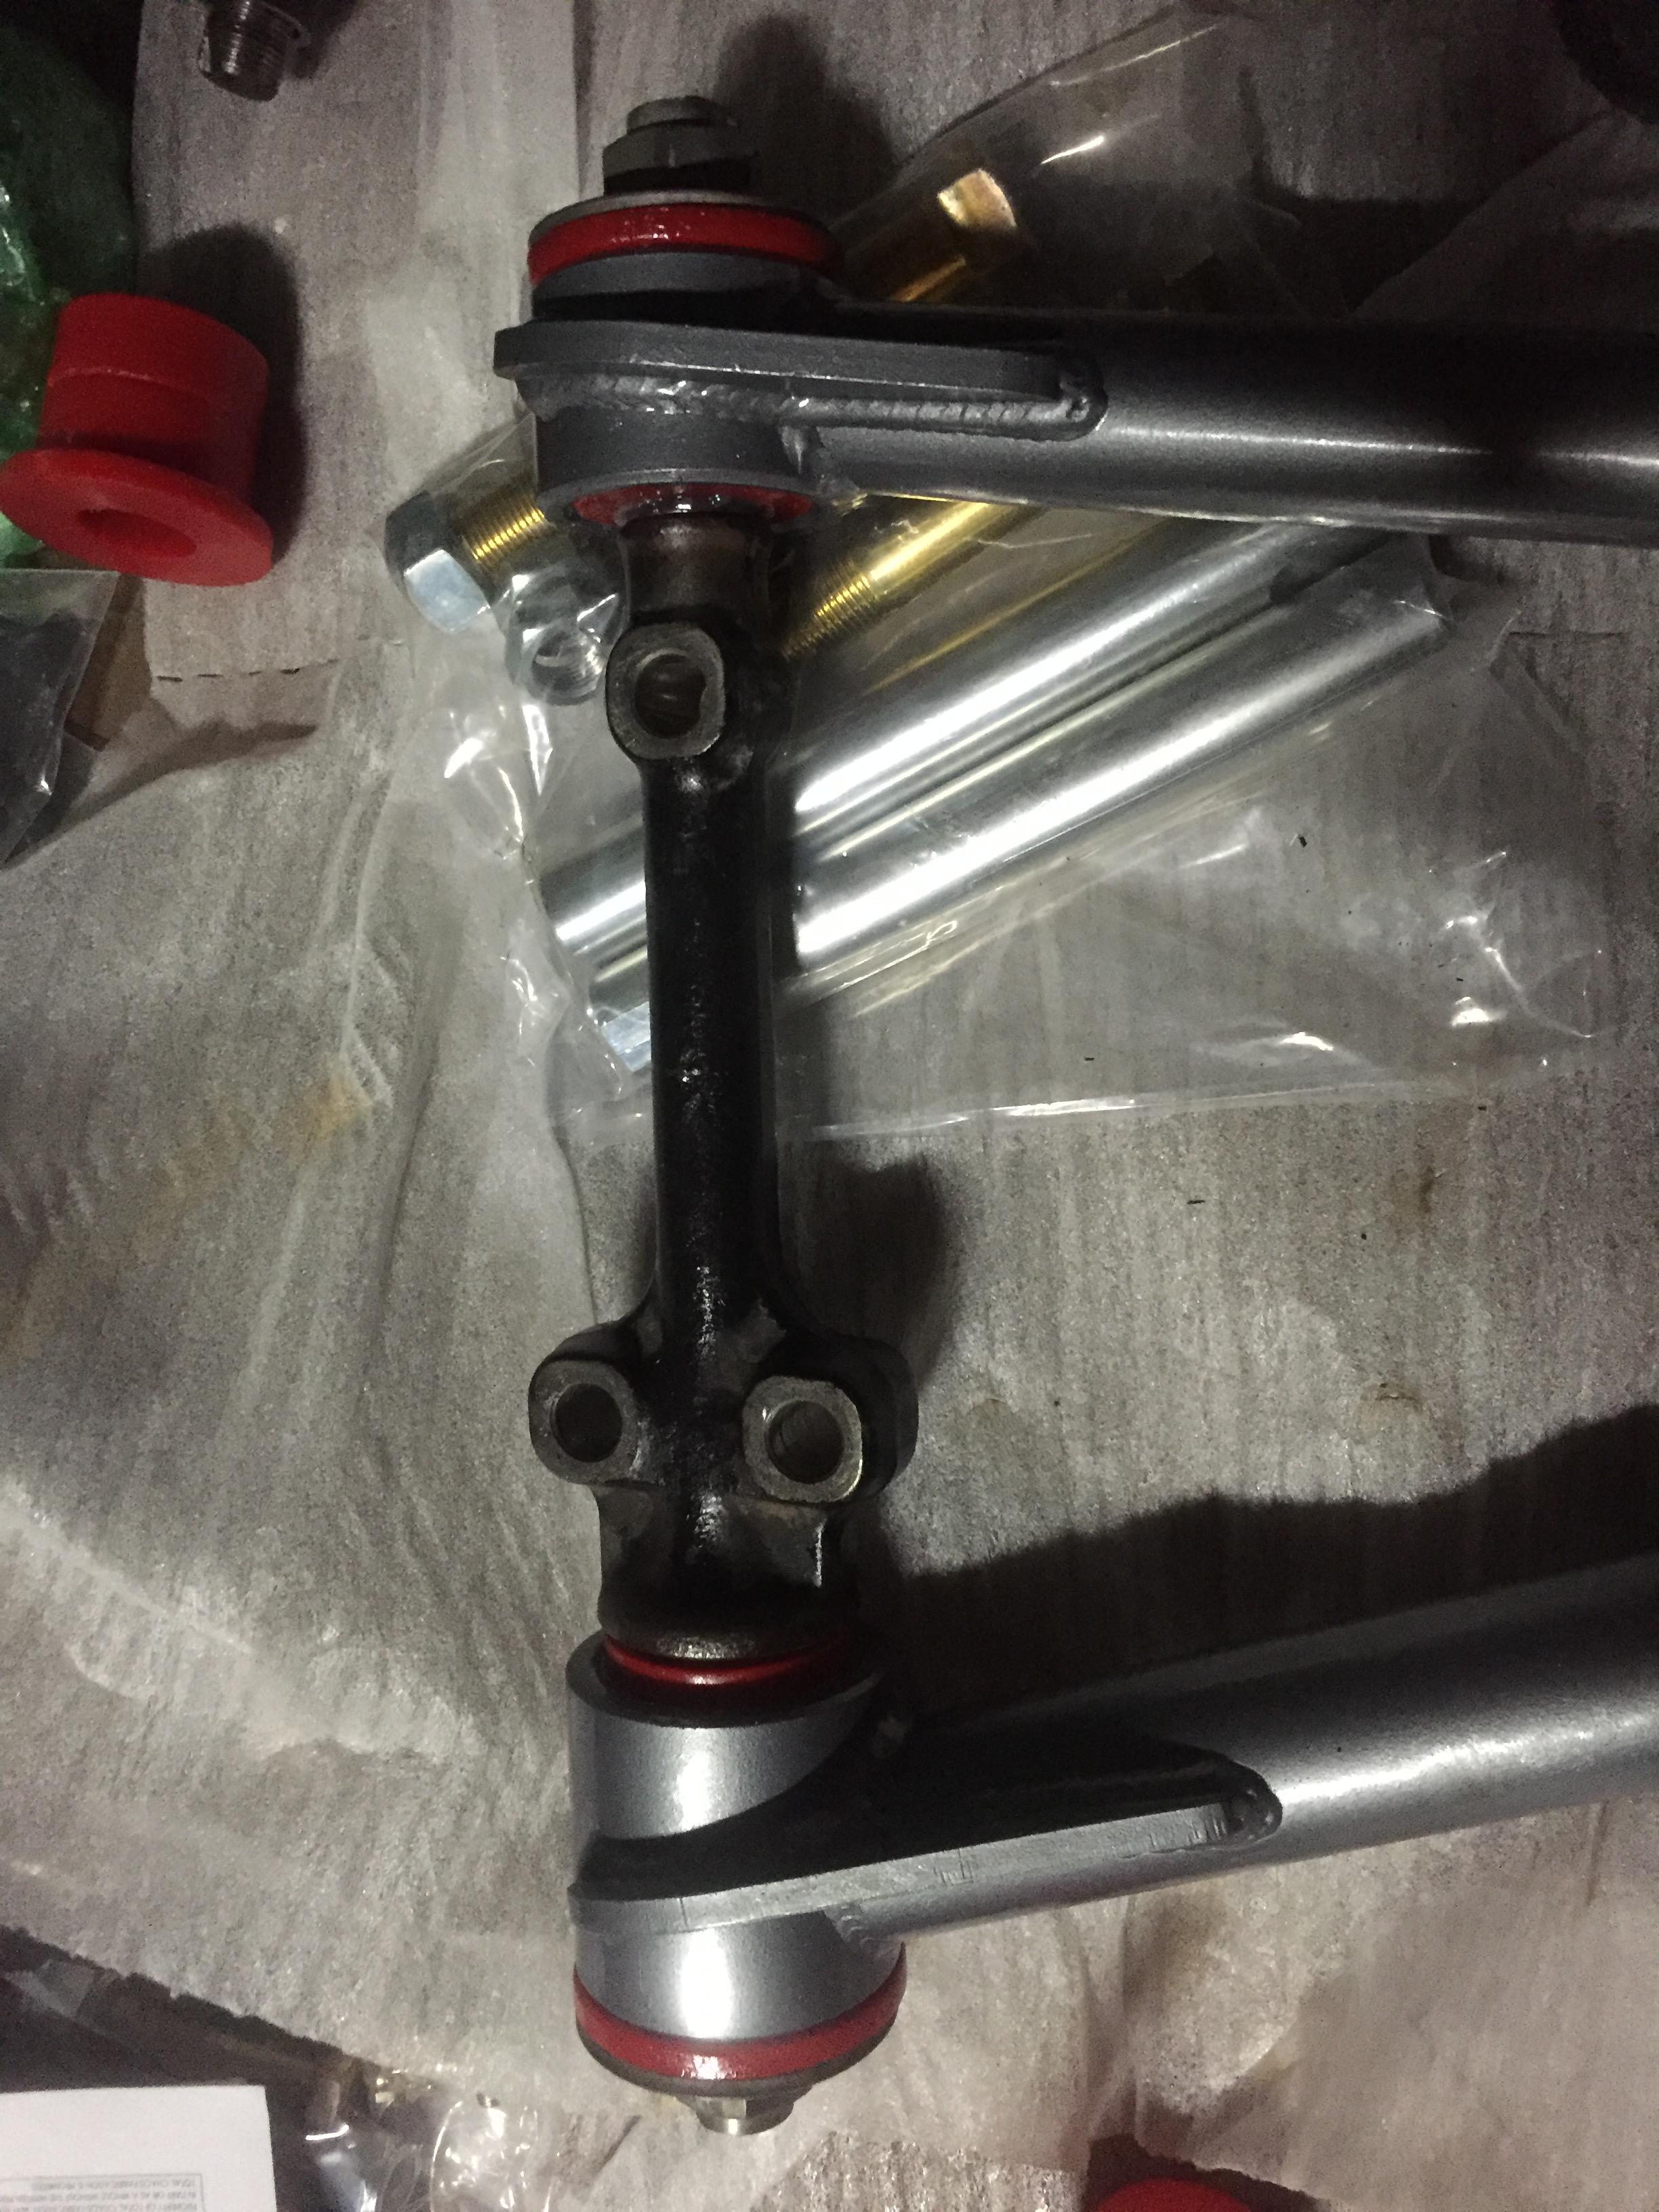
Upper arm
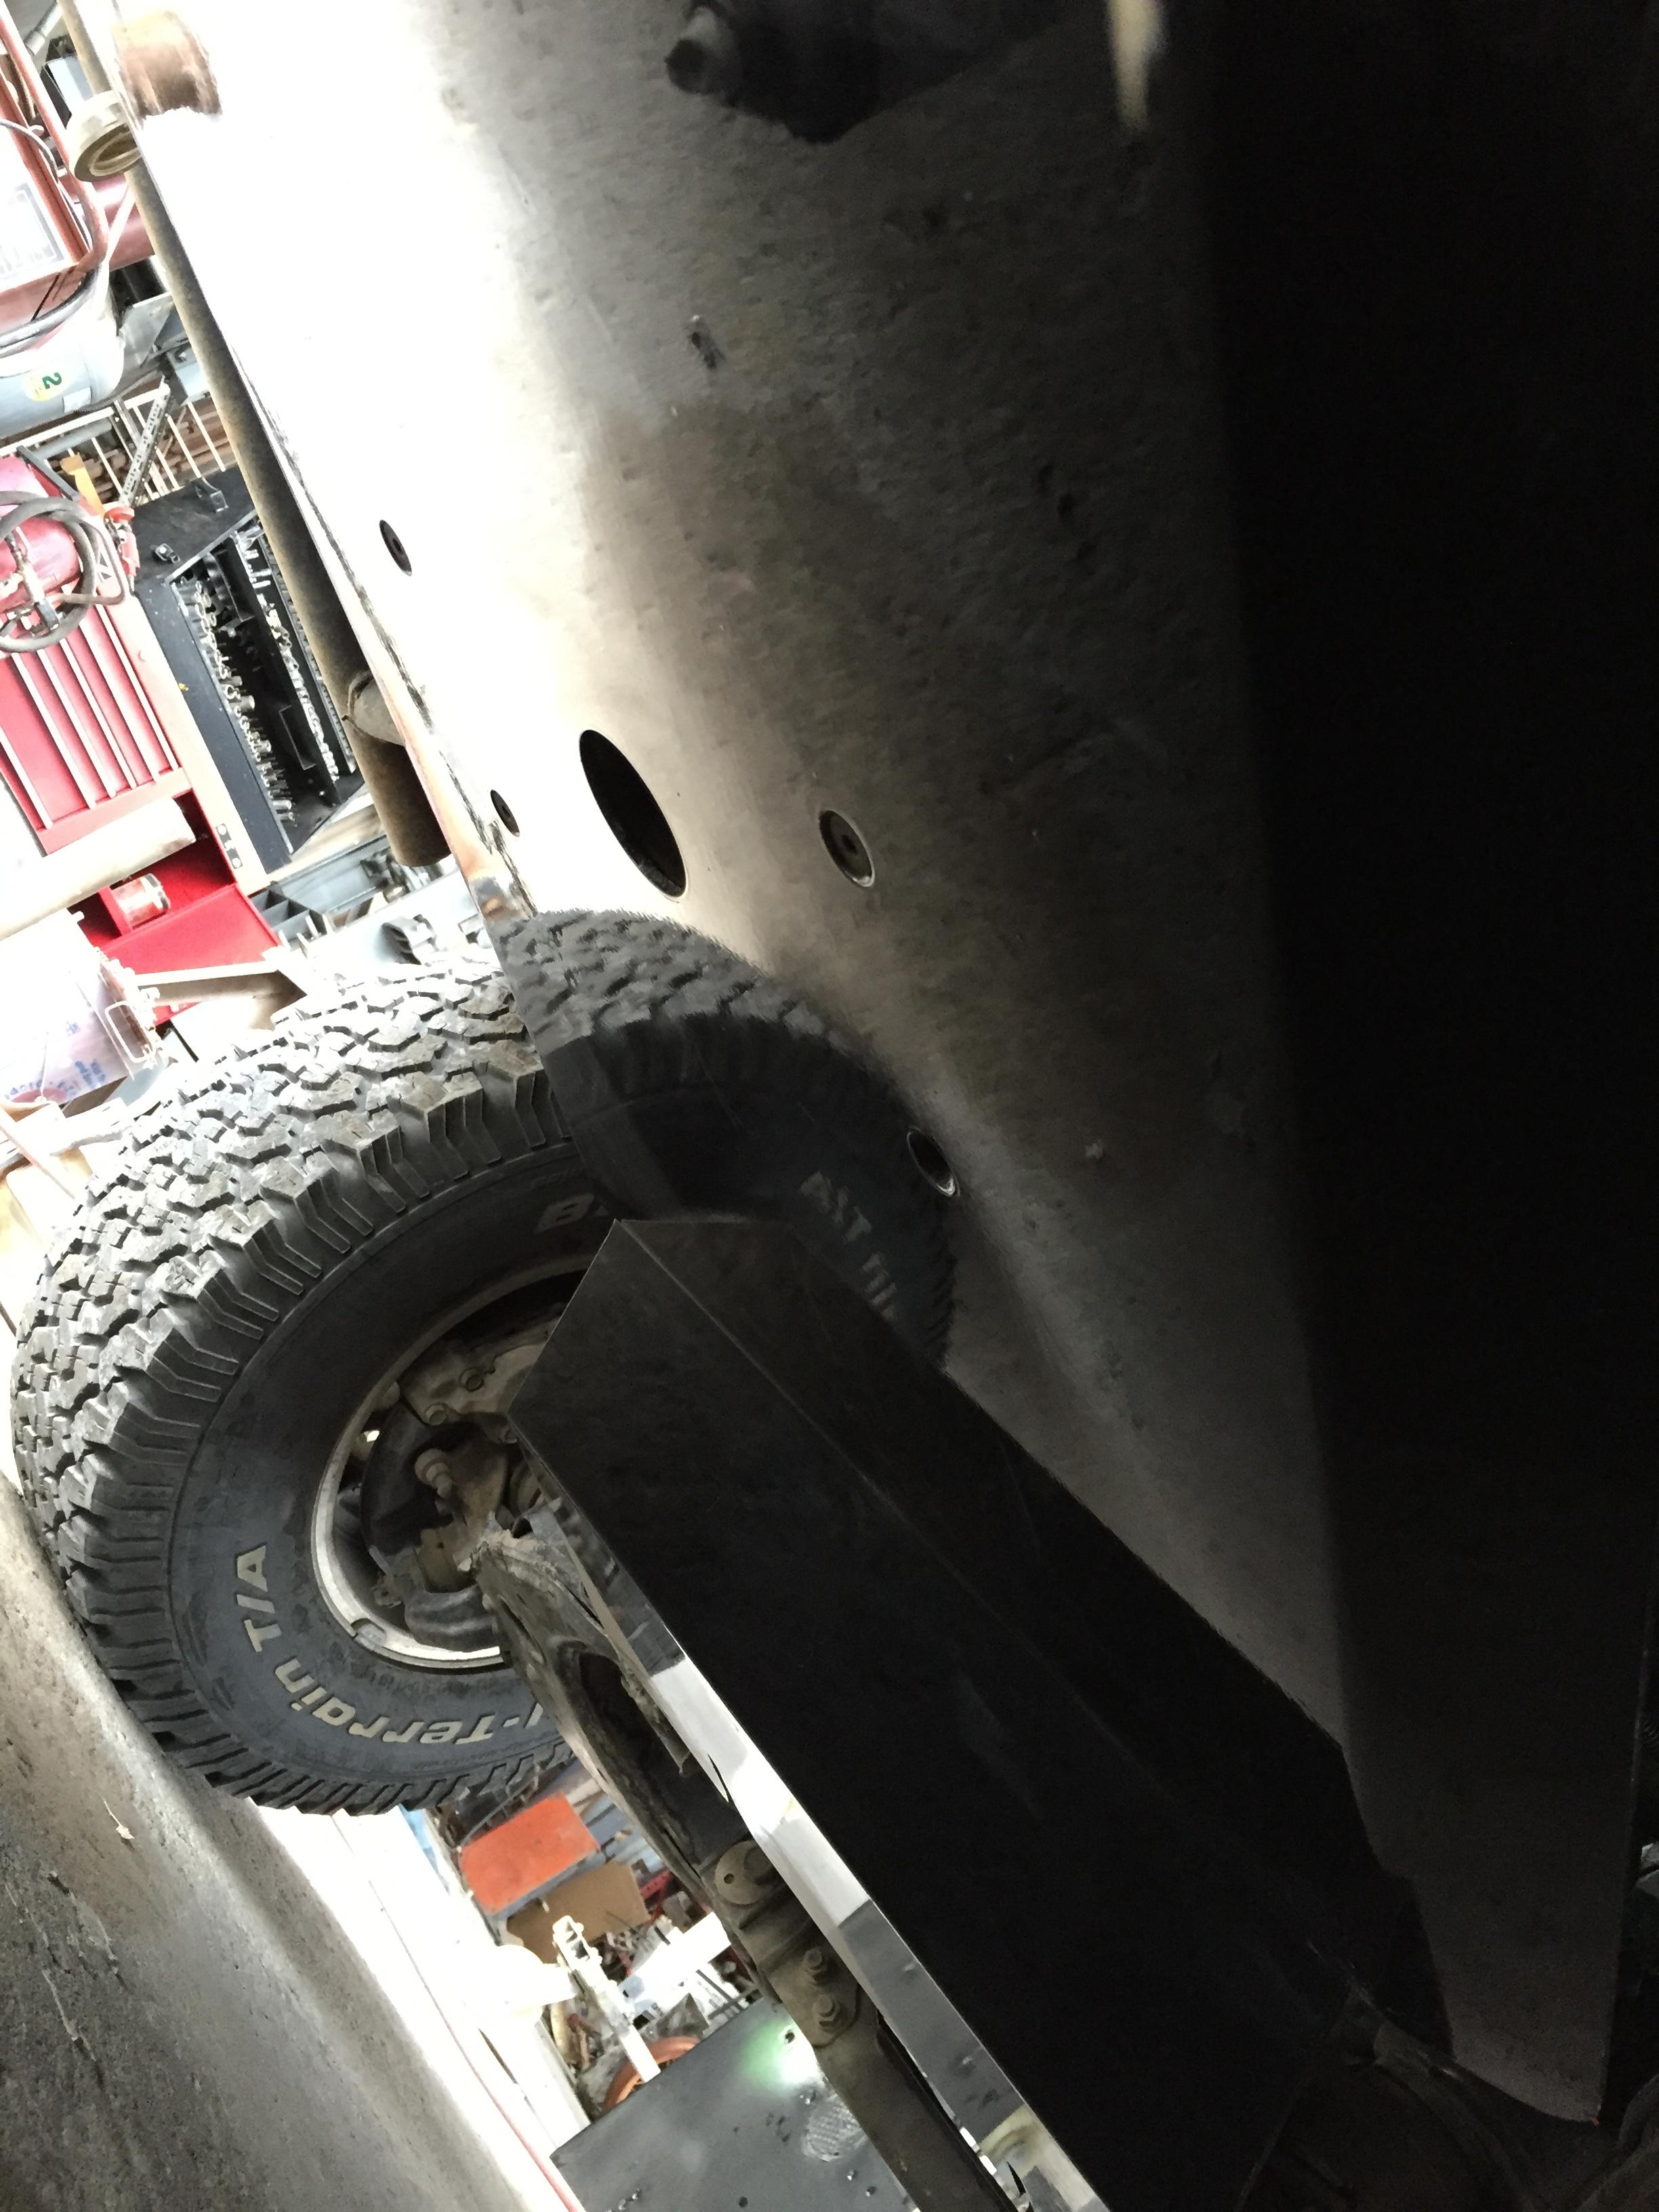
Shock Tower

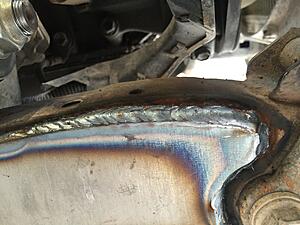
Frame Plates welded on with my squirt gun
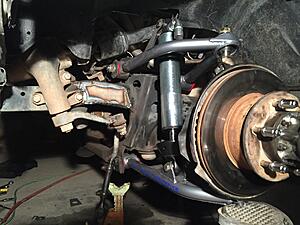
All mounted and cycling to limit the travel for 4x4
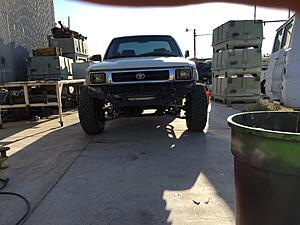
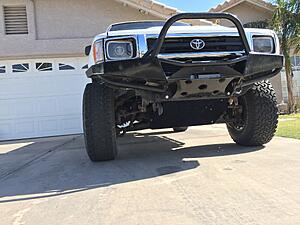
She's a little wider meow

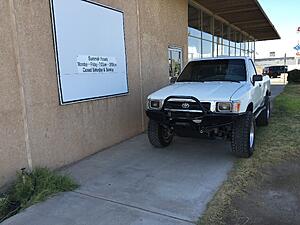
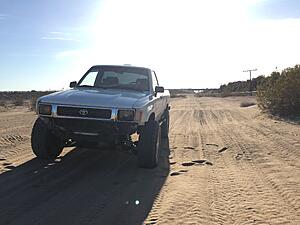
Out breaking it in, works great as expected
Upper arm
Shock Tower
Frame Plates welded on with my squirt gun

All mounted and cycling to limit the travel for 4x4
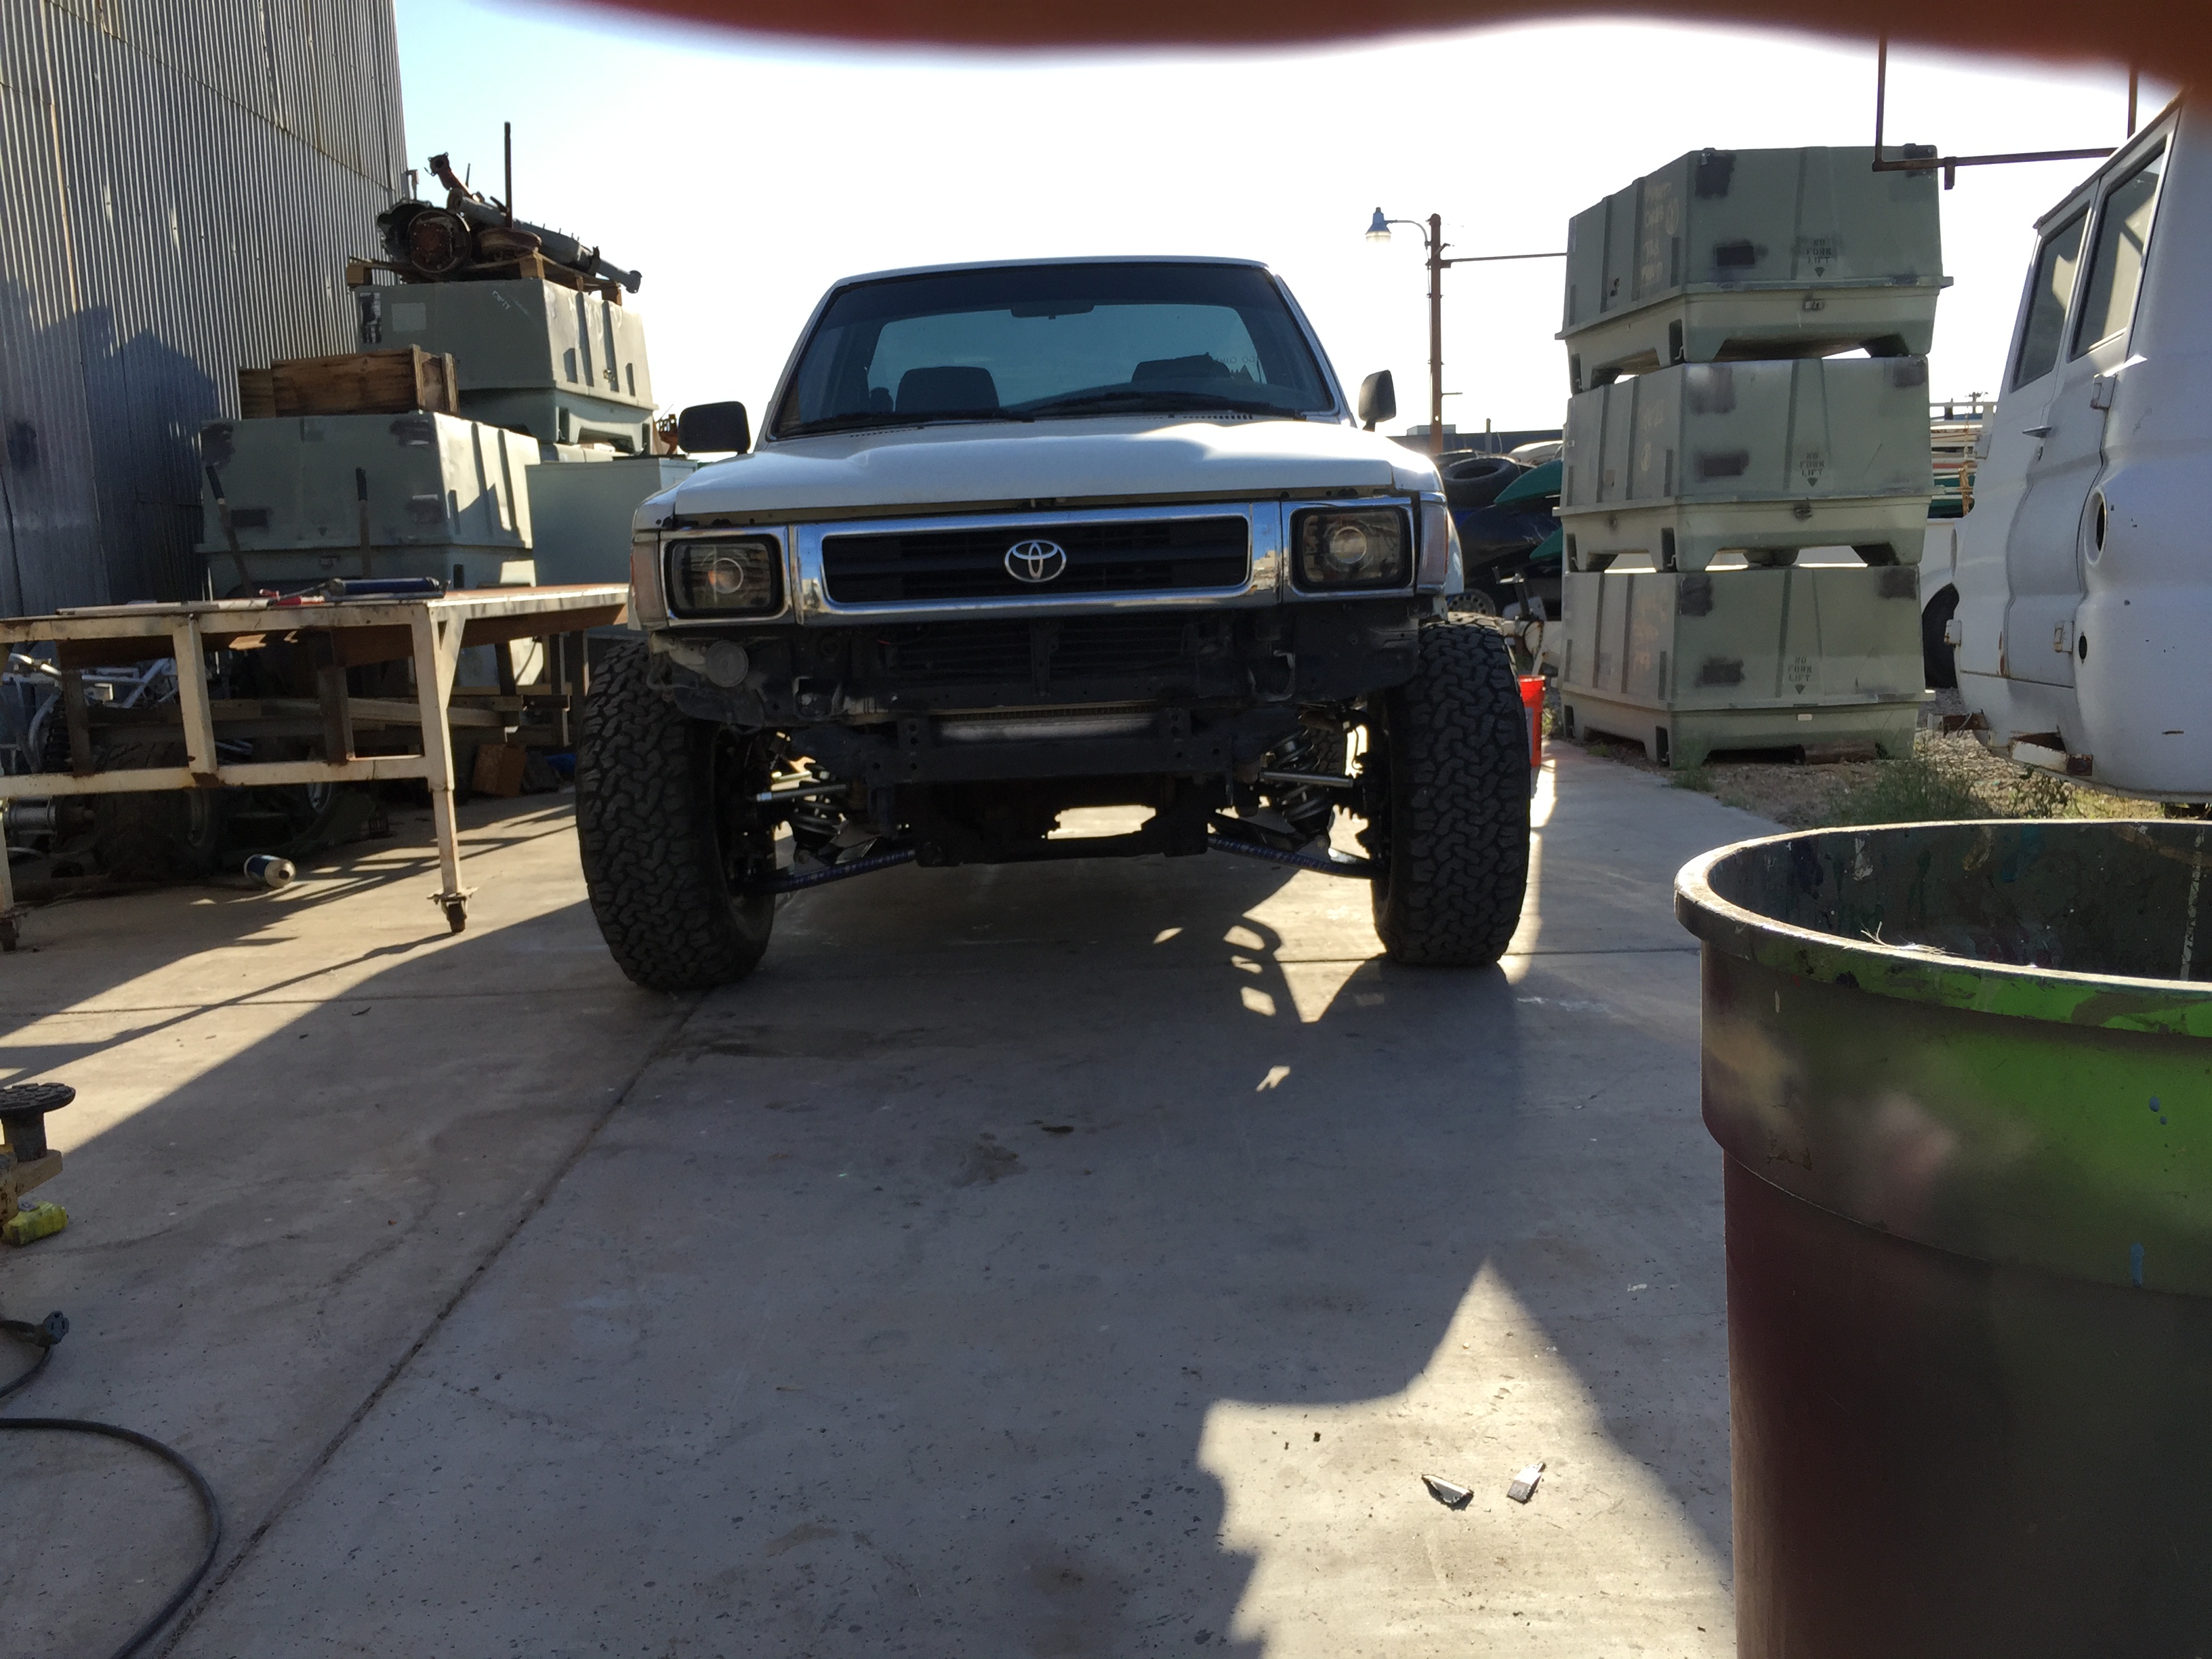
She's a little wider meow

Out breaking it in, works great as expected


