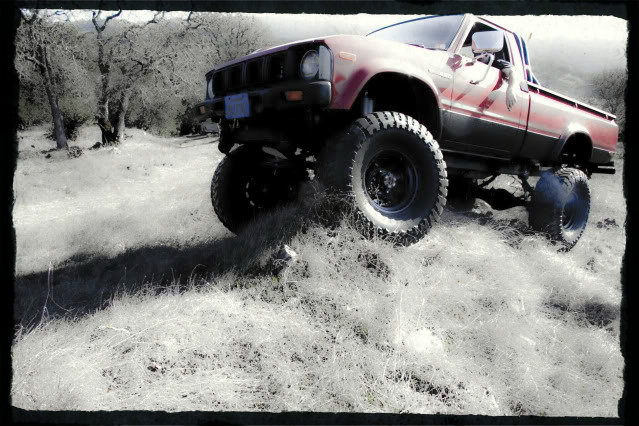
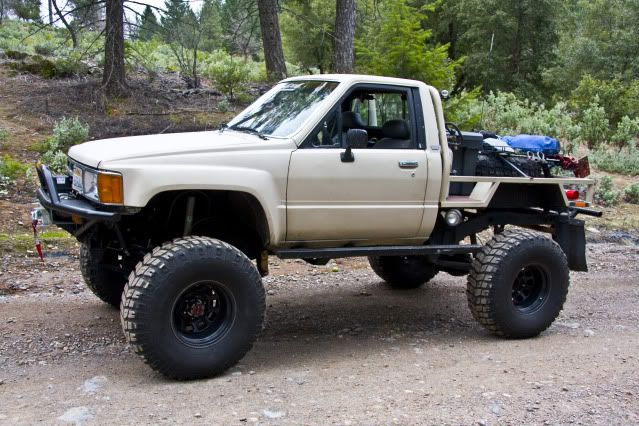
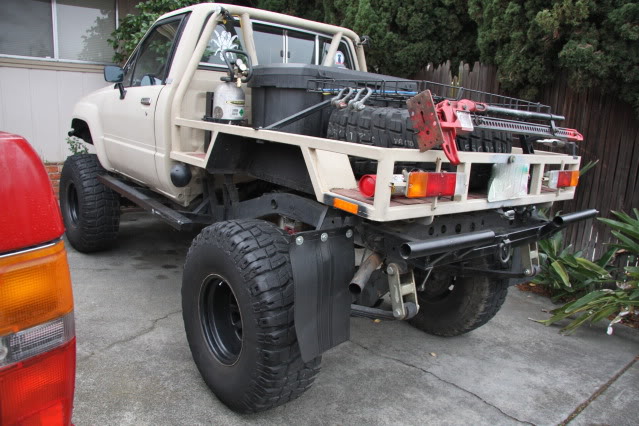
Teuf's SAS thread 88 toyota PU 22r-e

 04-08-2013, 09:12 AM
#83
Registered User
I used ny Valvoline syn power grease throughout the knuckles bearings spindles brifields and trunnion. I'm sure your syn blend everywhere wouodnt be bad. Then again. I've only done this one time so your guess is as good as mine lol.
04-12-2013, 10:58 AM
#89
Registered User
Thats what i thought it was a bit off cuz i remember seeing 2 diffs earlier lol. I get it now. i mustve misread. TUEF TAKE PIX! how can you deprive me of the simple pleasures of Truck porn! lol
04-12-2013, 11:13 AM
#91
Registered User
Thread Starter
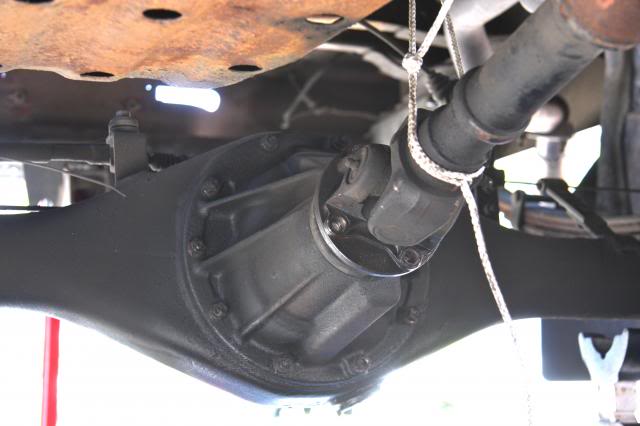
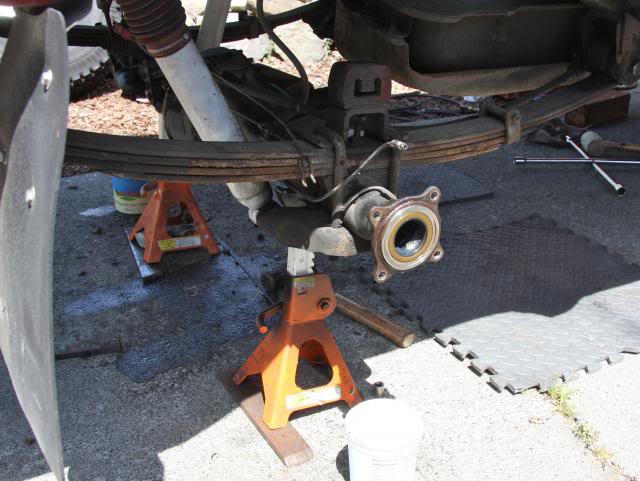
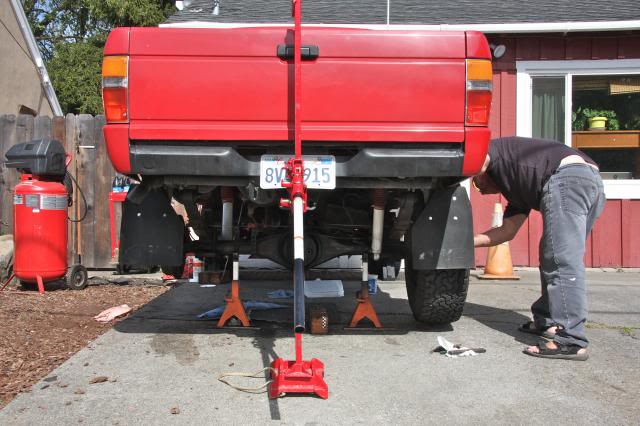
Ok I have blocked my front wheels, engaged 4x4 and am waiting on a floor jack. Mine died.
When my help shows up we will jack her up and pull the axles. I drained the gear oil, both filler plug and drain plug are out. Diff bolts are loose and the drive shaft is ready to separate. Still waiting on help.
http://i561.photobucket.com/albums/s...ps5772726b.jpg
When my help shows up we will jack her up and pull the axles. I drained the gear oil, both filler plug and drain plug are out. Diff bolts are loose and the drive shaft is ready to separate. Still waiting on help.
http://i561.photobucket.com/albums/s...ps5772726b.jpg
 04-12-2013, 11:19 AM
#93
Registered User
Thread Starter
I don't dare do this myself. My plan is to apply permatex, install dif finger tight till sealer oozes a bit, wait an hour then torque down. Again wait about 24 hours THEN fill with gear oil... OH yea I did go and get some axle oil seals this morn.
04-12-2013, 04:27 PM
#94
Registered User
Looking sweet dude makes me want to man-up and do it but I need my rebuild before anything
Can't wait to see it when it's done it's gonna be wonderful!!!!!
makes me want to man-up and do it but I need my rebuild before anything Can't wait to see it when it's done it's gonna be wonderful!!!!!
04-12-2013, 06:18 PM
#95
Registered User
Thread Starter
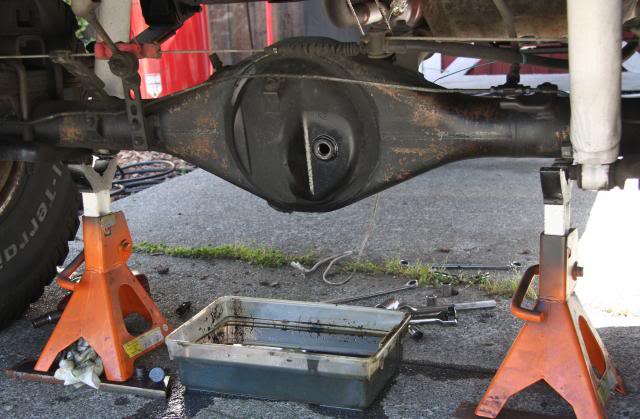
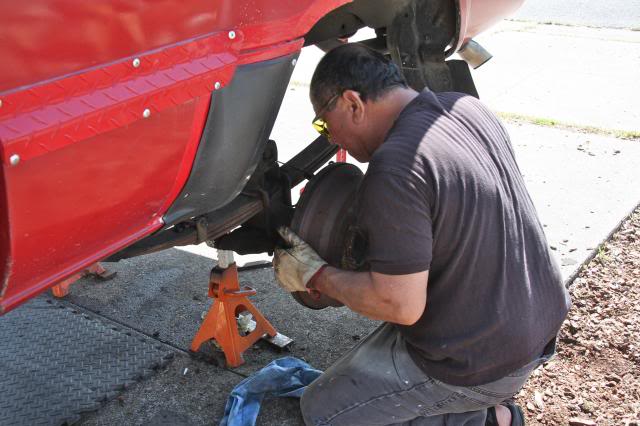
Ok my help with a floor-jack showed up, I was hoping he would have brought his crawler.
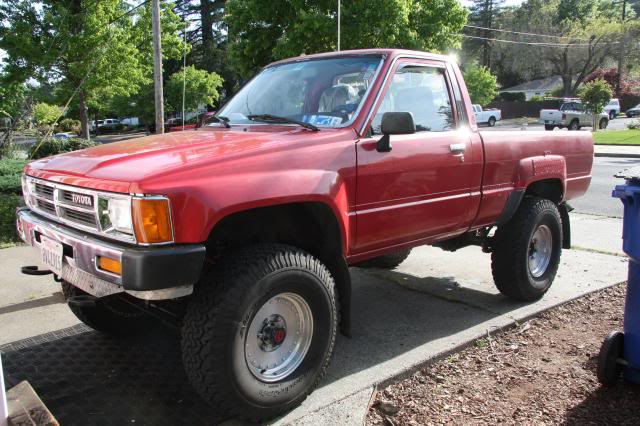
Sweet simple 85.
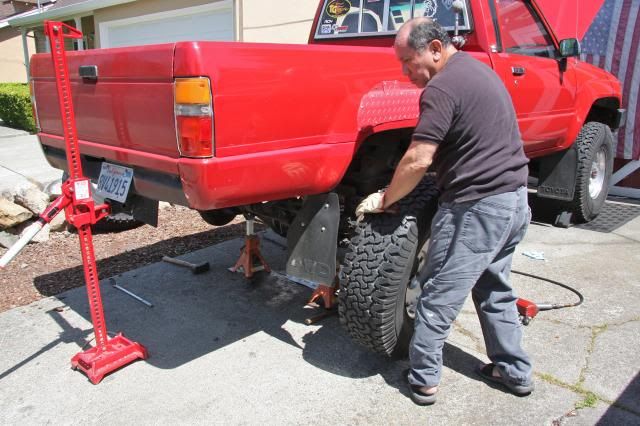
Jacked up and wheels off.

Misc / brake lines, 4 bolts to release axle
So far so good
 No problem, nothing frozen to prevent removal.
I bought seals this morning, wrong ones. so the seals stay in. they looked good.
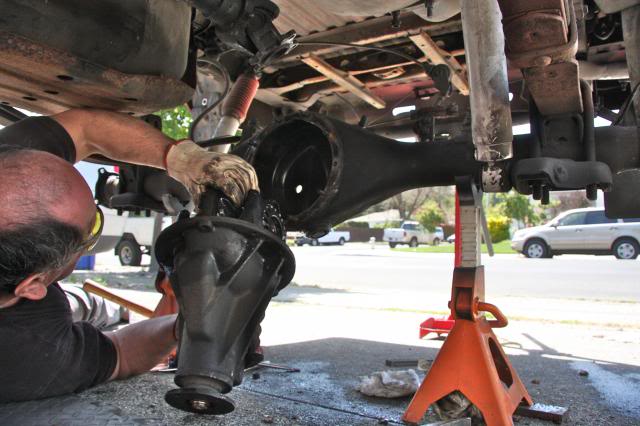
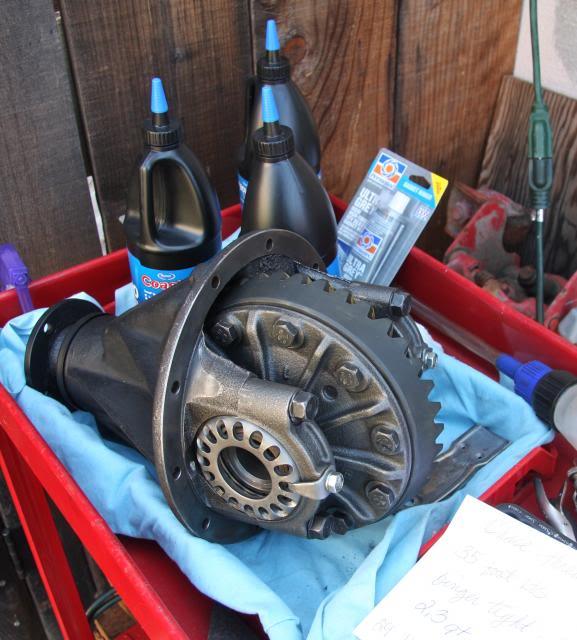
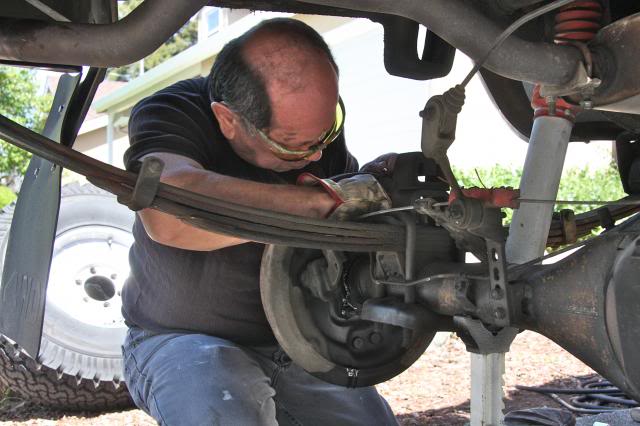
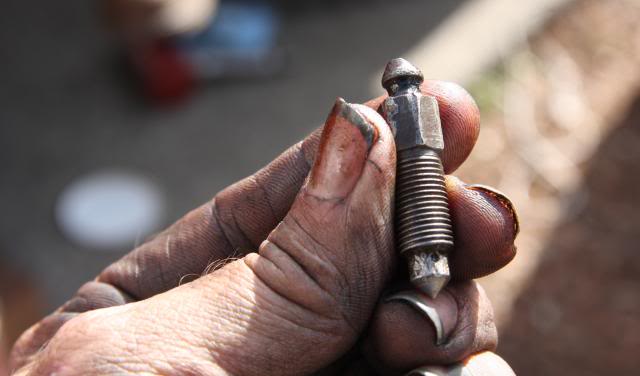
The old diff was a bear to get off, all the stud bolts ok, the bottom one was frozen, a good 30 minutes later and she is free.
Free bird
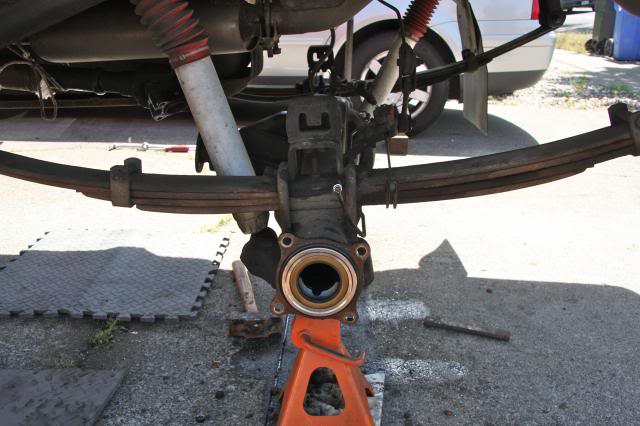
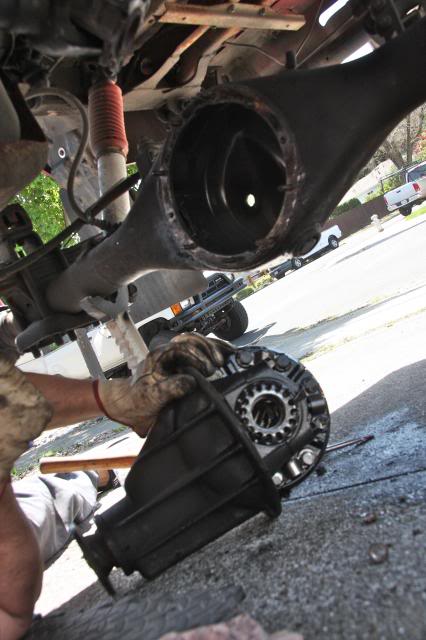
all of the old gasket stuck to the old third, the axle surface was clean. I used Permatex ultra grey/ 82194, I did not skimp on the application.
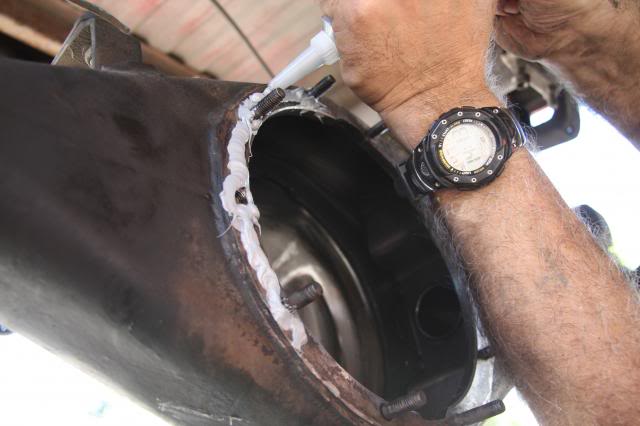
As you can see.
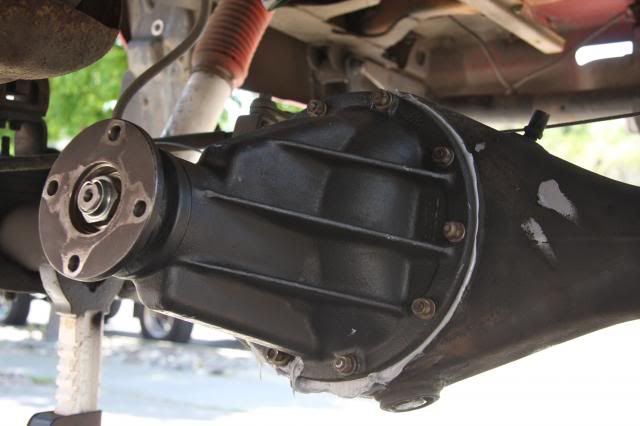
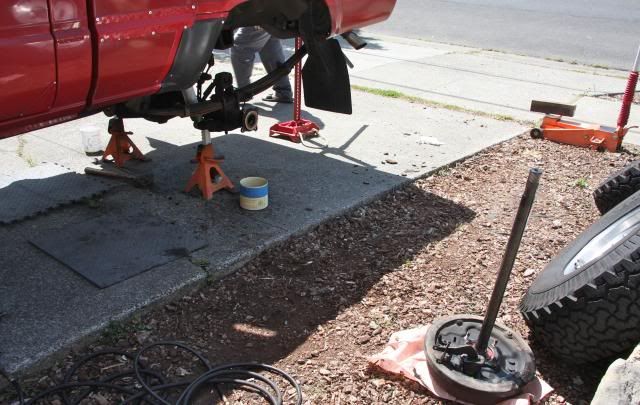
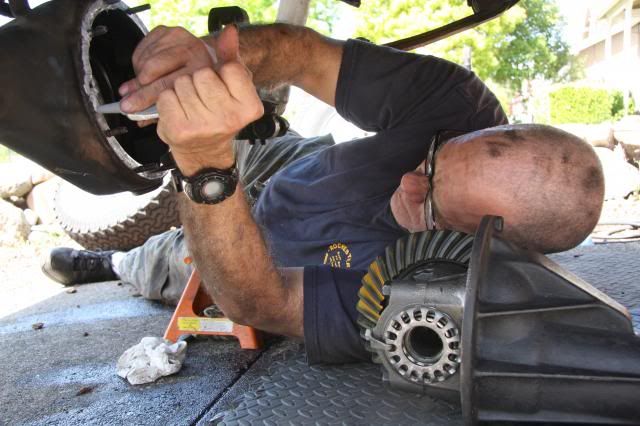
OK so we put it on and finger tightened the fasteners so the goop oozed a bit. Then we waited about 1 hour then torqued her down.
Axles in no problem.
Wheels on.
Sweet simple 85.
Jacked up and wheels off.
Misc / brake lines, 4 bolts to release axle
So far so good
No problem, nothing frozen to prevent removal.I bought seals this morning, wrong ones. so the seals stay in. they looked good.
The old diff was a bear to get off, all the stud bolts ok, the bottom one was frozen, a good 30 minutes later and she is free.
Free bird
all of the old gasket stuck to the old third, the axle surface was clean. I used Permatex ultra grey/ 82194, I did not skimp on the application.
As you can see.
OK so we put it on and finger tightened the fasteners so the goop oozed a bit. Then we waited about 1 hour then torqued her down.
Axles in no problem.
Wheels on.
04-12-2013, 06:30 PM
#96
Registered User
Thread Starter
Getting closer
http://i561.photobucket.com/albums/s...pse73418a6.jpg
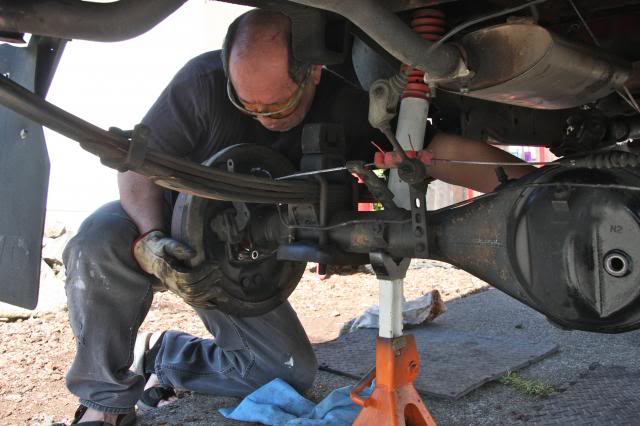
Good a second friend shows up to help bleed the brakes, so I could take pictures.
Pedal pump hold, no fluid passing through bleed nipple.
So I removed both nipples and wire wheeled them clean. back in and brakes bled.
 .
.Done, she will rest overnight so the Permatex cures further.
I am itching to take her for a 20 min warm up cool down.
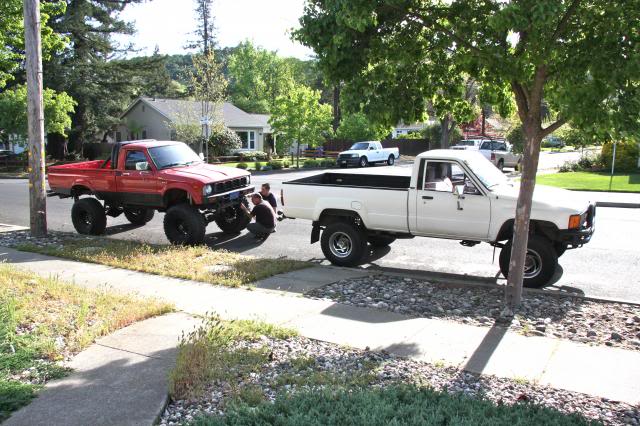
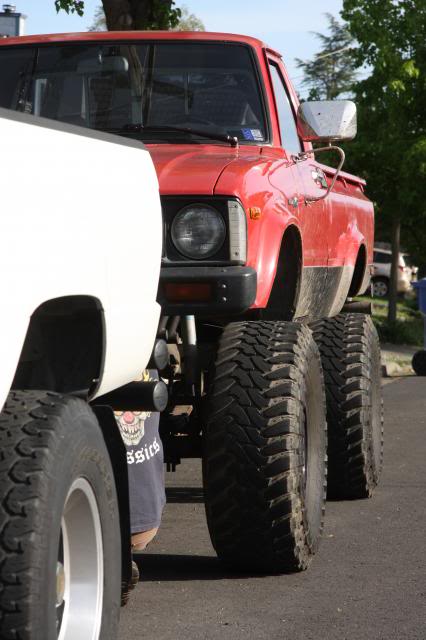
I could not have done it without Francis (white rig), and Evan ( red rig )
 04-13-2013, 06:41 PM
#100
Registered User
nice man!!
Looks great. I just did a diff almost exactly the same as you did. I used black permatex instead of the grey. Those axle seals and the little rubber seal on the outside last a long time. I wouldn't worry about not changing those out. It is rare they go out.
Looks great. I just did a diff almost exactly the same as you did. I used black permatex instead of the grey. Those axle seals and the little rubber seal on the outside last a long time. I wouldn't worry about not changing those out. It is rare they go out.


