
Taylor's 1993 Fo'runna


 Jun 2, 2014 | 06:58 AM
#47
Thread Starter
Registered User
Joined: Mar 2010
Posts: 71
Likes: 0
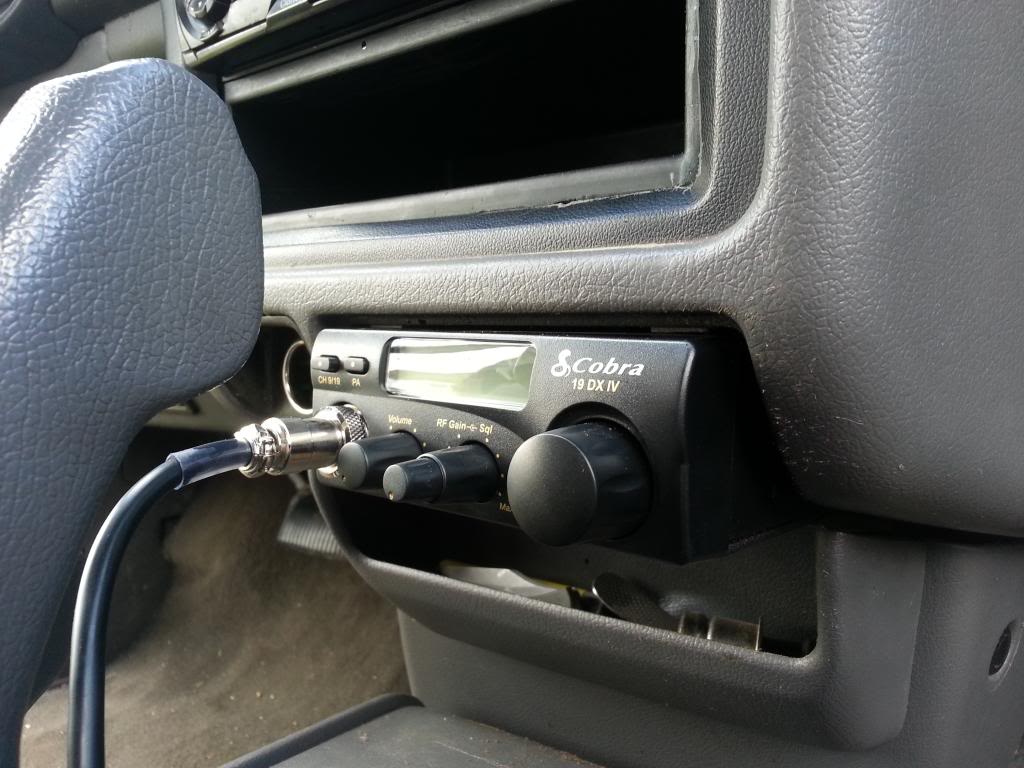
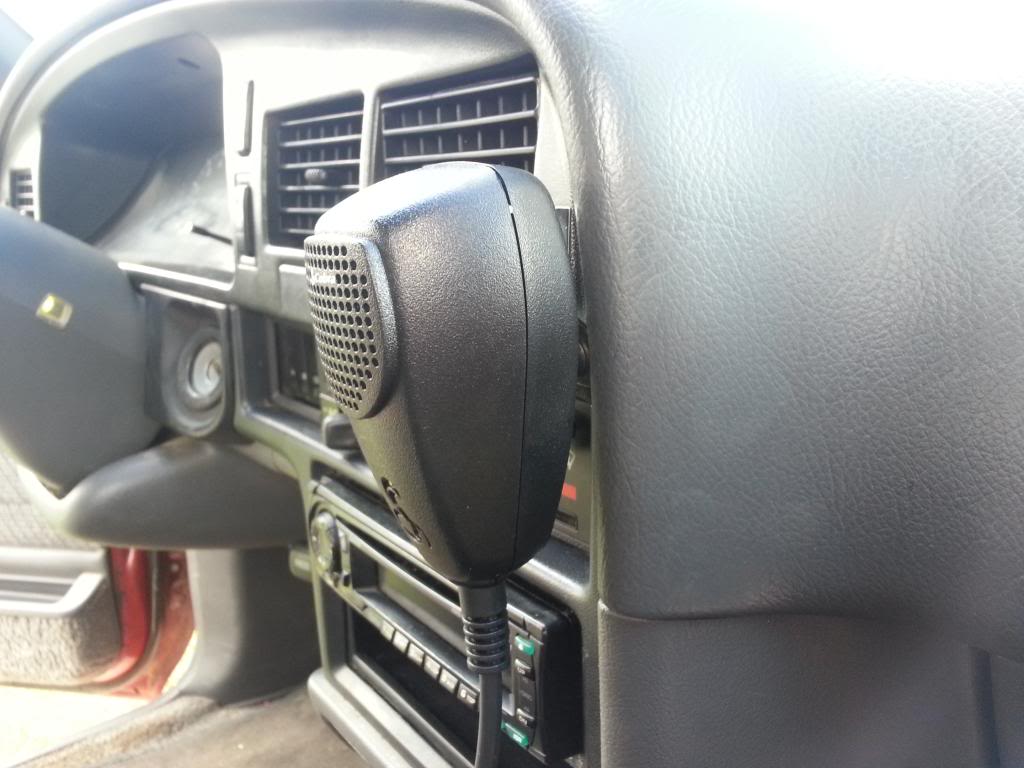
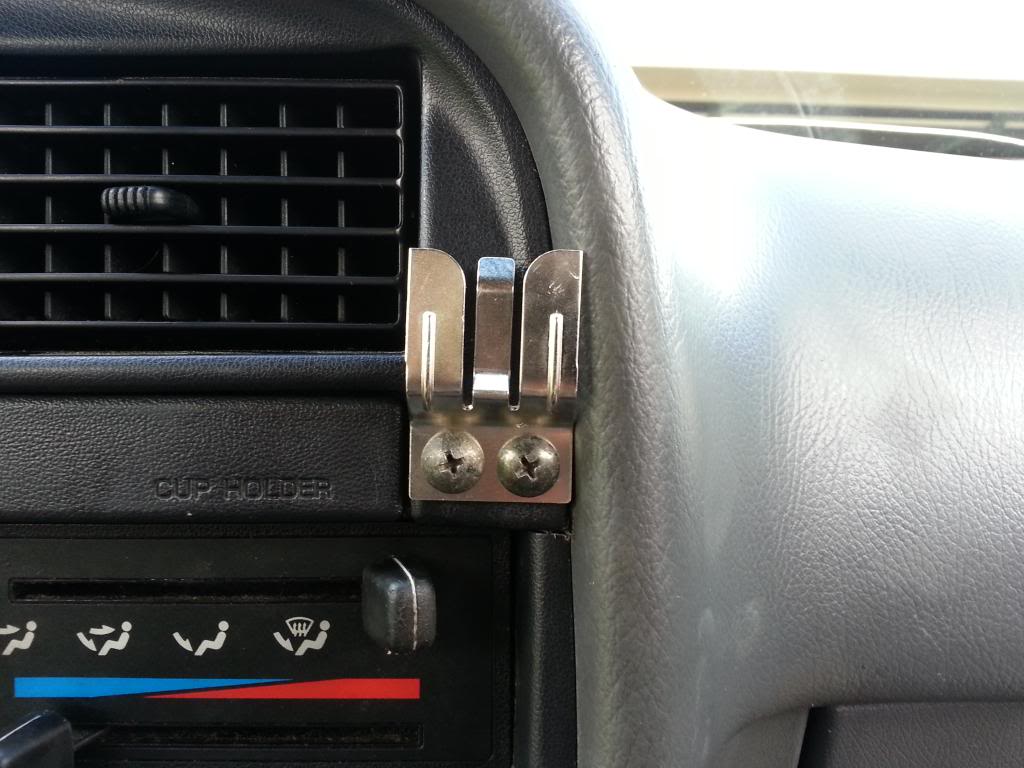
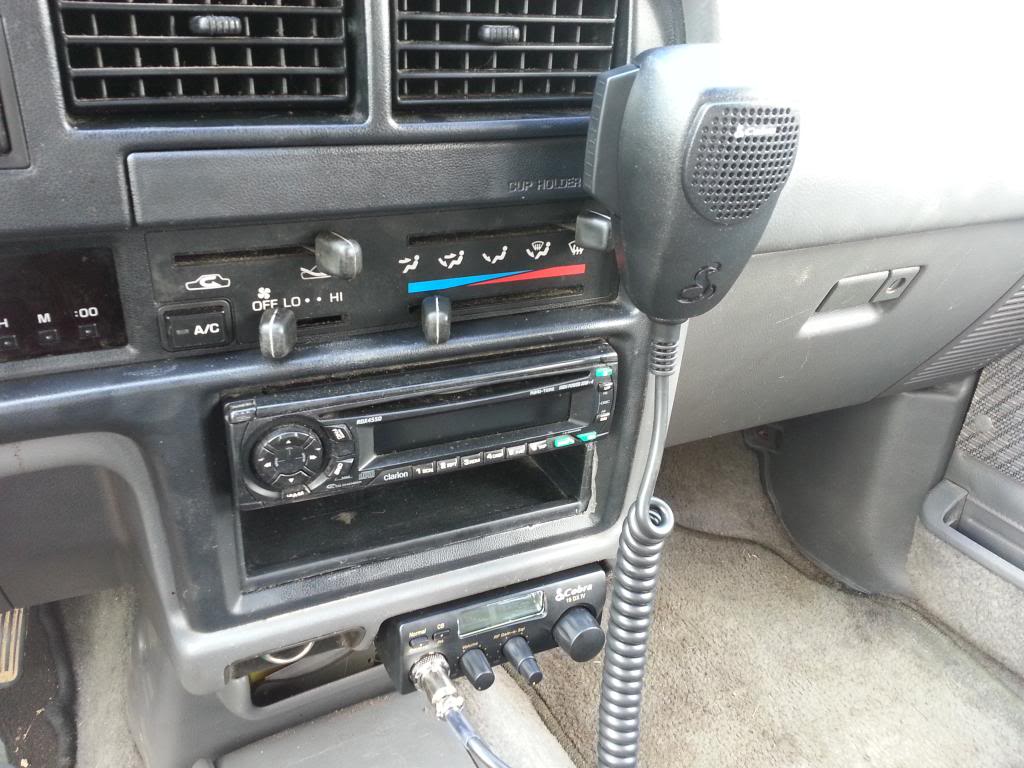
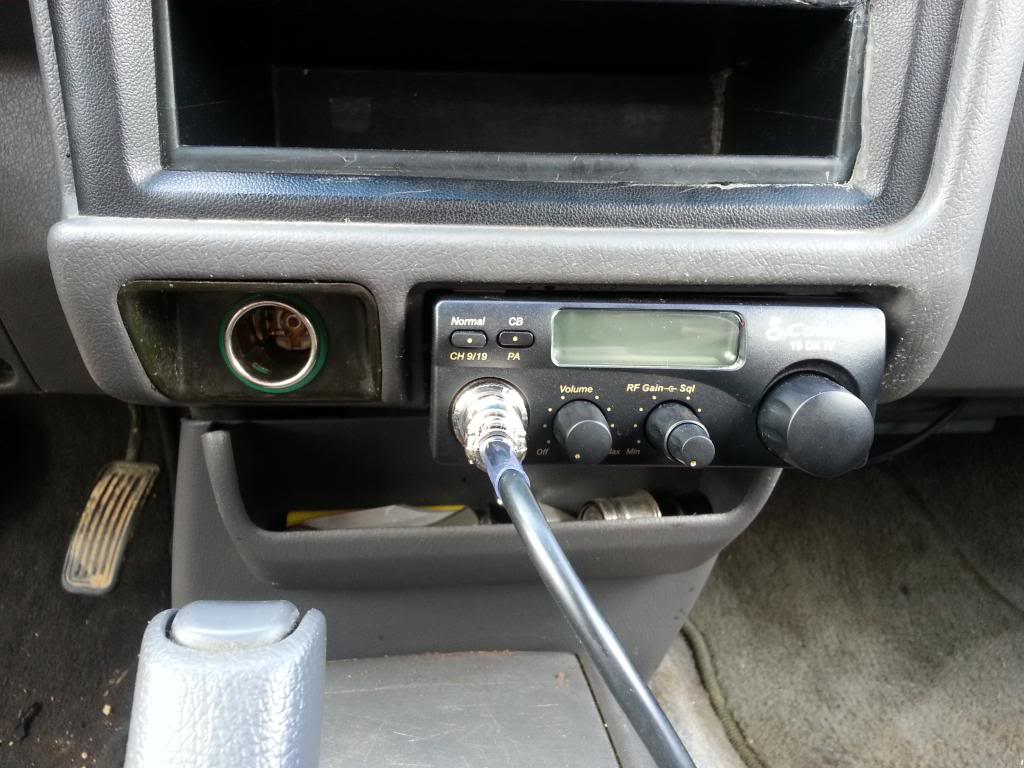
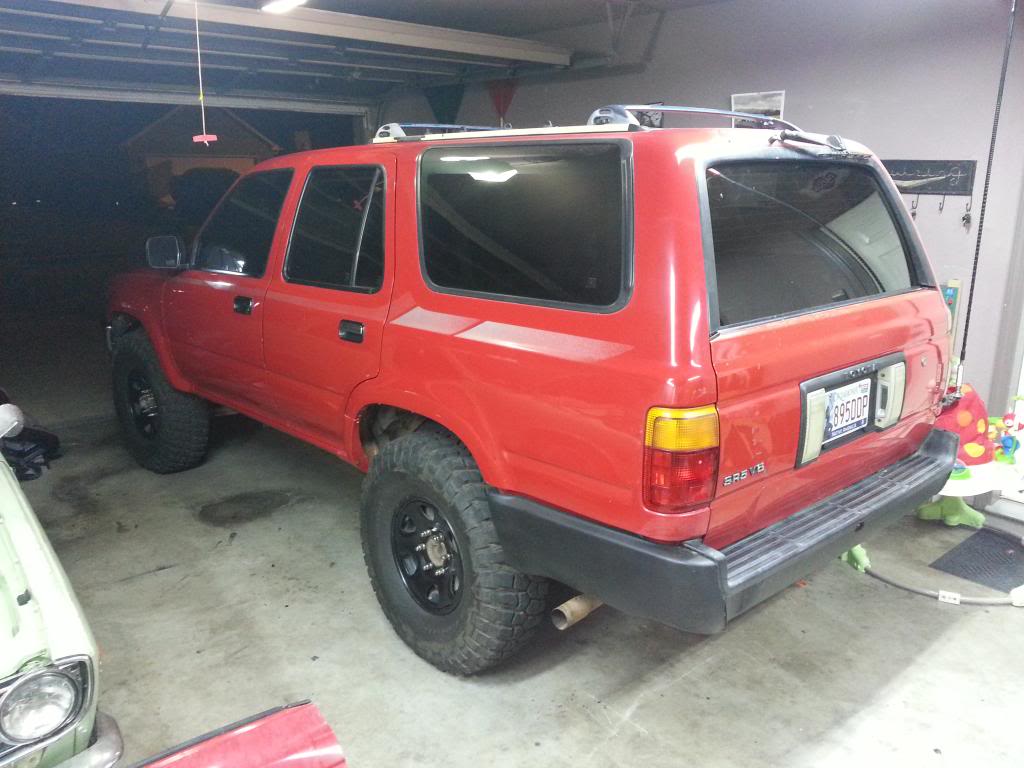
Well, got my CB install done over the weekend! COULDN'T BE HAPPIER! I love how it fits, like it came that way from factory... Install was a breeze and everything works just as it should! PA speaker is mounted under the hood on the passenger side, no photos though...
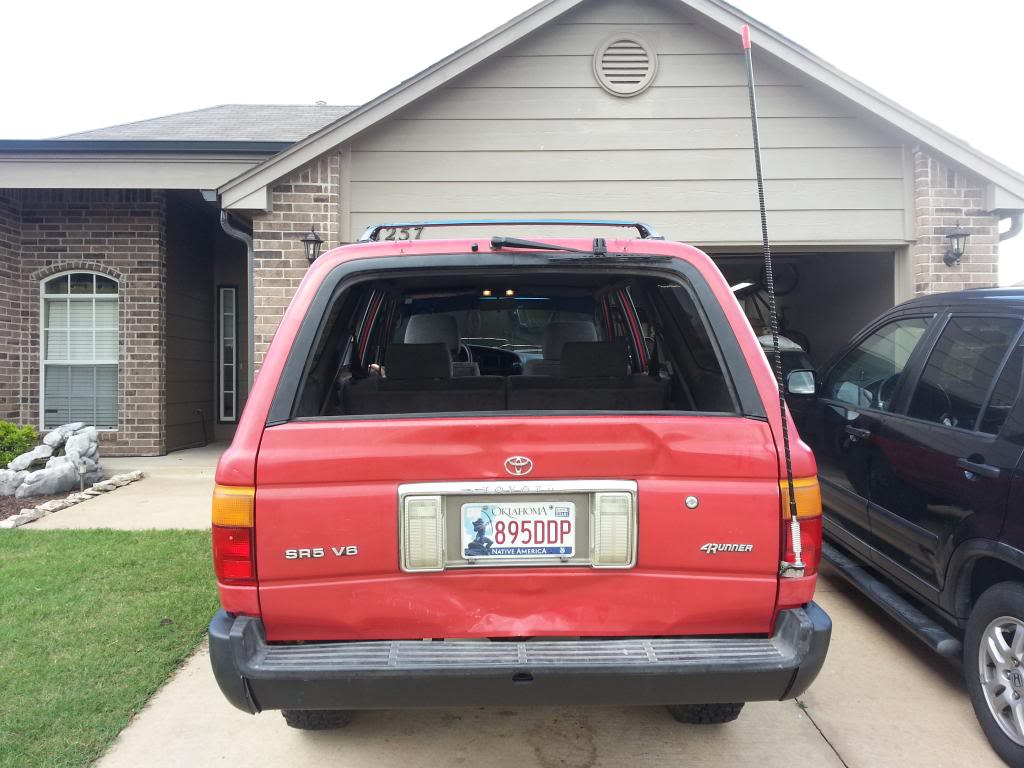
Ass shot... (notice I refinished my rear bumper too! Scuffed it with 60 grit sandpaper then coated it with rattle can bedliner. Turned out AWESOME!!!)
(Also, don't mind the smashed in tailgate and don't ask what happend, LOL, that's the sort of stuff that happens when you actually use your truck and take it out on the trail... I'll be getting a replacement soon!)
Here's the links to everything I bought.
RADIO
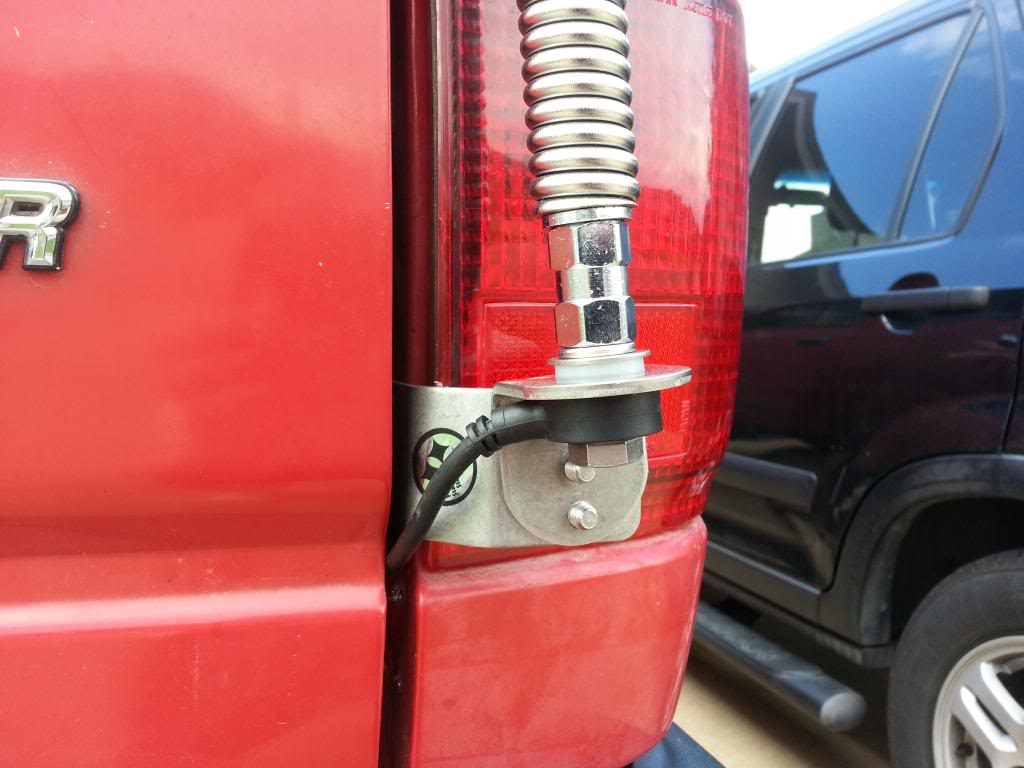
ANTENNA
MOUNT AND CABLE
ANTENNA SPRING
PA SPEAKER


Ass shot... (notice I refinished my rear bumper too! Scuffed it with 60 grit sandpaper then coated it with rattle can bedliner. Turned out AWESOME!!!)
(Also, don't mind the smashed in tailgate and don't ask what happend, LOL, that's the sort of stuff that happens when you actually use your truck and take it out on the trail... I'll be getting a replacement soon!)

Here's the links to everything I bought.
RADIO
ANTENNA
MOUNT AND CABLE
ANTENNA SPRING
PA SPEAKER

 Jun 2, 2014 | 07:11 AM
#49
Thread Starter
Registered User
Joined: Mar 2010
Posts: 71
Likes: 0
I said "don't ask what happened!" hahahaha I rolled back into the guy behind me on the K-Trail! It was a 2013 4runner, he sits a little higher than I do, so it missed my bumper. Window was down when it happened, so it shattered...
Jun 4, 2014 | 09:58 AM
#50
Thread Starter
Registered User
Joined: Mar 2010
Posts: 71
Likes: 0
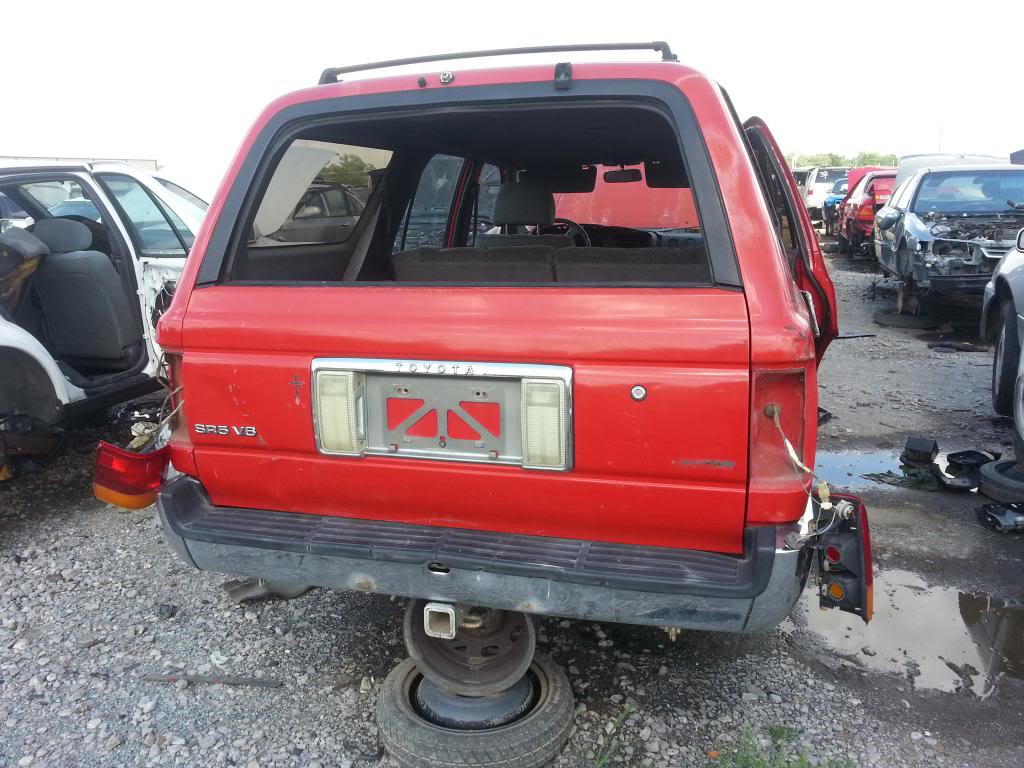
Well, as you all saw in the CB install post, I smashed my tailgate and busted out the back window a couple weeks ago... yesterday, on a random whim, I decided to go to the local pull-a-part down the street from my job... I searched the nearly the entire yard looking for a 4runner and had ALMOST given up hope when on the LAST row, in the VERY far corner, I came across this.... BINGO!!!!!!!! Same color and all!!! I pulled it off, took it up front, and it only cost me $66!!! SIXTY SIX DOLL HAIRS!!! Couldn't believe it! Other salvages in the area wanted $175 for a gate and everyone on Craigslist that was parting one out wanted $100+ for their gates! SCORE!!!
 Jun 4, 2014 | 10:03 AM
#51
Thread Starter
Registered User
Joined: Mar 2010
Posts: 71
Likes: 0
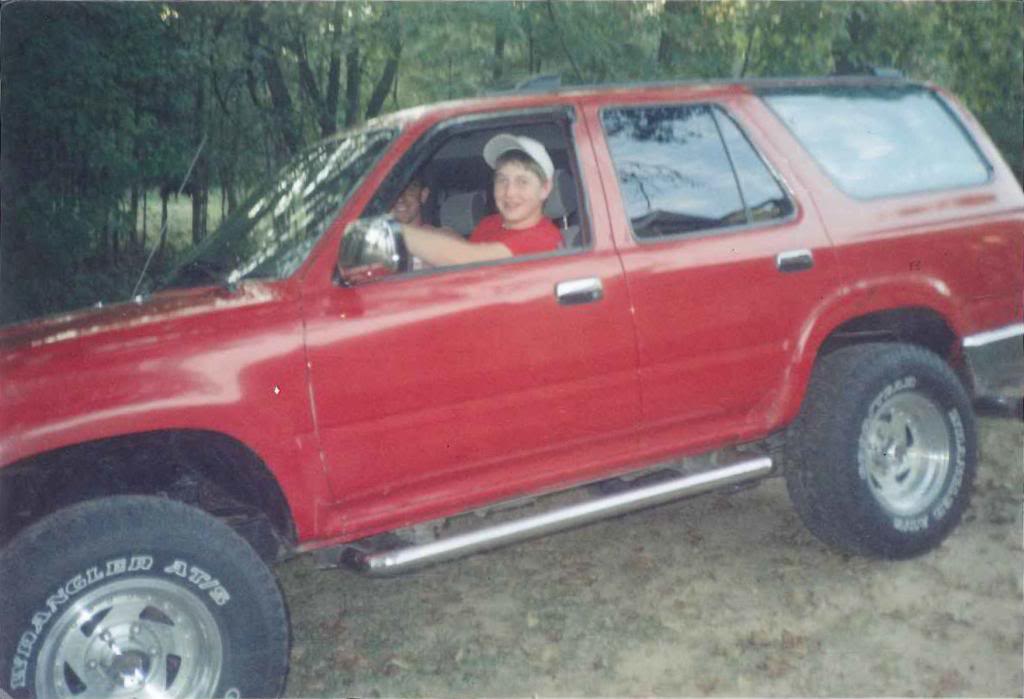
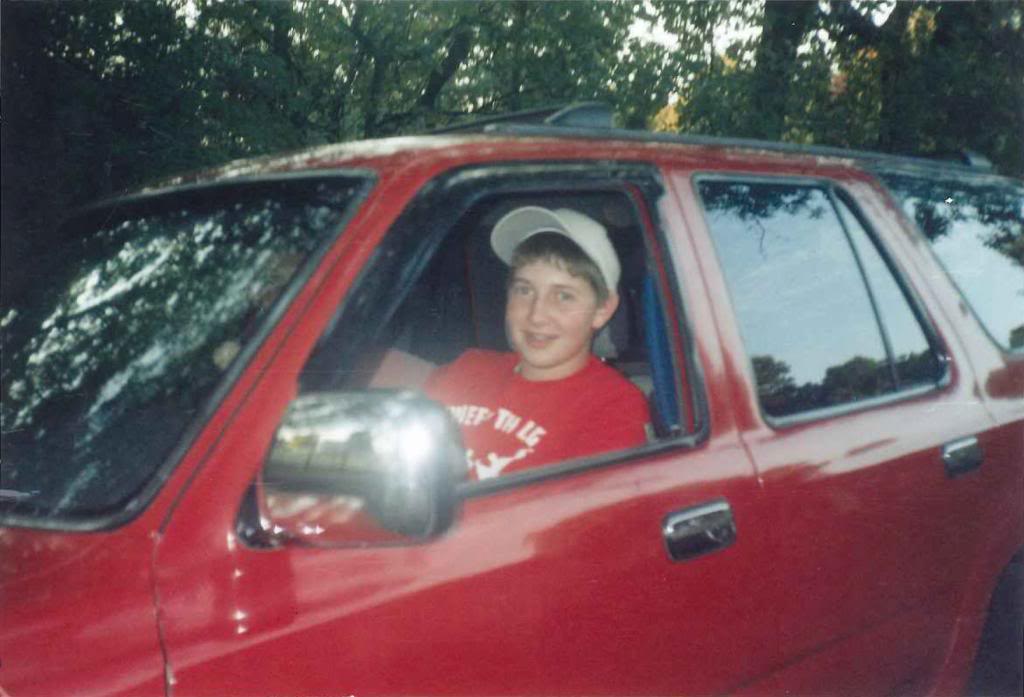
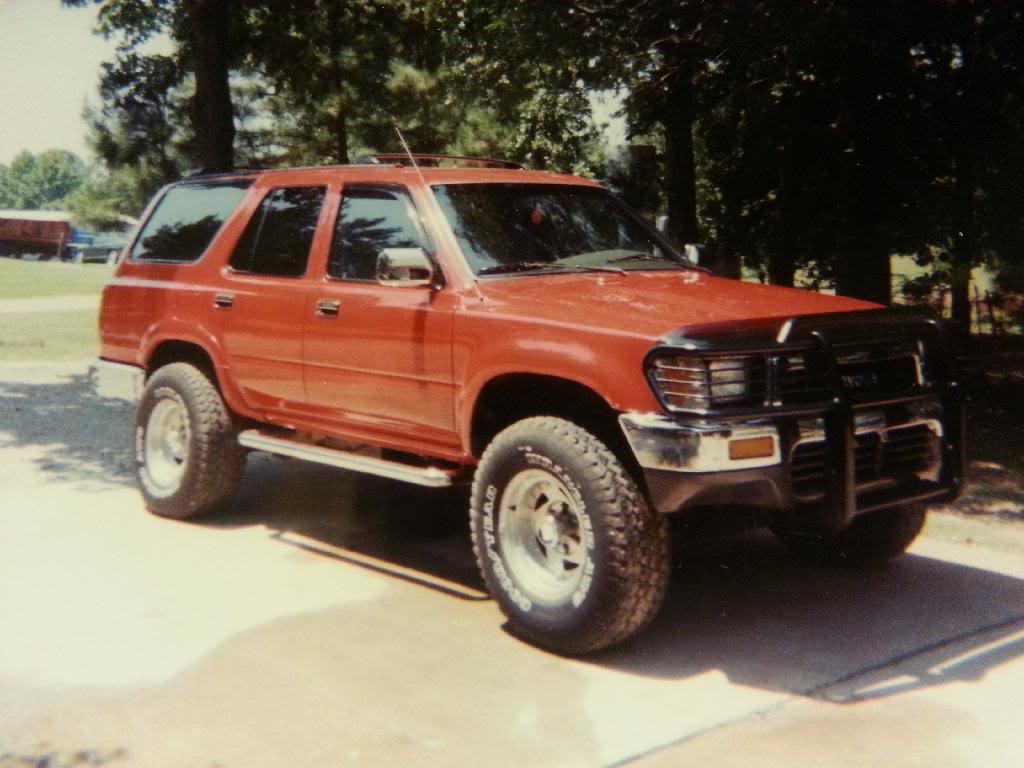
Also, was looking through old photo albums and came across these! This was my first T4R. A 1991 22re 5 speed! I was young, dumb, and had no clue what I had at the time and sold it before my 17th birthday for $3,400! I've been kicking myself for selling it ever since...


 Jun 5, 2014 | 06:14 AM
#52
Thread Starter
Registered User
Joined: Mar 2010
Posts: 71
Likes: 0
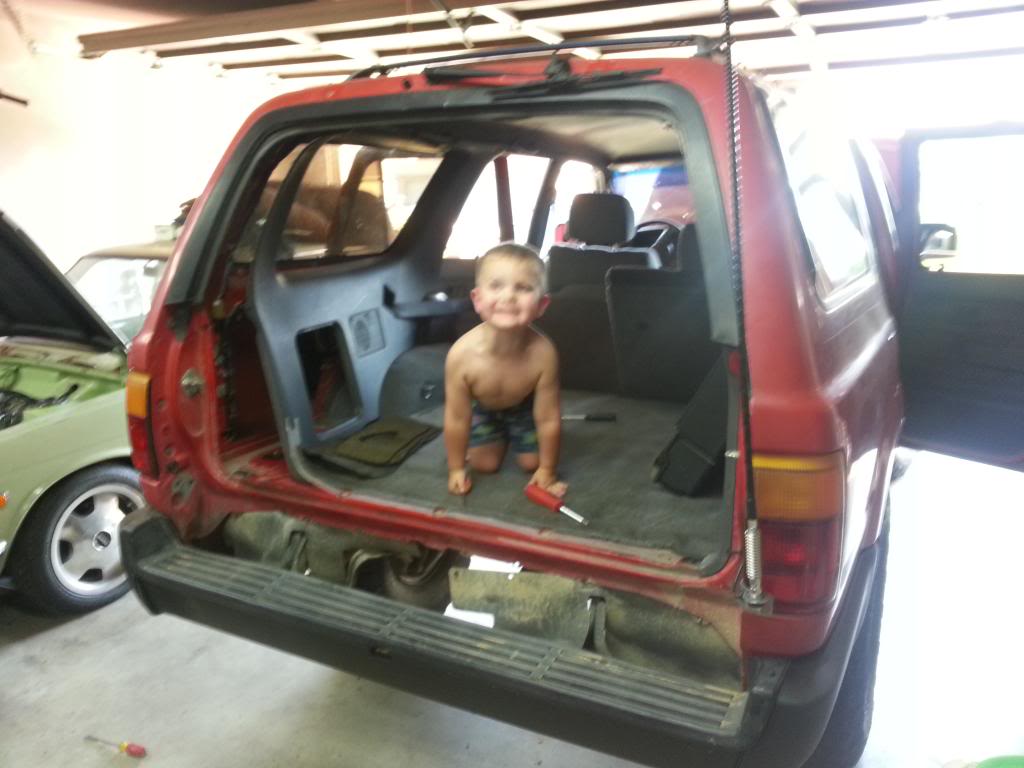
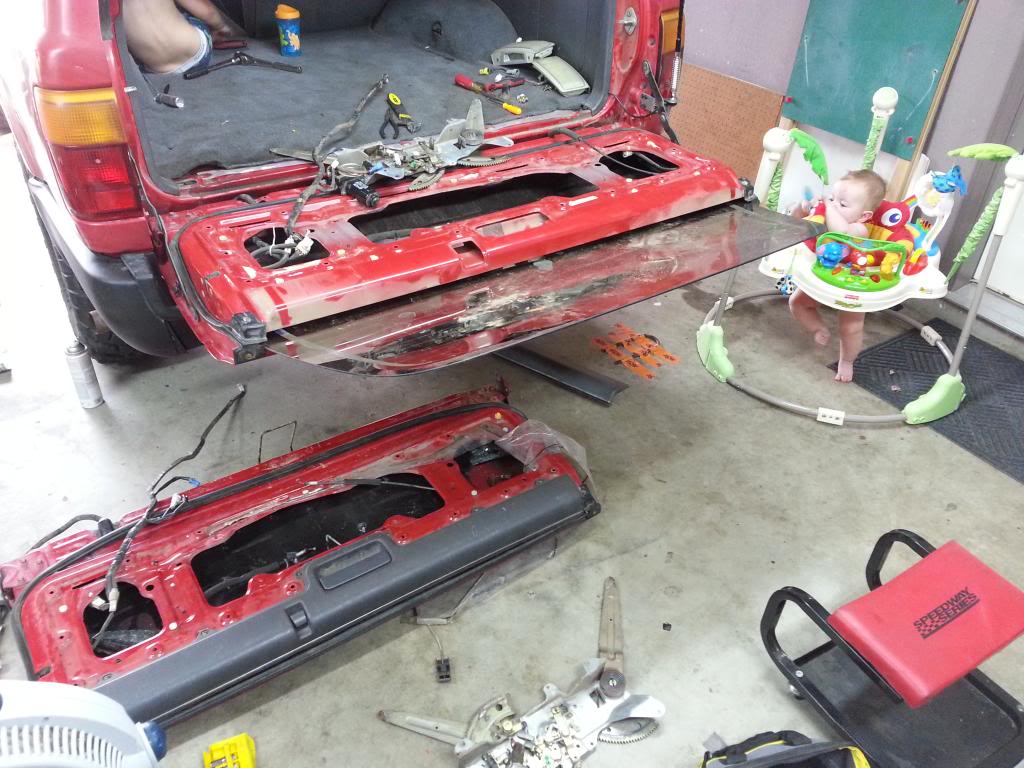
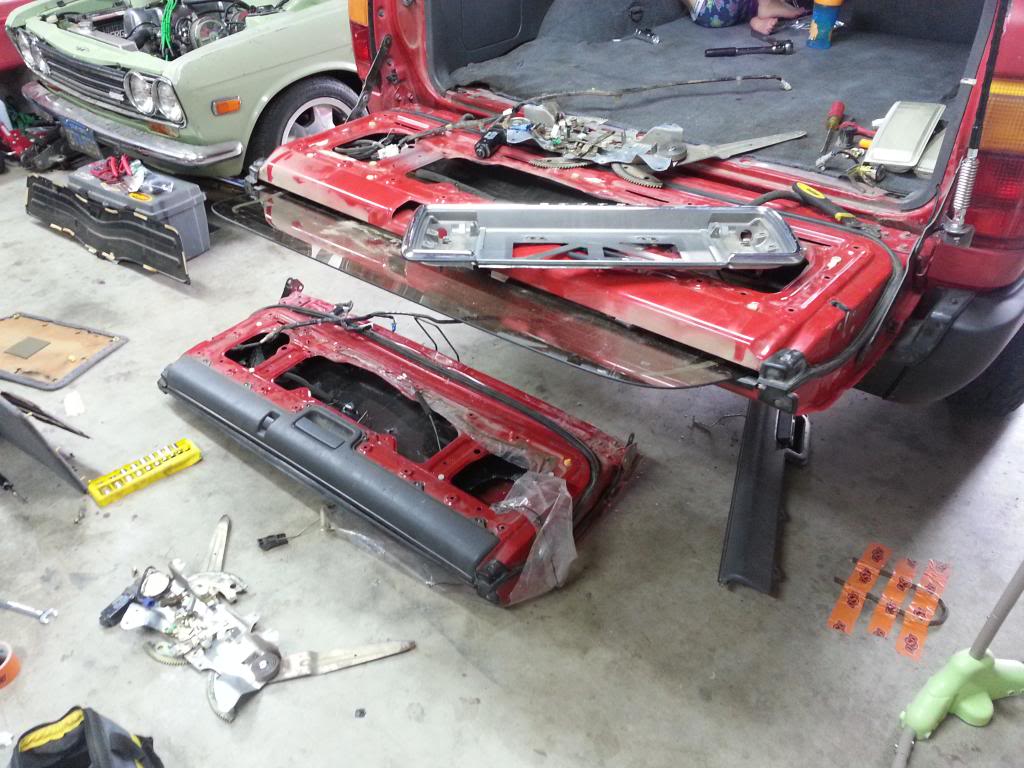
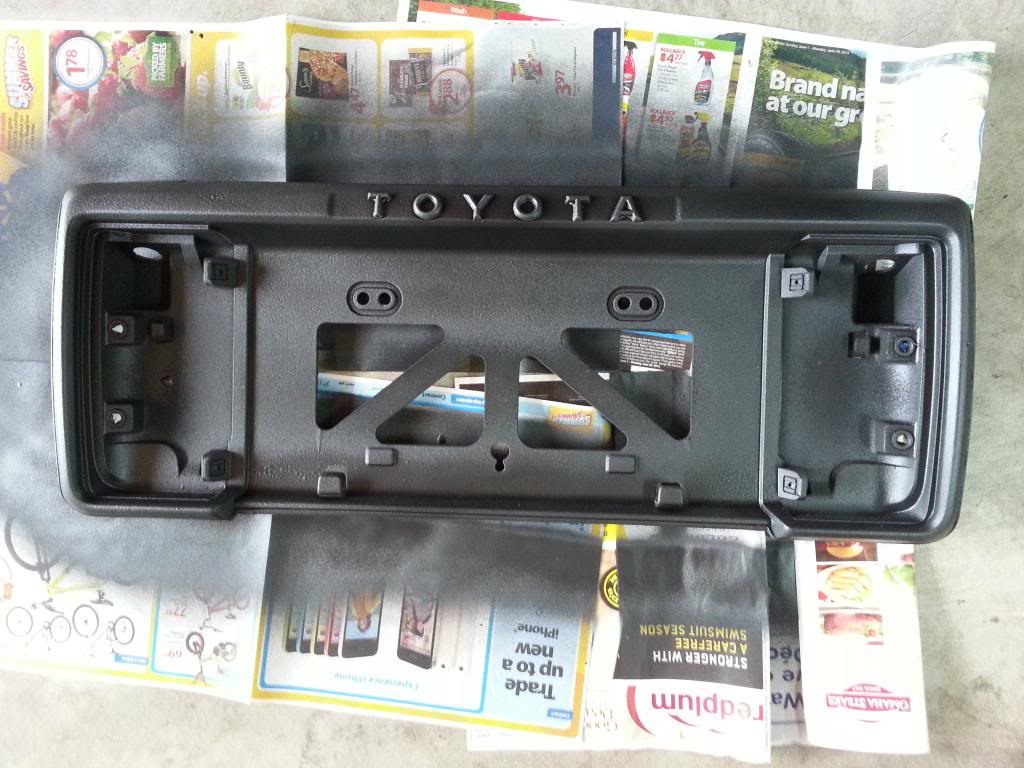
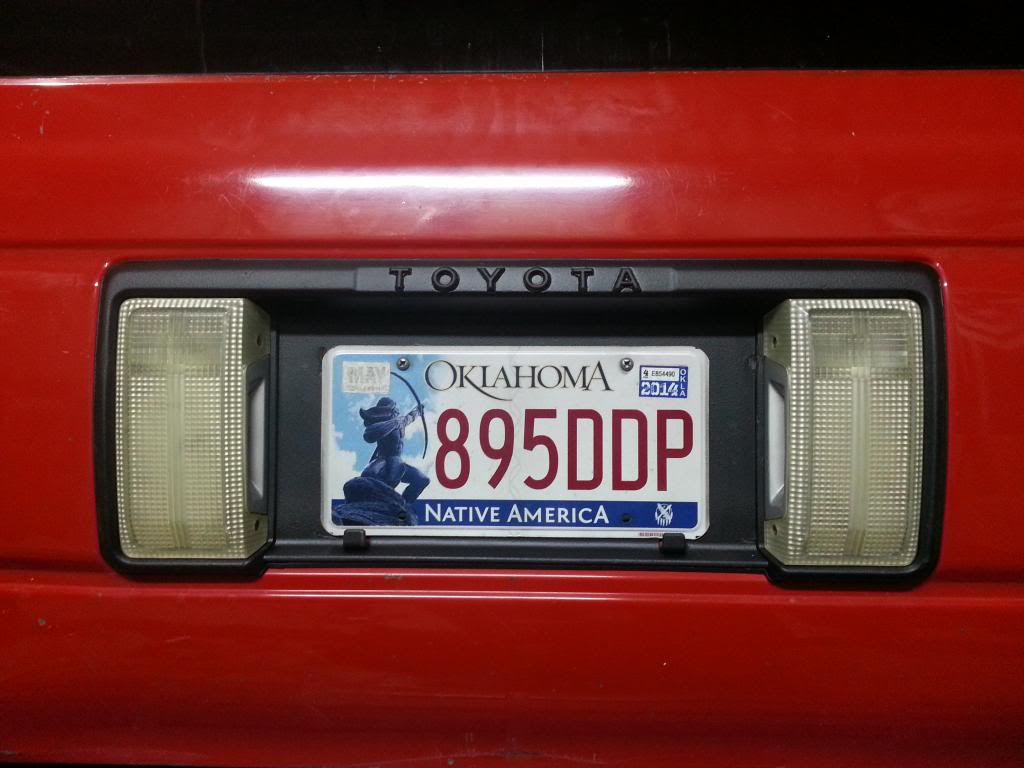
Got to work last night and got the new tailgate installed, painted the license plate frame, and buffed the driver side! Hopefully get the passenger side buffed tonight...
My big helper and right hand man!
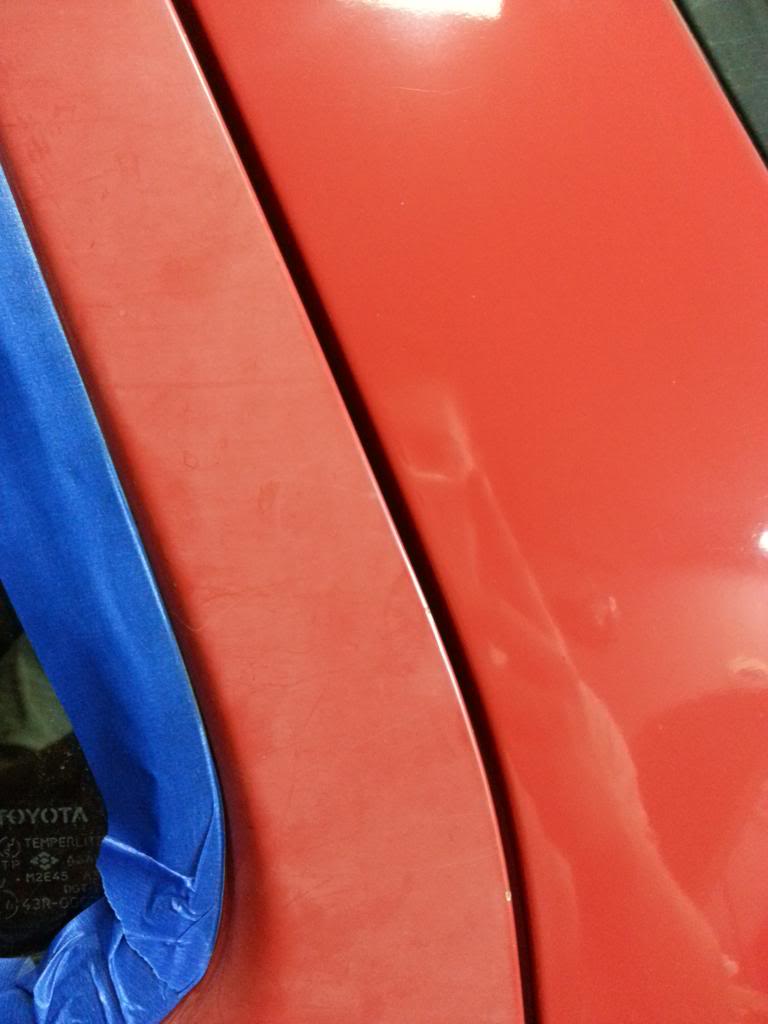
Before and after...
My big helper and right hand man!


Before and after...


 Jun 26, 2014 | 05:23 AM
#58
Thread Starter
Registered User
Joined: Mar 2010
Posts: 71
Likes: 0
VERY NICE. I'm actually planning the same swap in the future. I'm an LS nut. Built an 11 second 5.3 shortwide a couple years back and also had a TBSS. I've got HP Tuners and do a lot of tuning on the side too!
Feb 9, 2015 | 07:42 AM
#60
Thread Starter
Registered User
Joined: Mar 2010
Posts: 71
Likes: 0
Been a while since I updated on here, but lots has happened in the mean time!
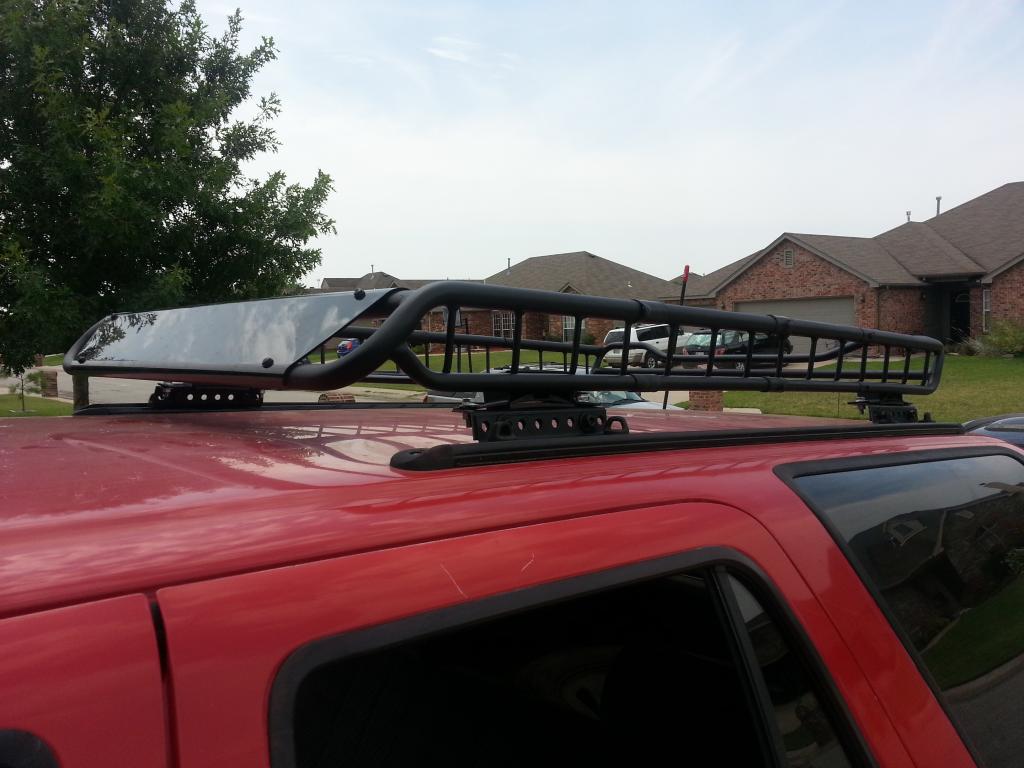
Here she is with the extended roof rack and spare tossed on top!
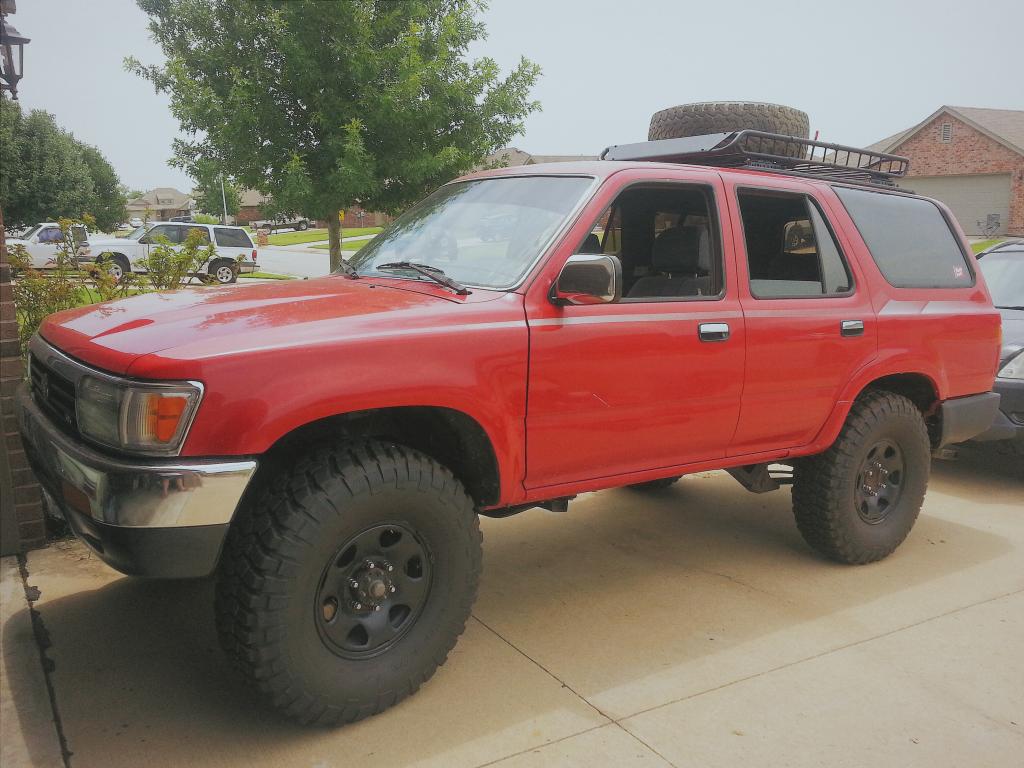
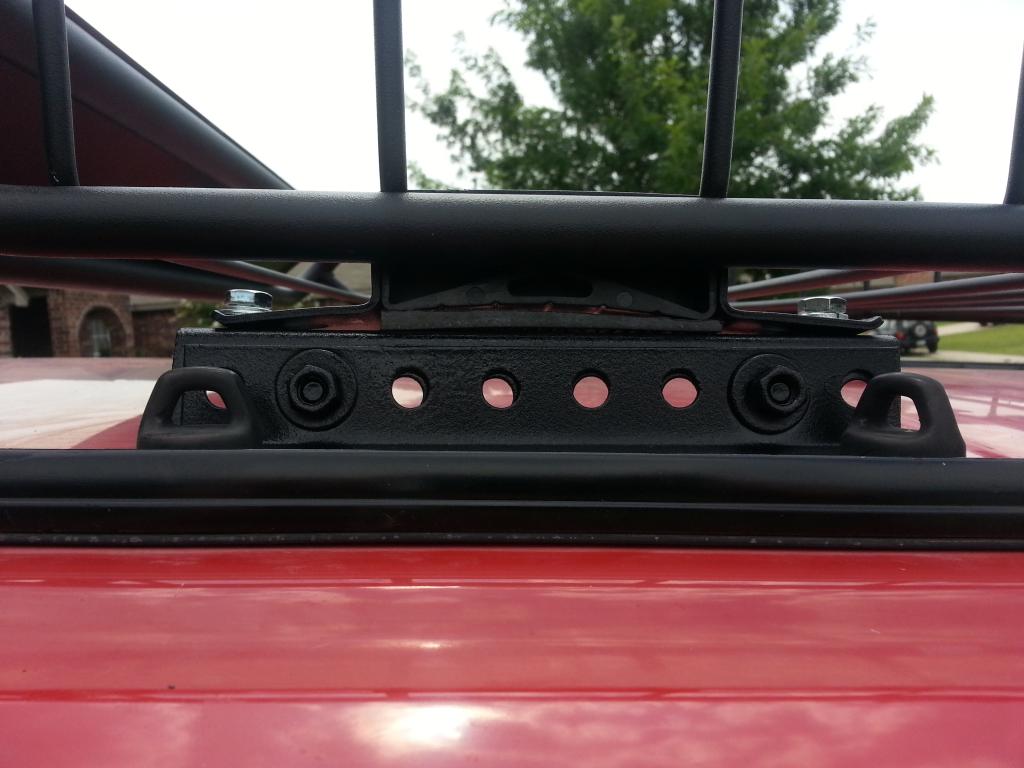
I followed some of the others on here and made my own mounts, which eliminated the stock 130lb rated cross-bars!
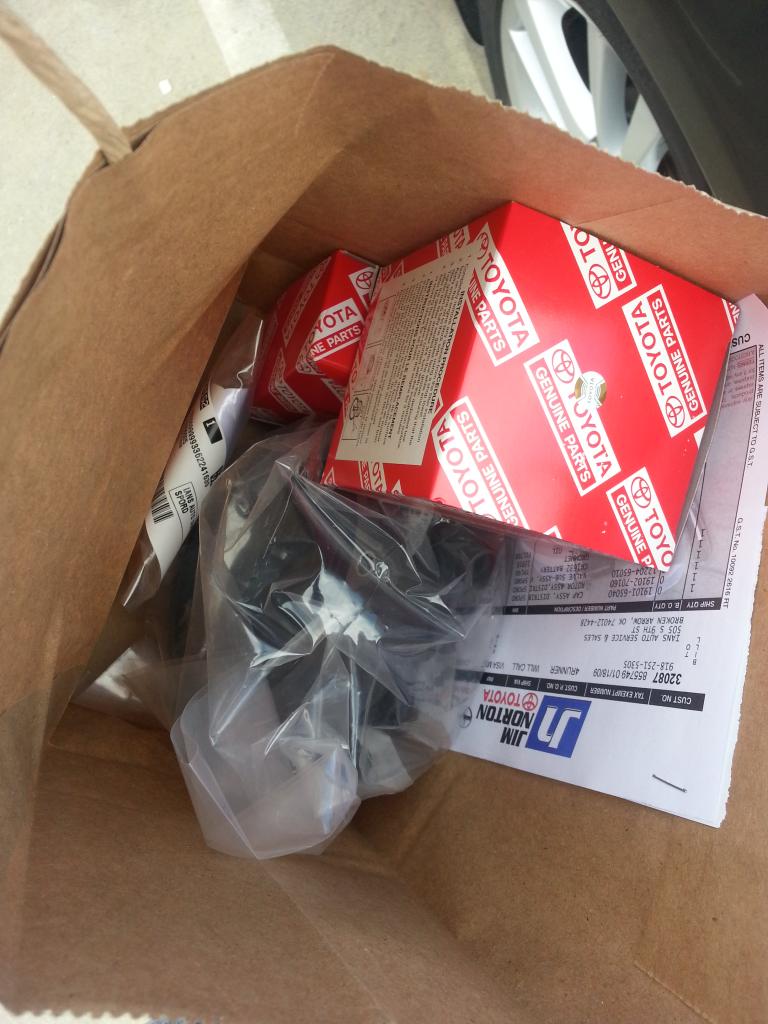
Cap - $21.62, Rotor - $12.17, Plugs - $2.22/ea, and then the wires....... $120?!!?! I know all you guys recommend staying with factory Toyota parts on the ignition system, but I just can't bring myself to pay $120 for 6 wires... I called up Surfside Japanese Auto Parts and they got me some very nice NGK wires for $43... I'll trust Surfside over any big name parts store any day and they will stand behind their products, period.
I ended up getting my brakes all sorted out too, FOR FREE!!! Once I tore into them I discovered the my e-brake cable had a bunch of slack in it, so even if you pulled it all the way out it wasn't pulling the rear-brake auto-adjust lever far enough for the ratchet mechanism to click over another tooth... so they weren't auto-adjusting! The shoes had plenty of material, the springs were tight, and the cylinders weren't leaking... so I just adjusted the auto adjusters out to where the shoes were just BARELY kissing the drums, then tightened up the slack out of my e-brake, and now the rear brakes and e-brake both work like new and the auto-adjusters should do their job from now on! Can't beat an easy and free repair!
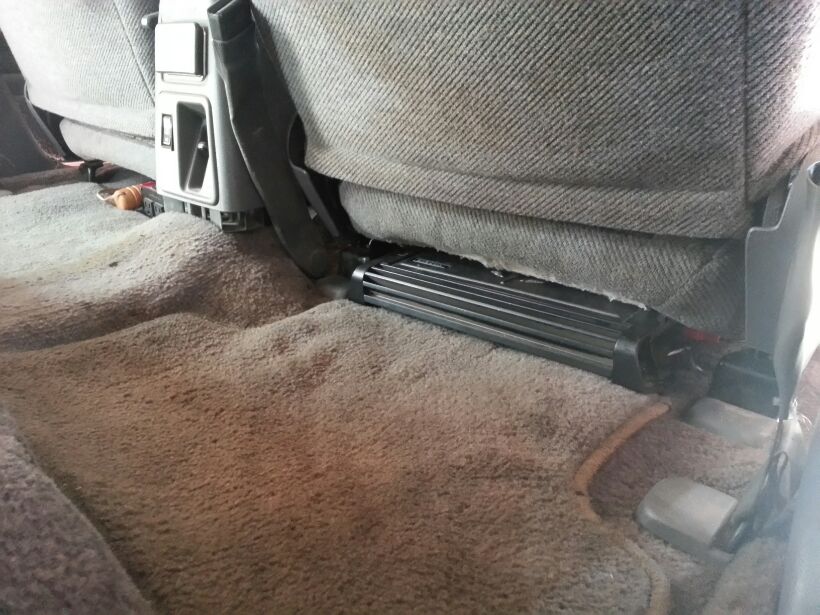
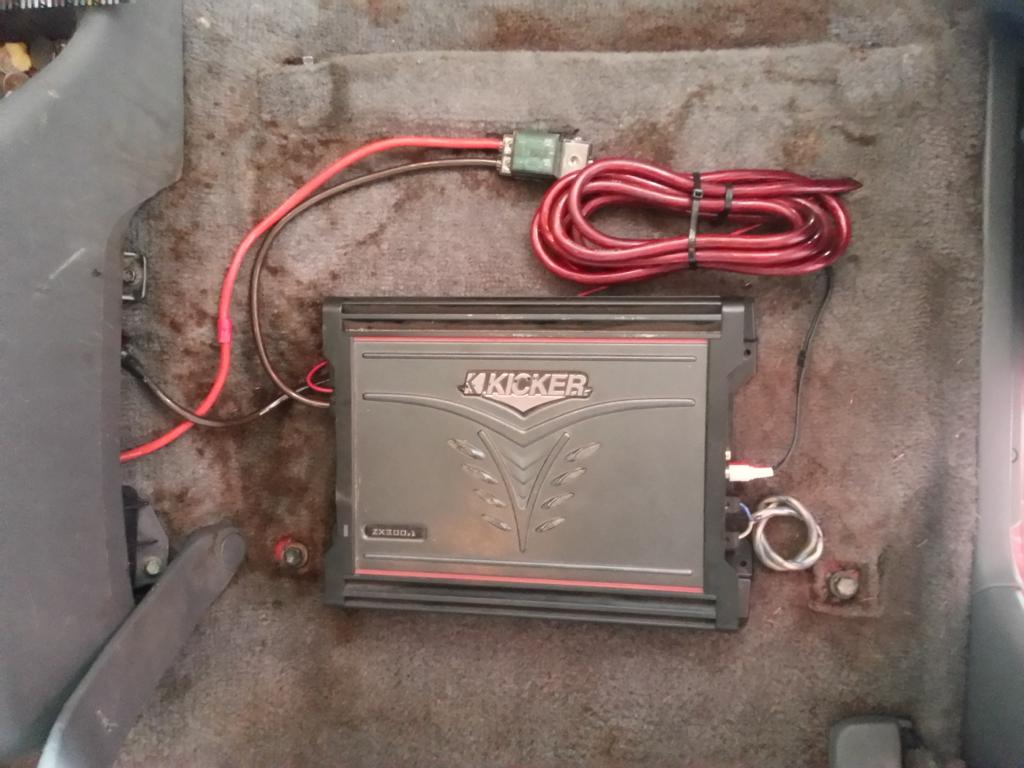
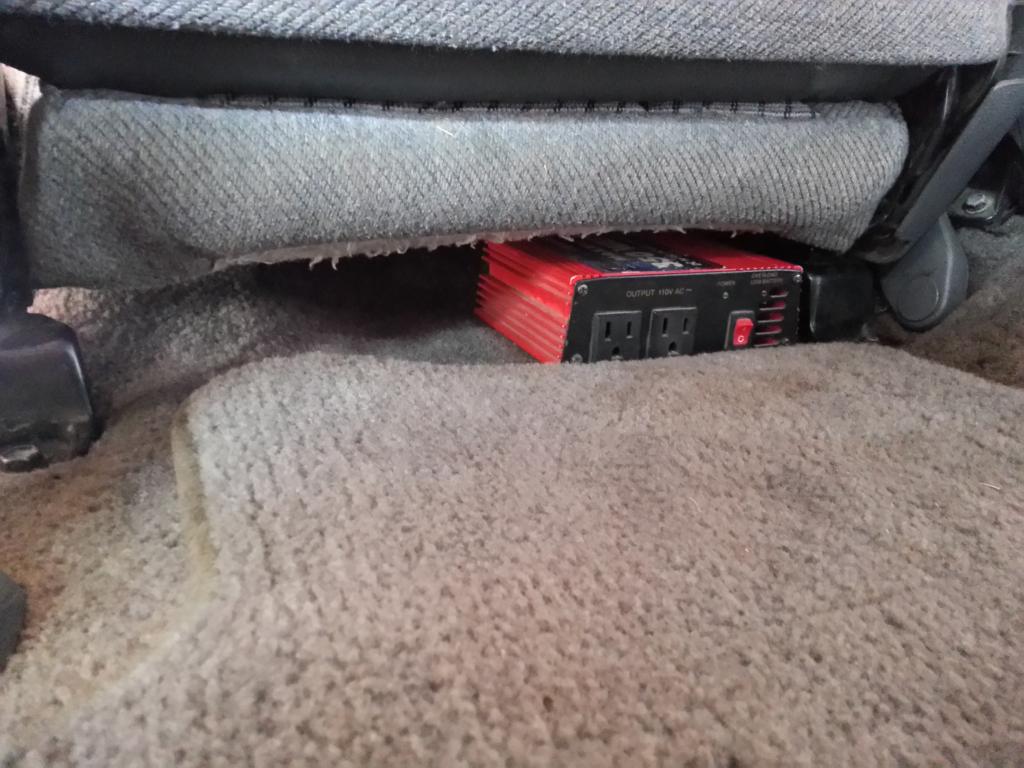
Also, got around to wiring up my power inverter, amp, and sub! Ran 4ga from battery to dist block, then 8ga to the amp and inverter! Please ignore the disgusting carpet... that's from the previous owner and is on my to-do list!

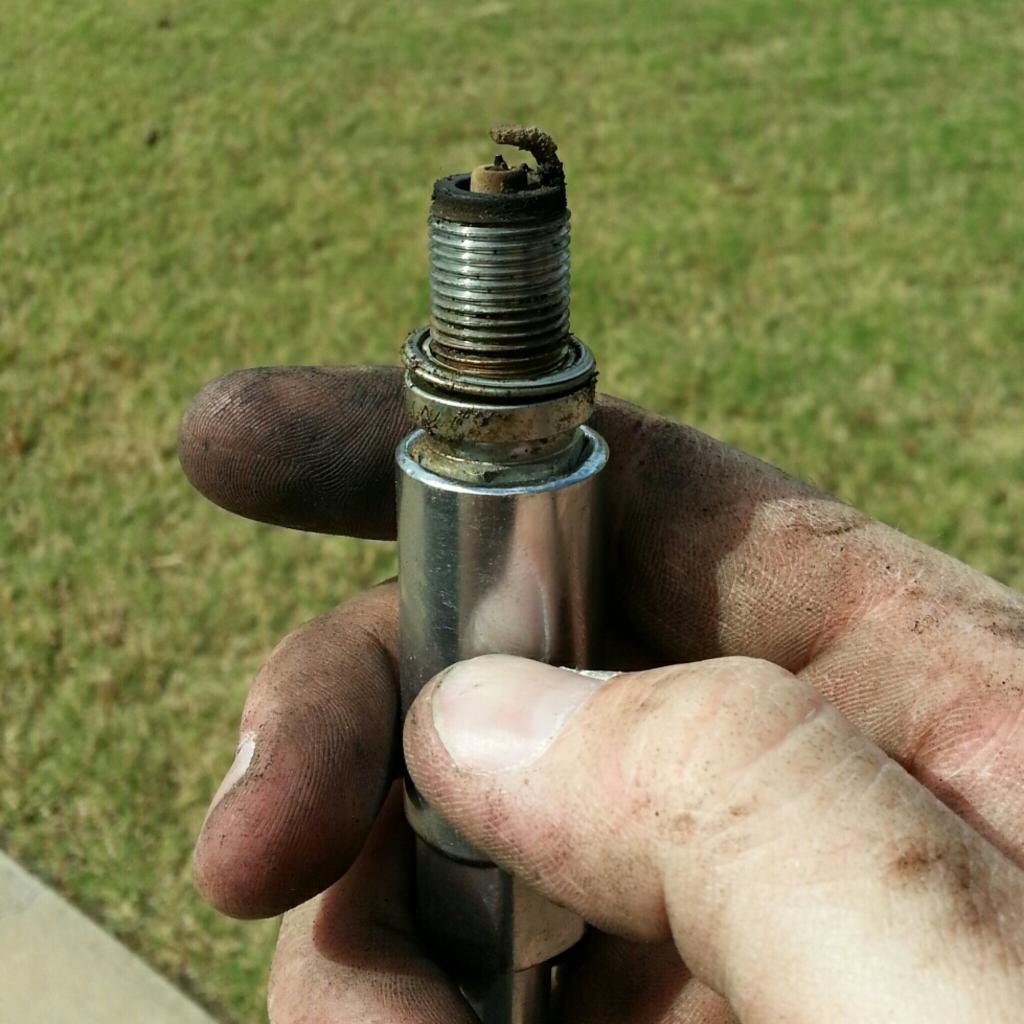
Got the tune up completed!
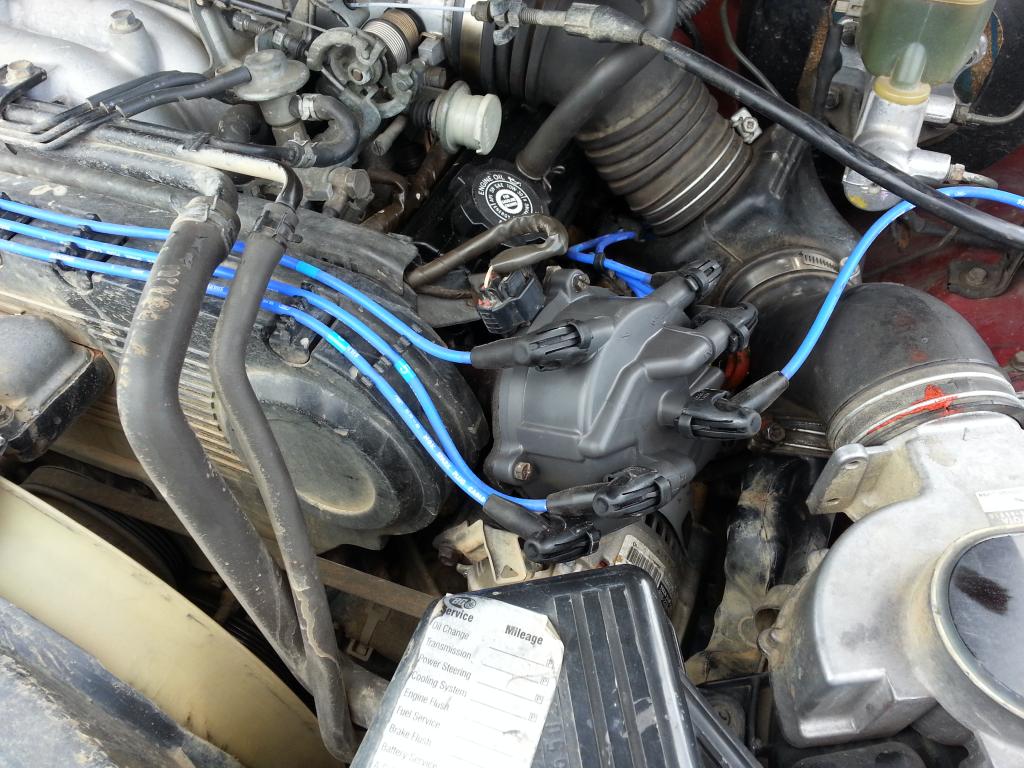
While I was in there I found the ugly gremlin that had been making it surge and run rough at idle....
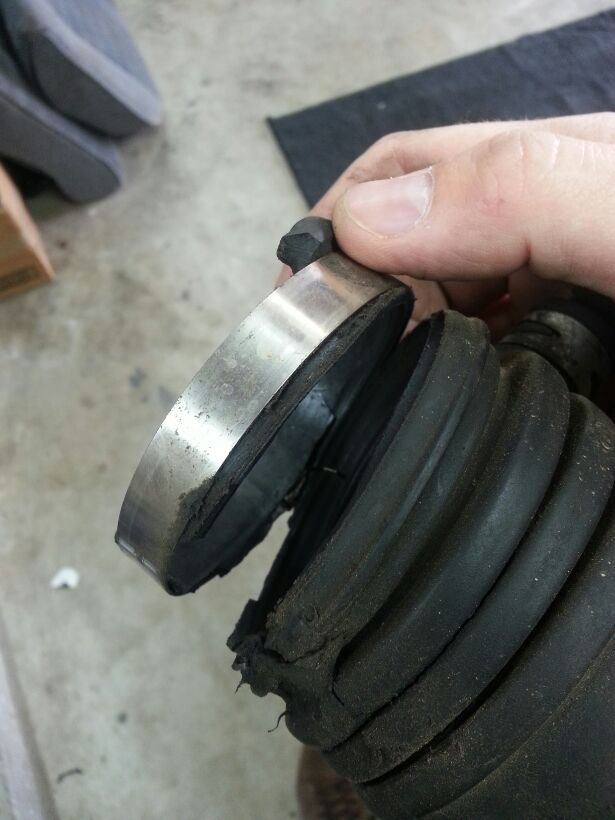
More nastiness...

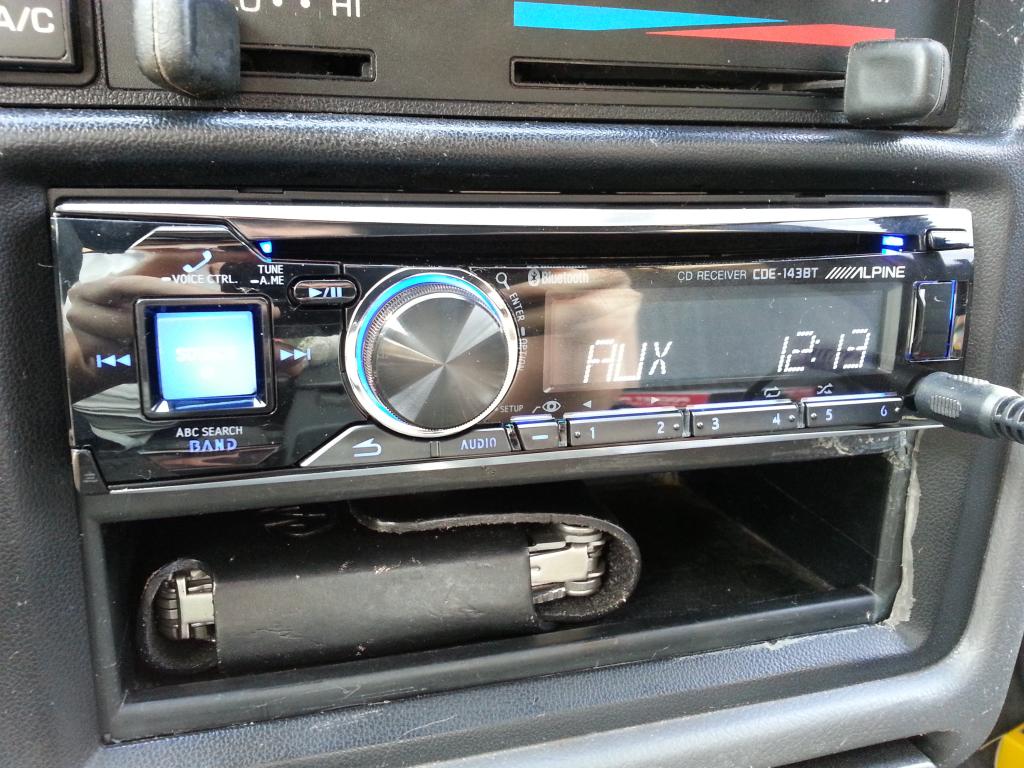
Also, the wifey surprised me with a trip to best buy and she let me pick out a new stereo for the rig for my birthday!
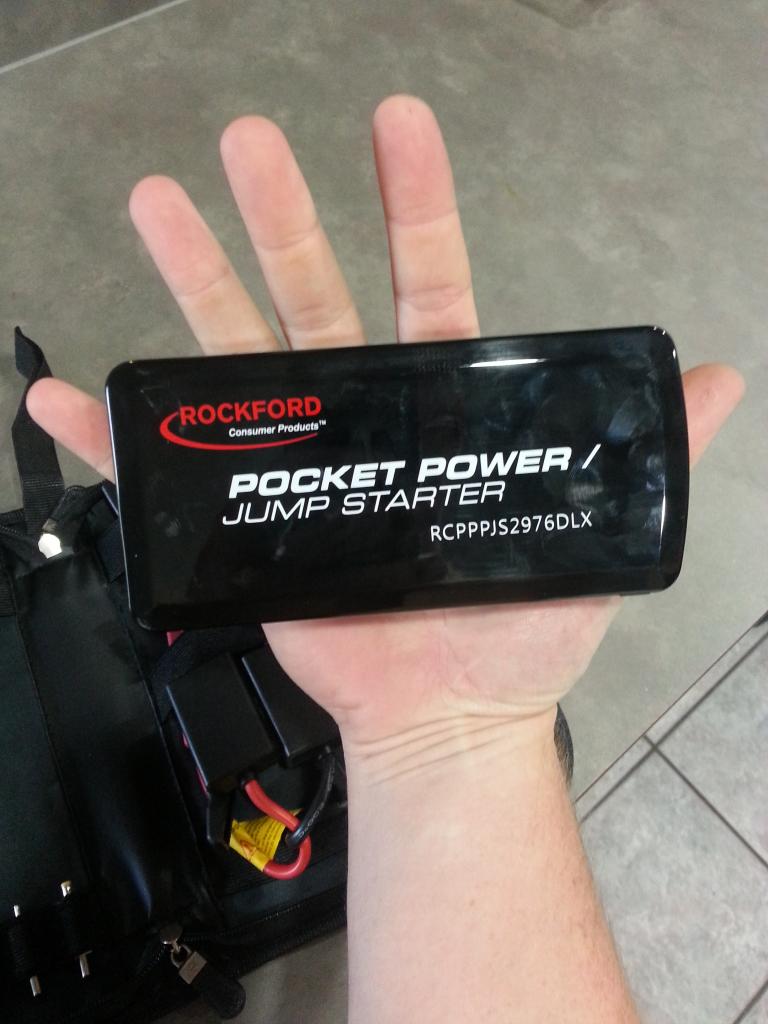
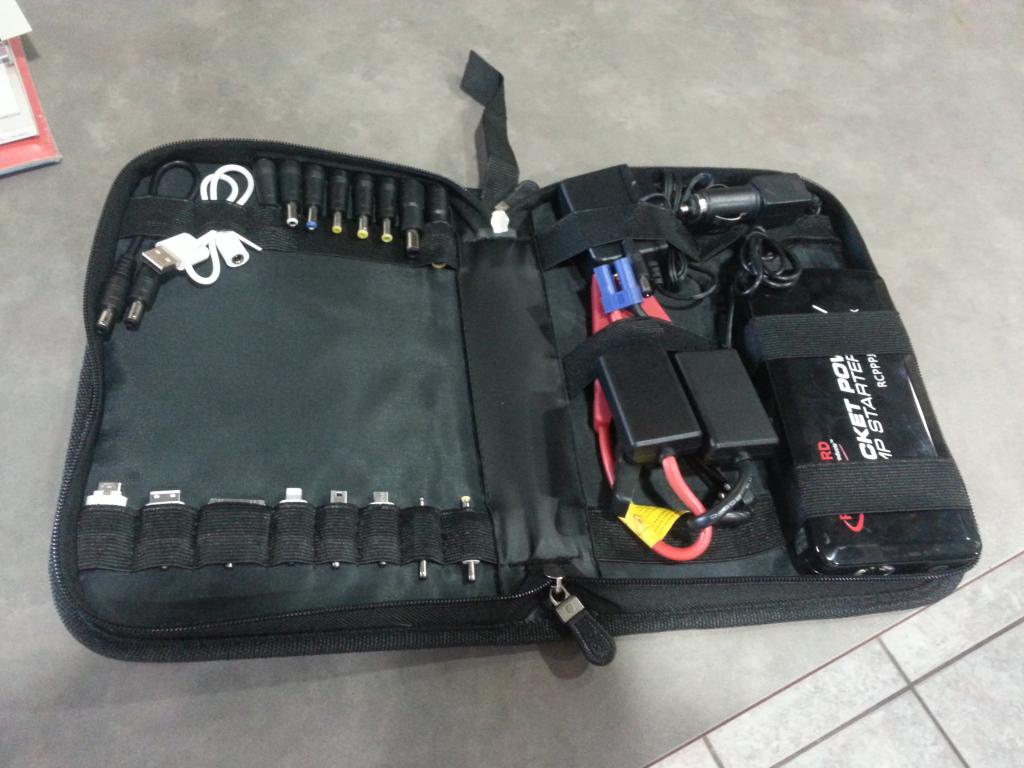
AND she gave me this bad boy! It's a pocket power jump start pack, and it will also power just about anything... laptop, cellphone, or whatever, its got the juice to do it! that tiny thing can jump start a car 20 times on one charge!!!
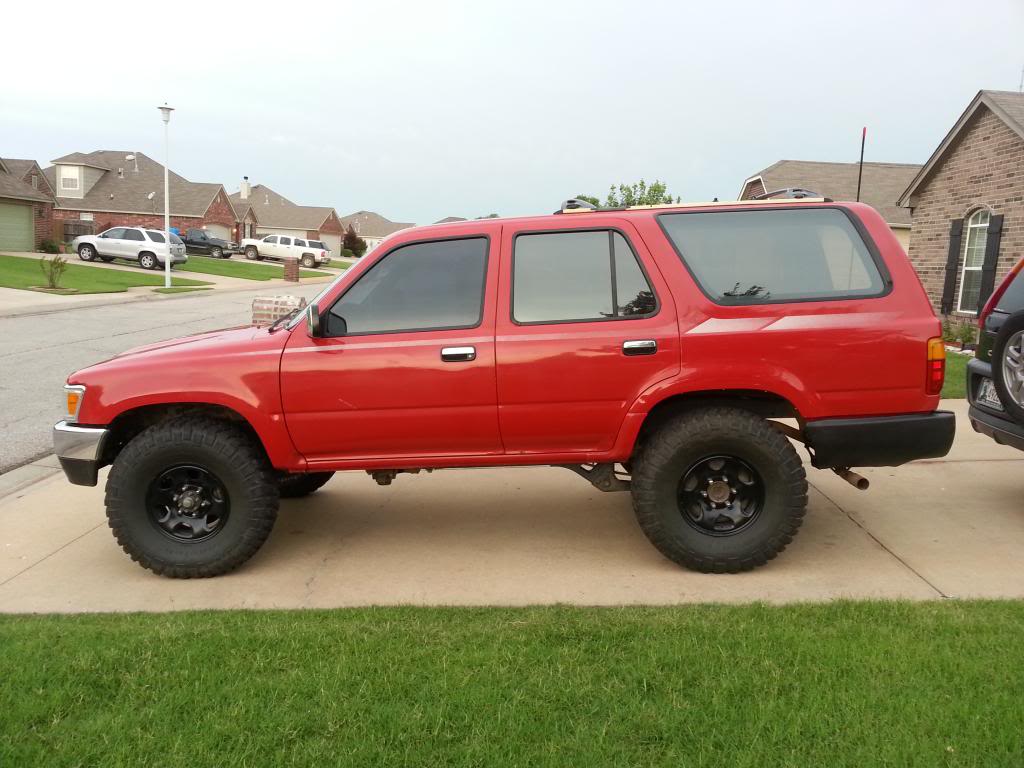
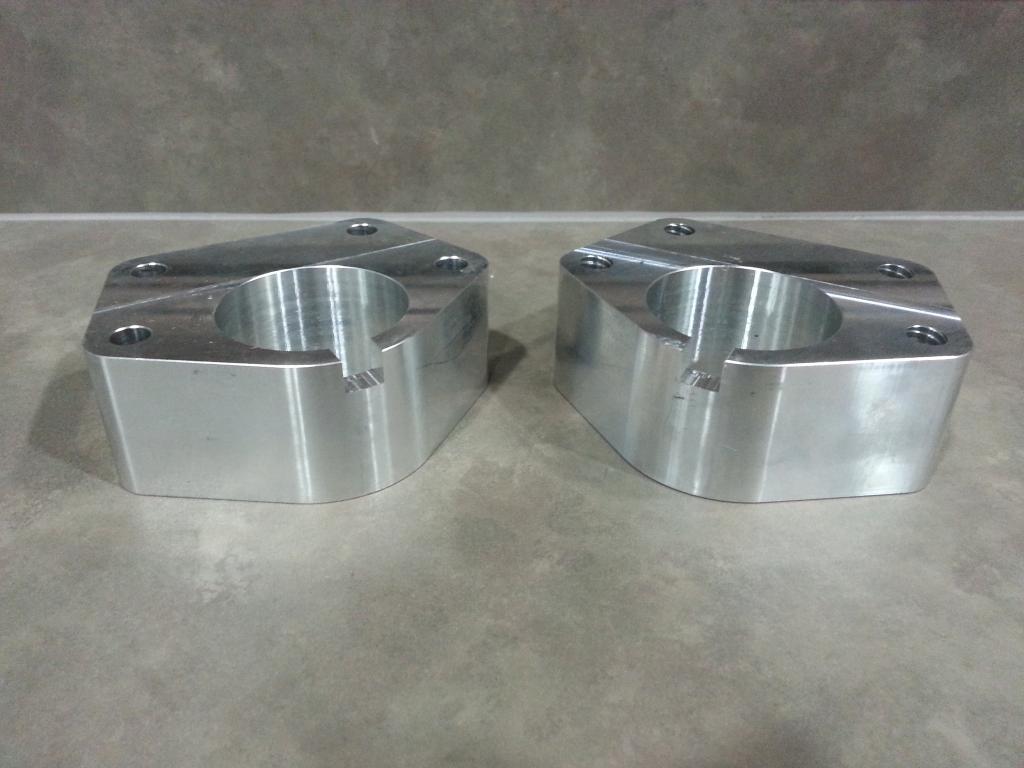
I got my cheapo deapo lift installed! I went with 4crawler 1.5" ball joint spacers up front and a pair of *modified* 5th gen 4runner coils out back. These parts ended up lifting it about 2.5" up front and 3.5" out back.
Ball Joint spacers from 4crawler. These guys were easy to work with and shipped quickly, although their site is a bit of a nightmare to navigate...
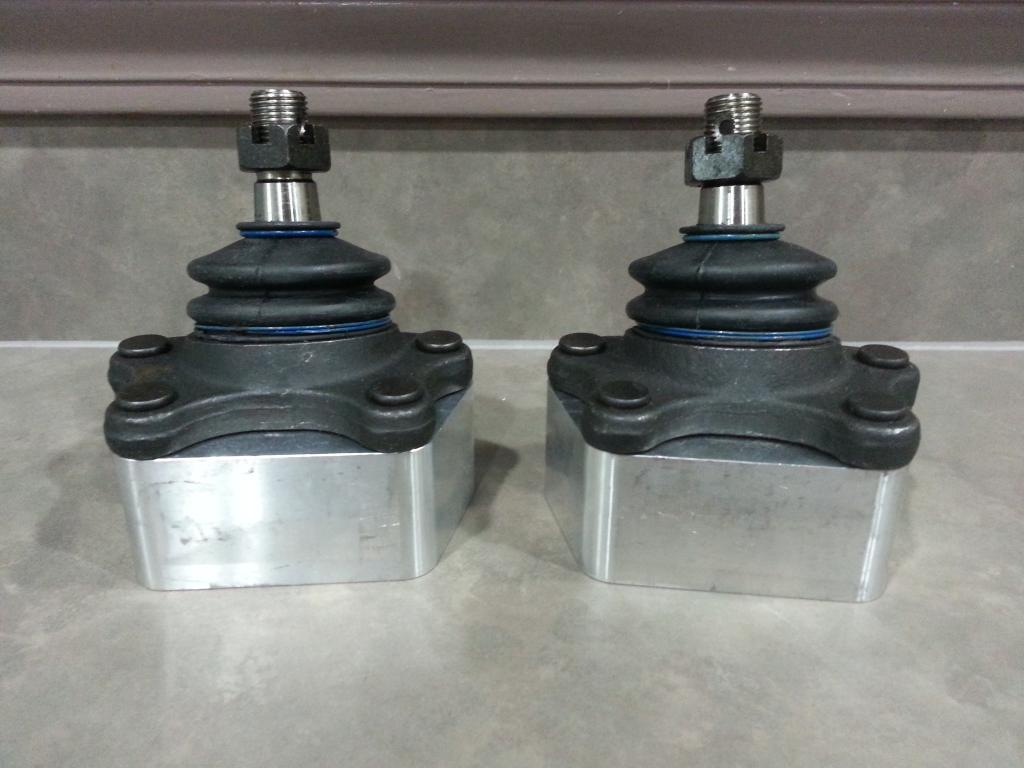
BJ Spacers and new OEM upper ball joints...
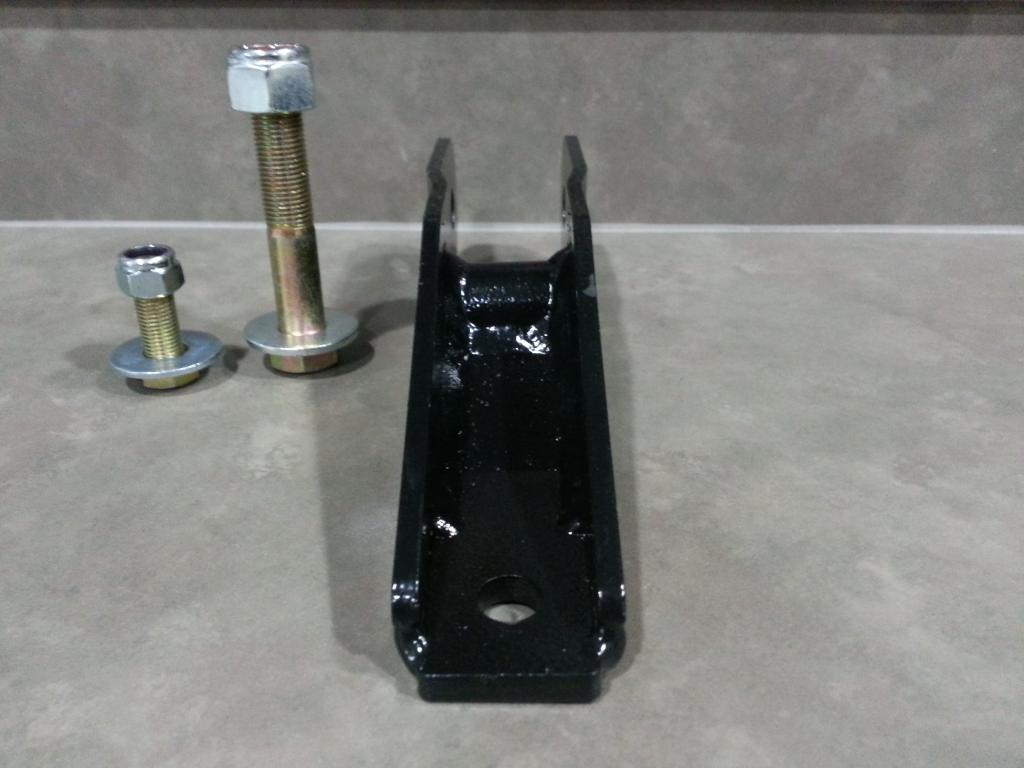
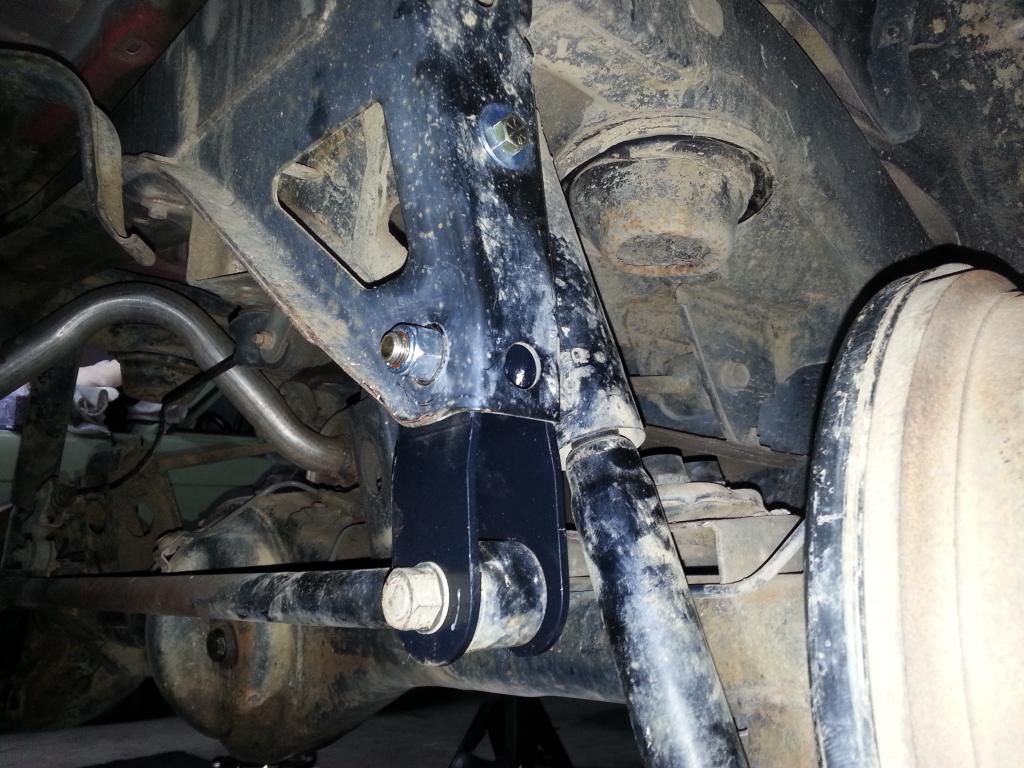
Panhard drop bracket from 4cralwer. I opted for the 4" drop bracket.
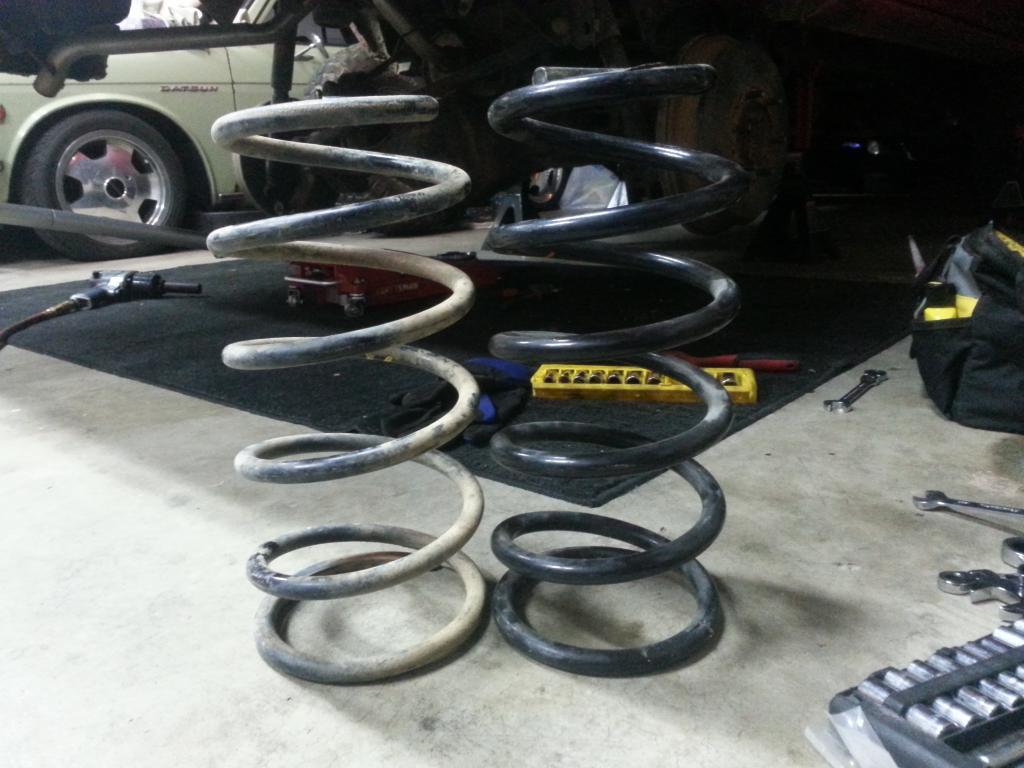
Comparison shot of factory coil versus 5th gen coil. A friend of mine gave me his factory coils for free after he installed a lift on his 5th gen. The 5th gen coils are about an inch taller when just sitting on the floor and are notably heavier and stiffer. The 5th gen coils WILL NOT just swap right in like FJ80 coils will. They will need to be modified. The bottom coil, which sits on top of the axle, will need to be heated up and then opened up some so it will fit around the spring perch. We just did this with a torch and took our time, slowly heating up a little area then opening it up just a little each time, till we got them to fit perfectly. Only about 3/4ths of the very last coil was heated, so I am in no way worried about the integrity of the spring being compromised from being super-heated.
Panhard drop bracket installed...
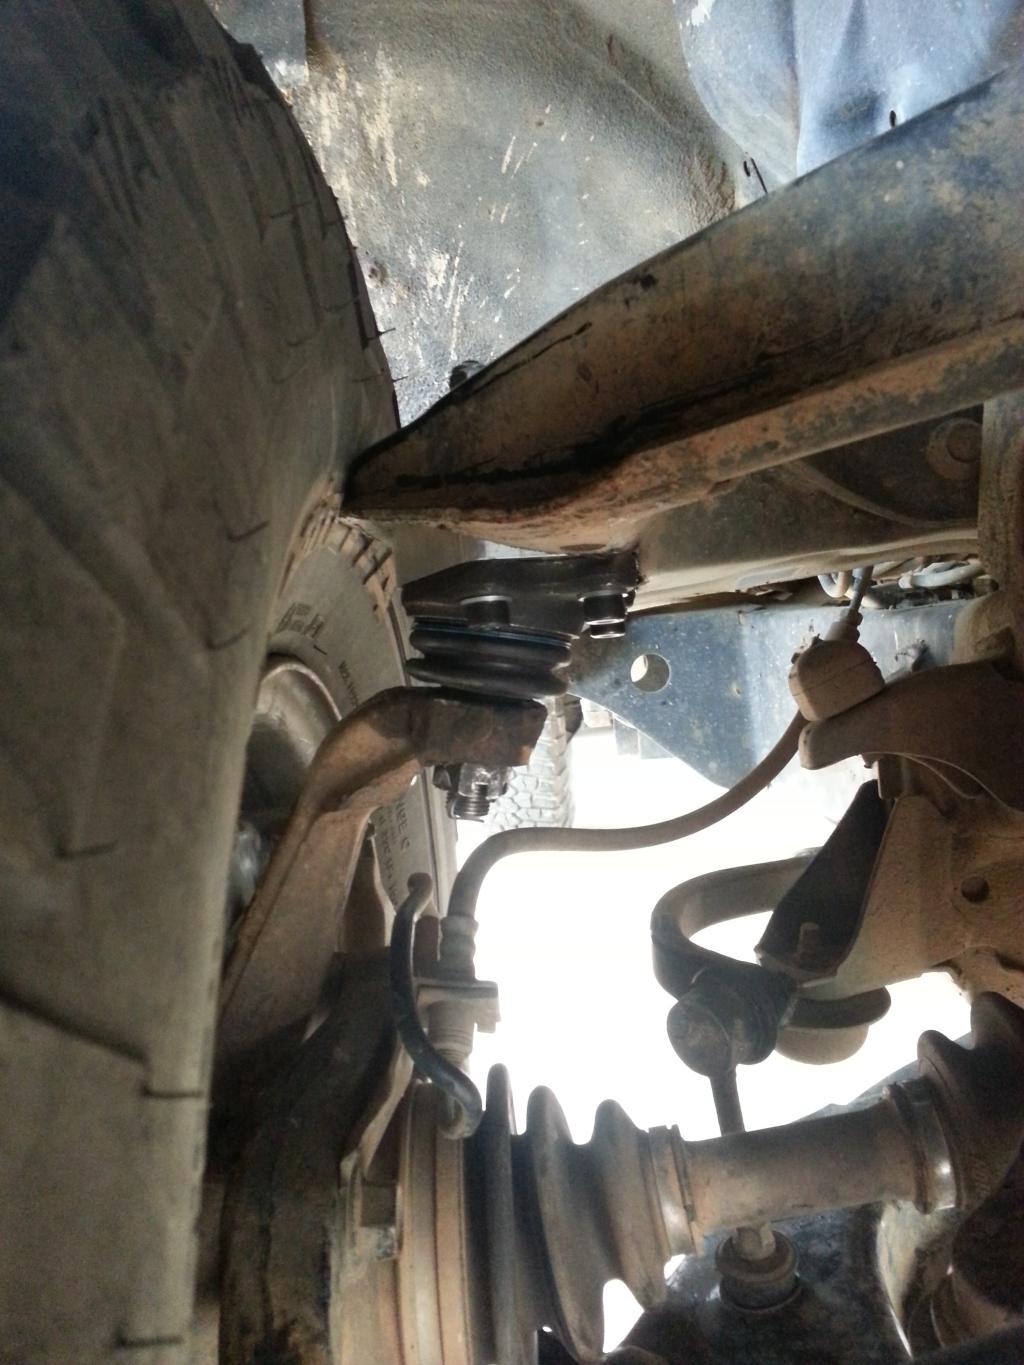
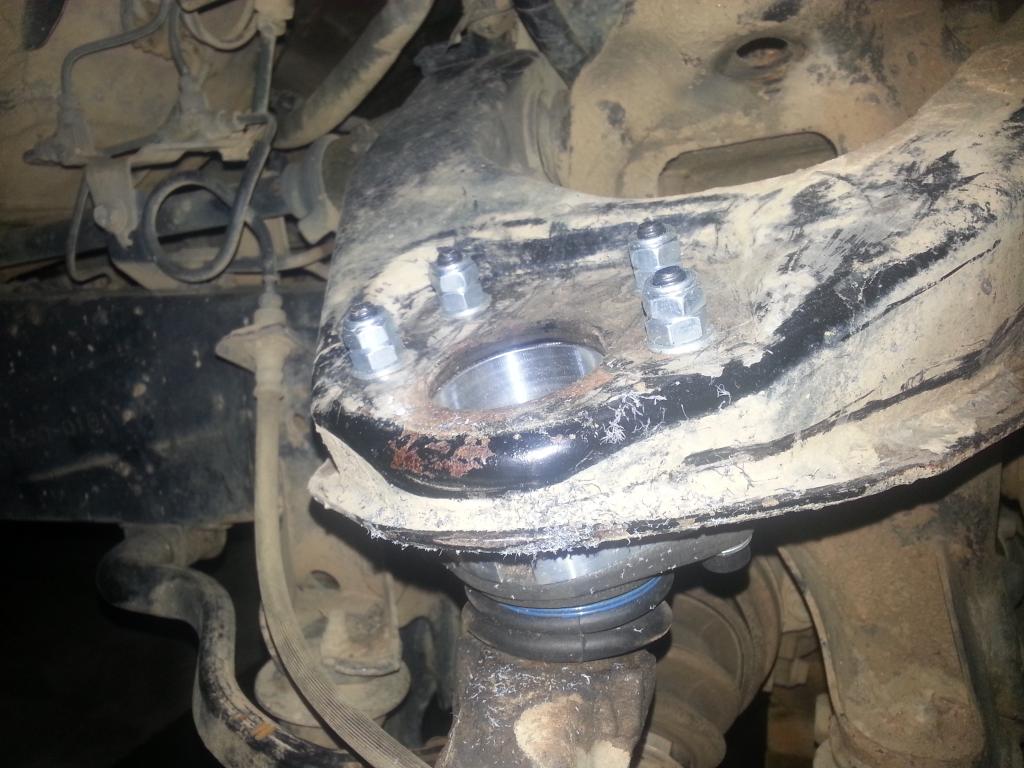
When I got the front finished up, I noticed a pretty big problem that I've never seen noted anywhere on the forums or any place else on the internet. After installing the BJ Spacers, the inside of my tires now just barely touch the upper control arm. To remedy this I guess I will run a set of 1/4" thick aluminum wheel spacers and I'm also going to shave down the lip on the control arm just a little. I don't really like this, but that's about my only option unless I buy different wheels, which I'm not able to do right now.
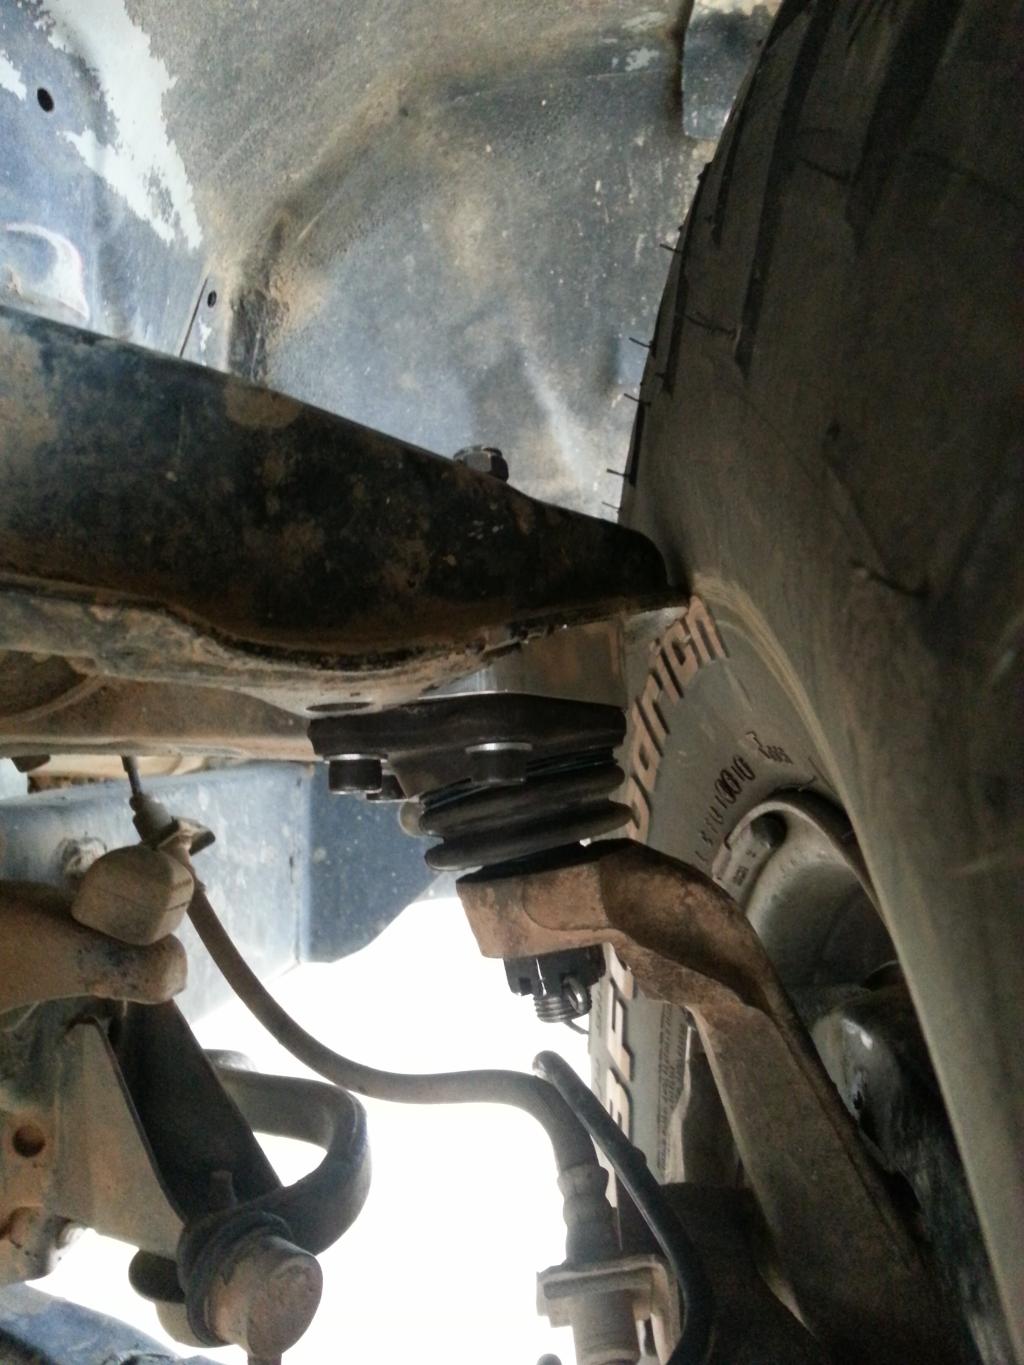
No, that is not a gouge in the sidewall of the tire, it's just where the control arm rubbed the dirt off of the tire from barely touching.
I will post better pics of the installed BJ spacers when I pull the wheels off again to install the 1/4" spacers.
Overall, I'm pretty happy with this setup and I only have $140 invested in this lift!
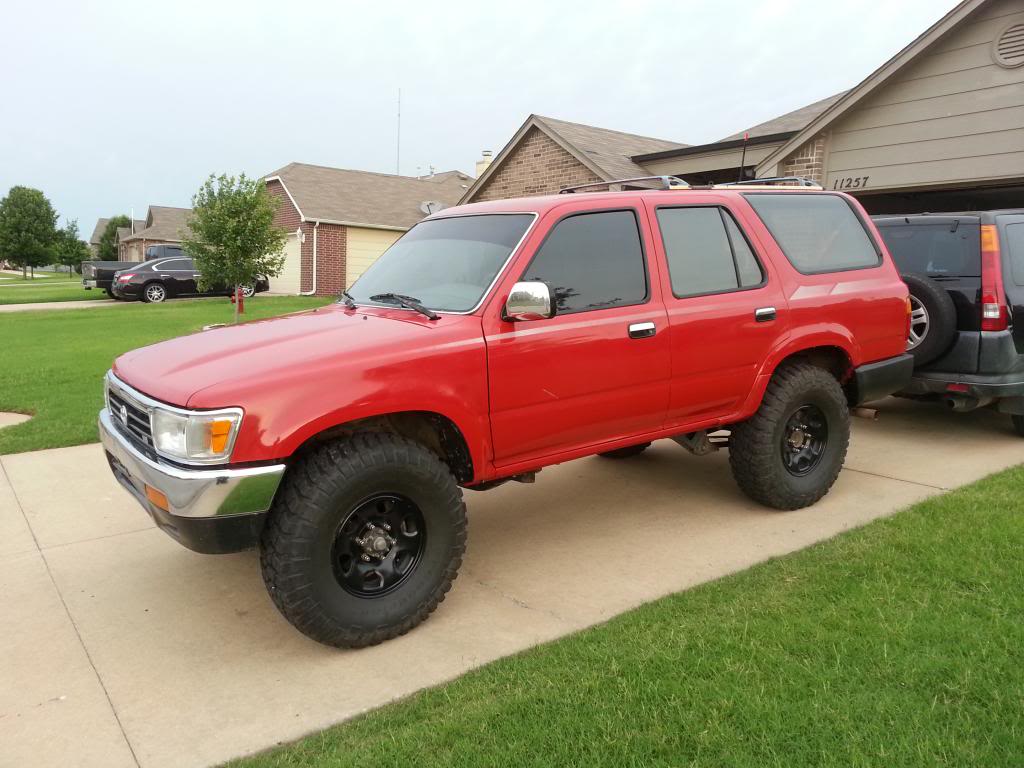
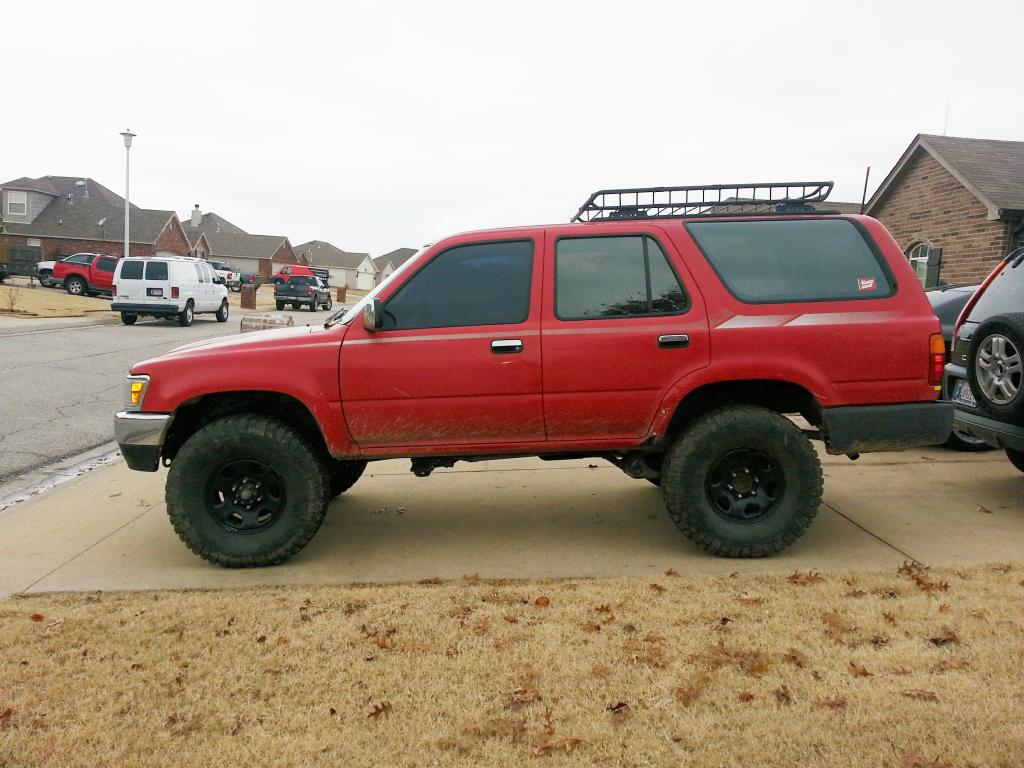
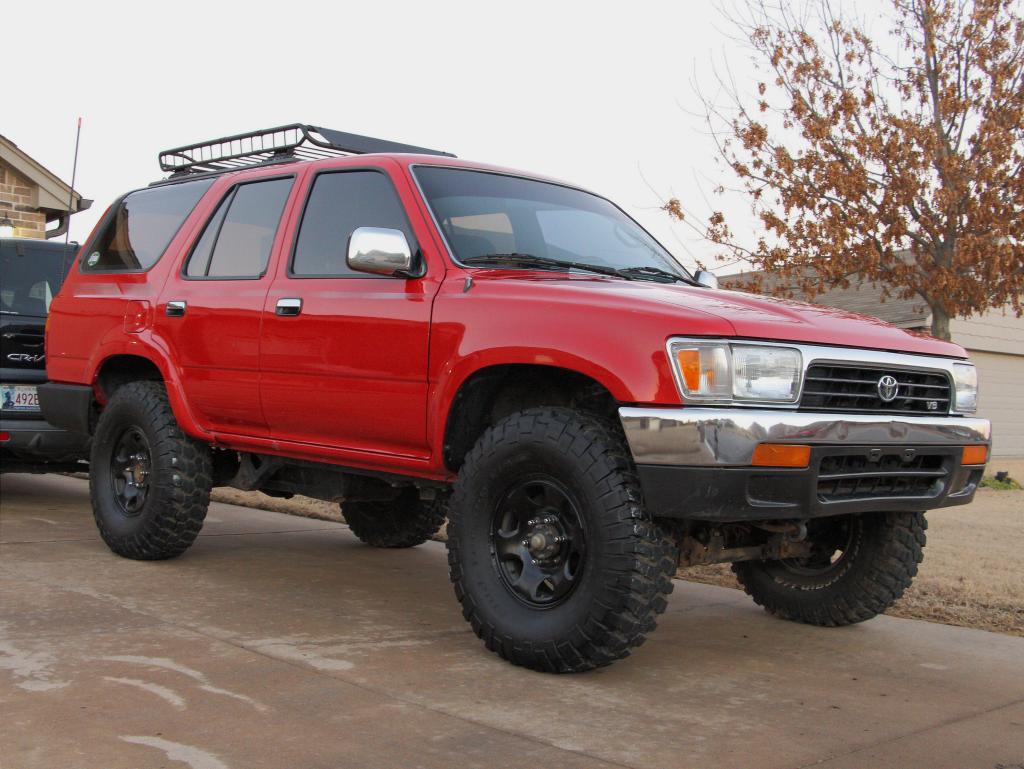
Here is an after shot...
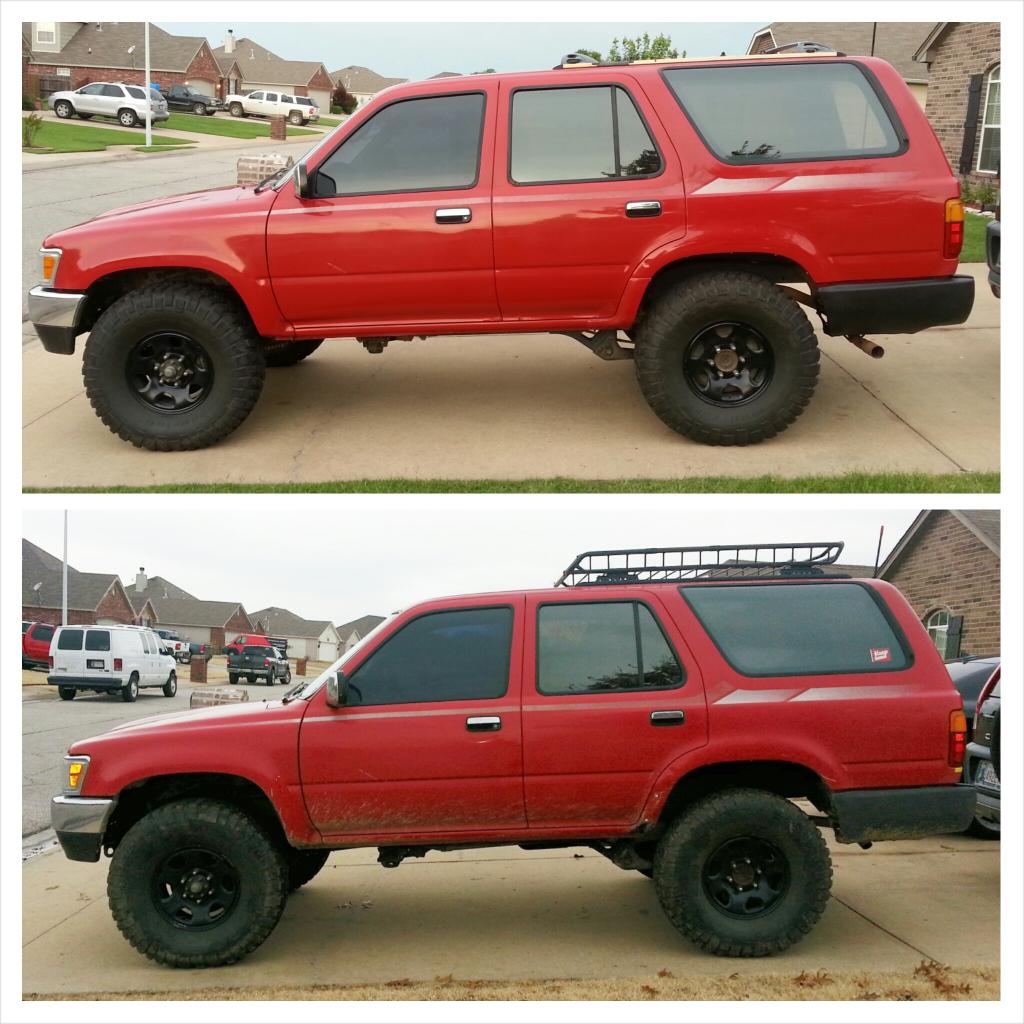
and here is a before vs. after shot... after is on bottom...
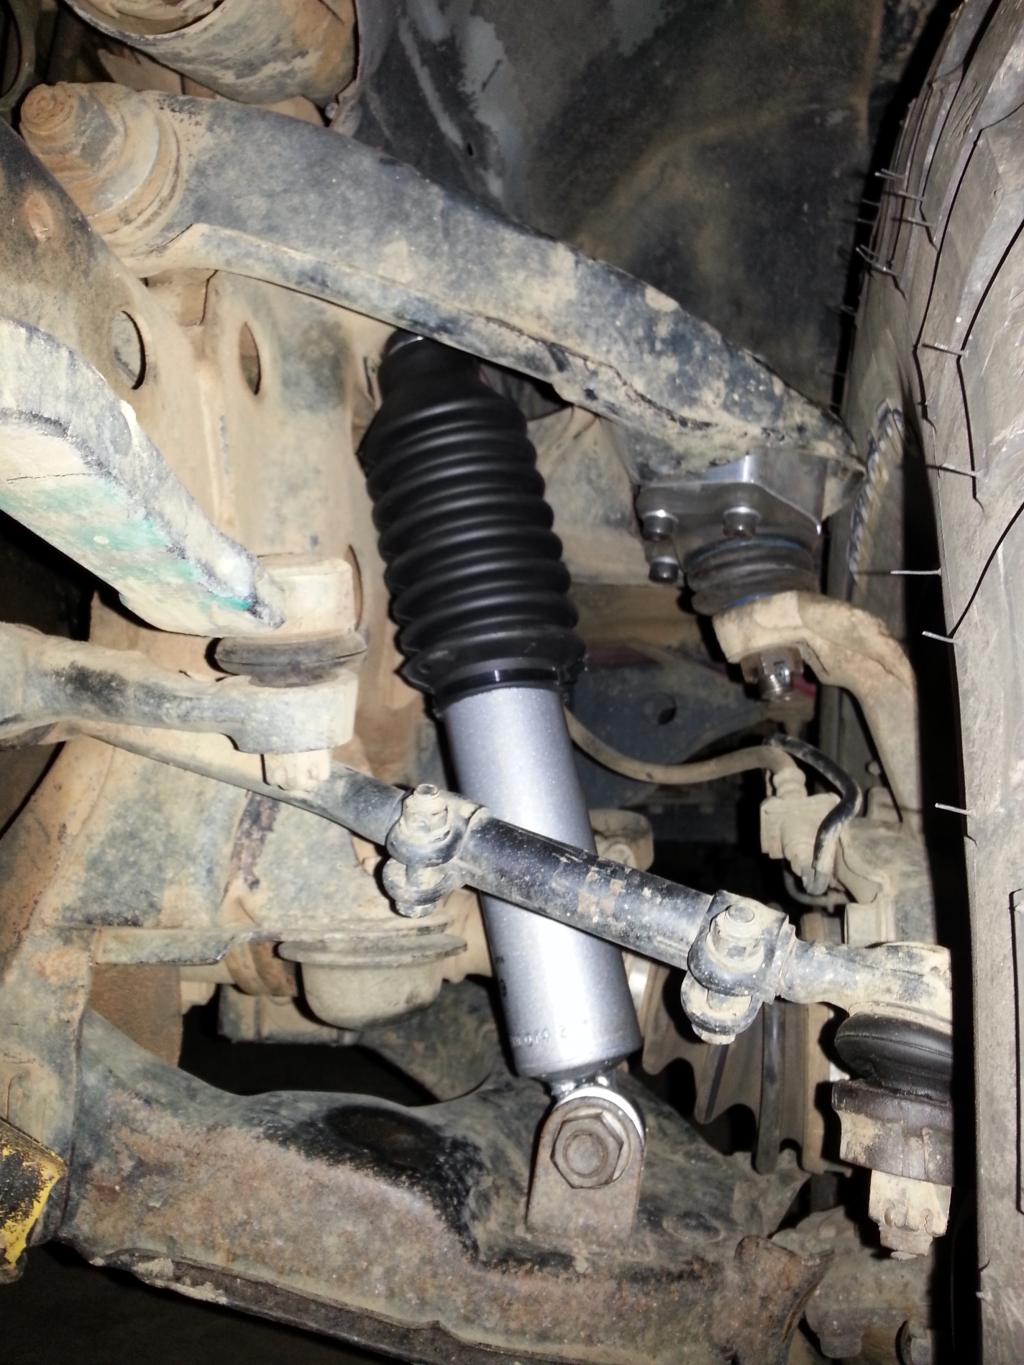
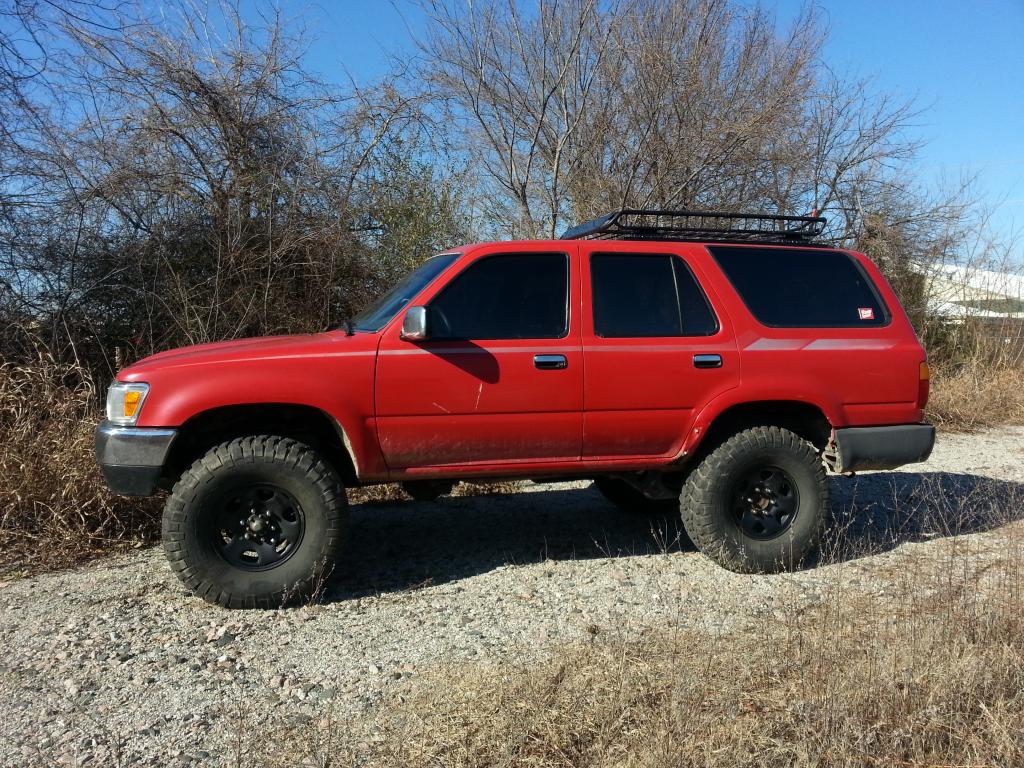
Couple pics I snapped after getting the shocks and wheel spacers installed! I went with the "Gabriel 77479 MAX CONTROL Monotube Shock Absorbers", got them off Amazon, paid $80 for the pair.
Snapped this today... not sure if it's the uneven ground, or if I'm riding bro style... lol I think it may need to come down just a hair in the front.
Took it to get aligned and I need to replace both lower ball joints and my idler arm before they can align it, guess they are severly worn out... Sick of spending $$$ on this thing, but that's part of a 20+ year old vehicle! :/ Sooo... to make me feel better, I went and played around a little...

Clip of some mud from a trip to the mountains
Found a dirt pile by my house... lol

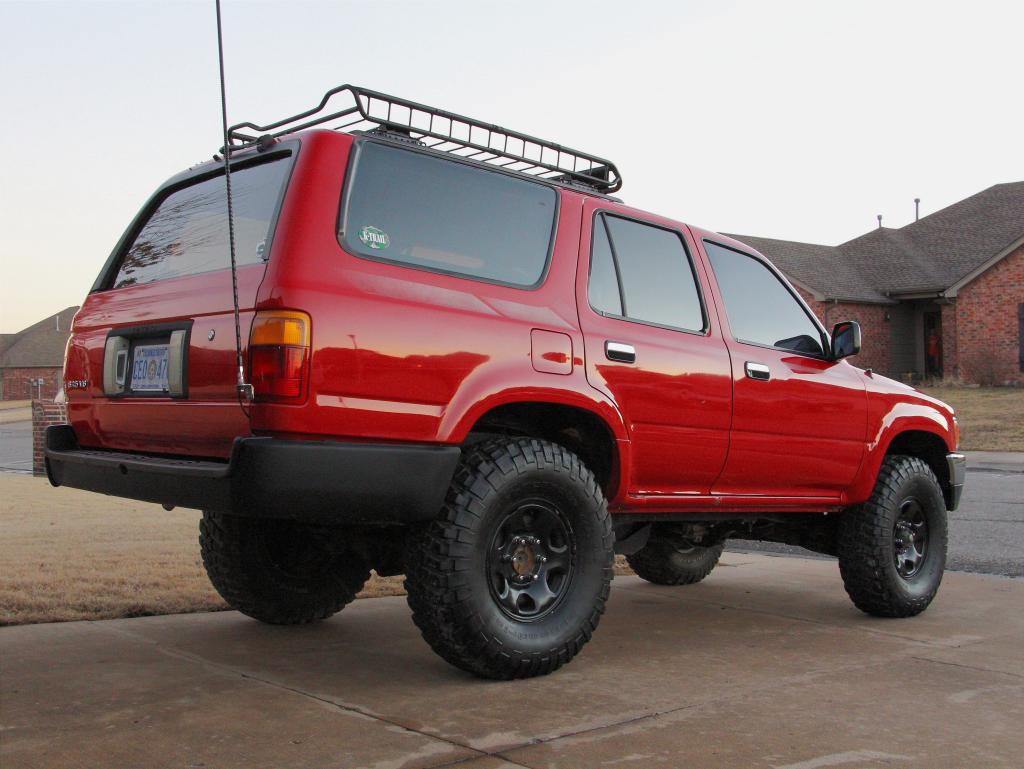
It was a nice day out, so I buffed this god awful red toyota paint and gave her a good wash. Its never looked this good!
Here she is with the extended roof rack and spare tossed on top!

I followed some of the others on here and made my own mounts, which eliminated the stock 130lb rated cross-bars!


Cap - $21.62, Rotor - $12.17, Plugs - $2.22/ea, and then the wires....... $120?!!?! I know all you guys recommend staying with factory Toyota parts on the ignition system, but I just can't bring myself to pay $120 for 6 wires... I called up Surfside Japanese Auto Parts and they got me some very nice NGK wires for $43... I'll trust Surfside over any big name parts store any day and they will stand behind their products, period.
I ended up getting my brakes all sorted out too, FOR FREE!!! Once I tore into them I discovered the my e-brake cable had a bunch of slack in it, so even if you pulled it all the way out it wasn't pulling the rear-brake auto-adjust lever far enough for the ratchet mechanism to click over another tooth... so they weren't auto-adjusting! The shoes had plenty of material, the springs were tight, and the cylinders weren't leaking... so I just adjusted the auto adjusters out to where the shoes were just BARELY kissing the drums, then tightened up the slack out of my e-brake, and now the rear brakes and e-brake both work like new and the auto-adjusters should do their job from now on! Can't beat an easy and free repair!
Also, got around to wiring up my power inverter, amp, and sub! Ran 4ga from battery to dist block, then 8ga to the amp and inverter! Please ignore the disgusting carpet... that's from the previous owner and is on my to-do list!


Got the tune up completed!


While I was in there I found the ugly gremlin that had been making it surge and run rough at idle....

More nastiness...


Also, the wifey surprised me with a trip to best buy and she let me pick out a new stereo for the rig for my birthday!

AND she gave me this bad boy! It's a pocket power jump start pack, and it will also power just about anything... laptop, cellphone, or whatever, its got the juice to do it! that tiny thing can jump start a car 20 times on one charge!!!


I got my cheapo deapo lift installed! I went with 4crawler 1.5" ball joint spacers up front and a pair of *modified* 5th gen 4runner coils out back. These parts ended up lifting it about 2.5" up front and 3.5" out back.
Ball Joint spacers from 4crawler. These guys were easy to work with and shipped quickly, although their site is a bit of a nightmare to navigate...

BJ Spacers and new OEM upper ball joints...

Panhard drop bracket from 4cralwer. I opted for the 4" drop bracket.

Comparison shot of factory coil versus 5th gen coil. A friend of mine gave me his factory coils for free after he installed a lift on his 5th gen. The 5th gen coils are about an inch taller when just sitting on the floor and are notably heavier and stiffer. The 5th gen coils WILL NOT just swap right in like FJ80 coils will. They will need to be modified. The bottom coil, which sits on top of the axle, will need to be heated up and then opened up some so it will fit around the spring perch. We just did this with a torch and took our time, slowly heating up a little area then opening it up just a little each time, till we got them to fit perfectly. Only about 3/4ths of the very last coil was heated, so I am in no way worried about the integrity of the spring being compromised from being super-heated.

Panhard drop bracket installed...

When I got the front finished up, I noticed a pretty big problem that I've never seen noted anywhere on the forums or any place else on the internet. After installing the BJ Spacers, the inside of my tires now just barely touch the upper control arm. To remedy this I guess I will run a set of 1/4" thick aluminum wheel spacers and I'm also going to shave down the lip on the control arm just a little. I don't really like this, but that's about my only option unless I buy different wheels, which I'm not able to do right now.

No, that is not a gouge in the sidewall of the tire, it's just where the control arm rubbed the dirt off of the tire from barely touching.

I will post better pics of the installed BJ spacers when I pull the wheels off again to install the 1/4" spacers.
Overall, I'm pretty happy with this setup and I only have $140 invested in this lift!
Here is an after shot...

and here is a before vs. after shot... after is on bottom...

Couple pics I snapped after getting the shocks and wheel spacers installed! I went with the "Gabriel 77479 MAX CONTROL Monotube Shock Absorbers", got them off Amazon, paid $80 for the pair.


Snapped this today... not sure if it's the uneven ground, or if I'm riding bro style... lol I think it may need to come down just a hair in the front.

Took it to get aligned and I need to replace both lower ball joints and my idler arm before they can align it, guess they are severly worn out... Sick of spending $$$ on this thing, but that's part of a 20+ year old vehicle! :/ Sooo... to make me feel better, I went and played around a little...

Clip of some mud from a trip to the mountains
Found a dirt pile by my house... lol

It was a nice day out, so I buffed this god awful red toyota paint and gave her a good wash. Its never looked this good!


Last edited by d21cruisa; Feb 9, 2015 at 07:48 AM.


