When you click on links to various merchants on this site and make a purchase, this can result in this site earning a commission. Affiliate programs and affiliations include, but are not limited to, the eBay Partner Network.
Ted at Engnbldr has a SleeveNseal set to fix the worn spots on the rear crank flange and the dampener flange. I have no idea where these spots are, to inspect. Could any of you fine gentlemen shed some light on this for me? Also, what should I be looking for when I inspect the wrist pin bushings?
Whats up Josch, havent stopped by in a while. Looks like your getting a lot done. Engine work seems so unrewarding until its done, and then, yea!!! By the way, i got a top end rebuild kit from Engnbldr, your gonna want another head gasket rather than whats comes in the kit. They look exactly like all the other ones that ive seen fail. Keep it up brotha, hopefully i'll be in Lafayette at my brothers in the next few months, id like to stop in and see your rig and that awesome shop!
Whats up Josch, havent stopped by in a while. Looks like your getting a lot done. Engine work seems so unrewarding until its done, and then, yea!!! By the way, i got a top end rebuild kit from Engnbldr, your gonna want another head gasket rather than whats comes in the kit. They look exactly like all the other ones that ive seen fail. Keep it up brotha, hopefully i'll be in Lafayette at my brothers in the next few months, id like to stop in and see your rig and that awesome shop!
Dude,
If you get as close as Lafayette, you've gotta come by! I'm surprised that Engnbldr would supply a crappy HG, that's not great. I'll just order an OE unit. Thanks so much for the tip. How's your head performed? Did you get a stock or performance head?
Will do! We dont do Mardi Gras week much anymore but we still like to run our trackbikes at NOLA
I have a buddy that had a head on the shelf at his shop which was already to drop on. Valves and machine work were done and luckily its well within spec. Im pretty much just waiting for a TPS and a fuel line that i nicked with something.
NOLA motorsports is great, we were there for the Vintage Motorcycle Grand Prix last year. My wife and I are Honda CB enthusiasts as well. What sort of track bikes do you run?
That would have been a cool race to see. Ive spectated at Barber a couple times. I dig the old bikes, had a bunch myself, but im running an R6 that i bought from Scotty Van Hawk and 4Feathers race team after the Daytona 200 in 2007. Shes old but far from tired.
I do have a couple old 2 stroke Honda Express'. 50cc's of fun.
Sorry to jack your thread btw
So the block and crank have been dropped off at my machine shop. They seemed very familiar with the 22re and Harvey, the tech, pointed out a previously installed (and worn out) sleeve kit on the crankshaft. So not only was this motor rebuilt at some point but rebuilt long enough ago to wear down the sleeve that was installed! Sounds like this ol' girl has some more stories to tell than the 173k on the clock would indicate. I've already confirmed the gauge cluster was swapped in, so god knows how many miles she's actually got.
The other thing I hadn't considered was that due to spinning a rod bearing on cylinder 2, I have to have the crankshaft turned. Or I can buy a replacement. OE is forged and forged replacements are $$$$$$$$ so I'm going to have mine milled. I also need to fix or replace the crank. Harvey didn't seem to think repairing the crank would be a problem but Ted at Engnbldr did. Ted reckoned it would be too thin after machining but couldn't the shop weld in material before honing it back to factory spec?
It's a bit of a pickle. Forged replacement rods are expensive. I can't order just one rod new or recycled without having them weight-matched, which is more $$$$.
An ideal situation would be a good, used set of 4 that came from the same engine. I may post to classifieds here on YT and hope I get lucky. If anyone has a good set of replacement rods they could recommend, let me know. I'm going to go do some research.
I'm going to try and resurrect this thread, it's been an awful long time. I've got all of my parts back from the machine shop. Here's the list of work performed:
Honed cylinders to .020 over
Crank done - rods and mains to .010
Speedi sleeved the crank
All four rods reconditioned
wrist pins honed and fitted
I ended up buying a master rebuild and Street RV head with 261c crank from ENGNBLDR. It's basically time for re-assembly. I have to order liquid seals and clean a ton of parts, I bought a pressure washer to assist in this. I'm going to scour a few rebuild threads threads and collect all of my photos from tear down and put them on my tablet. Any pointers from this point would be gladly received. Talk soon y'all!
Get the head bolt threads twice as clean as you think you need to. Have a good set of torque wrenches, work slowly and check your progress against the manual. Use thread sealant on the bolts that require it. Anti-seize on any threads you want to break loose later on. Use the best assembly lube and break-in oil you can afford.
Get the head bolt threads twice as clean as you think you need to. Have a good set of torque wrenches, work slowly and check your progress against the manual. Use thread sealant on the bolts that require it. Anti-seize on any threads you want to break loose later on. Use the best assembly lube and break-in oil you can afford.
Ask questions when you want to know something.
All sound advice, thanks gsp. I bought a new set of head bolts from Engine Builder and I've got a pretty decent torque wrench, so far just the one has been sufficient, I just have to reset it often for sequential tightening. I have thus far worked slowly and I hope the assembly lube I've been using is good, I haven't purchased break-in oil but I'm inclined to go with the best. Thanks so much! I can't wait to get my mistress back on the road again!!
So, with all the parts back from the machine shop and received from ENGNBLDR, I brushed the cobwebs off this project (and my noggin) and cracked straight into it. Normally, I'd be drinking beer during such an undertaking but given the reliability of this motor for years to come relies on my success in these first vital steps, I opted for sobriety.
Here's the shiny new block:
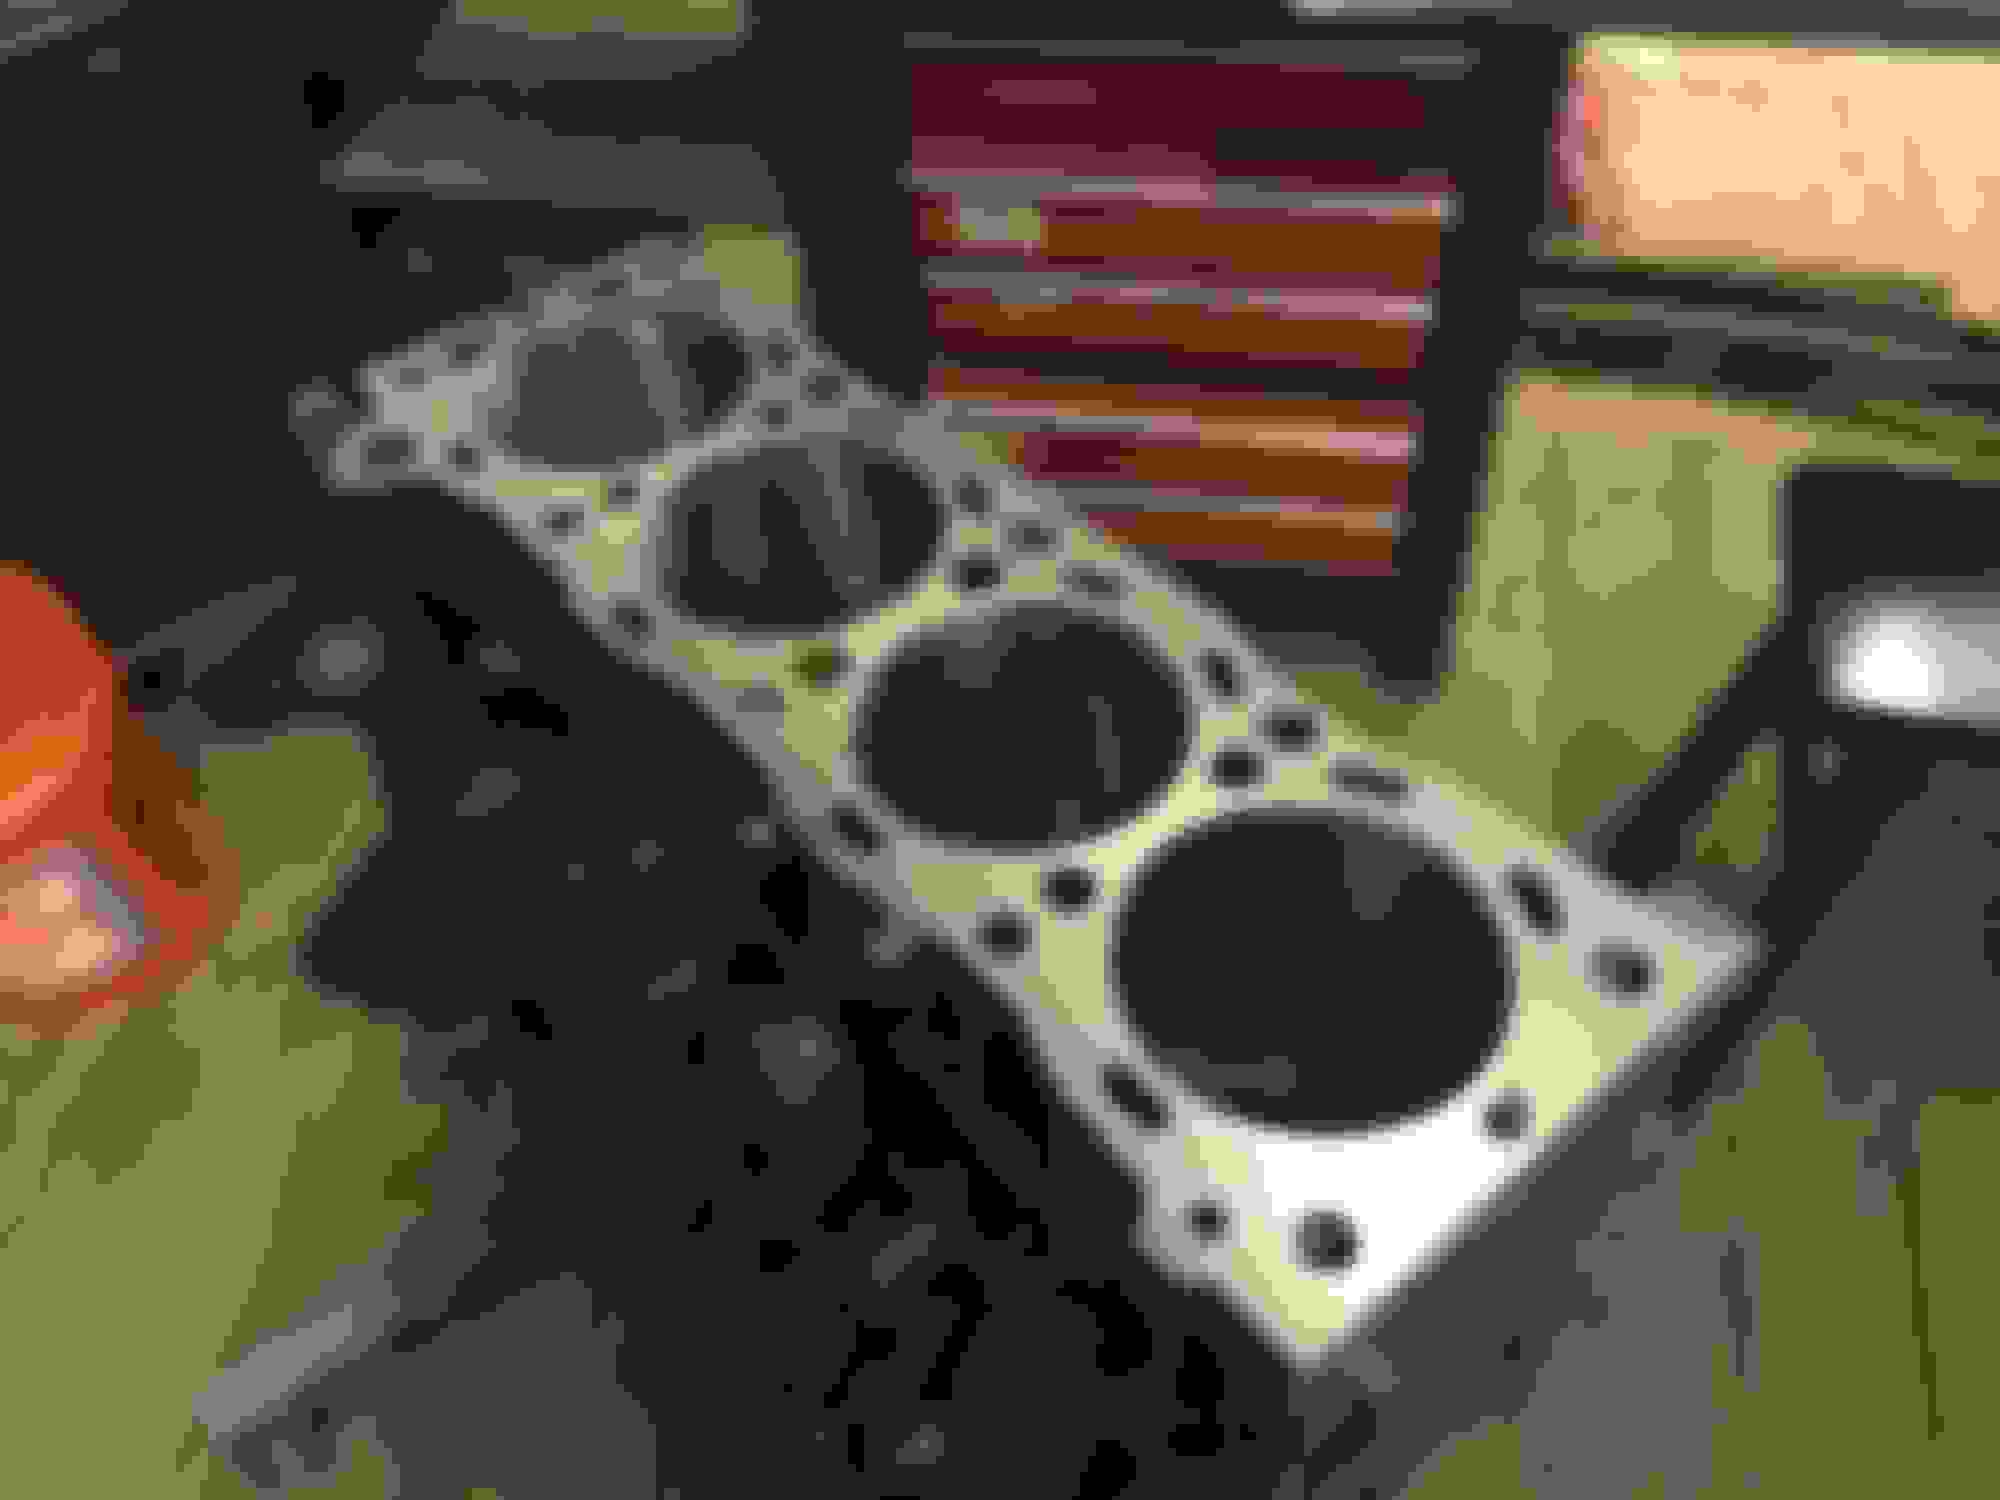
Close up of the top of block and cylinder walls. The cylinders were bored .020 over and I ordered pistons & rings from ENGNBLDR to suit (more on this later). The shop also created a slight chamfer at the top of each cylinder. Is this common? I suppose it's to assist in inserting the pistons and rings while also somewhat mitigating the "burr" that forms at the top of the cylinder over time.
The top of the block was checked for flatness and was very slightly decked just to clean it up. There was a bit of corrosion from the failed head gasket. Shop said they only went a coupla thousandths on it. You can also see the nice new coat of black engine paint. This was a surprise to me, I didn't know he was going to do it and I'm glad he did. I was planning on doing it and was going to do it black, so there you go.
In the pic below, you can see where I test fitted one of the upper mains.
I'm going to post this up in sections; it's impossible to write and edit a long post with hi-res pictures when the "Reply to Thread" window is an inch and a half tall. Is there any way to change this, it's infuriating? In case anyone wonders what I'm talking about, this is what my screen looks like right now.
Holy crap! Just in posting that screen capture, I just found the little arrow that allows you to expand the posting window. Disregard chaps, nothing to see here.
Below you can see all the upper main bearings installed
This is the assembly lube I used. I only applied it to friction faces, not the backs of any bearings.
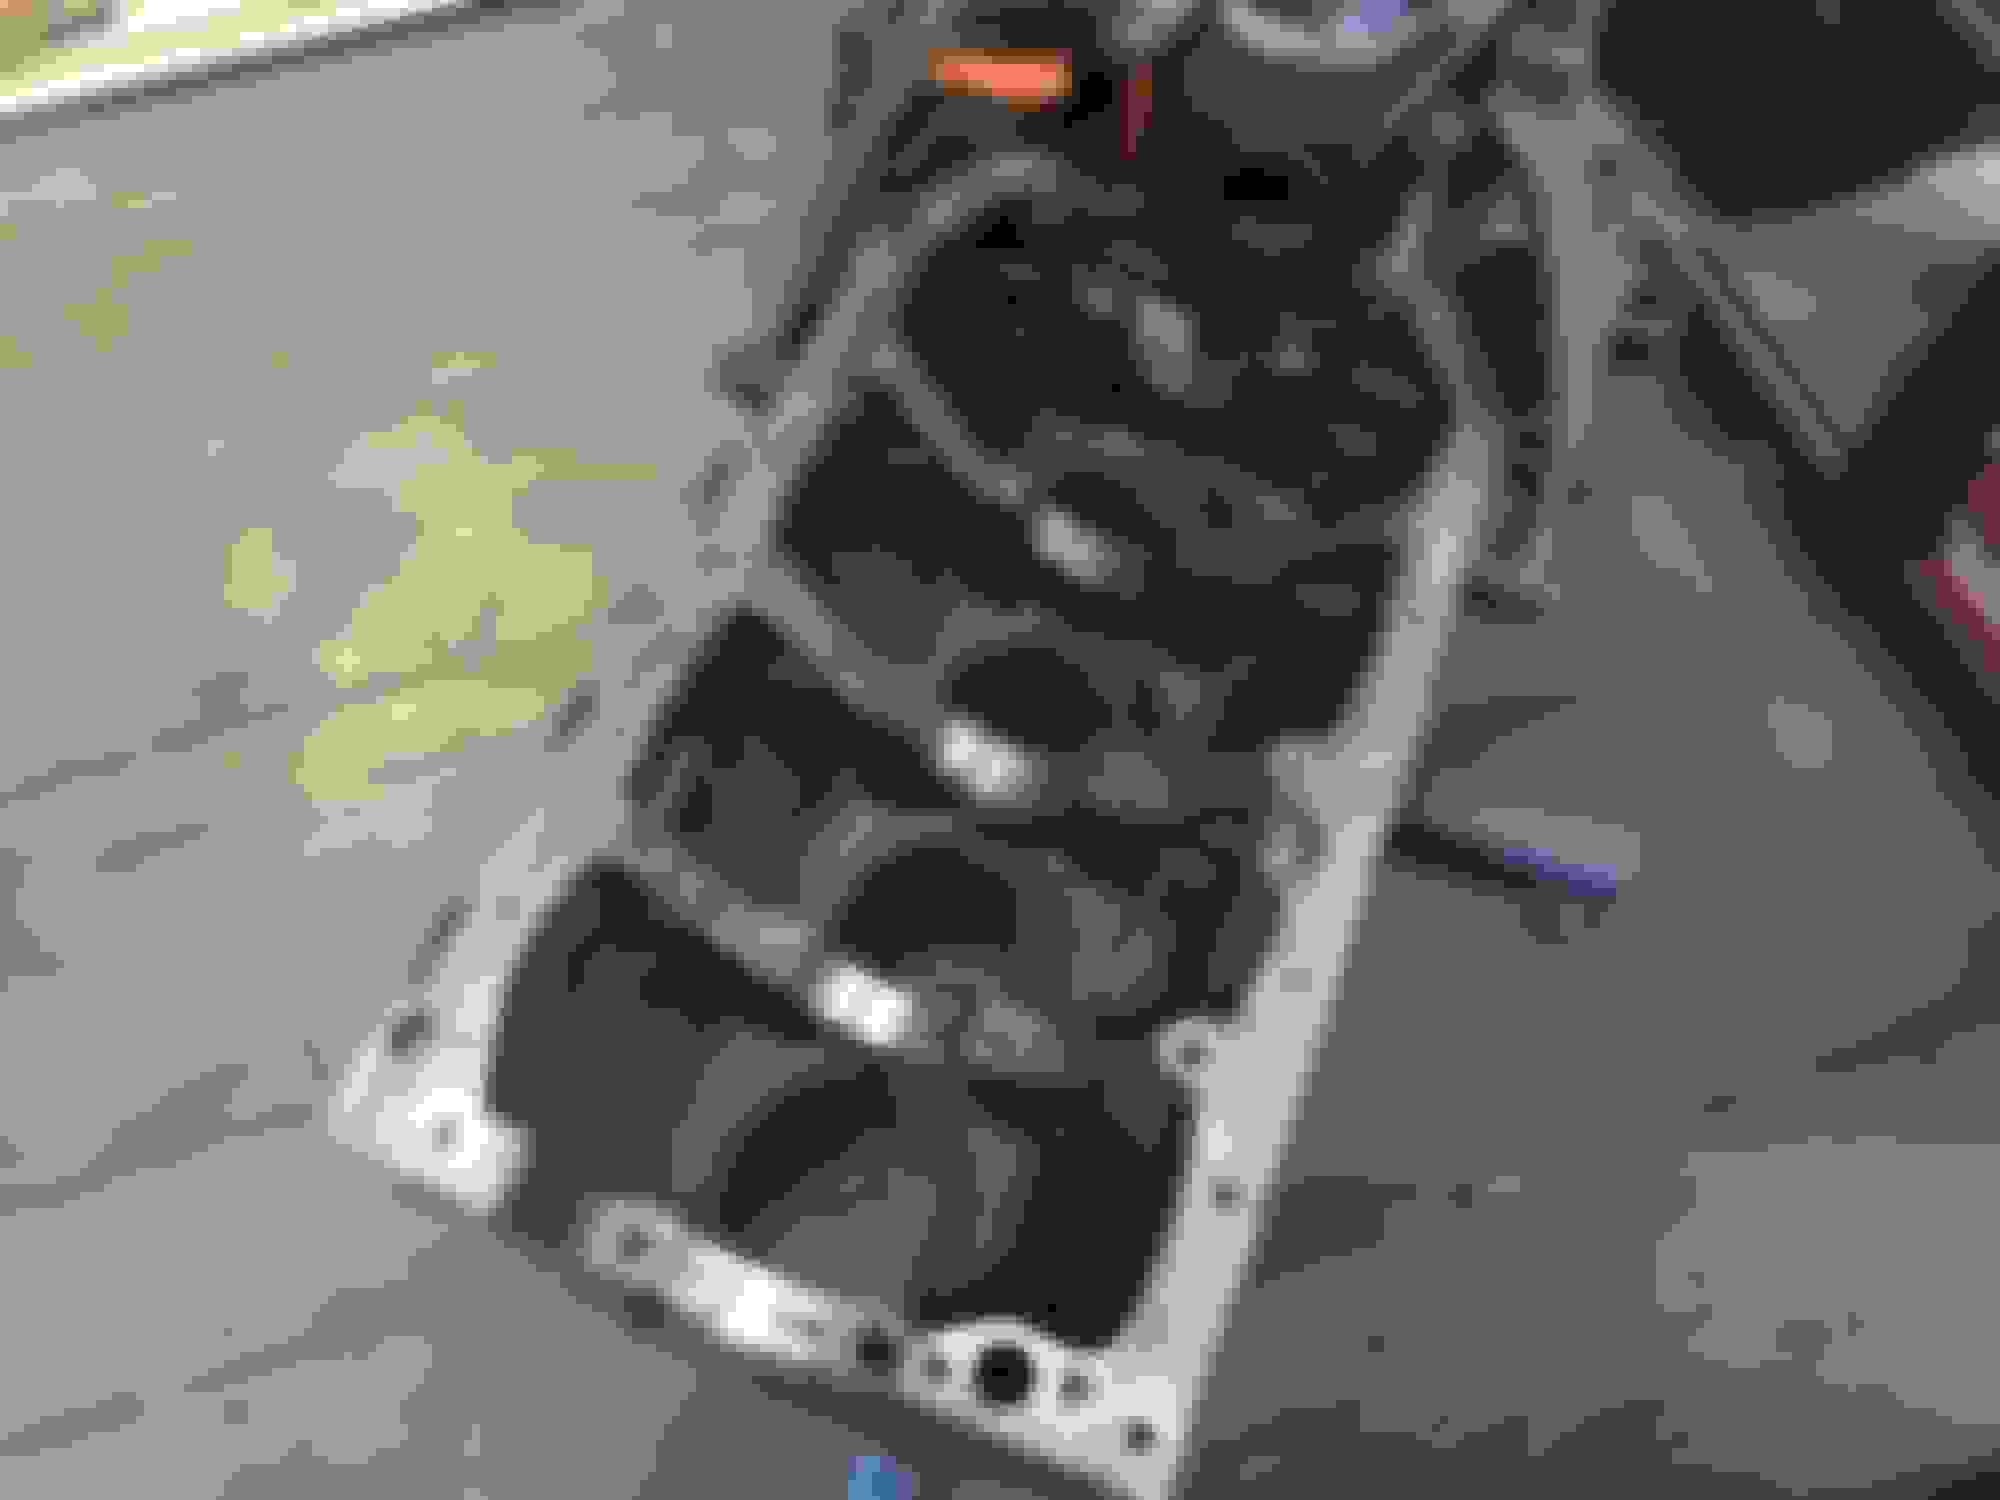
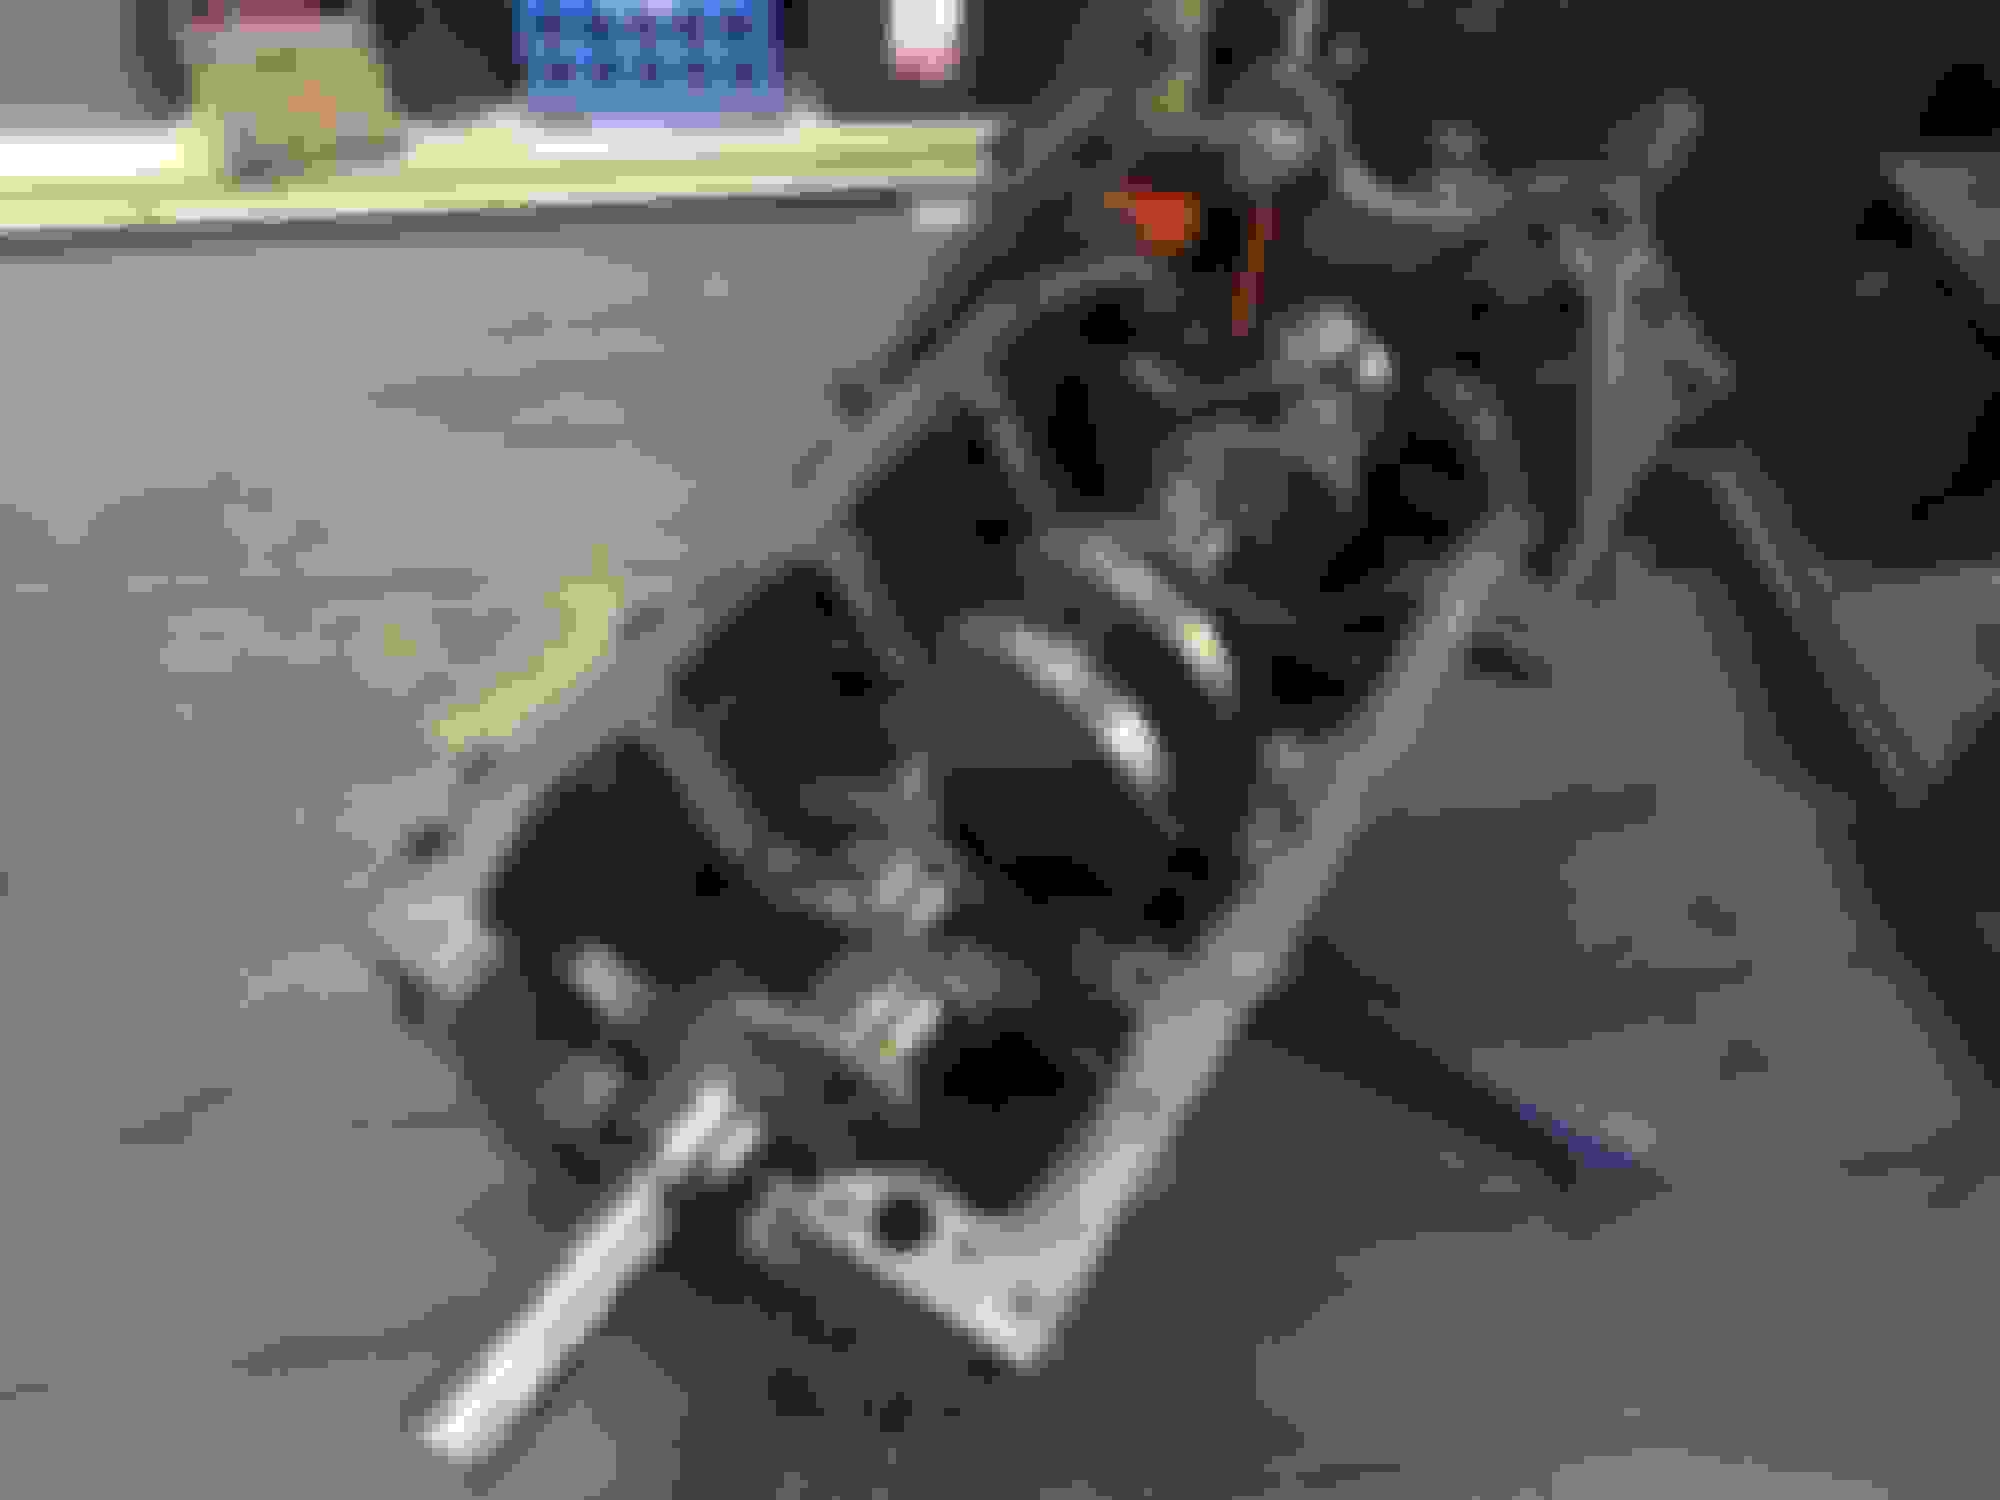
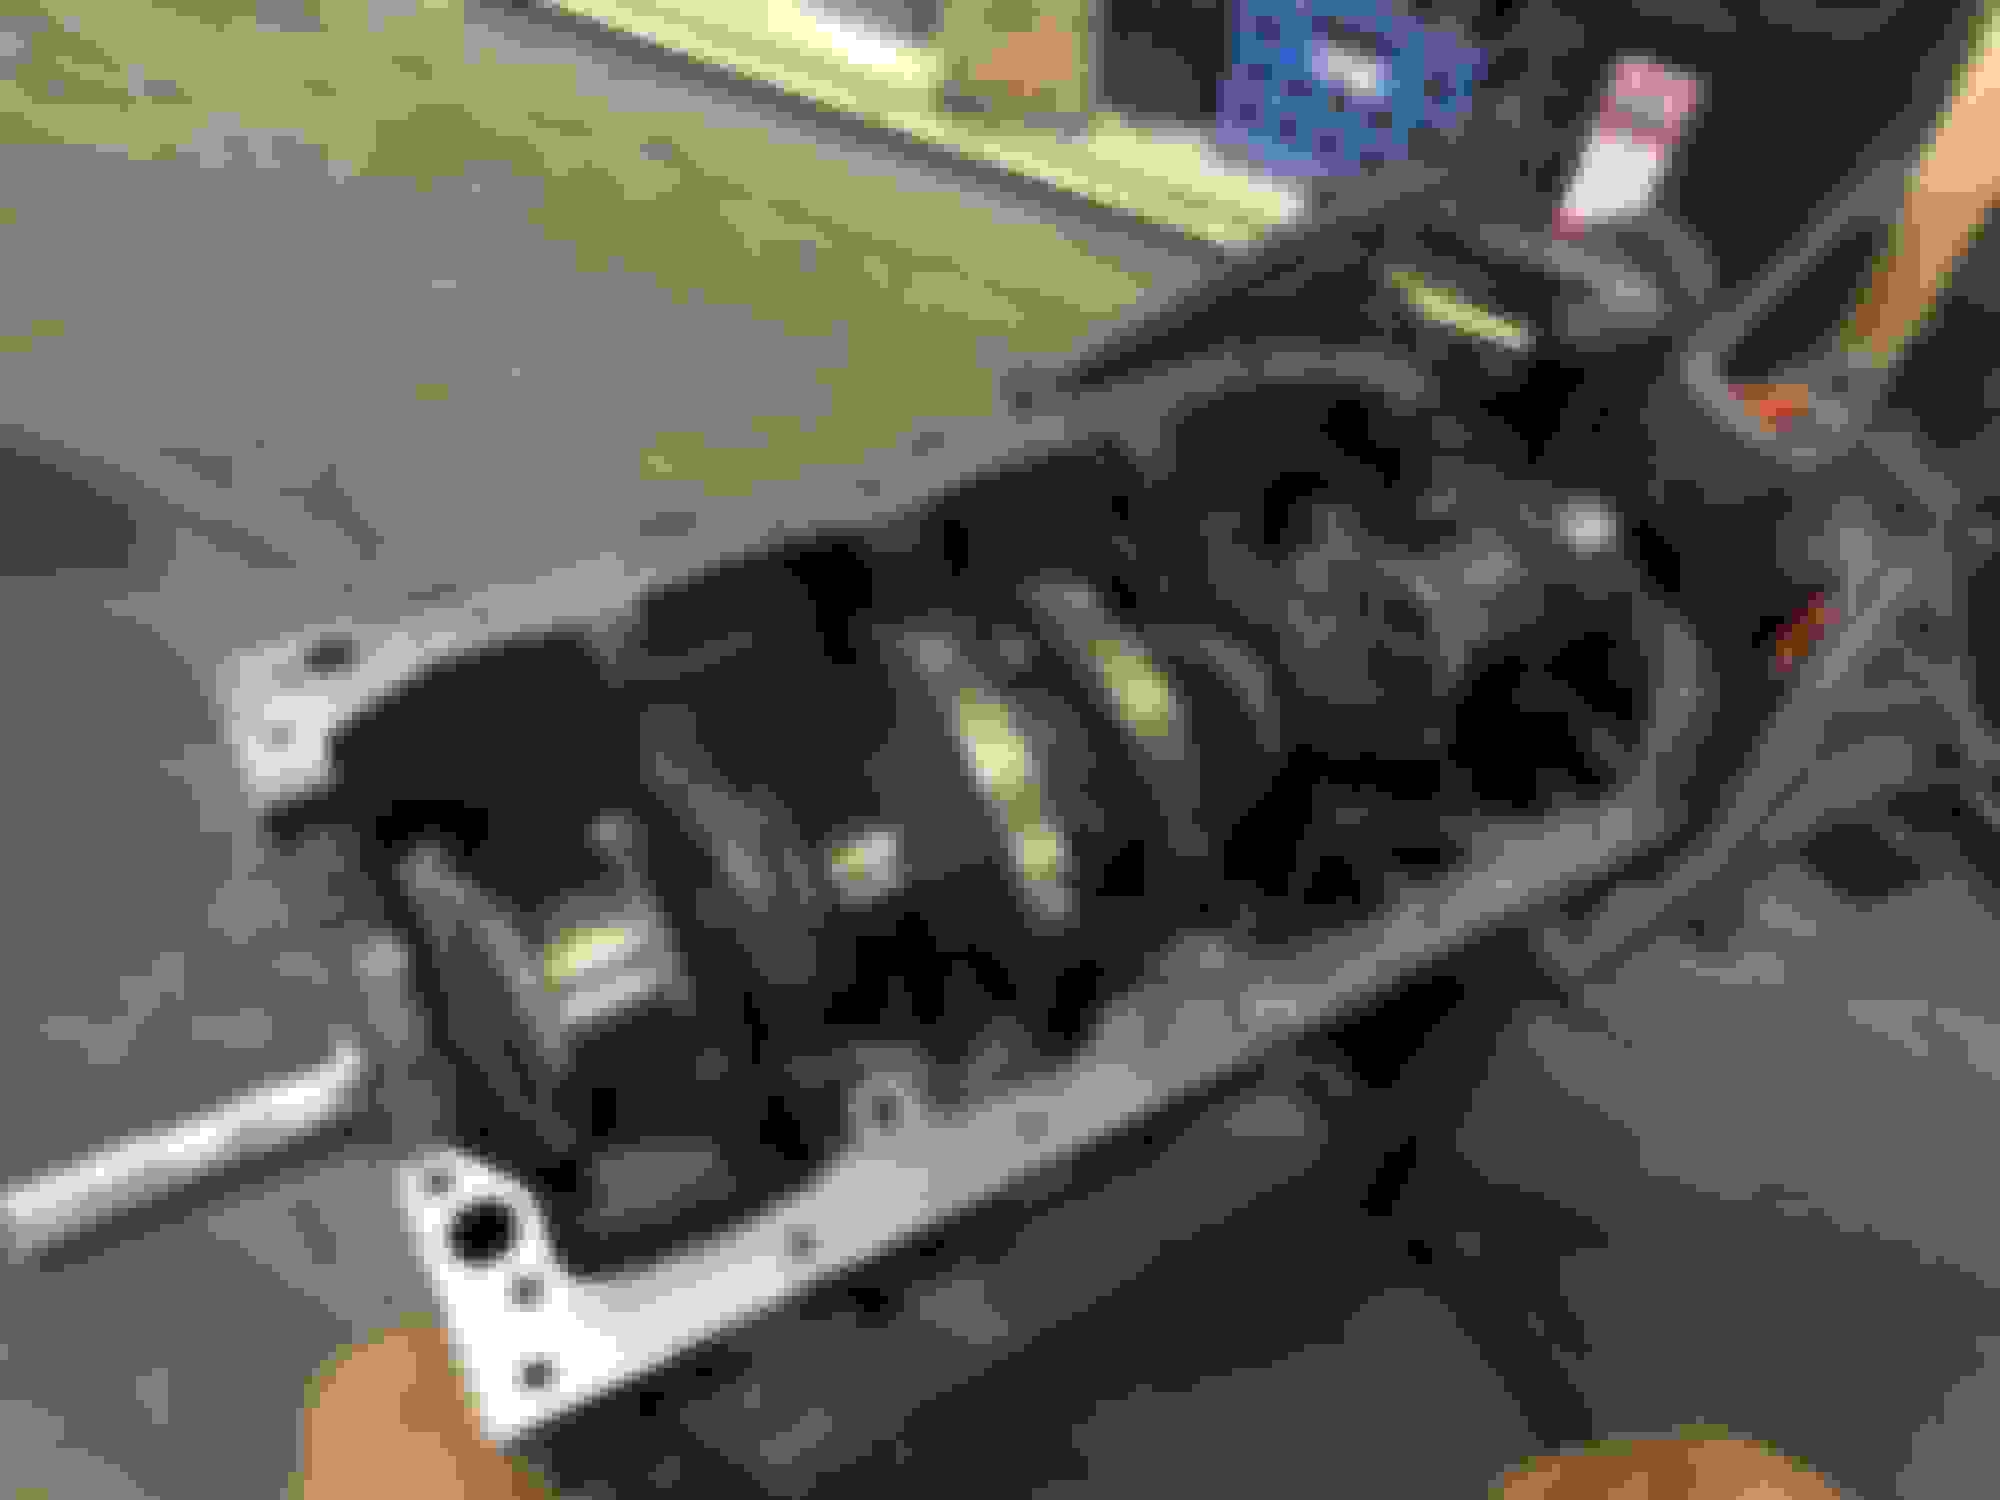
Crank set in place. The lobes were all milled .010 to be cleaned up and in round.
The oil clearance reading on the plastigage. They were all very similar, somewhere between .038 and .051. They were much closer to the lower end of the allowable range before machining and new bearings but still within spec.
Main caps installed. This was actually the second round. I forgot the upper thrust washers and had to pull the crank out to insert them. The bolts were tightened 25-50-76 ft lbs in the specified order.
With the crank installed, I rolled the motor over to prep it for pistons and rings.
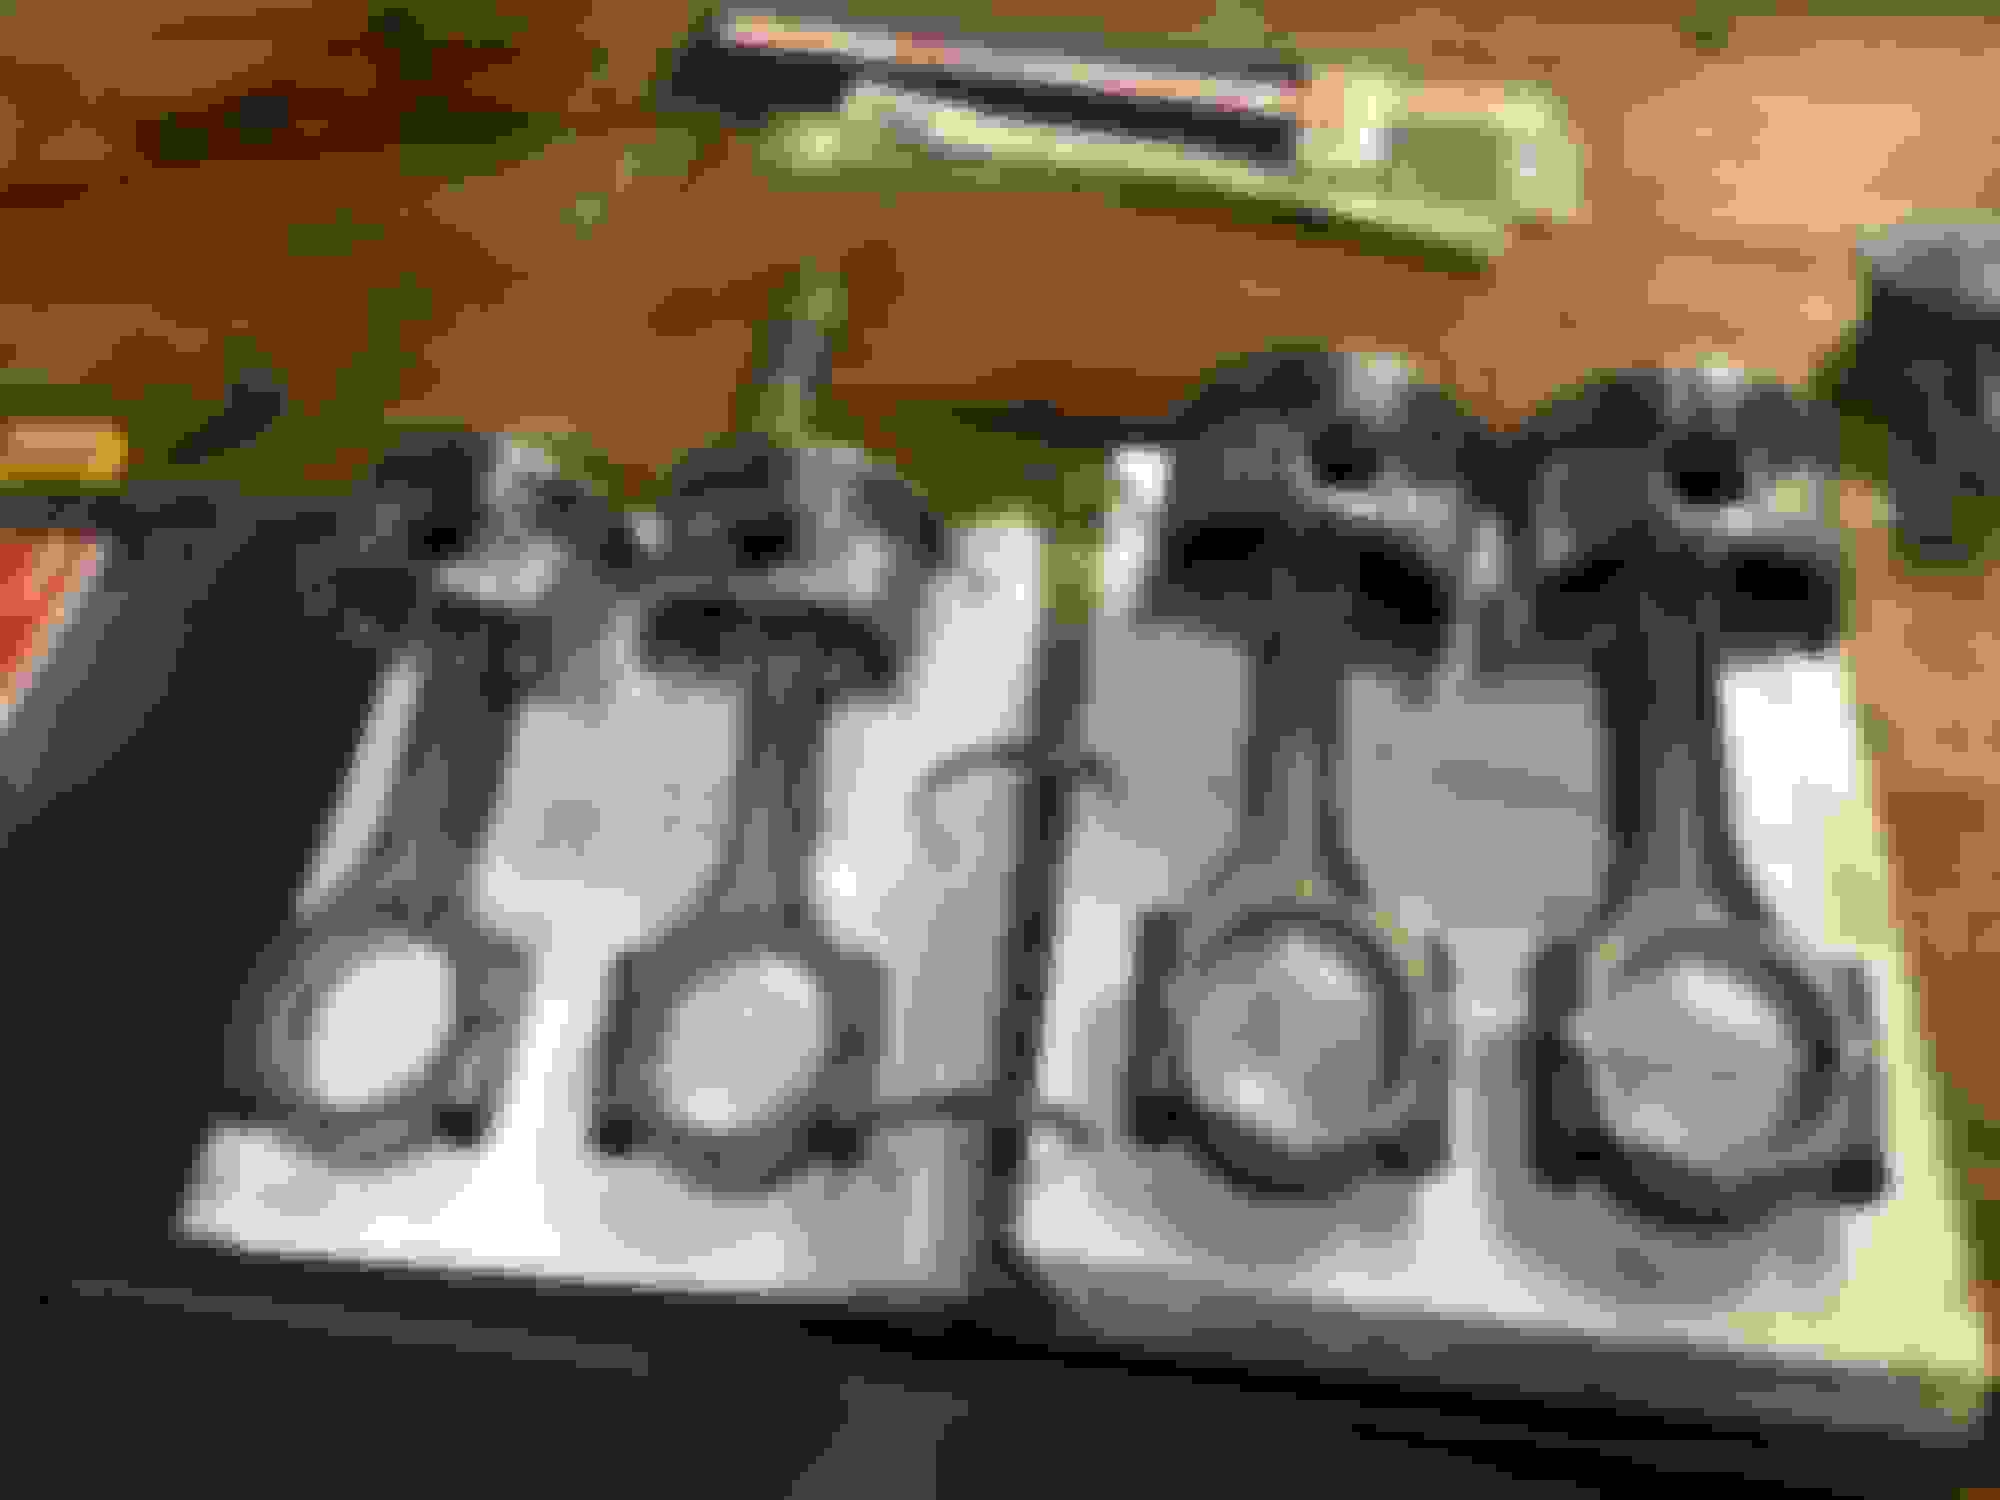
The rods were all reconditioned by my machine shop and they look sexy as hell. New pistons, rings and bushings from ENGNBLDR
The new rings installed. I may actually have the compression rings flip-flopped in this photo. I was hoping for some clarification from you guys because the sheet that came with the pistons is pretty much useless. Is the "1st compression ring" the one closest to the top of the piston? If so, I've got them flipped.
Nonetheless, I was unable to get the pistons and rings into the cylinders. I sprayed the cylinder walls, skirts and ring assemblies with WD40 and applied my ring compressor. Starting with piston #1, I tapped it lightly with the back end of my wooden mallet and it went all the way, right up to the last compression ring. The ring was flush or below the surface of the top of the cylinder but refused to go the rest of the way in. All the other rings went in just fine. I took one of those compression rings off and stuck it into the cylinder, sans piston, and measured the end gap at about .016, right where it should be. So what gives?
I piston 2 with the same result. Here's where things take a turn for the annoying. By this point I was tired and frustrated. You all know what happens in these moments. I rotated the motor over 2/3's of the way to have a look from the underside and the piston slipped out, I had the studs wrapped but the rod slightly dinging the cylinder wall. I hit it with a light scuffing of 400 grit but I can feel the tiniest dimple. I figured at this point in the build, no room for doubt, so I loaded the damn thing up and took it back to the machine shop. They're going to clean up my little ding and have a go at seating the pistons and rings. Really shouldn't be this difficult, something is wrong. I'm wondering if the channel in the piston isn't deep enough for that compression ring or if the "width" of the ring itself is too great.
The machine shop mic'd the cylinders again and they came out spot on. The ring gap when the compression ring is put in the cylinder is spot on. So am I correct in assuming that there's a problem with the inner diameter of these rings in relation to the pistons. I'll be calling Tod at ENGNBLDR tomorrow to get his thoughts.
Since my motor was back at the machine shop, I tackled a couple of cleaning projects. Gave these parts the ol' purple power and a pressure wash treatment.
I wire-brushed and primed the oil pan. Haven't decided what color I'm going with yet. Decisions, decisions.
I've got my injectors set aside to get reconditioned. I remember reading on the forum here somewhere about a company that does them for a fair price, mad dog something or other? I dunno. Gotta do some research.
That's it for now. Such a bummer about the pistons and rings. I was planning to have the engine re-assembled this week, including the new Street RV head and 261c cam from ENGNBLDR. Hopefully I've gotten most of the gremlins out of the way early and this isn't the tone, the whole build will take. As always, thanks for looking y'all!
You were correct in assuming #1 rings are intended to be installed at the top of the piston. I don't know that the sizes are any different between #1 and #2 rings, but they're often made of different types of metal.
I had a similar ordeal when I built an engine last year, where a rod chipped a freshly-machined cylinder wall during removal. I sanded it and just rolled with it. 10k miles later there doesn't seem to be an issue except on a recent compression test, it holds 168 lbs, instead of 171 like the other three do.
I couldn't say why the last piston ring won't fit in the cylinder, that's strange considering the info you gave.
Looklng good and making me envious. Cant wait to see how it comes out.
did you consider having the whole assembly balanced? I had the 22re in a Celica GTS
balanced when it was rebuilt and it felt amazing afterward.
You were correct in assuming #1 rings are intended to be installed at the top of the piston. I don't know that the sizes are any different between #1 and #2 rings, but they're often made of different types of metal.
I had a similar ordeal when I built an engine last year, where a rod chipped a freshly-machined cylinder wall during removal. I sanded it and just rolled with it. 10k miles later there doesn't seem to be an issue except on a recent compression test, it holds 168 lbs, instead of 171 like the other three do.
I couldn't say why the last piston ring won't fit in the cylinder, that's strange considering the info you gave.
So, after swapping the compression rings, the pistons went in fine. Here's my theory: The 2nd compression ring is square and more rigid. I had it in the top ring land of the piston. My machinist put a chamfer on the top of the cylinder wall. When I compressed the rings and tapped the piston in, the rigid second ring slipped out of the bottom of the ring compressor just a few thousandths early, before it was actually seated in the cylinder, due to the chamfer. With the rings in the right lands, all was sweet as a peach. You're right about the metals as well, my machinist said the shiny ring is almost always on top and that the markings on the pistons also contain info, so that's good to know. The directions that came with these pistons were terrible.
I didn't have the shop clean up my little knick but he re-mic'd it where I'd done a little 400 grit loving and it looked all sweet. I am going to do another quick round of 400-grit and emory and call it good.
 06-24-2017, 05:29 PM


 I hit it with a light scuffing of 400 grit but I can feel the tiniest dimple. I figured at this point in the build, no room for doubt, so I loaded the damn thing up and took it back to the machine shop. They're going to clean up my little ding and have a go at seating the pistons and rings. Really shouldn't be this difficult, something is wrong. I'm wondering if the channel in the piston isn't deep enough for that compression ring or if the "width" of the ring itself is too great.