
mopar_runner's 1990 4Runner Build-up Thread
 Dec 29, 2012 | 10:19 PM
#1
Thread Starter
Registered User
Joined: Dec 2012
Posts: 50
Likes: 0
From: Northern UT
mopar_runner's 1990 4Runner Build-up Thread
So I did it again. I should have known better, but i did it anyway. And I can already tell this is going to get expensive, but oh so worth it! I guess im just a hard learn.
I came across a 1990 4Runner thats in excellent condition, with the exception of a blown head gasket , which is what made the price so irresistable to pass up. The bad news is I already have a vision and list of modifications to make it even more off-road worthy. oh what have i done.... here we go.....wish me luck.
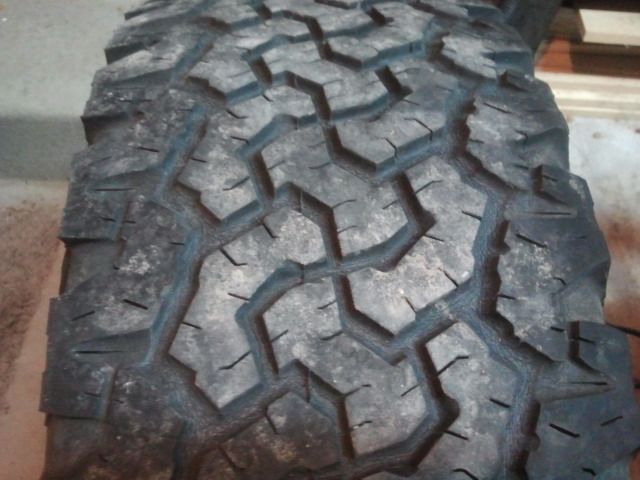
The immediate plan is to replace the head gasket and see how she handles. I've only drove it onto the trailer then straight into the garage. It sits on 31's with stock steels, has a 4" IFS lift, not sure what brand, and coils in back (no spacers). Body is completely rust free and interior is amazing for a 22 year old vehicle.
http://i1288.photobucket.com/albums/...ps2bced144.jpg
I came across a 1990 4Runner thats in excellent condition, with the exception of a blown head gasket , which is what made the price so irresistable to pass up. The bad news is I already have a vision and list of modifications to make it even more off-road worthy. oh what have i done.... here we go.....wish me luck.
The immediate plan is to replace the head gasket and see how she handles. I've only drove it onto the trailer then straight into the garage. It sits on 31's with stock steels, has a 4" IFS lift, not sure what brand, and coils in back (no spacers). Body is completely rust free and interior is amazing for a 22 year old vehicle.
http://i1288.photobucket.com/albums/...ps2bced144.jpg
Last edited by mopar_runner; Dec 30, 2012 at 09:33 AM.


 Jan 3, 2013 | 09:10 PM
#3
Thread Starter
Registered User
Joined: Dec 2012
Posts: 50
Likes: 0
From: Northern UT
Did some looking while the heads were at the machine shop.

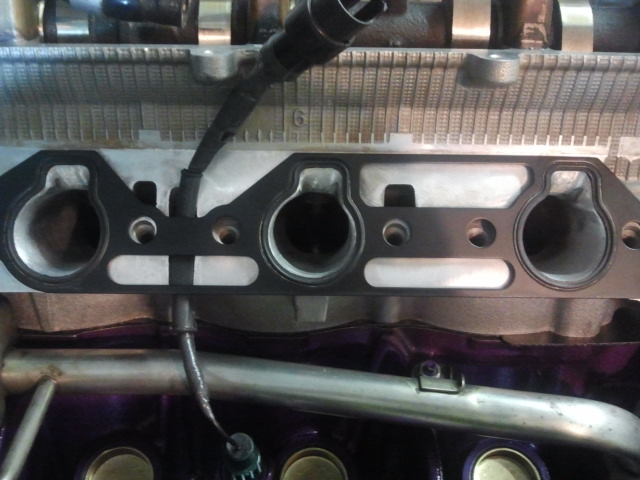
Found this after removing HG:
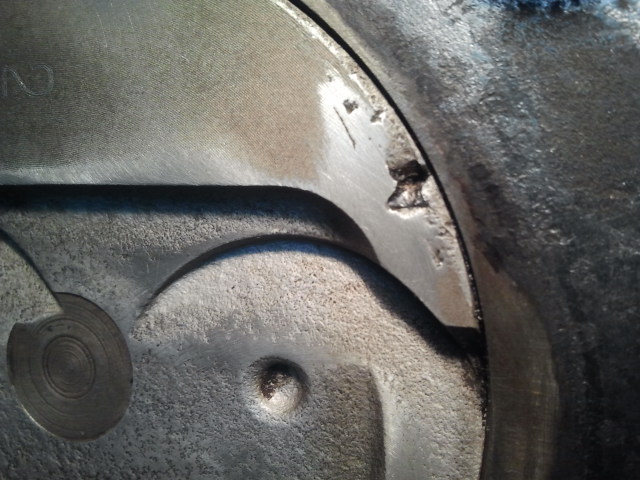
It appears the previous owner took a shortcut on the last HG job. The shiny spots indicate it was previously damaged and filed/sanded smooth. Looks like a set of pistons, rings, and bearings are getting ordered.
The good news is the heads checked out good. Good vacuum, no cracks, slight warp (.002'). A little bit of re-surfacing, and the top end is good to go.
Found this after removing HG:
It appears the previous owner took a shortcut on the last HG job. The shiny spots indicate it was previously damaged and filed/sanded smooth. Looks like a set of pistons, rings, and bearings are getting ordered.
The good news is the heads checked out good. Good vacuum, no cracks, slight warp (.002'). A little bit of re-surfacing, and the top end is good to go.
Jan 6, 2013 | 12:47 PM
#4
Thread Starter
Registered User
Joined: Dec 2012
Posts: 50
Likes: 0
From: Northern UT
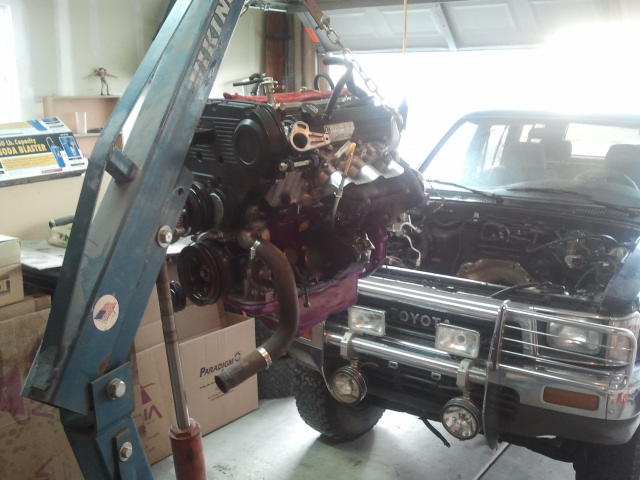
Spent the morning getting the block ready to come out. Everything is all undone and ready to pull. But, my garage isnt big enough to do it with garage door closed...... and its only about 20 degrees out today. And the Redskins Seahawks game just started...GO HAWKS!!!!
Last edited by mopar_runner; Mar 22, 2013 at 06:26 PM.
Feb 11, 2013 | 03:07 PM
#5
Thread Starter
Registered User
Joined: Dec 2012
Posts: 50
Likes: 0
From: Northern UT
so the weather finally started to cooperate for a little while. Got the engine removed, sent to machine shop for cleaning and inspection, ordered a master rebuild kit from Engnbldr. Amazing fast shipping from him! Great guy to work with! Very helpfull and informative.
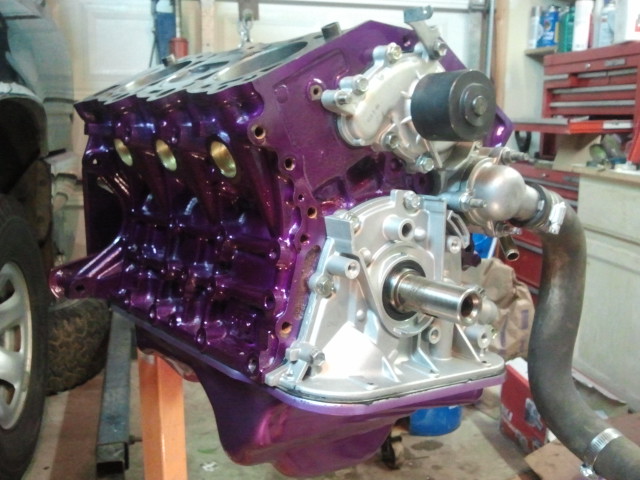
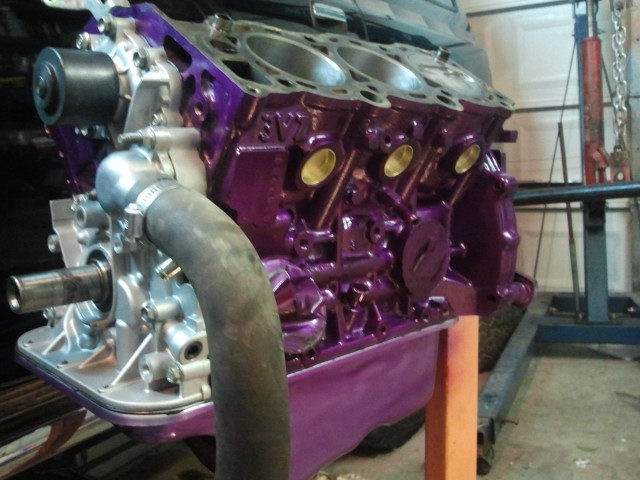
I got the block all stripped, cleaned and painted. Intalled main bearings, crank, and craddle. Took oil clearance measurements with new bearings.... Right in the sweet spot! Removed the crank, cleaned all the plastigage, coated everything with Lucas Assembly lube and torqued down to specs.
I got the block all stripped, cleaned and painted. Intalled main bearings, crank, and craddle. Took oil clearance measurements with new bearings.... Right in the sweet spot!
Removed the crank, cleaned all the plastigage, coated everything with Lucas Assembly lube and torqued down to specs.
Feb 11, 2013 | 03:16 PM
#6
Thread Starter
Registered User
Joined: Dec 2012
Posts: 50
Likes: 0
From: Northern UT
Checked all the new piston ring end gaps in their relative bores and marked for assembly. Every gap nice and consistant, a little on the tight side.... but isnt that how we all like it anyway  While at work today, (during lunch of Course), I pressed out the old pins and pistons, and installed the new pins and pistons on the connecting rods.
While at work today, (during lunch of Course), I pressed out the old pins and pistons, and installed the new pins and pistons on the connecting rods.
Feb 11, 2013 | 03:18 PM
#7

Registered User
Joined: Feb 2013
Posts: 1
Likes: 0
First Toyota was the 1980 4x4 pickup.
Never bought another personal use vehicle but Toyota since.
Current fleet, 2000 runner
Limited, 2004 Trundra Limted, 2011 Camry XLE.
Many others in between.
Never took one back to the dealer for problem.
Had buyers waiting for each one as replaced.
Three still in service for those people, why would I ever buy any other product?
Did have a weak moment & had too have 2 Fox 5.0 Mustangs which I use to keep me thinking young .
Glad too have access to this site.
Thank you.
Trending Topics
 Feb 11, 2013 | 04:18 PM
#10
Thread Starter
Registered User
Joined: Dec 2012
Posts: 50
Likes: 0
From: Northern UT
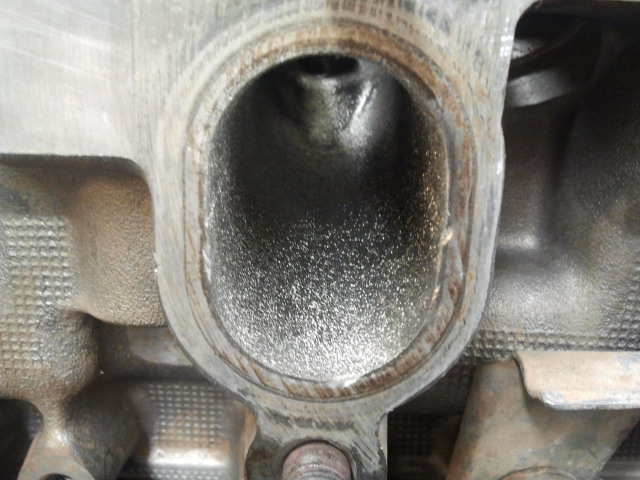
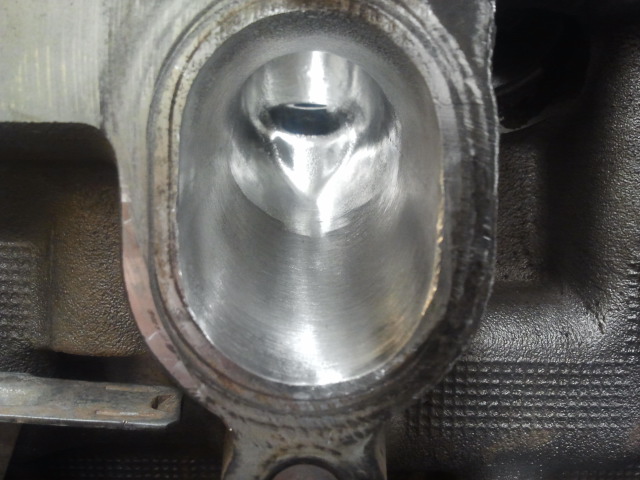
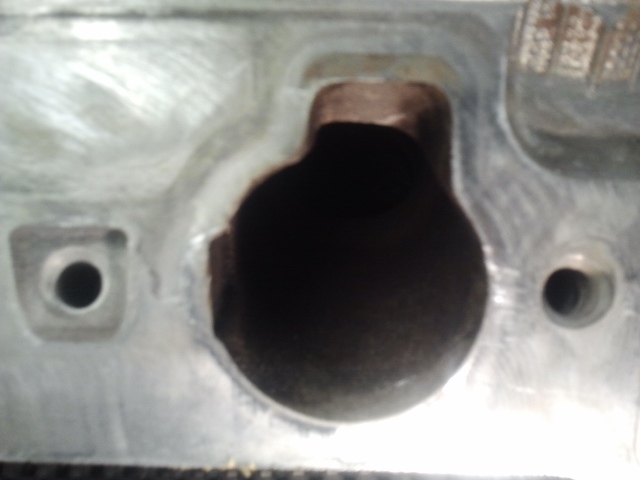
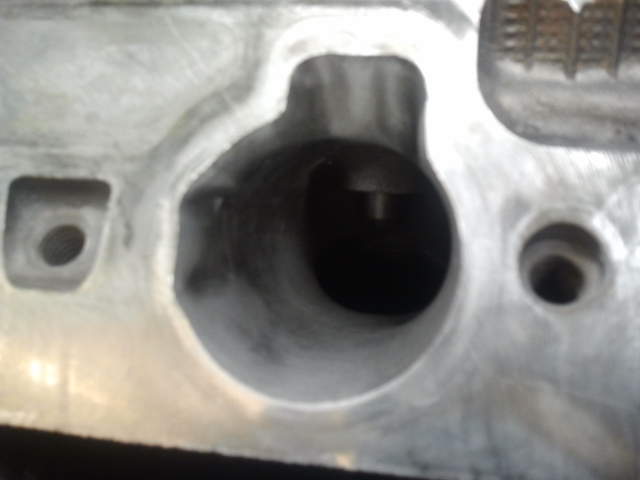
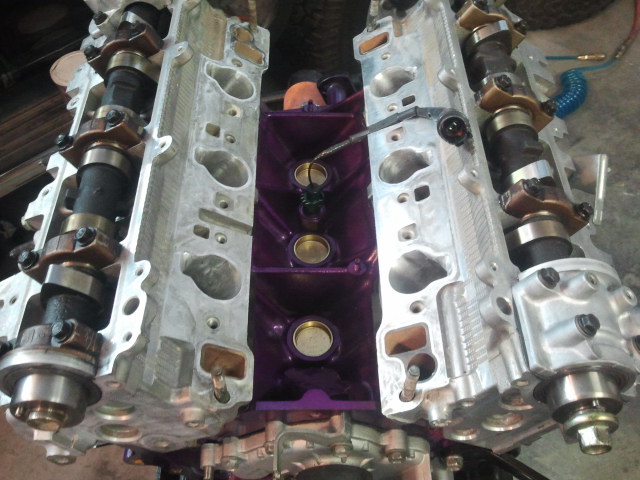
I know your all probably thinking "why put so much effort into 3.slo?'
Well, I just cant help myself. Ive always done port, polish and gasket matching anytime I have an engine apart, from little R/C engines to radical big blocks.
Well, I just cant help myself. Ive always done port, polish and gasket matching anytime I have an engine apart, from little R/C engines to radical big blocks.
 Mar 22, 2013 | 06:57 PM
#13
Thread Starter
Registered User
Joined: Dec 2012
Posts: 50
Likes: 0
From: Northern UT
I picked up a 40lb soda blaster from HF to help in the cleaning of misc parts and pieces. I have to say its one of the best investments ive made. This thing cleans amazing and saves so much time. I have a heated parts washer/solvent tank to clean all the real grimey stuff, but this soda blaster does a way better job in half the time! Grease caked parts look brand new in just a few minutes. I got all excited and blasted everything.....then realized I should have took some pictures first...Duh! Here are some i was able to get.

Mar 22, 2013 | 07:04 PM
#14
Thread Starter
Registered User
Joined: Dec 2012
Posts: 50
Likes: 0
From: Northern UT
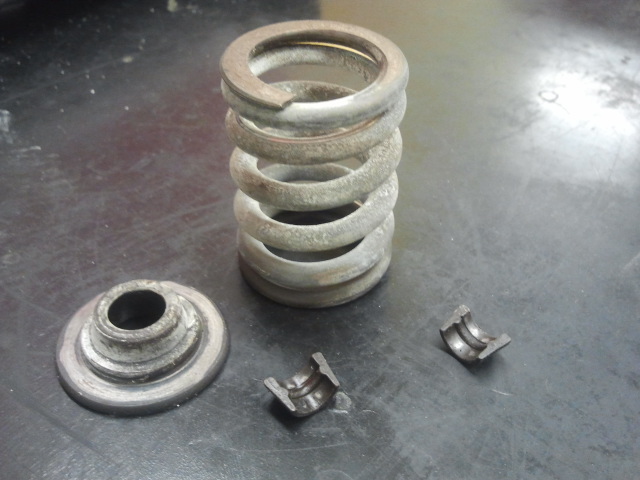
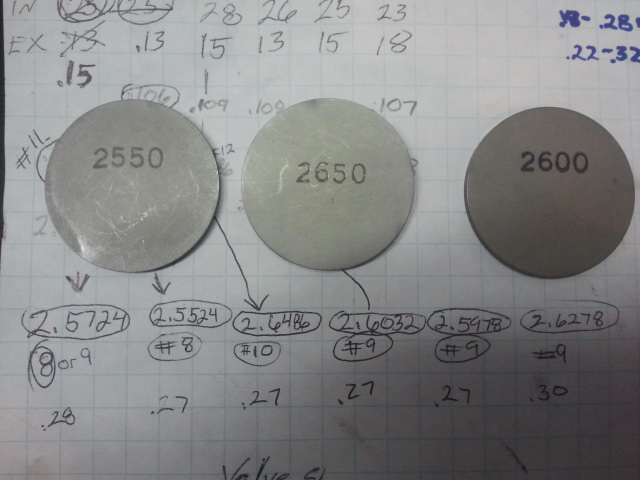
Before I tore the heads off, I measured and recorded all the valve clearances. All the Intakes were within spec, but all the exhaust were way tight. While the heads were apart, I measured and recorded each shim, did some math, and ordered six new shims. Now they are right in the middle of the spec range!

 Mar 22, 2013 | 07:19 PM
#16
Thread Starter
Registered User
Joined: Dec 2012
Posts: 50
Likes: 0
From: Northern UT
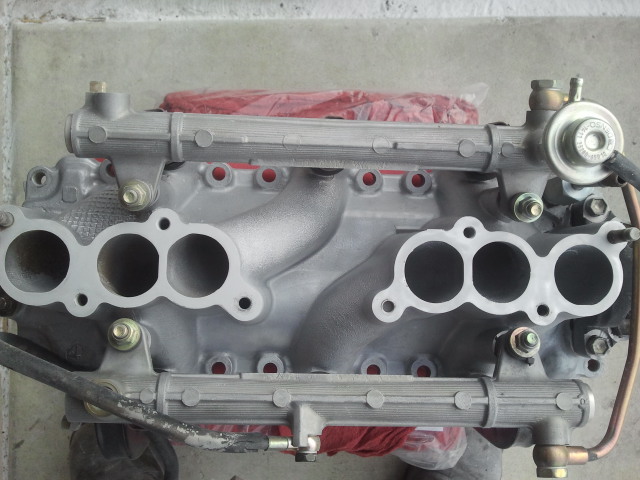
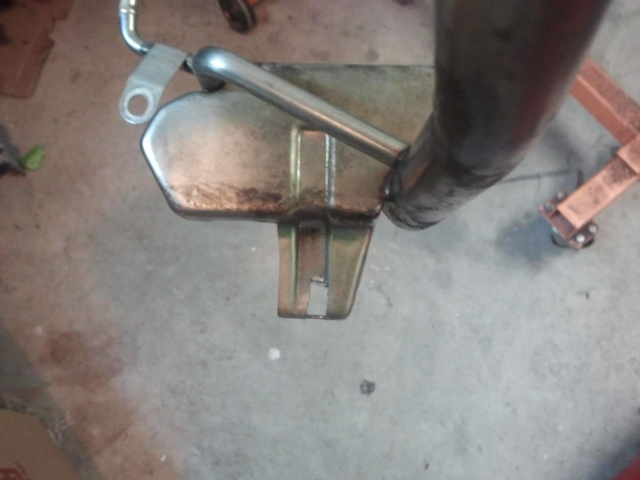
In my haste to get the heads back on, i forgot that the heater tube assembly needed to go on first 
So.... a little bit of bolt clearance modification later, and it slipped right in without having to takes the heads back off.
So.... a little bit of bolt clearance modification later, and it slipped right in without having to takes the heads back off.


 Mar 22, 2013 | 07:57 PM
#20
Thread Starter
Registered User
Joined: Dec 2012
Posts: 50
Likes: 0
From: Northern UT
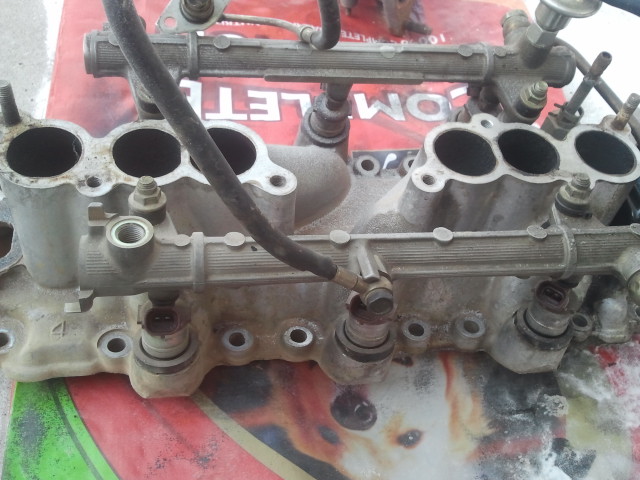
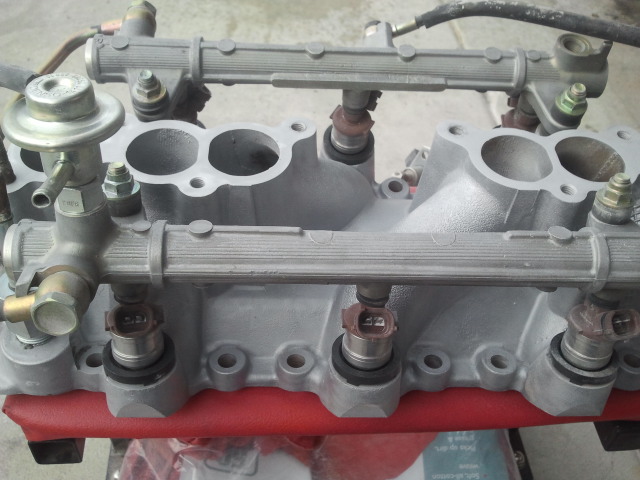
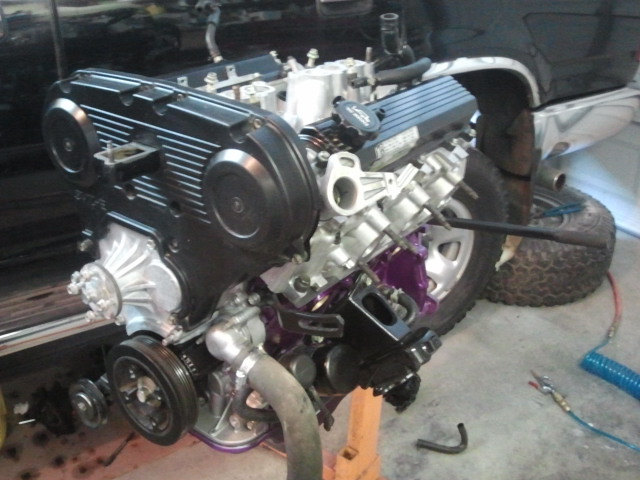
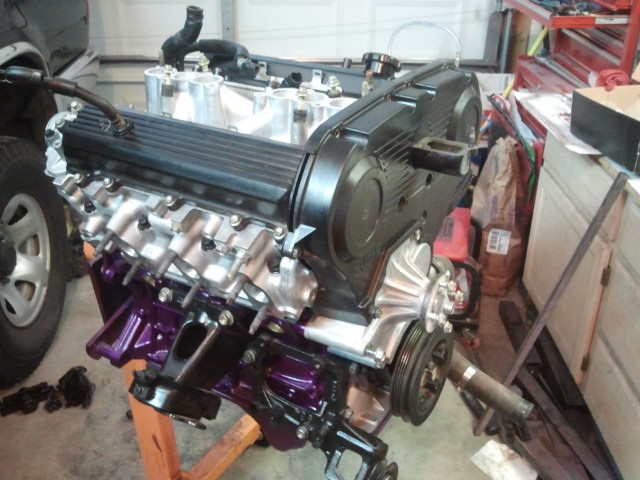
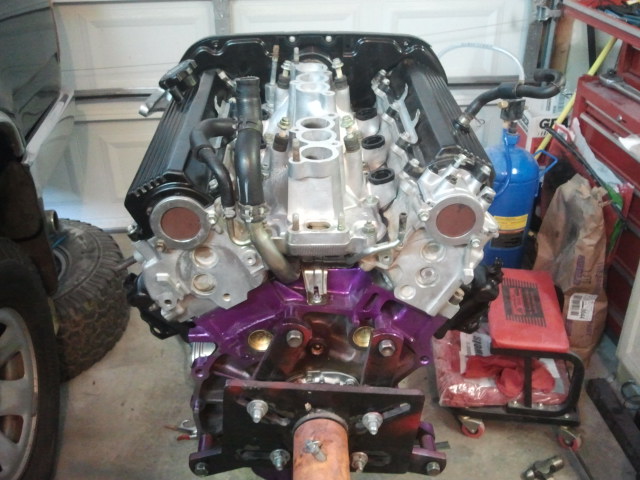
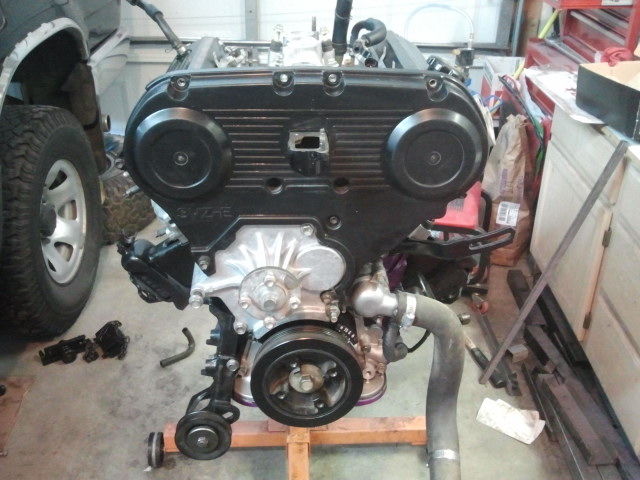
In the process of breaking in the new motor, i discovered an oil leak from the rear of the passenger side valve cover. So... off comes the intake plenum so I could see where its leaking. Found the rear cam 'bearing' and seal leaking. I removed, cleaned, reset the seal and 'bearing'. Started to put back together and realized i broke the cold start fuel line. Twisted and cracked the rubber.  Replaced the line, put the plenum back on, hooked up all hoses, fired it back up and ......... fuel dumping all over the back of the engine!
I knew right away i must not have tightened the pressure regulator tight enough......so.....off comes the plenum....again! Getting pretty good at it though... had it off, tightened the regulator, put back together and had it fired up again (without any leaks) in less than 45 min.
Replaced the line, put the plenum back on, hooked up all hoses, fired it back up and ......... fuel dumping all over the back of the engine!I knew right away i must not have tightened the pressure regulator tight enough......so.....off comes the plenum....again! Getting pretty good at it though... had it off, tightened the regulator, put back together and had it fired up again (without any leaks) in less than 45 min.


