When you click on links to various merchants on this site and make a purchase, this can result in this site earning a commission. Affiliate programs and affiliations include, but are not limited to, the eBay Partner Network.
did all consoles have padded cover or was that an option? since one of my hinges is broken it's more of a lid than a cover lol but it has no padding or wrap or signs of old adhesive
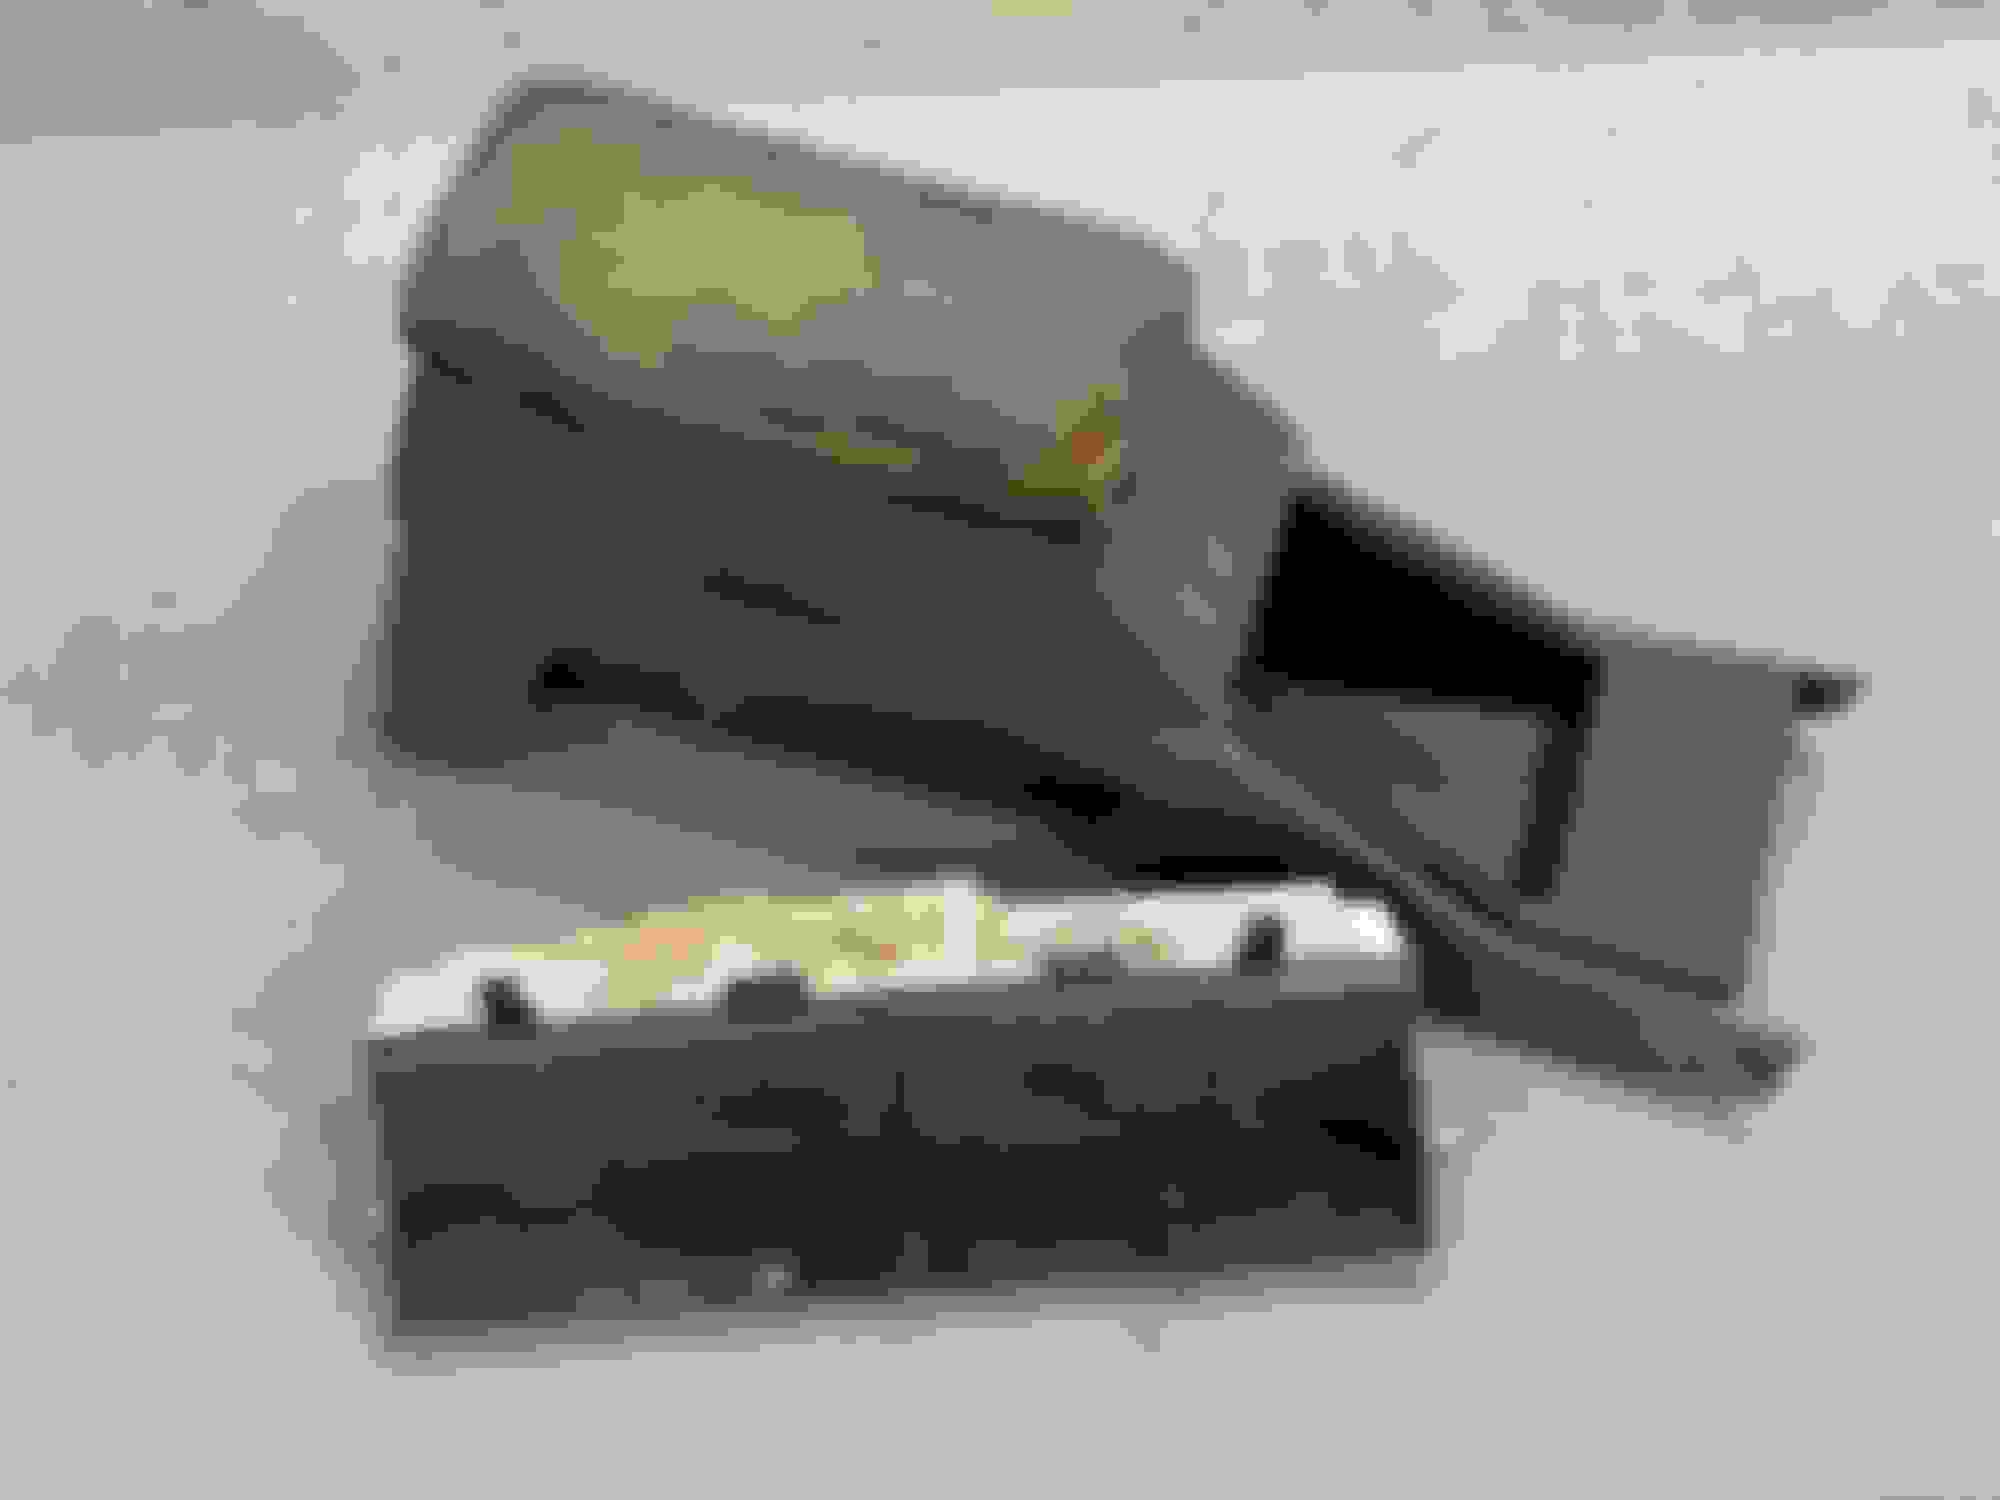
no, the deluxe (normal) center console has a single comparment with a non-padded abs lid. the upgrade/sr5 lid was padded, and had two compartments. then there was the rear-seat heat center console. i believe the r-s heat versions all had a padded cover.
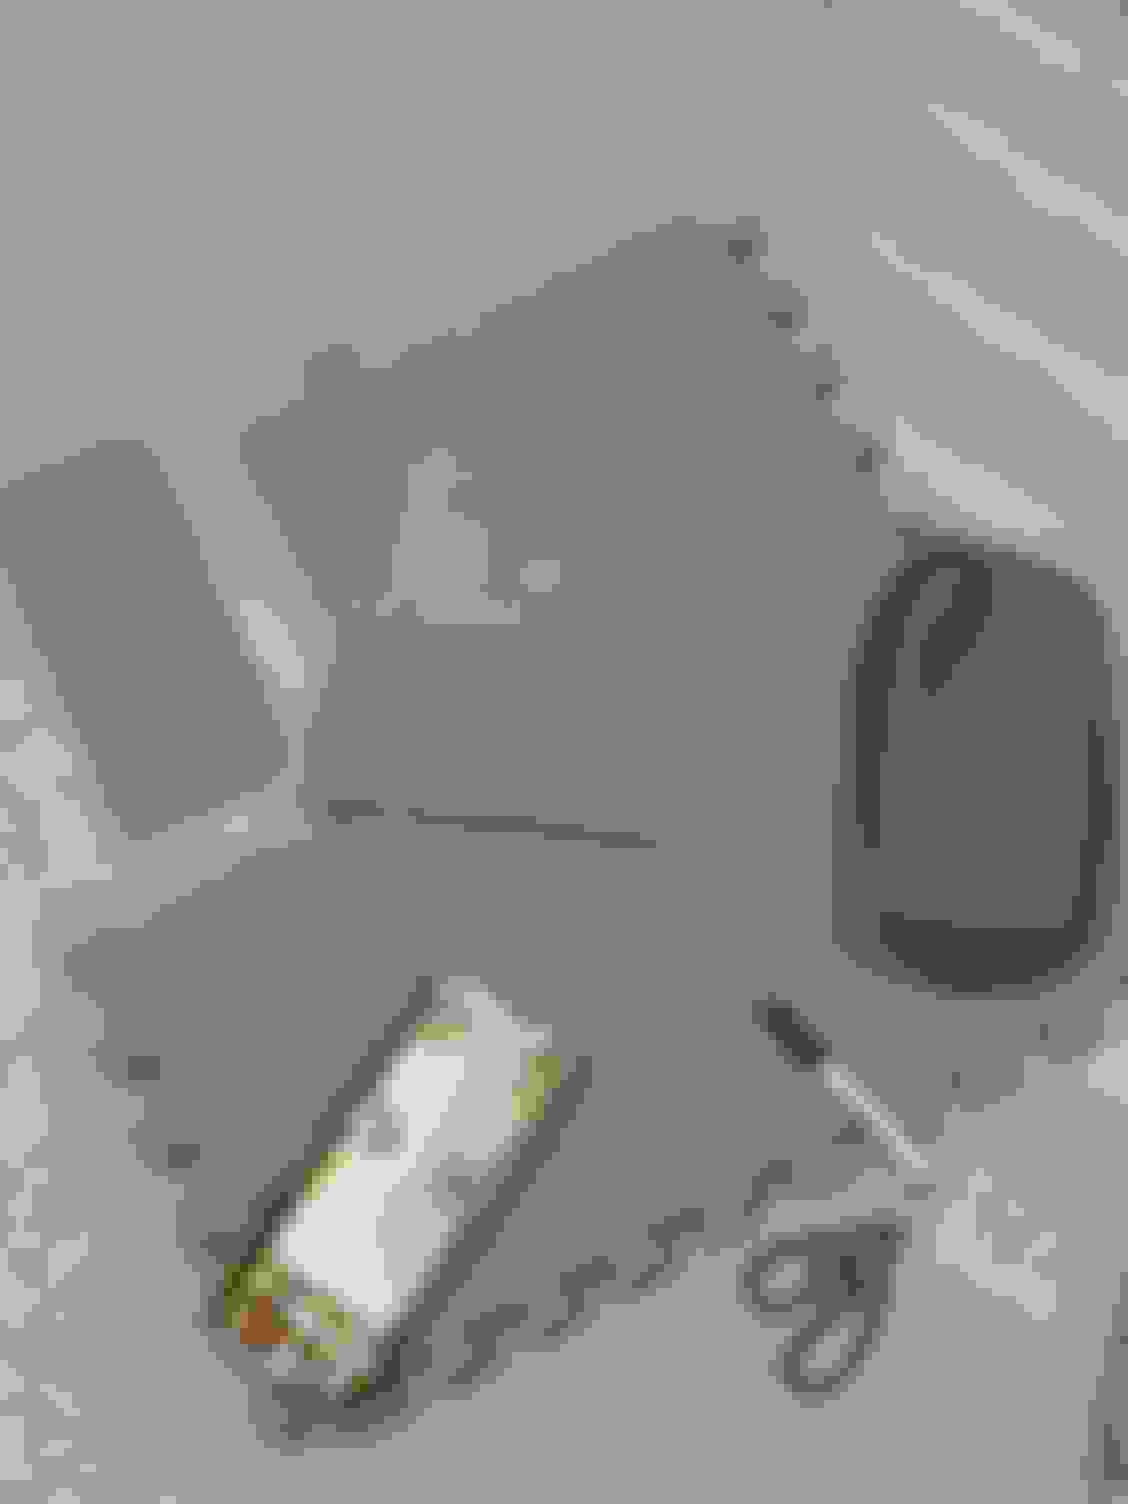
the sr5/upgrade version, here in my 1st '87 less than a month after i bought it.
a bit tattered after 5 years of DD life
and the new cover i made for it out of cordura nylon
I’ll be back on the rod bearings this weekend. Will let you all know how it turns out.
i just bought a double console out of a pickup for $150. It’s in very good shape, but will also need a new pad and cover. That one is for the beach truck. I cut some floor pad foam to try for a lid pad. That and some cotton batting i have left over from a previous seat cover job and i think it will work great.
Last edited by Melrose 4r; Mar 2, 2023 at 04:52 PM.
What’s better than getting parts in the mail? Getting genuine Toyota OEM parts in the mail! A handful of stuff for the Goorunner including the prop rod holder and grommet, a knob and screw for the inclinometer, a couple bulbs for the same, and a console lid catch/latch.
I saw somebody selling the inclinometer knob and screw on Ebay for $25/obo and it turns out they are available around $5 each. I could not tell if the knob came with a screw(turns out it does), so i ordered an extra. Anyone needs the screw, let me know.
Last edited by Melrose 4r; Mar 4, 2023 at 03:39 AM.
The shifter mount baffle and these parts are for the beach truck, along with a new CSF radiator and cap from Rock Auto.
Now I have quite a pile of parts to throw at the beach truck including, twin stick shifter, new clutch, complete brake upgrade kit, radiator, gauge set, and console. This odometer has 211k miles and beach truck has 200k so it’ll be about Summer 2025 when they match up. And I ordered another console lid cover off Etsy.
Last edited by Melrose 4r; Mar 3, 2023 at 04:17 PM.
A bit more progress on the red headed step truck. I got the bearings in and everything underneath reassembled. The inside of the oil pan contained some bearing bits, as you would expect.
Yuck. All clean.
And I discovered the tried and true method of cleaning greasy parts with gasoline works about 10 times better than Purple power.
The engine started right up and the rod knock was gone, but the other bad noise remained. The noise I thought was valvetrain, comes and goes when removing/replacing #3 spark plug wire at a high idle. So now i am pretty well convinced it’s a wrist pin/bushing or cracked piston. I am going to have to swap the engine. Too bad, this engine is bored .060” over(1.5 mm) so i really wanted to drive it to see if the increased compression and few extra cubes made any noticeable difference. Now i am looking forward to disassembling the engine to see exactly what evil spirit resides in it.
Aside from that, i finished the upholstery on the console arm pad. I bought a “kneeling pad” from Harbor Freight because I thought 1.5” of foam might be good but it proved to be too much. I wound up using the floor pad foam and cotton batting left over from another upholstery job. It’s not perfect but good enough for this rig.
I am beginning to think the “undercoating treatment” involved spraying the underside with used motor oil, then shoveling sand at it, then spraying it with more oil. I find it somewhat amusing that you can’t even see the ball joint bolts on the upper control arm.
Spent all day with the red headed step truck. Probably the biggest accomplishment was removing about 6 pounds of grime from the driver’s side wheel house.
Here’s the After shot. 75% clean. You can now see part of the yellow shock and the chrome hub. But, you can also see that the inner cv joint boots on each axle are ripped open , brake backing plates are disintegrating, and the hubs don’t seem to unlock. Yay, more stuff to fix.
Last edited by Melrose 4r; Mar 27, 2023 at 07:20 AM.
I recently pulled both front fenders and discovered this nice hole on the driver’s side. We’ll have to weld a patch there.
And i bought new hinges for both sides off ebay. Still need a little more adjusting.
Lastly, i pulled off the wipers and cowl panel to get at a bunch of tree droppings that were in there clogging up drainage.
interesting that the last person to replace the windshield did not see fit to replace any of the factory trim mounting screws.
Of course, while the cowel panel is off i had to restore the wiper arms and straighten out the bent fins on the cowel panel.
I recently pulled both front fenders and discovered this nice hole on the driver’s side. We’ll have to weld a patch there.
And i bought new hinges for both sides off ebay. Still need a little more adjusting.
yes I know that whole section well. Also I bet those locking hubs just need a good cleaning to make work again.
great timing with that roasting pan full of crap, I had just decided that same evening, while filling another dustpan with rust, that I should start a 'Rust Bucket' and see how long it takes to fill up. At this rate it could change from 'how long' to 'how many buckets' lol
I used this soda carton to make a template. Using the edge of this shelf saves me from needing a sheet metal brake. Work in process. Ran out of gas for the mig!
Last edited by Melrose 4r; Apr 9, 2023 at 05:44 PM.
Cut out the rusted areas. Sometimes the Dremel is better than the angle grinder Don’t use this kind of clamp. The rubber melts. My son struggling with the welding helmet. This was a $125 Hobart auto dimming one that decided to die. Next l will buy the $40 HF one.

 Mar 2, 2023 | 01:57 PM