When you click on links to various merchants on this site and make a purchase, this can result in this site earning a commission. Affiliate programs and affiliations include, but are not limited to, the eBay Partner Network.
So the swap has been great. I've driven it hard for about 5k since then and its been flawless. Its got good power and and averages around 20mpg now. I got everything I hopped for and some.
We had our first good rain since then and while I'm not usually into mud I had to see how it did with the new motor. 4wd donuts in 2nd high is easilly doable now. The 3.0 couldn't even break a tire loose in the mud.
About a week later though I found it isn't perfect. I had it sunk pretty good here and had to be winched out. This situation is what made me really push to get my winch mount done. Definately dhould have hit the section in 4wd instead.
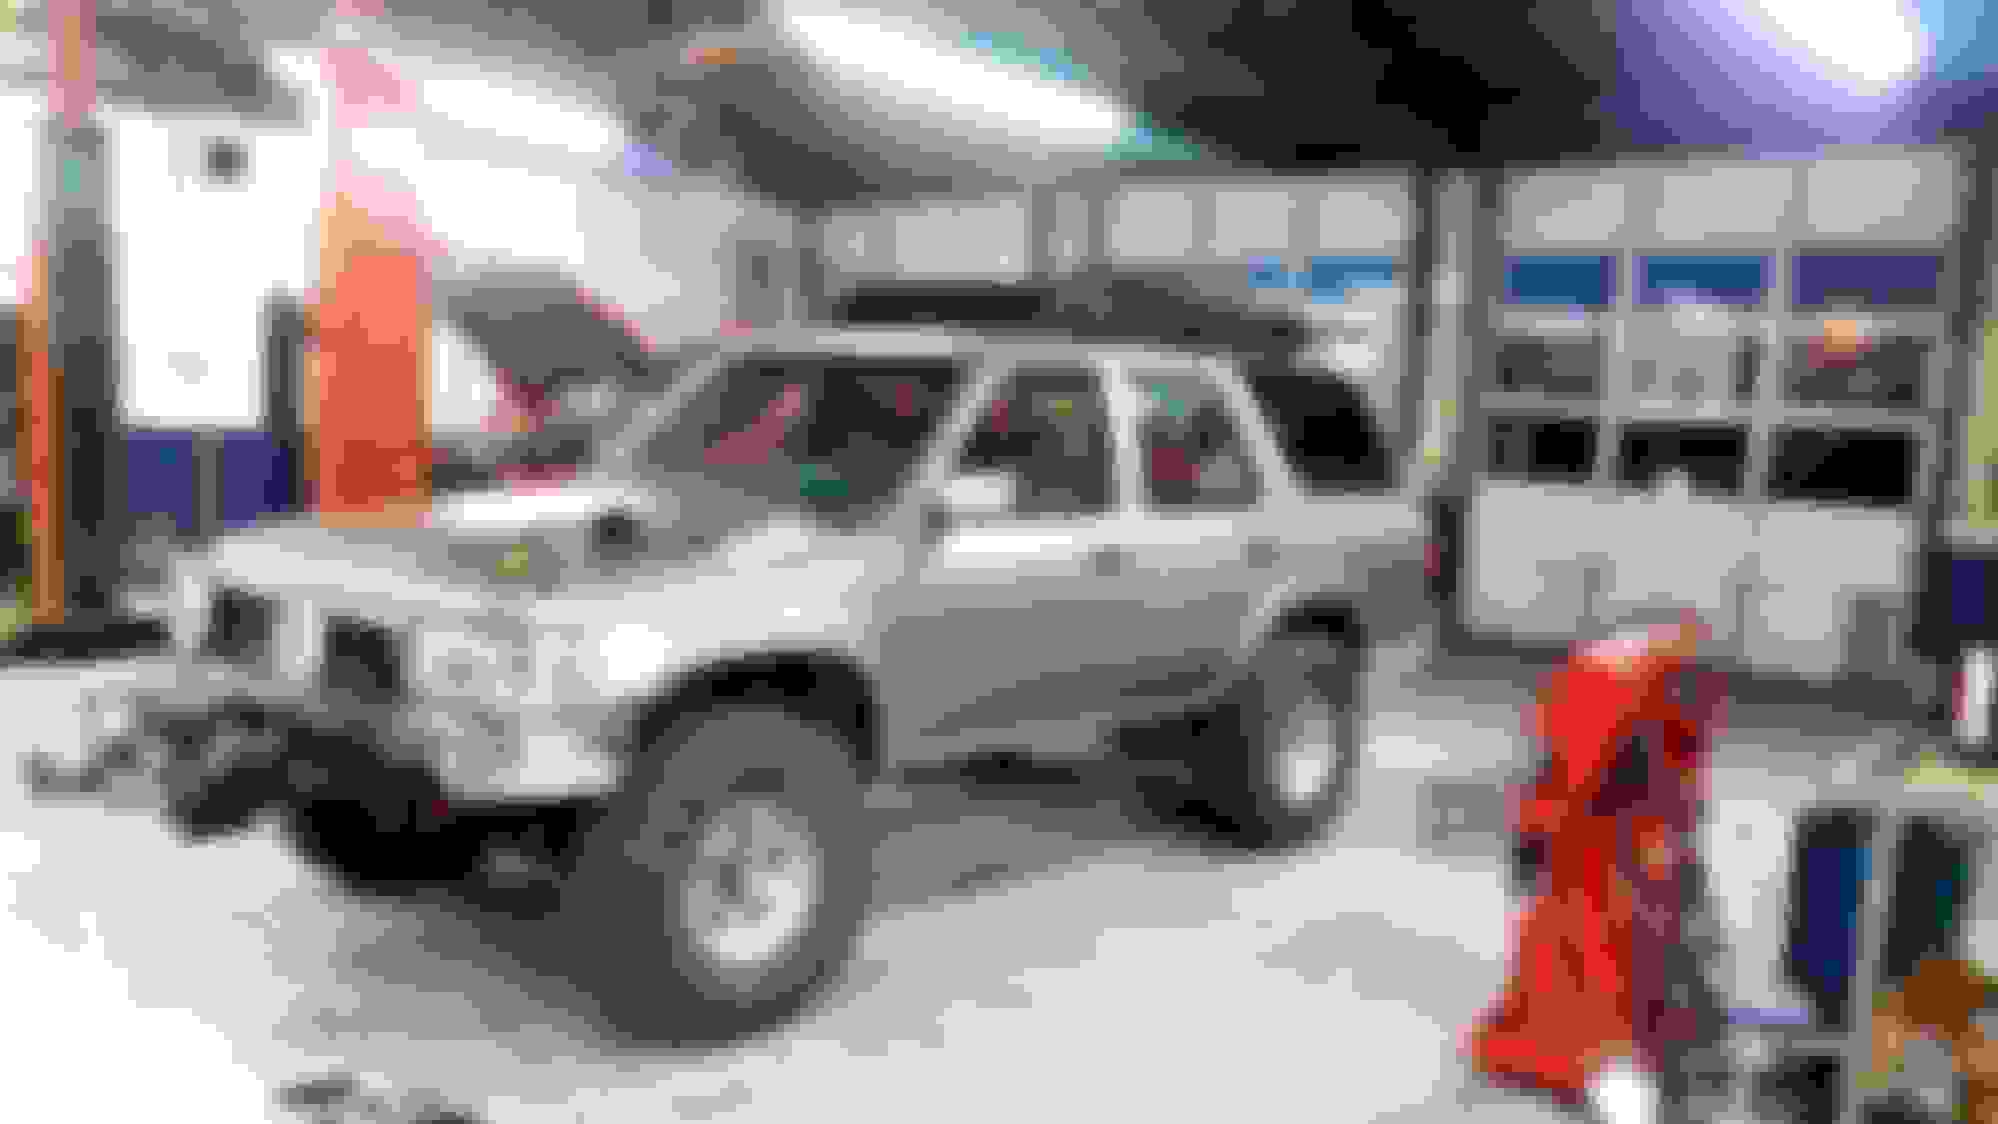
I bought a Subaru legacy last week. I pulled it to work to yank the transmission out of it. Car and trailer combined is about 5500 pounds plus the 4500ish the runner weighs on its own. Up the grades it easily ran 65 in 5th with no more than 1/4 throttle. The 3.0 struggled 55 on flat ground without a trailer. So yeah. Im in love with my runner again.
So I was pondering the idea of light upgrades. I've always hated 9004 bulb lights and even though Toyota made probably the best one, they still suck. I really wanted some low beam enhancement. As much as I would like a projector retrofit, a good one isn't within budget. While looking around I managed to stumble across a set of Depo e-code lights. The benefits really stood out to me. They use the far superior h4/9003 bulb, have a clear GLASS lens , metal reflector, and have a good cutoff. Something I didn't know before I bought it was the reflector moves inside the housing for adjustment. This is good because getting a proper adjustment doesn't affect the body lines. They cost $180 but the glass lens sold me. They could've been plastic and $10 and I still wouldn't have bought them. I hate plastic lenses.
Here's the new compared to the old.
I wanted them to be as bright as possible. I bought some 90/100w Osram bulbs with them. I knew the stock harness wasn't gunna handle the extra load. I looked around but could't find a premade switched ground relay harness for a reasonable price. So instead I decided to make my own. I did a little bit of probing around with the multi meter and found that the stock harness can handle the larger bulbs on the hot side. With both of them installed there is only a 200mv drop from the battery post to the bulb connector. While it is some, I don't think it's enough to make any real noticeable differences. Of that 200mv, 120mv were across the 10amp fuse alone. There's not much that can be done without going to a larger fuse. This is good because I can make a much more compact and simple harness. The ground sides I found to have about a 2.5 volt drop. That needs a remedy for sure.
What I wound up doing is buying a short adapter harness to go from a 9004 connector to a ceramic h4 connector.
I chopped it up and repinned it for colors to match a little better, I then added a l relay to it for switching between highs and lows. The ring terminal goes from a body ground and feeds the relay through the common connector. The n/c connector goes to the low beam and n/o connector goes to the high beam. The power side gets its power form headlight positive and is switched on and off using the the high beam ground. I made up two of them and put on on each side. These were real nice as they were just plug and play. I didn't have to modify any of the factory wiring and didn't have to run a large and bulky harness. I soldered all the wires and used adhesive lined heat shrink. I used just what I had on hand for the relay. I'll eventually change it out for a sealed one later. Overall voltage drop is now about 300mv.
Passenger side installed
Driver side
And how they look for now. I'm going to wait to put the grill back on for now. I have some A/C leaks as you can see in the above pictures. I'm going to tear into that here soon to try and fix those. I'm kinda disappointed in that. I just replaced the A/C system a couple weeks ago and used all green o-rings and they're already leaking.
Low beam pattern. It has a nice cutoff with a little swoosh to light signs.
High beam. The high is real nice as it doens't loos all the light where the low beam used to be. Many lights I've found has a nice high beam but has a bunch of darkness where the low would used to shine. These lights take care of that. Plus with a little bit of light being thrown way high and to the sides it literally lights everything really nice.
Now I do really like the beam patterns I'm kinda disappointed it the brightness of the 90/100w bulbs. I tried some normal ones and while they are definitely a little bit brighter they are negligible. They do work good but I still want just a little bit more. Might start fooling around with a few hid kits I have laying around. Does anybody have any recommendations on h4 halogens that might be worth trying. I won't use any with the blue tint.
Last edited by Kolton5543; May 6, 2018 at 01:40 AM.
Been a little while since I've gotten a few pics of the Toy. We just got our first snow up Mt. Graham friday night so I decided to hit Tripp Canyon saturday morning to get some fresh pics. I got a bunch but here are my favorites.
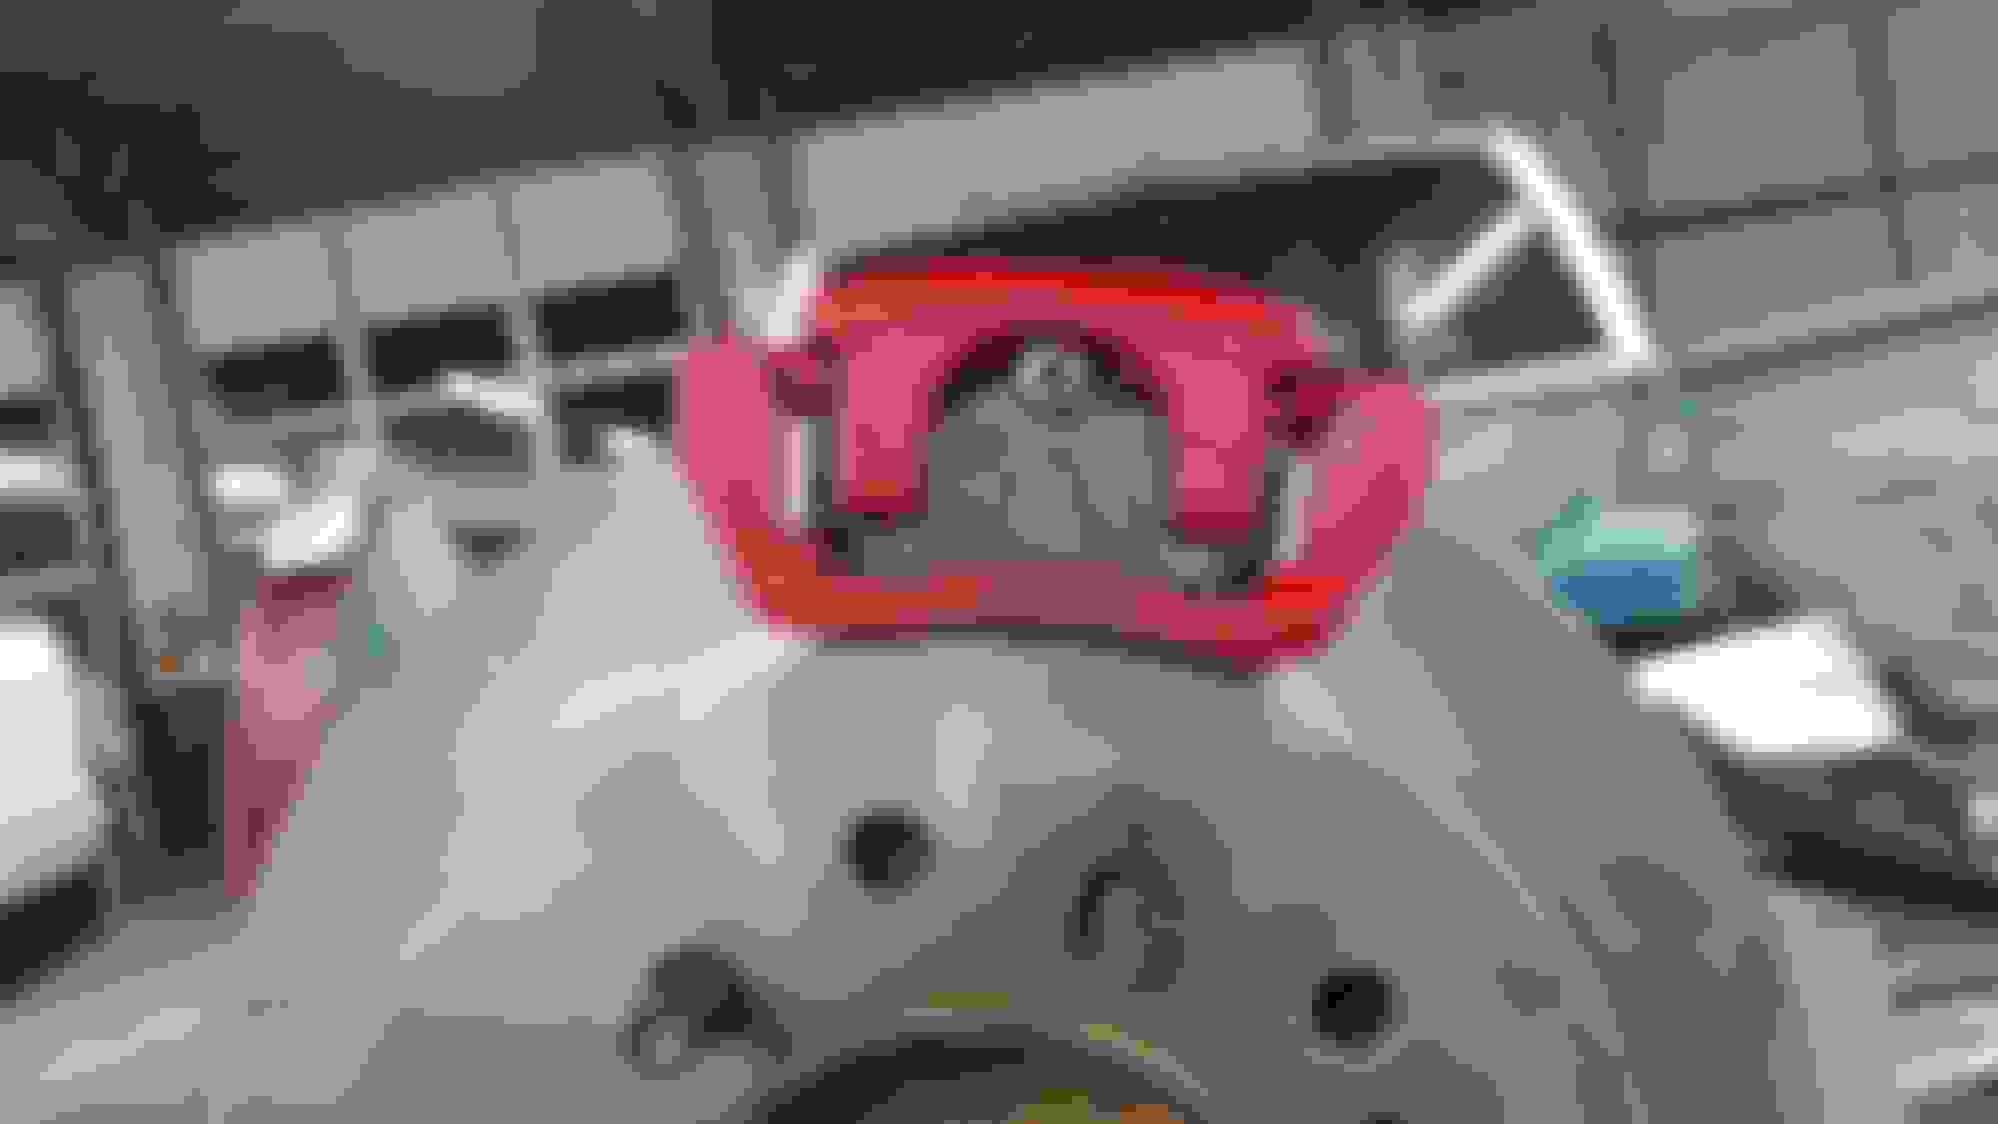
I recently decided it was time to do a rear disc brake swap. I got tired of my brakes fading to nothing everytime I crossed a deep wash and packed the drums full of sand. I considered the kits available but I felt like they were all a little underenginered. Like everything was an expensive improvised solution. Plus, most of them don't have a solution for a properly functioning parking brake.
After looking around for quite some time, I found a few solutions but none of them were perfect. The best one I found was using Mustang GT calipers on Montero rotors with a home made bracket, washers for spacers, and custom made brake lines. Still no parking brake. I started with that overall design and just improved it with a few better off the shelf parts.
This should work on all pickups and 1st-3rd gen runners. Should work on tacos too. The bracket and parking brake cable will vary from truck to truck though.
I started with rear 94 Mustang SVT calipers. They are the same caliper as the GT but have a wider bracket for a wider rotor and thinner pads. SVT pads will fit GT calipers and rotors but not the other way around.
For a rotor I chose a 2004 4runner rear rotor. These are wider and vented unlike the Montero rotor. They happen to be the same width as the SVT rotors. Unlike the common Chevy rotor swap, these fit without any mods and can be had for less than $20 new.
For brake lines, I chose a rear hose for a 81 Nissan 200sx. This hose has a 10mm banjo on one end and a m10.1.0 inverted flare on the other. In other words, it fits the Mustang calipers and the Toyota hardlines. I bought these new for about $4 each.
I purchased everything from Rockauto. Total cost was about $250. Significantly cheaper than any of the available kits. I currently just have the stock parking brake cables attached to the calipers. They work but they have too much slack before they grab. I have a set of new mustang cables I'm going to splice together with the 4runner cables. I just haven't had the time yet.
To start I made a test fit in the wheel to see if this was even going to fit my 15s. Its tight but it fit. If they don't fit yours, there is a fair bit of meat on the caliper that can be ground off.
I then ruffed it up on the truck to see where the caliper will best fit. I chose to clock it back 22.5� this might vary depending on your truck. I chose here because it would clear all of the suspension components and the parking brake cables would fit. If you have leaf springs the options will open up a bit.
I mocked up everything on a spare axle I have. I pressed off the backing plate and reinstalled the bearing to the shaft. I then took a few measurements on the bolt holes and drew up a template in Sketchup.
Test fit
Transferred the template to some 3/8" steel and torched it out.
I originally used bolts because I thought I would need them. In the end, I ground off about 1/8" of the knurled edge on the studs and reused them. They were the perfect length. If you cut the backing plate off instead of removing it all together, you will need to replace with bolts.
Here I have the caliper bolted on. I cut and reflared the brake line down by the retainer. The brake hose fit perfect here and squeezes behind the shocks really well.
I had to grind a little bit of the bracket down to clear the rotor.
Finally I got this side mounted up on the truck. Took it out with just this side done and ran the suspension through its cycles and made sure everything cleared.
Here you can see the factory 2nd gen 4runner parking brake cableattached. It needs to be in a sheath to work right but this was a proof of concept. Pickup and 1st/3rd gen side pull cables probably wont work. Either you can modify the bell crank to connect to the cables to the under side or convert to modified 2nd gen runner cables. You can also see how close of a fit it is with a 15" wheel
Here you can see I had a brake leak on the driver side. I damaged the caliper and didn't feel like trying to go through Rockautos return policy. I just went and bought a GT caliper from O'Reilly. They don't keep SVT calipers stocked, but as I said before, they are the same aside from the brackets. This gave me the opportunity to show the differences. The GT bracket on the left is open on the outside end where the SVT bracket on the right is closed.
You can see the GT bracket fits over the wider rotor still but its tight. And, with out a washer between the caliper bracket and the adapter bracket it touches the rotor. It can be made to work, but it's not ideal.
Clearance comparison with the SVT bracket.
In the end, it works very well. I'm still using the stock 1" master cylinder. I had some issues with far pedal travel. I wound up bypassing the LSPV and the ABS actuator and it didn't fix the problem. It acted like there was air in the lines. It wound up being the cheap brake pads I used had too long of a piston alignment pin. The piston was pressing on just the pin and not the back of the pad. They would then rock back and cause the piston to travel to far. Changing out the pads for some nice Bendix ceramics fixed that problem and I have a nice pedal now.
I still have no proportioning valve. If I lay into the brakes, I can get all 4 to lock up 33s but the fronts always lock first, no matter the surface I'm driving on. They really are perfectly balanced. What you choose to do is up to you. I don't know how they will perform with ABS but I don't see a reason why they would interfere.
I will update again when I finally get a proper parking brake cable made. They work ok for now though so it's not on my list of top priorities.
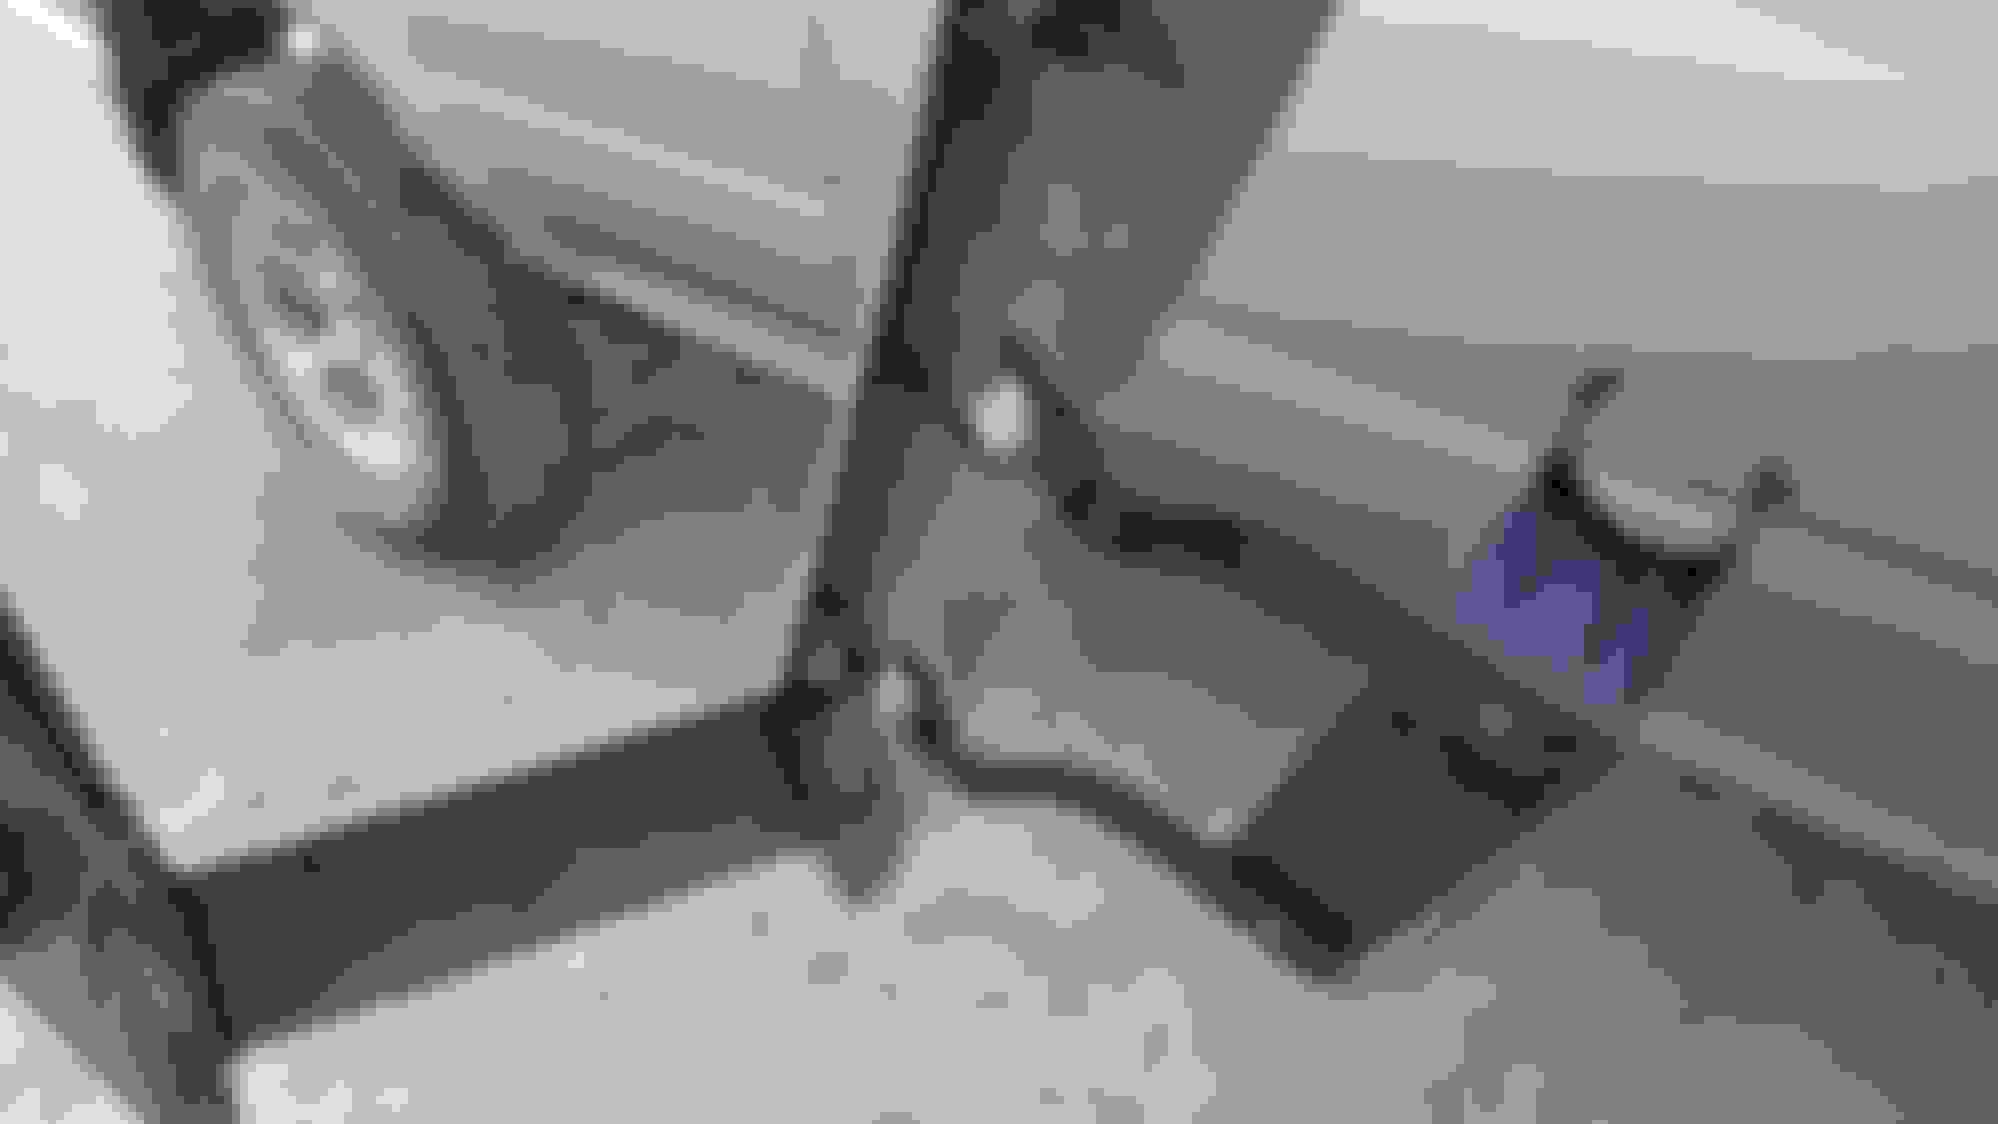
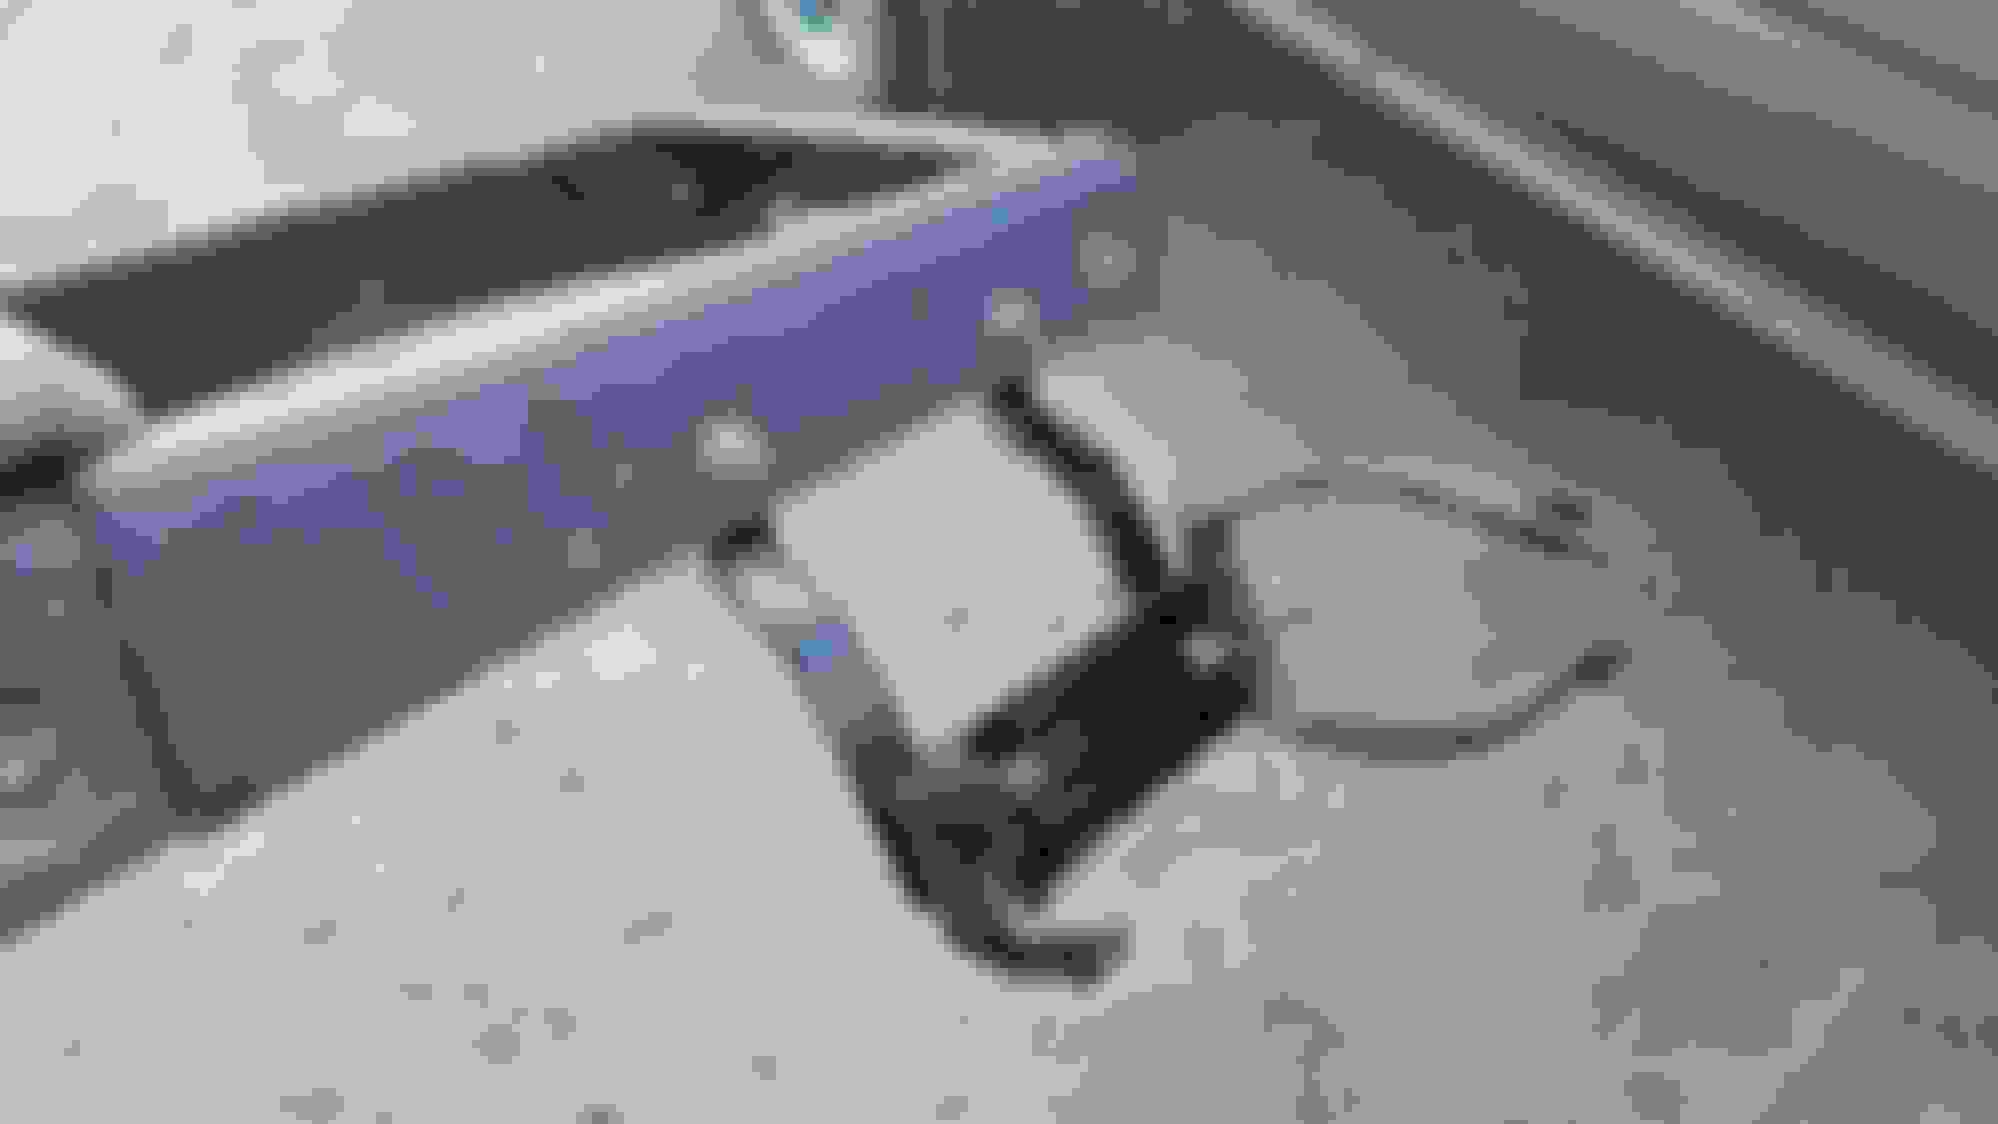
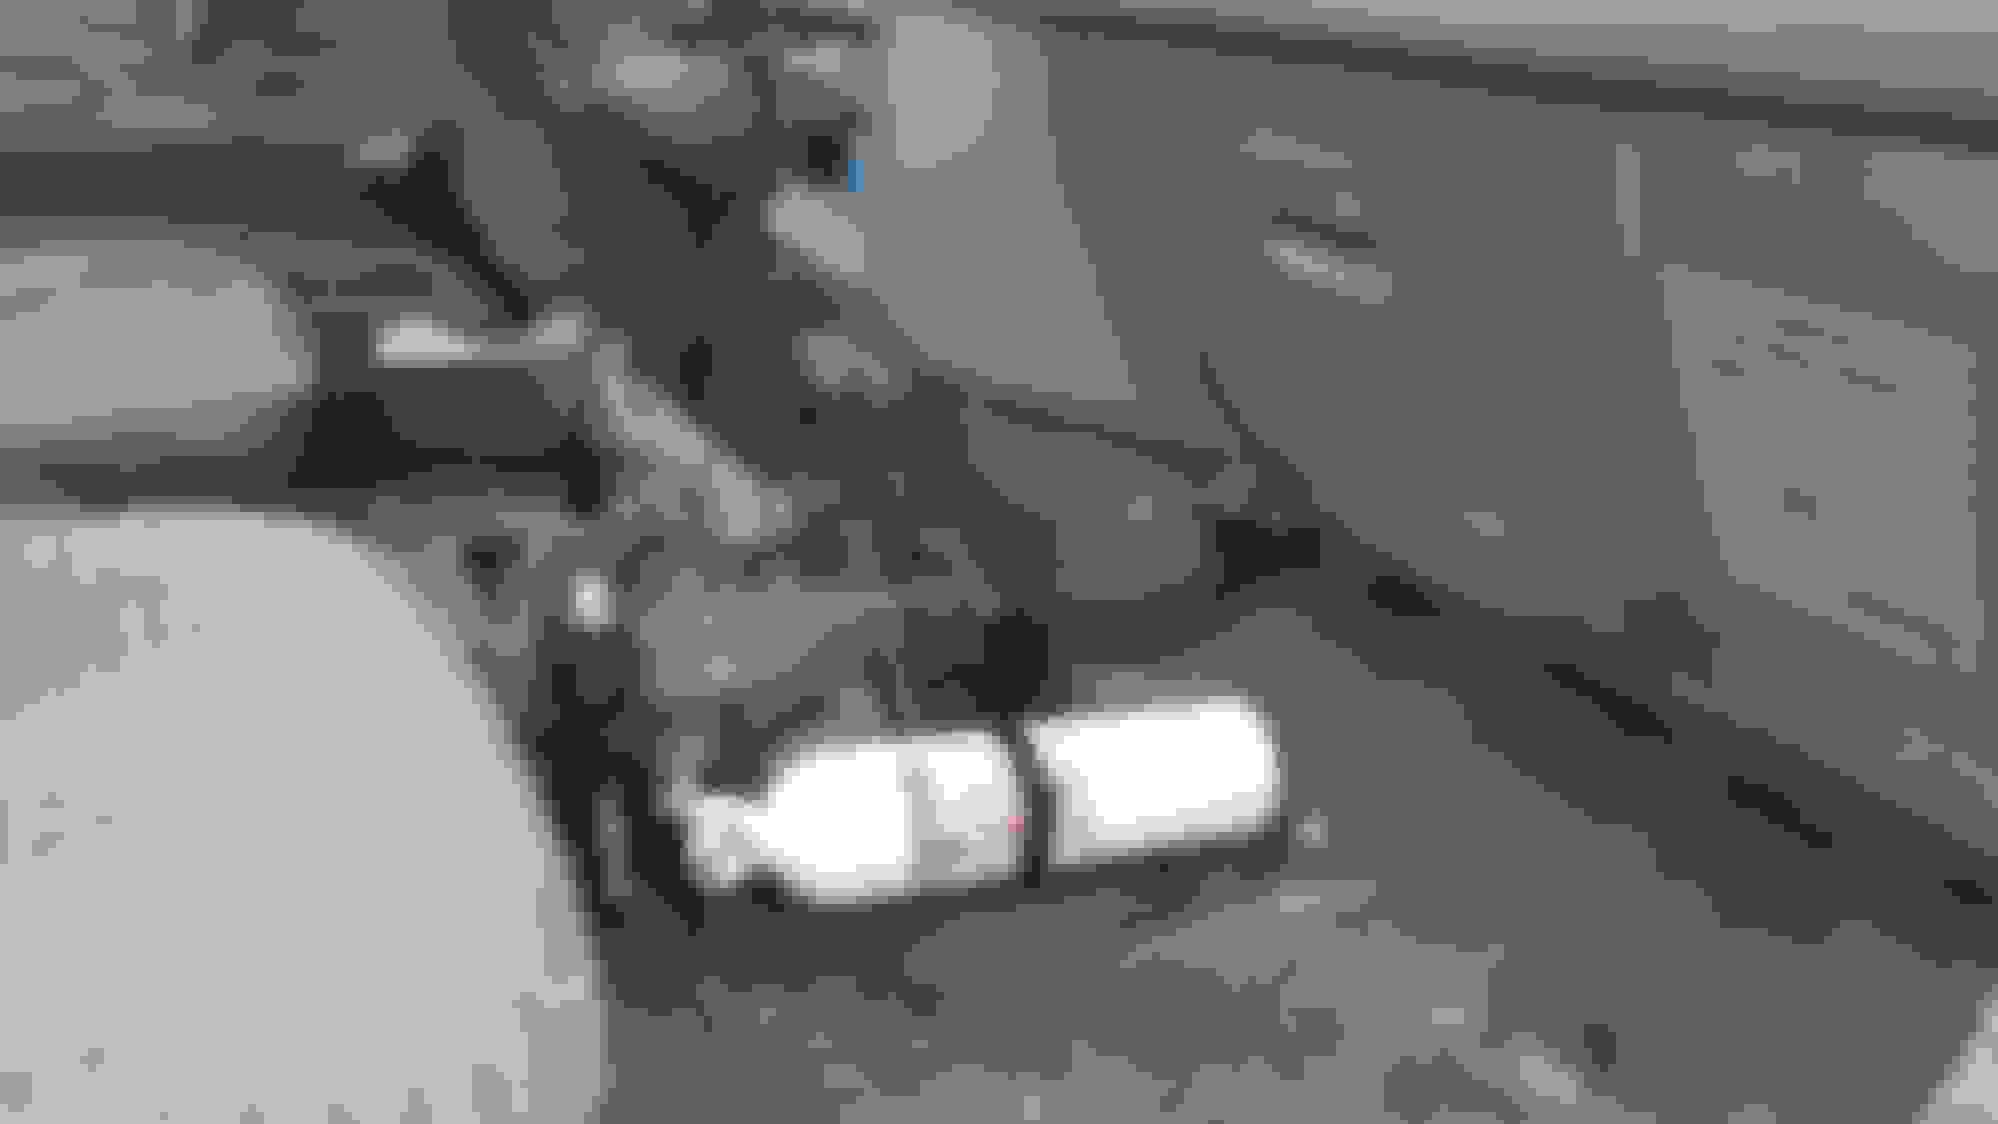
Thought I'd post up what I did for a fire extinguisher mount. I see a lot of guys mount them in the cargo area but feel it'll take way to long to access. I wanted one up front, out of the way and no drilling into the body. I came up with a pretty simple solution that can be used on a number of vehicles. The pictures speak for them selves
Rebuilt the entire front suspension and installed a Spartan locker and manual locking hubs, still retaining the ADD.
Installed air lift 1000 helper bags for when I load it down on offroad and camping trips.
Installed a .5gal Viar tank under the front bumper. Also ran a air line out back to make airing up a little easier.
Sorry no real pictures of the above. You might spot them in some others that follow.
With that aside, I got a rear elocker installed. I actually did this just before the disk brake swap.
I decide to rebuild a whole different housing to minimize down time and keep from disassembling a perfectly good one when I already had one that needed rebuilt anyways.
Here's the donor housing.
All modified with the new third in place. I also installed a LROR actuator skid.
With all new bearings, seals, locker and matching 4.30 gears it's ready to be rolled under the truck. (Also installed an OEM swing out if you didn't notice)
Here she hangs in there all wired up and plumbed up. I'm almost more stoked to have matching gears again.
Also, right after this, the trans started popping out of first gear. So a donor goes in.
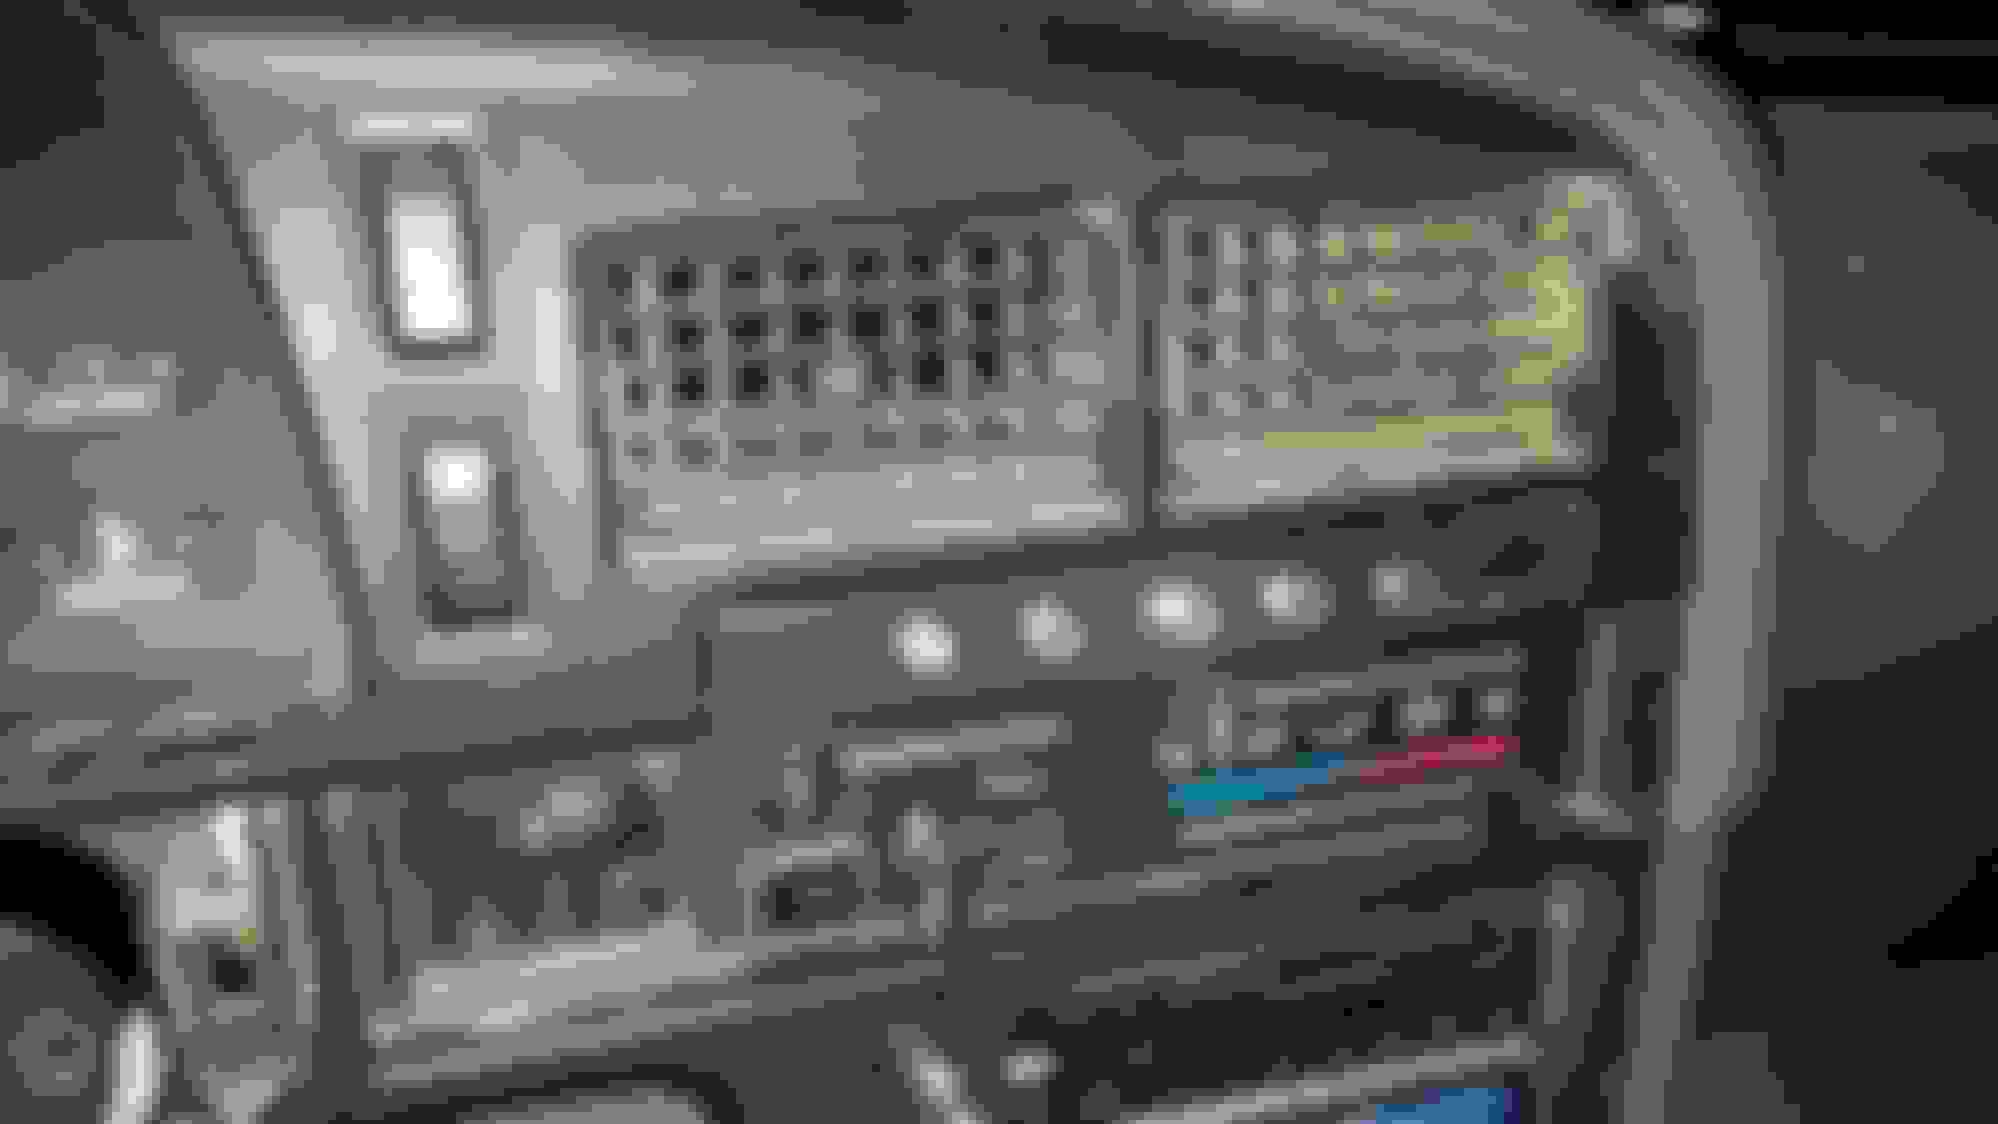
I chose to wire it up using the relay method. I used 7 conductor trailer cable up to a Auxiliary 5 circuit fuse/relay box I put together.
I installed some small latching pushbuttons in the factory cup holder.
Wired to light up dimly with the parking lights and get brighter when the switch is turned on. The one for the locker gets brighter when the locker is actually engaged. Getting this to work wound up being quite the pain to get to work right but I'm happy with how it turned out.
Last edited by Kolton5543; Jun 2, 2019 at 09:24 PM.
I wish I would have taken pictures during this mod but it was one of those bored at 2am things. I've never been happy with the reverse lights on this truck. Now with the new swing out, they truly were useless. I needed a better solution. I ordered up the cheapest 6" lights I could find on Amazon. 1 paid $15 for the pair of these guys.
They aren't great for a driving light but they work perfect as a simple reverse light. I don't gotta see far. I just gotta see what behind me. They are still surprising bright and seem to be holding up well. They are rated at like 60 watts but they are not. I measured about 1.5 amps for the pair. Since they draw so little current, I didn't bother with any relays or auxiliary power sources. I worked them through the third brake housing and installed a 2 way toggle switch on the housing. I got one power feed from the reverse light wiring behind the rear driver side panel and also got a constant hot from the dome light wiring in the rear. With the 2 way toggle I can either have reverse, off, or o. And use them as work lights. I've been extremely happy with them.
Now, I've been wanting a decent light bar on the roof. Not likeing any of the available mounts I decided a roof rack was the best option. I bought a generic Ebay rack and modified it to bolt directly to the factory rails. This made it low and sturdy.
I welded a plate to it with a nut. This allows me to positively attach the spare tire with out any straps. I have future plans for the swingout. The rack will also get many other mods in the future. Again, I've been very happy with it for how cheap it was.
I installed a light bar from Extreme LED. It looks damn good but I've not been too happy with the performance. I've been playing with some products from Diode Dynamics and have been impressed. I'm going to replace this bar with a DD 40" bar with the wide angle lenses on the ends instead of the flood.
Another one of those late night bored mods are some puddle lights. I have a bunch of these little 3/4" push through lights I intend on using as rock lights after I get some sliders. I decided to mount some in the door panels so i don't step on something wet, gooey, or will bite me.
Just wired them directly to the factor door light.
This winter we had an extremely rare occurrence where it snowed here. Here in Safford we usually only get snow that sticks once every four years or so. Usually its only an inch or two and hangs out till the afternoon. This year we got about eight inches and it stayed stuck around for a few days. Right after work, I headed up a trail in Solomon Pass that sits right above the Lonestar open pit mine. I got lucky and managed to catch the sunset and some fog rolled in. The view was amazing and I caught some stellar photos. These photos were actually taken the evening before the snow actually touched down in the valley.
Last edited by Kolton5543; Jun 2, 2019 at 10:09 PM.
Two night before it snowed in the valley I went playing in it up Tripp Canyon again. I have no real good photos from these events but o-well.
Just as we got back down, I got a call my brother in law almost drove off a cliff up Swift trail. Fortunately a good snow bank stopped him. If he was in a truck I'm sure he would have went over. This was at almost 7k feet.
Next night I get a call that one of my buddies was stuck just a bit further up the trail at about 7.4k feet. This is his dodge buried in the snow.
This is the fresh stuff I had to drive around in to get him out.
Just as I got turned around some guys he called way earlier in the day just showed up and drove all the way down the hill. One was a 4door long bed duramax and the other was a 4door long bed power stroke. Needless to say, they both got stuck, more than once. Not only did I managed to drive circles around them in the deeper snow. I also drug all three bout a quarter mile to the top of the hill. I wish I had the go pro at the time. It truly was a sight to see.
The guy with the dodge originally wanted to just pull it out in the morning. That's when we found 8" of snow at 3k feet. I'm sure with his truck abov 7k, he was glad we got it out the night before as we would have never found it.
Last edited by Kolton5543; Jun 2, 2019 at 10:26 PM.
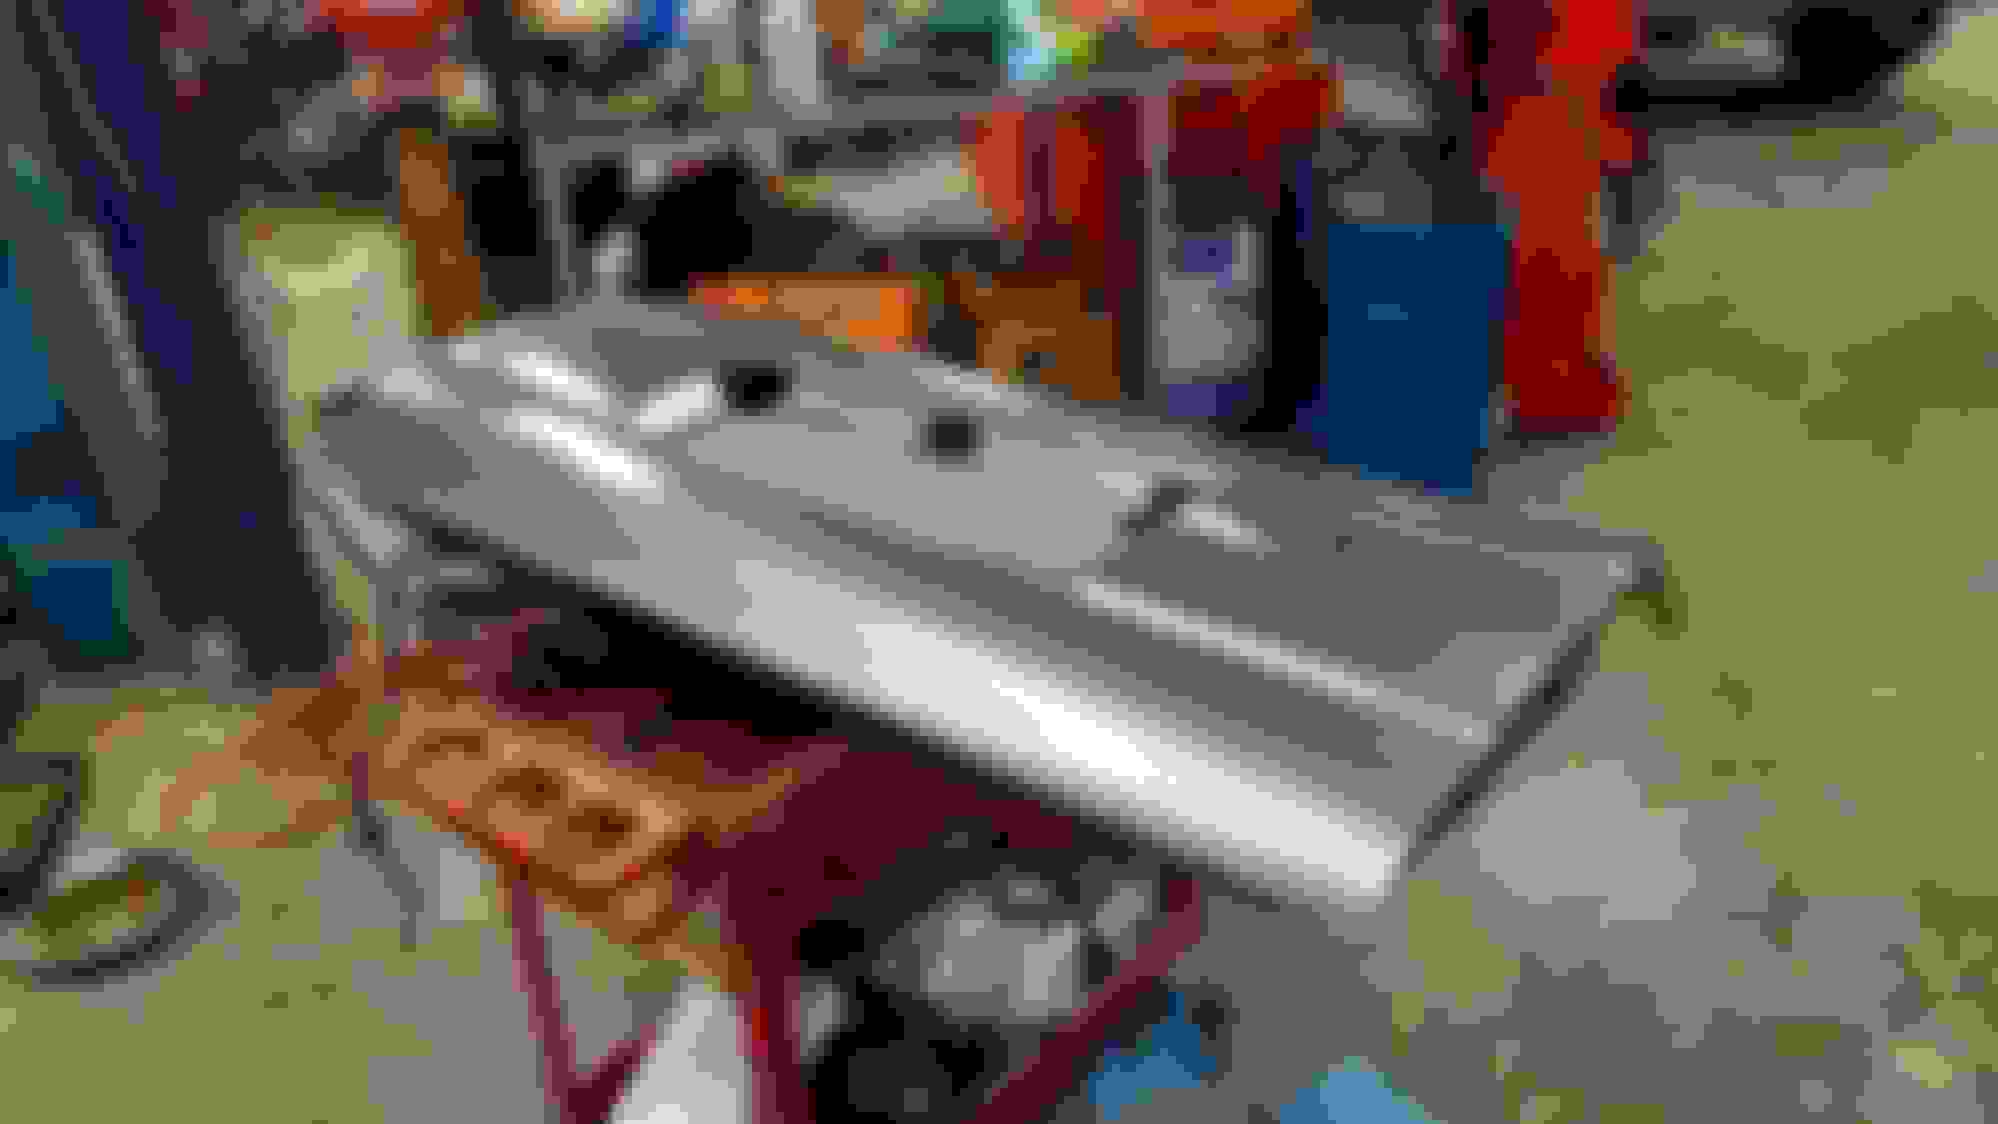
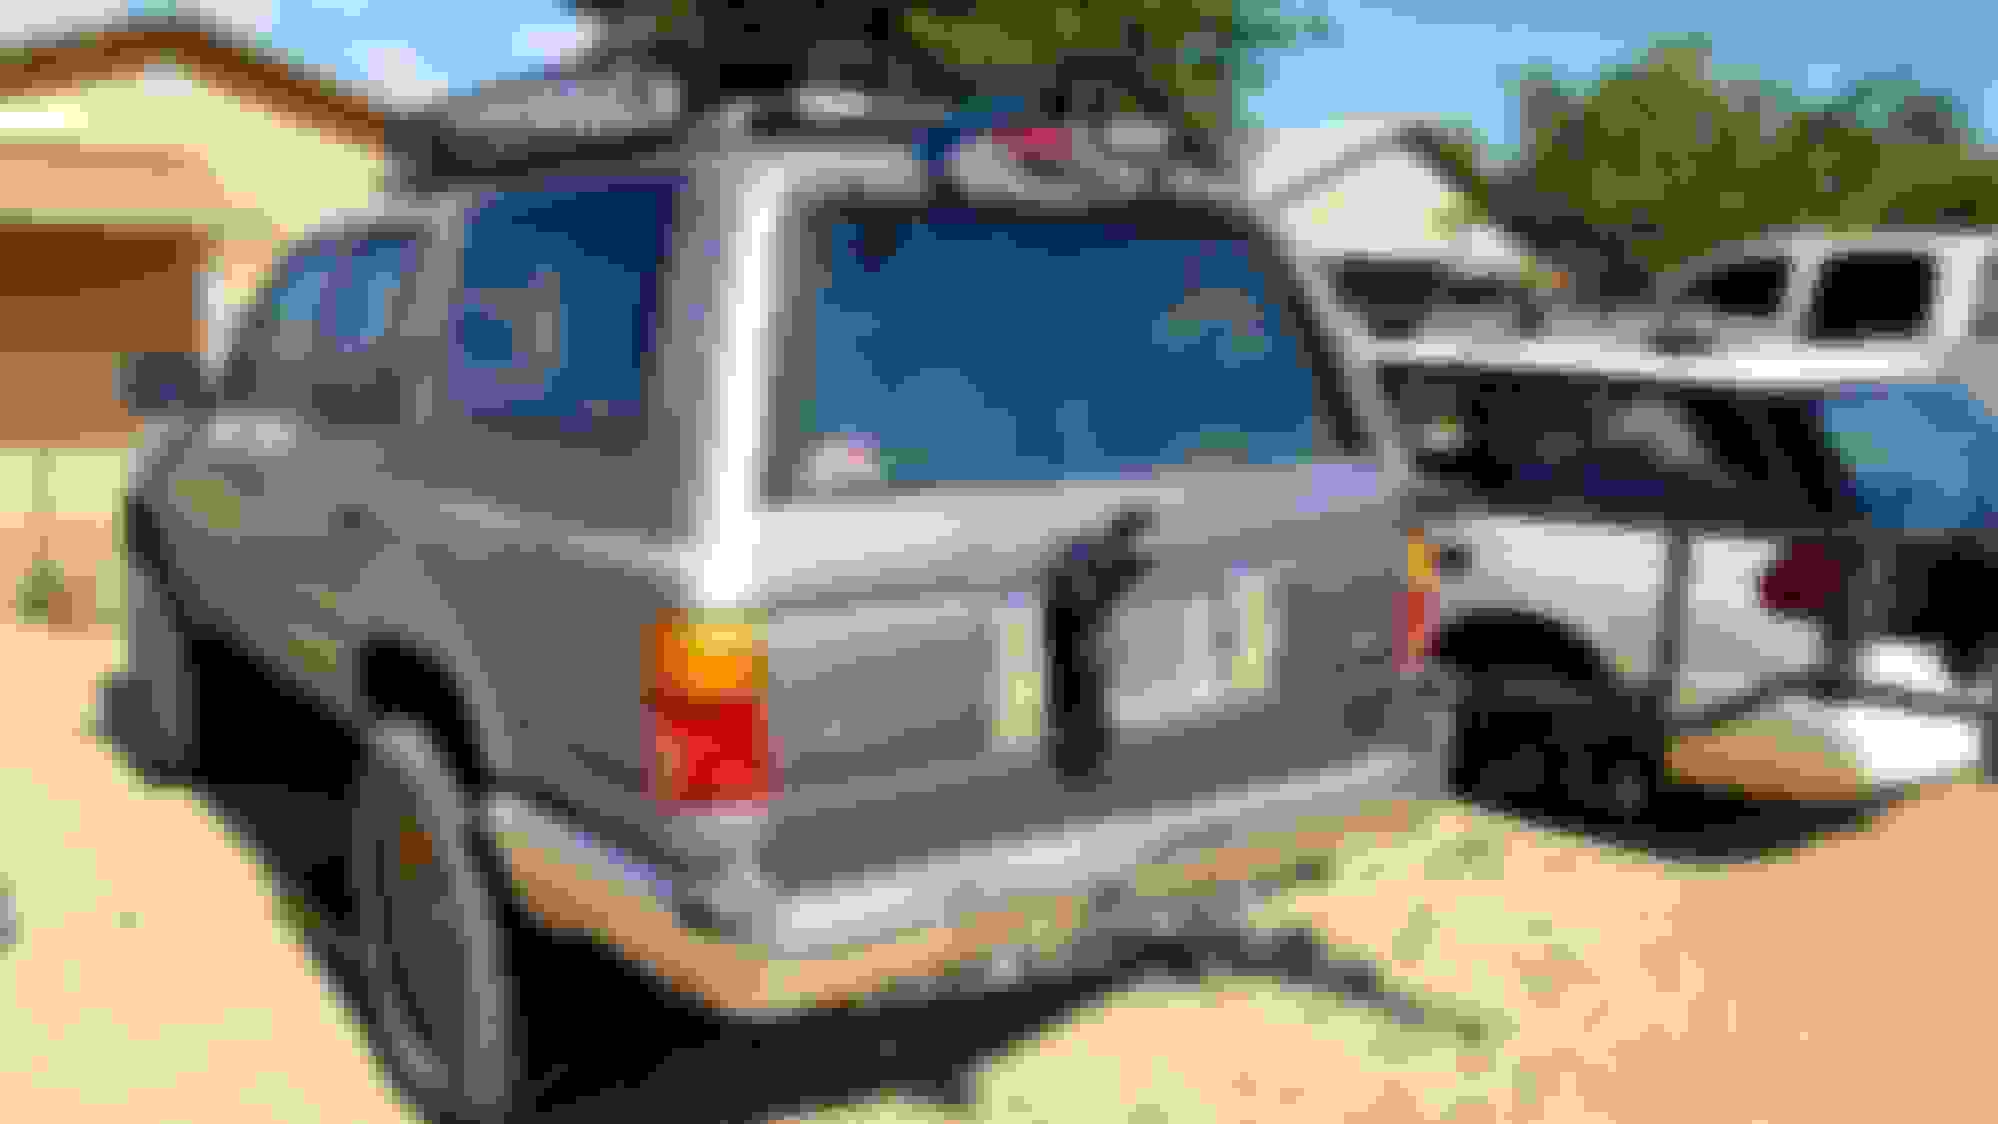
Last weekend we wheeled rug road from Mammoth to Pima. That trip was a blast. I'd upload photos from it too but it's not accepting them for some reason. I'll get it done when I get it to work. In the mean time, I backed into a tree at the end of the trip. It totally destroyed my tail gate. Fortunately I have a parts truck.
Nice inventive work. Did that tree mess up the spare bracket mount side?
Thanks. I've always been picky with the quality of stuff. Theres always a product out there that does what i want but never as good as I think it should be. If I can find a way to improve something or make my own thats even better then I usually go that route. Especially when it saves me money.
The tire carrier handled the hit fine. It slightly bent the mounting plate back just a bit but nothing a few good whacks with a hammer couldn't fix. The tailgate really took the majority of the hit.

 Apr 17, 2018 | 08:45 PM


 , metal reflector, and have a good cutoff. Something I didn't know before I bought it was the reflector moves inside the housing for adjustment. This is good because getting a proper adjustment doesn't affect the body lines. They cost $180 but the glass lens sold me. They could've been plastic and $10 and I still wouldn't have bought them. I hate plastic lenses.