When you click on links to various merchants on this site and make a purchase, this can result in this site earning a commission. Affiliate programs and affiliations include, but are not limited to, the eBay Partner Network.
So on Feb 8th I bought a 1986 2WD manual pickup for $1,400 and entered the wonderful world of old Toyota trucks. I have been riding and working on my 1999 KLR 650 since 2011, that being my only real experience with mechanics.
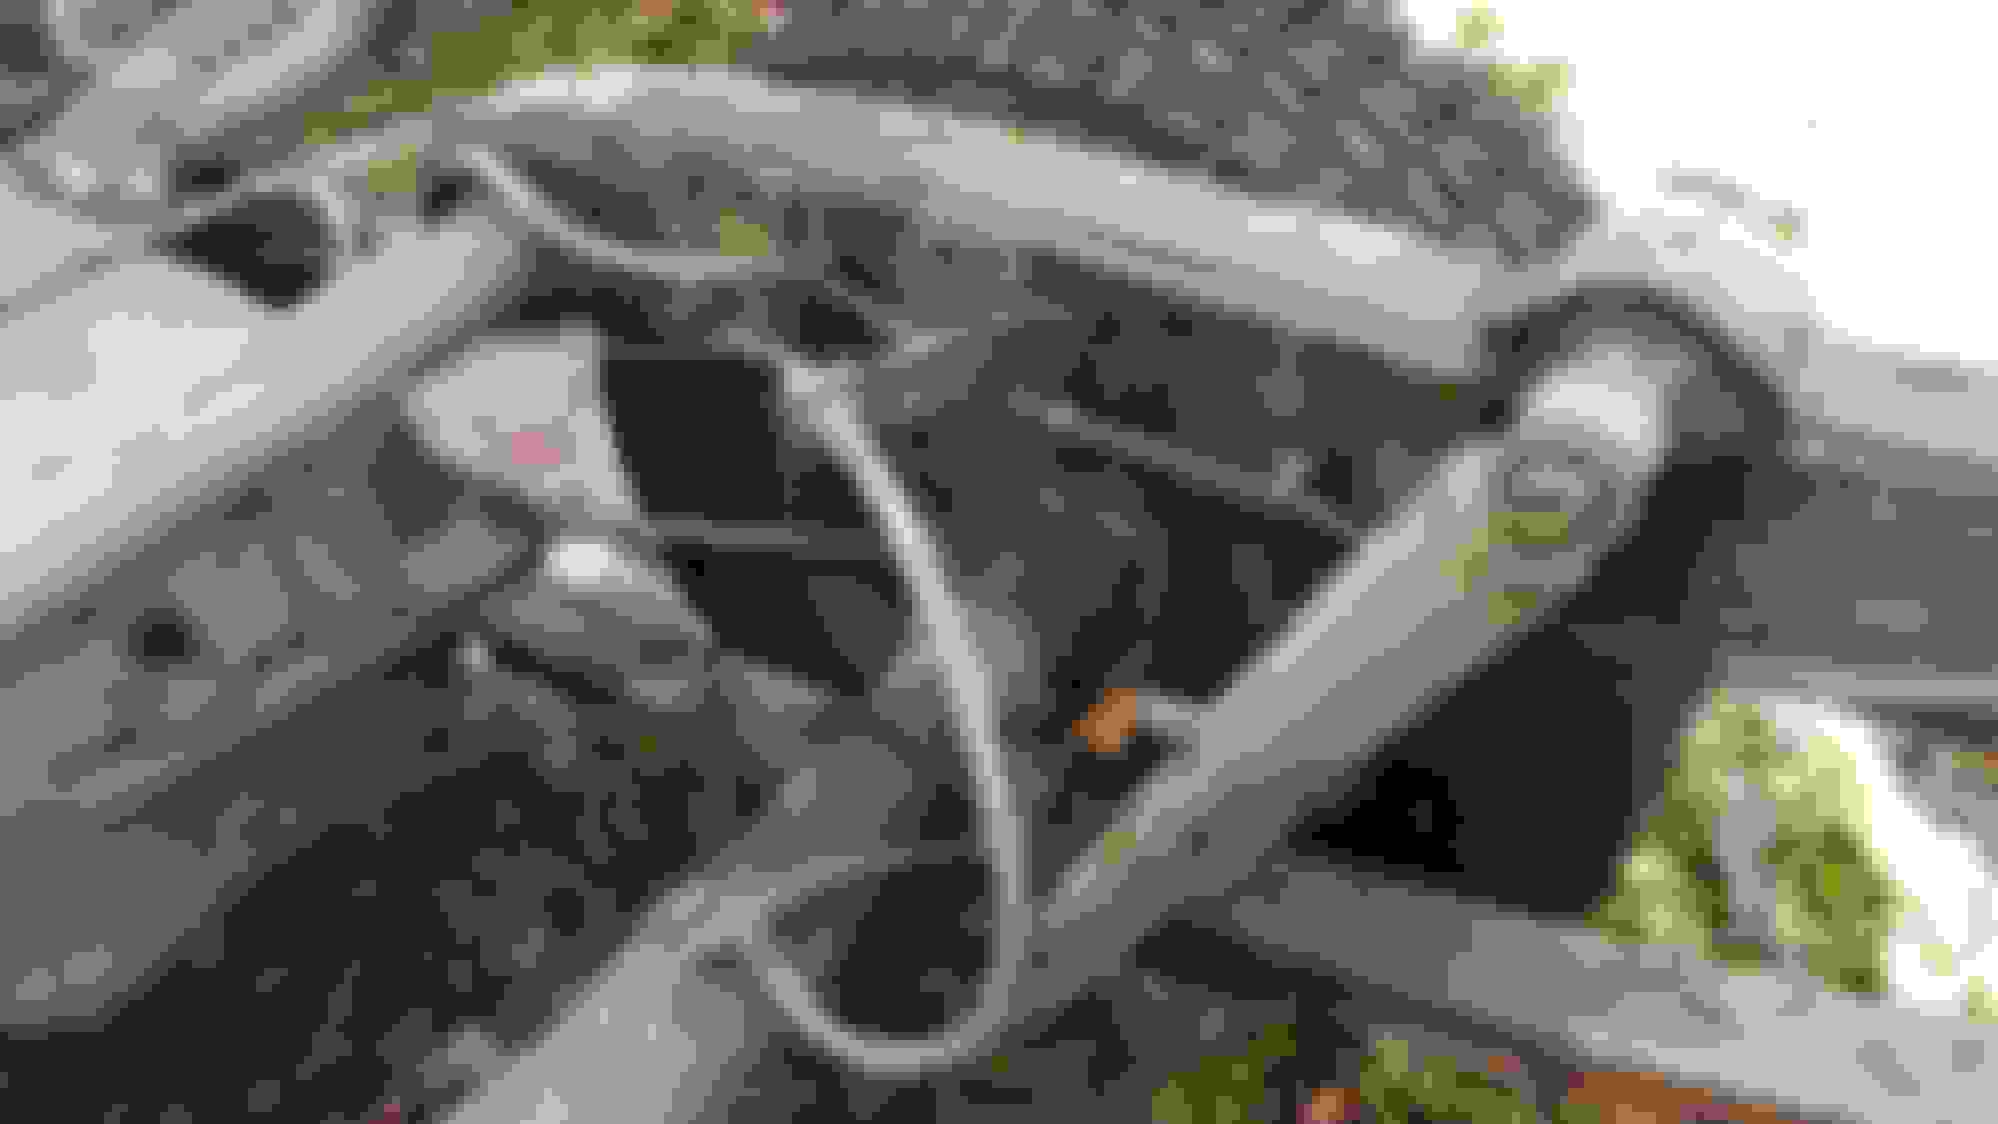
I started off with thinking I would start, from what a few of you said on here, from the bottom and work my way up. Since the frame looked really good (from what I saw initially) and it ran really nicely, I started on the front suspension. The front suspension was bad, the worst rust on the whole truck.
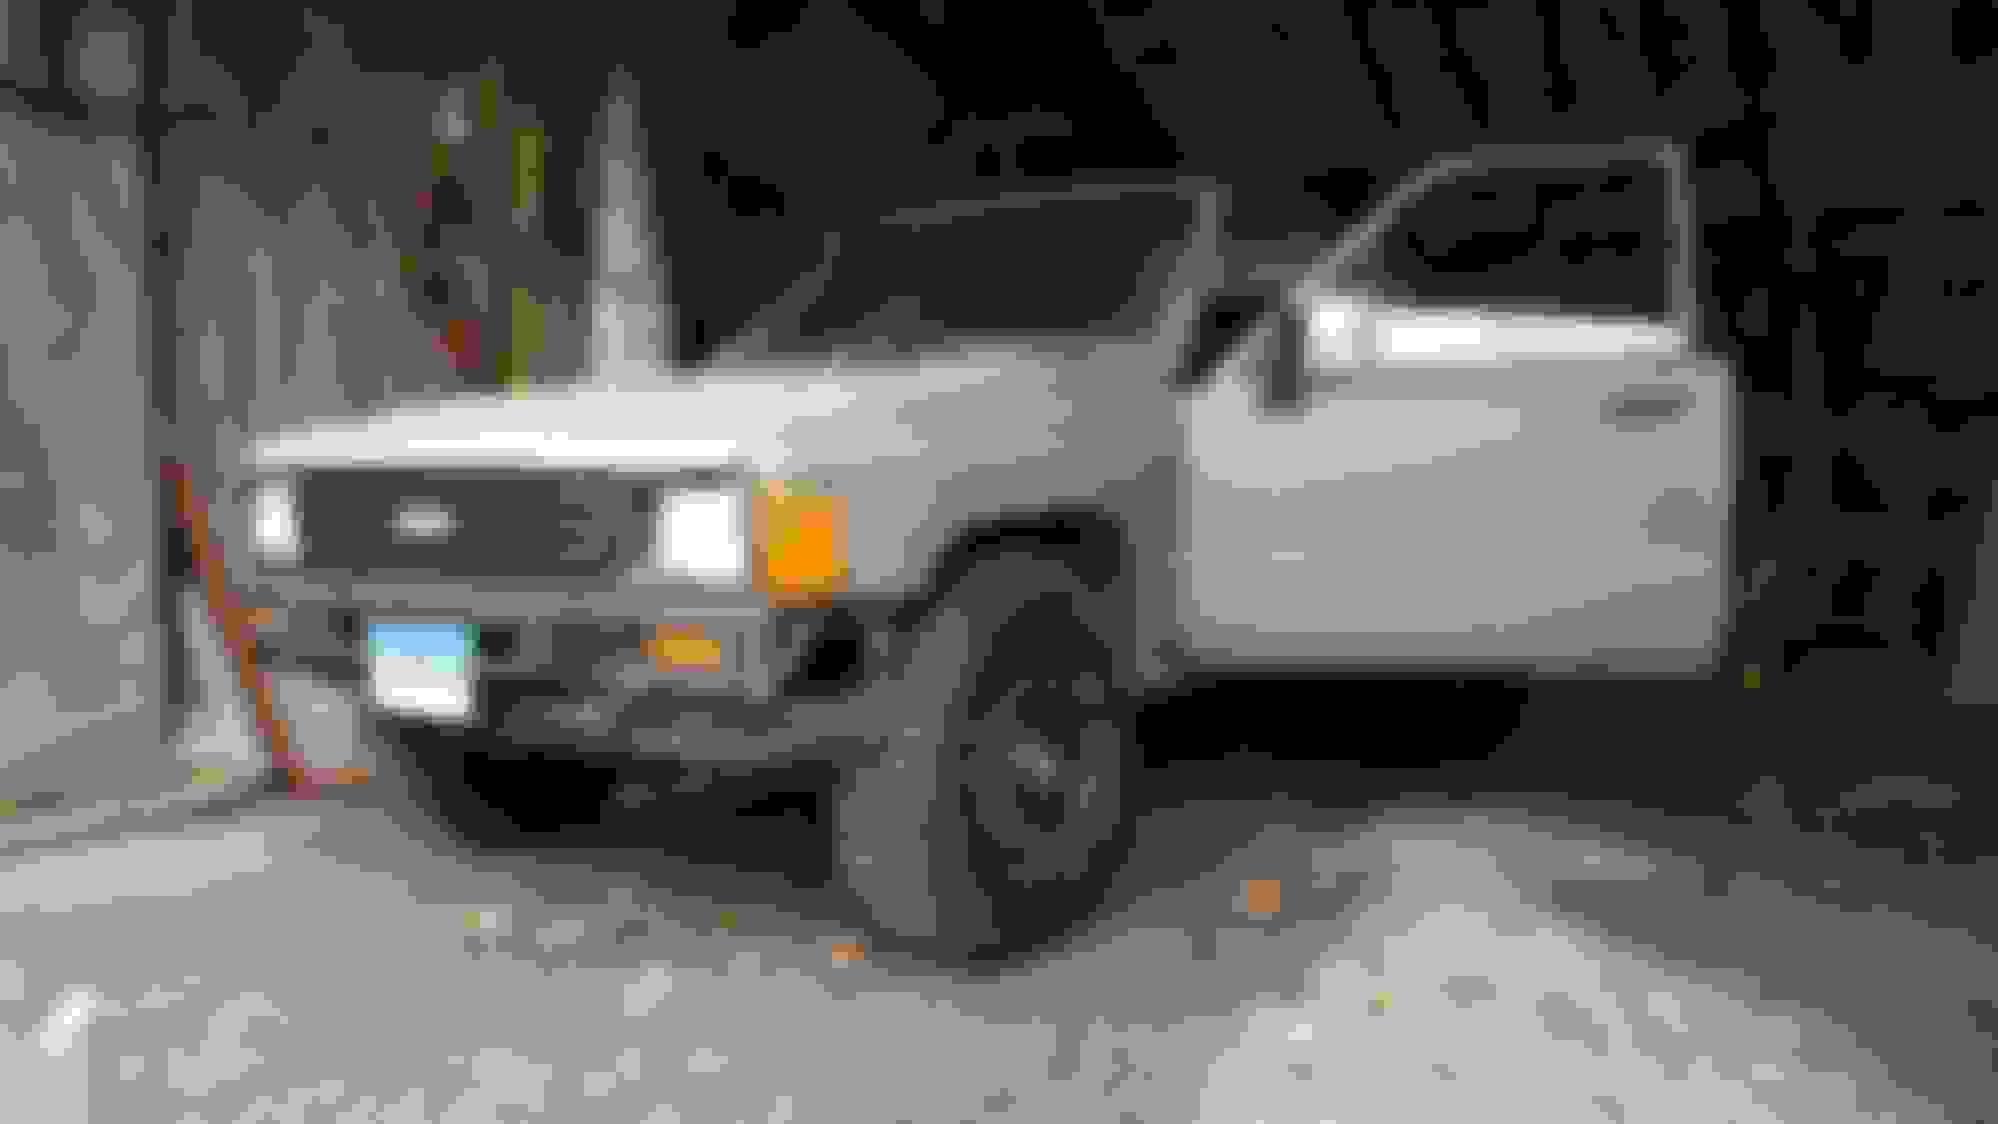
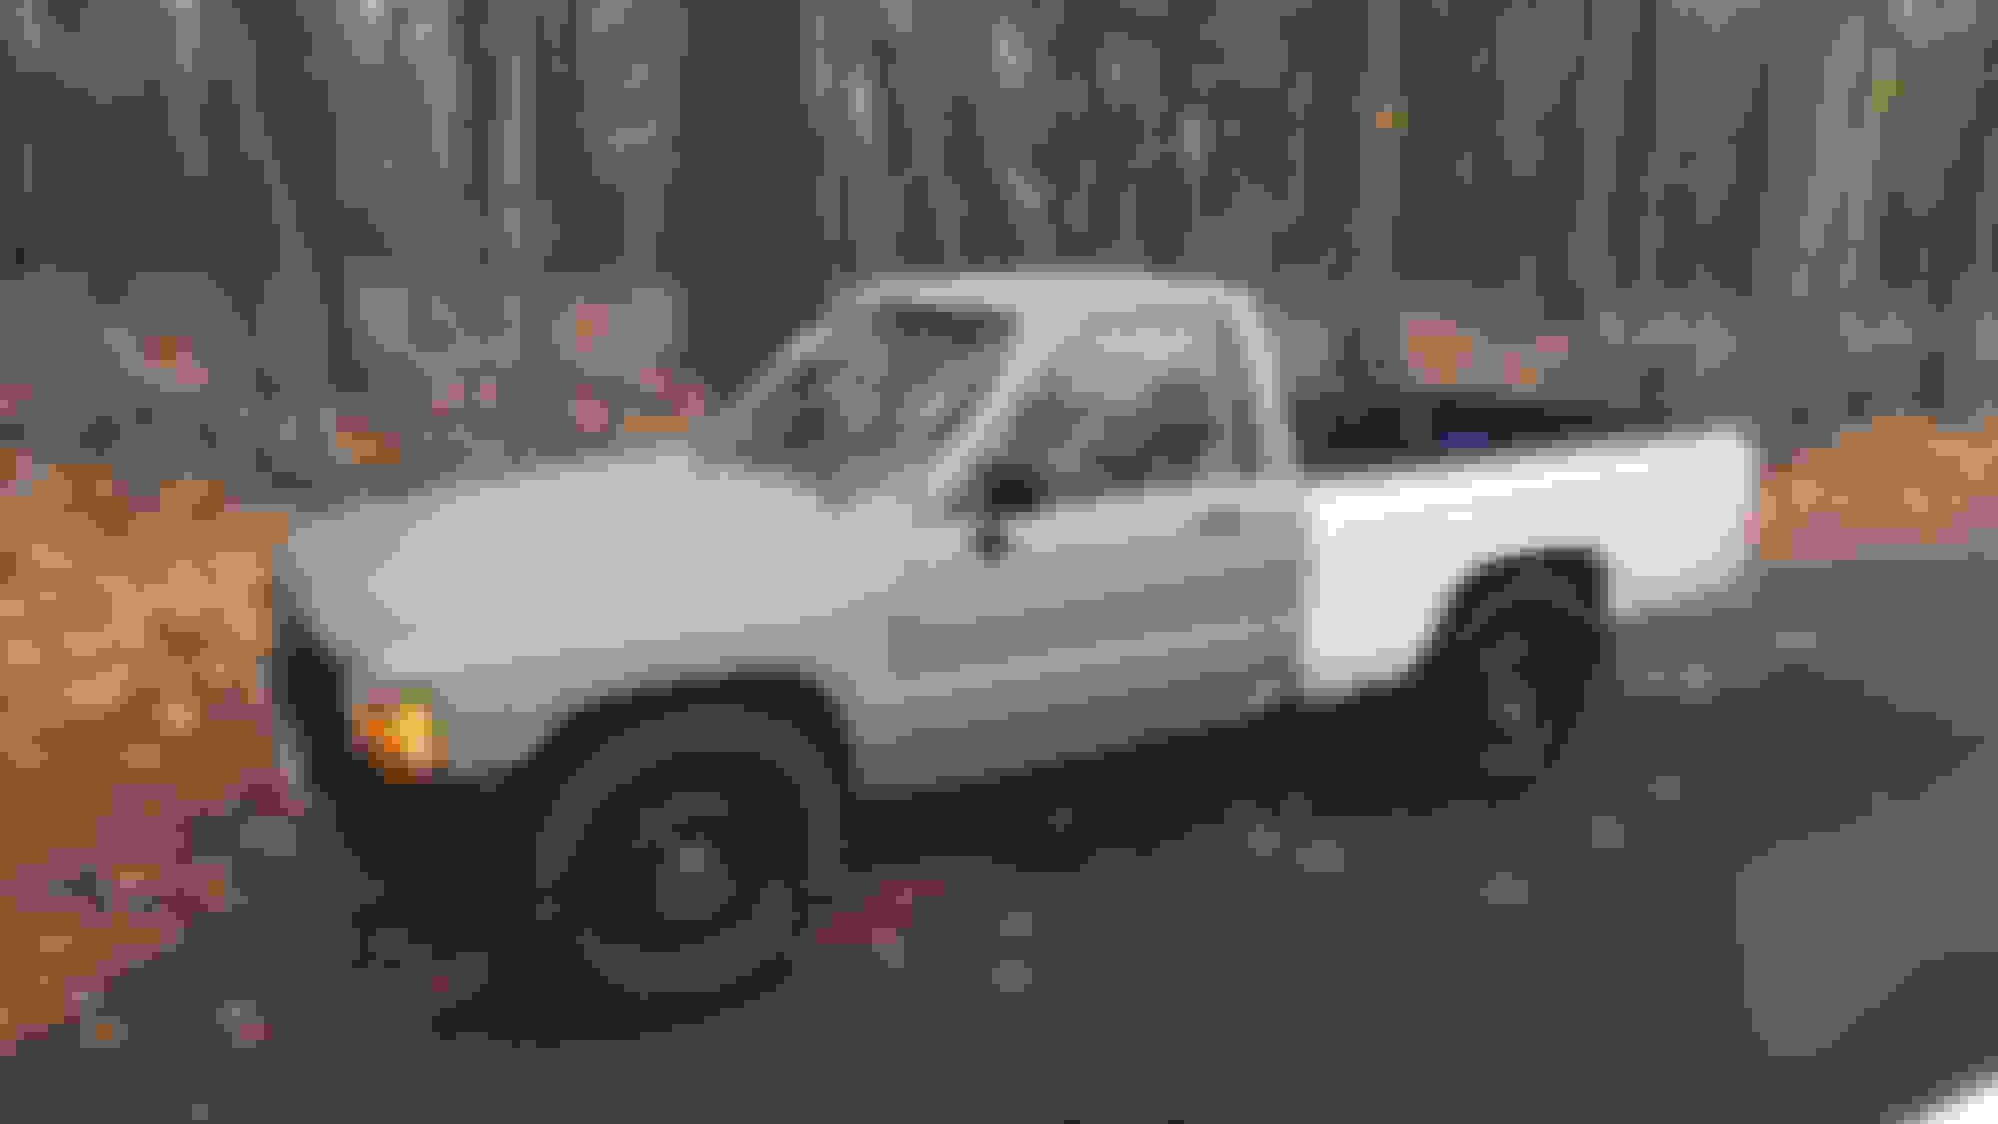
here's the truck first day I drove her home, with totally rotten front tires
engine looked good, frame looked good, it started and ran, I bought it!
so I pulled it into the shed I had just finished building and started tearing the front end apart. I pulled both wheels off and brought them to get some winter tires my sister gave me for free mounted. behind them, I saw rust, lots of rust on everything suspension and steering related, but the frame still looked good.
everything was rusty, so I figured I would remove all of it
I learn and operate much better when I just go full on into it, so after a bit trying to study my new Haynes manual I just started pulling things apart. hub and knuckle, ball joints, torsion bar, control arms. That turned into tie rods, and eventually everything, steering gear, center link, idler arm, the works.
found some holes, so at thing point I started ordering parts like it was my job!
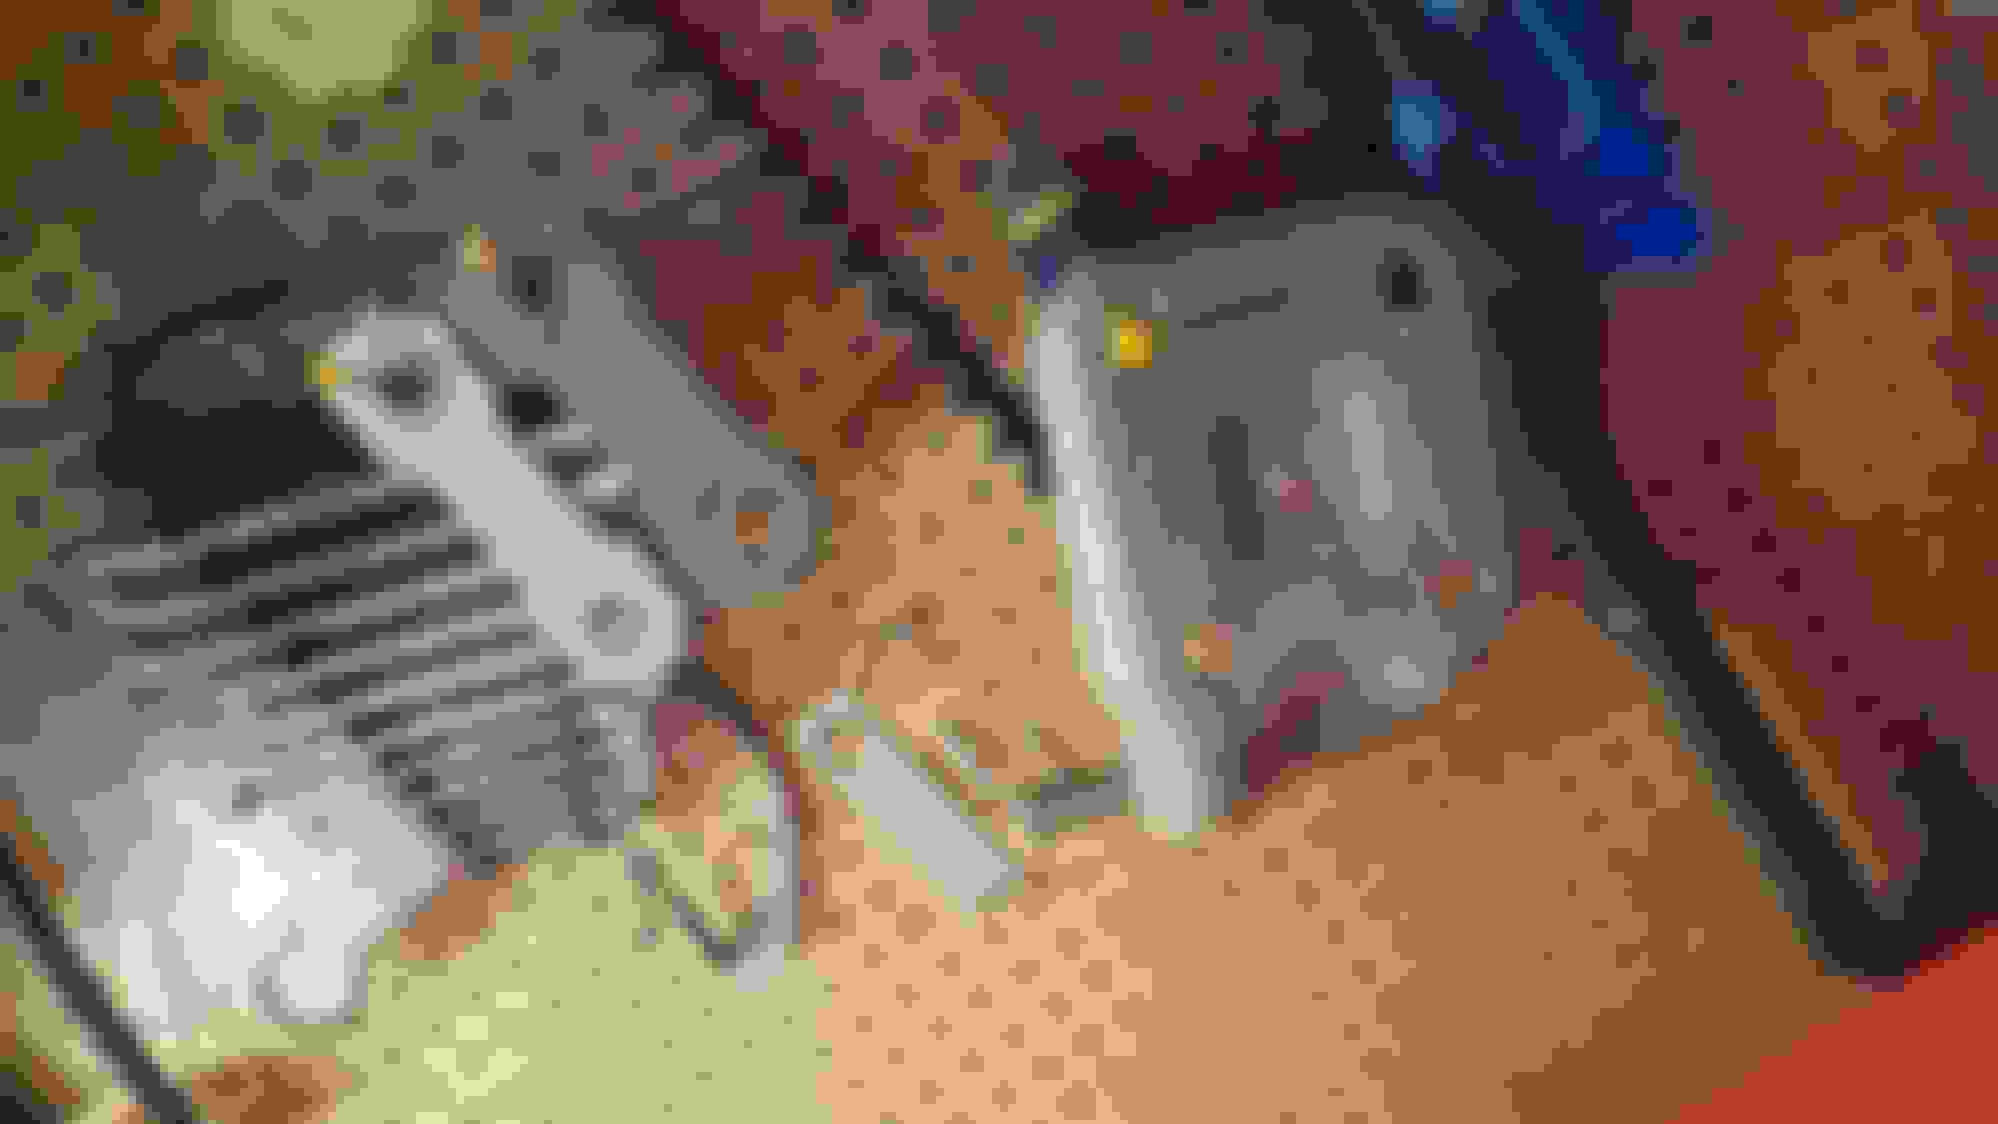
the more I took apart, the more I realized I needed to just get new parts. I ordered control arms, shocks, ball joints, pretty much everything but hub and knuckle.
stabilizer bar looked good originally, but upon closer inspection was really pitted under the bushings. But I couldn't find a replacement bar that was cheap, so painted and kept this one
When i was out of things to do and waiting for parts, I decided to pull my bed liner to see what the bed looked like. Pretty much swiss cheese, whole bottom of the bed was totally rotted out. So I took it off!
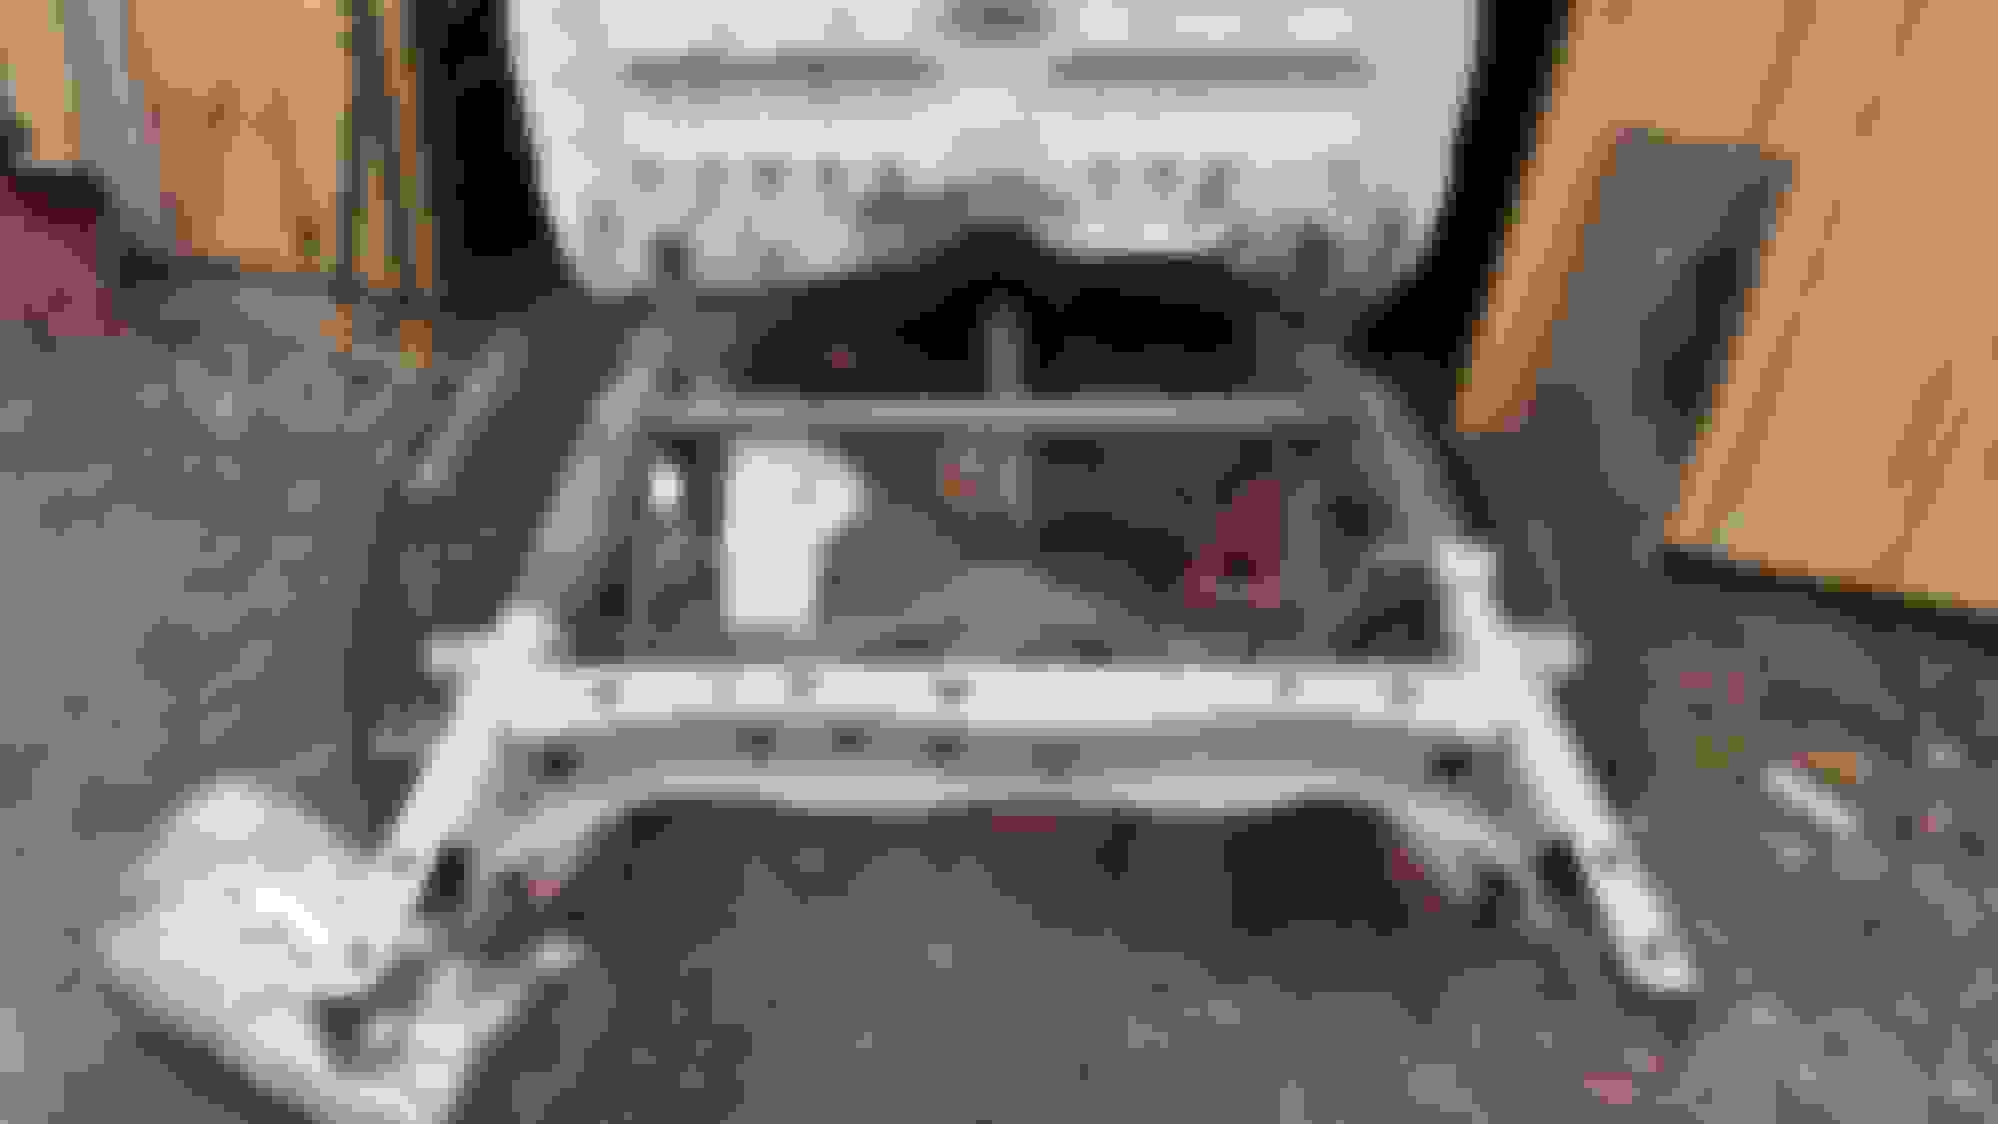
frame looks good!
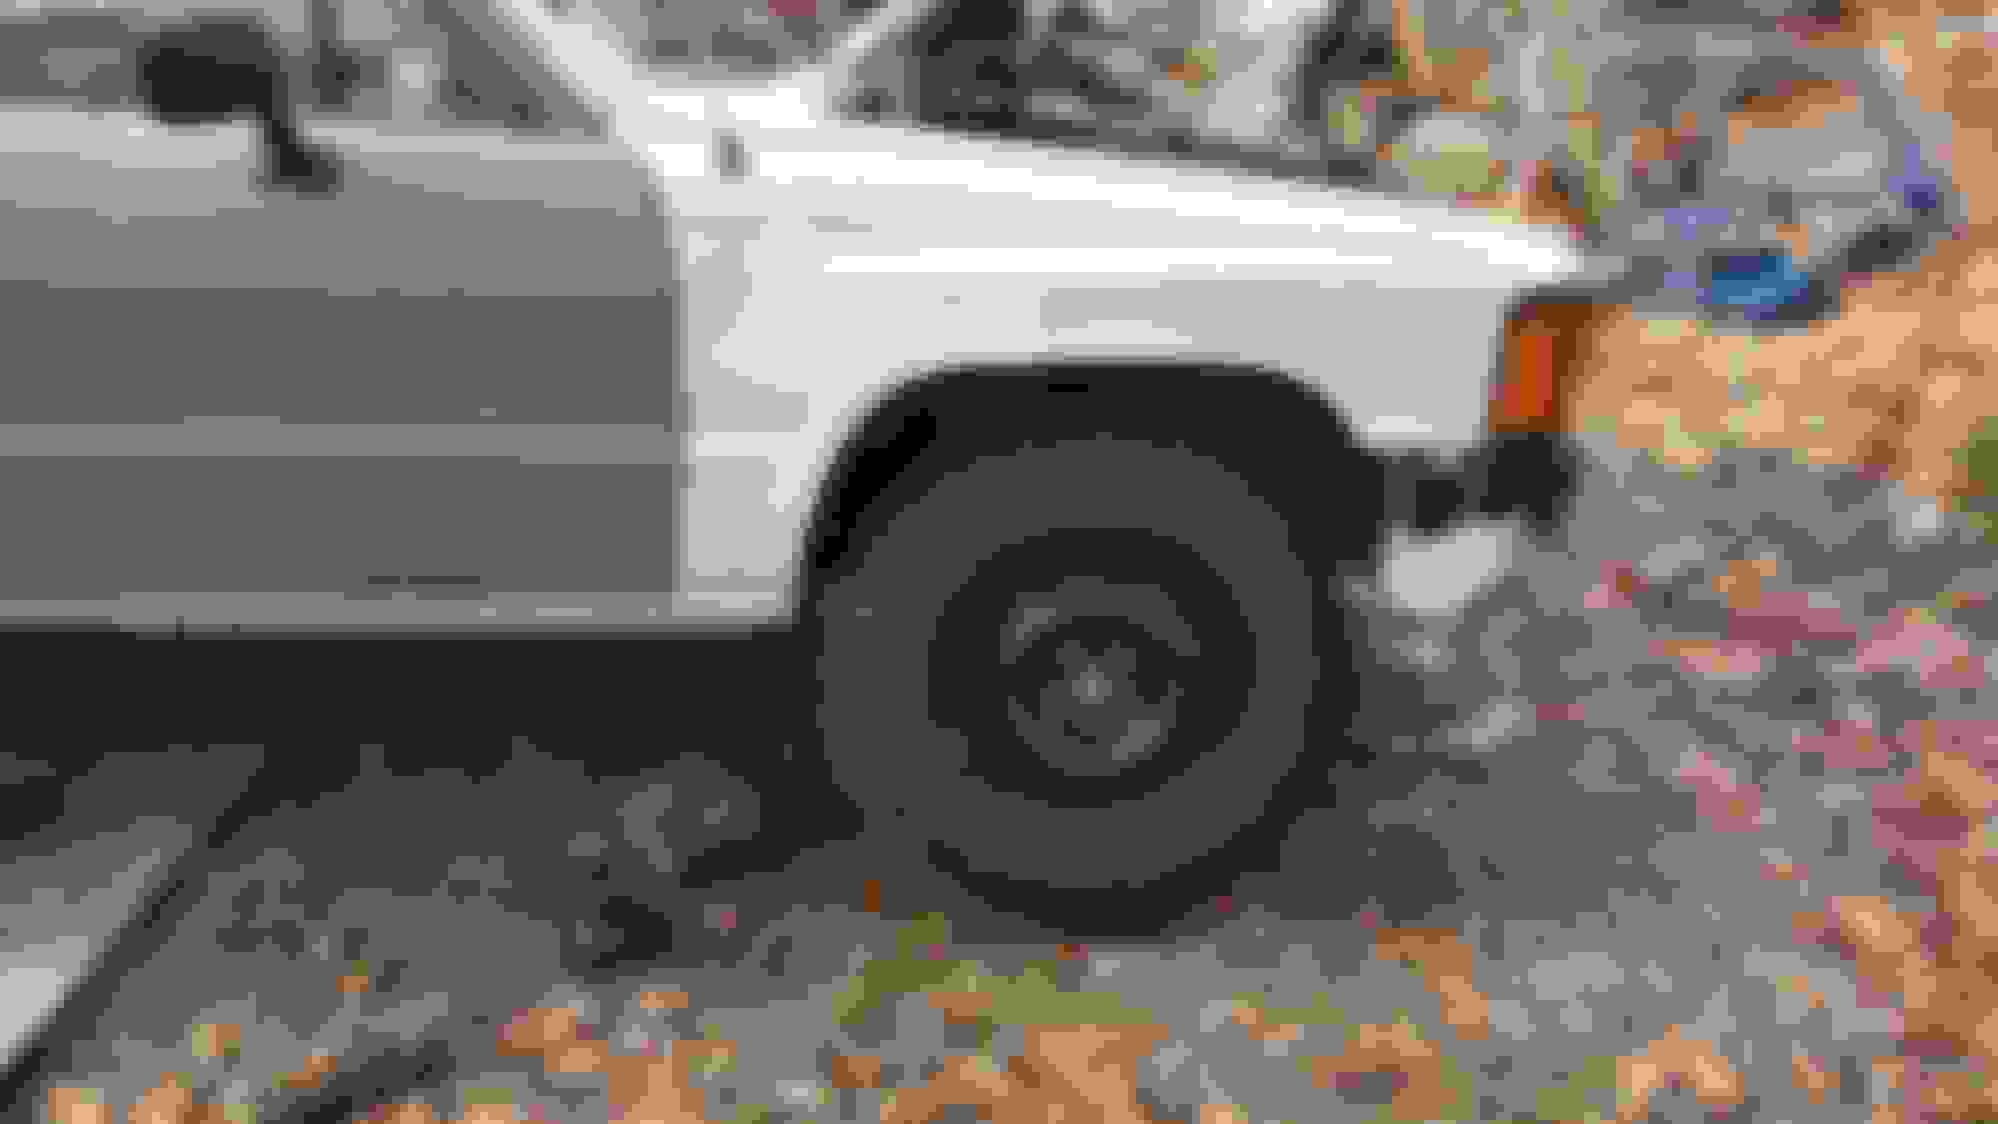
rusty near the wheels, but wire brushing took most of it off. the suspension bumpers are totally rusted out, and may have made holes in the frame, but definitely fixable.
brake lines look pretty good, rusty, but not terrible
After that I started tearing suspension and brake parts down even farther pulling the hub off
spindle looks good
pulled bearings and pressed races out (with a punch) they look decent, but cost like 5 bucks a piece so I got new ones anyway
caliper comes and starts to come apart
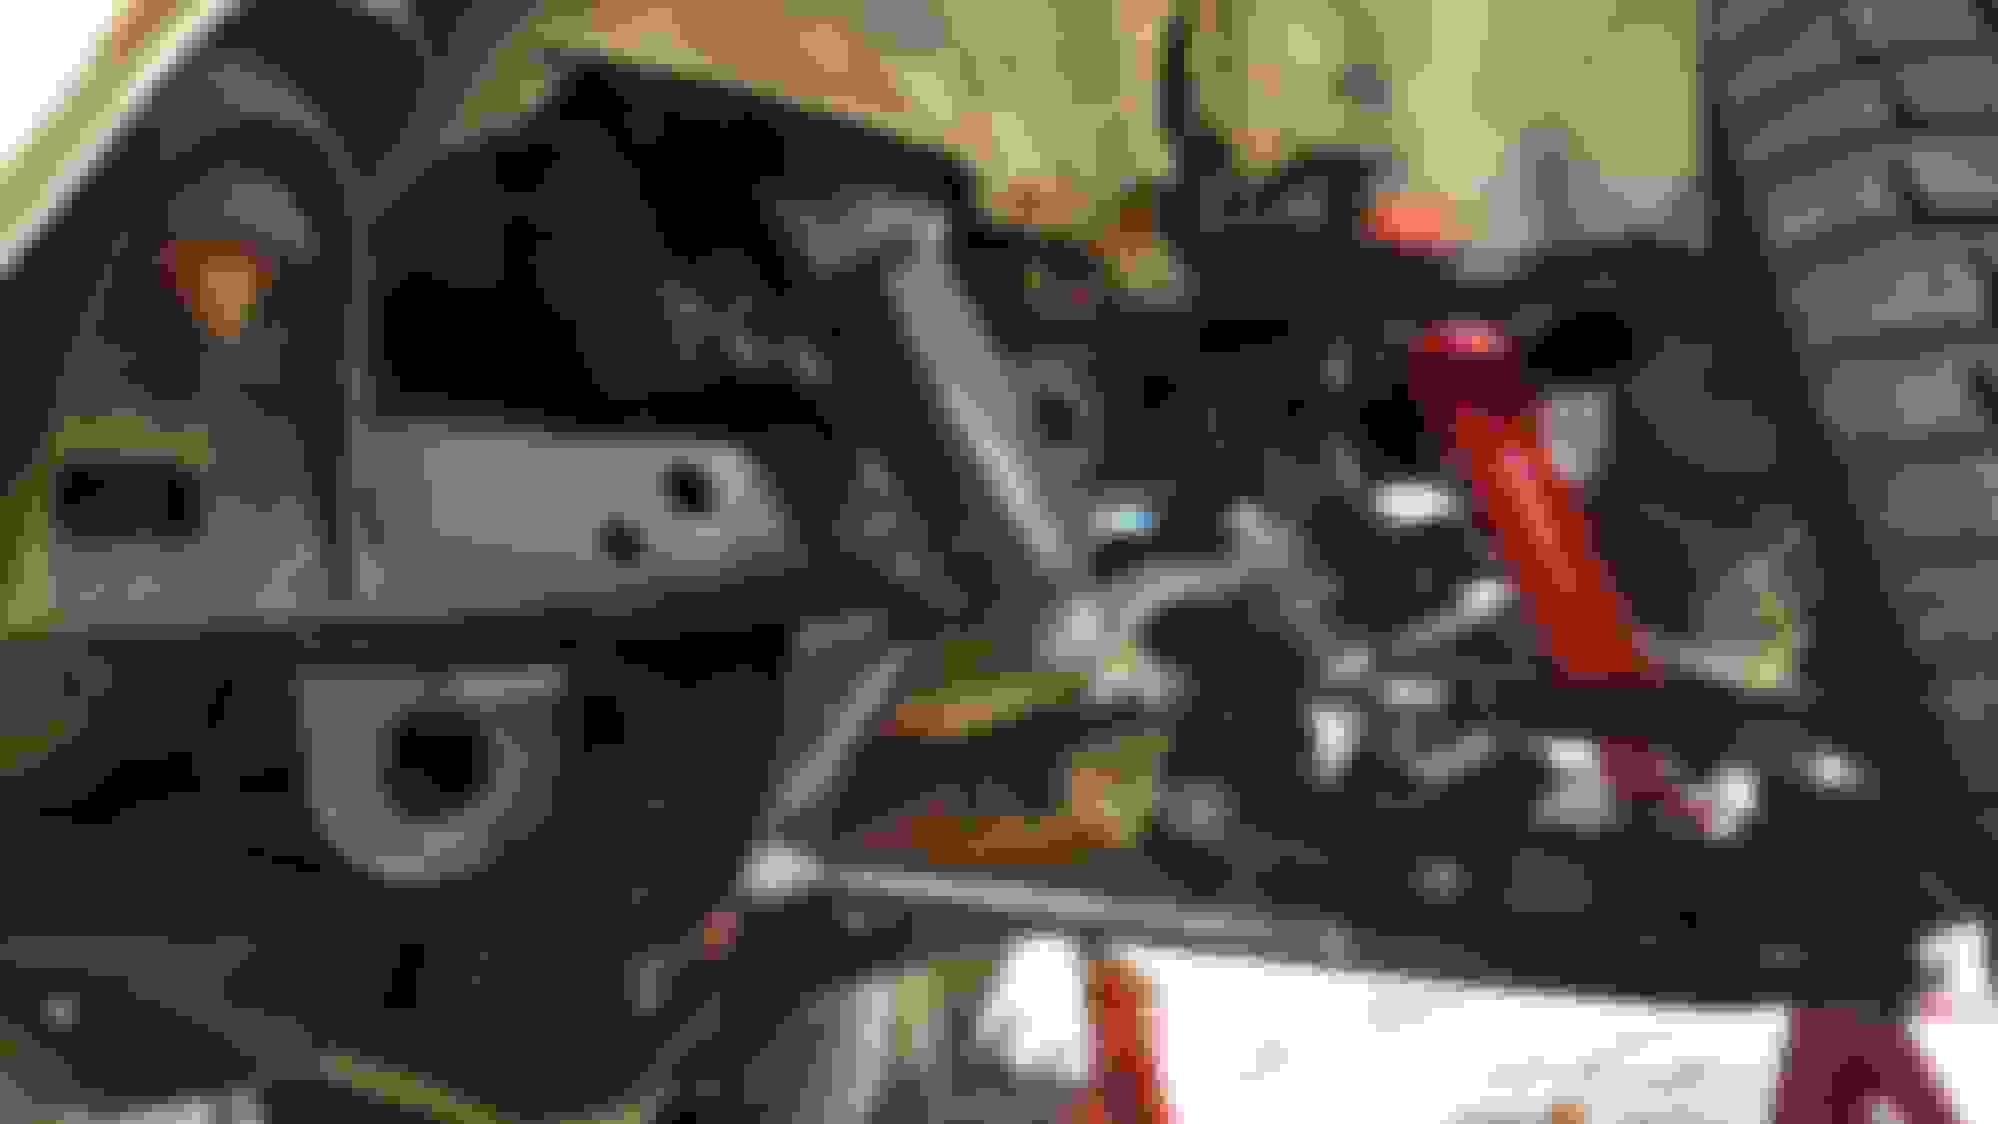
this is where things got difficult. pressing the lower control arm bushing from the frame. took me about 4 days of agony but after hours with a hacksaw, oxy-acetylene torch and a bolt, a few sockets, washers all hunched over with a sore back I finally got it out and the new one pressed back in. (and I still have the right side to take apart, damn)
so at this point I had everything off, and decided to wire brush the frame and paint what I could before I started putting parts back in, and to make more room I pulled the steering gear, center link, and idler arm from the right side (it all actually came off in one piece, I had to cut the right tie rod off to pull the whole thing). With a wire brush on the angle grinder, I cleaned up the frame and painted with Epoxy spray paint.
So I put in the parts I have, and it looks good!
looks way, way better, control arms and shock, stabilizer bar link installed.
I took the hub and brake parts and cleaned them up and taped the holes, off to the blast cabinet!
so much better
So now I am updated as of yesterday. I put my new tie rod together just to see how it looks and I painted the hub/brake parts by hand with Etch Primer.
holy crap look at the difference
So thats my story so far! I have tons more to do, I have most of the parts I need to put together the left side and start on the right. I did find a big hole in my frame, hidden in front of the gas tank right at the I beam where the tank connects to. I'll need to do some cutting and welding, but it looks doable. I'll keep posting new pictures as I go on, my plan is to build a flat bed, paint the body, and some time this summer pull the engine, transmission and paint under the hood, paint the engine, pull the cab and fix the holes in the floor, and reupholster my seat. And thats just what I have planned, let alone what I think up along the way!
I like the jump in and do it attitude. Best way to learn. I had an 87 flat bed and miss that truck. It rode real nice and was easier to work on. Looking forward to your build and welcome to Yotatech.
Thanks! Once I got my motorcycle I learned that I learn best by jumping right in, taking things apart and throwing all the parts in a big bucket. It's scary sometimes looking at my parts and thinking, where the hell do those go? But so far so good
I did some more sandblasting yesterday and some more painting.
My little paint set up
Spent probably 2 hours cleaning up my caliper, but it looks pretty good! Time for some paint!
I really like the etch primer I got at NAPA, never used primer before when painting anything for my bike, but it seems to work really well. 20 something dollars a quarter though, so not surprised.
Hub all painted, with new bearings, rotor and lugs and studs. In the boxes are new ball joints
VHT epoxy paint for most of it, Caliper paint for the brake parts
Primed and ready for paint
And as the paint was drying it started to clean up my steering gear. It seems to turn really nicely, so I'm not going to try and rebuild it. Also, looking all of the maybe 50 seals in the rebuild kit was a little scary. Anyone have experience cleaning and painting a steering gear? I would be worried to sandblast it or use too much gas or decrease to clean it because I don't want to get anything inside and make me have to take it apart, but my uncle said not to worry and just blast it. What do you think?
Most of it was so greasy it couldnt rust, but the bottom part did get pretty rusty.
Tomorrow I will try my luck at putting my bearing races back in, then I'll be able to put everything back together!
I don't think anyone is even looking at this, but at least I can keep all my updates in one place.
I finished everything on the left side! I have the new center link and idler arm installed, the steering box on, and got everything else on the left side.
I wirebrushed and painted the frame before I installed all the arts
looking pretty good in black and red!
Moved it into the other door of my shed so I have access to my right side and got it almost all taken apart. I just need to press the lower control arm bushing out and take off the upper control arm. The lower control arm bushing is a pain the butt, but whatever, the second time around shouldn't be too bad.
My cousin is coming up this weekend and is going to bring his gas mig welder, so I started in with the angle grinder cutting my frame up to fix the hole I found.
didn't notice this when I bought it, but its not terrible
started cutting out the rusted parts
squared off, rusty parts almost fully cut off, and edges grinded clean
thinking I will weld in some angle bar, then I bought some 3/16" flat stock, 3 inch wide and 2 inch wide. should be able to fix it up nicely!
While I had all three angle grinders out, I figured I would start cleaning up the back part of the frame. Spent another like 2 hours with the grinder and then put some paint on.
took a while to get the paint and rust off and down to bare metal, but it looks good.
put on some primer! will slowly move forward, then by the time I get the hole filled I will be able to paint up to the cab. hopefully will pull the cab, tranny and engine this summer to get the rest painted!
I will, of course, update this again when I get done with my next section. I hope people are actually reading it!
Lot of people look but just dont' post, not sure why that is. I usually only post on those who post on my threads. Even if they were not reading my threads, it doesnt really matter to me. One of the things I have really glad I did was to post all of the things I did. A year or two when you get the project completed, it is nice to go back and see what you started with and what it looks like when done.
Been a couple of builds I did that I was kind of embarrassed to put up but looking back I am so glad I did. Not only did I learn along the way, I built something that most would of passed on and sure several could not of ever gotten them on the road. To see the beginning and the end brings back a lot of memories. You can look at the date stamp and see when it happened. You can add notes during the build of what was going on that day even if it did or did not apply to the build. You will find later on when you read your thread a year later, a lot of things happen in life that you would of forgotten. Several things you would of forgotten had you not posted it. You will be glad you did.
Look at the hundreds of builds that got started and never got finished. I am guilty of one thread.
Looking at the above picture of the black and read and how it looks so new is something that turned out well. Someone to see the truck now never could of imagined what it looked like before.
Your attention to detail is great! Keep up the good work and you will be very happy with the end result. I did the same build this time last year (minus the painting of the frame and suspension components). I really wish I took the time to wire brush the frame etc like you did but I was renting at the time and had no driveway. I brought shade tree/parking lot mechanic to the next level doing my front suspension rebuild on the banks of a saltwater marsh.
Lots of people knock these little 2wd drive trucks not being some big 4x4 beast but in all honesty they really are great vehicles... simple reliable machines.
Looks like you are plugging along nicely. I found once I figured out the drivers side I cut my time and guess work in half for the passengers side.
A little advice... Since you are taking the time to paint/coat everything with epoxy paint do your self a favor and hit some of the new parts with the same paint. All thought they are new and look nice now they will start to rust in no time, especially those tie rod adjustment sleeves. Also, might want to consider replacing and/or upgrading your torsion bars while you have everything apart. There is some good info in my rebuild thread. Give it a quick read.
One more thing I can add is if your lower/upper control arms are really rusty and pitted you can replace them used for very cheap. This can save you lots of time. I sourced used upper and lower control arms from TAP in rust free California for under $50 a piece. Well worth it to me. I slapped new bushings in and ran it. Although looking back I wish I hit them with paint.
Good luck and keep the updates coming.
Last edited by AudiKev; Apr 3, 2016 at 04:47 AM.
Reason: Added comments
Hello everyone! It's been a while since I've posted, but I've been getting a lot done.
I basically finished my front end. I have everything done except my steering damper, which I've ordered 2 from Rockauto and neither have fit. I guess I'll have to return this one again and see if the next one actually fits.
Other than that I've gotten my frame welding done and I got most of my rear end taken apart.
Angle bar welded in and first piece of flat stock
Second piece of flat in, used ann old piece from my garage that required less cutting than the flat stock i had.
Welding all done finally!
So the welding is all done, it isn't the greatest work I've ever done but whatever, I'm not really super concerned.
After I finished that up this morning I started taking the rear end apart.
So I took my rear brakes all apart, shocks are off and i started getting the springs off. I will be ordering all new brake parts, new leaf spring bushings and whatever else I can find that needs replacing. Once I have everything off I'm going to fully clean up all the parts of the drive train and rear frame and give it a nice paint job. I'll update again when i go a bit further!
This is all stuff I want to do before next winter minus the welding. I have an extremely full plate now so I'll be watching. Check out blow sand dot com (or something like that). Good/Interesting info on a 2wd build right there. I can't find the link now but he talks about using a certain steering damper from rock auto and "making it work". I got a different one and the fit still needed some creative thinking. Not 100% happy with it but it will do for now.
So I haven't gotten a lot of work done, it's been pretty raw and rainy here the last week or so, but I've gotten some painting done and some more stuff got delivered. I got my wheels, 16 inch black steel, and have started the process of finding tires. I am sort of thinking of returning the 16s for 15s, seems I can get a little smaller a/t tire for a 15, but I have some options for the 16s that I really like, if I can actually find them in stock somewhere.
I ordered new H4 headlights from Summit Racing also to replace the sealed beams. They even came with bulbs, which I didn't expect. I was planning on getting some LEDs from superbrightleds or some HIDs (from I don't know, any suggestions if I go that route?). But I'll hold off for the time since they came with bulbs.
Yesterday I got my grill off and old headlights out, and the metal mount for them was a but rusty so I took it all apart and added them to the to-be-sandblasted pile. I even got everything blasted and primed last night. My shackles were really, really rusty. Huge pits on the actual bolts, but since I can't find new ones anywhere I'm going to just reinstall them after they're painted.
Badly pitted from rust
I would replace in an instant if i could find them. Any ideas?
Other than that, I'm getting closer tof being able to put my axle back together. I still haven't finished cleaning up the rear half of my frame because of how cold and rainy it's been, but it should warm up Monday and I can finish that up. I'll install my new parking break cables while I'm at it.
New wheel on axle, before i moved it inside to finish painting
Axle, now inside, and rear suspension parts / headlight housing. Almost ready to start putting the breaks together!
Leaf spring seats, part of shackles, and the break line bracket. Will paint black tonight!
I've been doing motorcycle things for a while, spent some time prepping and then 3 weeks on the road up on a Trans-Labrador trip on my klr, so I took a break for a long time. But, I got the rear end all painted, brakes all put together, suspension painted and put on, and gas tank painted.
Rear end put together
And while ago when I was taking things apart my muffler just fell off at the cat, so instead of putting new parts on rusty parts I just ordered a whole new exhaust, manifold and all. I installed that two days ago, and even after 4 months of sitting with no gas tank, I put gas in and she started right up!
It was really encouraging and exciting finally hearing it run in a condition I was comfortable driving it in. He!
I changed the oil and filter, and I was going to replace the valve cover gasket, or rocker arm gasket I guess it's actually called in this engine, but I couldn't get it off. Tried a wood block and hammer, but I didn't go as far as the putty knife, but that's easy to do whenever.
I ordered some tires off tirerack, I bought 16" rims and wasn't sure what would fit up front so I got some regular Kumho Ecsta all seasons and then some Road Venture MTs for the rear, and I'll see how that goes. Going to pick them up at the tire rack distribution center, saved me 85 bucks in shipping.
I got it registered too! The dmv near me sucks noodles, but this time it wasn't that bad, only wait an hour and a half. Now I just need to get the tires mounted, and then figure out my truck bed.
I was thinking of making a wooden bed, making a metal bed, yadda yadda but just to get it on the road i think I'm just going to put my rust heap back on. I need a new tailgate, which I've only found at a salvage yard in Oregon , and then wanted $490 shipping for a 75$ part. It's the Japanese 2 latch with rail style, and can't find it anywhere, but I love the look of it.
I'm thinking now, depending on how much actual rust damage there is, I'll cut the corrugated bottom off, cut the supports off, put new ones on, and then make a nice wooden bed in the back. Then I'll fix the sheet metal sides, and it'll look good! If only I could find a tailgate.....
Any suggestions?
I'll post more pictures when I get home from my tire adventure!
So happy I'll have 4 wheels soon! It's been a long time that I've just had my motorcycle
Alright, its been a while, but I've made progress! I am actually driving the truck now, and despite the little things that pop up, its been driving great!
So, so much has happened since I left off, not even sure where to start back up.
But, I think this is where I left off, in August (wow its been longer than I thought)
From here, I moved it from its spot in the grass to the actual driveway and got some tires mounted. I bought new rims, 16" rims, and then realized that I had no idea what would actually fit the truck, so I got 2 of the tires I wanted for the rear (I knew that they would fit / I could make them fit) and some smaller ones for the front so I could get the truck on the road and actually drive it. I had some other forums up along this time frame with other issues I had, so some of you probably saw some of this process, but whatever.
Look pretty sweet! I love these tires already not so sweet. looks a bit goofy, almost like a race car haha
so, now that the bulk of the work was done, and I had actual tires on it, time for a test drive!
Now here, comes out one of my flaws. While I know I should do a proper test drive, see how it works, then drive it home, I just drive it to work instead. Everything seemed fine, but on the highway, it didn't seem to driving properly, 4th gear seemed weak, then 4th gear didn't seem to work at all. I made it to work, but on the way home, that weak 4th gear feeling turned into weak 3rd, then 2nd, then 1st, then it just wouldn't drive. Luckily I made it far enough so that I was off the highway and next to a gas station, and then I limped into the parking lot and called AAA.
and up she goes! made it about 35 miles
So at this point I realized my clutch was screwed up, so instead of messing around with it, I just ordered a clutch kit and a slave cylinder. Then I started on dropping the transmission.
looks pretty gross! This was the moment I decided I had to, of course, clean it up and paint it!
I slacked for a bit here, and let it sit for a while. Once I got my motivation back up, things got going.
falling apart a little bit of red, maybe some foreshadowing? didn't actually look that bad, but glad to replace it anyway cleaing up nicely looking better.... started with the wire wheel on the drill and the wire brush on the angle grinder, but the corners were too tight. ended up cleaning up the whole thing by hang so much work by hand, but came out really nice! had to rewire the this sensor, pulled it out of the connector when I forgot to remove it while dropping the transmission cleaned up, acetoned, and ready for paint! no photos of the during, but this the industrial enamel I have been using while restoring my grandfathers '47 Ford 2N tractor. looks pretty good! new dust boot, slave cylinder looks fancy down there now! bleeding the clutch! well now, look at this, I can't put this ugly thing into my bright red transmission! need to clean this up and paint this also
Around this point I had just bought some new doors, my passenger window was a piece of plexi that was just resting on the track, so would fall off when bumped and didn't seal correctly. I got 2 doors for 100 bucks, with vent windows, so I started to clean up and paint the passenger door first so it would at least be sealed.
a layer of patchy bed liner, some paint, some more paint, then the original paint. lots to clean off! now this hole just won't do. must fix it! fits pretty well I realized at this point this welder is pretty much broken, so the welds didn't come out great, but its sealed at least some etch primer and looks pretty good! need some mirrors now, but at least I have all glass
Try moving the welder closer to the outlet and not using an extension cord, Most of the 110 welders dont like any type of cord on them. If you must get a 10 gauge cord.
Too bad you dont live closer I would give you my chassis. Im spoiled here in Los Angeles, everything is rust free! I dont miss rust repair, spent my youth in Ontario Canada and Michigan and had enough of that weather.
so once I got the clutch redone and everything installed, it wouldn't start! thinking the worst (like I usually do) I pull the starter and tear it apart. everything looks fine, put it back together, bench test it, it works fine. at least I got a chance to clean it up!
dirty, but not broken
put it back in the truck, still won't start. battery was fully charged, so I took the wires off, cleaned up the terminals, and boom, just a bad connection at the battery. again, at least I got a chance to clean the starter ha!
now, on to the aesthetics
with a new door installed, time to make my own trim. I used, of course, the best beer box to mock it up all cut with the router and ready for some final touches
around this time I realized I was sick of my broken seat and basically sitting on the floor, so I sent the guys I bought my doors from a message and a few days later picked up a seat.
new seat! the bottom of the new seat was way, way better than mine, but the back of my original was in a bit better shape, so I combined them and wow, this is a mess. I can't live with this! some wire brushing, some scrubbing, some acetoning I found some vinyl paint at napa and started on the seat, bottom went from blue to black and grey and the back turned black! looks good. now on to the interior truck bed liner, did the doors on the inside too. the passenger door got some plastic taped on to prepare for the trim and woah! this is way, way worse than I expected. but, that will end up being another days project used the tan vinyl paint on the headliner, made it look brand new! got some foam and some buffalo plaid at Joanns, and finished the trim out of sequence, but putting the plastic on the door ready to install the trim! (and the seat now that the bedliner has dried)around this time I decided to try and tune my carb. I played with the adjustments, couldn't really get it where I wanted, so I decided to pull it at least in half and clean it out. Got that done, sprayed it out, put it back together, and it won't run. what happened? what did I do wrong? I checked all the adjustments, they were all the same as when I started, so I took it apart again, and found this. not sure what really happened, or when this happened, but everything went to ˟˟˟˟˟
I tested it against the battery, and it didn't work. well, its just a cheap solenoid, I'll just buy a new one!
Nope, 165$ was the lowest price I could find. now, to buy this way overpriced part, or just get a whole new carb??
well, not surprising, but I got a new carb. I also got the redline version of the solenoid, only to later find out it doesn't fit this carb (my bad, sometimes I get excited when I order stuff) now, onto pulling all this stuff out I wasn't planning on pulling any of the EGR or anything, but this carb has 1 vacuum line instead of 10 million, so out the parts came! realized I needed a plate to replace this guy, so made this with the angle grinder cleaned up and looks nice! I, of course, painted it red wow, thats a lot of stuff that I removed. crazy that the engine still runs, and even better actually, with all that taken out ready to install homemade plate in had to trim off a few millimeters of this to fit around the plate under the carb now it clears! all installed, now, to install the manual choke lever looks nice right here! I also had gone ahead and bought a tach, to make it easier to tune the new carb with looks pretty good I must say! oh yeah, since I was ordering parts, I just ordered a new clutch master cylinder. here it is installed and bled, with a wire from my tach that's about to be tied into place door trim installed, and looks good! the drivers side is coming along also, just took less pictures of it because it looks the same
ok, so I'm realizing now I didn't take any pictures of the interior with the seat and trim installed, so I'll update that a bit later. but, now I was driving it regularly, and staring at in the parking lot outside of work every day, and realized that I just wasn't happy with the uneven racecar look.
so I swap my wheels to check for clearance damn, rubs right here, so doesn't look good. well, nothing else rubs! turn it in both directions, still doesn't rub anywhere else looks like I'm actually good, except for the little rub on the zerk fitting and, at this moment I ordered tires. now, waiting for them arrive and to get them mounted
now, with my ever developing perfectionist attitude, i realize that since I'm not ok with the uneven tires, I am also not ok with the uneven paint. so, of course, I get started on that. I will be doing a full body job come spring, with an HVLP gun and lots of welding, but to get me through the winter I do bondo, brush painted etch primer and some rattle can
so, brush painting some primer on. I actually like the green, but thinking it'll end up being black some bondo on passenger rocker panel, came out better than I expected! i was thinking it'd be a temp fix, but if it lasts the winter I might just leave it some around the fenders my rag joint was just falling apart, so ordered a new one. first part I ordered right from Toyota! more green, looks good! some paint on passenger rocker panel starting to go up and onto the good got some (what I thought were 1/4) 5/16" spacers on there, ready to put the new tires on getting all my jack parts together, and realized I have the complete original set. I will be tearing this apart and powder coating it once I get the oven in a better spot new tires, more paint! looks awesome, feeling proud of myself for this finally on the road! drives great through some Thule bars on the top, a bit unnecessary, but whatever. I'll probably build a safari rack for the top just for S&Gs. this also reminds me I need to finish the work on the drivers side floor and rocker panel
radio from my old GMC sonoma that rusted out on me it works, not to install it after much trial and error, here it is! no speakers yet, so testing it with the almost broken ones from the old truck. now, to Crutchfield to order new ones not the best sounding stereo I've had, but with just 2 tiny speakers its pretty good. I have tons of old Napa furniture grade leather kicking around from a job my father had 30 years ago, so wrapped my drivers side handle looks pretty good with the door trim and bed liner! I even through some leather in behind the glove box to replace that vinyl. eventually I'll replace all the vinyl with leather or clothI've had this replacement I got from Marlin crawler for a while, just hadn't installed it yet. I got it installed a few days before the first snowstorm, so glad I was all sealed up before that looks good with the nice red transmissionthe moment I realized I didn't like not having bumper ends ahh, much better. the day I realized I wanted all the mustard yellow gone. semigloss black rattle can to get me through the winter
the truck finally now looks good next to my bike! Still need to fix the holes on the drivers side, but I ran out of time and its about 5 degrees outside. its a bit cold driving around in these temps, but I don't think fiberglass (to fix the floor) and bondo (another temp fix of the rocker panel) will dry that nicely in these temps. I should be up into the 40's again next week, so still not ideal, but will have to do.
The most recent thing, the other day I realized my fuel pump was leaking. just a bit, but for 35 bucks, I ordered a new one. I also got a temp sensor because they're close and mine was broken, so I replaced both pump and sensor, and not only did it fix the leak, but wow does it run better now. I guess my fuel pump was actually broken and not just leaking
seeing all these new parts makes me want to pull my engine and clean everything and paint it all. must. wait. till. summer. ahhhhh
so here we are at today again! I still have to tune the carb, but its running pretty nicely for just adjusting idle and mixture. I've also been struggling to get my clutch adjusted correctly, seems I either go too loose or too tight, but eventually I'll get that sorted out. Now, if I could just get good temps (next week will have to do) to fix the holes in my floor and rocker panel and I'll be ready for an actual winter!
Try moving the welder closer to the outlet and not using an extension cord, Most of the 110 welders dont like any type of cord on them. If you must get a 10 gauge cord.
Too bad you dont live closer I would give you my chassis. Im spoiled here in Los Angeles, everything is rust free! I dont miss rust repair, spent my youth in Ontario Canada and Michigan and had enough of that weather.
I did actually try that, afterwards, the welder just didn't want to feed the wire. It might be an issue with the gun and line, but a new one is like 200 bucks and thats not worth it. It also only ran on D power, so I couldn't turn it down to get good results on thin sheet metal.
but, my cousin just closed his shop, so I now have his gas MIG and his TIG welders to play with, so this welder will get thrown into the back of the garage and probably forgotten about (since I never really throw anyway away)
and I look at trucks for sale in SOCAL all the time! my next rig will probably come from there and involve a road trip. with the 2 welders from my cousin I also have his powdercoating oven for some time, and with that I've been thinking it would probably be worth it to build an oven to fit a whole frame. so, my next rig will probably be bought in SOCAL, trailered here, then powdercoated.
my next rig will be a 1980 4x4 (already started looking, even though between this truck, my bike, and restoring my grandfathers tractor I'm pretty broke) but I love those trucks!
Yeah, Once you figure the cost of rust repair in time and materials the cost of a rust free truck really makes a lot of sense (cents).
Here they are rust free but are pretty much wore out. Not too many in the local Pick A Parts as they just keep getting fixed. Mine came from some tweekers who thought they were going to restore it but gave up half way through the project. Most sell word of mouth so you have to keep looking on local forums,
I may not have seen this build before, but I see it now and you do some great work! I'm looking forward to seeing how it looks when it gets painted in the spring.
I may not have seen this build before, but I see it now and you do some great work! I'm looking forward to seeing how it looks when it gets painted in the spring.
thanks! My plan is to teach myself to do it correctly, I want to do all the body work by welding in new sheet, the lower bed panels on each side of the rear tires are rough on both sides so I will try to replace then with homemade boxes (I just got a cnc machine so it'll really be a design project and a test of my welding skills) and then once I'm ready I'll buy an HVLP gun. I was originally going to do flat black to match my KLR but a good friend keeps trying to convince me to go gloss black, and I think I actually like the idea!
the guys I've bought the doors and seat from apparently part out a truck a month and said if I need random stuff they can usually find it, so I'm going to see if they can get me a sunroof (might now work with my very useful roof rack) and a sliding rear window, which will be fun.
but thanks for watching, this is the biggest project I've ever done and it's taken me a long time so it's cool that I'm finally on the road and it's working, I can't wait till it's actually "done" (I don't think it'll ever actually be done ha!)
Maybe build a headache rack/roll bar that's got an integrated safari basket.
gloss black will look good but bring your A game with the painting or it'll show every flaw.
Maybe build a headache rack/roll bar that's got an integrated safari basket.
gloss black will look good but bring your A game with the painting or it'll show every flaw.
yeah I've been thinking of the integrated headache safari rack, I like that idea.
I think that the gloss black will also test my welding skills because that will really show any mistakes I make with the body work, and then also show any mistakes made actually painting. But, I gotta learn somehow, right? And with paint at least I can always just sand it off and start over. gloss black will make the truck look like it's new, where the matte makes it look more homemade, so I think that'll be a cool look. If I do my truck gloss black successfully I'll have to repaint my motorcycle too
I've been thinking of building a powdercoating over big enough to do my frame, in which case I could also then do the bed and cab, but there's no way that'll be done next year, but having a fully pc'ed truck would be awesome. I'd love to see how well that would hold up in these new england winters!

 Mar 17, 2016 | 05:10 AM


 but after hours with a hacksaw, oxy-acetylene torch and a bolt, a few sockets, washers all hunched over with a sore back I finally got it out and the new one pressed back in. (and I still have the right side to take apart, damn)


 ) and a sliding rear window, which will be fun.


