JonnyBoy's 1990 4Runner build
 02-09-2014, 08:31 PM
#281
Registered User

 02-12-2014, 10:45 AM
#284
Registered User
Thread Starter

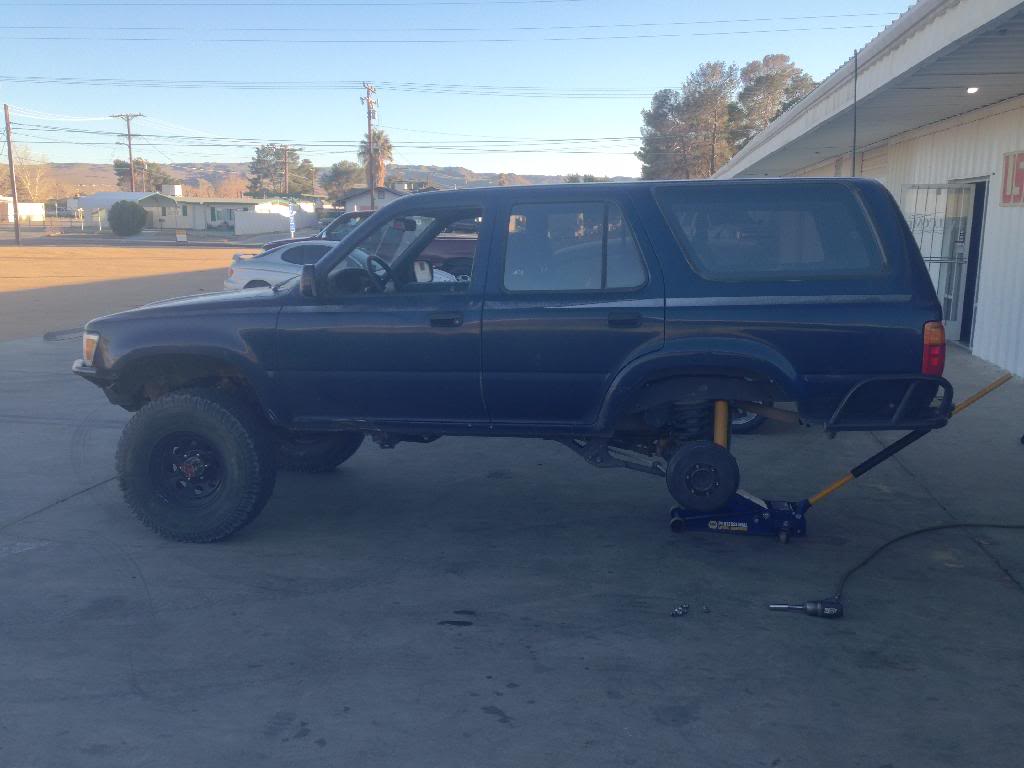
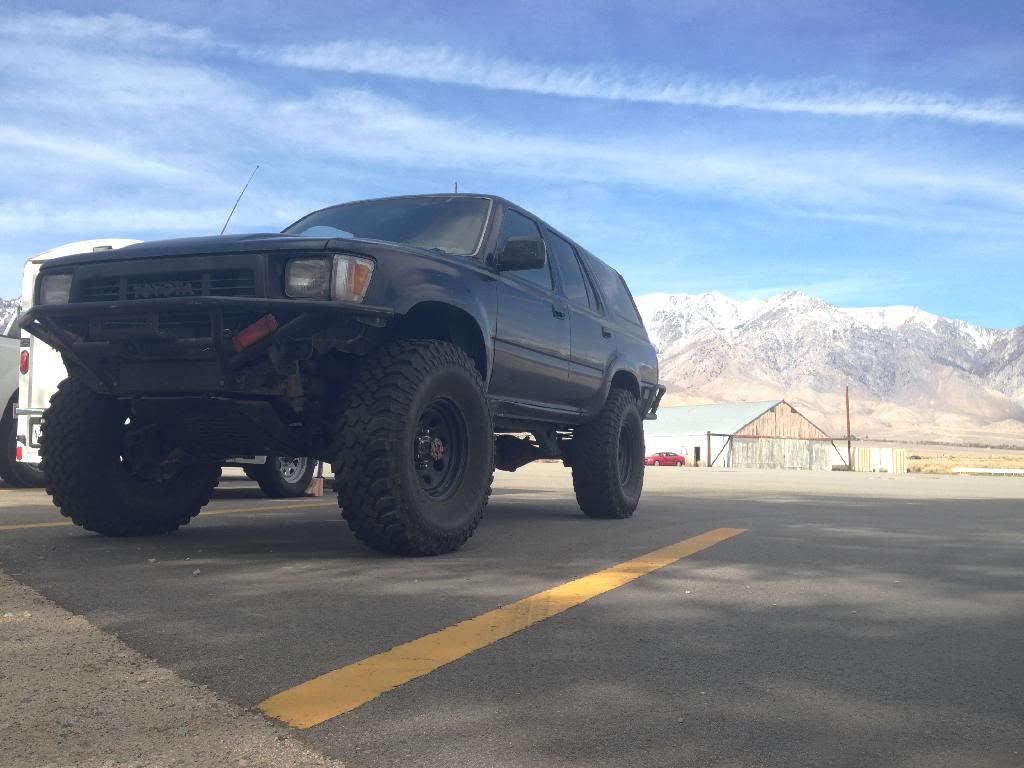
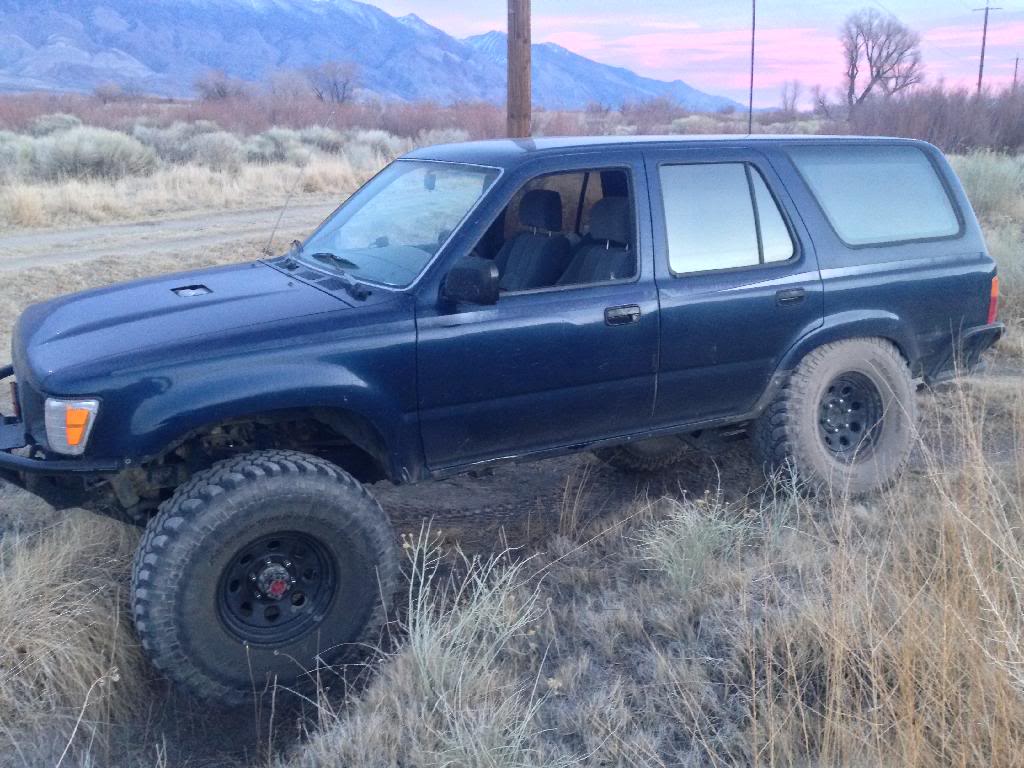
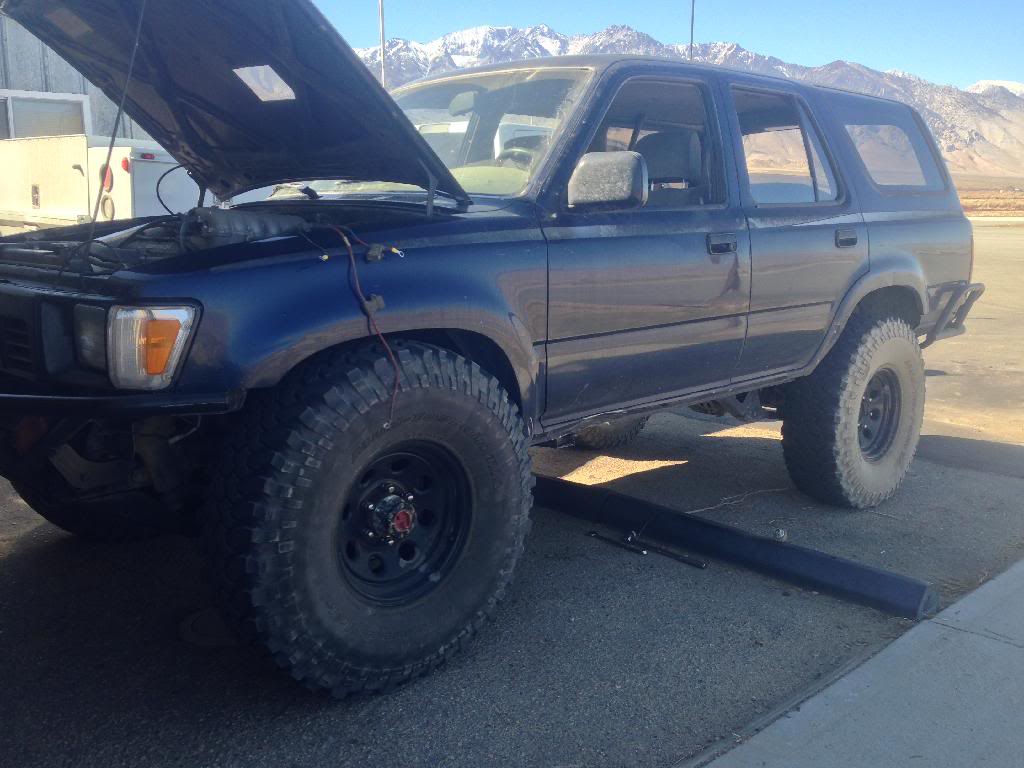
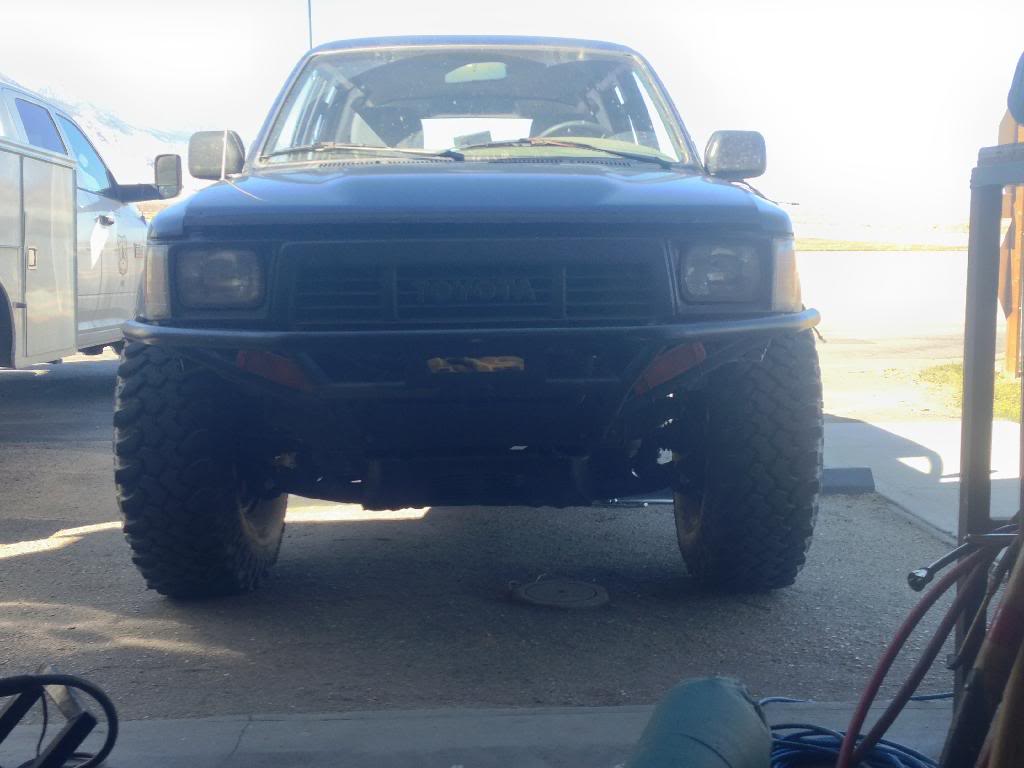
Well here it is with the 35's, probably the last mod for awhile, other than cutting the body for clearance, with me picking up a second job and helping Chef out with his rig.
02-15-2014, 09:22 AM
#286
Registered User
Thread Starter
Now don't start thinkin I'm some kinda overly nice guy just cause I'm helping Mark out, just ask him what I said out on the lake bed about the kid who was doing laps near us on a quad.
Mark put up a couple videos in his thread of him recording from his rig, but this one is my favorite of my rig so far
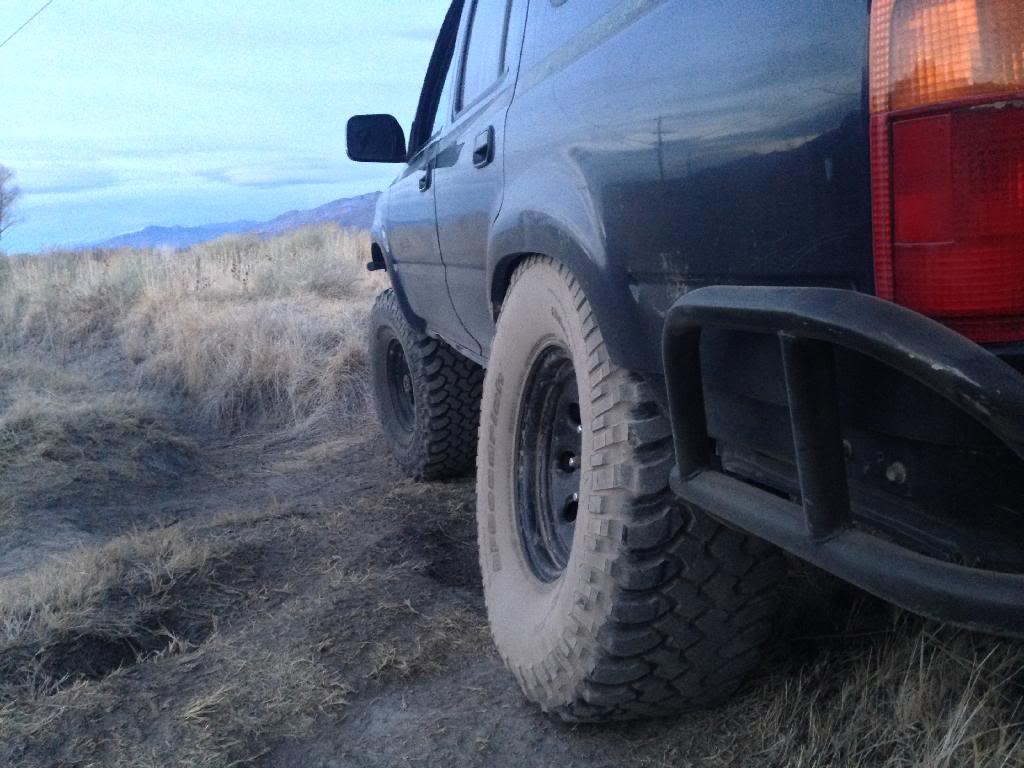
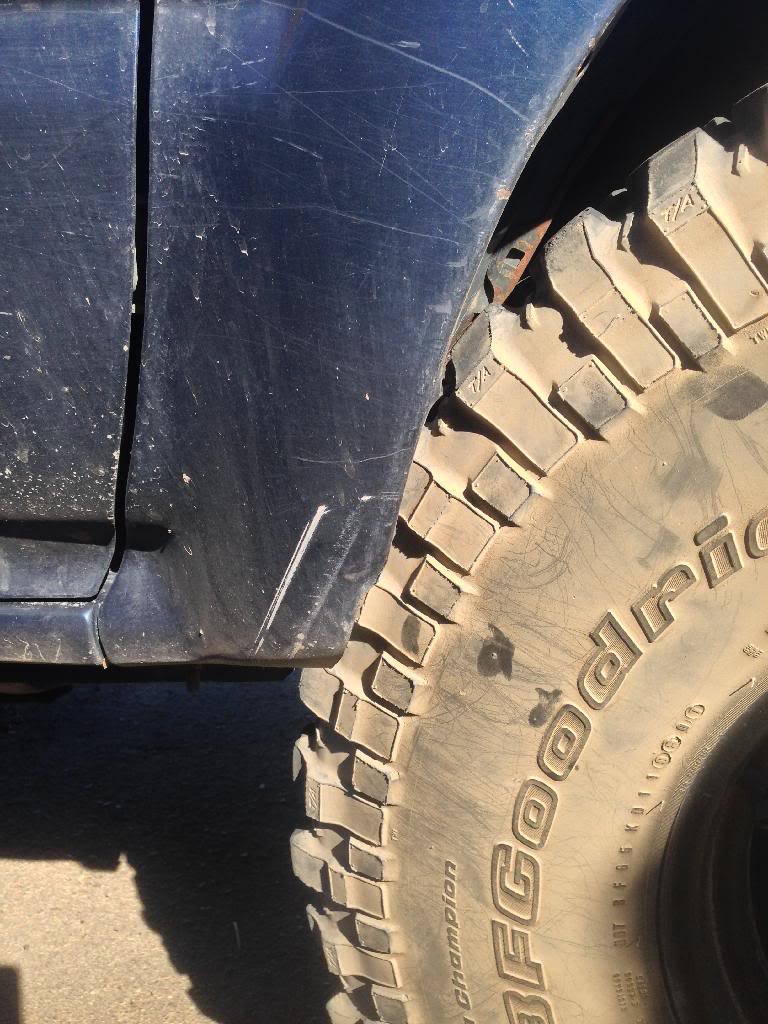
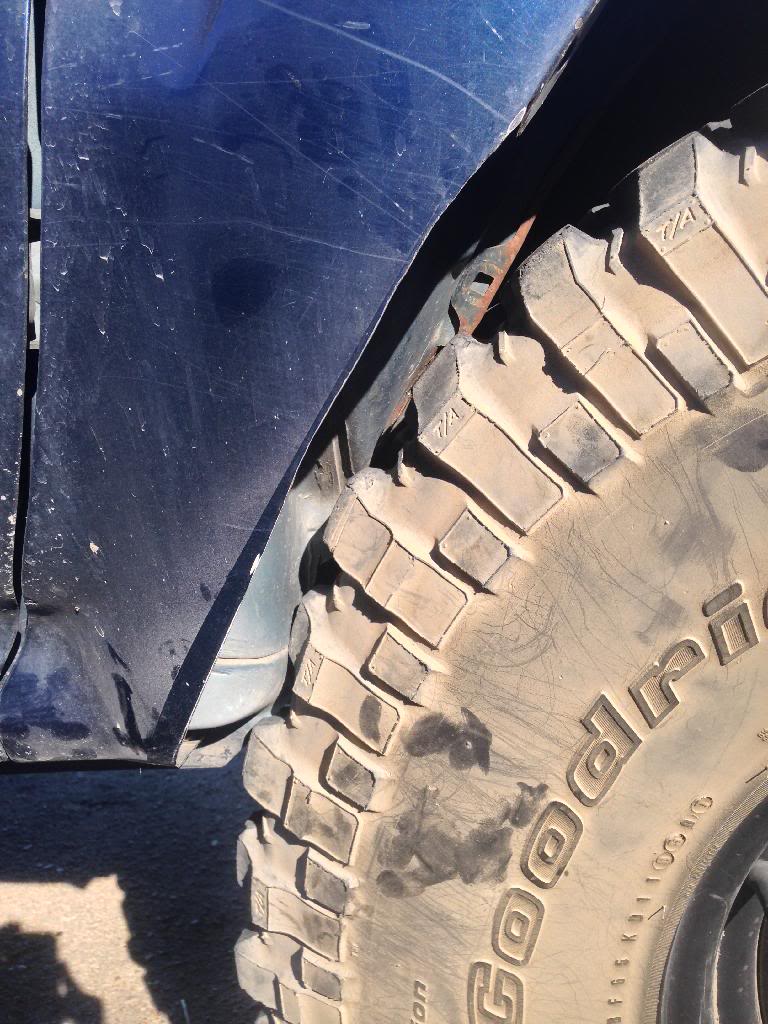
And here's some progress on my clearance for the 35's. So far this was just flex testing to see where it rubs. Obviously the back of the front fender area, but that's it in the front. Got really lucky with my wheel size and back spacing for the rear, though. Just rubs a little on the front edge of the fender there, and stuffs enough to hit the gas fill hose cover on the passenger side. Much different and I'd be crunching my fender!
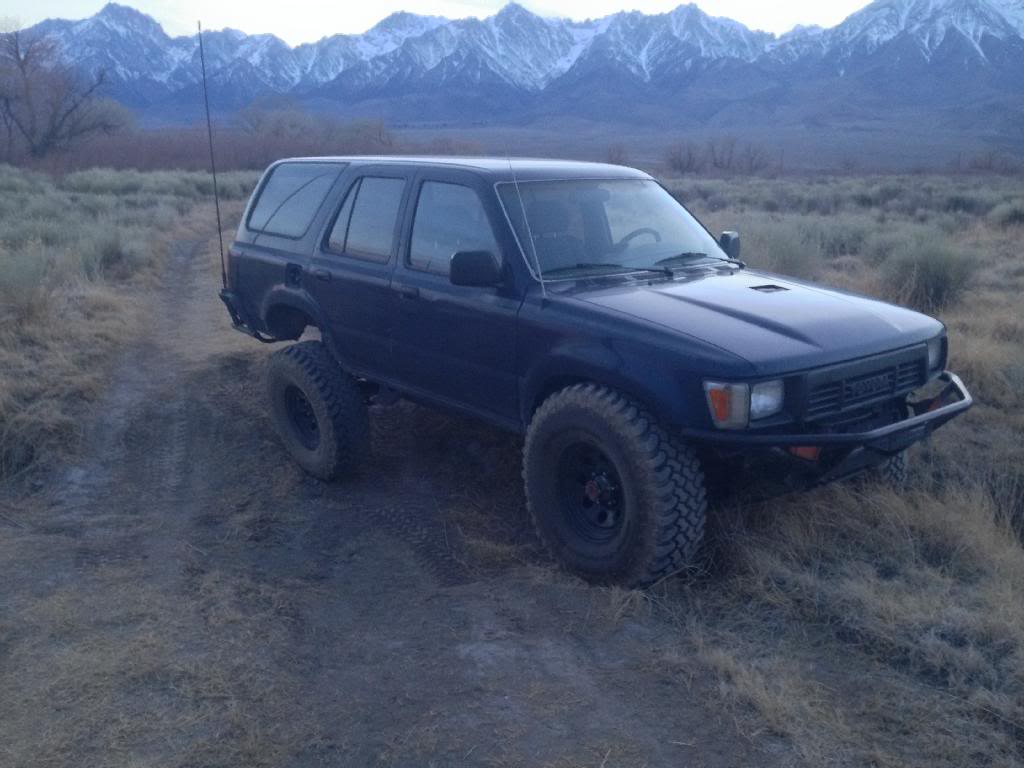
Mark put up a couple videos in his thread of him recording from his rig, but this one is my favorite of my rig so far
And here's some progress on my clearance for the 35's. So far this was just flex testing to see where it rubs. Obviously the back of the front fender area, but that's it in the front. Got really lucky with my wheel size and back spacing for the rear, though. Just rubs a little on the front edge of the fender there, and stuffs enough to hit the gas fill hose cover on the passenger side. Much different and I'd be crunching my fender!
02-15-2014, 09:31 AM
#287
Registered User
iTrader: (1)
Join Date: Oct 2011
Location: Tahoe, California
Posts: 987
Likes: 0
Received 0 Likes
on
0 Posts
Great photos man! Are you still only with the BJ lift? Those skinny 33s even looked a bit tight to fit in there, curious as to how the 35s play out. I'm still holding out to wheel with you guys sometime, maybe this summer? Mine will be down under for maintenance for a few weeks but if you guys ever make it up north, i'll be there. I'd even drive down there, doubt my truck would be able to keep up but still. Also, nice rocker damage! 
02-15-2014, 09:48 AM
#288
Registered User
Thread Starter
Yeah, just the spacers in the front and I reinstalled the OME coils in the rear. The 33's would rub a little if I had the wheel spacers on and had the inside front compressed to the bumpstops, but not if I didn't have the wheel spacers installed. Simply put, if I don't trim into the firewall and then patch it with sheet metal, the 35's wouldn't work without a bracket lift or body lift. Thanks for noticing the body damage, too! I forgot to get better pics of that, will do soon.
02-16-2014, 07:40 AM
#290
Registered User
Thread Starter
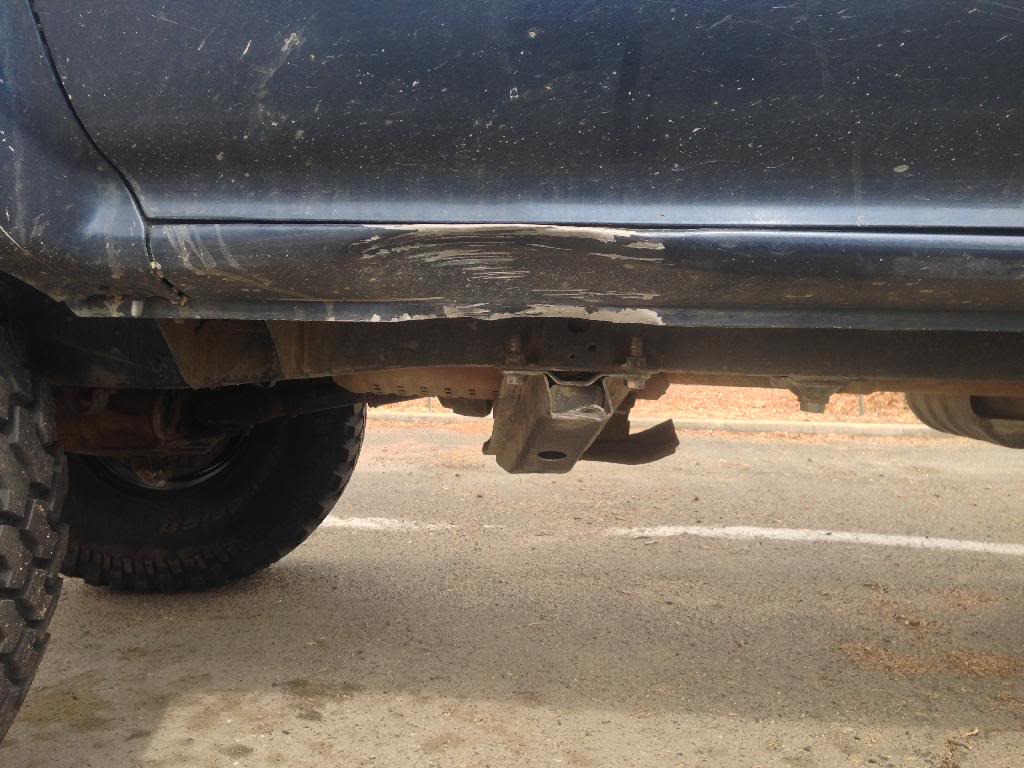
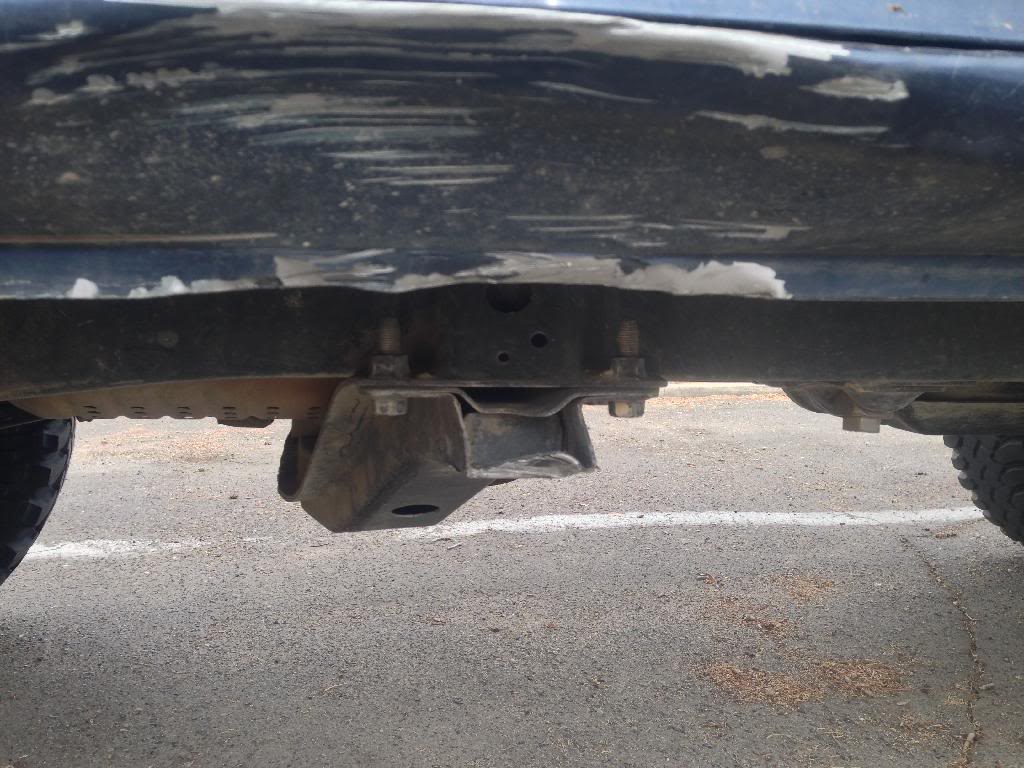
I tagged the crossmember pretty good a couple times as you can see, but I'm not too worried about that. Not really worried about the damage on the rocker panel either, except it was pushed up against the door. Time to get working on building sliders, I guess.
02-23-2014, 01:02 PM
#291
Registered User
Thread Starter
Well I found I damaged more than just the rocker and crossmember at Hammers, the rear bumper(just bolted, not welded to frame) flexed up enough when I landed on it, though never very hard, and pushed the bottom of the tailgate up. Not real bad, but something I'm fixing today since I've got all day free.
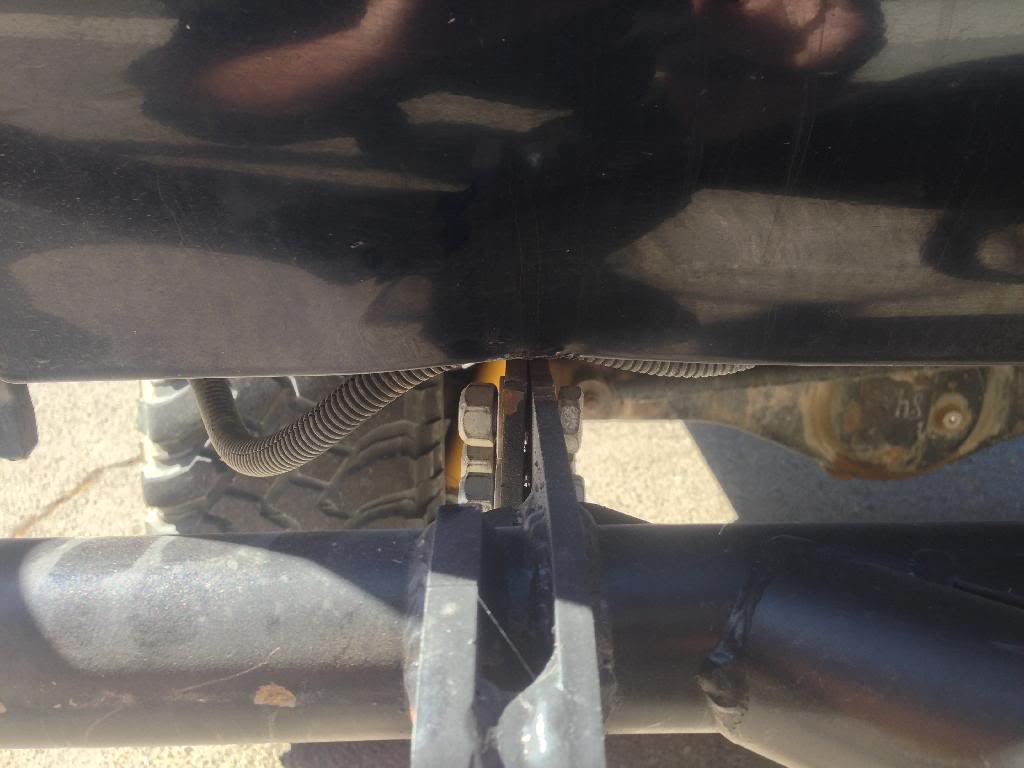
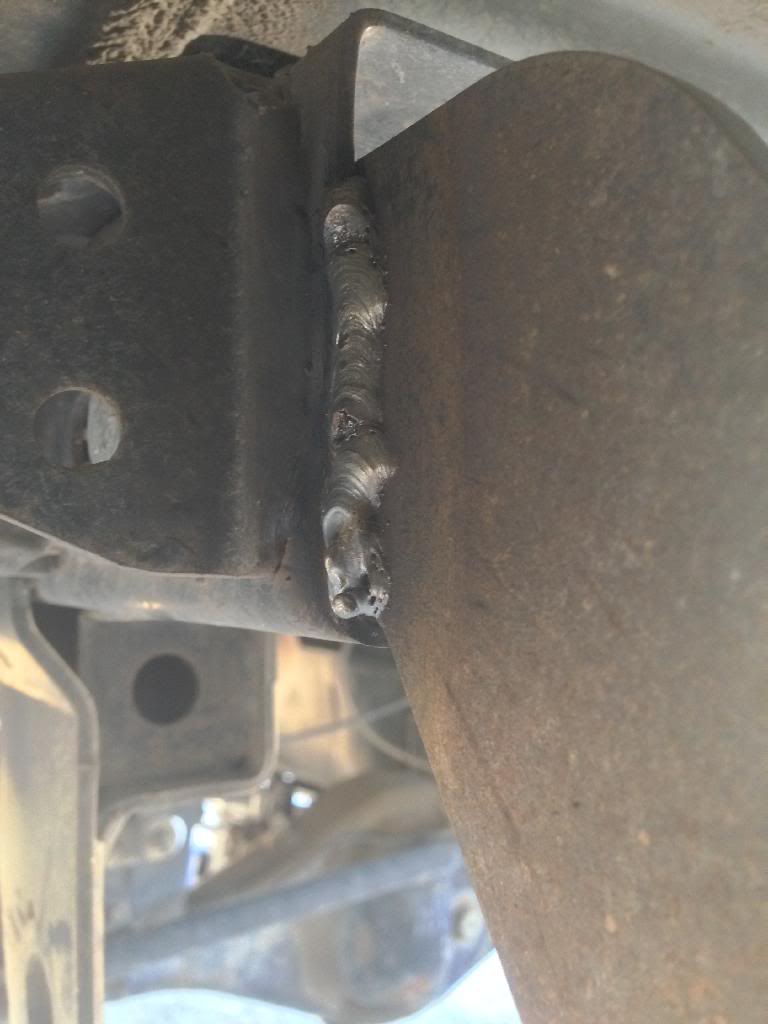
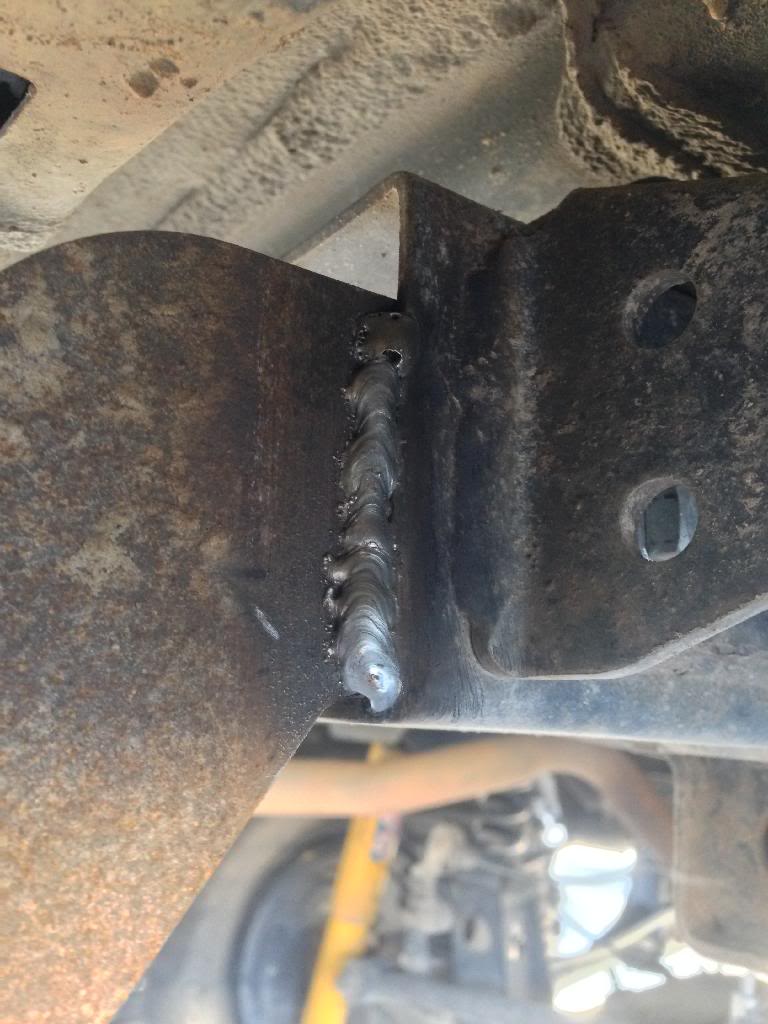
So, first time really under the rig welding to the frame... I think it's not half bad. I'll feel a lot better towing with the bumper now
Driver side
Passenger side
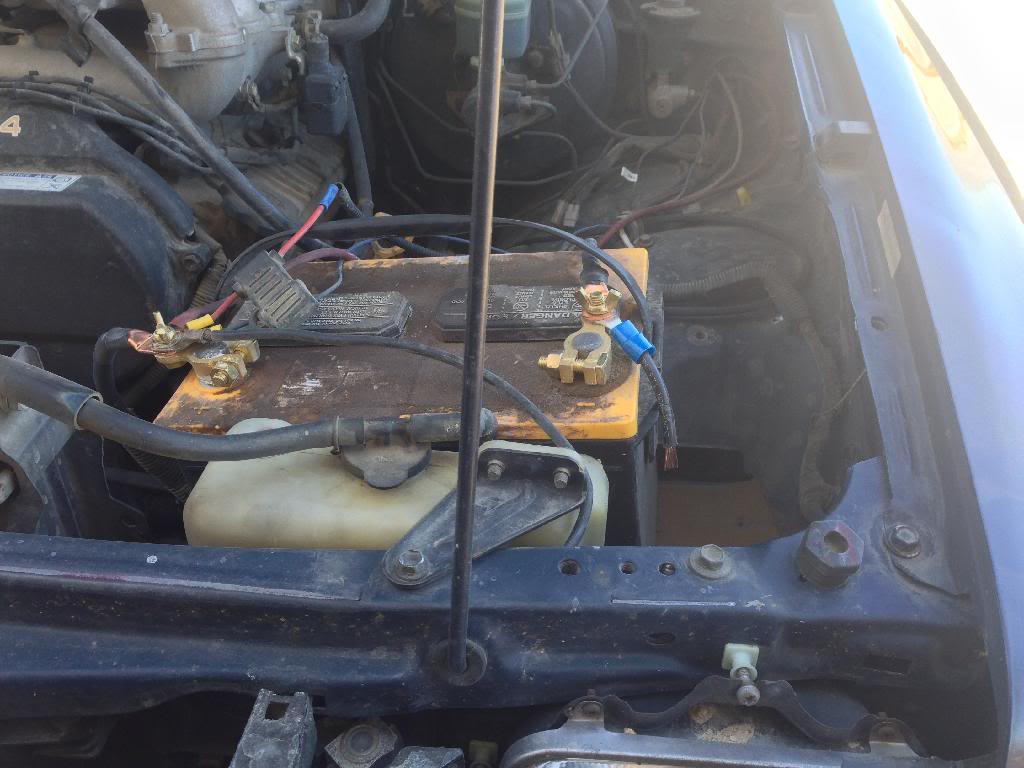
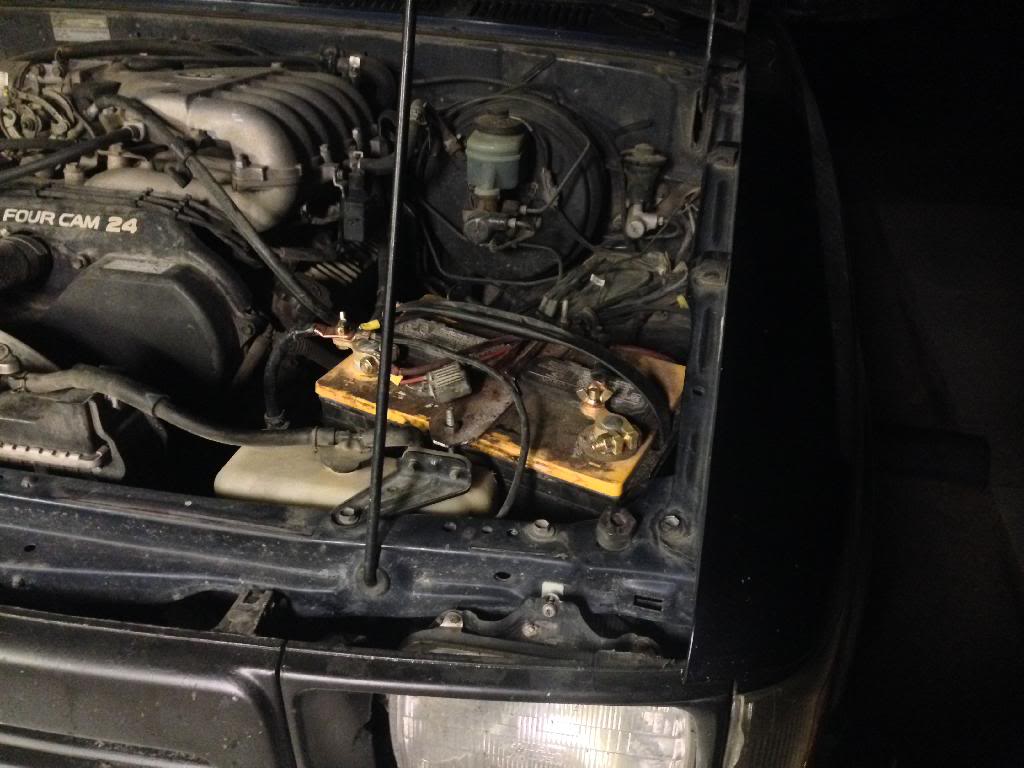
And since I have the day free, I'm also working on a final solution to holding my battery in place. I've temporarily rigged it enough times now, time to fix it how I should've when I did the 3.4 swap
How the battery was setting after the last temporary measure gave up
And since there was a possibility of tire interference with the battery area, I decided I may as well start on clearance for the tires. As it turns out, the battery area is completely safe, but this is still cool looking
Break time is over, back to it now!
So, first time really under the rig welding to the frame... I think it's not half bad. I'll feel a lot better towing with the bumper now
Driver side
Passenger side
And since I have the day free, I'm also working on a final solution to holding my battery in place. I've temporarily rigged it enough times now, time to fix it how I should've when I did the 3.4 swap
How the battery was setting after the last temporary measure gave up
And since there was a possibility of tire interference with the battery area, I decided I may as well start on clearance for the tires. As it turns out, the battery area is completely safe, but this is still cool looking
Break time is over, back to it now!
02-23-2014, 02:55 PM
#293
Registered User
Thread Starter
The rear I assume? I can't believe that company is able to just change their name but not their practices and still do business. Have you hit it just perfectly on the corners or anything, or is it just a normal(for an armor bumper anyhow) vertical hit?
02-23-2014, 07:50 PM
#296
Registered User
Thread Starter
Alrighty, done for the day. Got the rear bumper welded on as seen a couple posts ago, then moved onto clearance...
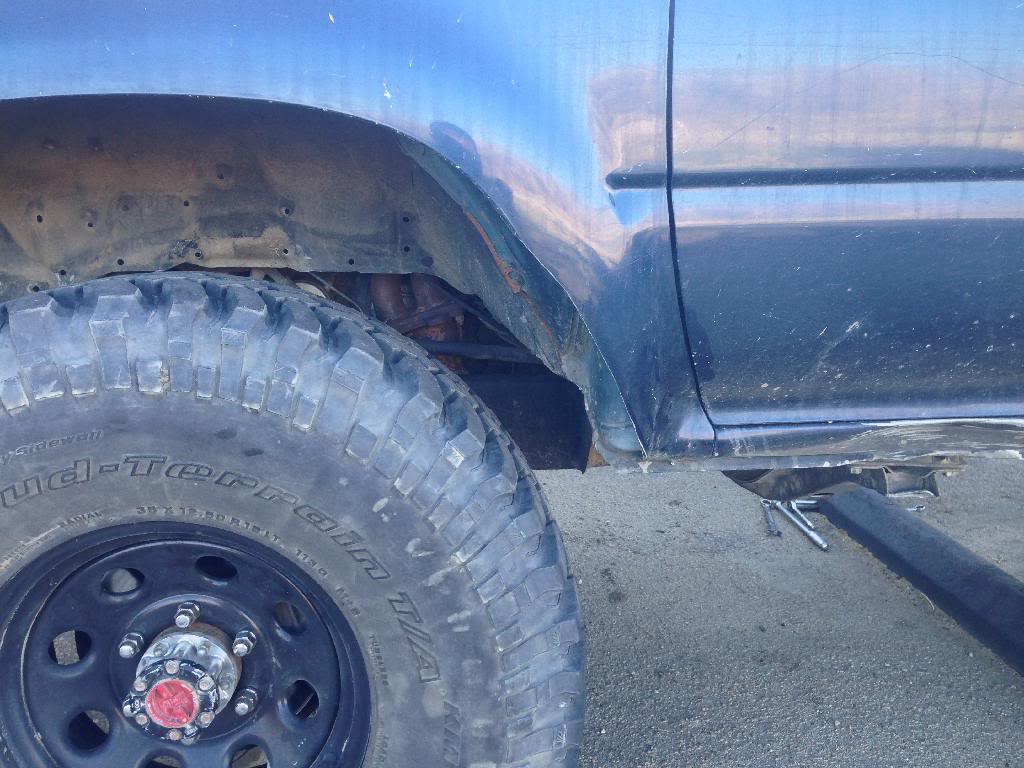
Got the fenders done, didn't start on the firewall today, but here's an idea of how much firewall I'll have to remove
Before fender trimming
After
Ride height with the fenders trimmed...looks a lil goofy not staying with the curvature of the original opening, but I'm not a good enough body guy to try and make it perfect
While I'm doing stuff with the torsion bolts, thought I'd show you one of the tricks I picked up on YT awhile back. First, when reinstalling them it was advised to put some anti seize on the threads. Then, noting that the nut on top has sort of a depression on top of it, and with all the sand around here, I felt it was a good idea to put a regular nut on top of it
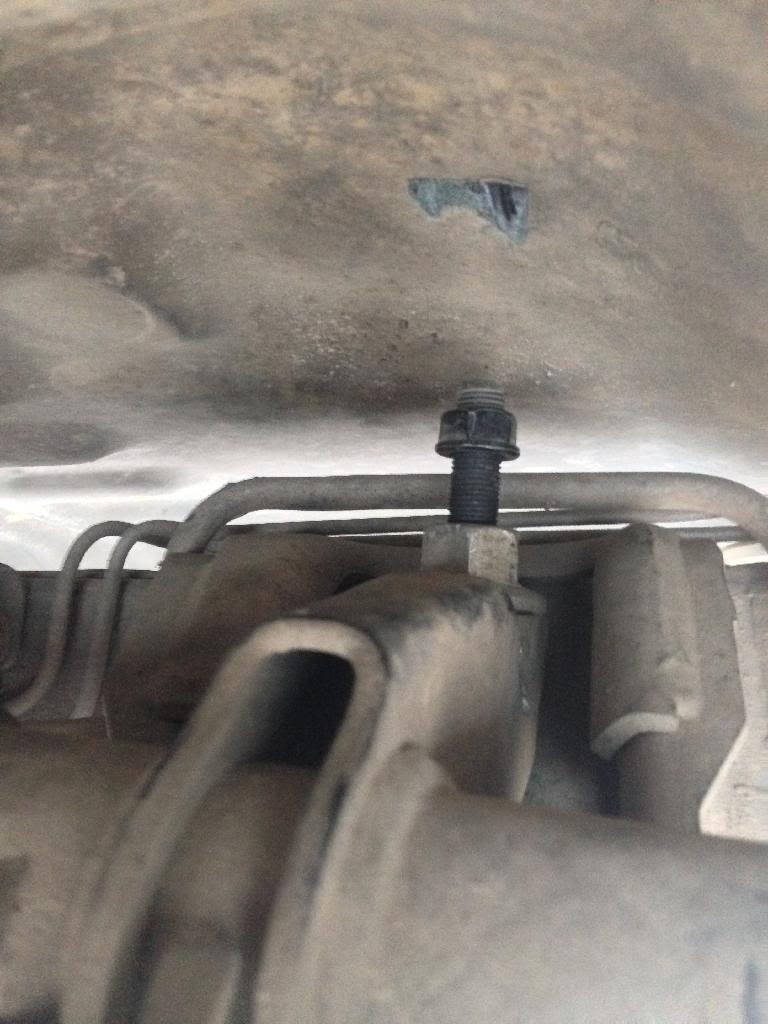
Then win it tightened down on the torsion nut, sand won't pack in the threads sticking to the anti seize making the bolts snap next time they're adjusted
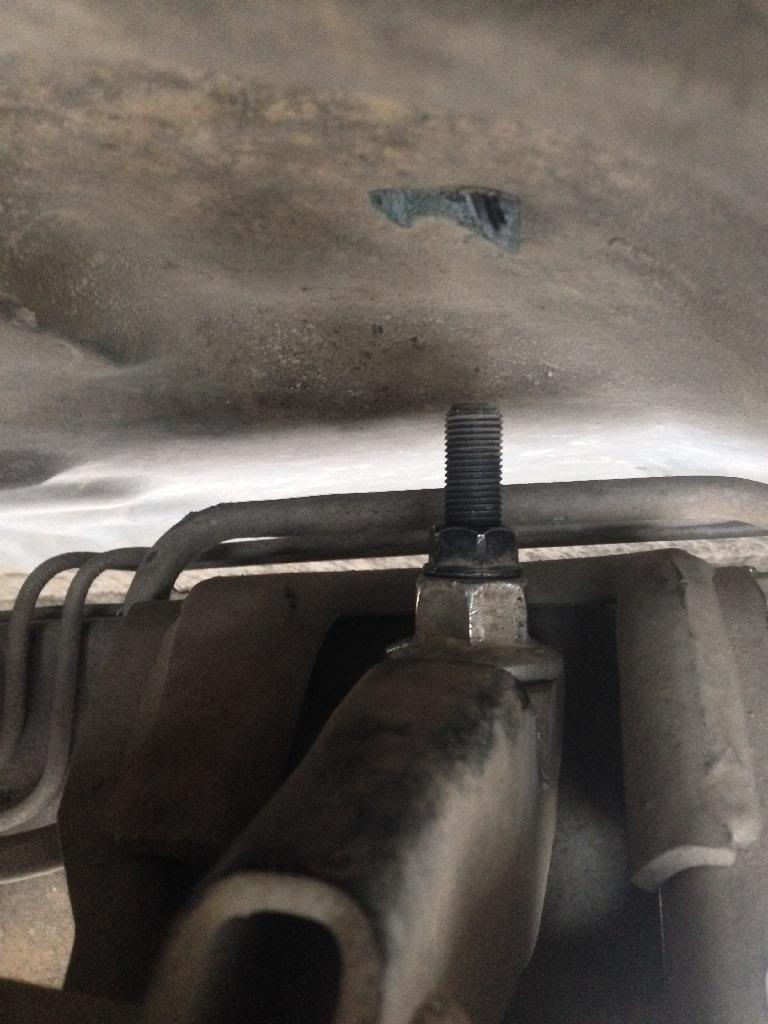
As you can see, the bars were under tension when the last set of bolts snapped
Lastly, making a battery holder out of scrap laying around work. Redneck way of bending right angles in sheet...
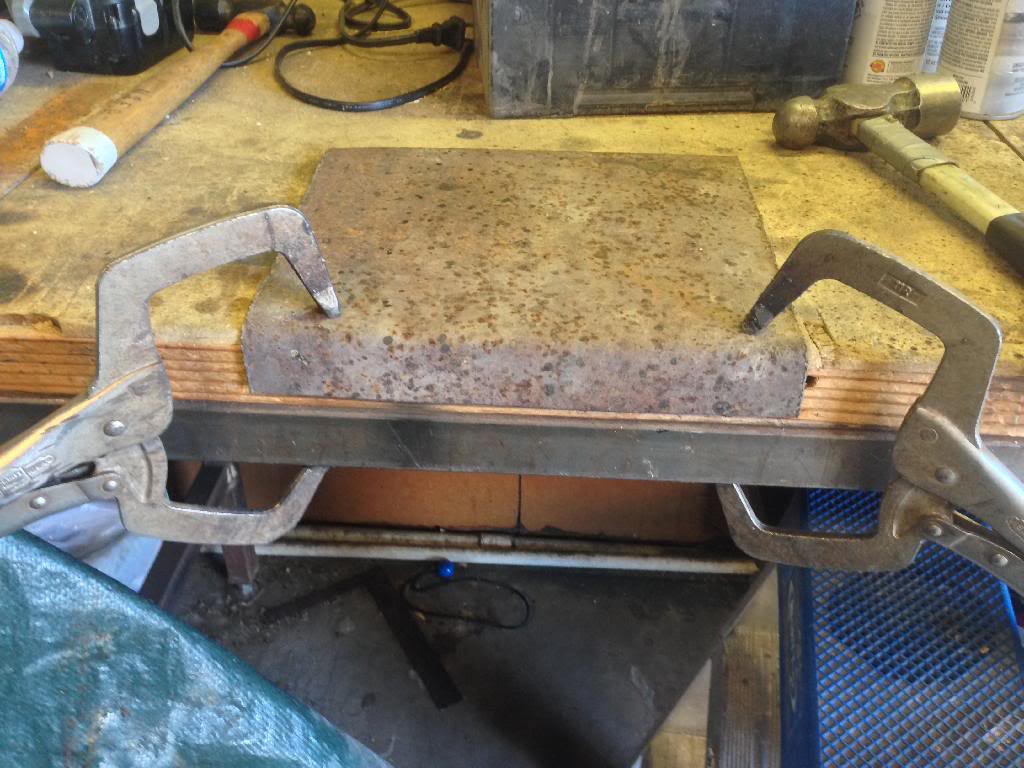
And done!
I'd give you all a better look at it, but it's embarrassingly ugly and not all that cool tech wise. We'll see if it holds, worst that could happen is the battery explodes, right?
Got the fenders done, didn't start on the firewall today, but here's an idea of how much firewall I'll have to remove
Before fender trimming
After
Ride height with the fenders trimmed...looks a lil goofy not staying with the curvature of the original opening, but I'm not a good enough body guy to try and make it perfect
While I'm doing stuff with the torsion bolts, thought I'd show you one of the tricks I picked up on YT awhile back. First, when reinstalling them it was advised to put some anti seize on the threads. Then, noting that the nut on top has sort of a depression on top of it, and with all the sand around here, I felt it was a good idea to put a regular nut on top of it
Then win it tightened down on the torsion nut, sand won't pack in the threads sticking to the anti seize making the bolts snap next time they're adjusted
As you can see, the bars were under tension when the last set of bolts snapped
Lastly, making a battery holder out of scrap laying around work. Redneck way of bending right angles in sheet...
And done!
I'd give you all a better look at it, but it's embarrassingly ugly and not all that cool tech wise. We'll see if it holds, worst that could happen is the battery explodes, right?
 02-24-2014, 01:57 AM
#298
Looks cool with the 35s!
Man your lucky with those torsion bars. When i Took mine off i was blessed enough to get two big holes through my body from the bolts breaking!
Cant wait to see that thing with the SAS. you already are pretty aggressive with it. Cant wait to do a real wheeling trip when we are all set up right!
Man your lucky with those torsion bars. When i Took mine off i was blessed enough to get two big holes through my body from the bolts breaking!
Cant wait to see that thing with the SAS. you already are pretty aggressive with it. Cant wait to do a real wheeling trip when we are all set up right!
02-24-2014, 09:08 PM
#299
Registered User
Thread Starter
Yeah, I'd say the original torsion bolts got about halfway loose before the sheared. Mark is talking about Pismo and tryin to get me to go for that, so I guess I'll put of the sas til after that...
On the body clearance for the 35's, it's looking like I'll have to relocate the ECU somehow. Just realized that while I was messing around looking at interior stuff in Mark's with no carpet in the way.
On the body clearance for the 35's, it's looking like I'll have to relocate the ECU somehow. Just realized that while I was messing around looking at interior stuff in Mark's with no carpet in the way.
02-26-2014, 06:26 PM
#300
Registered User
Thread Starter
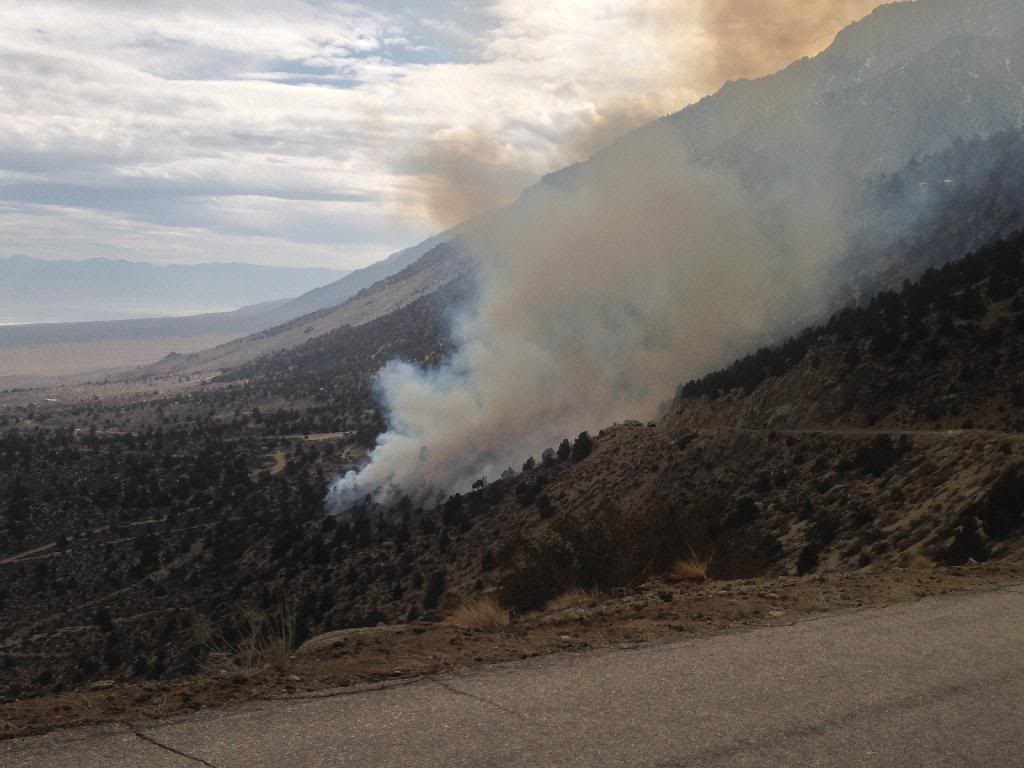
Thought some of you might like this stuff, I sure as Hell do. Today was a busy day at work, we pulled off a controlled burn to reduce the fuel loading near the mouth of the Mt Whitney drainage. It burned hot, but we felt did good at mimicking natural fire, so we're pretty happy with it. I wasn't operating a torch for once, so I got to make some really cool observations.
Here's from the road up to Whitney, the whole picture so to speak, looking south
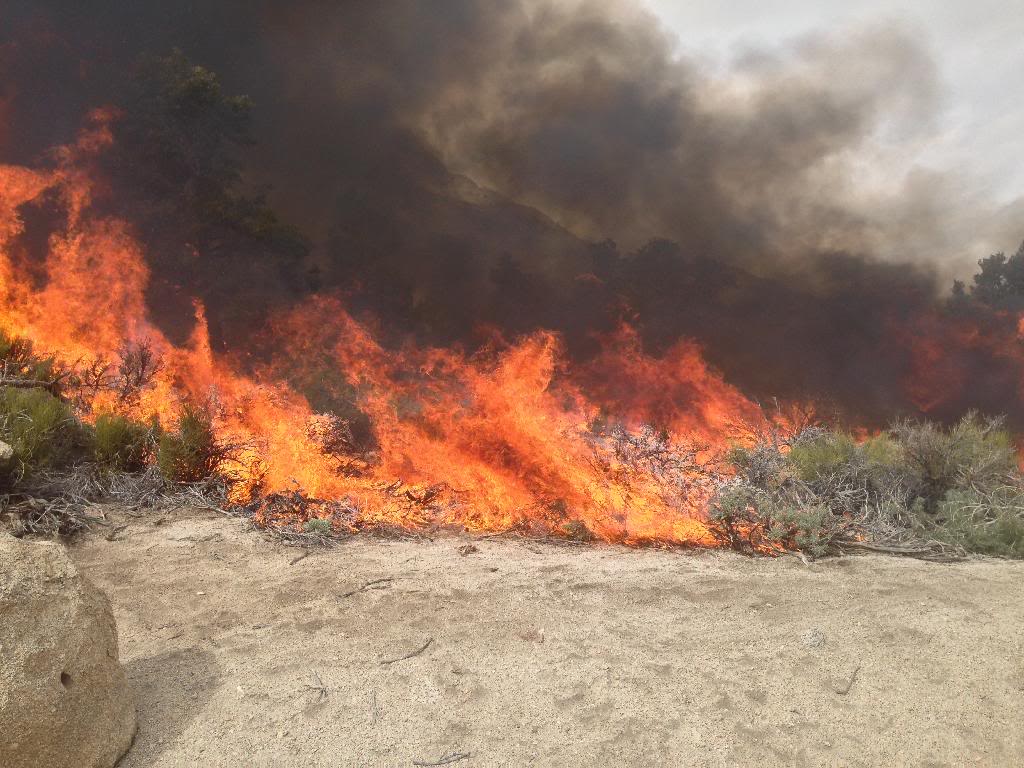
A little closer shows the how hot it was getting
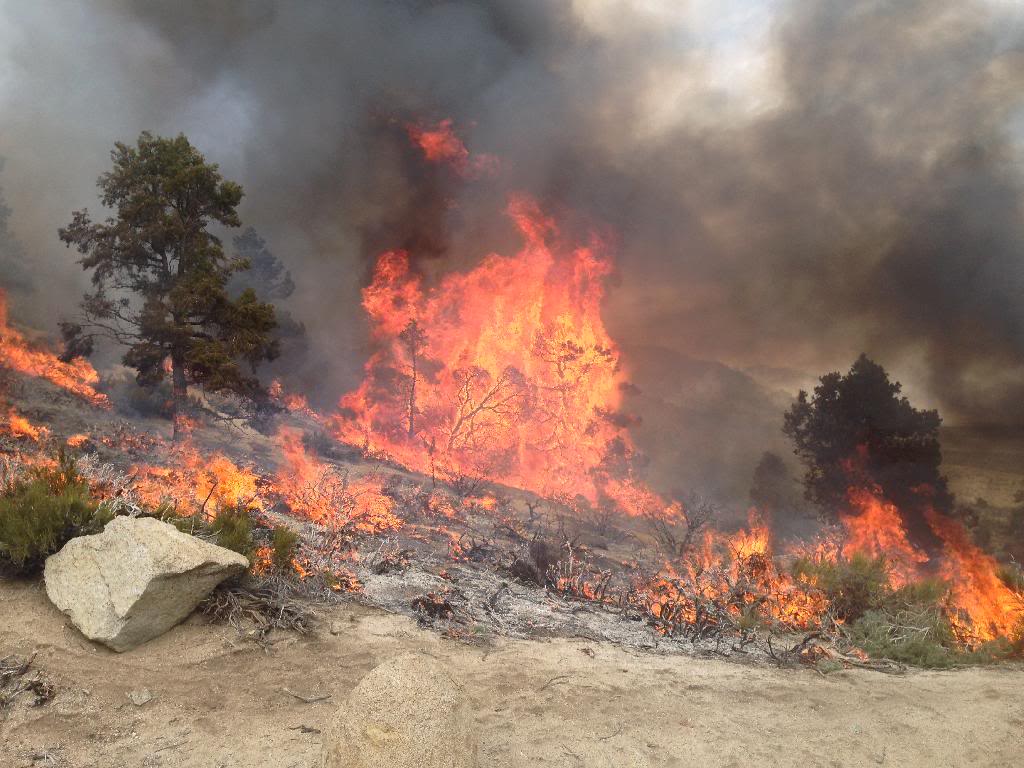
And this is the coolest one that Stewsrunner said on Instagram that I should send to NatGeo
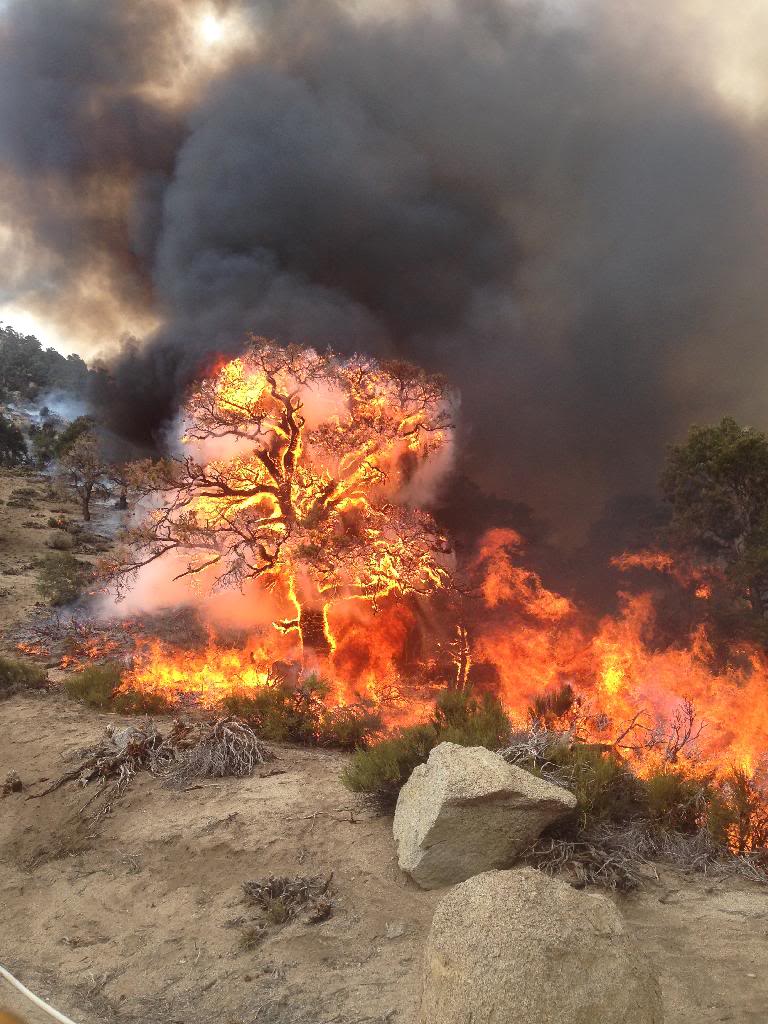
I think it's really cool that none of them are edited or filtered in any way, just straight from my phone!
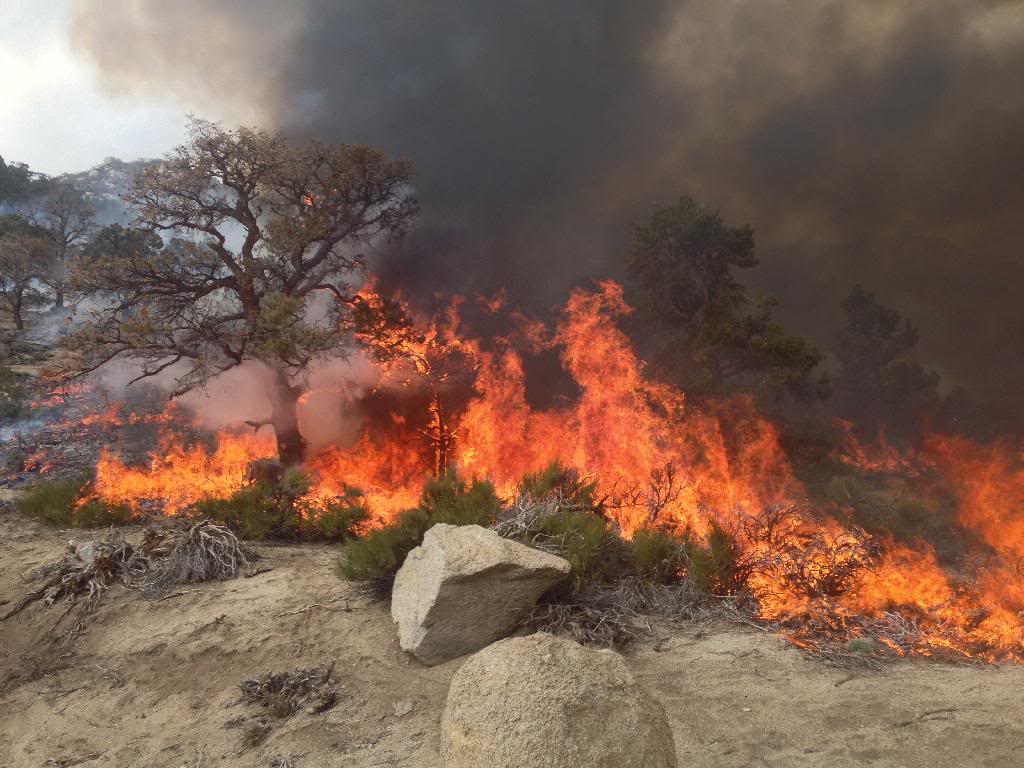
Anyway, hope you like it, if not go ahead and tell me how much I'm harming the environment and putting pollution in the air causing asthma, cancer, emphysema, shaken baby syndrome, various std's, etc, etc, and I'll just ignore you.
Here's from the road up to Whitney, the whole picture so to speak, looking south
A little closer shows the how hot it was getting
And this is the coolest one that Stewsrunner said on Instagram that I should send to NatGeo
I think it's really cool that none of them are edited or filtered in any way, just straight from my phone!
Anyway, hope you like it, if not go ahead and tell me how much I'm harming the environment and putting pollution in the air causing asthma, cancer, emphysema, shaken baby syndrome, various std's, etc, etc, and I'll just ignore you.


