When you click on links to various merchants on this site and make a purchase, this can result in this site earning a commission. Affiliate programs and affiliations include, but are not limited to, the eBay Partner Network.
Tragedy strikes. The rear window was all jerry rigged up with some cheapo GM switch that wasn't nicely installed or tucked away anywhere, instead it played on the leather cover for my shifter with a loose wire. Upon getting the help of my old man, a wizard with electrical, we're now stuck without a dpdt relay. I'll have pictures up on Wednesday night hopefully once we fix this issue.
So my daddy is a wizard with anything electrical. Give him a problem, and I guarantee he will find a solution to it eventually.
My rear window was botched when I traded vehicles. The guy had bypassed the Factory wiring and relays, and wired it up to a DPDT switch of some GM. While it worked, it was inconvenient since one of up had come loose and needed to be fed into the switch every time you used the window.
The crummy gm ghetto switch I was using.
Here's the wiring diagram. If anybody else ends up having problems with the back window, hopefully this diagram can solve your problems! All in all it was a $20 fix, and I now have my factory window switch working.
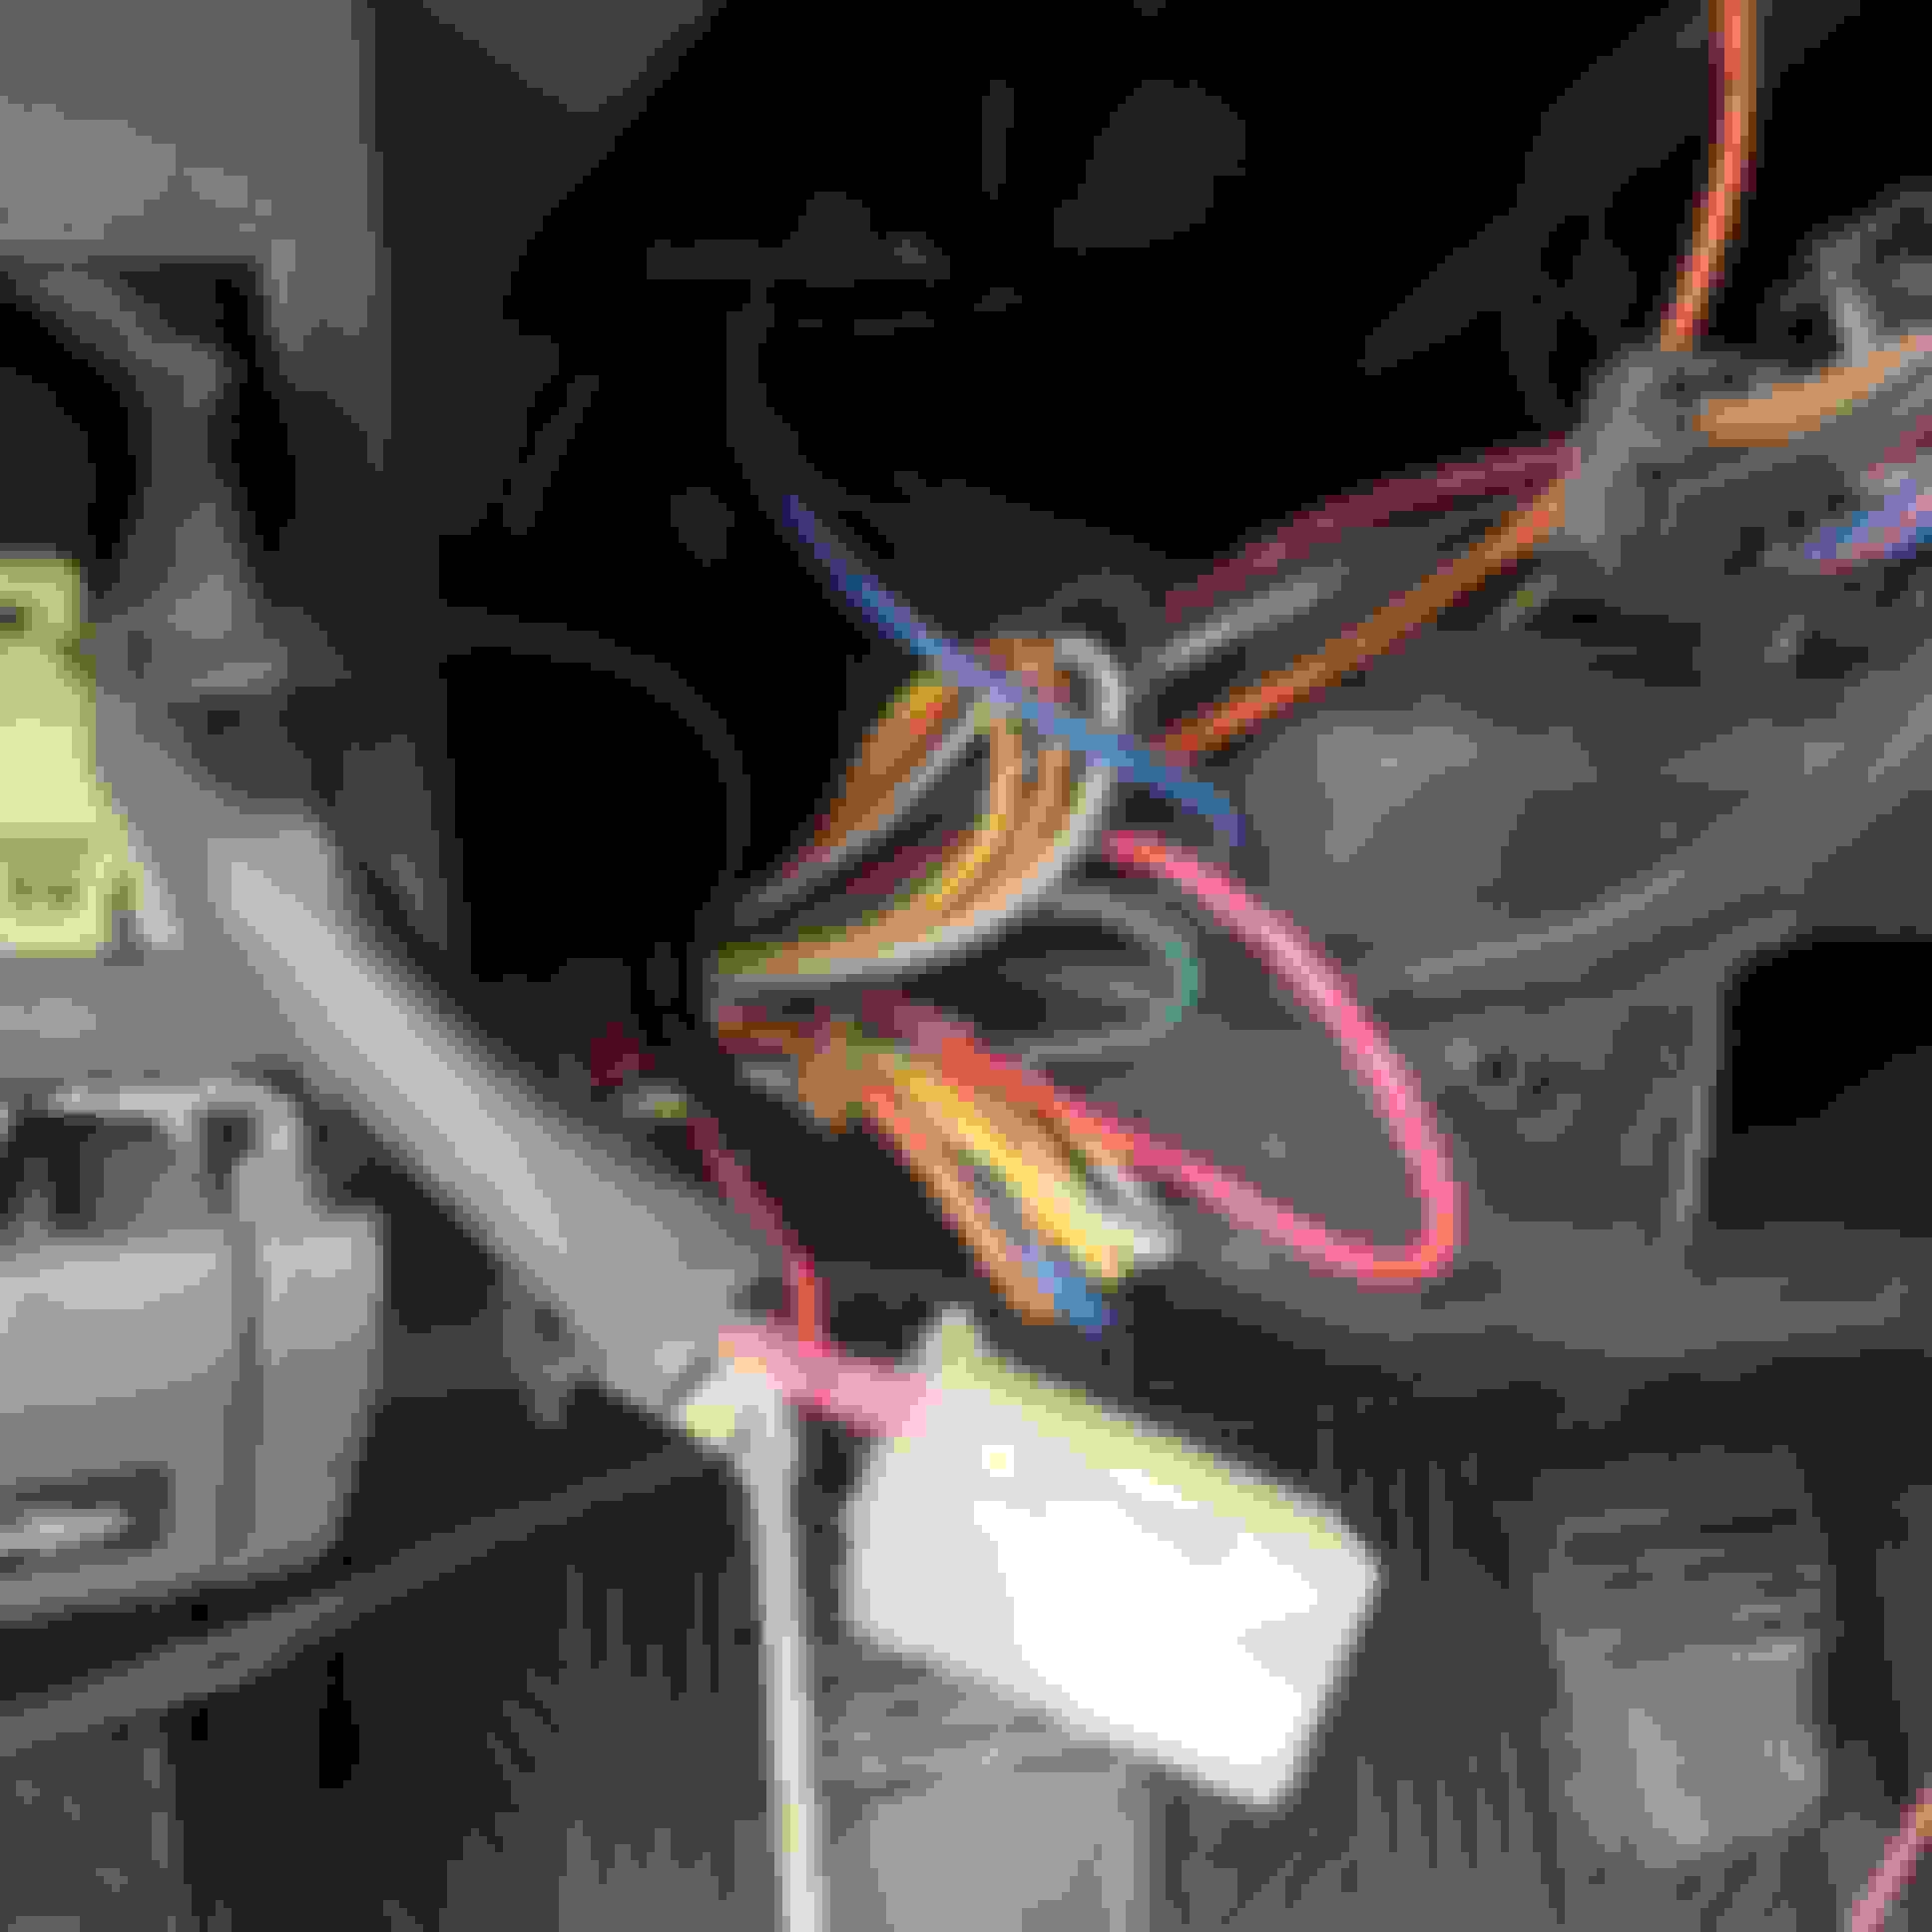
Here are the two relays all taped up and ready to be spliced into the 4Runner.
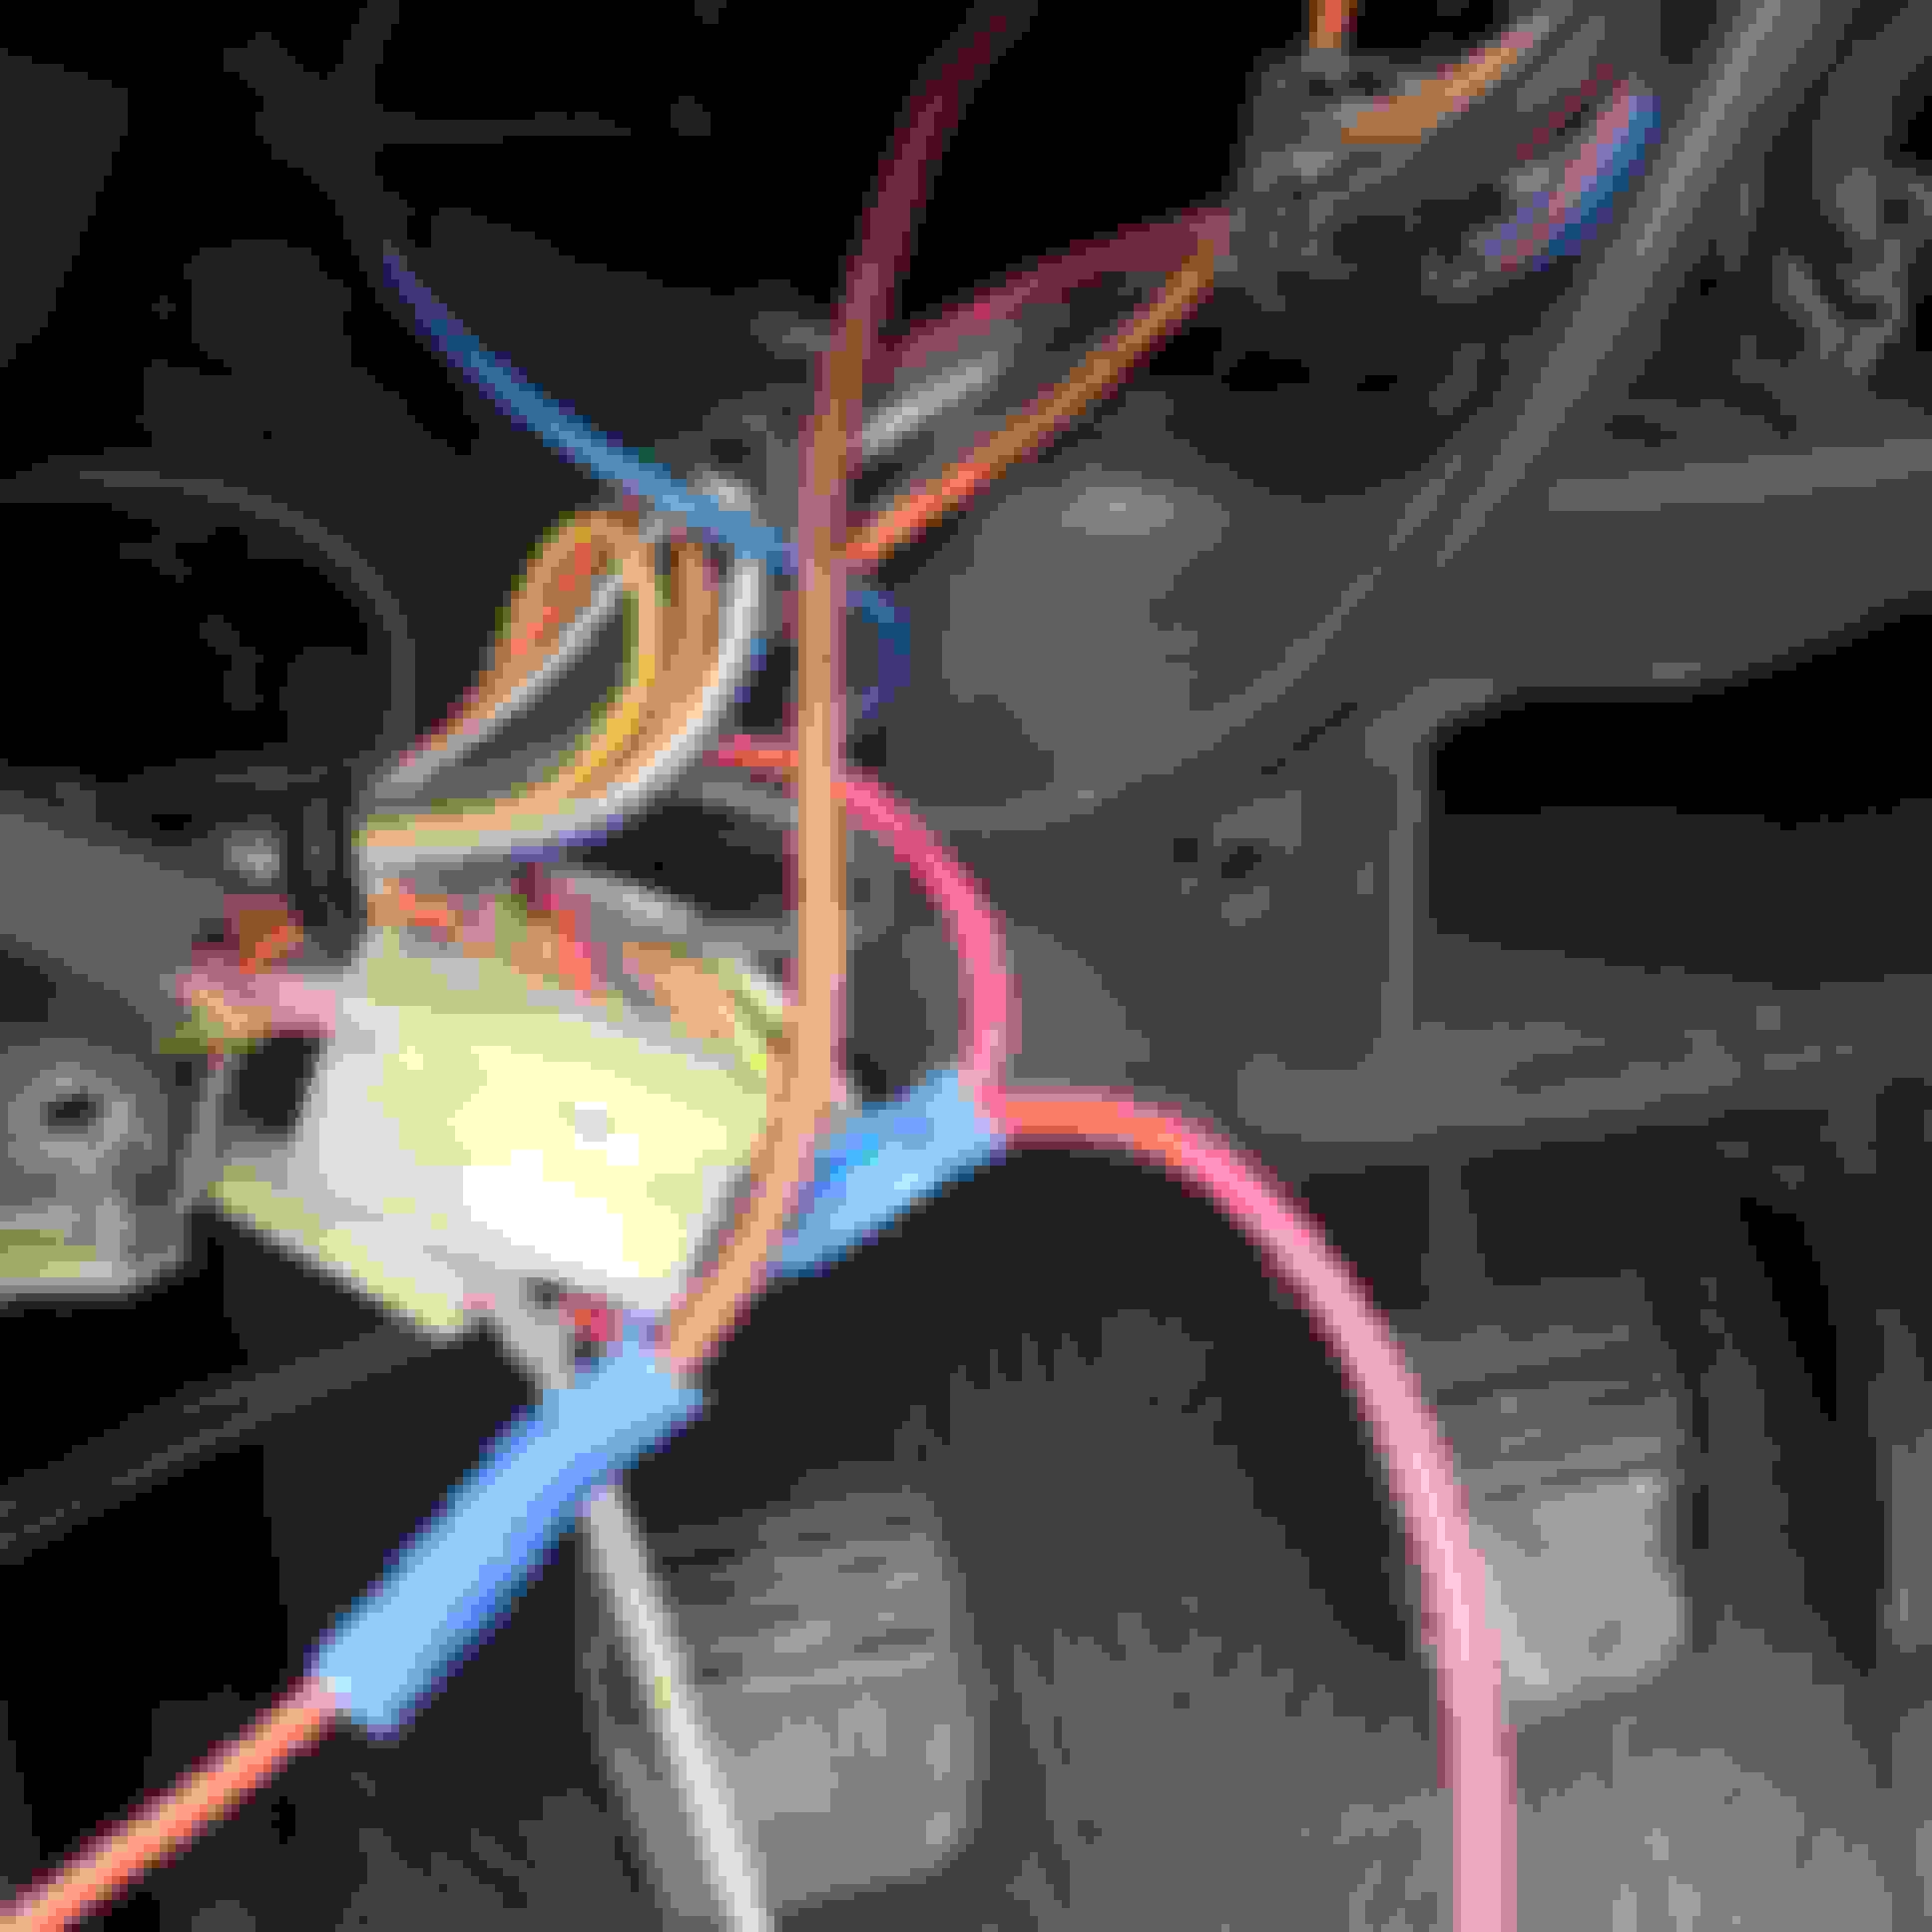
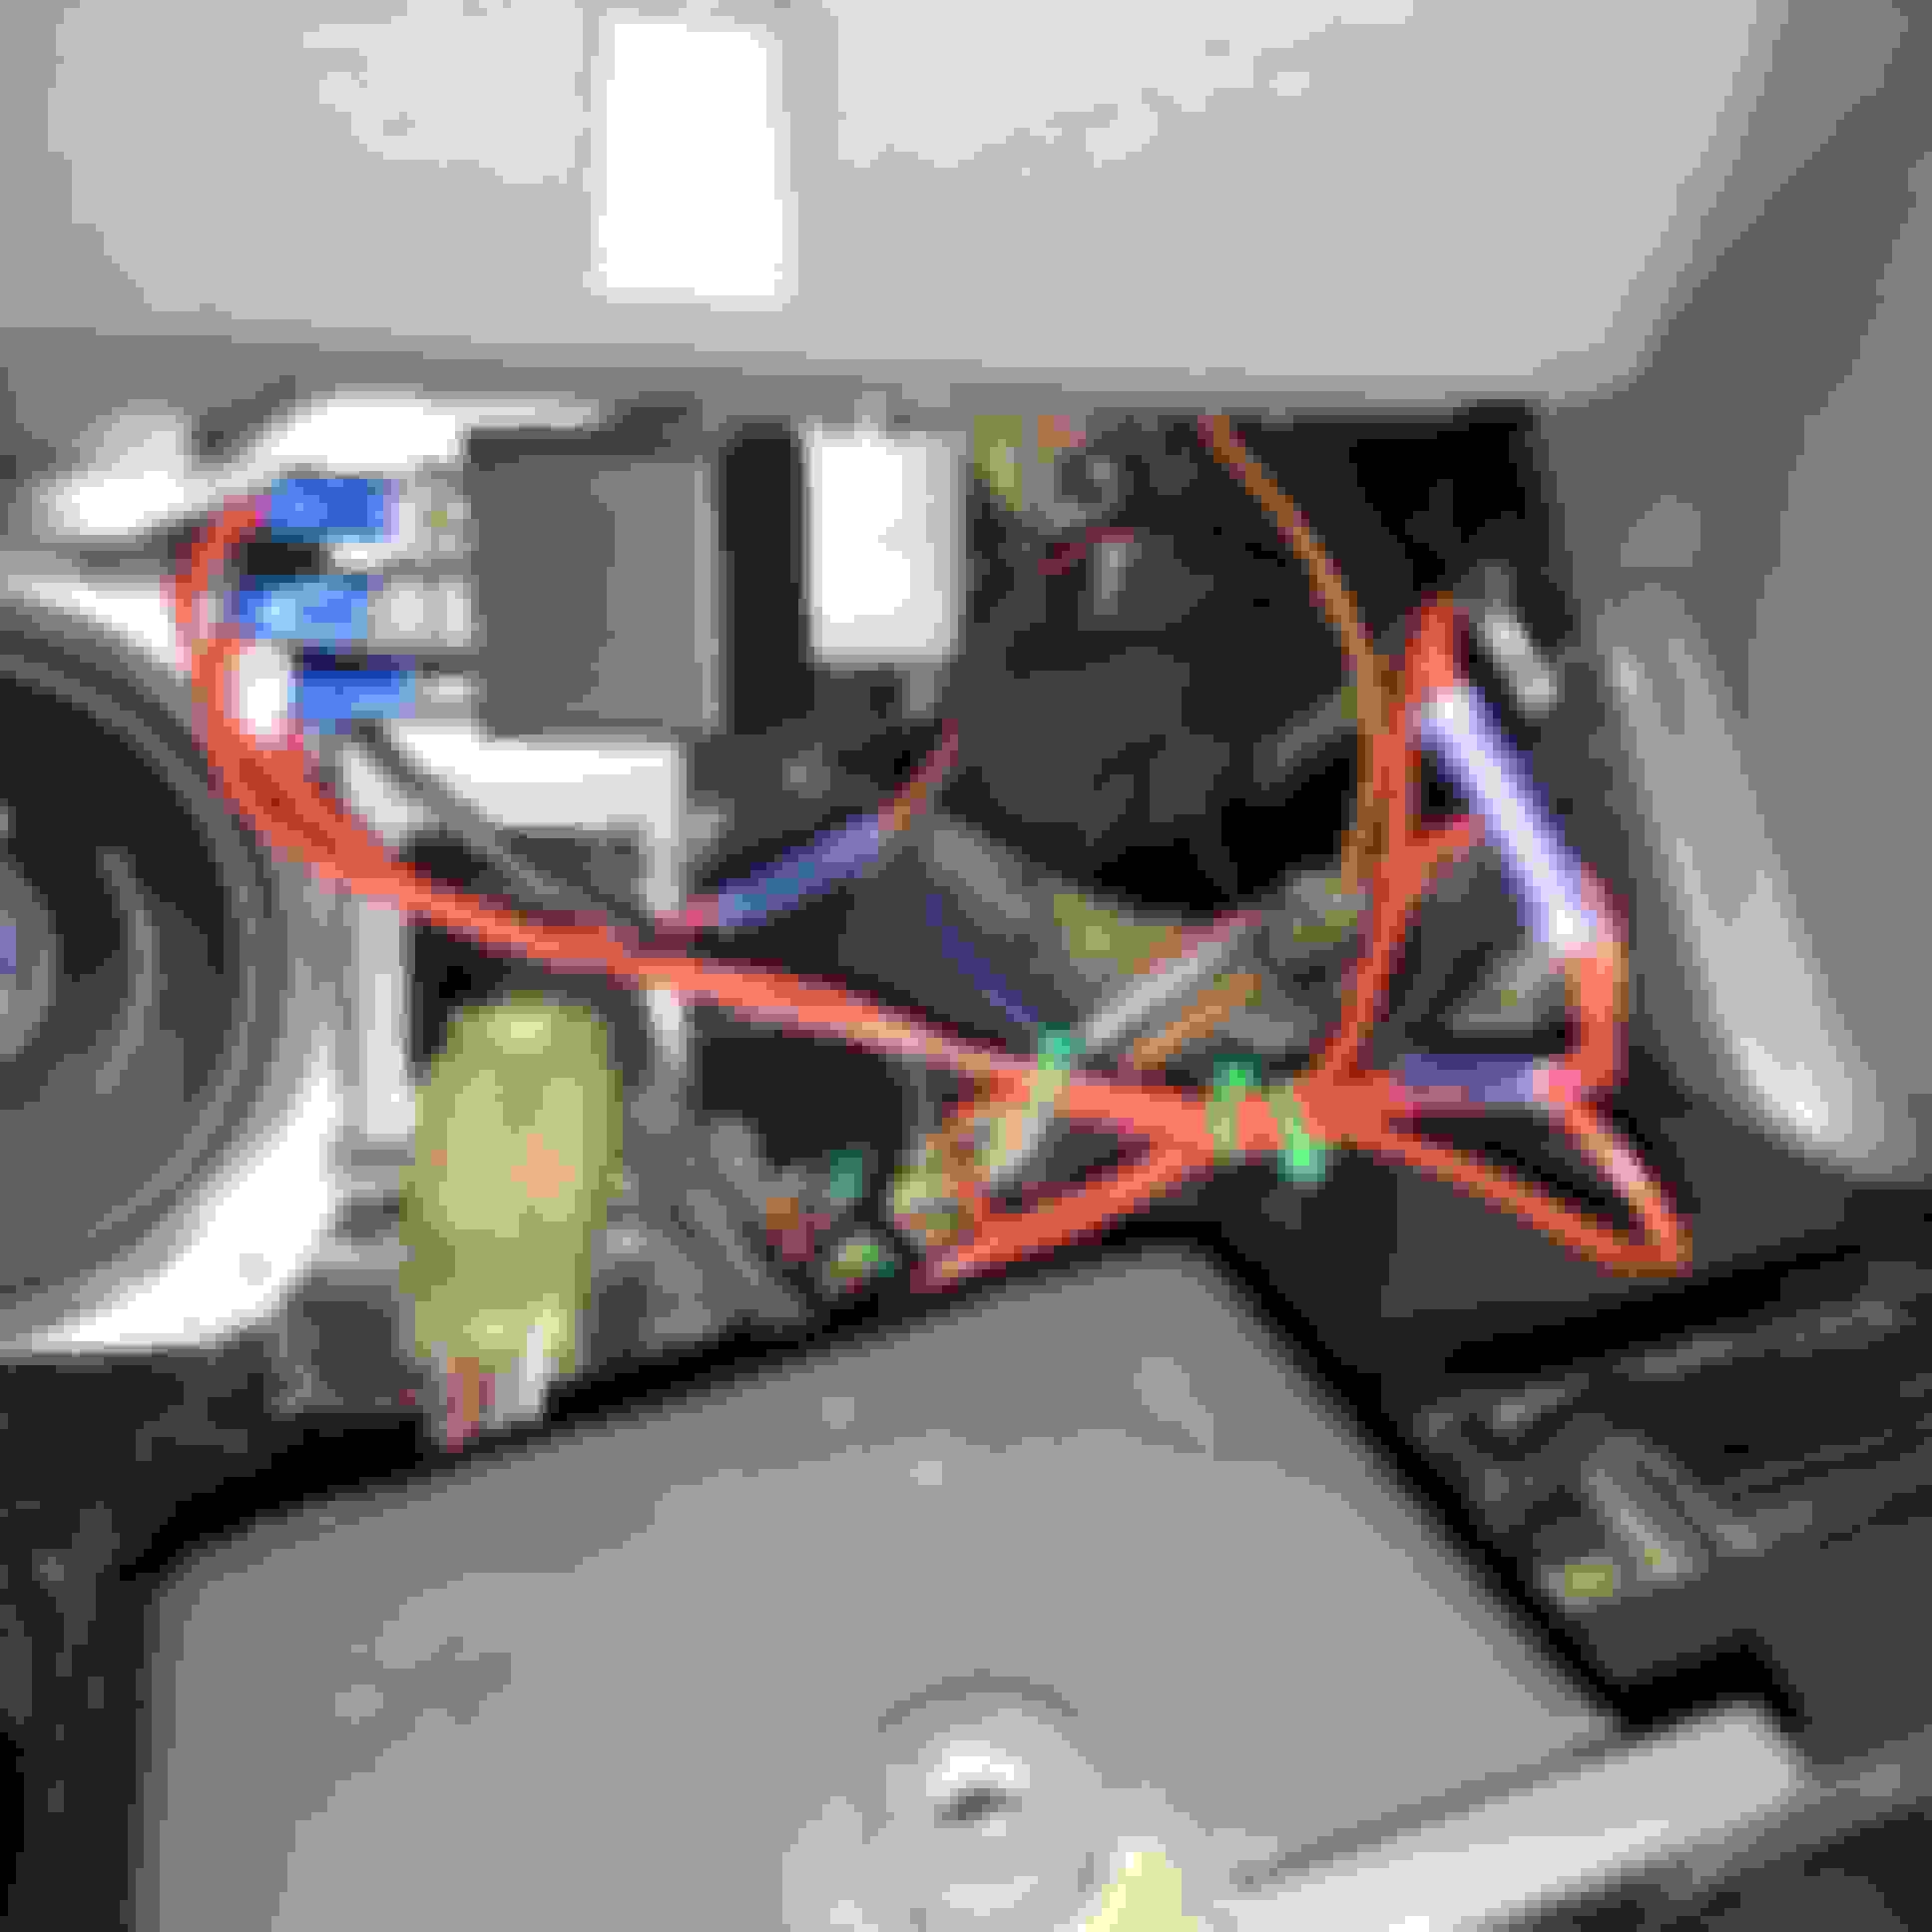
Running wires
We tied in the window lock to the switch. The windshield wiper and sprayer will be a project for another day....or maybe week depending on how botched that is.
Cleaned the center console as well.
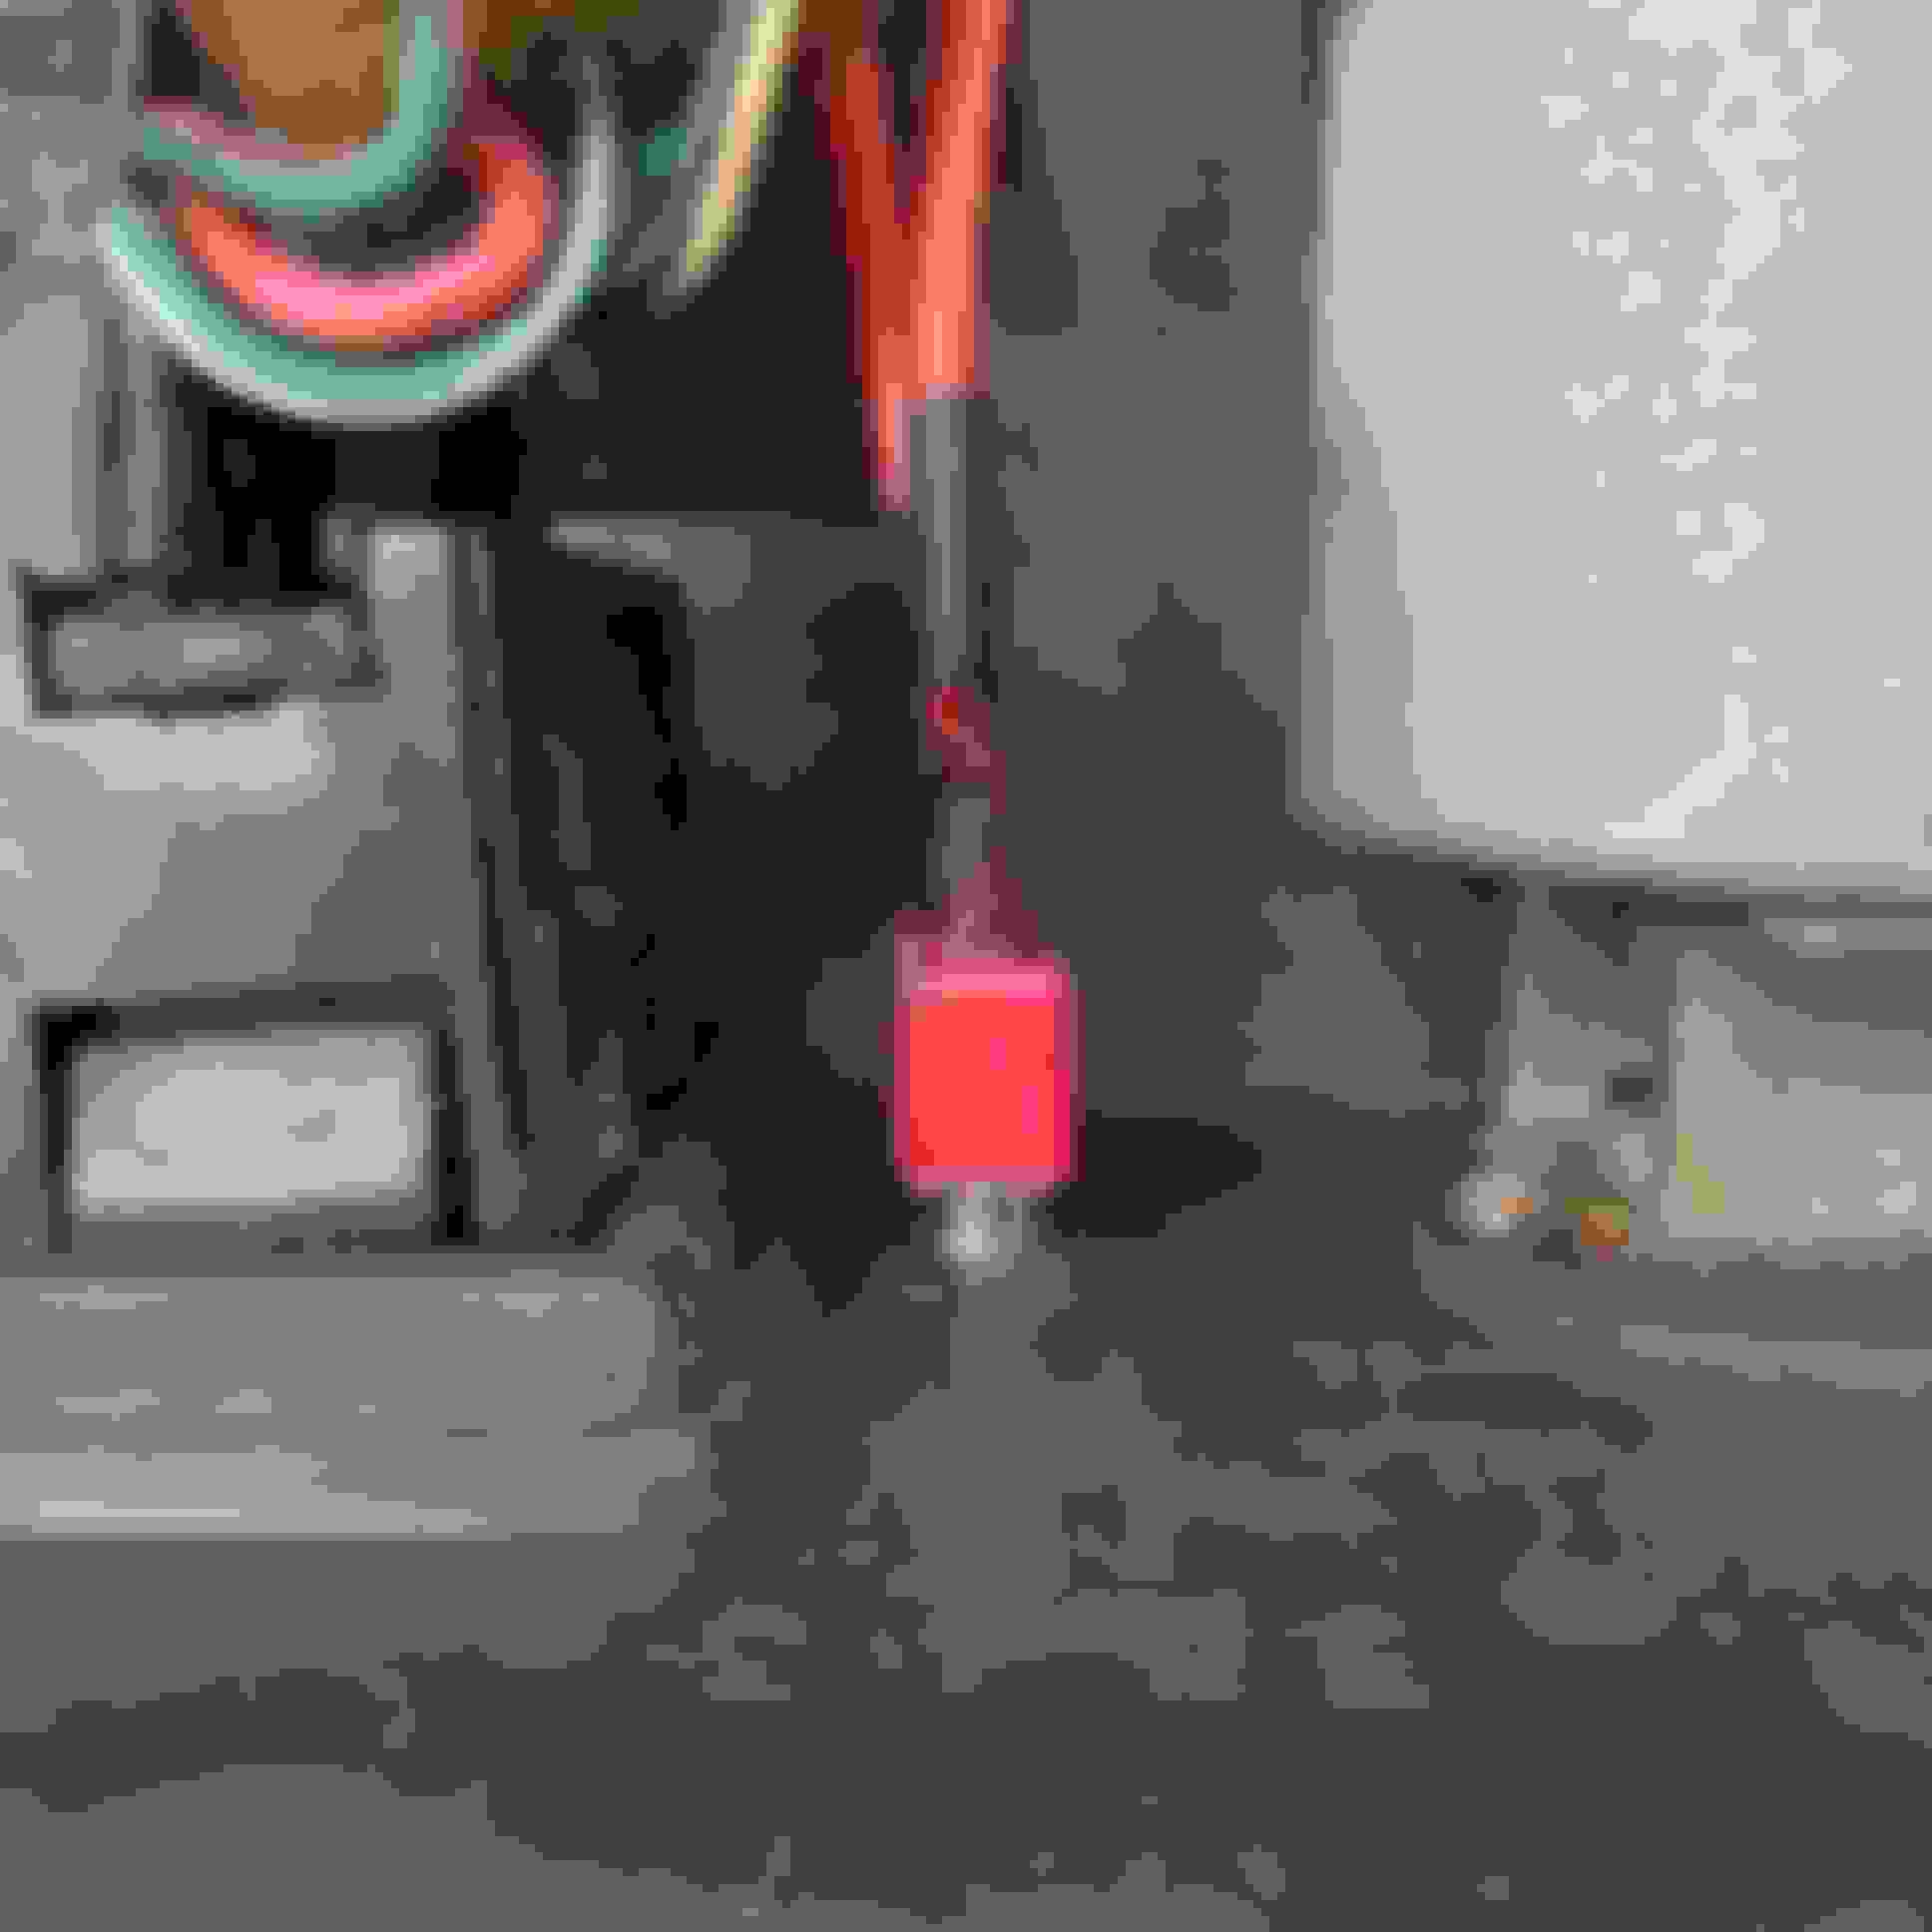
Here's the relay tucked under the center console. Looks good now.
Decided while we were at it to wire up the HELLA's up front.
The PO must have wanted to start the project, but never seemed to get any further than mounting the lights and stripping the ends.
On the left hand side we tied in the wiring for the HELLA's. The two white zip ties on the right are the leads coming from the rear window.
Before tying in.
After tying in.
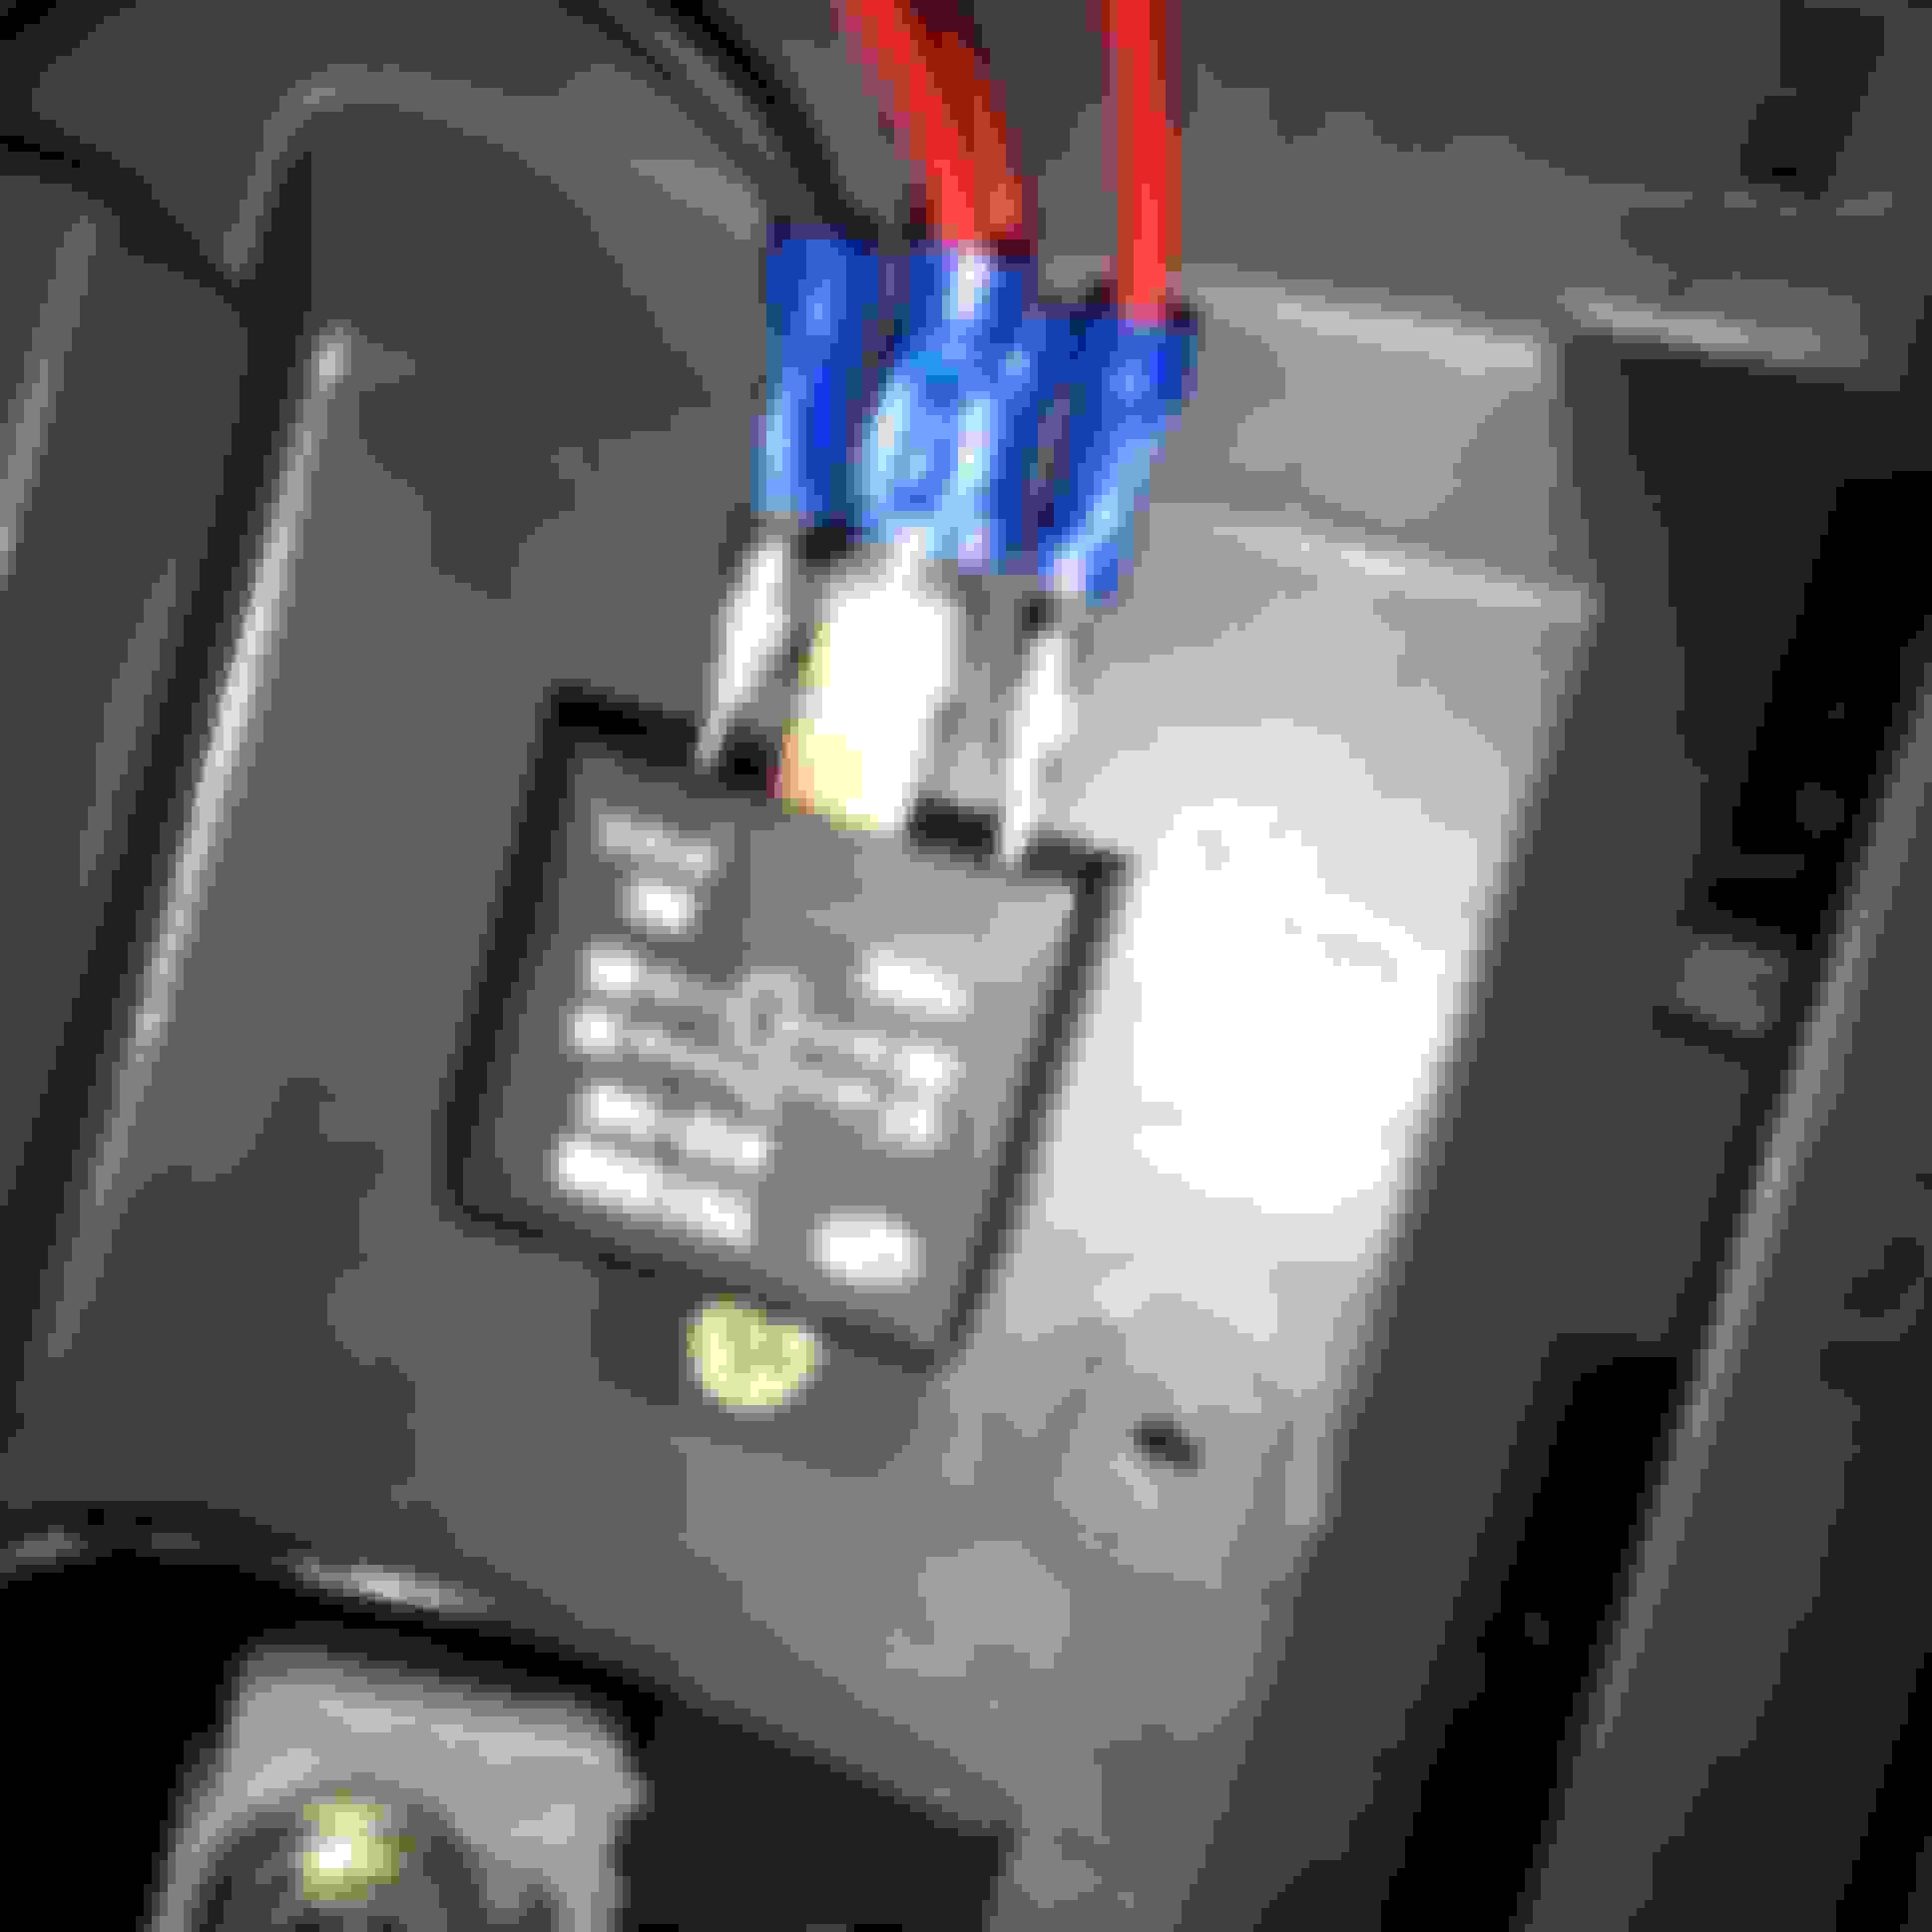
Here's the switch my father rigged up. Notice the superb heat shrink preventing the superb solders from getting damaged.
All the wiring up front. Before hand we found 4 wires, two coming from each lamp, just pulled through the firewall in a very sloppy manner. I decided some zip ties and proper snaking would make that situation much better.
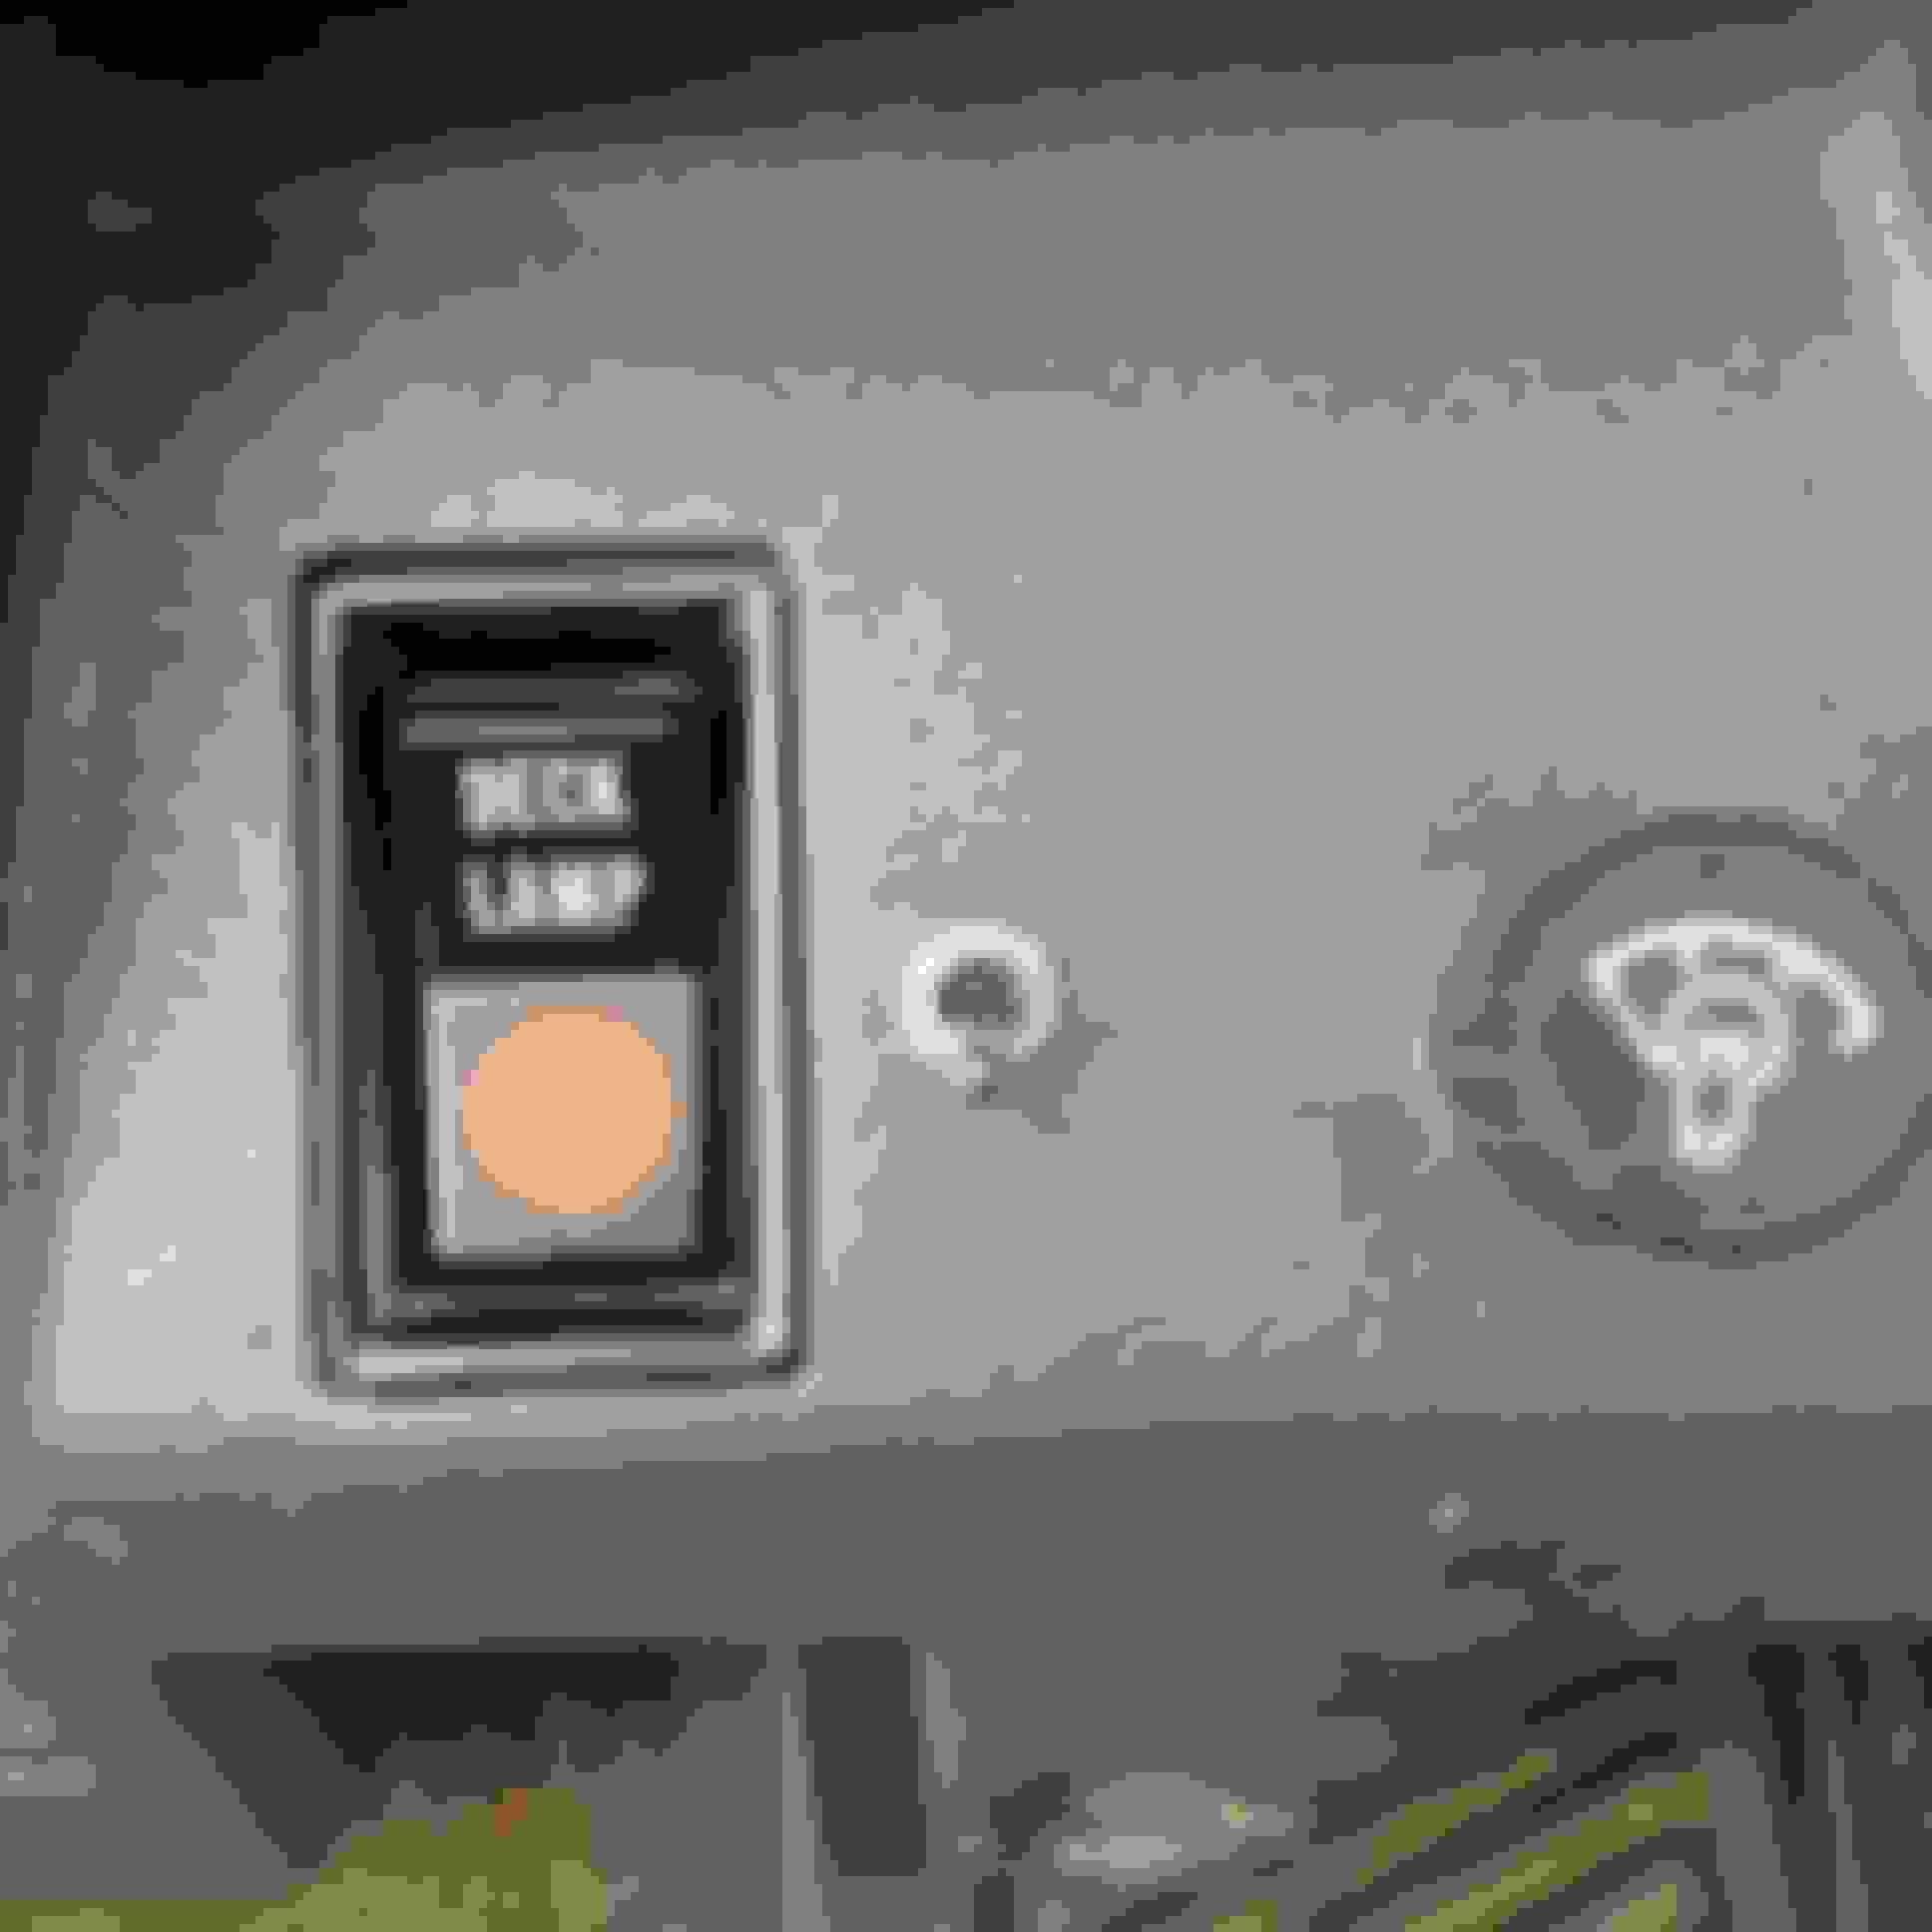
Here's the new switch for the HELLA's
Now I would have some pictures of the new lights in action, but one of the bulbs in burnt out, the mounting points are poorly down so they only point downward, and they're weaker than my headlights. As soon as I get some 100w bulbs in there and get them pointed in the right direction, I'll be sure to let yall have a look.
Hope anybody who's having rear window issues sees this and finds it helpful!
Last edited by HaydenConQueso; Apr 13, 2015 at 07:58 PM.
The passenger sway bar linkage broke when changing my CVs, so I decided to replace the both of em. Pretty straightforward job. I believe they were all 14mm nuts and bolts.
You can see the old ones weren't in the best shape.
And it certain areas they had worn super thin. The one that broke had abound half of it's original diameter around the majority of the shaft.
New and shiny in place.
And the new bushings and mounting brackets.
CB may be going in either tomorrow or this weekend. Still thinking of a good place to mount the antenna. I'm also picking up the bulbs for the HELLA's tomorrow.
Next major job will be ZUK mod, for sure.
Last edited by HaydenConQueso; Apr 14, 2015 at 11:05 AM.
Since one of the 55w bulbs was't burnt out, I went a head and bought 4 new 100w bulbs for my fog lights, but the only problem was that the switch my dad and I had chose for the lamps was only rated at 5 amps. Basic concepts of electricity dictate that Amps x Volts = Watts. I had purchased to 100 watt bulbs, and the were running of the 12 volts supplied by my battery we get the amount of amps needed to ensure there isn't a melting of wires leading to an all catastrophic failure eventually ending with a melted mass of 4Runner somewhere along the road.
The formula looks like this:
Amps x 12 = 200
Amps = 200/12
Amps = 16.6
Pretty simple, but we all know not everybody can do maths.
Anyways, I now needed either a larger switch, or a really to carry the load. I went with a really because that's just professional and I didn't want to make a bigger hole for a larger switch.
Very simple Single Pole Single Throw relay from Radioshack for five bucks!
The wiring is something like this, one end of the coil to ground, the other end of the coil to the switch, one end of the switch to the fog lights, and the other end of the switch to hot.
I ended up having to move the relay a bit further left just in front of the speaker because I was being stupid and didn't notice that panel wouldn't fit with the relay there.
Last edited by HaydenConQueso; Apr 25, 2015 at 09:02 PM.
Another simple fix here. The front most passenger door handle wasn't working. You could pull the handle and move the rod, but it didn't release the latch and open the door. You had to use the rear one if you wanted to exit, but it wasn't much of a concern since I usually don't take passengers :no pity:
The fix was easy. Remove the interior panel, place a crescent wrench on the rod that runs to the latch assembly, and add a few bends to shorten the rod!
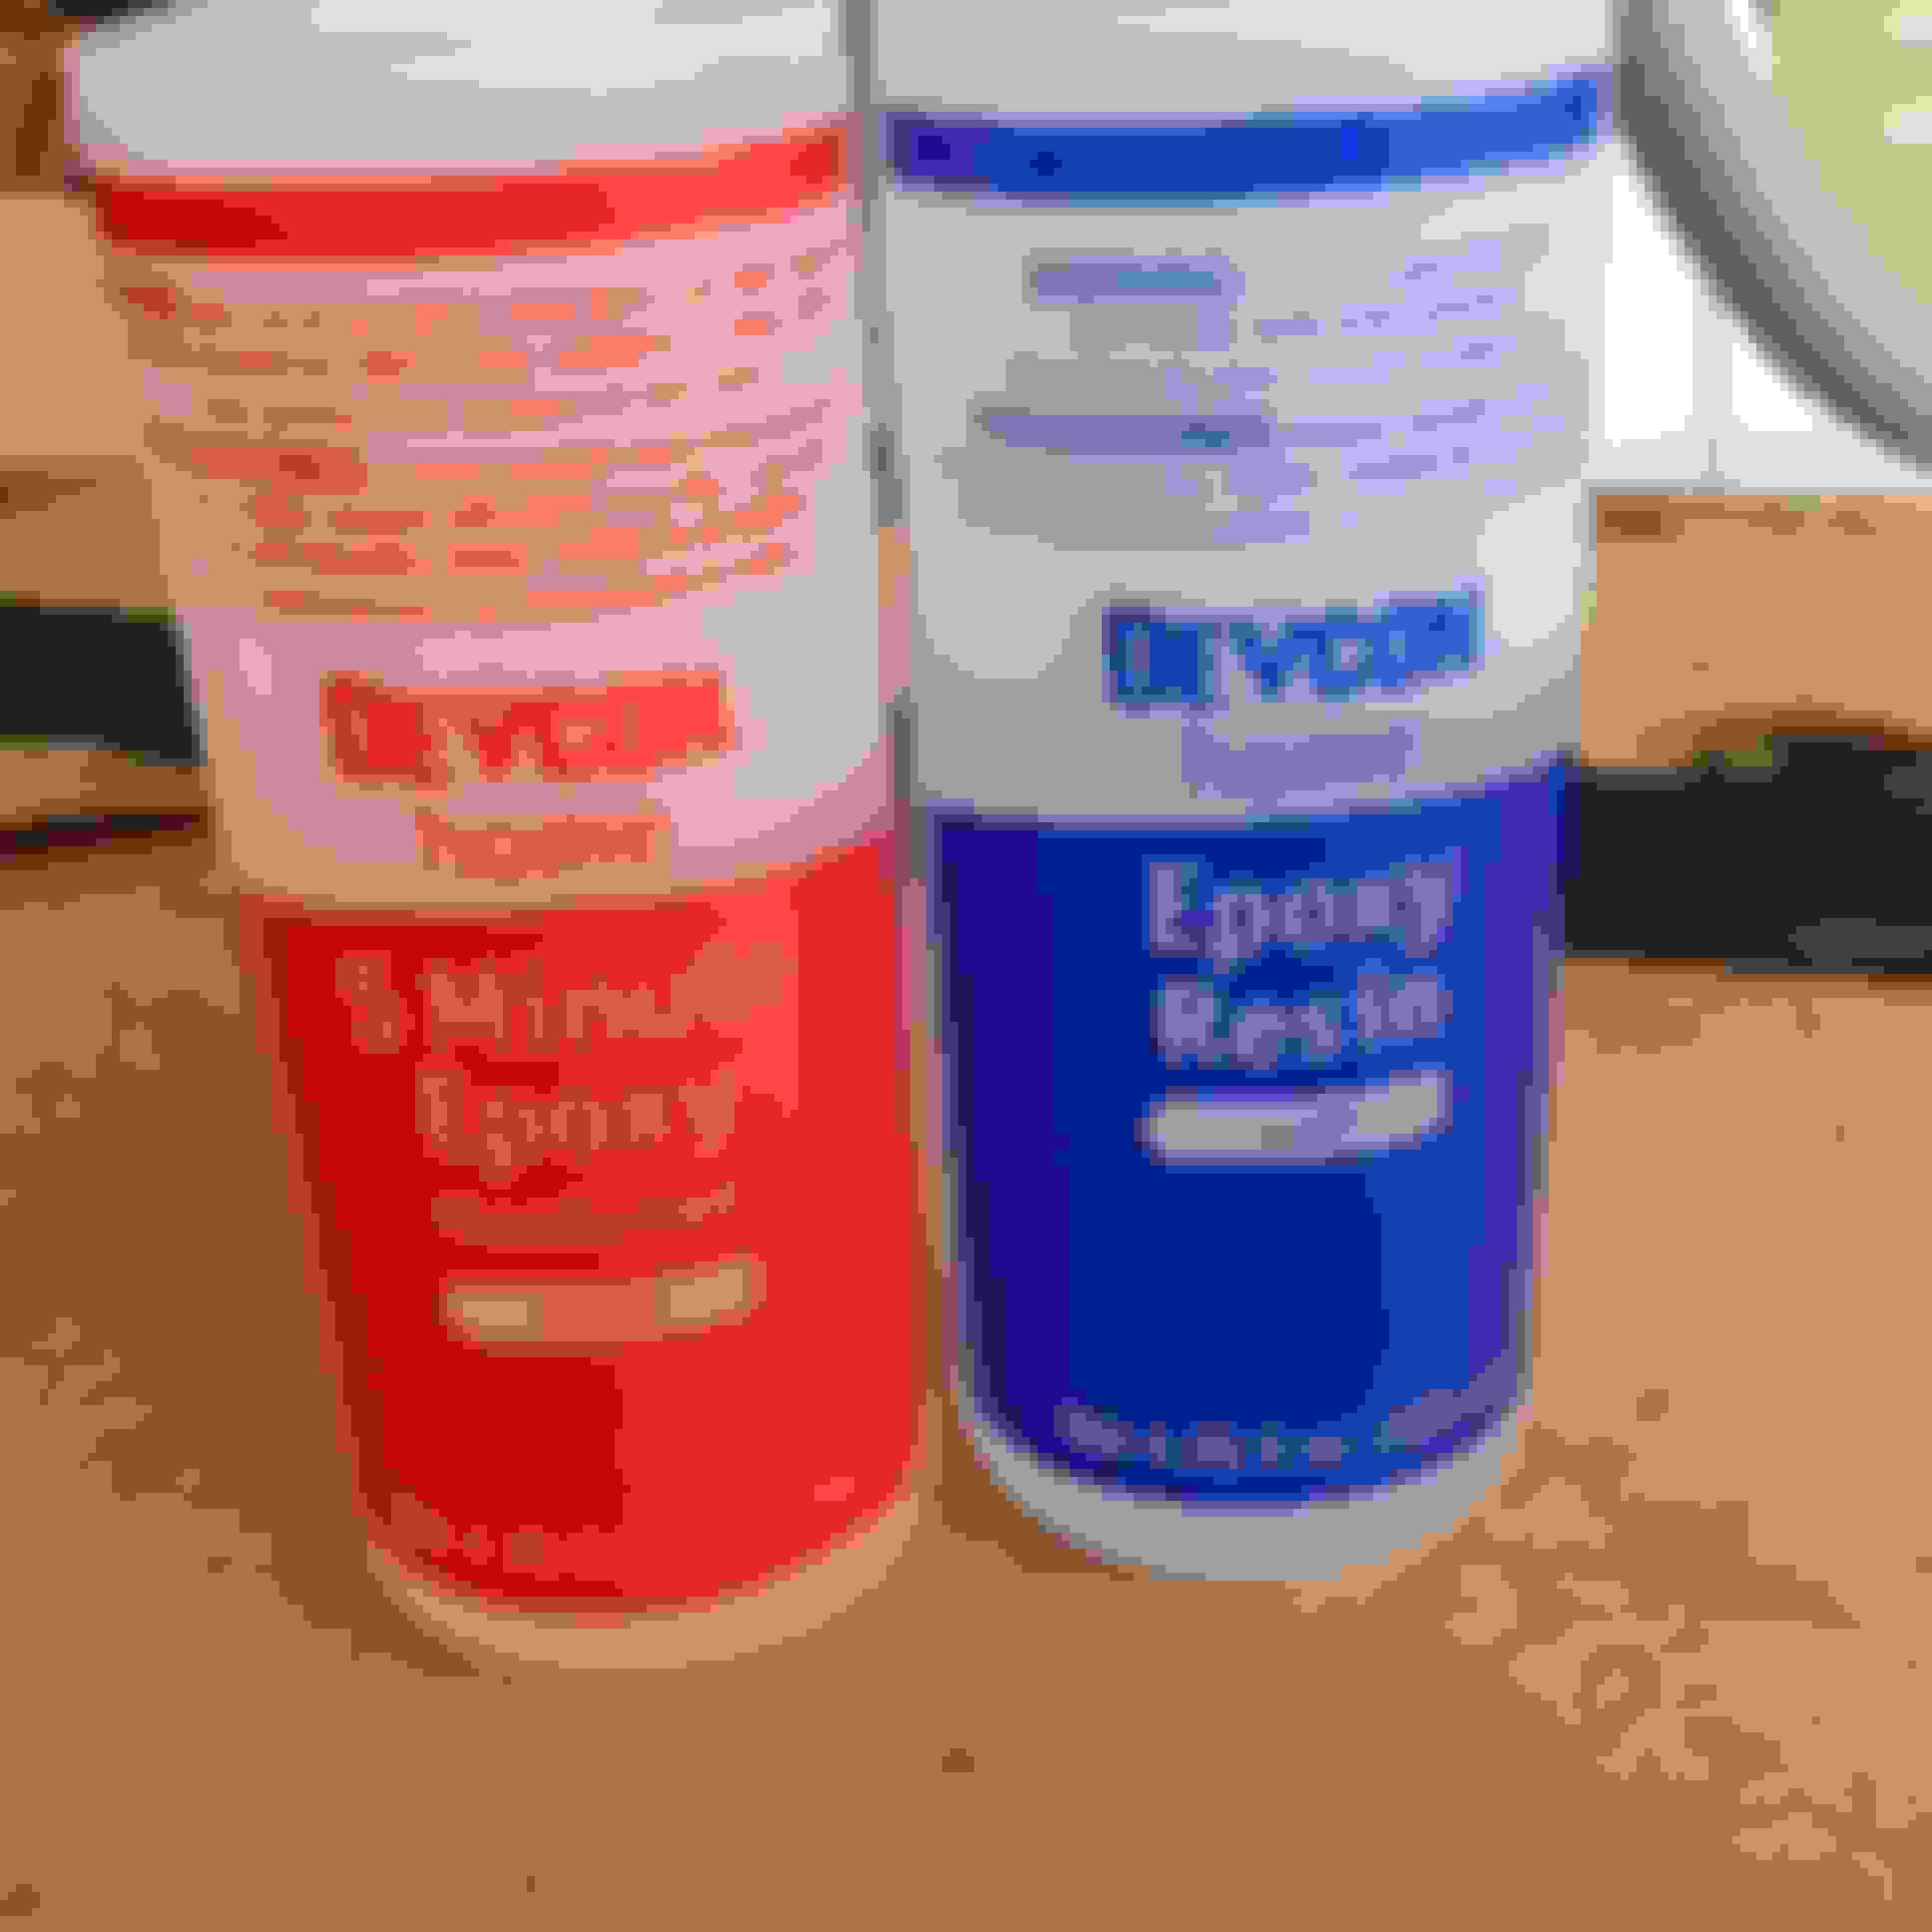
While I had the panel off to fix the handle, I tried to think of a way to fix the panel itself. After 26 years of being a truck, the fiberboard had started to rip apart, leaving the rotating clips loosely in place and doing nothing for aesthetic. While I play to replace these panels all together eventually with diamond plate or something more sturdy, I wanted something for the time being. Some epoxy my dad had laying around the garage seemed like the best route, so I gave it a shot.
It worked like a charm in the end. The retaining clips held much stronger than before and I'm more than satisfied with my work.
Cheap stuff for the time being. The new bulbs for my fog lights should be in this week so I'll be repointing the lights and also looking for a place to install my new high jack.
Coming home the other night I decided to crank on my parking brake a wee bit tighter than usual seeing as i was parked on a steep spot in my driveway. The following morning on my way to class I noticed that both the brake light and charge light came on and stayed on. After research some people said that they two were related, others said they were not.
I topped off my brake fluid to see if that worked since I was a bit low, but the lights remained on. One thread I found said clean the brushes on the alternator. I said screw that and bought a new one from advance. After installing it both lights cleared and I was a happy camper.
I ordered 12" coil springs for a Zuk mod. They were supposed to be in Friday, but damned if they didn't show. When they show up Monday I'll be installing them with pictures for the entire process.
I also installed an old 23 channel CB a neighbor gave to me along with a 100w rated speaker. Hot line is tied into the rear window motor lead, which is connected directly to the battery via the PO's hack job, but thankfully there is a fuse tied into that line. Anyways it sounds amazing when the truck is off, but as soon as the engine is actually running there is loads of interference with the radio. I'm gonna go back to my neighbor who's a super radio nerd and see what he's got to say about it and tune my antenna as well. Hopefully I'll have something worked out tomorrow. Sorry, no pictures today.
Stoked to finally get this done after impatiently waiting for my coil springs to get here. First off, shout out to my old man for supplying me with a place to work on my truck and all the tools I've used....well some of the tools I've used!
Anyways, there's about 18124019241029481 write ups on this site about this mod, some with tj coils springs, some with black magic coil springs, some with your pep boys special, so I won't go into too much detail, just a few pictures and whatnot.
Thank you to SouthWest speed for shipping them out on time, not so much thanks to UPS for getting them to me 3 days late. I went with 12in 125lb springs. Don't wanna lift her....yet.
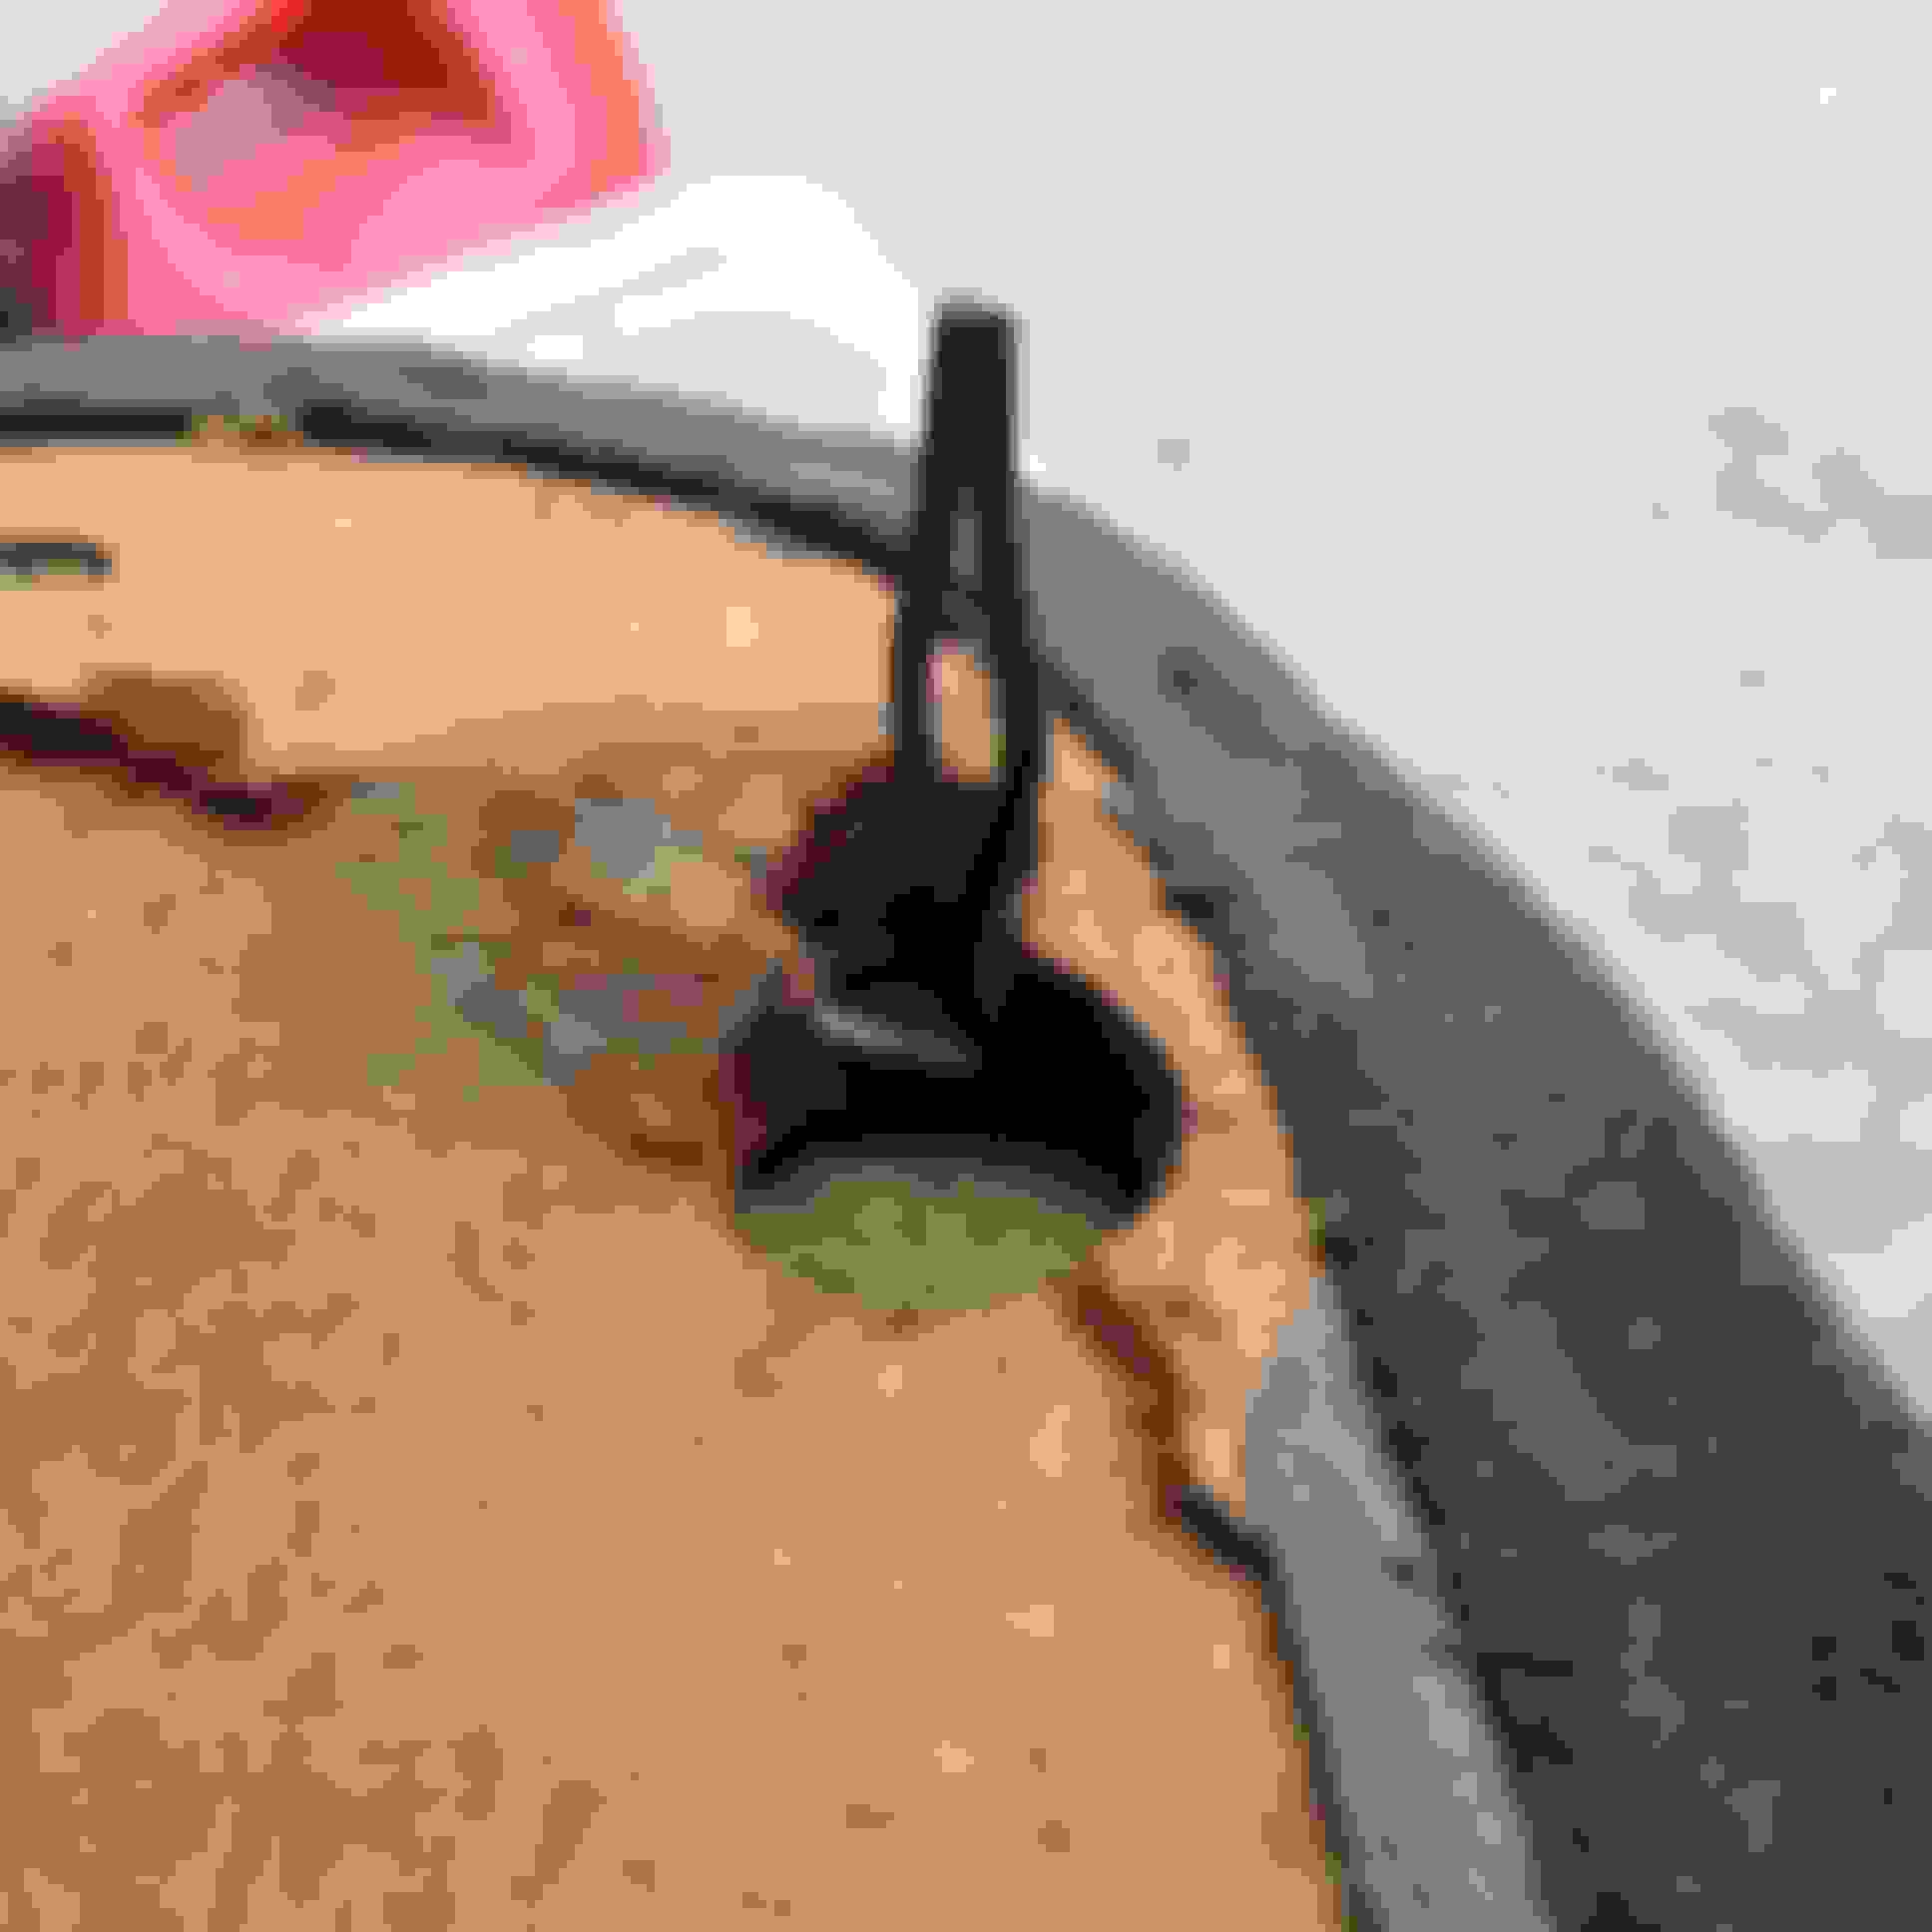
Wheel off, frame on jack stands, about to cut the bump stop and spread them open.
Cut with saw-saw, didn't have a torch to heat then bend the metal. Old man thought it would be wise to use a bolt, nut, washer and impact socket to spread them out. Worked like a charm.
Here's another shot of the spreader.
Lower shock mount disconnected for maximum droopage. Springs all nice and compressed ready to go into their new home!
And all seated up here!
I didn't remember to measure the ride height before and after with pictures, but it did make a massive difference. I do have some pictures of the before ride, and I'll take more pictures tomorrow for the after.
Since all of this Yota stuff is a learning curve for me, timeframes are off compared to most of yalls write-ups and experiences, but that's part of the fun! The driver side too maybe 1.5-2 hours to get done with some chit-chat and whatnot in-between steps, the passenger side took about an hour. Overall if I had to do this again, I could probably do it in an half the total time.
Funds are on a hold for the time being, gotta save up some more money before I decide to do anything else. Things I would like to get done would be all the window seals, the trim on the windshield, safari roof rack, front bumper with winch mount, rear bumper with swing out flat storage rack for jerry cans and spare tire. I'm giving myself a two year time frame to get these things done as well as minor upkeep and hiccups so this should be a great project.
I had not thoguht of using resin for the door panels. Great idea!!! Black Magic springs work great for getting the lift. Looks alot better. I liked how you seperated the bump stops.
I had not thoguht of using resin for the door panels. Great idea!!! Black Magic springs work great for getting the lift. Looks alot better. I liked how you seperated the bump stops.
Thanks Terry. When you're on a low dollar budget, you've got to make things work temporarily. I'd like to eventually replace all the interior panels with diamond plate for a much more rugged, less of a chance to break design, but for now the epoxy is working great, and the springs really did an amazing job of giving me a smoother ride. As for spreading the bump stops, that was all my daddy's idea, I'm happy with how well it worked!
Hoping to flush mount my CB directly under my head unit this coming Friday. It's currently mounted to the right of my Sticks for transmission and transfer case on the floor, but I don't like the convince of it being there. I should be able to trim the head unit mounting bracket out fairly easily to make room for the CB, it's barely a hairs width on either side to make it slip in. I'll have pictures up (if I can remember) when it's all said and done.
I spent a few hours tonight trimming and cutting to make the CB fit nice and flush under my head unit. Gotta say, I'm impressed with how it turned out!
I'll be posting another picture in better lighting without the flash to get the full effect. Also, if anybody in the NC Appalachia area has some scrap 2x4 square tube they'd be willing to let go of for cheap, please let me know. I'm trying to get a rear bumper built up here soon with a swing out carrier, and the 2x4 is crucial to that aspect.
Went ahead and dropped $200 for new drums, rotors, pads, shoes, and hardware and plan on doing my brakes this coming Saturday. I'm hoping to take a decent number of pictures this time for a thorough writeup should somebody be curious how easy or hard the process is. Looks like the Rhino Runner is moving on up in life!
So the plan was to do the brakes last Friday, but that never happened since auto zone, advance auto, and O Riley's didn't have the 54mm axle nut socket that I needed. I had to order one on amazon and it didn't get here until Tuesday (yesterday) and I don't have a day off of work until Saturday. The new plan is to start working Friday night after work, eat, drink cold ber, sleep, eat, work work work and finish the brakes by Saturday afternoon.
On a brighter note, I've come up with an idea for a sleeping/storage platform that slightly resembles glenyoshida's build. I love the ultra low profile look, but i want just a few more inches of storage, the ability to not sleep on my wheel wells, and if I wanted to, the ability to cover a fridge completely and not have it as a pillow lol!
If you guys haven't seen his build, go check it out!
Sorry for the lack of recent updates. I started to actually work on my brakes over a week ago, but I didn't have time to finish all four wheels on the first day. I think over all I put close to 20 hours of work.
old fronts
old shoes and hardware off, and time to clean the backplate
shiny new hardware and some new shoes.
New Master Cylinder. Turns out the original was leaking something fierce when it came to the rear brakes. Nobody sold a rebuild kit, but auto zone sold this reman for $33. Not too shabby if you ask me.
bench bleeding the master cylinder.
New homemade master cylinder gasket. Not sure why it has a gasket on the back, but the old one was shredded to pieces so I made a new one.
Using a proper brake line wrench aka vice grips. Works great
Just kidding!
and bleeding the brakes with the help of my old man.
So the old rotors were warped and nobody turns rotors anymore which is where this project came to mind. I figured I might as well do everything (except for the master cylinder) since probably only the pads have been changed over the life of this truck.
The first night went pretty well. It took a minute to figure out the best way to separate the old rotor from the hub, but a hammer does a mighty fine job of completing the task. Once the new rotor was on the hub and attached to the vehicle, the pads were next. One retaining clip, two pins. Pretty straightforward. Replace pads, anti-sieze on the pins and replace the clip.
Once I finished both sides I got my dad to help me bleed them. When we first bled them, we used a vacuum bleeder. It works great, but there was a lot of air in the system and after over an hour of bleeding the fronts, my pedal was still spongey and it was like I had accomplished nothing. I drove home that night, and returned to my parents house this past Tuesday to continue the work. After a few hours of removing the shoes, polishing old hardwares and replacing springs, it was back to bleeding, only this time we used the bottle and pump it yourself method. This seemed to move the air out much faster and flush out old brake fluid as well, but after another hour of bleeding, my pedal was spongey. Worse than before actually. That's when we decided it was the master cylinder that was the issue.
The first time at auto zone I told them it was an 89, but I didn't bring the old master cylinder to check for compatibility. Turns out it was the wrong master cylinder. Remove the old one, bring it down, purchase the reman, yadda yadda yadda, install new master cylinder and now my brakes work. It's a good feeling knowing I can now stop my truck instead of downshifting and using the e-brake!
forgot to take pictures which sucks but use your imagination and just think of nice new brakes! hahahah!
Now my power steering pump won't stop whining and my shocks are weak.
Hoping to actually start on the sleeping platform within the next month and get a safari rack mounted. Still stoked on this ol beater!
Nice OSHA approved footwear I heard from a Subaru mechanic once that they wouldn't turn rotors because the thinner material left would warp even more quickly, even within tolerance. Makes sense and for the couple bucks difference for a new one I've bought new ever since. Nice to support local machinists but even better to get your money's worth.
Oh yeah, the closed toed sandals are the best workplace shoe ever! Superb balance of comfort and safety hahaha! My local Advance said they stopped turning rotors because somebody who worked there turned a rotor for a friend even though the rotor was too thin and it led to the failure of his rotors or some mumbo jumbo like that and now it's just a legal safety thing so they stopped it all together. I'm not too bummed considering they were only $25 bucks a piece, but it is a bit ridiculous if you ask me.
Well, working as a whitewater guide, the summer months basically ruin most all of my chances to actually progress on my truck. She's burning a lot of oil currently, but I think that's expected of an 89, everything else just seems peachy though. I'm hoping sometime this coming week to break ground on a sleeping/storage platform. It should be built in two phases. Phase one will be a rough test/fit with no sliding drawers and noticing what adjustments I'd like to have overall. I'm think about 6" tall and the full width of the bed, no back seats, piano hinge fold down storage where the back seats were and clean, clean, clean lines all the way around. Eventually a fridge from either ARB or Engel. Here's to hoping!
To have my rotors turned at the local parts store was $20 a piece and for $25 each I could have new rotors. $200 for a complete brake job is about what I have into mine and what a difference it makes on them. Something that wont need done for you for a long time now.

 Apr 12, 2015 | 05:59 AM


 When they show up Monday I'll be installing them with pictures for the entire process.


 The driver side too maybe 1.5-2 hours to get done with some chit-chat and whatnot in-between steps, the passenger side took about an hour. Overall if I had to do this again, I could probably do it in an half the total time.


 I heard from a Subaru mechanic once that they wouldn't turn rotors because the thinner material left would warp even more quickly, even within tolerance. Makes sense and for the couple bucks difference for a new one I've bought new ever since. Nice to support local machinists but even better to get your money's worth.


