dark_fairytales 1986 Pickup Build-Up Thread
 10-30-2011, 05:02 PM
#81
Registered User
Thread Starter
Join Date: Oct 2008
Location: Sacramento, Crawlifonia
Posts: 1,621
Likes: 0
Received 7 Likes
on
4 Posts
cool just checked out the photos on your site. I do see what you mean about not getting as much flex as you would expect. I will find out how much flex I get out of my set of springs in a few weeks. I am headed to pismo this next weekend with Space-Junk. So I will not be able to work on the rear suspension till the weekend fallowing pismo.
 10-30-2011, 05:09 PM
#82
Registered User
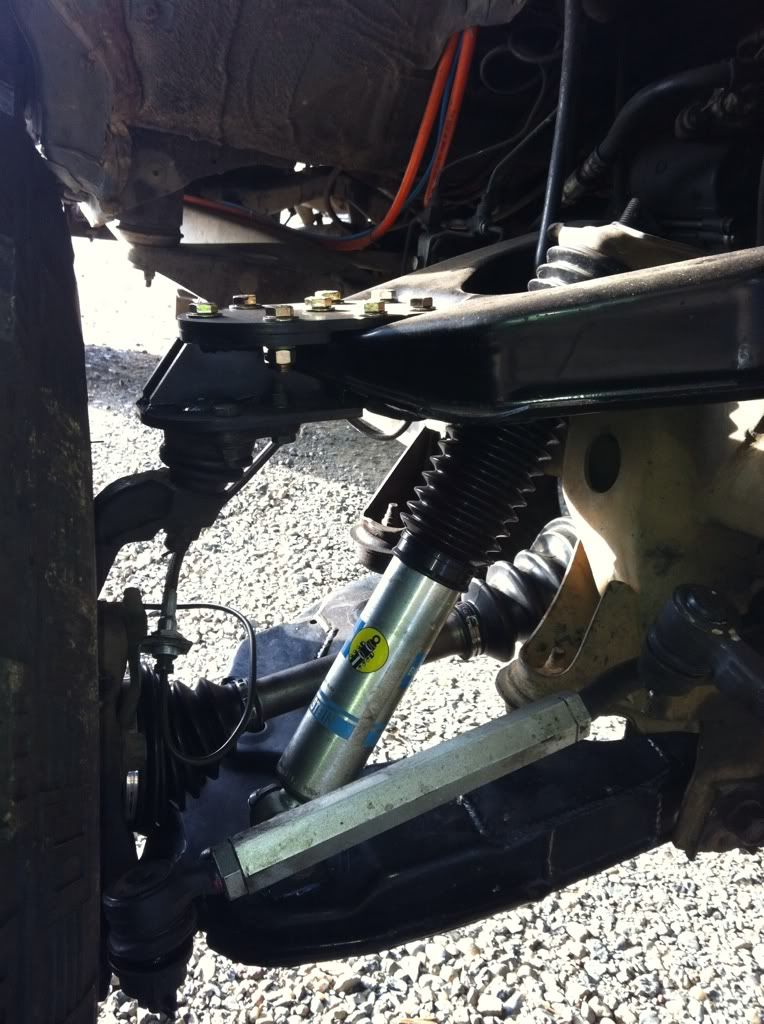
To locate the front spring hanger bracket here is what I did. (this is backwards- I am showing the befor / after sequence in reverse)
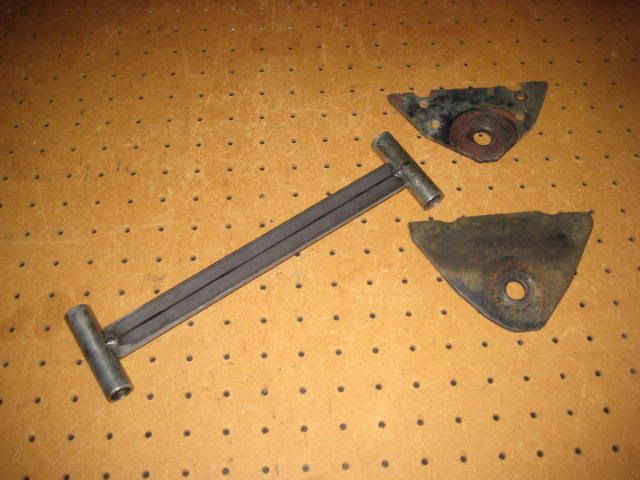
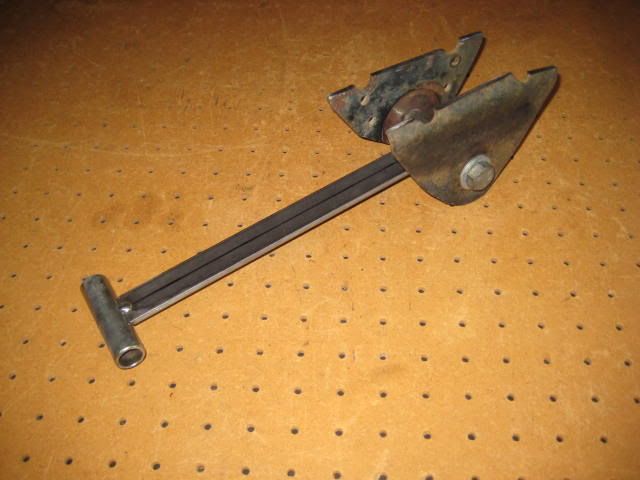
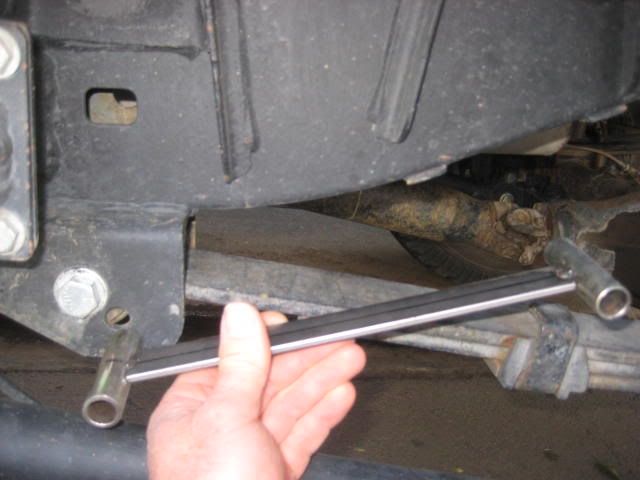
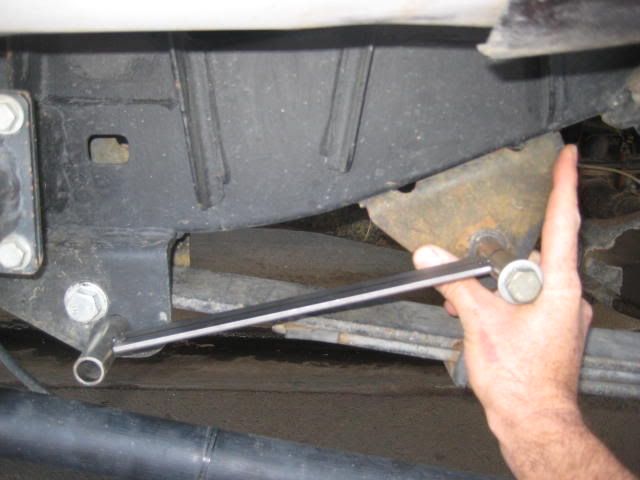
I built a locator bracket that I bolted into the stock hanger location then bolted the new hanger bracket into the other side. I then swug the new bracket up to the frame, clamped and tack welded. Then I moved the bracket to the other side and repeated. This way I got either side perfectly located and parallel to each other. I seem to remember I used some washers to shim the gap for the wider new hanger. When I located the hanger the distance from the centers of the bushing sleeve was 10-1/4. I was wanting to move the axle back slightly; which I didn't like! So I drilled a second set of holes up 1/2" and forward 3/4". This centered the axle and it also reduced the lift slightly. I reduced the lift a bit more by decreasing the shackle lenght from 6" to 5". The net lift was reduced from 4" to 3". The corrected lenght for the front hanger locator bracket should be 11" to center the axle.
I built a locator bracket that I bolted into the stock hanger location then bolted the new hanger bracket into the other side. I then swug the new bracket up to the frame, clamped and tack welded. Then I moved the bracket to the other side and repeated. This way I got either side perfectly located and parallel to each other. I seem to remember I used some washers to shim the gap for the wider new hanger. When I located the hanger the distance from the centers of the bushing sleeve was 10-1/4. I was wanting to move the axle back slightly; which I didn't like! So I drilled a second set of holes up 1/2" and forward 3/4". This centered the axle and it also reduced the lift slightly. I reduced the lift a bit more by decreasing the shackle lenght from 6" to 5". The net lift was reduced from 4" to 3". The corrected lenght for the front hanger locator bracket should be 11" to center the axle.
10-30-2011, 05:21 PM
#84
Registered User
Pismo! Hey, I might be able to swing it too! I missed last months trip. What are the details for this weekend?
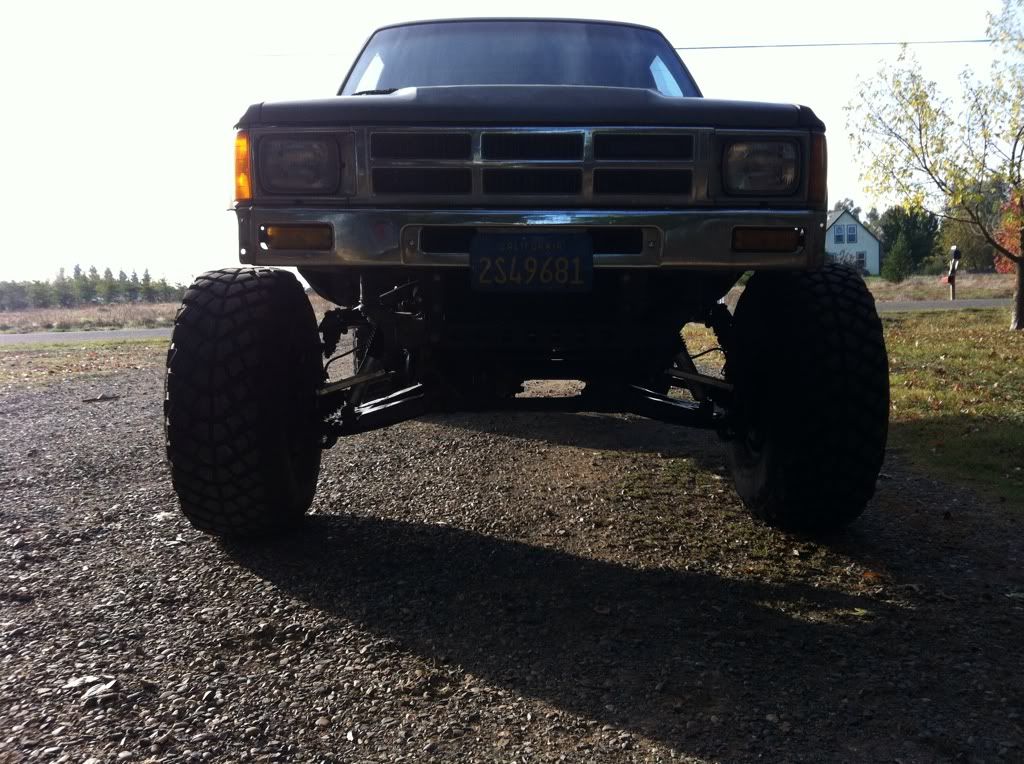
BTW- The action photos on the website show my rig with 35" tires and rear shock hoops / traction bars mounted outside the frame rails. I had to limit the stuff (bumpstop shims) to keep the tires from rubbing the fenders. I limited the droop with straps because the axle would shift side to side and the shock and tire would rub. With 33's I can get a bit more travel.
BTW- The action photos on the website show my rig with 35" tires and rear shock hoops / traction bars mounted outside the frame rails. I had to limit the stuff (bumpstop shims) to keep the tires from rubbing the fenders. I limited the droop with straps because the axle would shift side to side and the shock and tire would rub. With 33's I can get a bit more travel.
Last edited by BlazeN8; 10-30-2011 at 05:31 PM.
10-31-2011, 12:02 AM
#85
Registered User
Thread Starter
Join Date: Oct 2008
Location: Sacramento, Crawlifonia
Posts: 1,621
Likes: 0
Received 7 Likes
on
4 Posts
To locate the front spring hanger bracket here is what I did. (this is backwards- I am showing the befor / after sequence in reverse)
I built a locator bracket that I bolted into the stock hanger location then bolted the new hanger bracket into the other side. I then swug the new bracket up to the frame, clamped and tack welded. Then I moved the bracket to the other side and repeated. This way I got either side perfectly located and parallel to each other. I seem to remember I used some washers to shim the gap for the wider new hanger. When I located the hanger the distance from the centers of the bushing sleeve was 10-1/4. I was wanting to move the axle back slightly; which I didn't like! So I drilled a second set of holes up 1/2" and forward 3/4". This centered the axle and it also reduced the lift slightly. I reduced the lift a bit more by decreasing the shackle lenght from 6" to 5". The net lift was reduced from 4" to 3". The corrected lenght for the front hanger locator bracket should be 11" to center the axle.
I built a locator bracket that I bolted into the stock hanger location then bolted the new hanger bracket into the other side. I then swug the new bracket up to the frame, clamped and tack welded. Then I moved the bracket to the other side and repeated. This way I got either side perfectly located and parallel to each other. I seem to remember I used some washers to shim the gap for the wider new hanger. When I located the hanger the distance from the centers of the bushing sleeve was 10-1/4. I was wanting to move the axle back slightly; which I didn't like! So I drilled a second set of holes up 1/2" and forward 3/4". This centered the axle and it also reduced the lift slightly. I reduced the lift a bit more by decreasing the shackle lenght from 6" to 5". The net lift was reduced from 4" to 3". The corrected lenght for the front hanger locator bracket should be 11" to center the axle.
Pismo! Hey, I might be able to swing it too! I missed last months trip. What are the details for this weekend?
BTW- The action photos on the website show my rig with 35" tires and rear shock hoops / traction bars mounted outside the frame rails. I had to limit the stuff (bumpstop shims) to keep the tires from rubbing the fenders. I limited the droop with straps because the axle would shift side to side and the shock and tire would rub. With 33's I can get a bit more travel.
BTW- The action photos on the website show my rig with 35" tires and rear shock hoops / traction bars mounted outside the frame rails. I had to limit the stuff (bumpstop shims) to keep the tires from rubbing the fenders. I limited the droop with straps because the axle would shift side to side and the shock and tire would rub. With 33's I can get a bit more travel.
11-03-2011, 02:07 AM
#86
Registered User
Join Date: Apr 2011
Location: Southern Ontario
Posts: 428
Likes: 0
Received 0 Likes
on
0 Posts
Hope you guys dont' mind if I ask a few questions that may have been answered earlier, I've been trying to follow along but real life gets in the way more than I'd like. I've looked at the long travel kit a couple times, and really like the idea more than doing a sas, mostly because from what I've read the post '85 frames don't really allow for the same travel as a factory solid axle frame would, even after a sas. I ended up going with the old man emu kit combined with a body/drivetrain lift because the project truck will be a daily driver. My questions would be: How much higher than factory does the long travel kit like to sit when the torsion bars are set for a comfortable drive-your site says 3-4 inches, I'm wondering if that's with torsion bars at factory settings, and more specifically where that is in the travel range. Am I correct in assuming from these last few posts that you can run 35's on this system? How much did you limit your bumpstops for that? How much more travel do the shocks need for the system, I couldn't find stats on the bilsteins you recommended on your site. Wondering if my ome shocks would suffice. Also, how much wider is the stance on the front compared to factory, and lastly, but really just for curiosity: Why is a guy who sells a kit for 1000 bucks that only improves the front half of a suspension (without including shocks torsion bars or CV's) going the cheap route with chevy leafs on the back.
Last edited by Dutchbelly; 11-03-2011 at 02:33 AM.
11-03-2011, 11:59 PM
#87
Registered User
Thread Starter
Join Date: Oct 2008
Location: Sacramento, Crawlifonia
Posts: 1,621
Likes: 0
Received 7 Likes
on
4 Posts
Hope you guys dont' mind if I ask a few questions that may have been answered earlier, I've been trying to follow along but real life gets in the way more than I'd like. I've looked at the long travel kit a couple times, and really like the idea more than doing a sas, mostly because from what I've read the post '85 frames don't really allow for the same travel as a factory solid axle frame would, even after a sas. I ended up going with the old man emu kit combined with a body/drivetrain lift because the project truck will be a daily driver. My questions would be: How much higher than factory does the long travel kit like to sit when the torsion bars are set for a comfortable drive-your site says 3-4 inches, I'm wondering if that's with torsion bars at factory settings, and more specifically where that is in the travel range. Am I correct in assuming from these last few posts that you can run 35's on this system? How much did you limit your bumpstops for that? How much more travel do the shocks need for the system, I couldn't find stats on the bilsteins you recommended on your site. Wondering if my ome shocks would suffice. Also, how much wider is the stance on the front compared to factory, and lastly, but really just for curiosity: Why is a guy who sells a kit for 1000 bucks that only improves the front half of a suspension (without including shocks torsion bars or CV's) going the cheap route with chevy leafs on the back.
The only reason I can run 35" tires with the blaze kit, is due to the 3" body life. I am currently using completely stock and unaltered bump-stops.
I do not have the info. for the shock. I would have to measure for you. I am sure N8 has the info. off hand as he builds the kit.
measuring from left to right from hub to hub. The stance is a total of 6" wider then stock. My tire stick out so far due to having 3.75" backspacing on my rims.
I am guessing your last question is headed for N8 at blazeland. I know the reason I chose too use the chevys was not just price. My passion is to go slow and the chevys are well recommended by many other who desire to go slow like me. As discussed before, each set of chevys is different, as they are used springs. They are noted for their flex, weight capacity, and ride comfort. The bang for the buck is weighing those three characteristics
towards more expensive springs.
Hope that helps you out.
11-04-2011, 12:28 AM
#89
Registered User
Join Date: Apr 2011
Location: Southern Ontario
Posts: 428
Likes: 0
Received 0 Likes
on
0 Posts
Thanks Dark. You have cleared up a lot of what I was wondering. That last question was, as you assumed, directed at N8, and was more of a joke than a real question, but Im' glad I asked because I was not aware there were more benefits to the chevy swap than just the price.
Just for clarification: your wheels sit 6" wider than they did at stock, and not as a result of your backspaced rims?
Also glad to hear your report of improved ride quality. I've always said you shouldn't need to speed if your truck is comfy enough to enjoy the trip.
Still hoping N8 or someone else can chime in on the shock question. My OME shocks are 2" longer than stock, wondering what the requirements are for this system in that department. I'm thinking at this point all I would need would be the T100 CV's in addition to the kit.
11-06-2011, 07:34 PM
#90
Registered User
Thread Starter
Join Date: Oct 2008
Location: Sacramento, Crawlifonia
Posts: 1,621
Likes: 0
Received 7 Likes
on
4 Posts
you are correct Dutch. I did not add the back spacing or the width of the tires and rims into 6" wider stance. I was comparing the long-travel to a completely stock yota.
11-07-2011, 12:00 AM
#91
Registered User
Regardless the frames are no factor in how much "travel" you get, its all in how you set up your solid axle suspsension. You can link it, or spring it, and theres infinite setups and none are frame bias 85 +/-
I own an 85 stock extended cab and a 1987 solid axle swapped Truggy.
 11-07-2011, 08:00 PM
#92
Registered User
Join Date: Aug 2010
Posts: 109
Likes: 0
Received 0 Likes
on
0 Posts
Looks great man!
If you're going to bother with all the welding for the 63" leaf install, why don't you go ahead and swap out the rear axle for a T-100?
If you're going to bother with all the welding for the 63" leaf install, why don't you go ahead and swap out the rear axle for a T-100?
Last edited by drew02a; 11-07-2011 at 08:02 PM.
11-07-2011, 08:57 PM
#93
He's already got an arb'd 8"... The t100/tacoma axle WOULD be a good upgrade, BUT Would cost a small fortune to buy and have set up... I'm trying to talk him into at least 1" wheel spacers on the rear to try and match the front width a little, but he's as stubborn as any mule I've ever met...
 11-07-2011, 11:13 PM
#97
Registered User
Join Date: Aug 2010
Posts: 109
Likes: 0
Received 0 Likes
on
0 Posts
Stock T-bars are too stiff? I had mine cranked all the way and it wasn't enough. Mines a V6 4Runner though
11-08-2011, 11:48 AM
#98
Registered User
Thread Starter
Join Date: Oct 2008
Location: Sacramento, Crawlifonia
Posts: 1,621
Likes: 0
Received 7 Likes
on
4 Posts
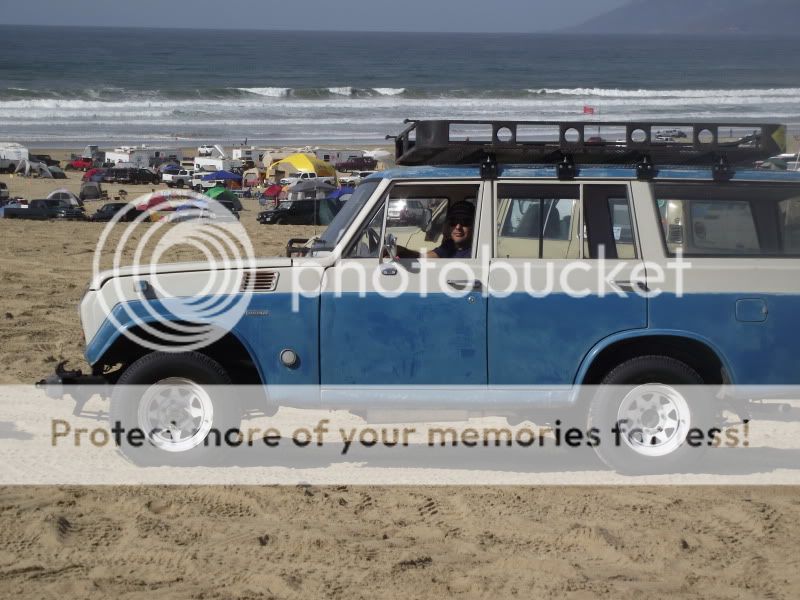
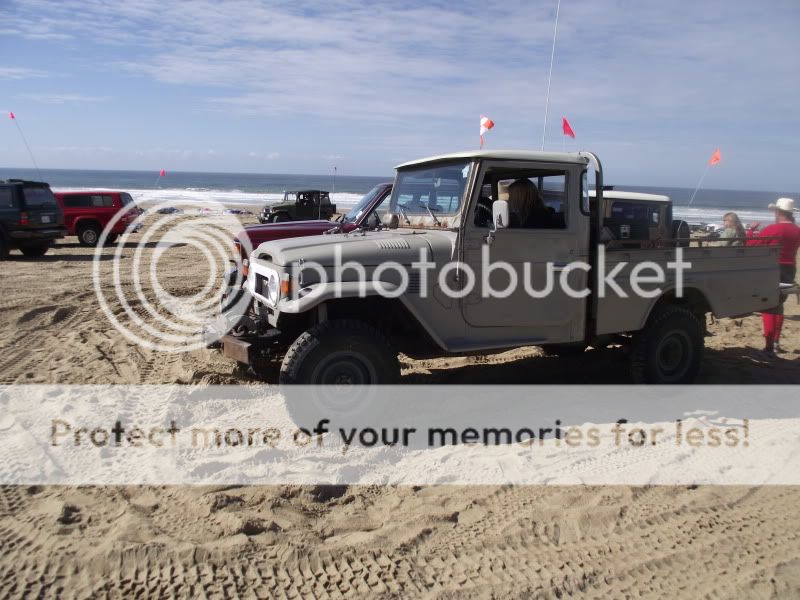
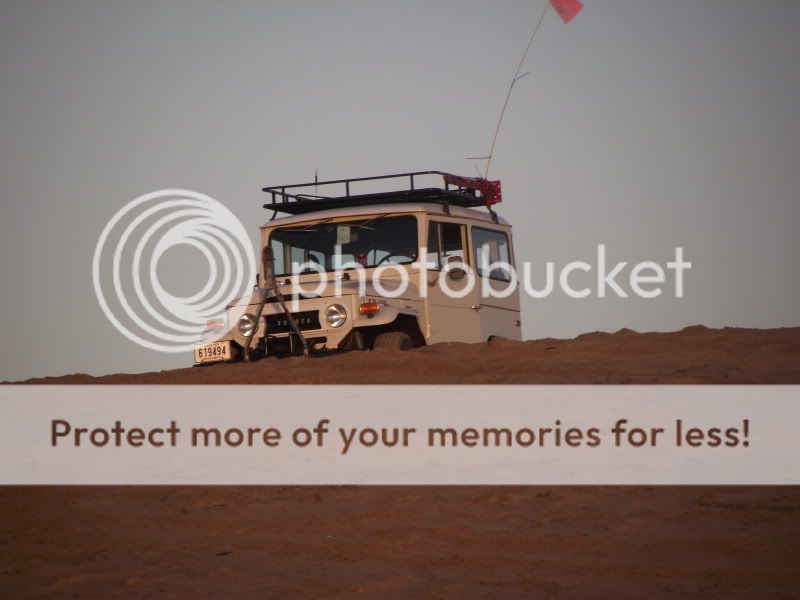
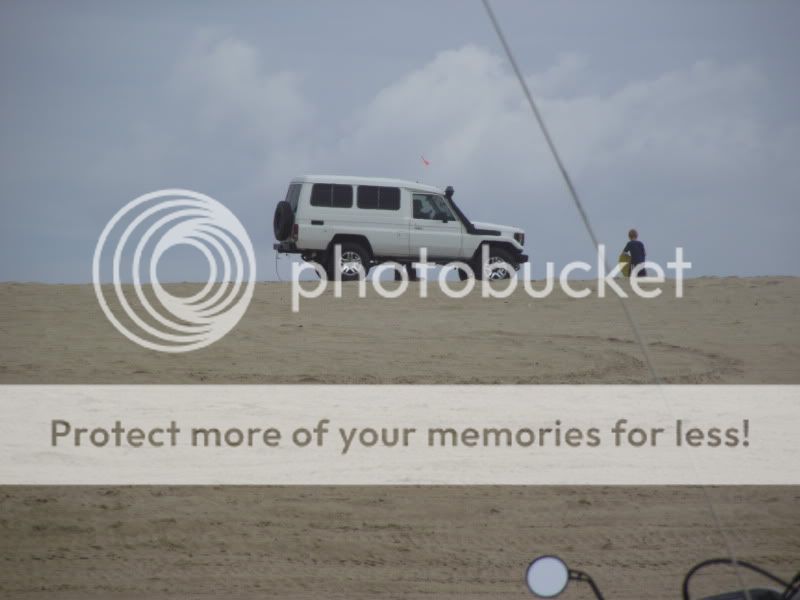
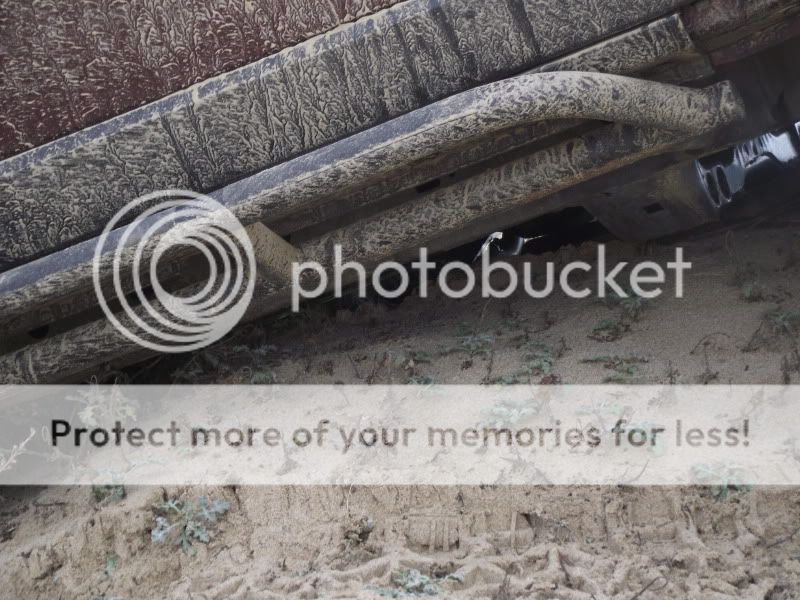
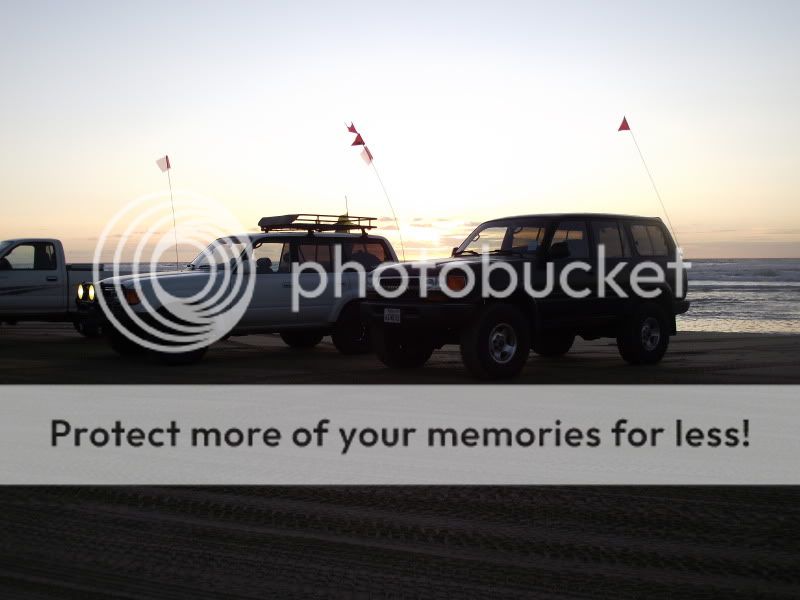
I have some pics of Surf-N-Turf 2011. I did not take my truck to Pismo. I rode shot-gun with Space-junk. So here are some pics I took of the event.
I'll start with all of the Canadian rigs we saw there. prepare to start drooling over all the turbo diesels.
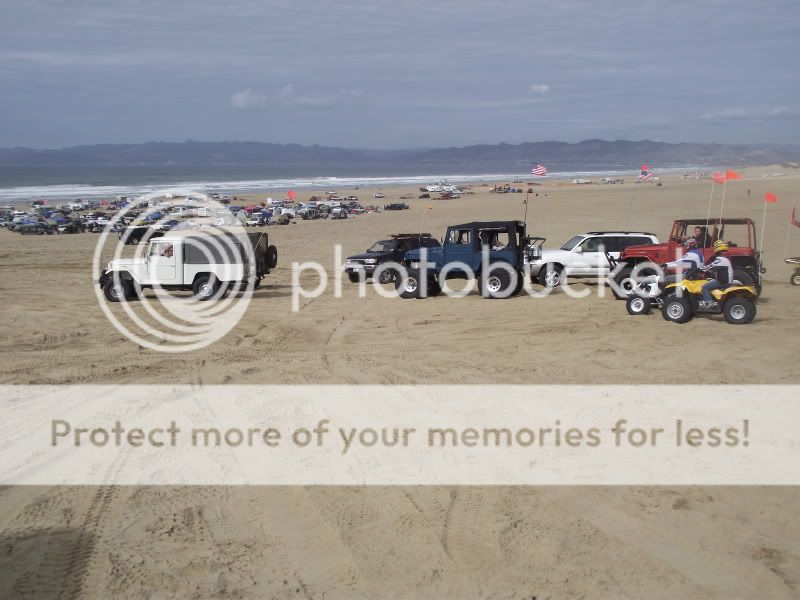
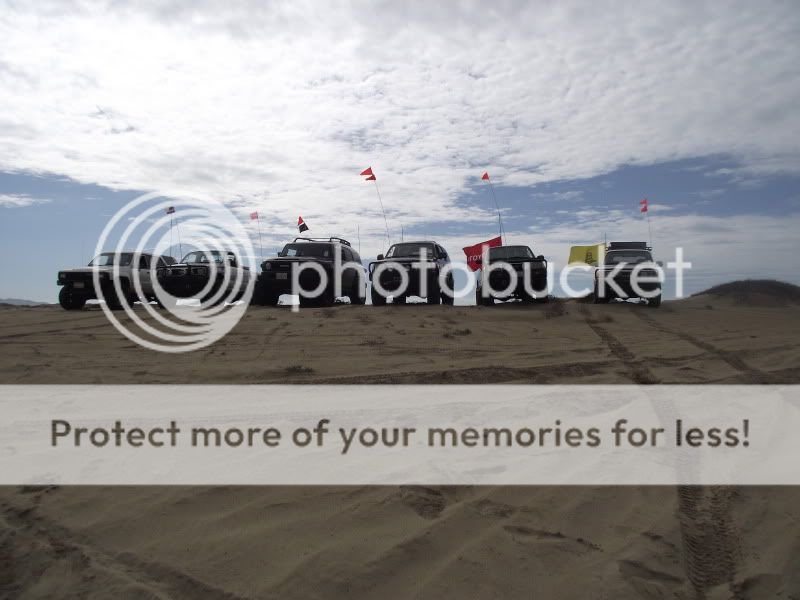
here are some pics of our group from Green Camp.

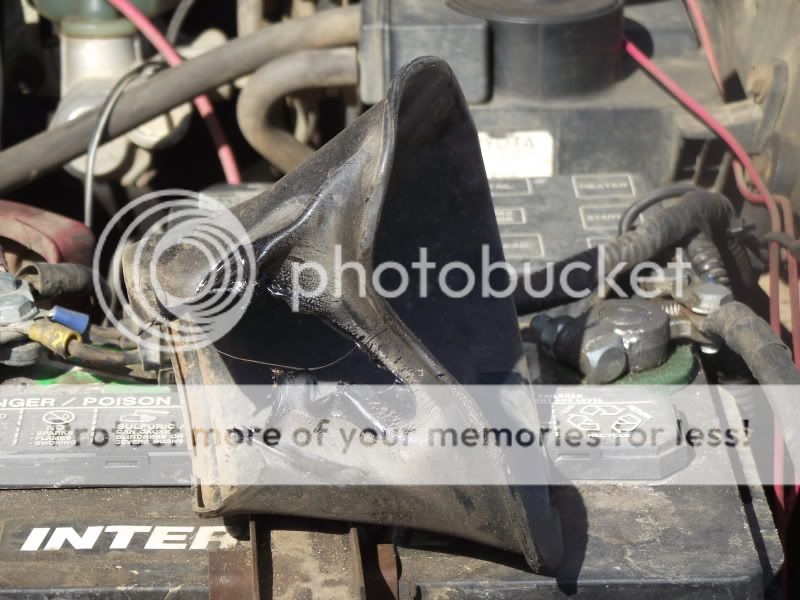
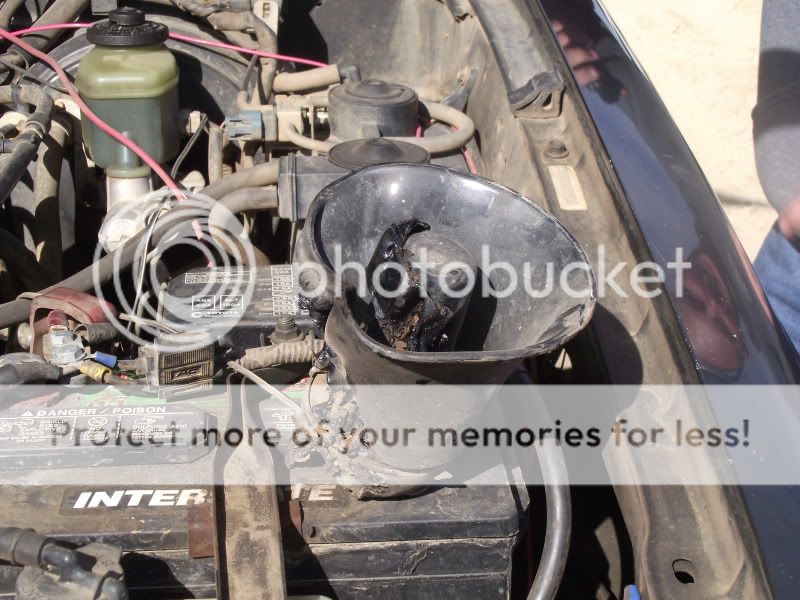
Here is some carnage of stockwell's PA. The PA came off its mount from all the bumps and speed and ended up melting on the exhaust.
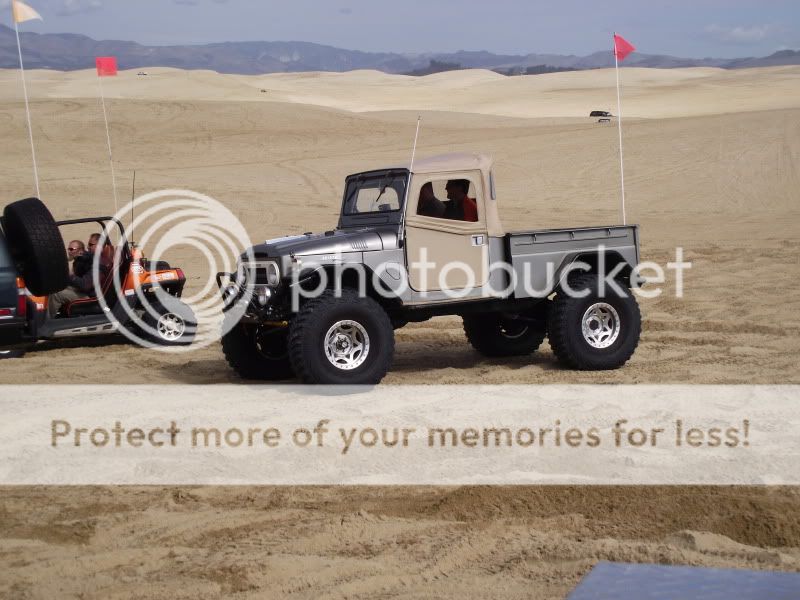
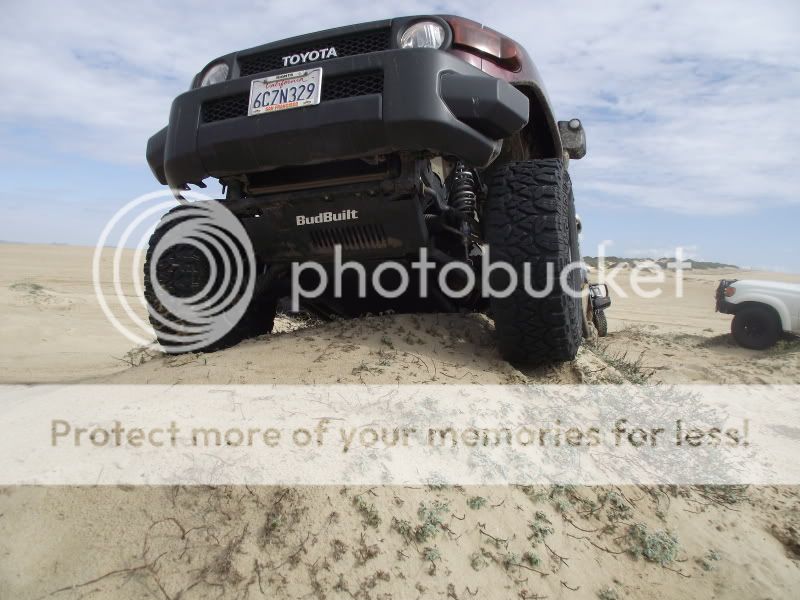
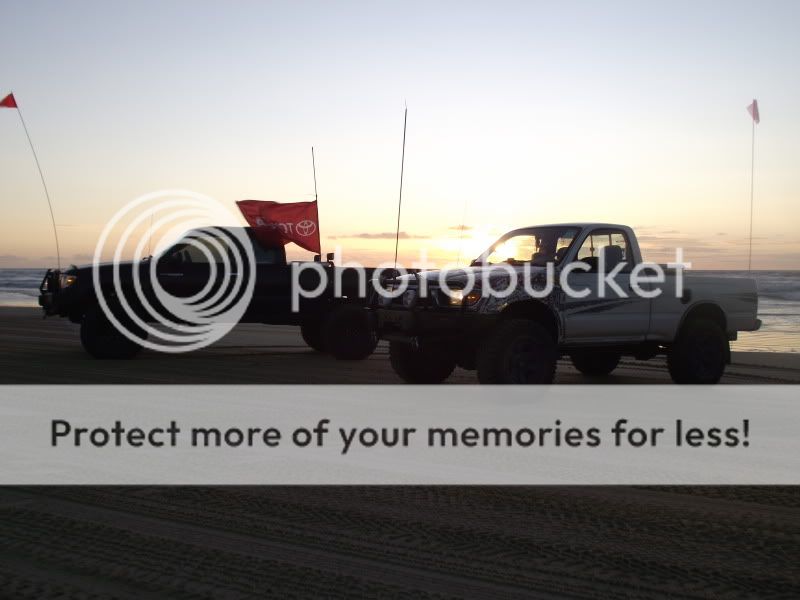
This is just a random shot of a good looking Taco

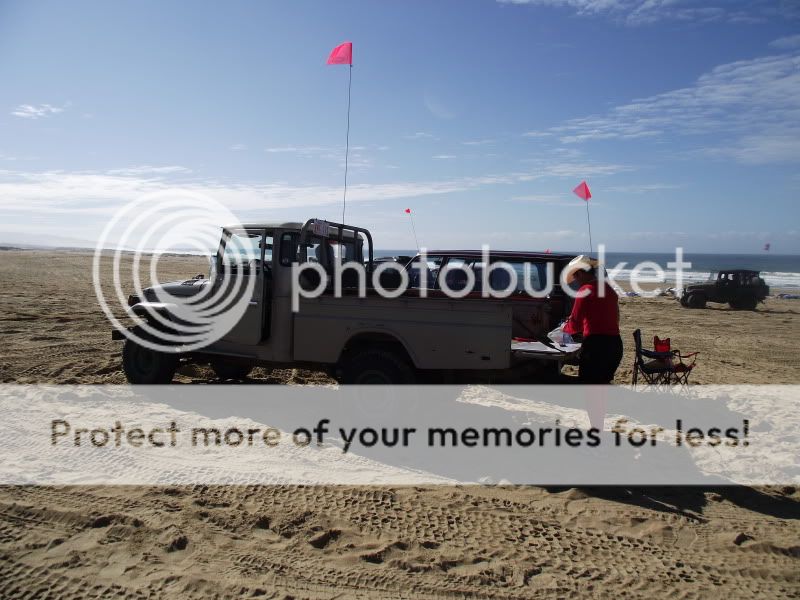
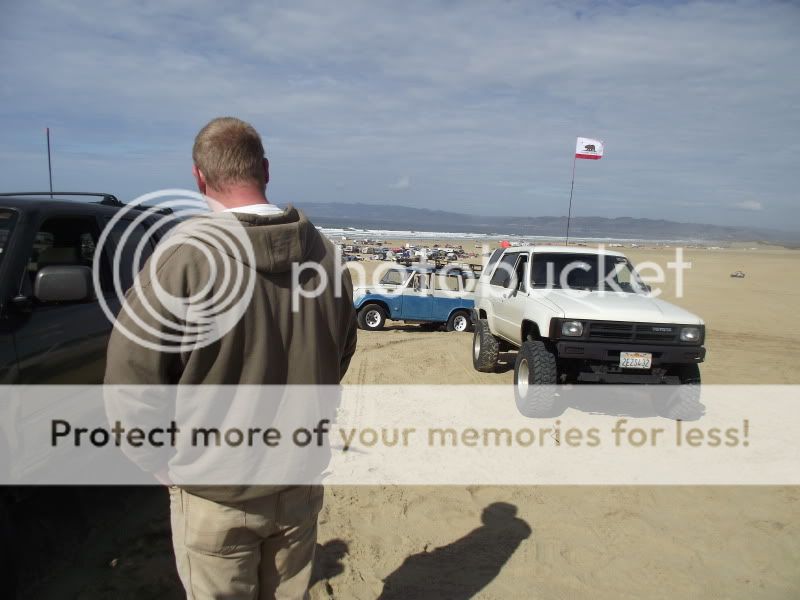
These are some shots of the scenery I took during the trip.


Now I need to get my truck out there and have some fun on the sand with it.
I'll start with all of the Canadian rigs we saw there. prepare to start drooling over all the turbo diesels.
here are some pics of our group from Green Camp.
Here is some carnage of stockwell's PA. The PA came off its mount from all the bumps and speed and ended up melting on the exhaust.
This is just a random shot of a good looking Taco
These are some shots of the scenery I took during the trip.
Now I need to get my truck out there and have some fun on the sand with it.


