When you click on links to various merchants on this site and make a purchase, this can result in this site earning a commission. Affiliate programs and affiliations include, but are not limited to, the eBay Partner Network.
I like it just fine. It's sold at Lowes and I think it's $179 now. It can only be locked/unlocked from the driver's side, but once unlocked, either handle can open it. It has a rubber seal and a gas strut. It's pretty small, which I like. It's only a foot deep front to back, and only sticks up above the bed rail about two or three inches. I was originally looking to buy an Xtra Cab first generation Tacoma but my coworker was selling this truck and only wanted $800 for it. In a standard cab truck, the extra storage space is a necessity.
Slowly working on things. Got a lot going on at home so I can only work on this here and there. The engine is out. Came out with almost no fuss at all.
Empty engine bay. Not going to kid myself and bother cleaning it up to look brand new.
You have probably worked on the old engine enough that you had no surprises when removing it. The water pump is the only clean thing on the old engine.
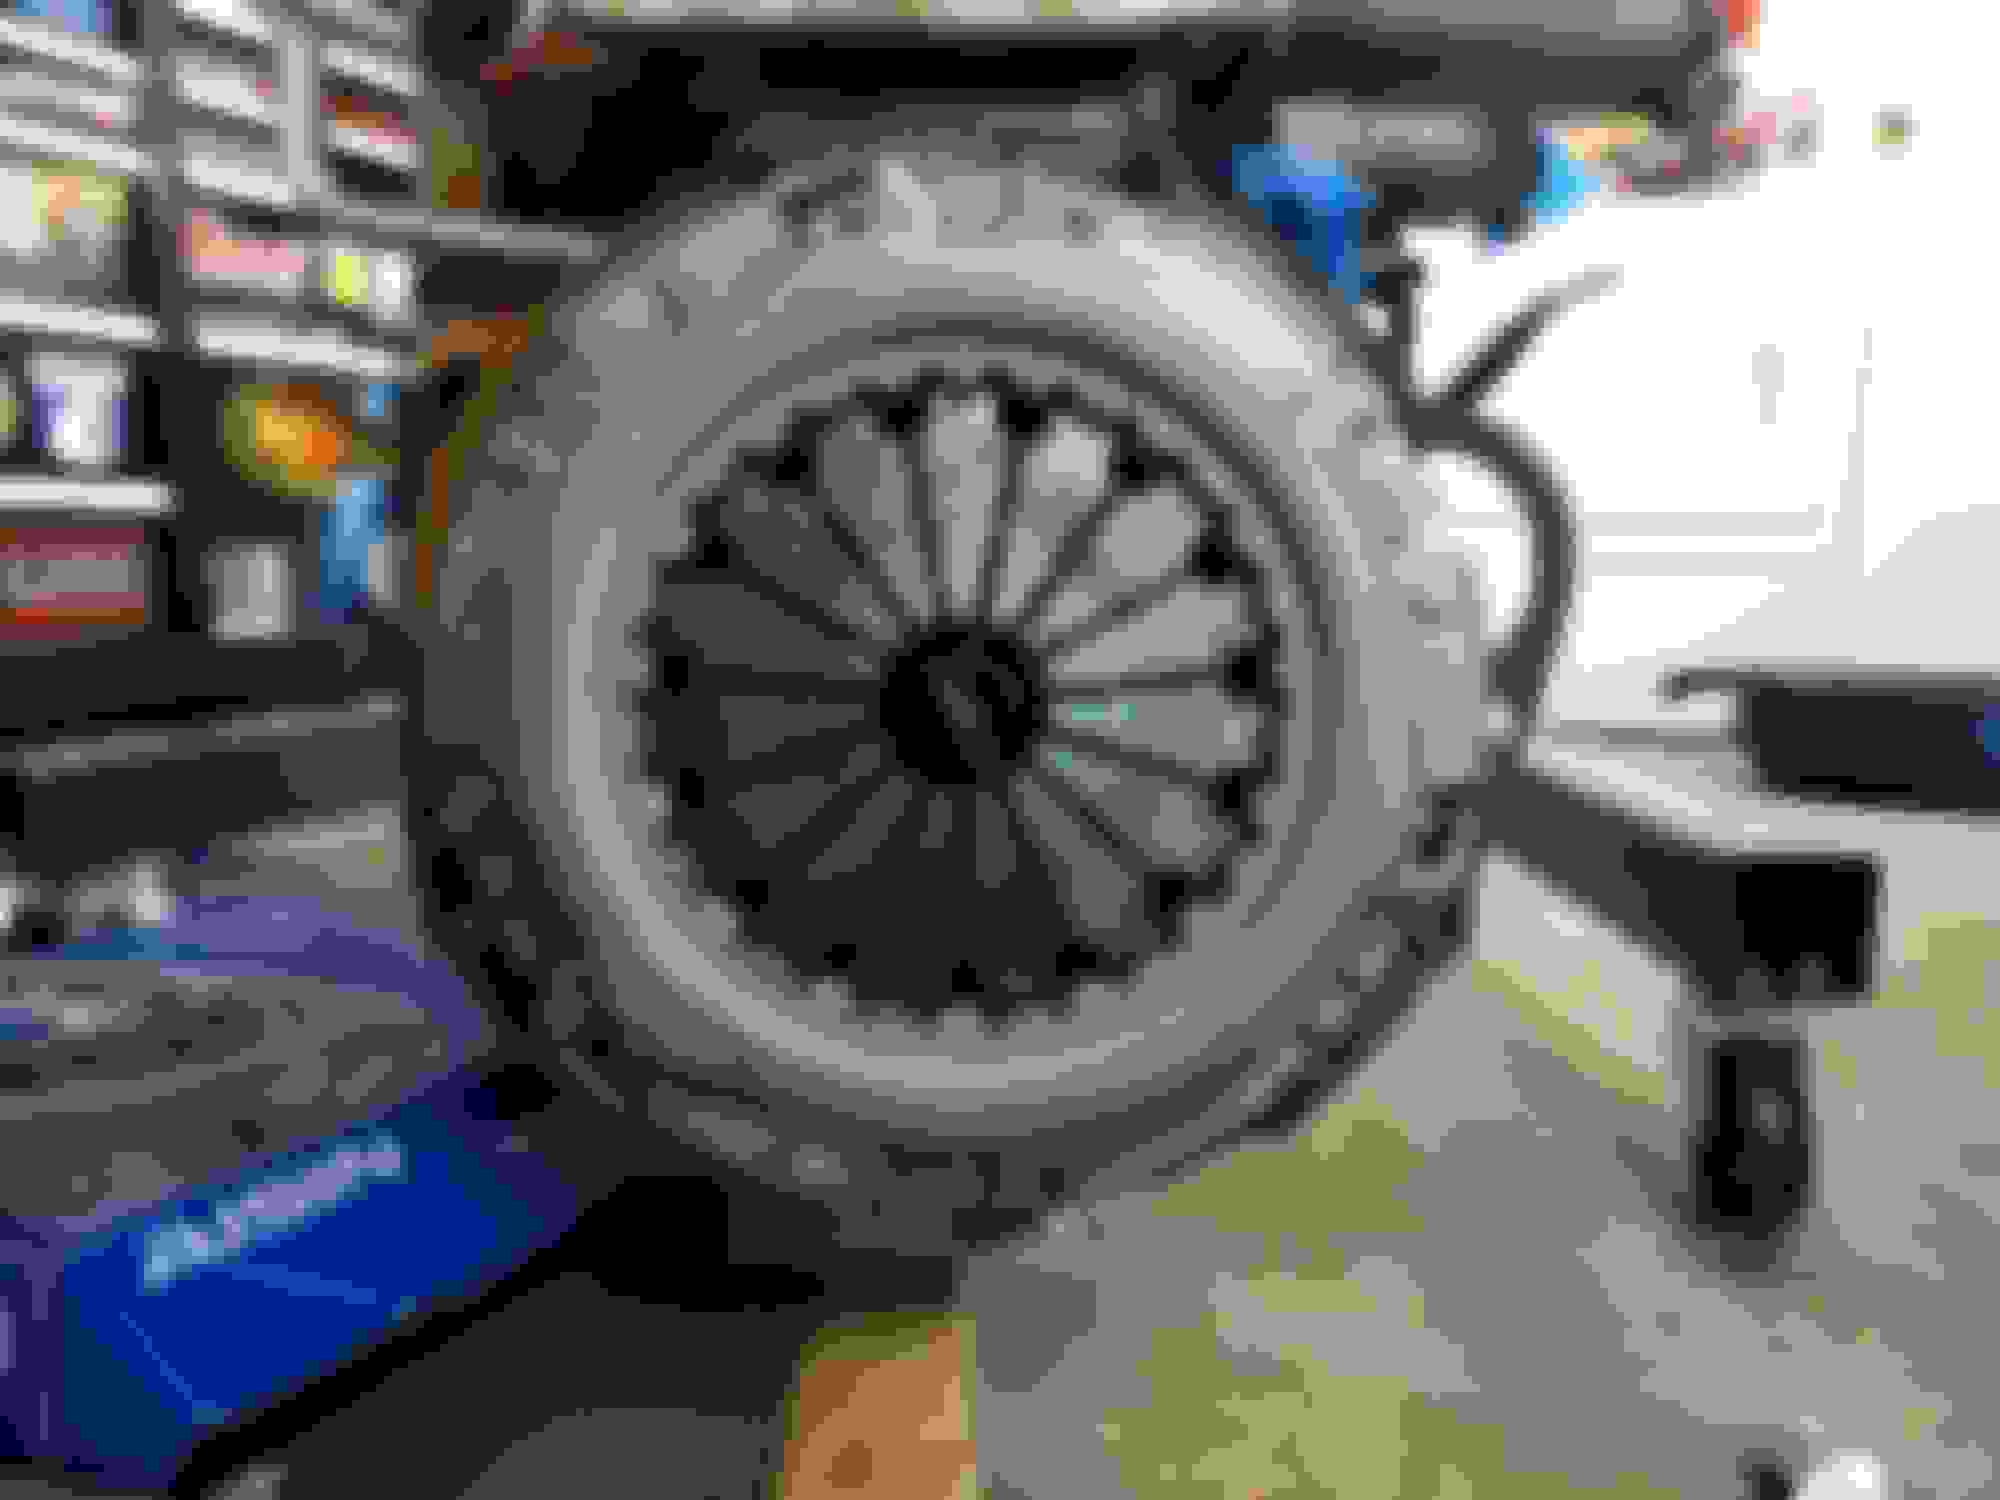
Well, today was supposed to be the day I dropped the engine back in. I was only hoping to get the engine mounts and bell housing all done up, but I hit a roadblock. The clutch pressure plate doesn't fit on the flywheel. At first I thought the LCE 35 pound flywheel was machined wrong and the dowels were in the wrong place, but I put my old used pressure plate up to it and it slid over the dowels no problem. So the issue is the pressure plate. It's an Aisin unit, bought from Marlin Crawler as part of the 1200 pound clutch kit. It appears to me the package was dropped or something and the pressure plate flange hit the ground and got bent inward a small amount to where it won't line up. I tried bending it back but it wouldn't budge and I don't want to possibly damage it more. Marlin was super helpful and are sending out a new one ASAP. It would have been totally free but with ground shipping, so I paid the difference to get expedited shipping so that I could have it before the weekend. Just a bit of a bummer. I had the engine hanging from the hook and was prepping the last few parts to drop it in. Oh well. Here's a few odds and ends pictures from the prep work I've been doing.
Removed the bell housing and transmission input shaft seal plate. Replaced the transmission input shaft seal with OEM. It wasn't leaking, but I'd hate to have it start and ruin my new clutch. That and the labor of dropping the trans would really suck. New seal, new gasket for the plate, and cleaned up all the threads in the bell housing. A couple were slightly boogered, now all are nice. Also, I replace the clutch fork and pivot ball. The fork had noticeable wear, and definitely needed to be replaced. I couldn't tell with the pivot ball, so I bought one. Waste of money. Comparing the old and new, the old had no appreciable wear. Both parts had roughly 300,000 miles on them. If you are planning to replace the fork, it's probably a good idea but save a few bucks on the pivot ball.
I think we all agree the SR5 oil pressure gauge is nice, but I'll admit there are long periods of time I go without looking at it. If it dropped while driving, would I notice in time? Here's my solution. An adapter lets me run both types of sending units. I'll install a light so that a sudden drop will instantly illuminate a light and warn me.
I'll also be running a two pillar gauge pod. One gauge will be vacuum.
The other will be water temperature. This is much better than the factory gauge, which is designed to stay in the middle for a large temperature band. This gauge will show actual water temperature.
And here is the sending unit. It was placed here to show actual temperature coming out of the engine. After the thermostat wouldn't show warm up temperatures. The location is carefully placed to not interfere with the thermostat.
I was curious how much larger the ports on the head were after 22RE Performance worked their magic, so I took a pencil rubbing of the head.
Then I cut out the rubbing, and stenciled it onto the manifold. There's a pretty decent difference, so I decided to port match the intake to the head.
I forgot to take an after picture before bolting the intake up, but it all seems pretty good from this end.
And here's the clutch pressure plate that's holding me up. You can see two dowels are lined up on the top and the bottom left. But the bottom right dowel is way off. The old pressure plate fits right in place so it's not the flywheel.
Last edited by arlindsay1992; Jul 15, 2019 at 05:53 PM.
I like the double oil pressure setup. I have been considering this myself as I like the factory gauge, but a light on the dash would warn me much quicker if something were to go wrong.
It is too bad about the pressure plate, but it sounds like Marlin is in top of it.
I use a wobble extension on the end, and then another 4 feet of regular extensions to get me back to behind the transmission. Once you get it broken free, if the threads are nice you can reach down through the engine bay and spin it out with a couple fingers. If not, it just takes a little while to get them out with the extensions since they are a bit cumbersome at that long length.
Okay, engine is in and running. Didn't all go too smoothly, unfortunately.
While I was waiting on the clutch, I worked on this little 90 degree fitting that fits near the thermostat. I asked 22RE Performance about this part since I couldn't find it in the parts lookup, they say it was never sold separately and they all look crusty. So I had to fix it. Here's my solution.
Cut off the rusty crusty and file it smooth.
Then drill.
And tap. I had to get fancy with a modified tap since the hole is so shallow and you don't want to poke out the backside.
And here it is installed. Don't be like me and assemble the 90 degree fitting before installing into the intake. It will hit the thermostat outlet. It would work without the thermostat outlet installed but I didn't want to take it apart. So first the vertical portion of the 90 gets installed, then the new horizontal portion.
I got the replacement clutch pressure plate from Marlin. It also was more difficult to slide over the dowel pins than any clutch I've ever installed before, but it was able to be coaxed on. Not sure if quality control is going down.
With the clutch installed, I had no issues getting the engine in place and mated to the transmission.
With this done, I turned my focus to wiring up the gauges, and to hooking everything else back up. I have spoken previously about the oil pressure idiot light I wanted to add. SR5 trucks with a 5 speed have this unused light in the cluster.
I has the word I want, just need to cover up "A.T." and "TEMP". Some electrical tape should do.
The light gets its power from the "IGN" source, so it's always powered with the ignition. The ground goes through the switch. In my case, the switch will be the oil pressure switch which grounds when there is no oil pressure. The electrical trace from the light to the switch is unfinished. Here I solder on a wire which will be run to the oil pressure switch. A zip tie is used as a strain relief.
Reassembled and tested. Ignition on and engine off. The other half of the test is seeing if it goes out when the engine starts.
Auxiliary gauges added and wired.
Everything is hooked up. Last picture of the engine before starting.
So I followed 22RE Performance's start up procedure. Cranked with no fuel until oil pressure registered. Then I turned the key to start without pressing the clutch to allow the fuel pump to run and build fuel pressure. The engine started up but barely ran. I put my timing light on each wire and they all had spark. Then I put my engine stethoscope on each injector and #1 and #4 were not clicking. The injectors are fresh rebuilds bought from 22RE Performance so I assumed they were fine. So I figured the most likely problem was the injector wiring crimps which have been a problem for other people. Maybe with having the harness folded back and moved around during work I broke one crimp. I had previously checked these crimps years ago for a previous problem and they looked really good. So I put some electrical grease on them and sealed it all back up. Well, they still look just as good as before. No corrosion, no broken strands. So I turned the injectors. When I put 12V to the #2 and #3 injector, I could hear them click and I could hear fuel spraying from the residual pressure in the fuel rail. When I put 12V to #1 and #4, there was no fuel spray. There was resistance across the terminals though. So the coils were good, but the injectors were stuck. I was able to tap them rigorously with a 10" long 3/8" drive extension which simultaneously giving them 12V on and off until the injectors freed up. What a pain. I shouldn't have to do that to fresh injectors. Add to that the time spent unwrapping the engine harness and removing/reinstalling the upper intake, I was pretty upset, but at least I fixed it and didn't have to wait for parts.
So now the engine is running. I do the cam break-in process while bleeding the coolant. I'm constantly checking the gauges. Everything looks good. After the cam break-in I set the idle and set the ignition timing. I had roughly set it for the cam break-in. I only had to slightly tweak it to get it right. I had it at 8 degrees instead of the prescribed 5 degrees with the jumper jumped. Also, my oil pressure dummy light appears to work just as designed.
First test drive time! Engine is running great. It's quiet, smooth, and feels like it has the right amount of power. Gauges are all looking good. I drive through the neighborhood 25-35 MPH. Everything is good. Time to venture a bit farther and try some 45 MPH roads. I had reset the trip meter to keep track of engine miles for the break-in. With about 8 miles on the engine, the oil pressure drops. Not all the way to the bottom of the gauge, and my dummy light never comes on. Up to this point, the gauge was reading just like I remember. Right about at the 1/4 line at idle, and about 1/2 line while driving. But now I'm getting only about 1/8 to 1/4 while driving, and about a needle width above bottom when idling. Not cool. I pull over immediately and check everything over. No leaks, oil level is right where it's supposed to be. Technically it has oil pressure so I drive it home, watching the gauge like a hawk.
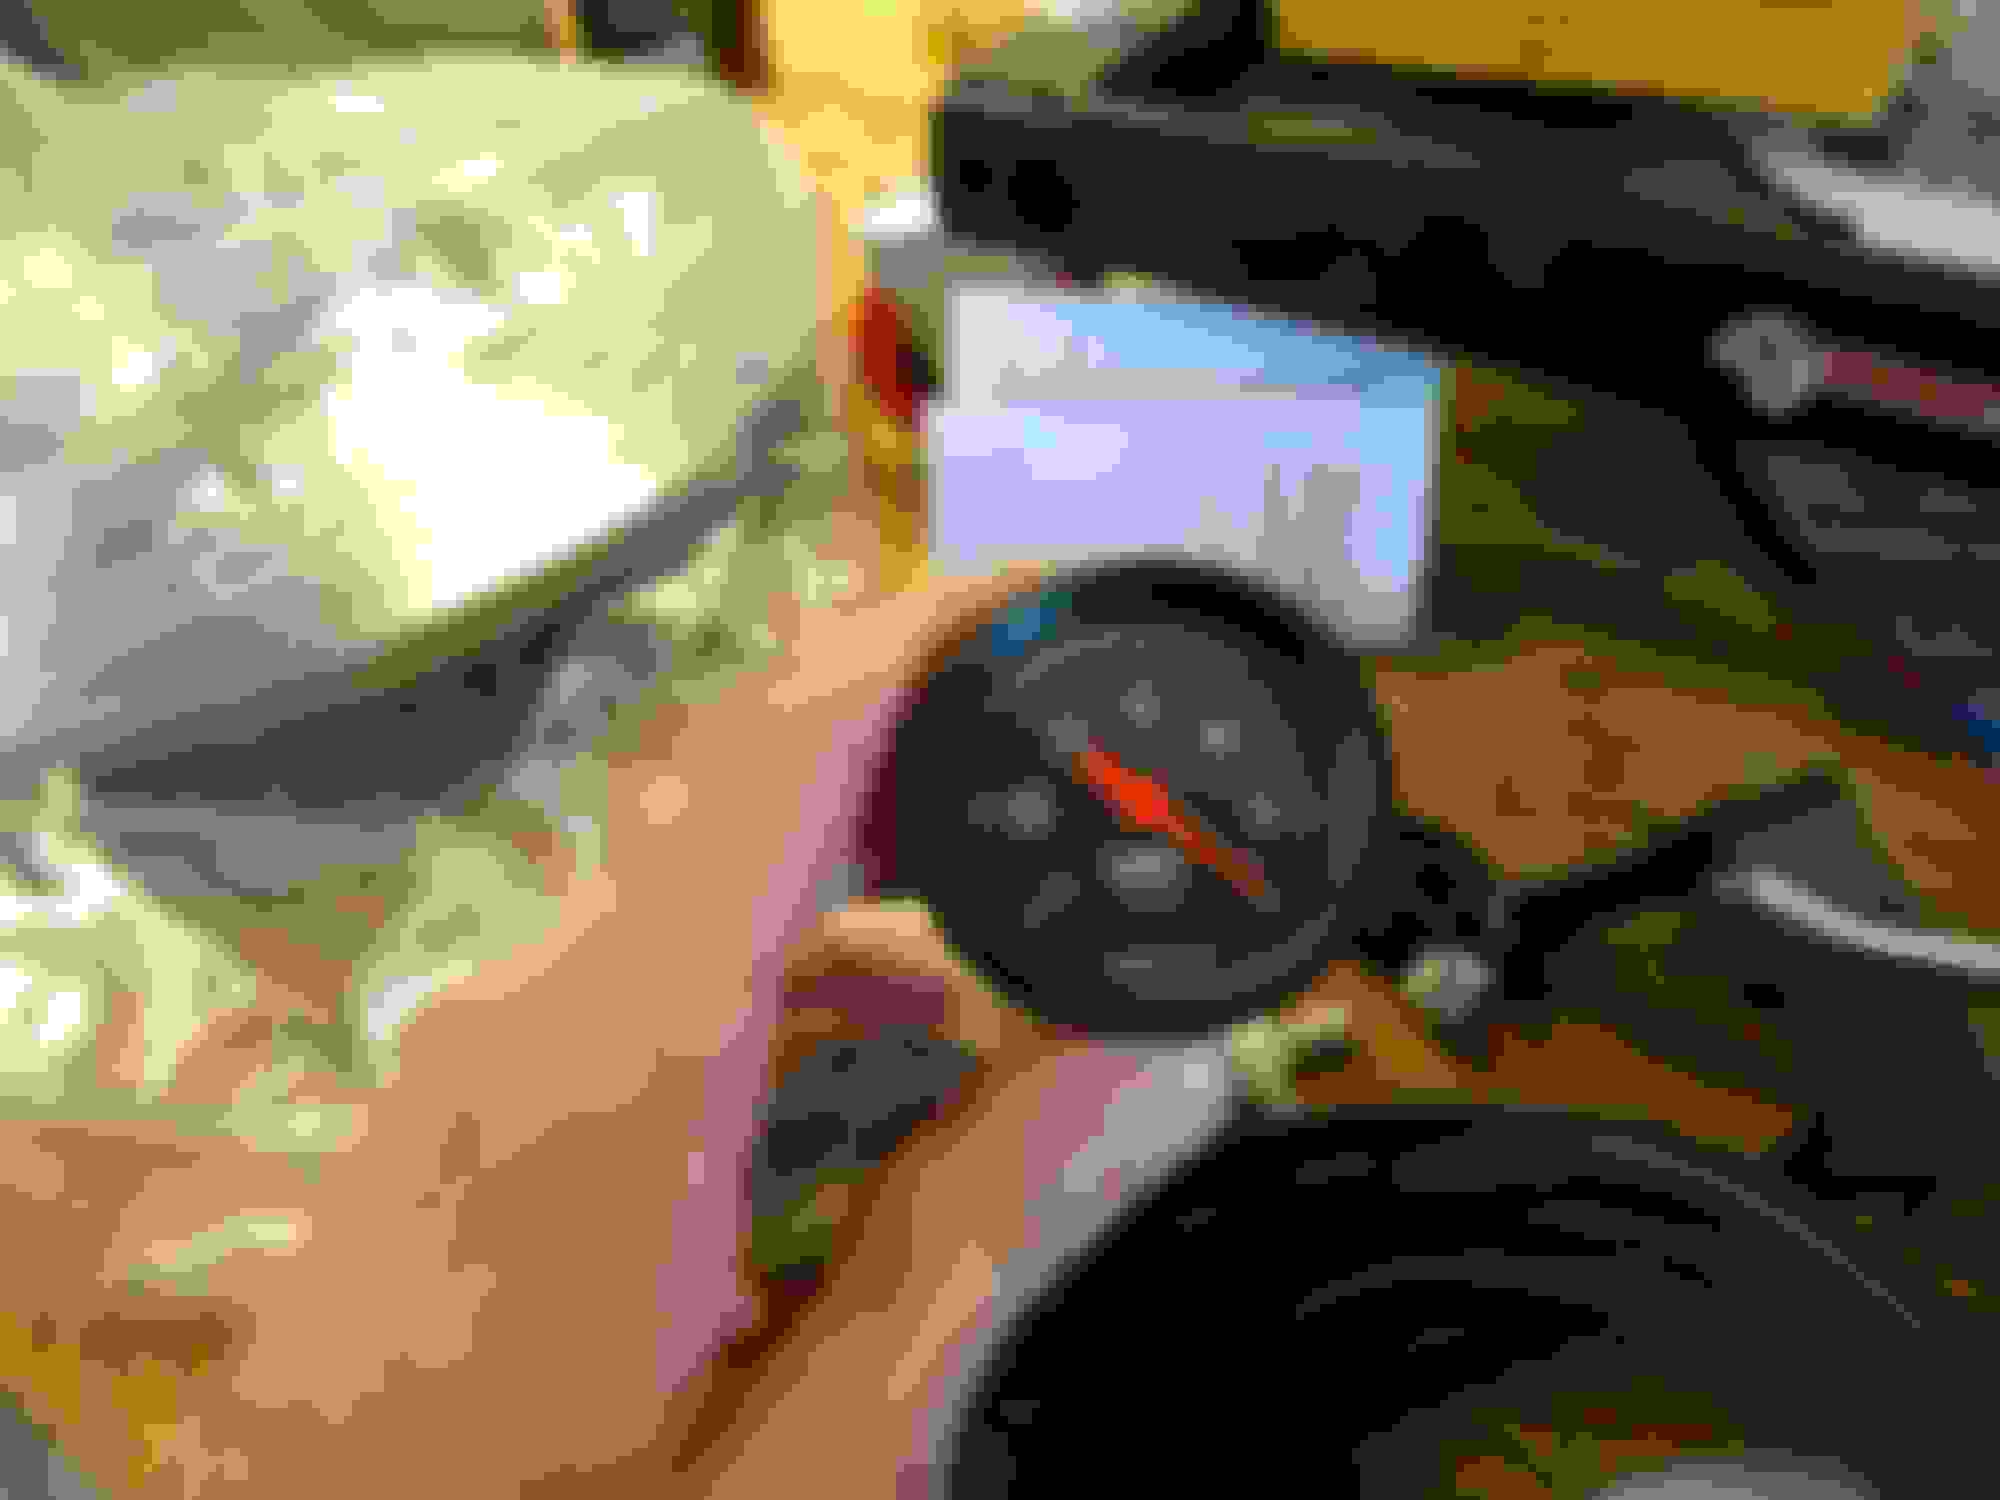
That was yesterday. This morning I go out and check all the fluids again as they are cold. Everything looks good. I start it up and with the oil cold, the gauge goes right to the 1/2 mark like normal, so I believe the sender and gauge to be working correctly. I slowly drive through the neighborhood and as the oil warms up I can see the gauge slowly fall. It never pegs bottom, but it looks just like yesterday. Here's a picture of the gauge from today. This is during steady state driving and the gauge has stabilized.
So I guess it's parked until tomorrow (Monday) so I can call them up and see what they recommend. This is obviously really upsetting. I keep thinking that I messed something up, after all these are the go-to people for 22RE's so who is more likely to make a mistake, me or them? But I can't find anything wrong so I'm at a loss. I was hoping to take this on a road trip this next weekend after putting the 400 break-in miles in this week, but I'm not sure that's going to happen anymore.
Last edited by arlindsay1992; Jul 21, 2019 at 05:56 AM.
Reason: Typo
Dang! What a pain, especially after waiting so long for the grand moment. I have a set of injectors from them sitting in my truck right now. Going to give a first whirl later today after head gasket replacement. I'll keep the tap in mind in case I'm having issues.
Are ya thinking maybe throw a real oil pressure gauge on there and see what the actual readings are? Maybe a change in oil viscosity?
It makes me feel like an old man (I�m not old!) but I have a serious lack of faith in the quality of most things anymore. I�m sure 22re Performance will be stand up and right any wrong. Far too much coin and time spent to just walk out on you. A small outfit can�t stick around if that�s their modus operandi. Unfortunately, there�s likely to be more money and time spent.
I know you know your stuff. Just throwing those thoughts out there in case they were lost in anger and frustration. I feel for ya man. You�re almost there!
A real oil pressure gauge is exactly what I want to try next. I suppose there are some rough guidelines of what's good and what's bad, but I don't have a true history of what the engine was making when I first started it, or what the previous engine was making.
I have no doubt 22RE Performance will stand behind their work if something truly is wrong, but I'm still hoping it's a simple fix like a sender or gauge, or that I missed something that I can fix here. I really don't want to wait for a replacement engine, and I don't want to go through all the work of swapping engines again. Plus, they only warranty their engine, no shipping or labor. So I'd be out another $250 or so for shipping, plus a lot of lost time.
Well, good news, I guess. I bought a cheap mechanical oil pressure gauge and hooked it up for testing purposes. Numbers seem okay and right in line. FSM calls for more that 4.3 PSI hot idle, and 36-71 PSI hot at 3000 RPM. A google search of "22RE oil pressure forum" gives a lot of comforting results. Some people report higher numbers, but they might be using high volume pumps or have the stock relief valve shimmed up, but the majority seemed in line with what I'm getting. So I guess my issue is the factory sender or gauge. Weird that it would go bad just after replacing the engine. I used pipe dope on the oil pressure sender threads since I heard teflon tape can sometimes cause grounding issues and false readings. Very strange. I think the way to calm my nerves is to buy an aftermarket oil pressure gauge. Kind of sucks because I'll have to buy a three gauge pillar gauge pod to replace my two gauge pillar gauge pod, and also another gauge. I'll be buying an electric oil pressure gauge to mount permanently. Running oil lines into the cab just seems like a bad idea. But overall, this is a good ending to the problem. The engine appears healthy and I'm able to drive it.
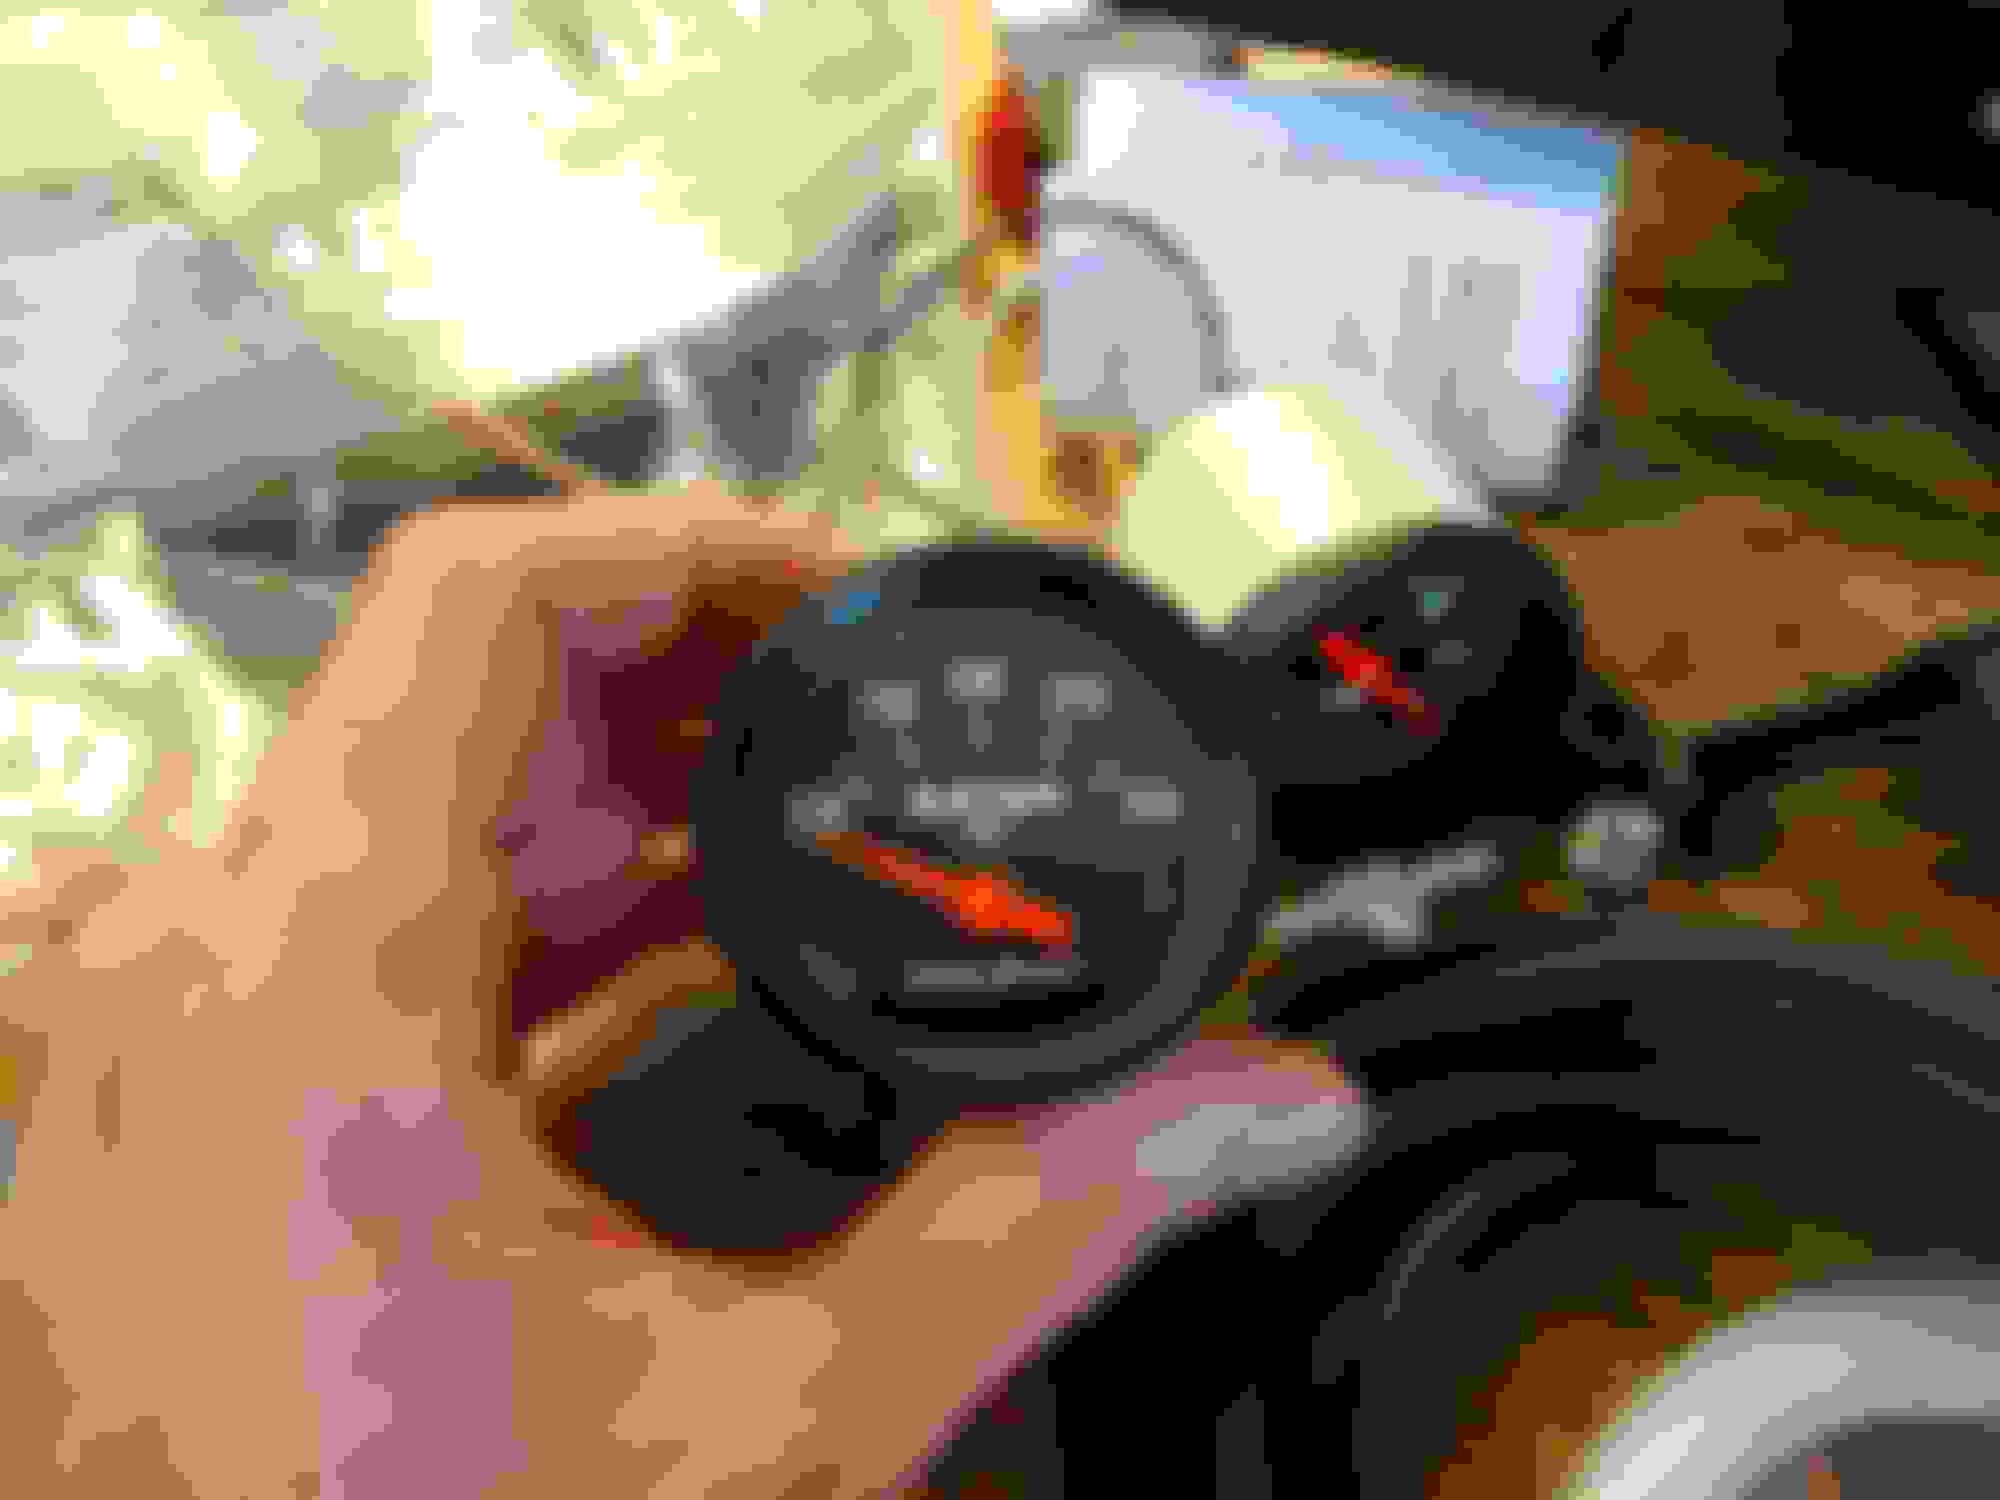
Temporary oil pressure gauge.
First start. If you consider 97 degrees as cold, then the engine is cold. It's super hot today. Idling slightly high since the engine is cold. Gauge reading 59 or 60 PSI. Factory gauge reading just below what I would call normal.
Cold engine, 2500 RPM. 65 PSI on the mechanical gauge, about normal on the factory gauge.
Now some hot numbers. Hot idle, 13 PSI. Factory gauge reads pretty low.
And hot at 3000 RPM. 58 PSI on the mechanical gauge, and lower than expected on the factory gauge.
When hot, I was unable to ever get the factory gauge to read a level I would consider normal. I remember it used to sit perfectly horizontal when driving. Now, I don't have any numbers to compare to, since I never had a gauge with actual numbers before. But on three different 22RE trucks the needles all sat perfectly level at anything over 2000 RPM or so.
Awesome news! I bet that was a big relief.
My dashboard oil pressure doesn't work and have not been able to fix. As a last attempt, I just replaced my oil pressure sensor with a brand new one from 22reperformance and no luck. I'll probably add an a pillar.
What a pillar did you get? Where did you get it from? I see one in my near future.
I bought it from gaugepods.com. Want to buy my two gauge pillar gauge pod? I'm going to be buying the three pod setup so I can add an oil pressure gauge. Mine's already painted.


 Jun 25, 2019 | 02:38 AM