
93 pickup build
 Oct 12, 2014 | 11:14 AM
#1
Thread Starter
Registered User
Joined: Jan 2014
Posts: 14
Likes: 0
93 pickup build
so I have been meaning to get around to posting a build thread for my pickup for a while but never got around to it. Now I am finally going to start one. I have done quite a bit to the truck since I got it in January of this year. I am not very good at taking pictures of all the work that gets done to it because when I start a job I just need to get it done before I can relax so pictures are the last thing on my mind. This is my first 4x4 pickup truck and also my first Toyota. I am pretty mechanically inclined and have done all my own work since my first vehicle. This is what I have done so far and I will try to be more diligent in documenting the work from now on.


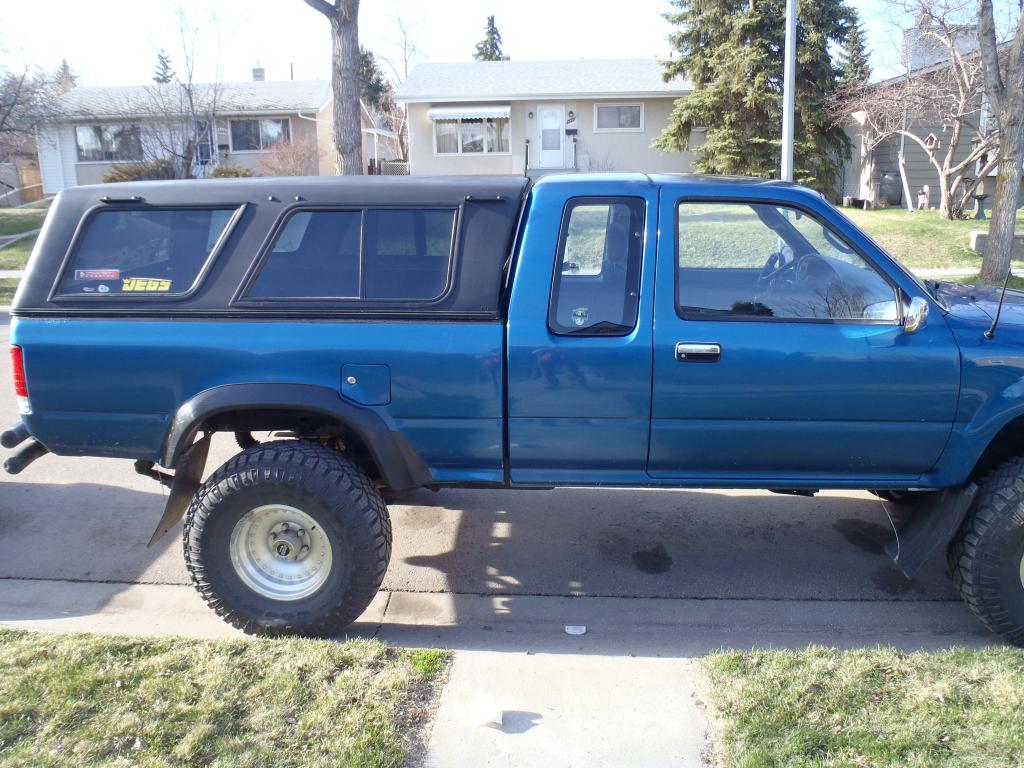
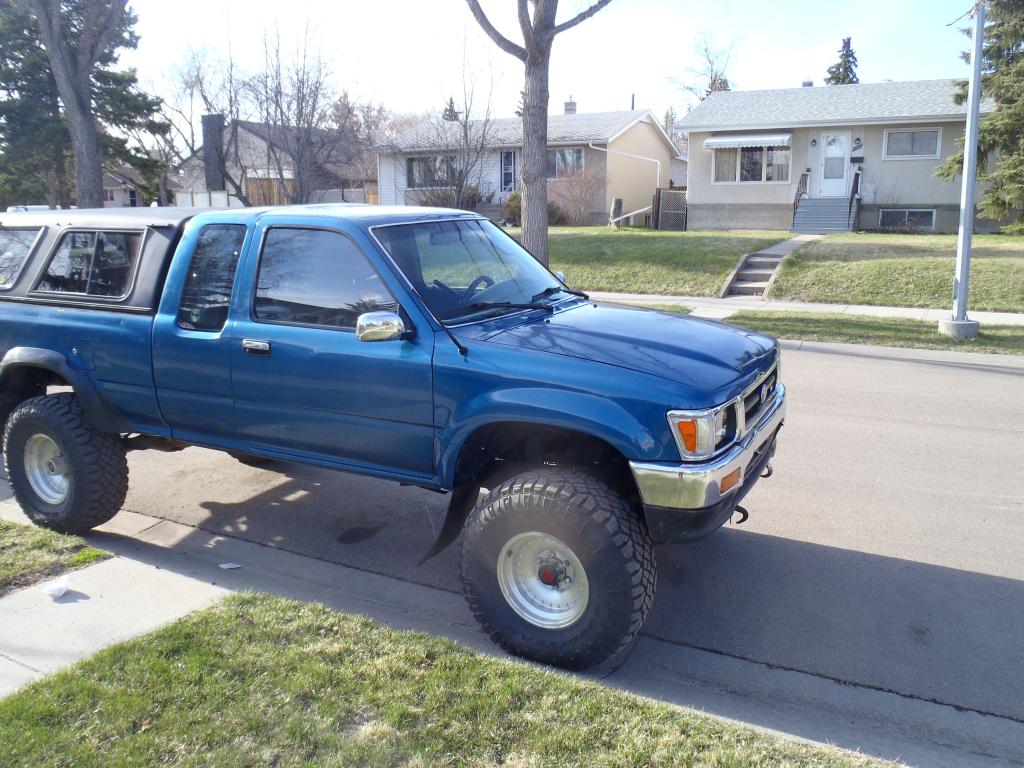
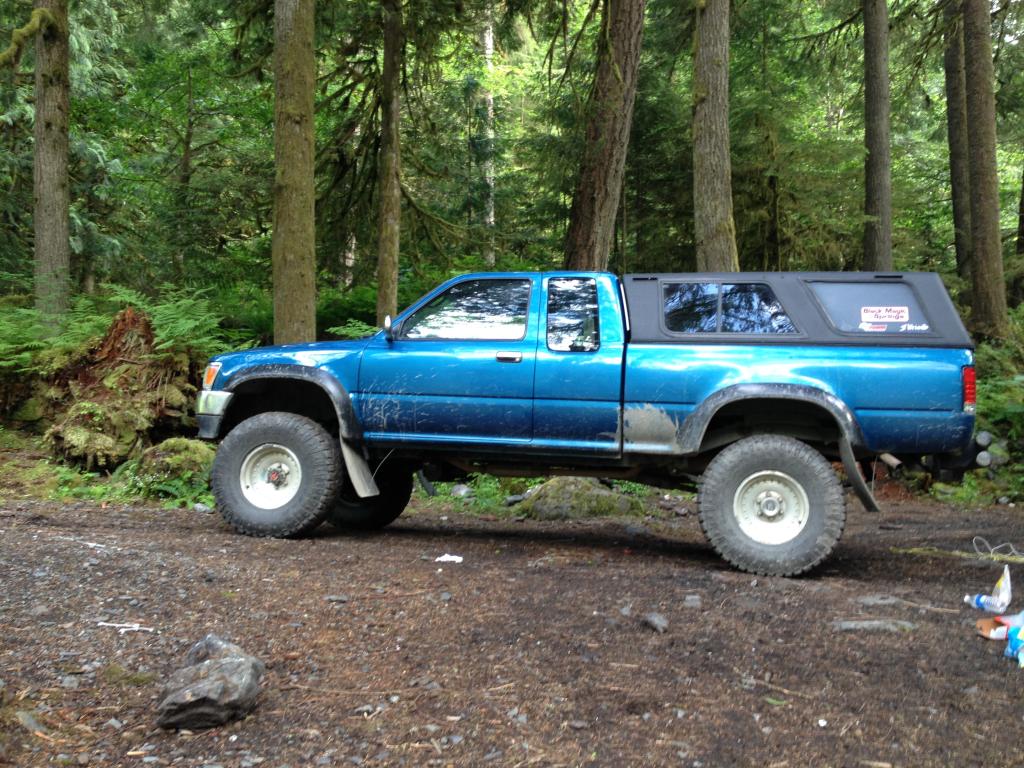
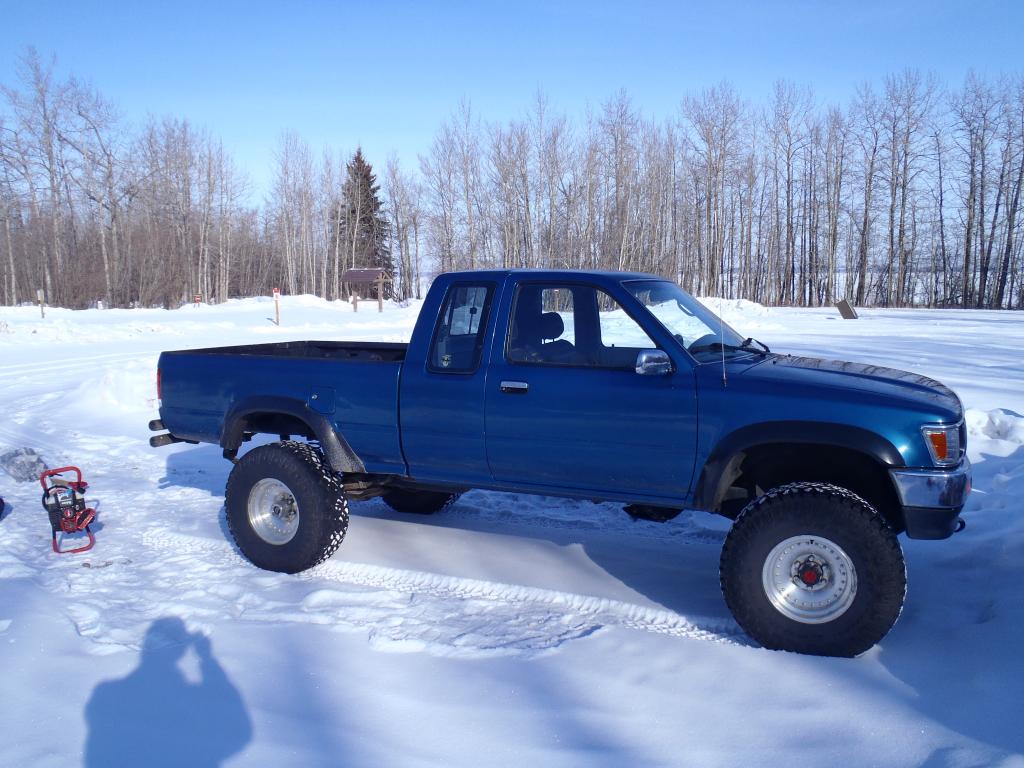
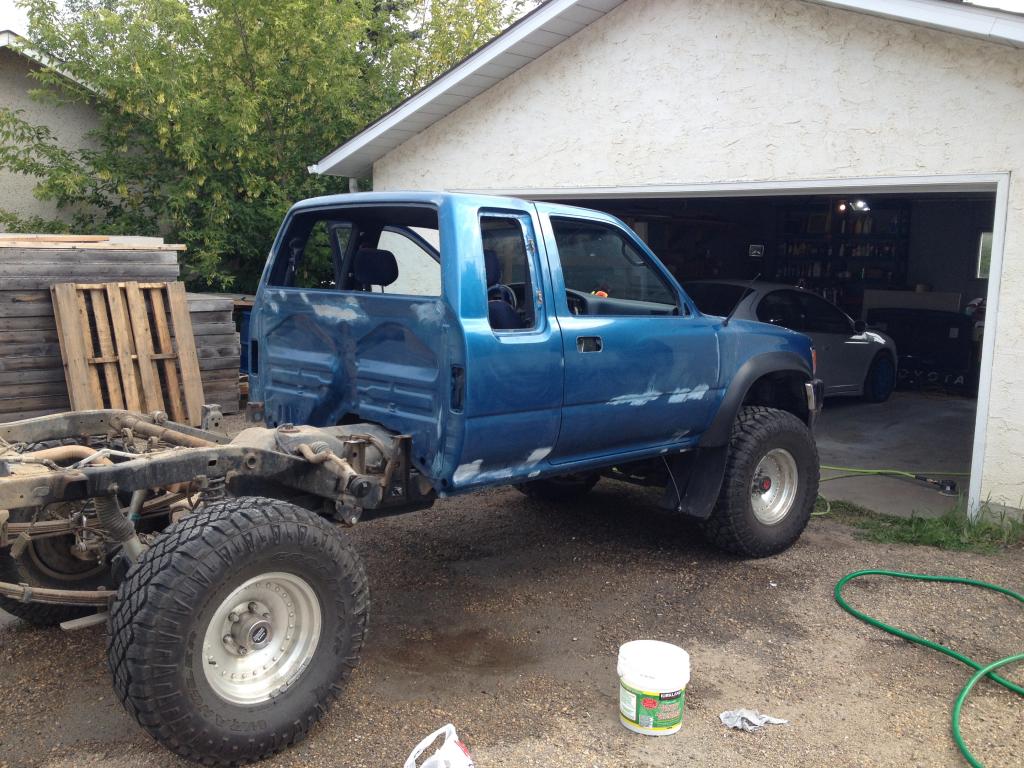
Here is the truck when I first brought it home.
The first thing I did was install some mud flaps after getting a TON of rock chips from the tires slinging up rocks.


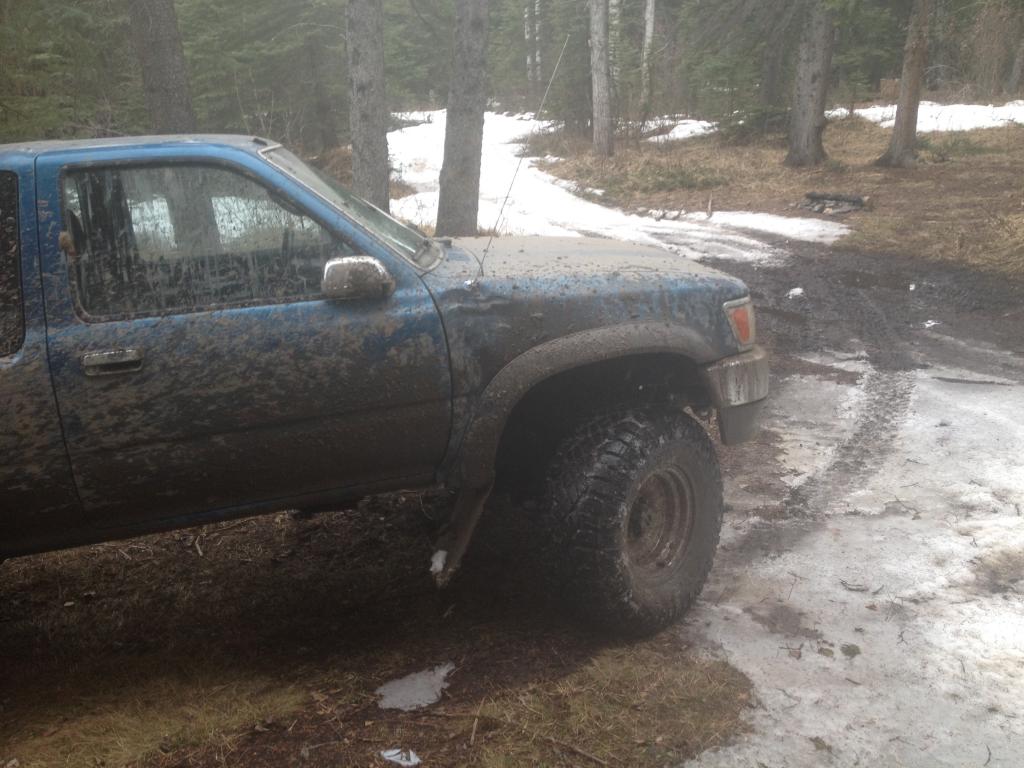
Went out for a weekend on the trails. This was the first trip I had taken the truck on since I bought it. It was all fun and games until the trails started getting a little bit tight.......Had a little bit of a run in with a tree.

It was a bummer but also a new chance to learn how to paint and do some body work. So I went out and bought new fenders (decided to do both sides which turned out to be a good thing because the drives side had a bunch of rust hidden under the fender flare)
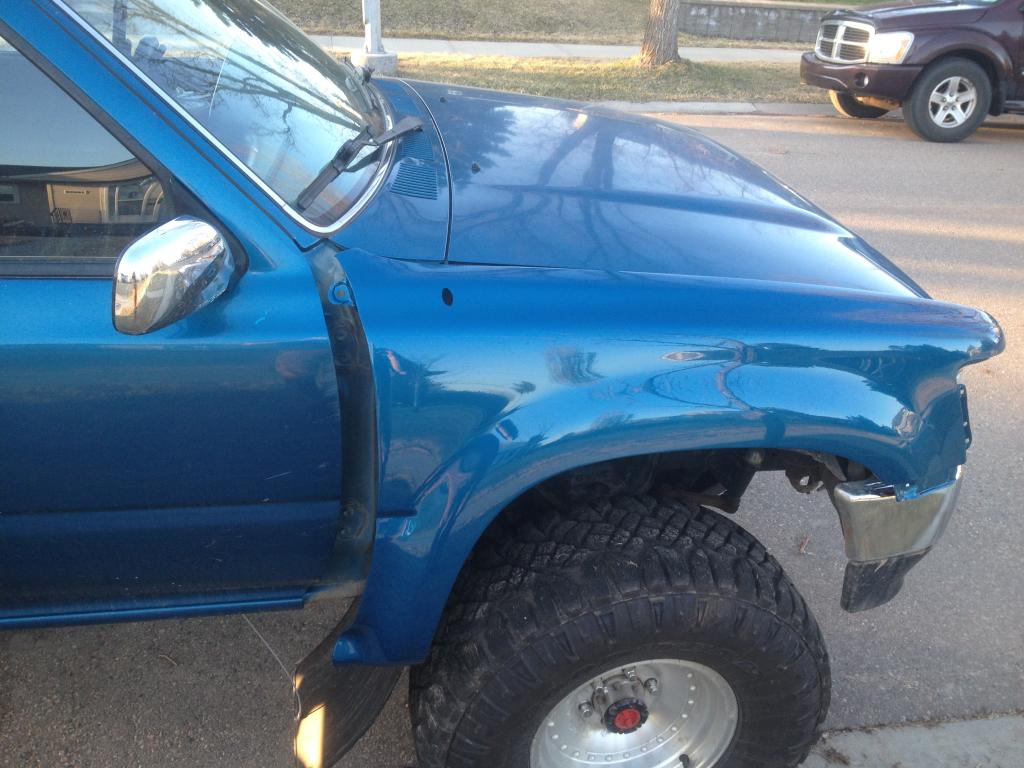
Then some new fender flares to replace the broken one..

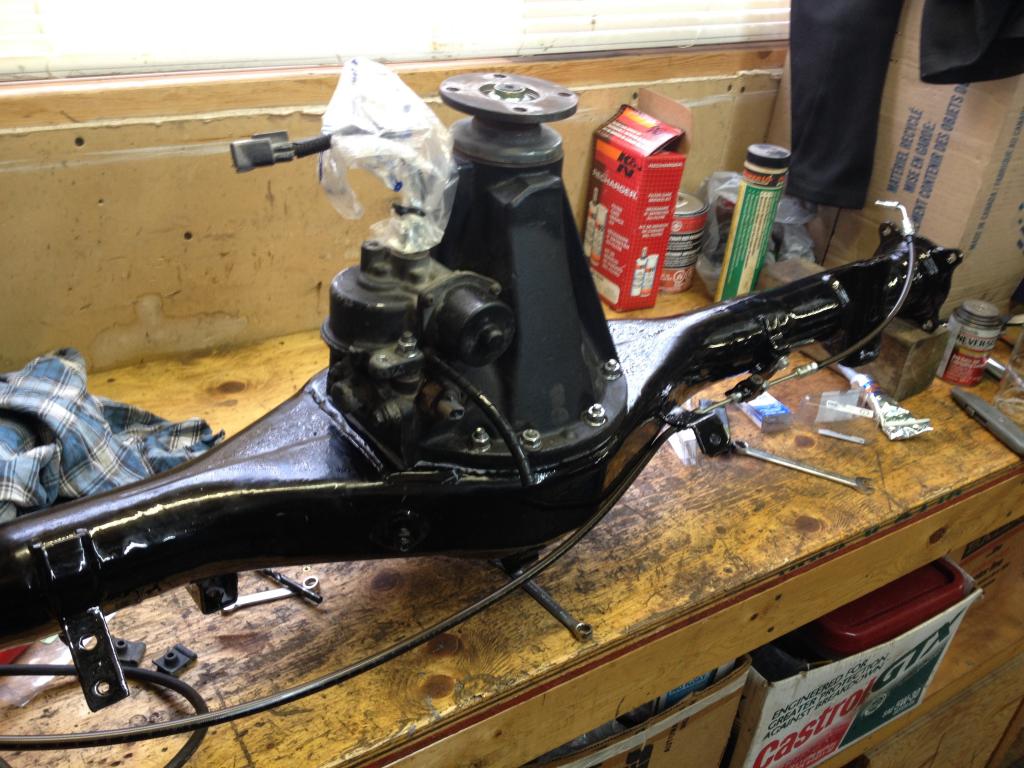
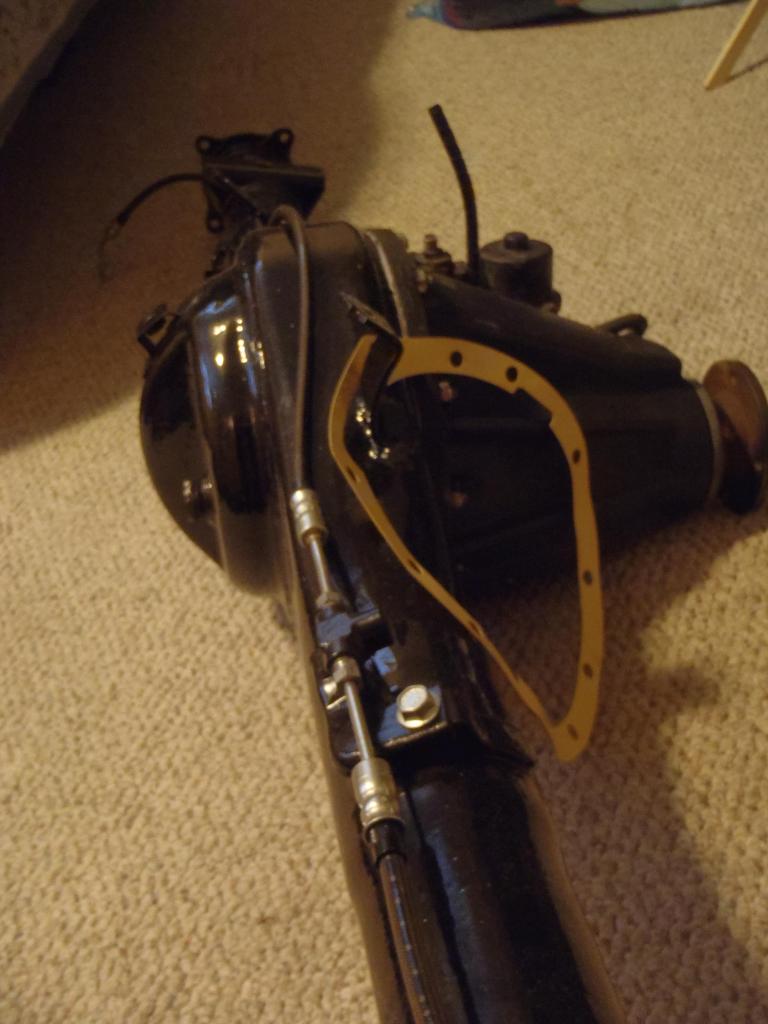
When I bought the truck I got a E-Locker with it (not installed) and a spare housing. I decided I would start to mod the spare housing for the elocker. I cut out what needed to be to fit the locker and then drilled and taped the new holes. At that point in time a didnt have a welder so I brought it over to a friends to have him weld it for more gasket surface.


Then I primed and painted the housing and set about installing the sucker.
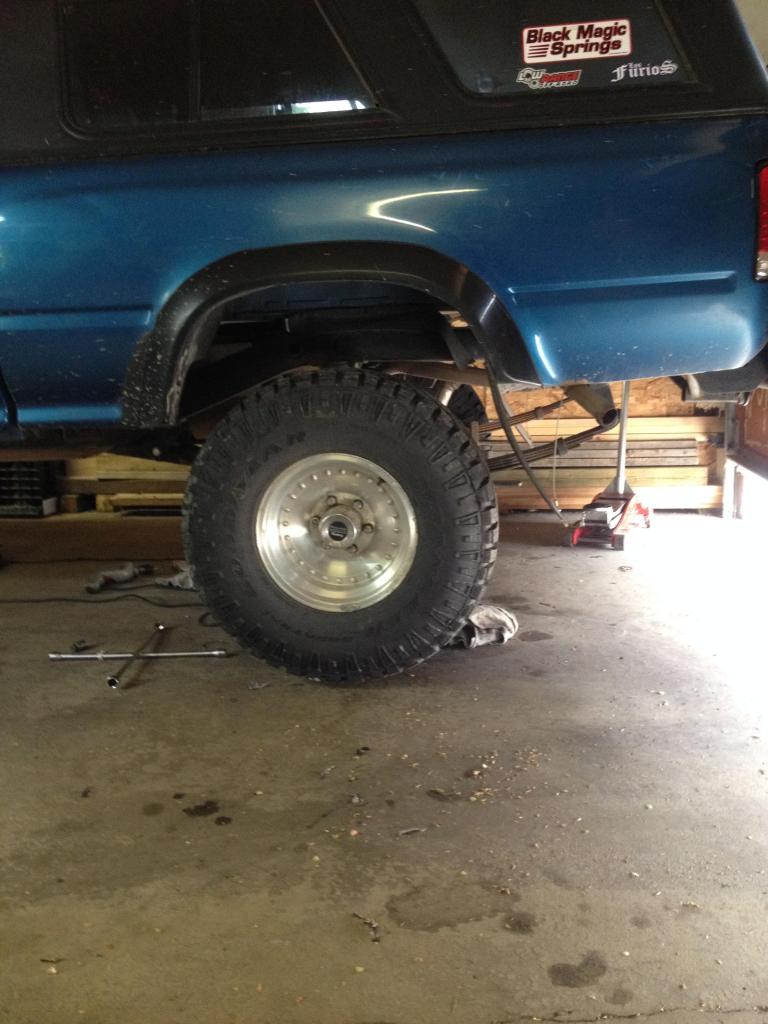
New stainless braided brake lines to go with it.
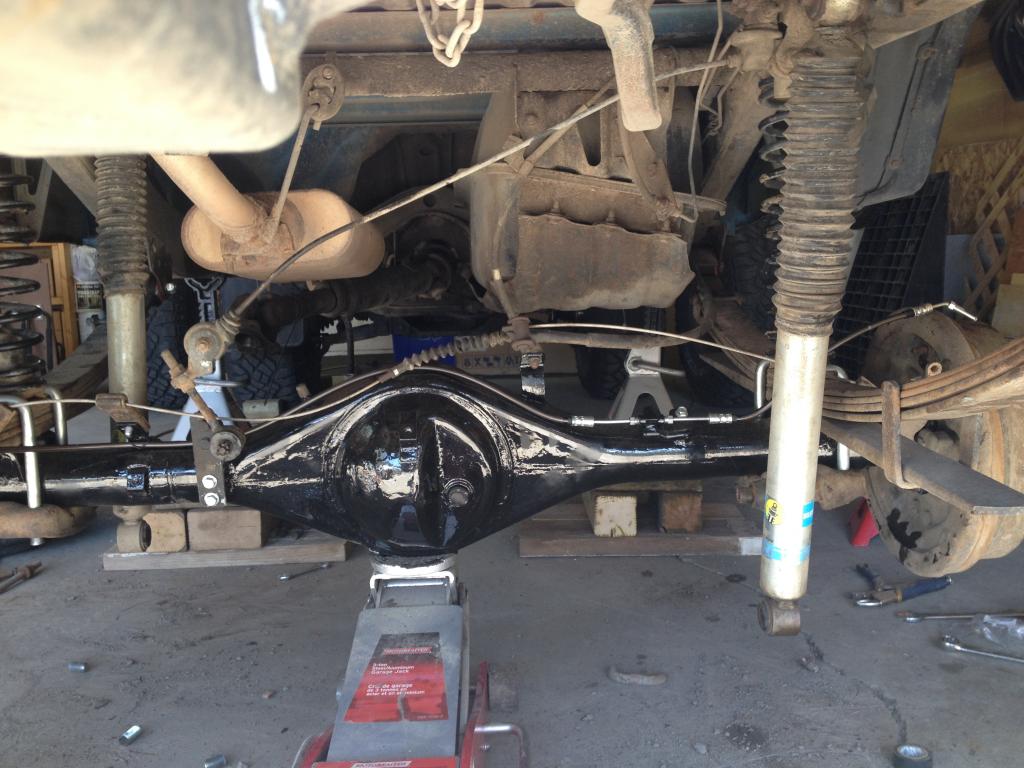

Glad I got that installed when I say the old gears/diff
And the worst part about it all was that being new to trucks I didnt check to make sure that it was the right ratio before I installed it. I went of PO word that it was 4.56. Turns out it wasn't. I found that out as soon as I tried to kick it into 4x4. Soooo out she came and put the old one back in for the time being. Turns out it was 4.30 which is common, I later found out, for stock E-Lockers.
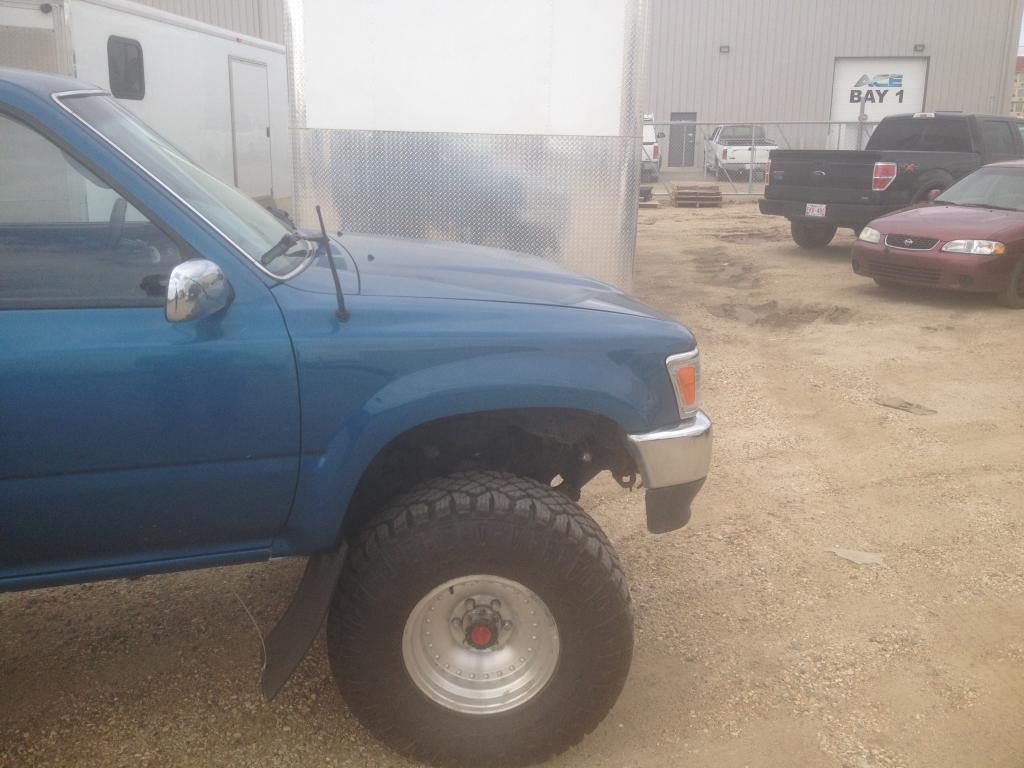
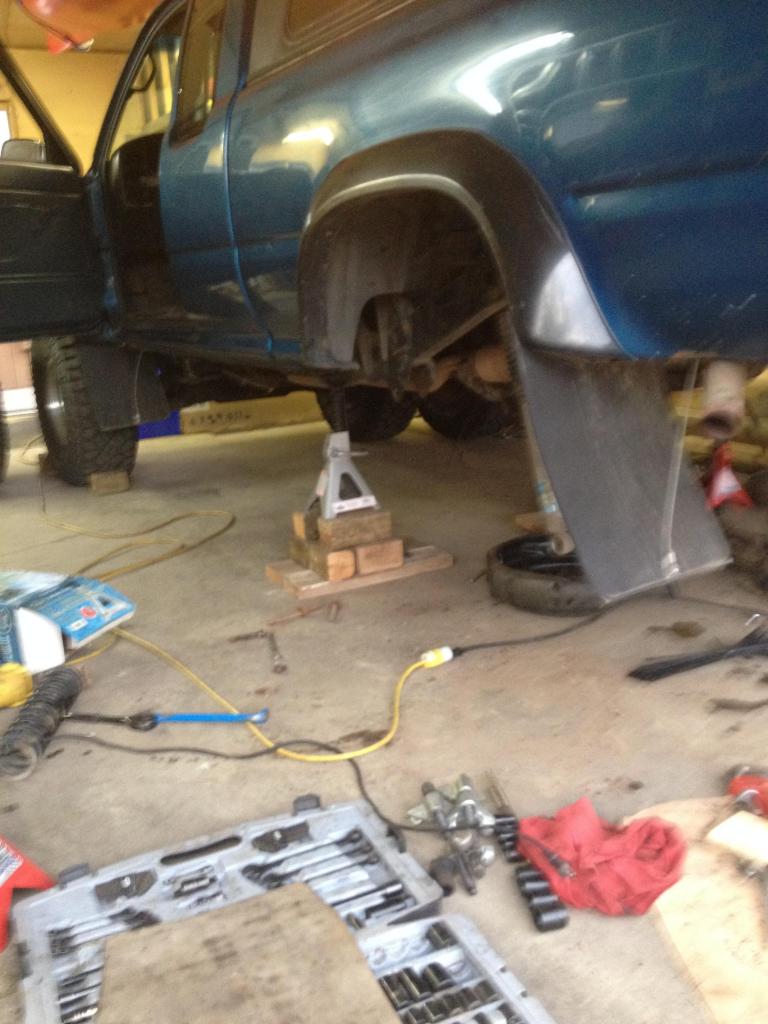
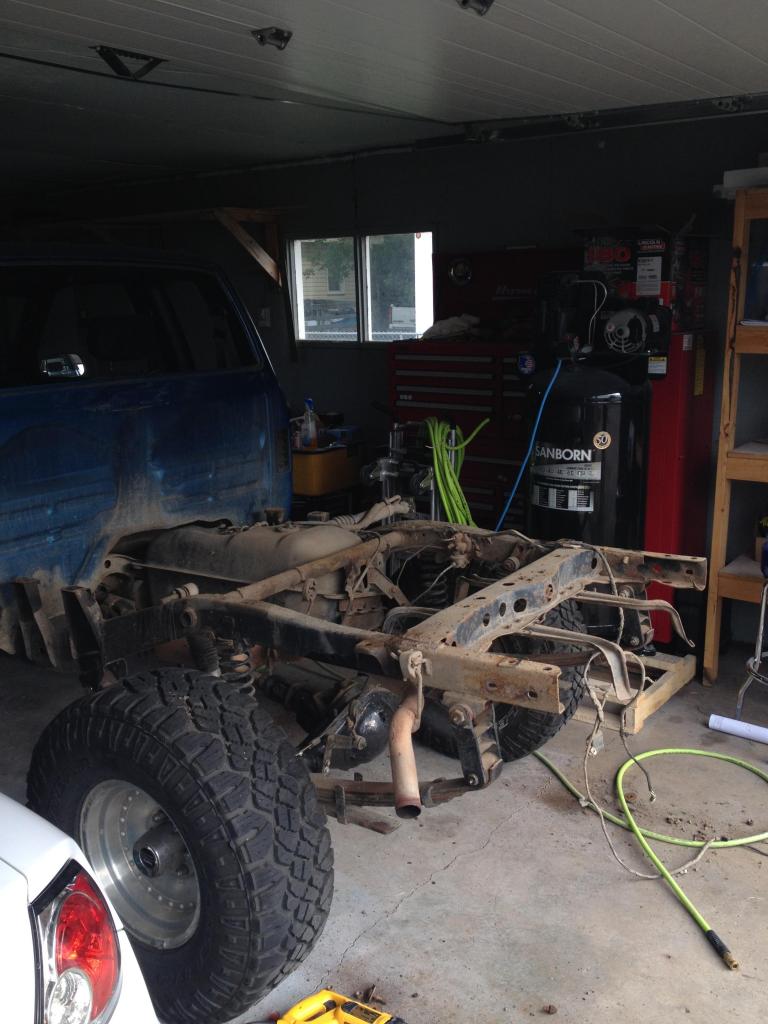
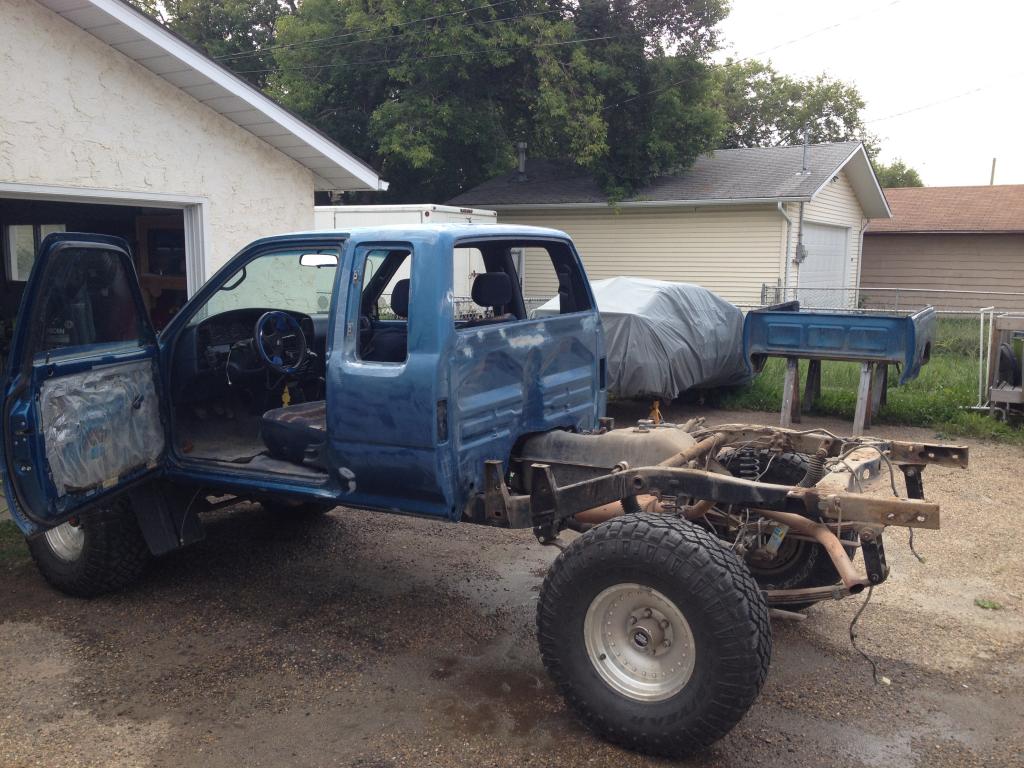
Couple of random pictures


Now since I had got the truck I had quite a bit of work to it.
-New balljoints
-New idler arm
-New pitman arm
-New leaf spring bushings
-New CV axles
-New sway bar links
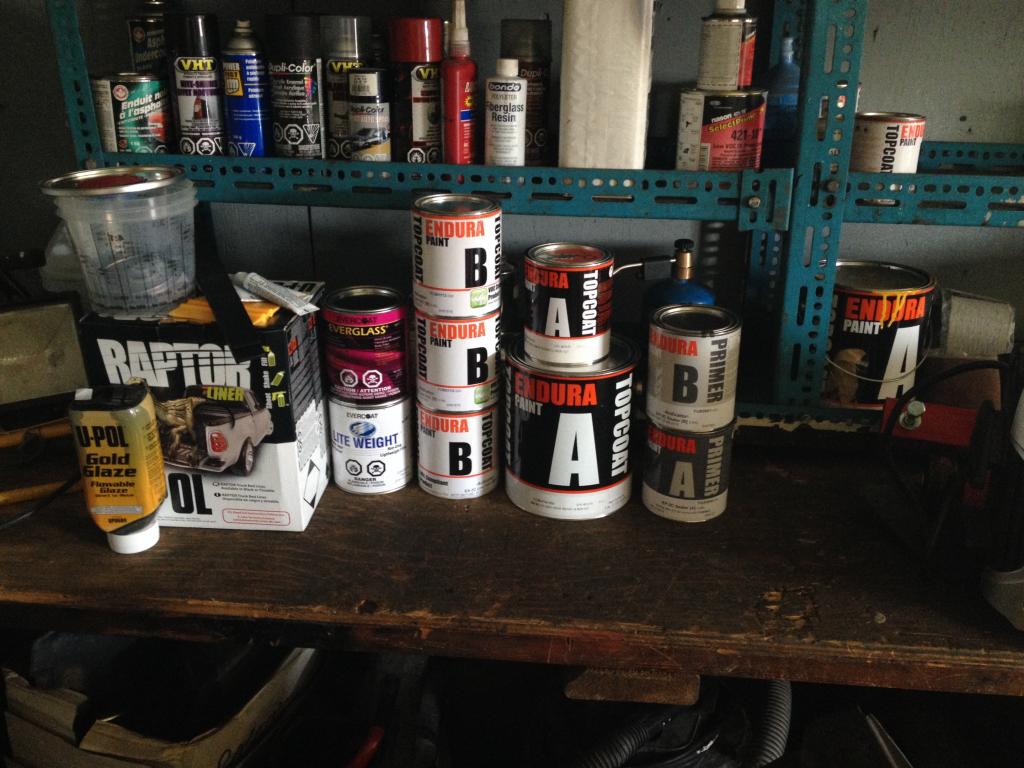
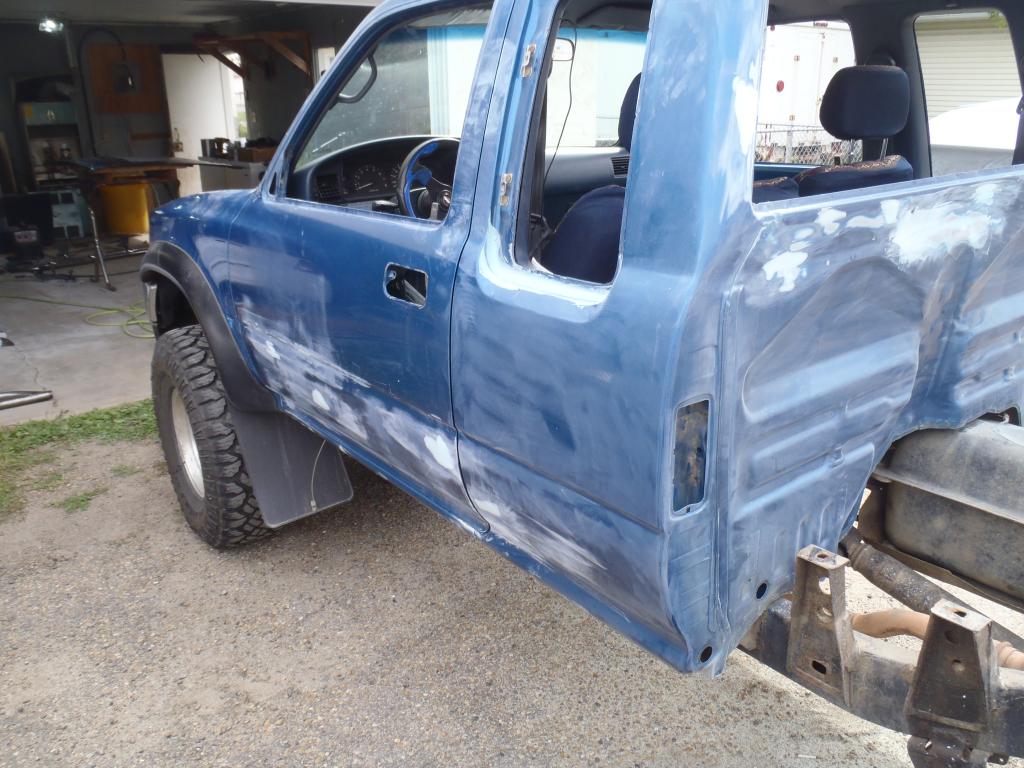
So after all that I needed something else to do. I had always hated the rock chips that I got before I put the mudflaps on and there was a little bit of rust that I just couldn't help but see all the time. sooo I decided I would paint my rig. I booked a week of work (ohhh yeah a week is plenty of time to paint a truck I though. I also was camping 3 of those days. So really only 4 days) I went and picked up primer, paint, bondo, fiberglass filler and Box liner. Along with a new 60 gallon compressor, a little lincoln migpak 180 welder, a sandblaster and a paintgun (I went through a little bit of a spending spree). There was also a million other things that I picked up for the job like sandpaper, scotch brite, grease remover and so on. I learnt a lot of things as I started thing new task of painting my truck. I takes a very very long time to do things right and sanding sucks haha. I spend almost all 4 days just prepping the cab and didnt even lay any paint down. It was brutal. All in all it took a month and a half to get it primed and painted. There was a lot of mistakes made that resulted in taking many steps backwards and calling in friends to help re sand. I learnt that I can make paint run on just about any surface imaginable. Even a Hood. So I called in a favor from my brother in law who was teaching my the ins and outs of body work/painting. I did all the prep work/ priming and he laid the topcoat so that it would turn out nice. when it was all said and done, for being done in a garage by a guy who has never done real bodywork before it turned out alright.


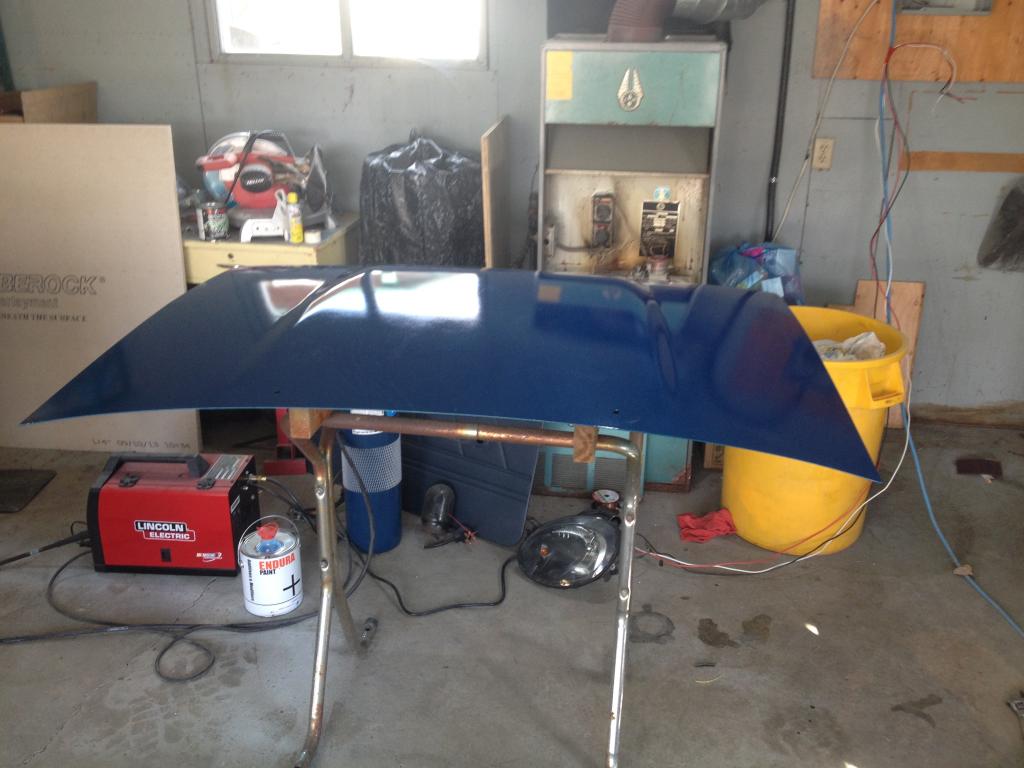
My first attempt at painting the hood. Horrible. Laid it on to dry and it had lots of orange peel

Box liner sandblasted out and hood re sanded after bad first attempt.
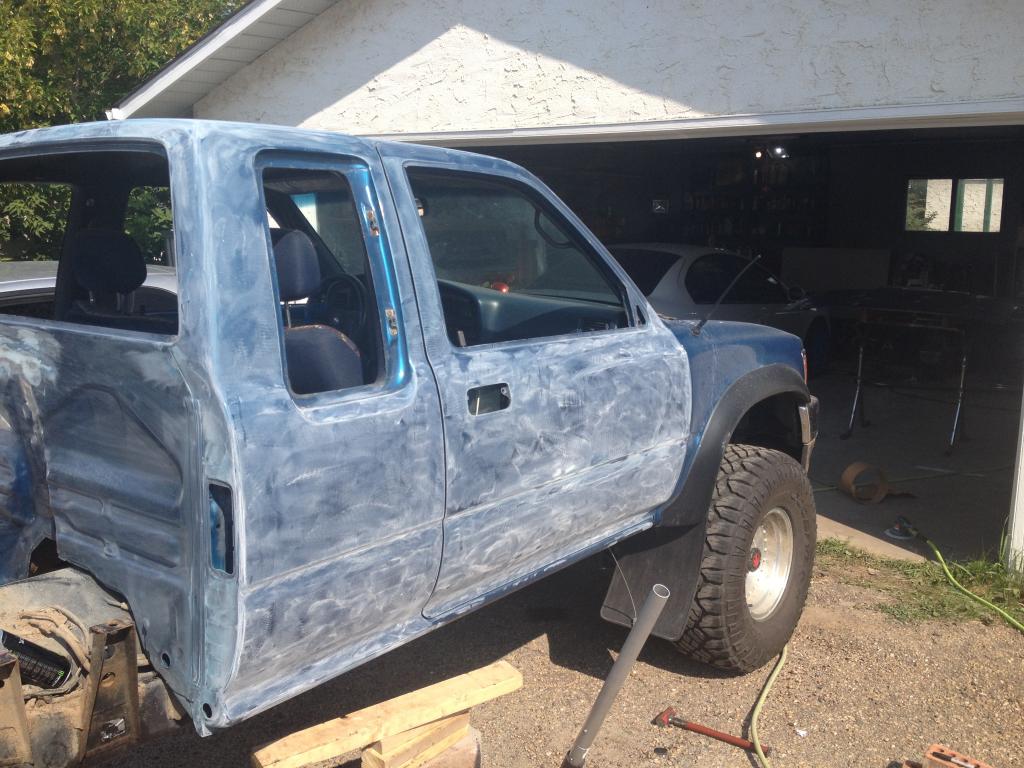
Decided to take the doors off and paint them separate.
Doors Primed

Cab prepped for primer
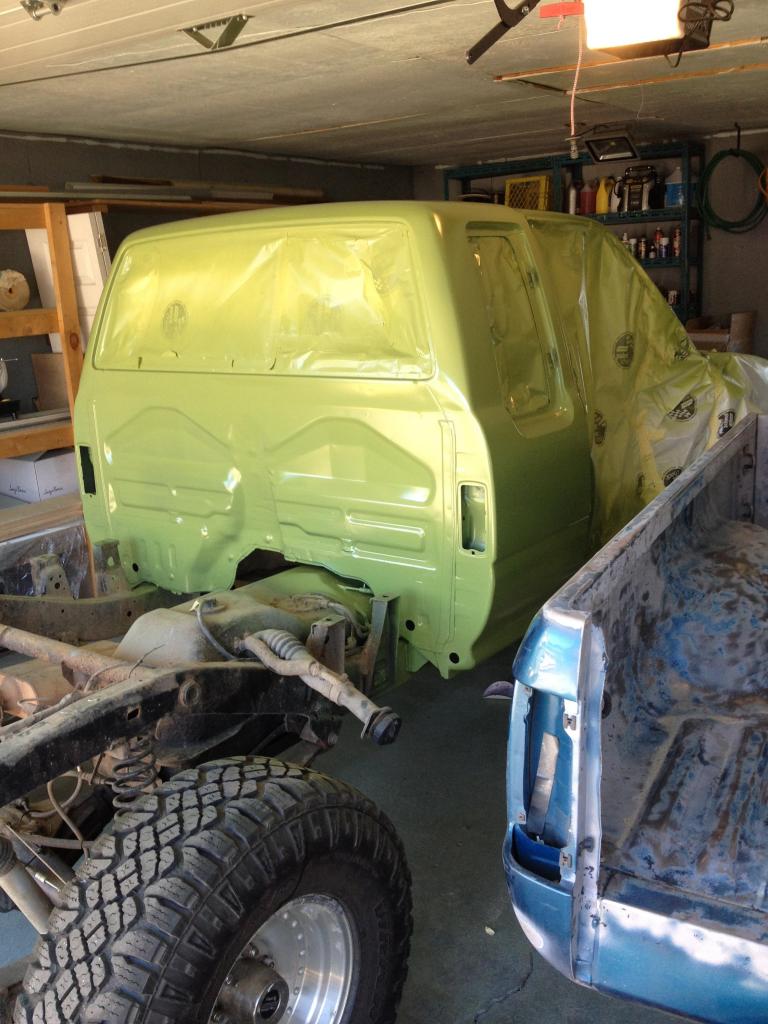
Cab primed
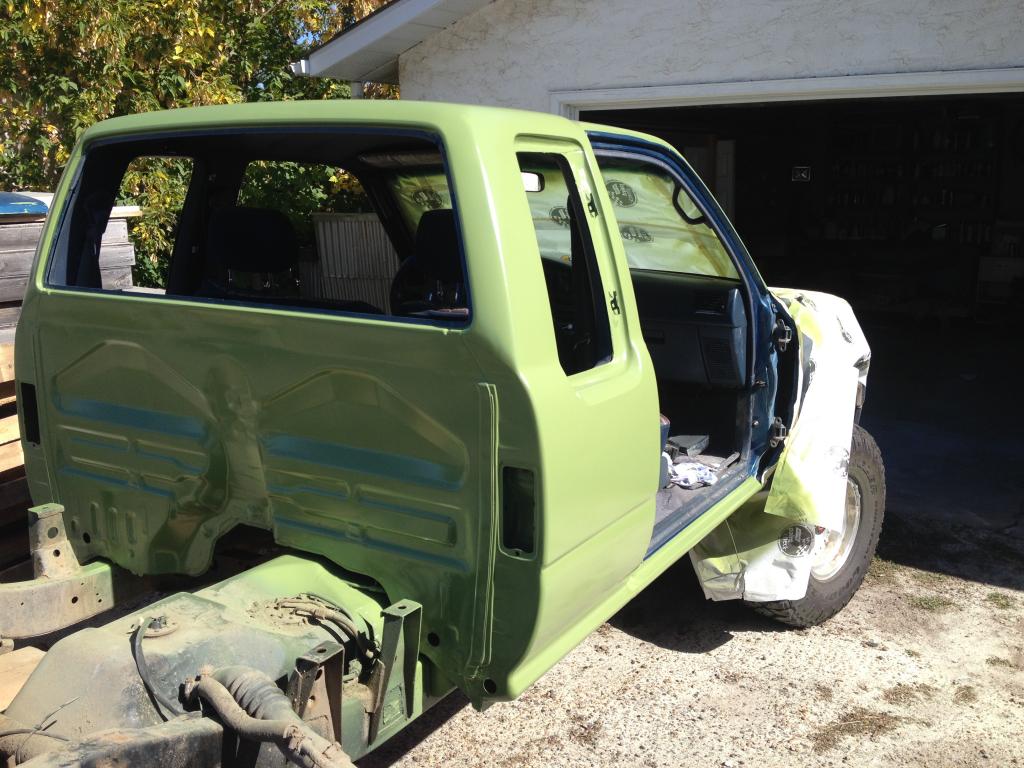
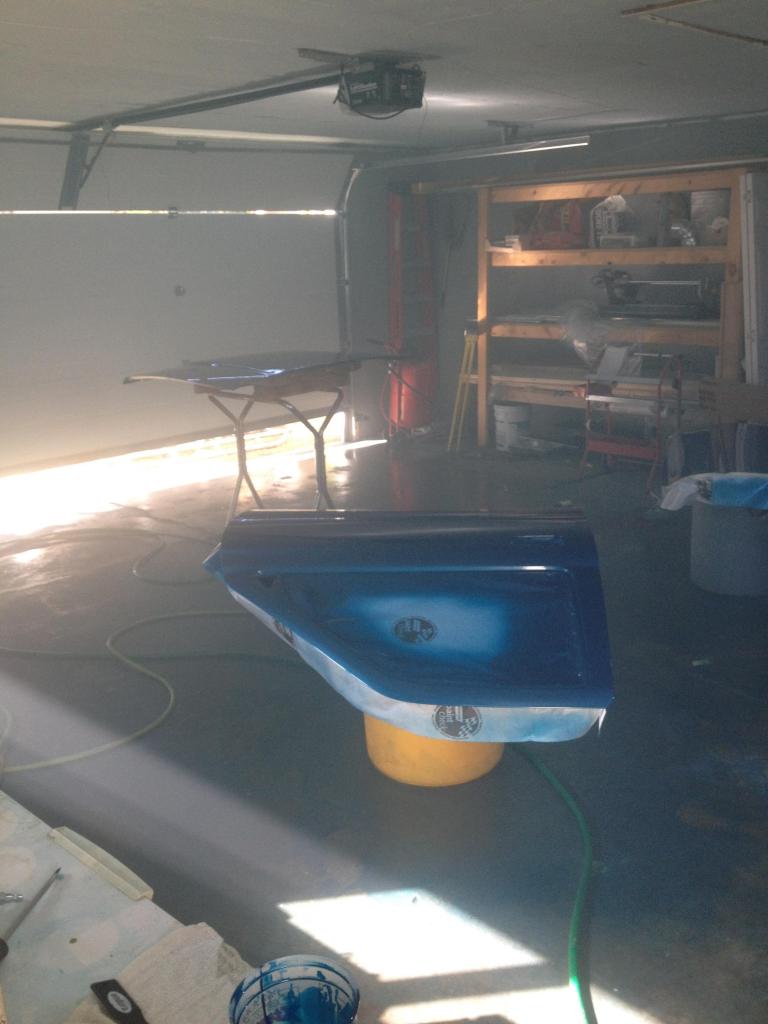
Doors and Hood painted
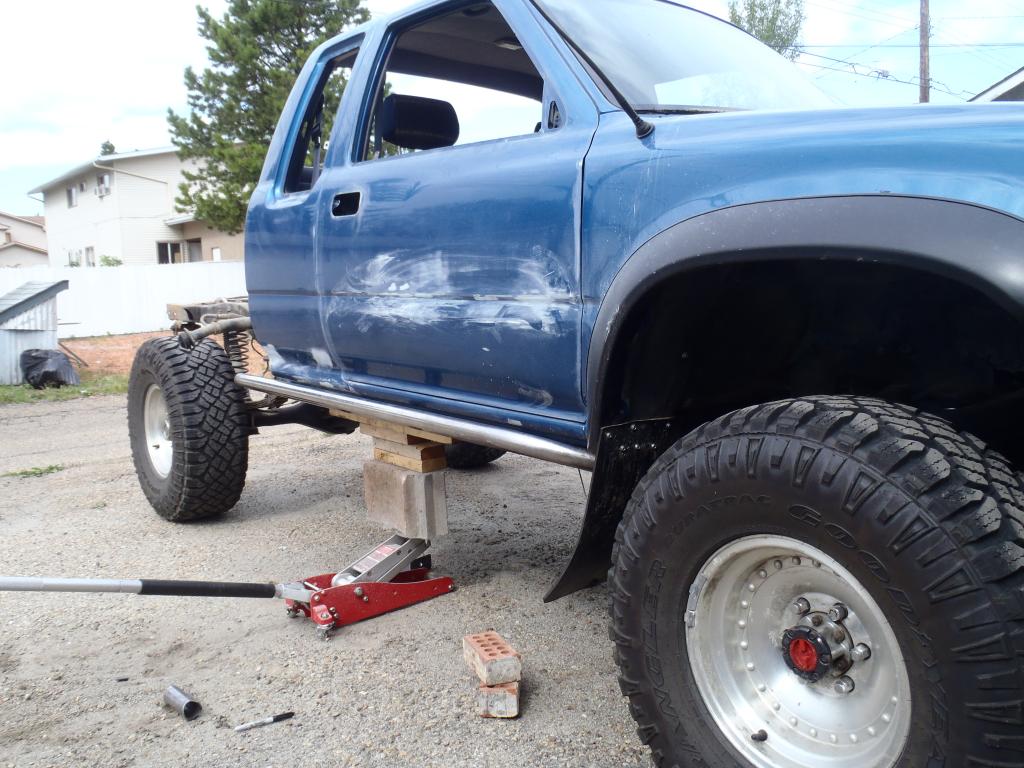
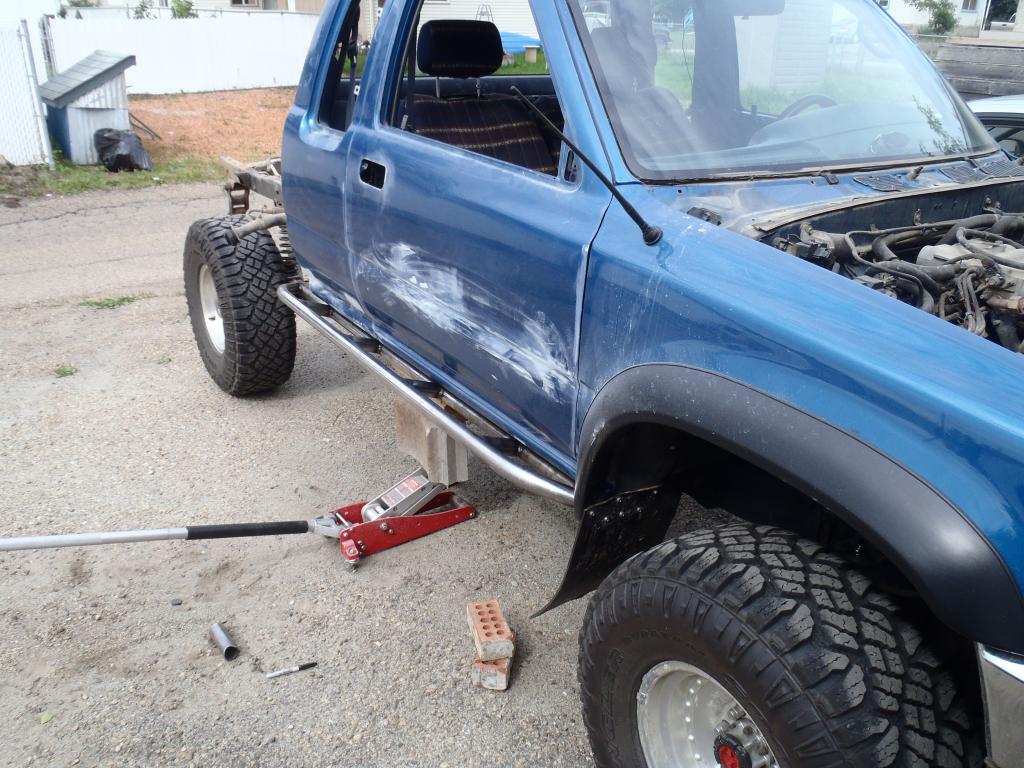
Then I got some trail gear rock sliders and started fabing those up.
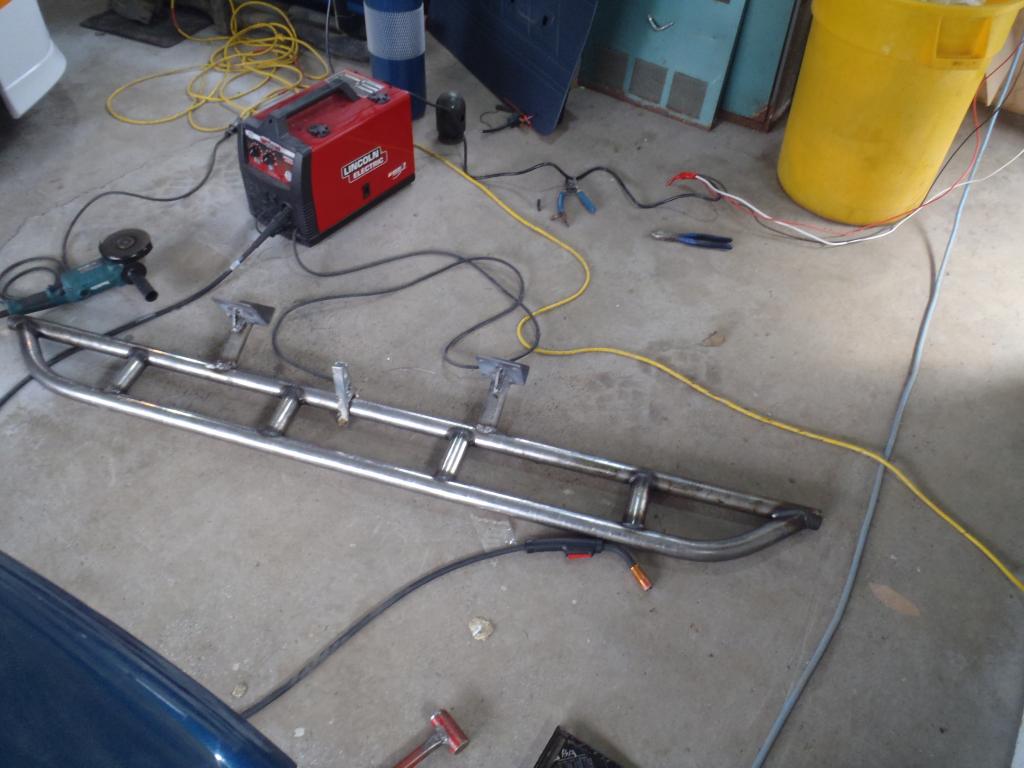
[IMG]
http://i1294.photobucket.com/albums/b612/BryanTAmer/IMG_0330_zps7b6ea60a.jpg[/IMG]
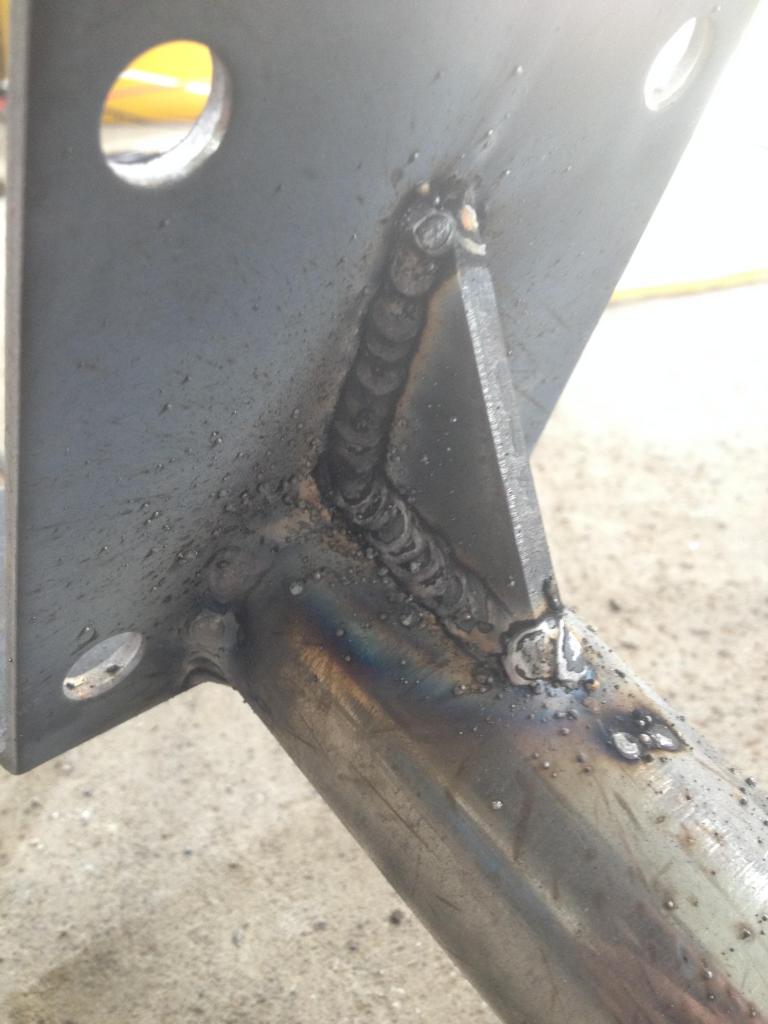
First time ever welding. Pretty bad. I have learnt a lot since then and now I can actually weld properly.
This is about where I stopped taking pictures because I was busy and work and just wanted to get the truck finished. I don't have pictures of the box being painted or boxlined.
Here is the only Picture of it finished that I have. I will try to get more later
[IMG] [/IMG]
And that's it for now. I will be back with more post later on. Next job is regearing the E locker and install.
Here is the truck when I first brought it home.
The first thing I did was install some mud flaps after getting a TON of rock chips from the tires slinging up rocks.
Went out for a weekend on the trails. This was the first trip I had taken the truck on since I bought it. It was all fun and games until the trails started getting a little bit tight.......Had a little bit of a run in with a tree.
It was a bummer but also a new chance to learn how to paint and do some body work. So I went out and bought new fenders (decided to do both sides which turned out to be a good thing because the drives side had a bunch of rust hidden under the fender flare)
Then some new fender flares to replace the broken one..
When I bought the truck I got a E-Locker with it (not installed) and a spare housing. I decided I would start to mod the spare housing for the elocker. I cut out what needed to be to fit the locker and then drilled and taped the new holes. At that point in time a didnt have a welder so I brought it over to a friends to have him weld it for more gasket surface.
Then I primed and painted the housing and set about installing the sucker.
New stainless braided brake lines to go with it.
Glad I got that installed when I say the old gears/diff
And the worst part about it all was that being new to trucks I didnt check to make sure that it was the right ratio before I installed it. I went of PO word that it was 4.56. Turns out it wasn't. I found that out as soon as I tried to kick it into 4x4. Soooo out she came and put the old one back in for the time being. Turns out it was 4.30 which is common, I later found out, for stock E-Lockers.
Couple of random pictures
Now since I had got the truck I had quite a bit of work to it.
-New balljoints
-New idler arm
-New pitman arm
-New leaf spring bushings
-New CV axles
-New sway bar links
So after all that I needed something else to do. I had always hated the rock chips that I got before I put the mudflaps on and there was a little bit of rust that I just couldn't help but see all the time. sooo I decided I would paint my rig. I booked a week of work (ohhh yeah a week is plenty of time to paint a truck I though. I also was camping 3 of those days. So really only 4 days) I went and picked up primer, paint, bondo, fiberglass filler and Box liner. Along with a new 60 gallon compressor, a little lincoln migpak 180 welder, a sandblaster and a paintgun (I went through a little bit of a spending spree). There was also a million other things that I picked up for the job like sandpaper, scotch brite, grease remover and so on. I learnt a lot of things as I started thing new task of painting my truck. I takes a very very long time to do things right and sanding sucks haha. I spend almost all 4 days just prepping the cab and didnt even lay any paint down. It was brutal. All in all it took a month and a half to get it primed and painted. There was a lot of mistakes made that resulted in taking many steps backwards and calling in friends to help re sand. I learnt that I can make paint run on just about any surface imaginable. Even a Hood. So I called in a favor from my brother in law who was teaching my the ins and outs of body work/painting. I did all the prep work/ priming and he laid the topcoat so that it would turn out nice. when it was all said and done, for being done in a garage by a guy who has never done real bodywork before it turned out alright.
My first attempt at painting the hood. Horrible. Laid it on to dry and it had lots of orange peel
Box liner sandblasted out and hood re sanded after bad first attempt.
Decided to take the doors off and paint them separate.
Doors Primed
Cab prepped for primer
Cab primed
Doors and Hood painted
Then I got some trail gear rock sliders and started fabing those up.
[IMG]
http://i1294.photobucket.com/albums/b612/BryanTAmer/IMG_0330_zps7b6ea60a.jpg[/IMG]
First time ever welding. Pretty bad. I have learnt a lot since then and now I can actually weld properly.
This is about where I stopped taking pictures because I was busy and work and just wanted to get the truck finished. I don't have pictures of the box being painted or boxlined.
Here is the only Picture of it finished that I have. I will try to get more later
[IMG]
[/IMG]And that's it for now. I will be back with more post later on. Next job is regearing the E locker and install.

Trending Topics
 Oct 15, 2014 | 02:08 PM
#10
Thread Starter
Registered User
Joined: Jan 2014
Posts: 14
Likes: 0
Ya I am pretty stoked. I have never installed gears yet but I guess I'm gonna learn. I called a place for a quote and they wanted 400 just for the gear install. Screw that noise. So I went out and bought a 12 ton press, a bearing separator and a puller. I would rather spend the money on tools and learn how to do it.
Oct 15, 2014 | 06:51 PM
#12
Thread Starter
Registered User
Joined: Jan 2014
Posts: 14
Likes: 0
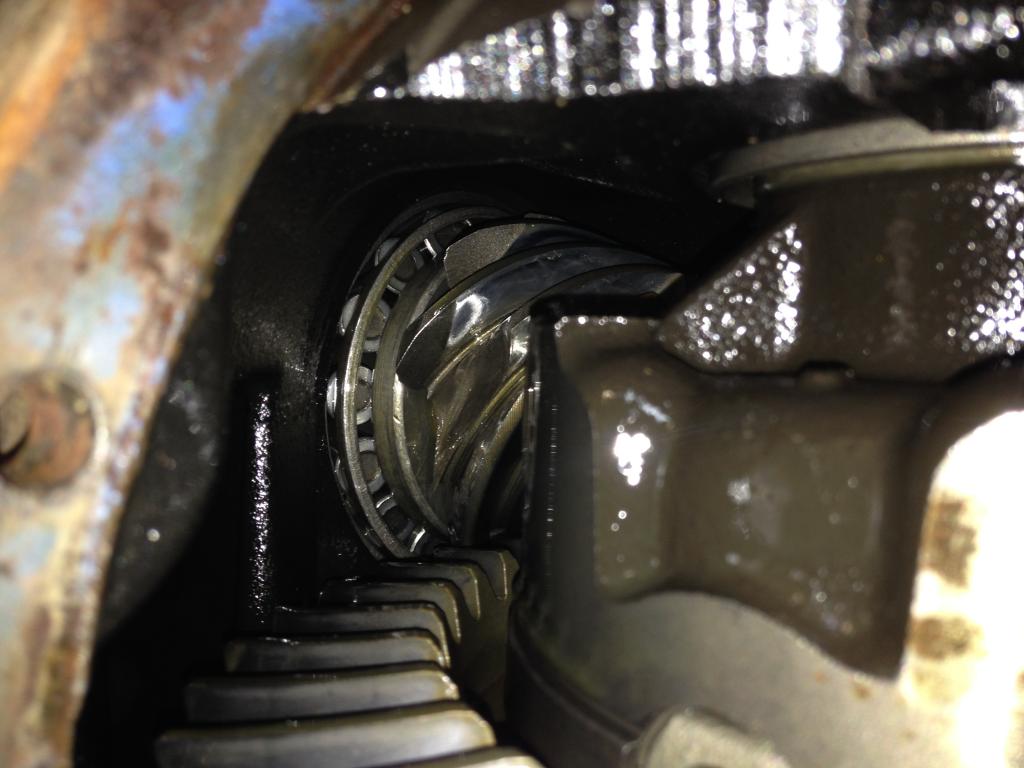
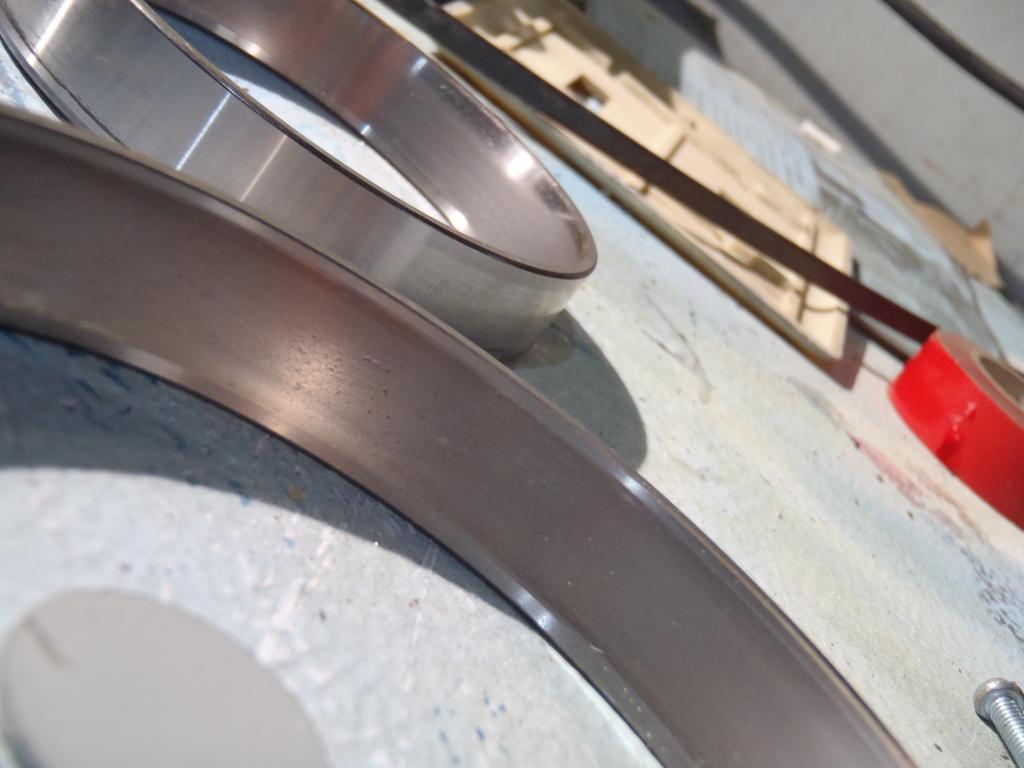
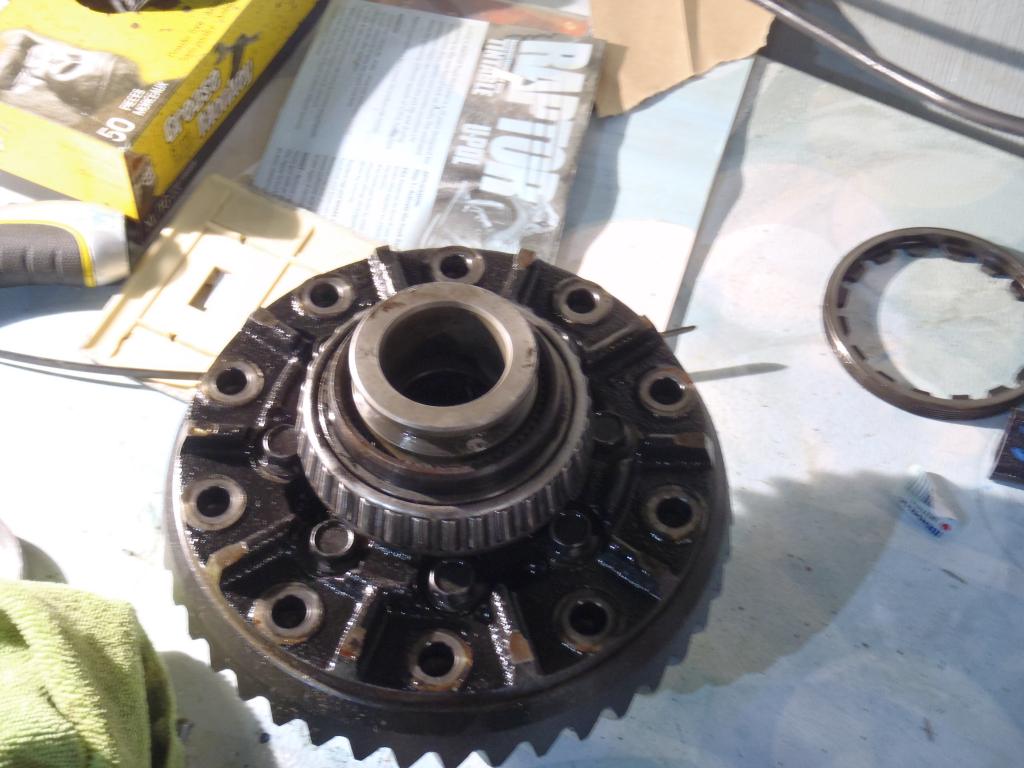
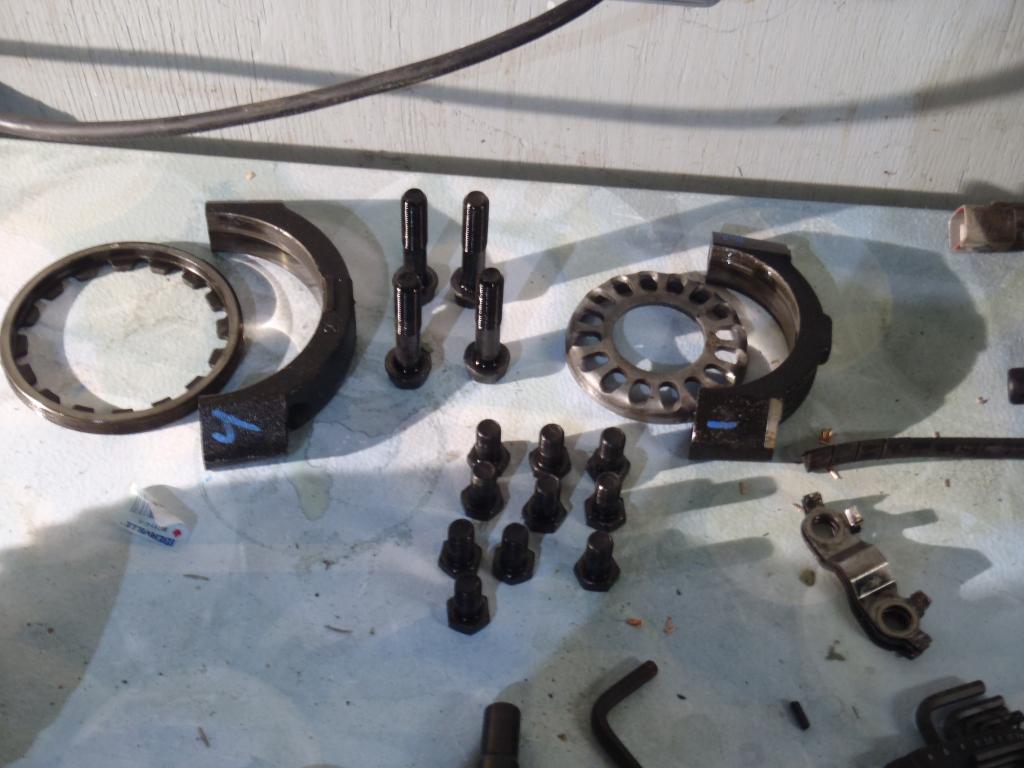
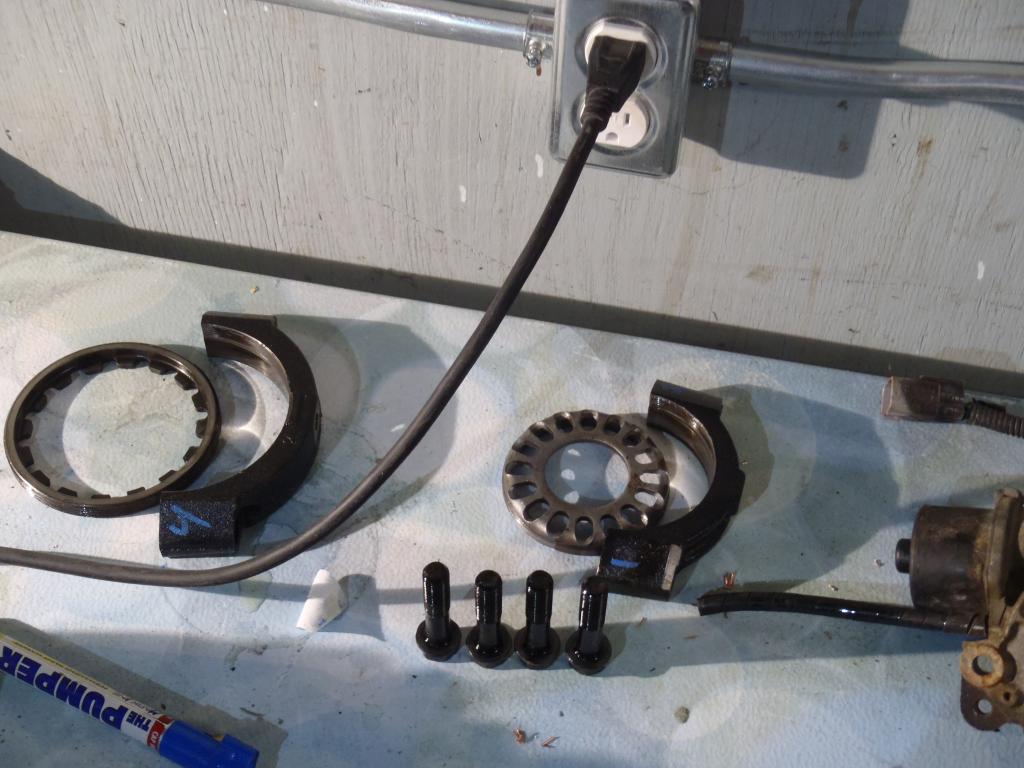
Alright, so tonight I pulled apart my diff in prep for my new gears to show up. It was pretty straight forward. I hope that it goes back together as easy as it came apart. The bearings were okay, not great but they will do for now (decided when I ordered the gears not to get the rebuild kit. It could use new bearings but I dont want to have to wait for them to come in) Here is a jumble of pics that I took.

Any advice from anyone who has been down this road would be awesome as I am inexperienced in doing gears.
Any advice from anyone who has been down this road would be awesome as I am inexperienced in doing gears.
Oct 16, 2014 | 05:22 AM
#13
Registered User


Joined: Oct 2009
Posts: 4,832
Likes: 332
From: Northfield, Vermont
I would wait for new bearings. You should have gotten the setup kit. Youll need a crush sleeve or solid spacer for the pinion bearing..
Find the FSM for gear install too, it will walk you through setting up bearing pre load and setting the gear pattern.
some one posted it above, but ill post it again, check this site out. http://gearinstalls.com/
Find the FSM for gear install too, it will walk you through setting up bearing pre load and setting the gear pattern.
some one posted it above, but ill post it again, check this site out. http://gearinstalls.com/
Last edited by rattlewagon; Oct 16, 2014 at 05:23 AM.
Oct 16, 2014 | 06:44 AM
#14
Thread Starter
Registered User
Joined: Jan 2014
Posts: 14
Likes: 0
Thanks for the advice. I was thinking about it lay night and I think I will order new bearings for it. I have been to Zuks site quite a few times just checking stuff out. I hope it's as easy as he makes it look haha
Oct 16, 2014 | 11:34 AM
#15
Registered User
Joined: Jan 2011
Posts: 1,051
Likes: 0
From: Memphis, TN
Keep it going
 Nov 8, 2014 | 05:31 AM
#16
Registered User
Joined: Feb 2012
Posts: 699
Likes: 3
From: Vancouver Island
Man I love the paint job, well done. Makes me sad that the e-locker was wrong gears, I bought it from a guy on the bc 4x4 forums and he swore it was 4:56 gears; it wasn't cheap either . I love everything you've done, it looks great.
. I love everything you've done, it looks great.

Thread
Thread Starter
Forum
Replies
Last Post
RedRunner_87
95.5-2004 Tacomas & 96-2002 4Runners (Build-Up Section)
84
Jun 1, 2021 01:51 PM
sandyota
84-85 Trucks & 4Runners
18
Feb 4, 2021 11:16 AM
GreatLakesGuy
The Classifieds GraveYard
8
Sep 4, 2015 09:27 AM
toyoda8488
84-85 Trucks & 4Runners (Build-Up Section)
2
Jul 5, 2015 10:18 PM


