When you click on links to various merchants on this site and make a purchase, this can result in this site earning a commission. Affiliate programs and affiliations include, but are not limited to, the eBay Partner Network.
you are working with good sheetmetal on your '88. no rust under the carpets, so even with the engine issues, you've got a solid platform to work on and improve.
good sheet metal is why i purchased my second '87; it is excellent.
Holy COW, that is unbelievable!!
Glad you made it home safe and sound. Nice looking set of tires on the 4runner! Just need to buy one now!
Thats exactly what I thought.. except that they are 16" rims not 15"s.. I could have sworn that those rims were 15s, but now I think that it might only be on the Tacomas they were 15s, and the 4runners has 16s? I dont know but I was dead wrong! Gonna try to sell them now. I actually have the full set of 4, just need to buy some bald replacements so I can get it on a trailer again at some point.
Originally Posted by wallytoo
you are working with good sheetmetal on your '88. no rust under the carpets, so even with the engine issues, you've got a solid platform to work on and improve.
good sheet metal is why i purchased my second '87; it is excellent.
So true, that is one of the best parts of this 4runner, almost no rust anywhere or body damage for that matter. The passenger rocker panel needs a bit of help, and I am going to fix a few other bits here and there but compared to what i could be.. very hard to complain!
Originally Posted by Lybrium
Nice find, now get that swap happening!
Oh it has been started! I got the engine out last weekend and pulled the wiring harnesses/plugs from the 88 and donor and started the wiring project. Its coming along quick, pretty similar to the other swap with the exception this "Jumper Connector" plug that the 97 has which the 99 from my pickup swap did not. Also going to see if its worth/possible to swap over the cruise control, never tried it so that should be interesting. Going to try and freshen up the engine this week, valve adjustment, timing belt, water pump and that kinda thing. Get it all cleaned up and make sure its ready to go in. Also got a 1" body lift from 4crawler ordered up.
Speaking of lifts.. So this 4runner has balljoint spacers already installed, as well as what looks like a zuk mod on the rear with those helper coils jammed into the bump stops. I have never done the balljoint spacer thing, curious if its possible to get a good rock solid alignment with them? The tires on the 88 are torn to hell from what looks like a bad alignment, which I just assumed was from the BJ spacers and no alignment? Trying to figure out if i should pull them out, only hesitation is that the back end will be a bit too high and I want to clear 33s easily. Hmm!
I will try to start updating with pictures again soon! Thanks for stopping by guys, good to hear from you.
Last edited by mbomberz1; Mar 5, 2019 at 06:08 PM.
I believe people are able to get a good alignment with BJ spacers. I thought about them for a long time but veered away because it alters the normal geometry of the suspension. However, they definitely give you more room for bigger tires.
The Build looks great so far. Nice find on the rust free 4-runner. The carpet and seats came out amazing, It's hard to believe they are the same ones. I can relate to your Copart story, I have been building wrecks for the last 20 plus years and know all about the "hidden" fees with Copart auctions. It's frustrating to say the least. You were asking about getting a good alignment with all joint spacers, I can tell you that my truck aligned perfectly and tracks straight down the road. The tires are wearing nice and even. I did spend some time installing the spacers properly(trimming the upper a-arm properly) so this helped. I run 33's with a 3/4" body lift and the tires clear nicely. I look forward to watching your progress.
I believe people are able to get a good alignment with BJ spacers. I thought about them for a long time but veered away because it alters the normal geometry of the suspension. However, they definitely give you more room for bigger tires.
Haha nice find, yeah I was trying to part out what I could quickly. Can't have that thing sitting around too long or the neighbors will get fussy. I am really struggling to make up my mind on what I want to do with the wheels and tires. Stealth Custom Series makes some great Toyota wheels, I have their Ray10s on my pickup. This time around I was thinking about getting a set of their F5s in white for the 4runner.. Probably wouldnt appeal to everyone but I think they look awesome in white on all of the landcruisers I have seen. I would just get a set of BFG KO2s in 285/75/16s for the F5s. If that doesnt happen, I would like to stick with the stock rims, I like them a lot too, but cant make up my mind in if I should go with 32x11.5s or 33x10.5s. Why dont they just make a 33x11.5! For me the 33x12.5 are just too wide.
Originally Posted by Dentmstr
The Build looks great so far. Nice find on the rust free 4-runner. The carpet and seats came out amazing, It's hard to believe they are the same ones. I can relate to your Copart story, I have been building wrecks for the last 20 plus years and know all about the "hidden" fees with Copart auctions. It's frustrating to say the least. You were asking about getting a good alignment with all joint spacers, I can tell you that my truck aligned perfectly and tracks straight down the road. The tires are wearing nice and even. I did spend some time installing the spacers properly(trimming the upper a-arm properly) so this helped. I run 33's with a 3/4" body lift and the tires clear nicely. I look forward to watching your progress.
Thanks for dropping in and sharing your experience with the auction and BJ spacers! Feels good to know I am not the only one who felt that way about the auction experience. I think I will be leaving the spacers on for now and maybe relaxing the torsion bars a little depending on clearance and see how it goes. Going to double check the control arms and see what kind of install job was done on them.
Made some good progress the last few weeks. I was able pull out the 5vz and get it all cleaned up, new timing belt, ilders, water pump, checked the valves and replaces a few gaskets. From what I can tell, this engine has not been apart and was taken care of really well. Even had toyota red coolant in it, which for me has been a rare sighting on other peoples toyotas. Had to paint the valve covers, the oxidized grimy look just doesnt feel right after all the effort. Patiently waiting to go in soon.
Over the last weekend, I was able to install a 1" 4Crawler body lift on the 4runner, and pull out the 3.0. Felt good to get that done, some actual progress it felt like. More to come soon! Got some parts on order, new clutch, and some bits to finish off the 3.4 before it goes in.
I am also planning to clean up and do a simple paint job on the engine bay. Its a little rough in there and would like to get it cleaned up so when I get around to doing the exterior it all matches up better.
33x11.5 would be an awesome tire size, wish they made those too! Love those wheels on your extracab.
Guess all that hassle with the fees might have been worth it if the engine is in good shape!
Yeah I am a little more optimistic at this point that everything will turn out in the end. Wish i had more to report, but I had to give it a rest the last week or two. The next two things i really need to do are repaint the engine bay and weld up a new crossover for the 5vz. Both of which I am not excited about!
Slow an steady? This chunk of the project has really been in my way and it feels good to push through. The engine bay was in typical 30 year old toyota shape and I had to clean it up before dropping the 3.4 in, it would not have felt right a year from now knowing I could have addressed this every time I open the hood.
I did a simple rattle can job, with basic prep and masking. Nothing fancy here!
Also, not sure if I mentioned it before, but my plans for paint on this thing are to avoid it! This is a gamble but what I am going to try and do is polish down the existing paint, check it for flat, make any minor repairs needed and wrap try to wrap it in a medium/dark grey. There are a few areas that I will get some colormatched paint, like the door jambs and window sills which you cant really wrap. My thinking is, it will look much better than this garbage paint now, be much cheaper to apply and easy to repair. I am going into this with a lot of hopes and dreams, but I think the risk is worth giving it a try.
Ready to pressure wash Ready for primer Finished with a medium grey Color options for the wrap
SO in my rush to get rid of the donor vehicle (which had the 3.0 dropped into it for efficiency reasons), I left a few parts behind that I forgot to pull off... Posting here first to see if anyone might have anything lying around I could buy from you, otherwise the search begins and I am worried about how hard it might be.. or expensive.
Two things I know I should have grabbed when I had the chance.
1. Firewall grommet for the engine wiring harness (84-89 style)
2. AC compressor top so I can get my old AC lines hooked up to the new compressor.
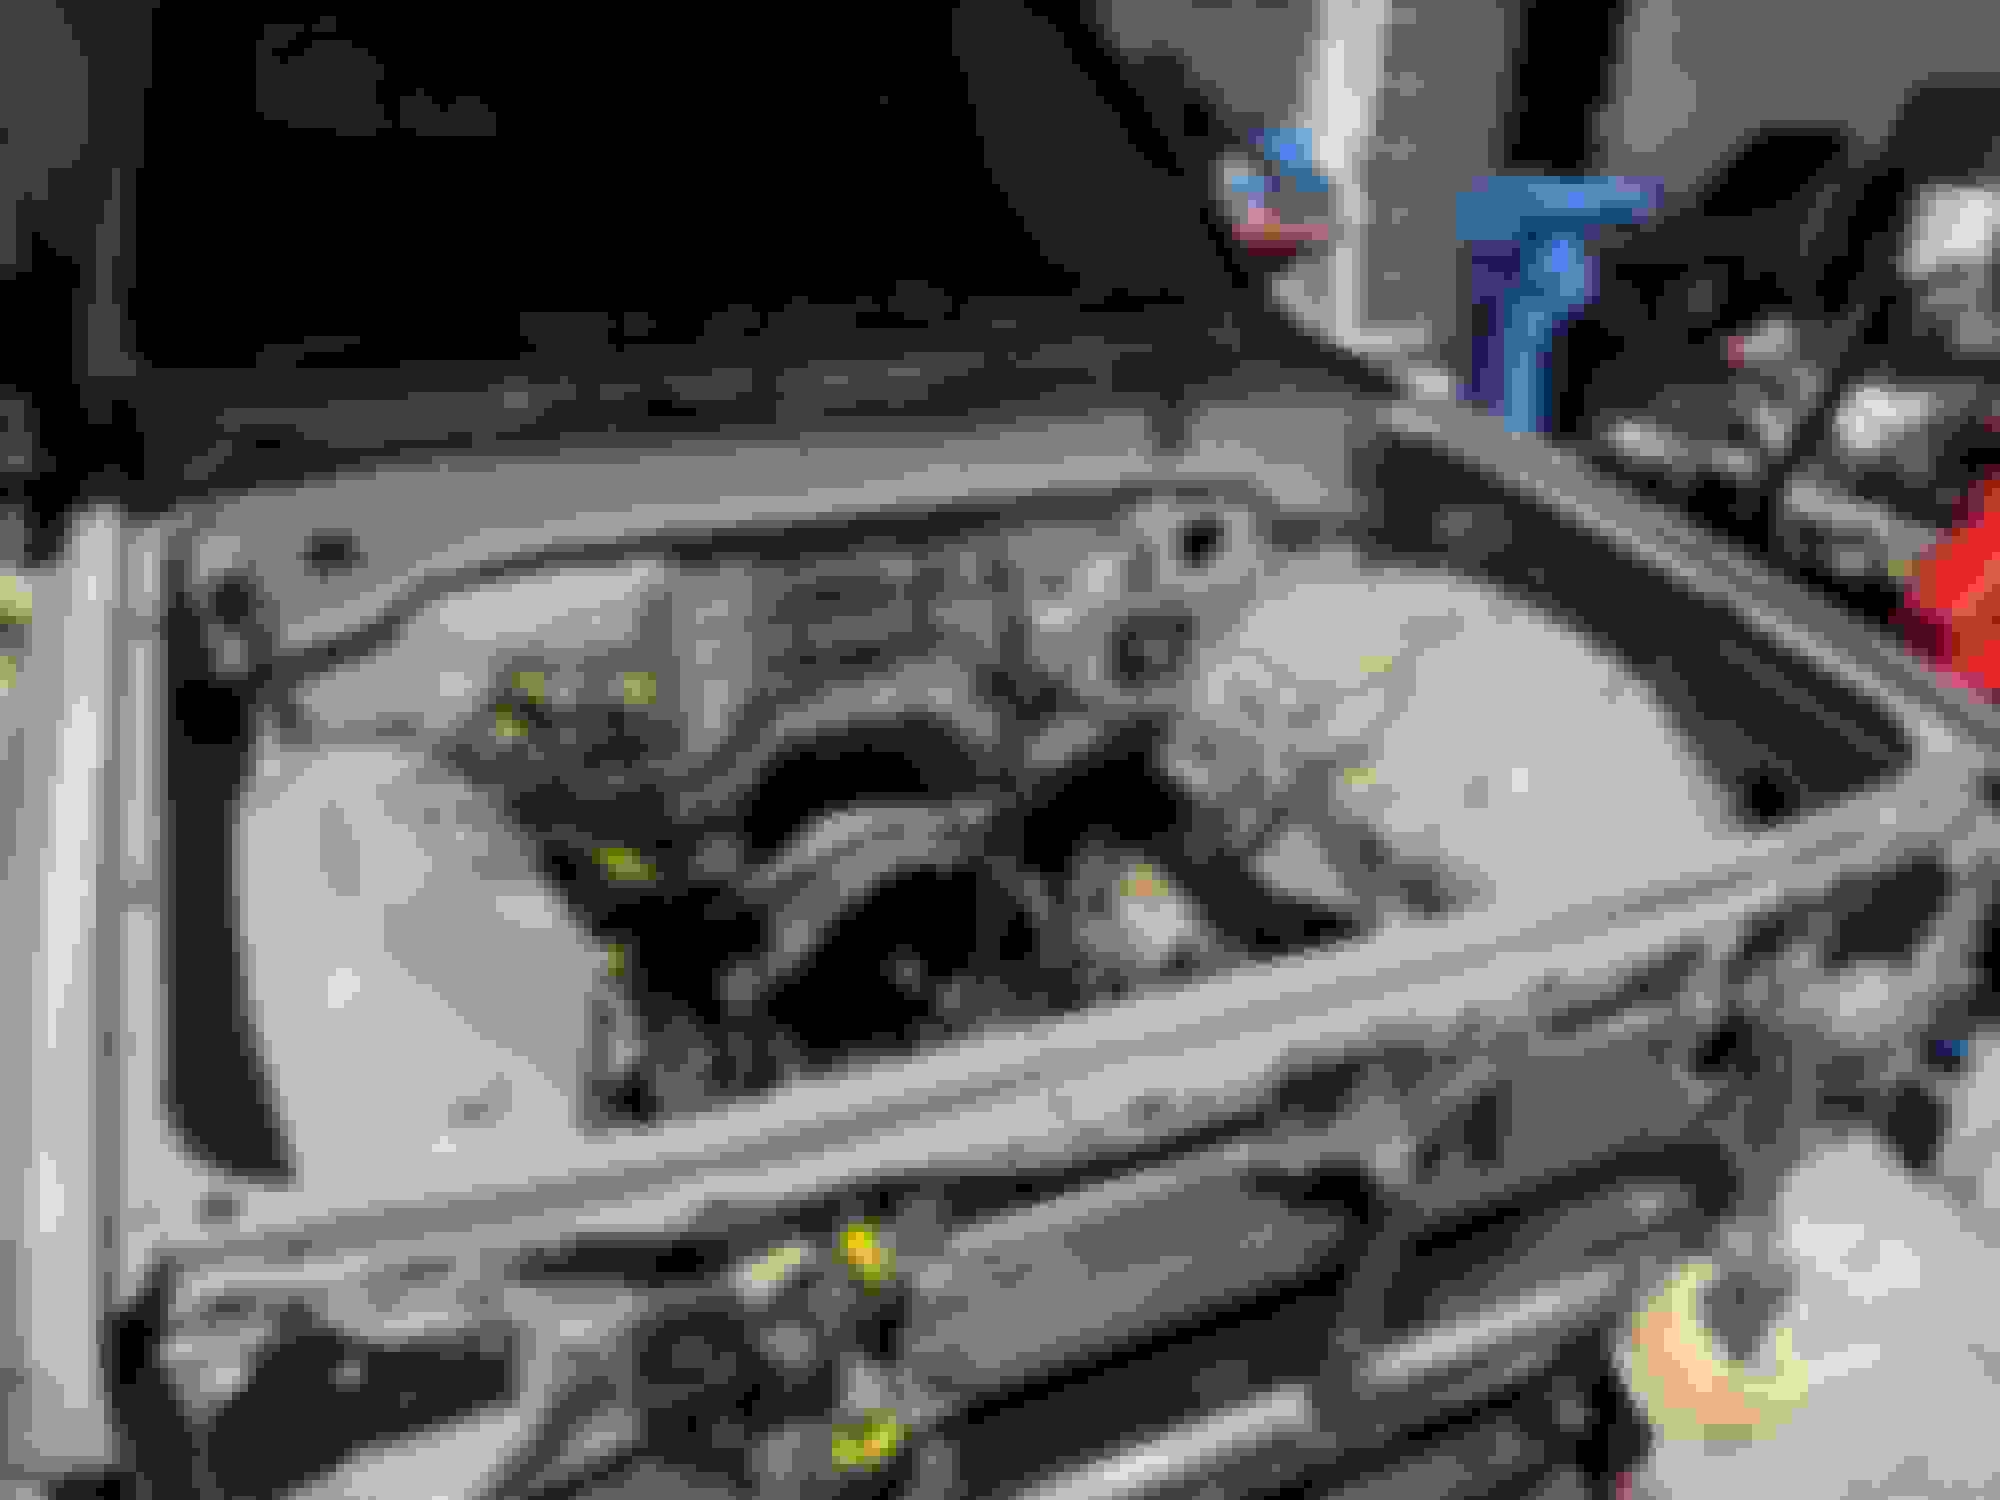
Things are movin' right along! Got a couple of big headaches out of the way and I think I will be able to drop the engine in within a few weeks if all goes correctly. Will still need to deal with pluming AC lines, power steering and coolant. BUT! the electrical is essentially done, I finished rewiring the engine bay for the driver side battery with 2 gauge wire, added a 100 amp circuit breaker to have a quick disconnect power and also a spot to send power to both the stock fuse box as well as the blue sea fuse box I will use for things like the OBD2 port power.
I also broke down and decided to just order a prebuilt crossover since this is an early 5vz with the more common version. Currently ( last i checked 4 months ago), California is allowing driver side drop again, so I went with the crossover from YotaShop.com. I much would have rather build it on my own but I dont own a welder that would do a decent job, and I am living about an hour away from where I work on the 4runner right now so it is a big project that I wanted to just get past the easy way.. money. I am trying to finish the swap up in the next month or two for a bachelor party camping trip in Yosemite, which I thought would be a great first trip in the new to me 4runner!
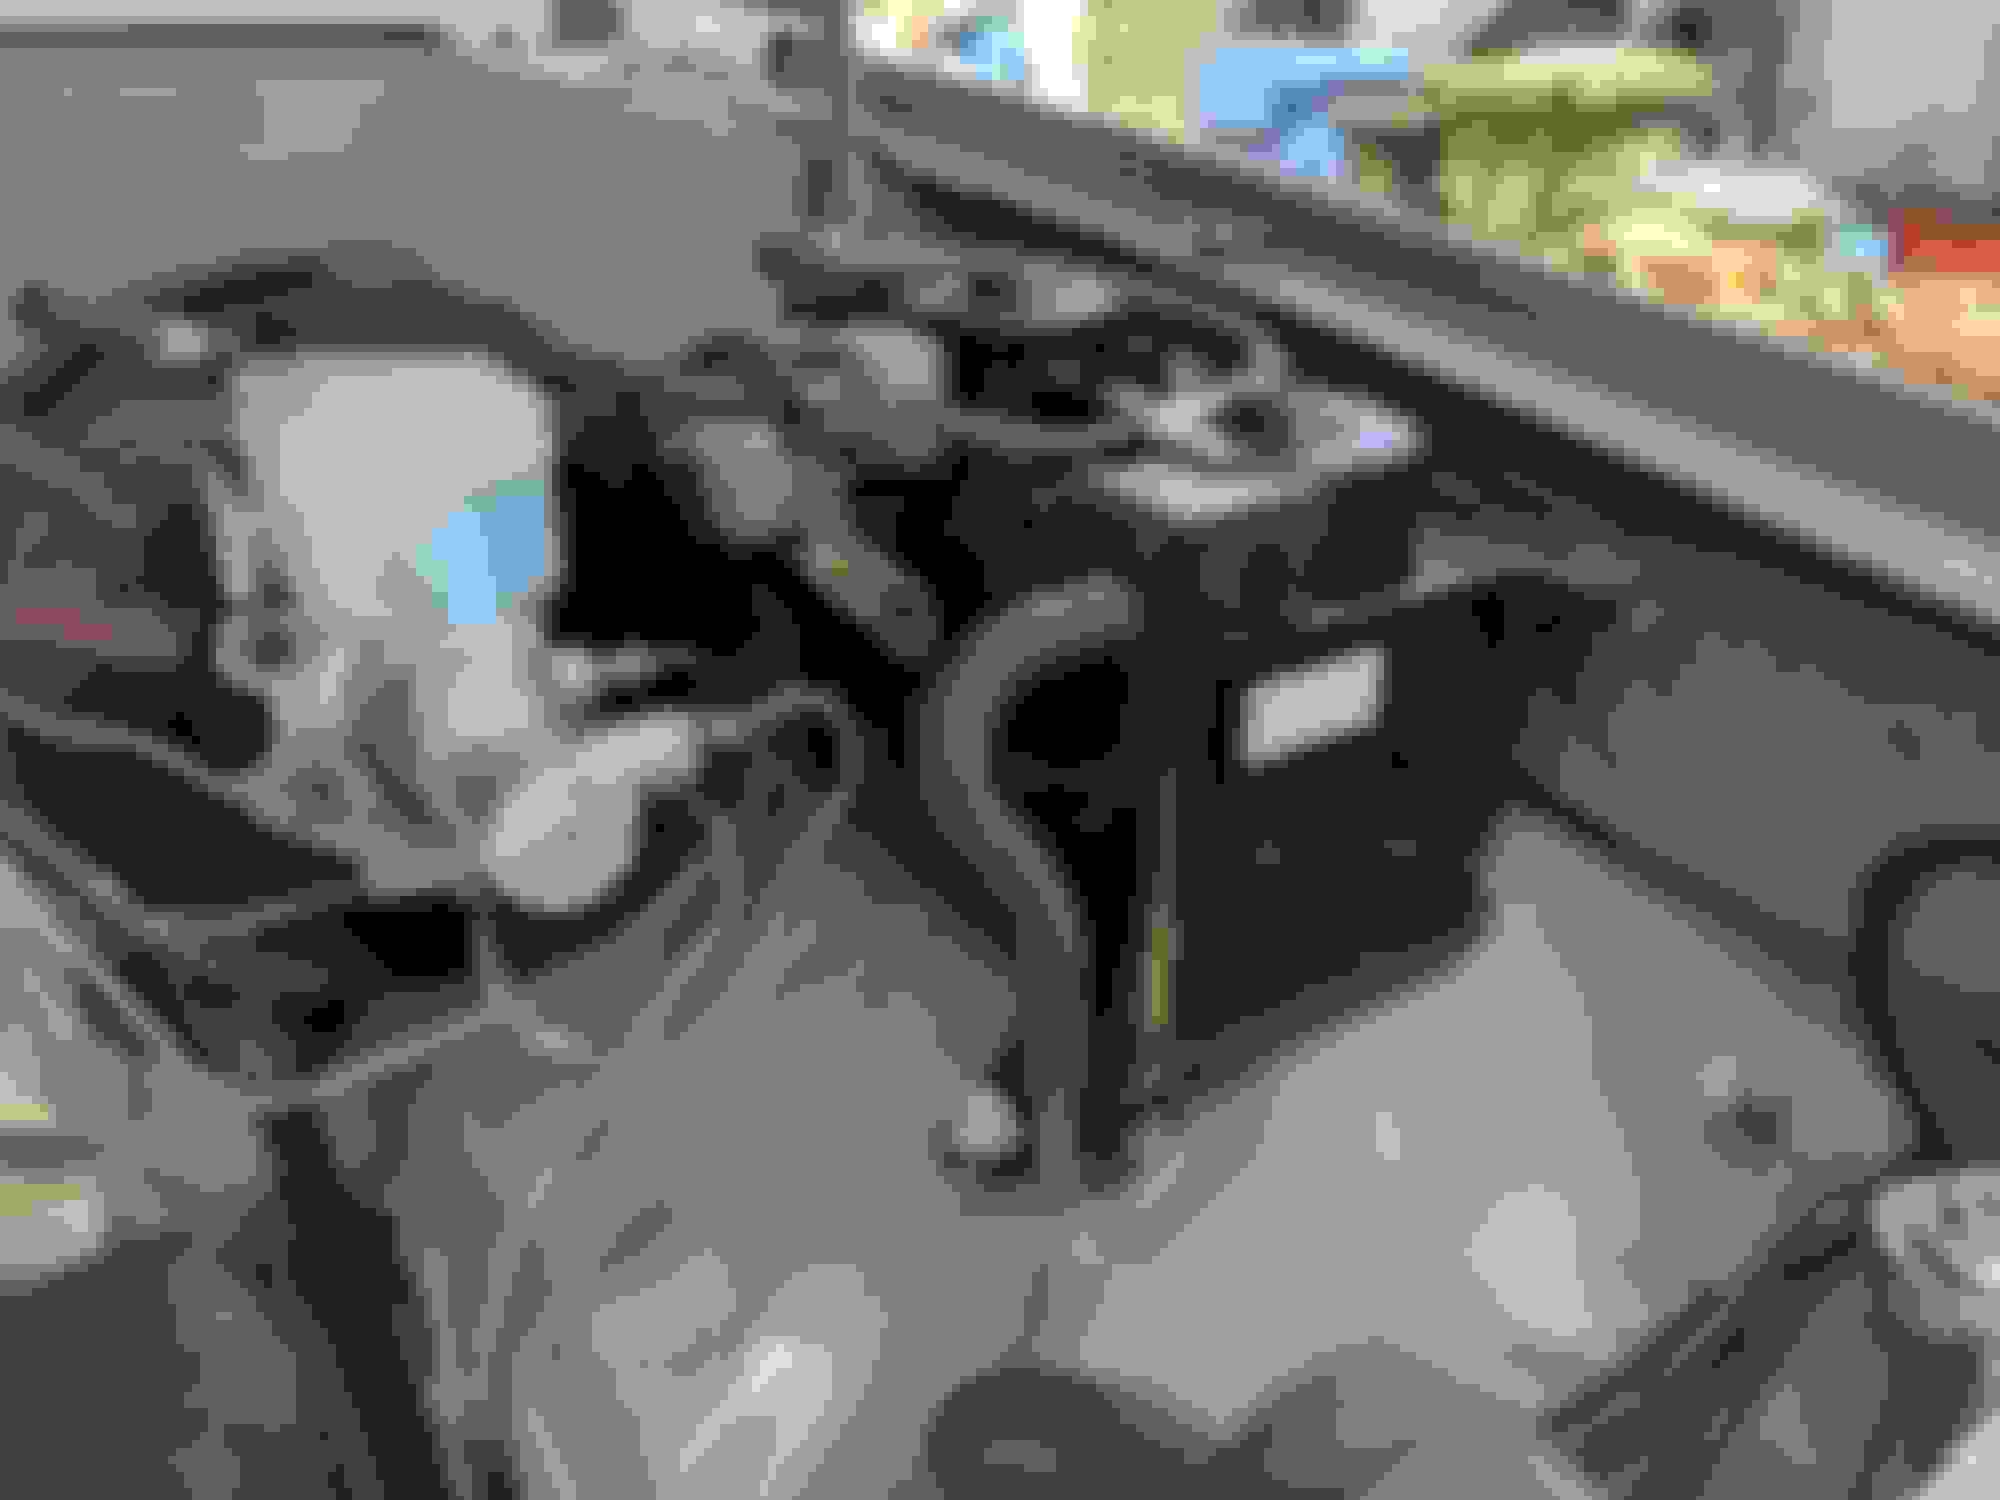
It is funny, two weeks ago I felt like there was so much to do. Getting a few of those projects crossed off the list that are almost more of a mental barrier help make it feel like there has finally been some real progress. Things like mounting the evap box eat away at me because its this open ended problem that you need to just sit down and push through. Starting it is the hardest part, for me. Anyways enough with the words, on with the pictures.
Evap being mounted to driver fender
Fuse boxes all ready to go
Jumper wiring harness complete!
Hope you guys are doing well. More updates to come soon!
Good work. I just read your whole thread. It must be hard to live 100 miles from your project.
You may have moved on but plenty of people run 16" wheels on 1st gens. Those tires and wheels look great and I'd run them. You can always go back to 15" after the project nears completion and money flows freely.
If I had read your tow experience I would not have had the courage to tow my '89 from the mountains of VA, three hours with a U-Haul tow dolly on a minivan. I never want to do it again. A week after I got it home one of the tires went very bad during a long ride. That's been my only "break down" in nine years of ownership.
Sounds like quite the adventure you had! I dont blame you, towing is not much fun when its something you do not do very often, especially with a relatively heavy load for a vehicle. I did have to let the donor go with the wheels unfortunately. I was crunched for time trying to get the wreck out of the driveway and at the last minute the tow driver said It had to have wheels on it for him to pick it up. I had no choice but to put them back on, ah well.
Originally Posted by old87yota
Very neat work!
You just have to keep chipping away at the small things and before you know it, you will have a completed swap!
Thanks buddy, doing what I can and trying to prioritize swap related tasks over others for now.
I got the tach mod done as well and was able to hook the 4runner instrument cluster up to my pickup and test it and set the tach needle up properly so it should be just a plug and play back into the 4runner. Lucky that i have nearly 2 identical vehicles to compare and test with! It has actually helped a ton with the swap being able to go back and look how I did something on the pickup.
What a good weekend. Put in 2 full days this weekend and I was able to get the 3.4 dropped in and hooked up enough to try and start it! Here is the result..
It is easy to forget how many little things there are to trouble shoot over a few years since the last swap. I have not been reading forum posts about the swap like I did the first time around. Something new I got to figure out this time was the alternator wiring. On my last swap I went with the 3.0 alternator since I had a new upgraded one, but this time I decided to stick the the 3.4 alternator. After some research, it couldn't be much easier, both are 3 wires and the colors basically match up, so I will just be cutting off the 3.0 plug on the 4runner fender harness and soldering on the 3.4 plug I chopped off the battery harness that I no longer am using.
Besides that, I have a few more hurdles to get past:
Rout and weld up a new exhaust system
Heater hoses.. way too many of them, need to pair down and figure out flow directions (much more simple on the pickup)
Rout and solder up reverse switch and 4x4 switch connectors
Install the radiator + fan, figure out hoses
Remove the 3.0 cruise control actuator, going with out for now. Will figure out 3.4 stuff later
Source a 3.0 wiring harness to firewall grommet
Tidy up a bunch of little things
Then of course a bunch of non-3.4 swap related project

 Feb 24, 2019 | 01:14 PM