
01B3K's 88' Pickup Build Up Thread
 Aug 7, 2012 | 05:40 PM
#1
Thread Starter
Registered User
Joined: Jun 2012
Posts: 37
Likes: 0
01B3K's 88' Pickup Build Up Thread
Ok, so Ill start from the beginning. Bought the truck for $1G.I got the project I wanted. So far, I love it.
Oh, and sorry, all phone images im pretty sure
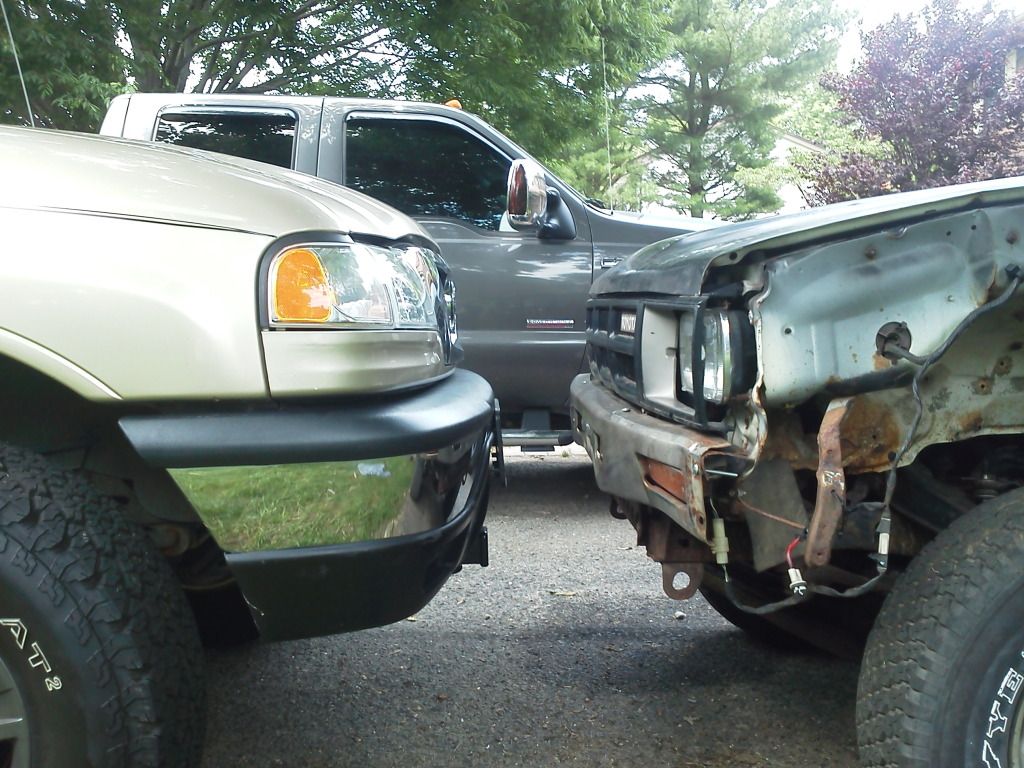
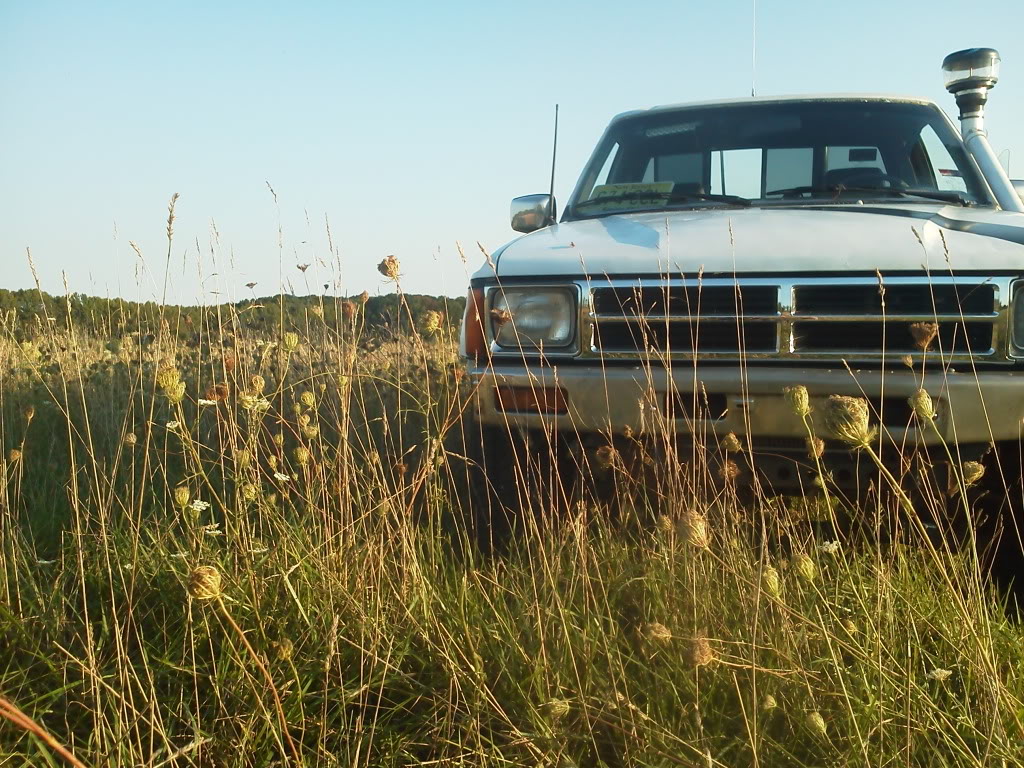
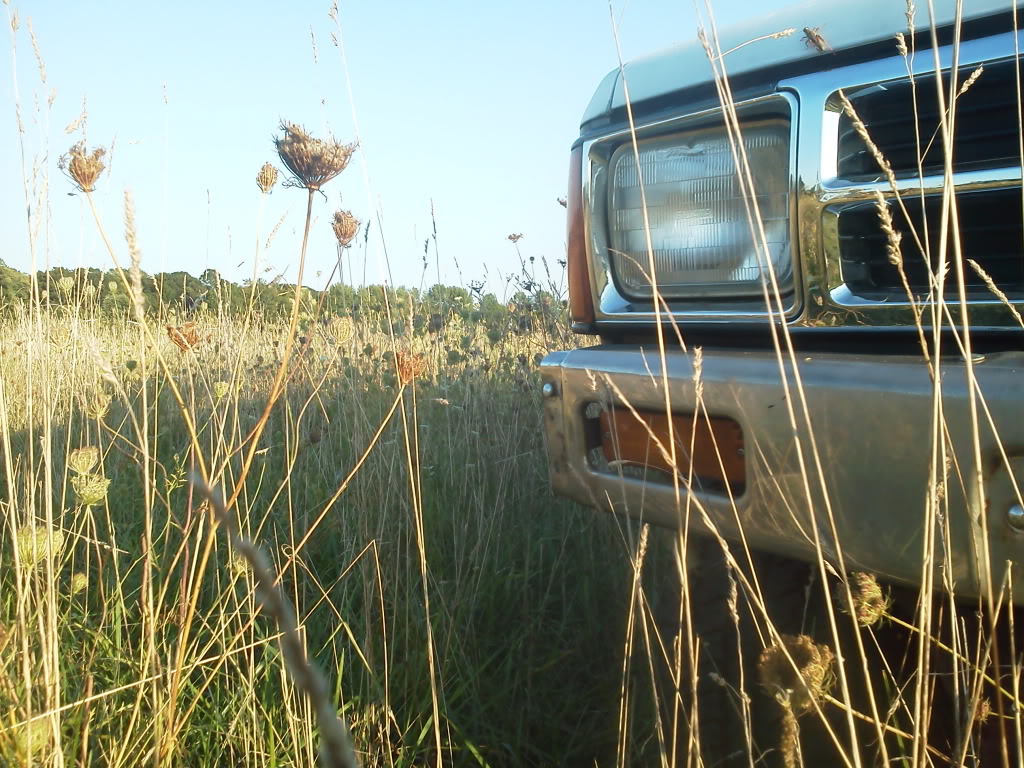
At the guys house
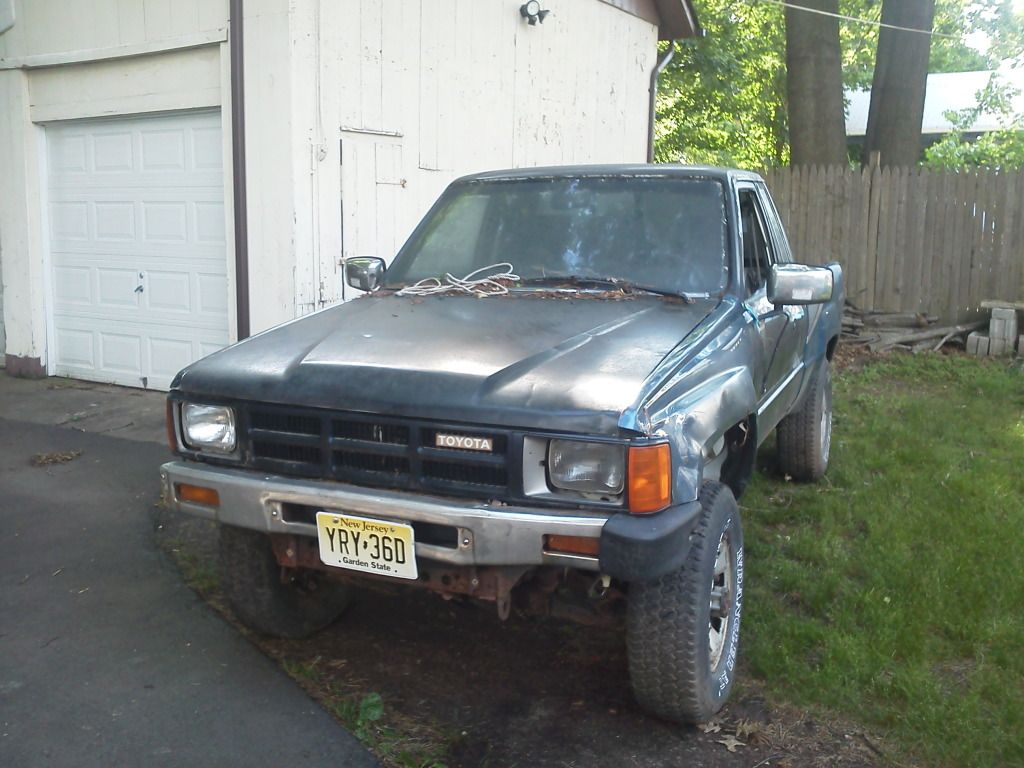
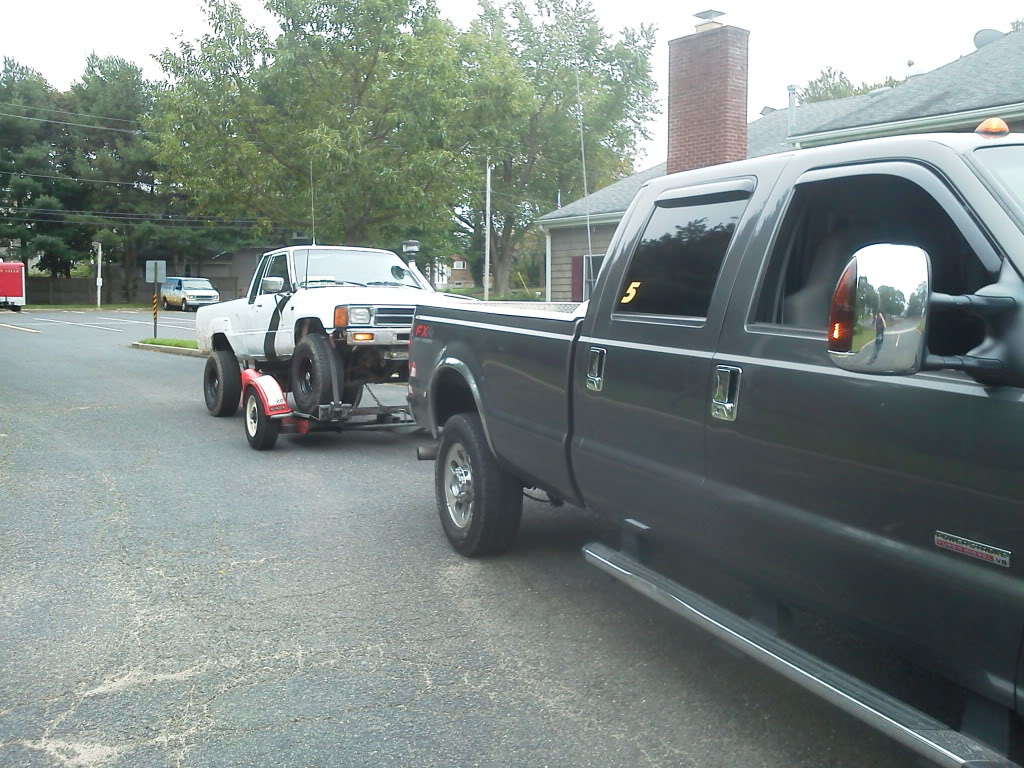
Trailering her home.
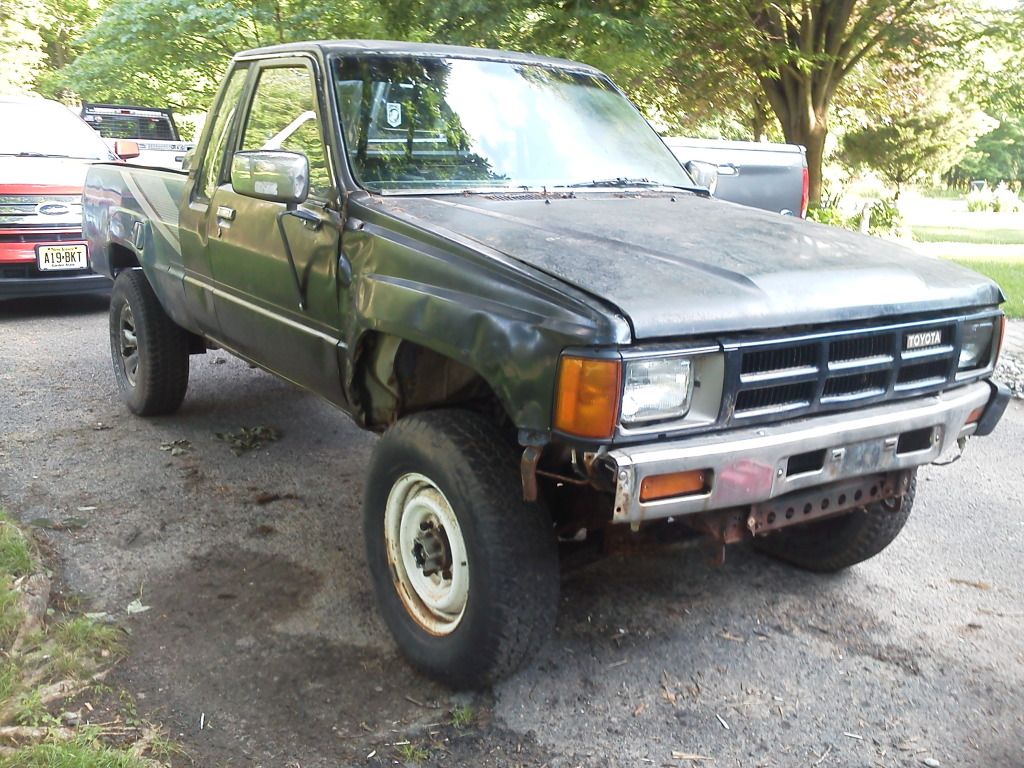
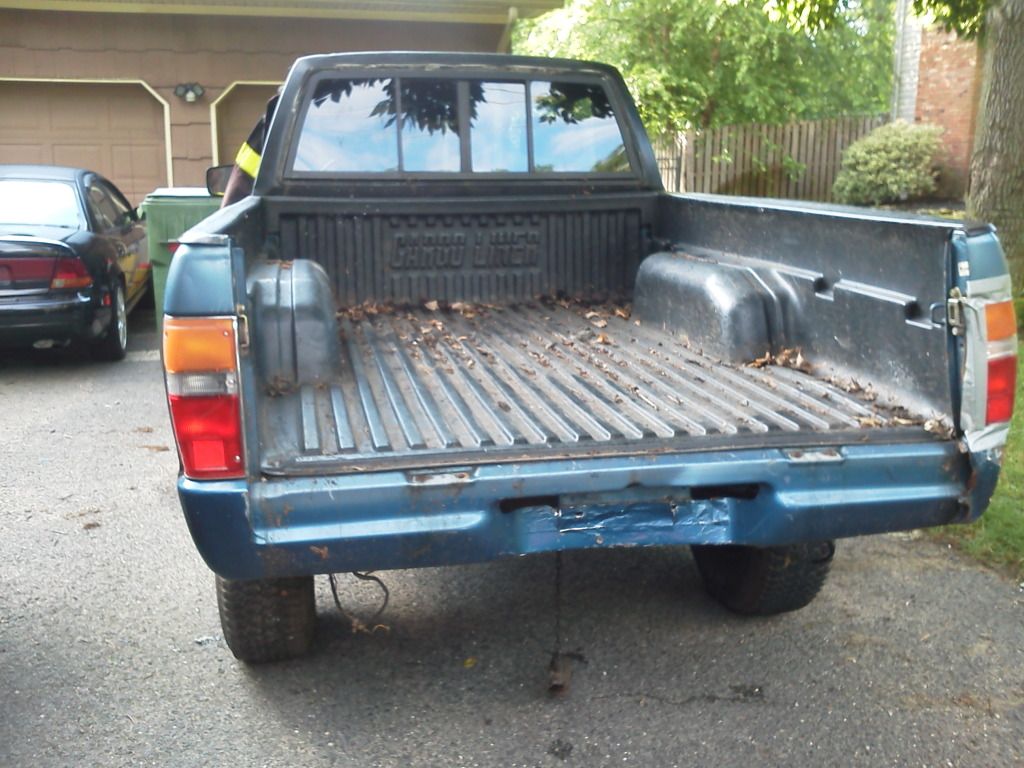
Gettin New Fenders
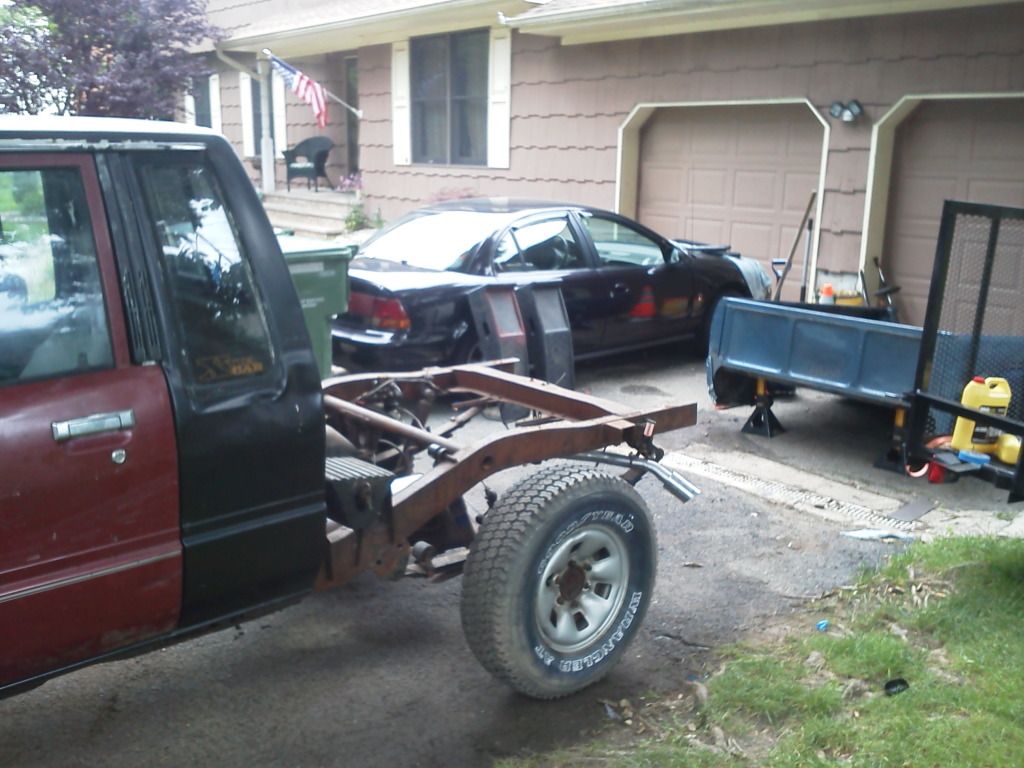
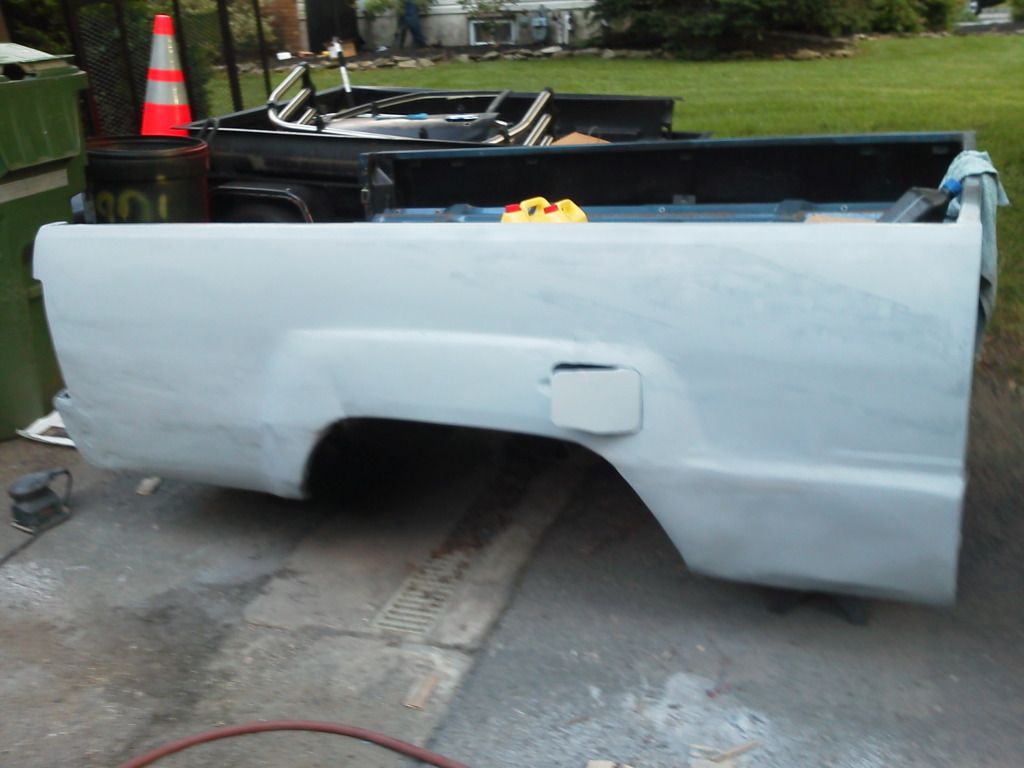
Bed Painted, ignore my horrid bondo work
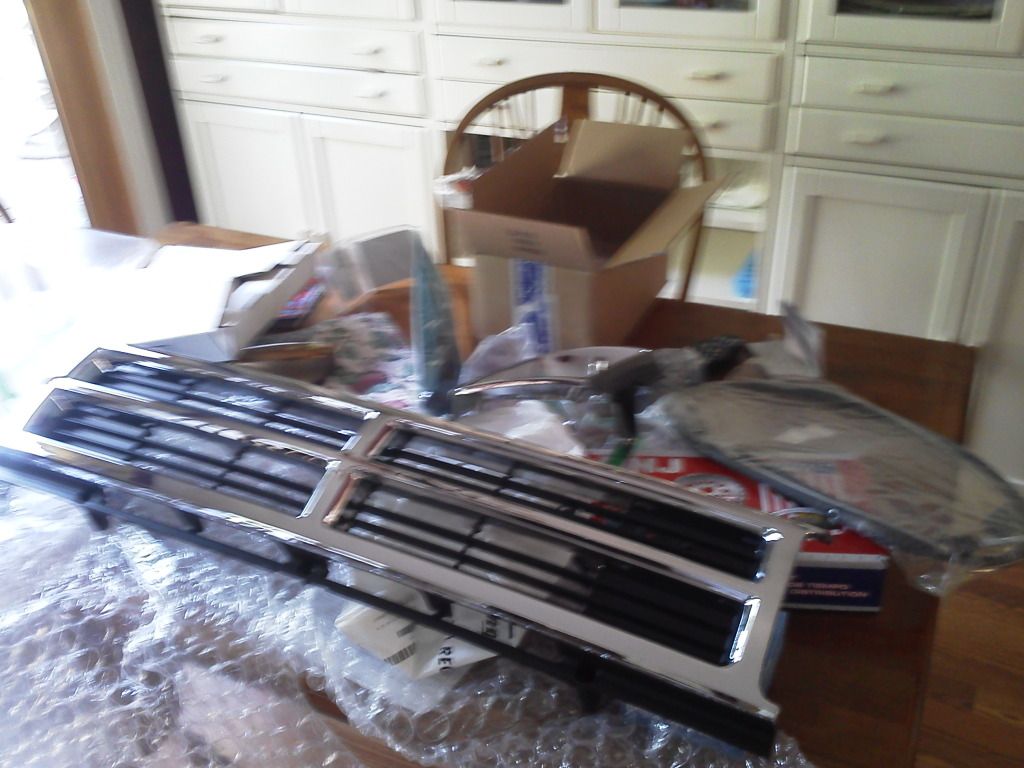
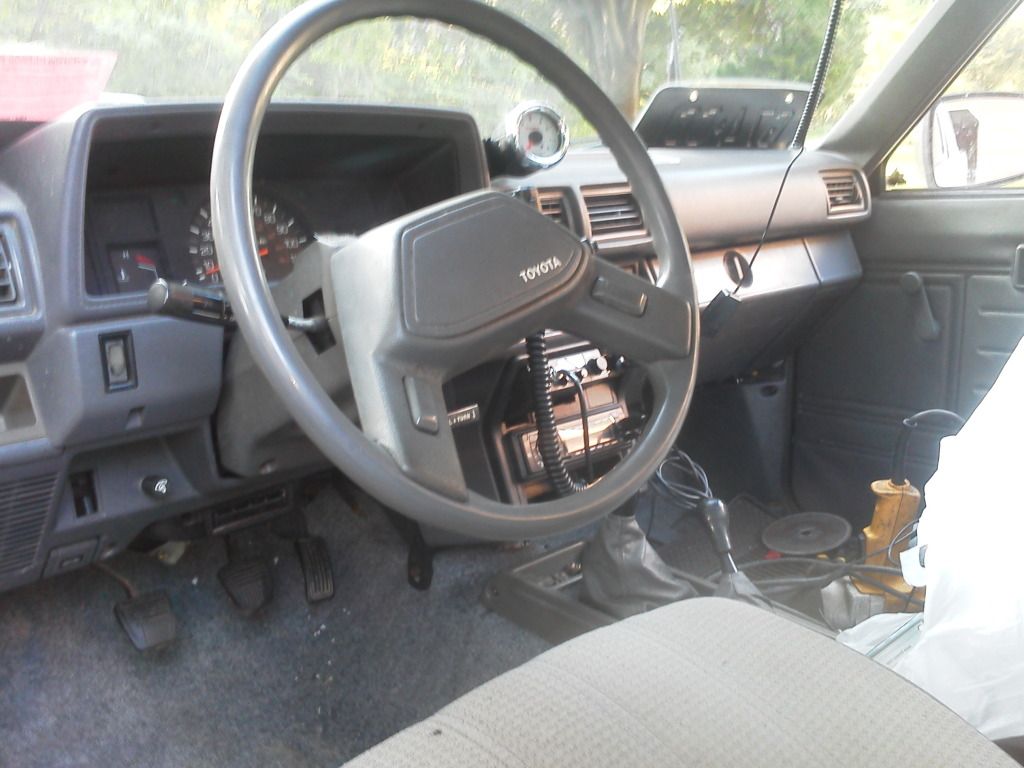
Some Goodies
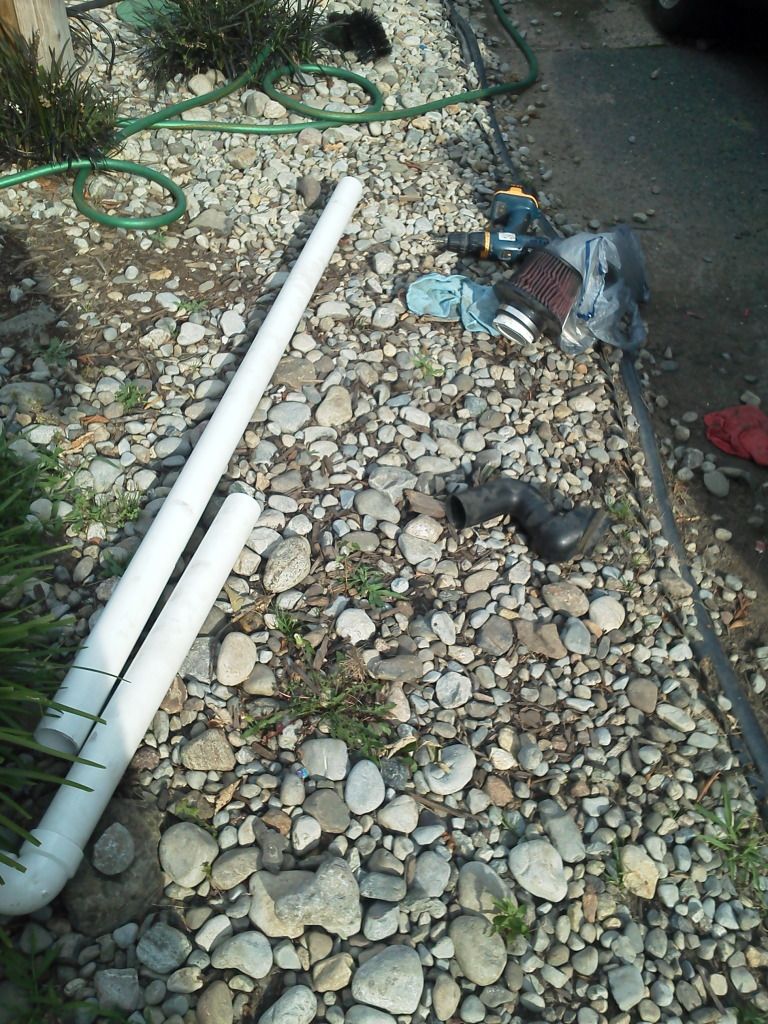
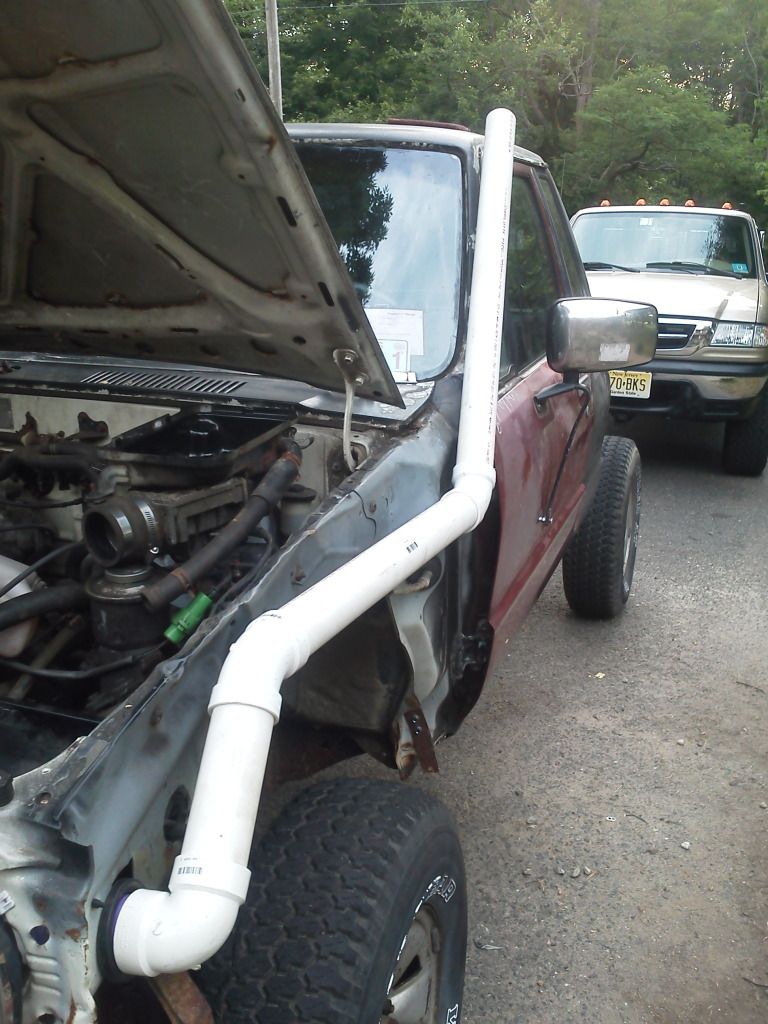
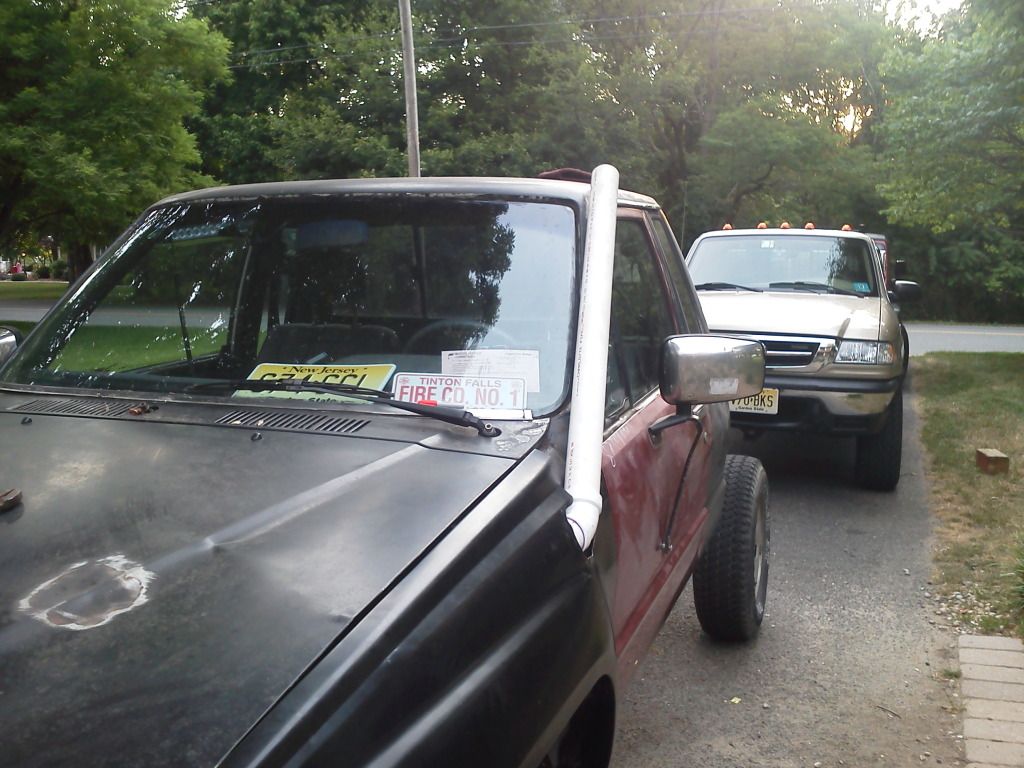
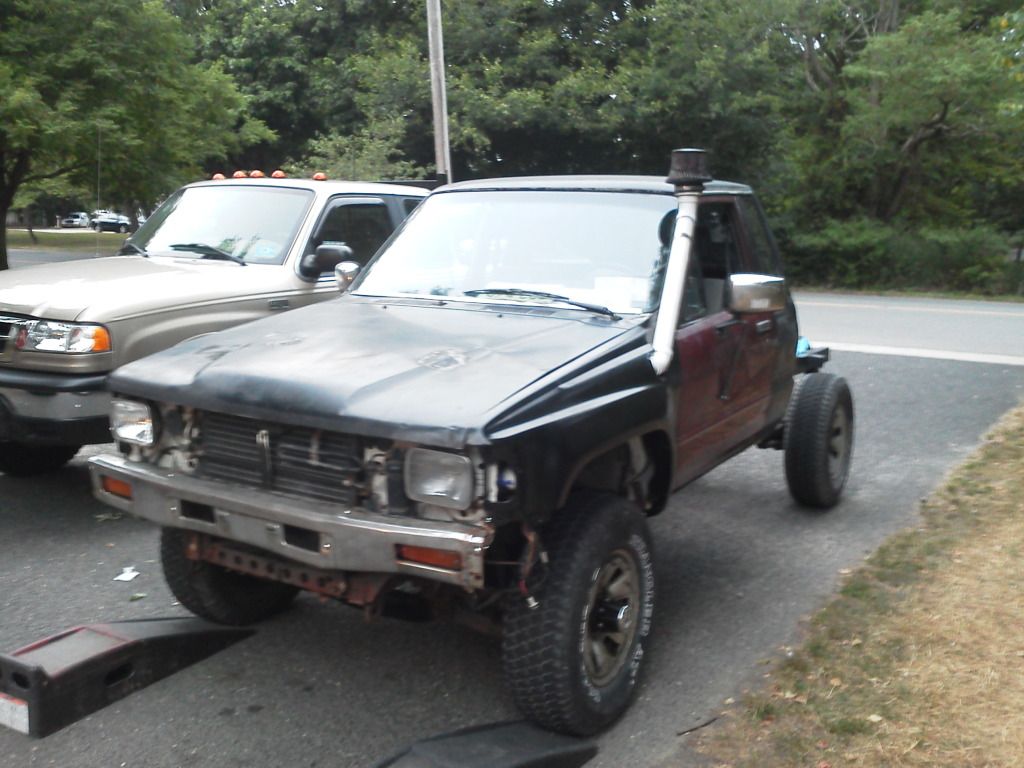
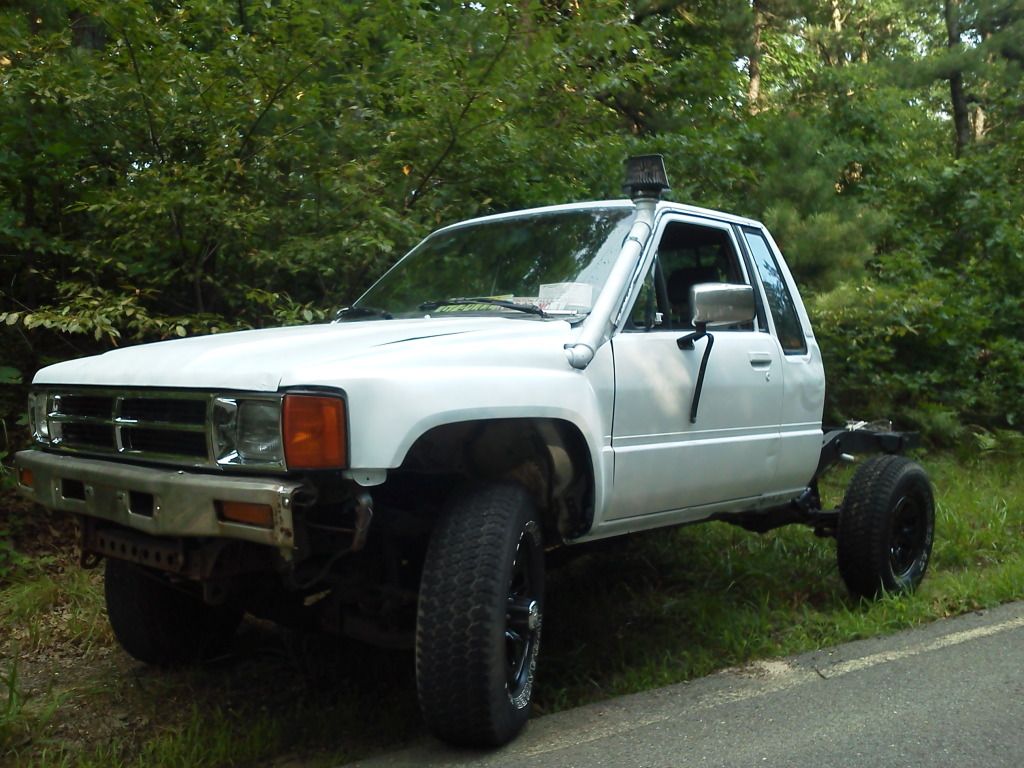
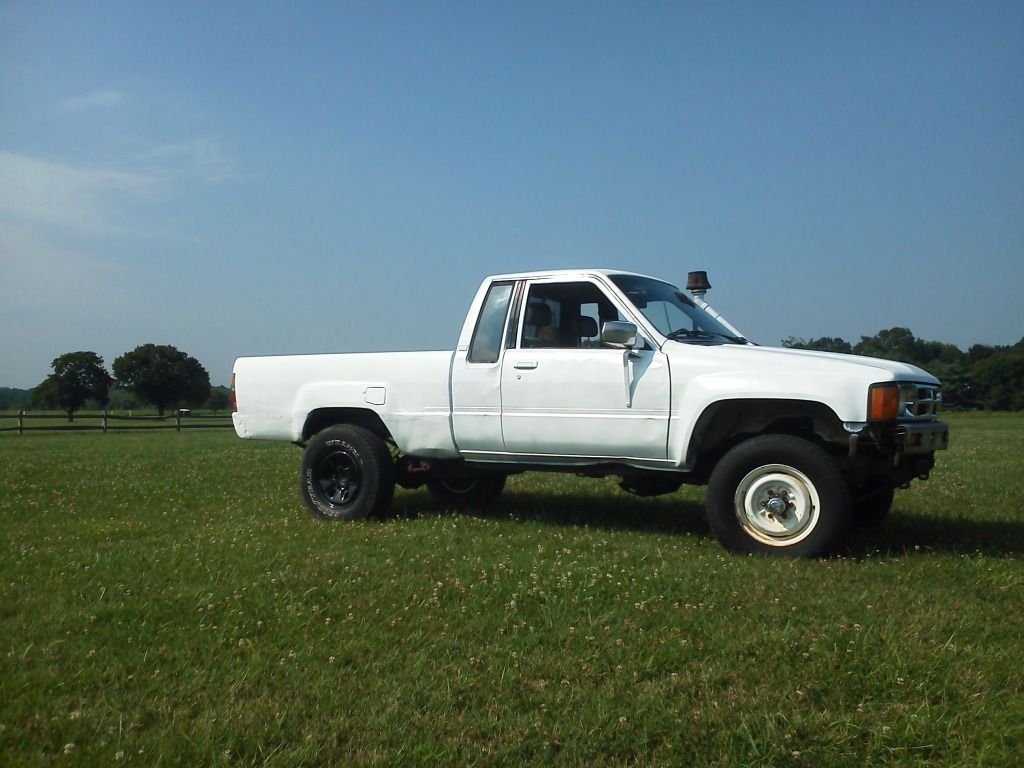
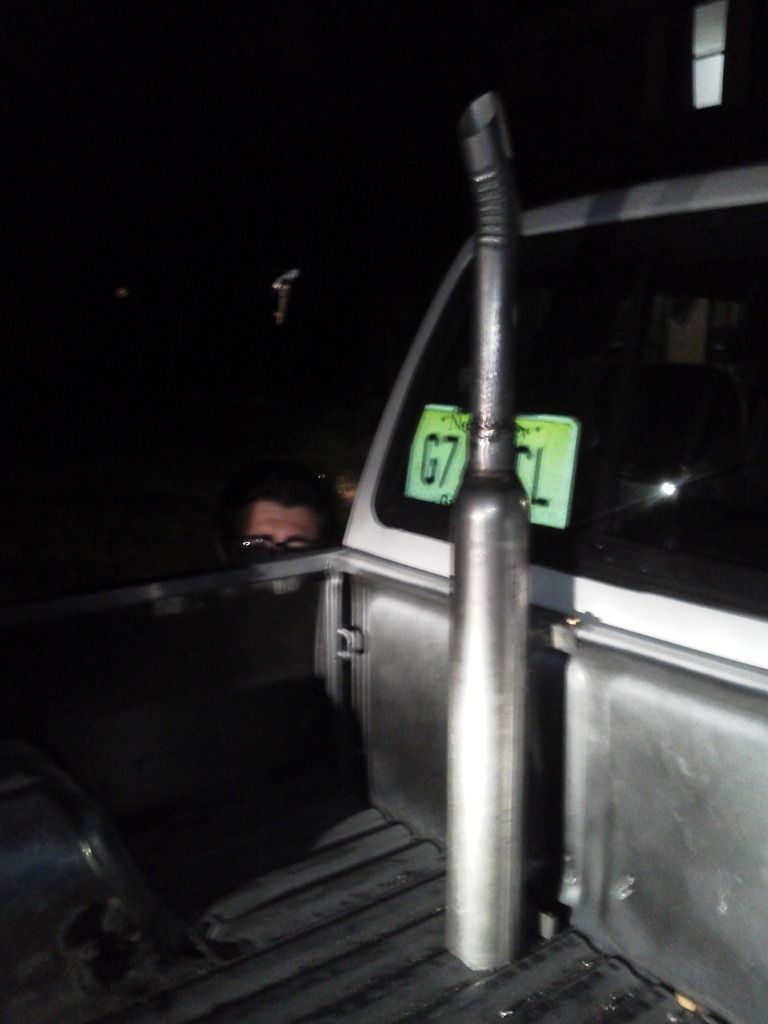
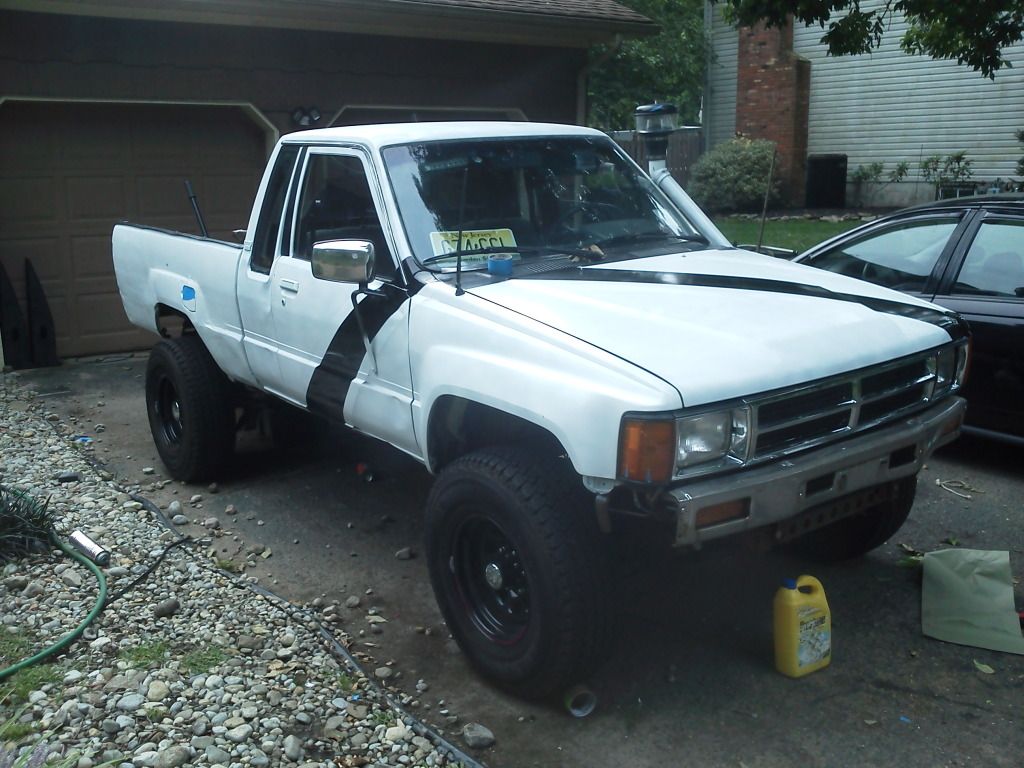
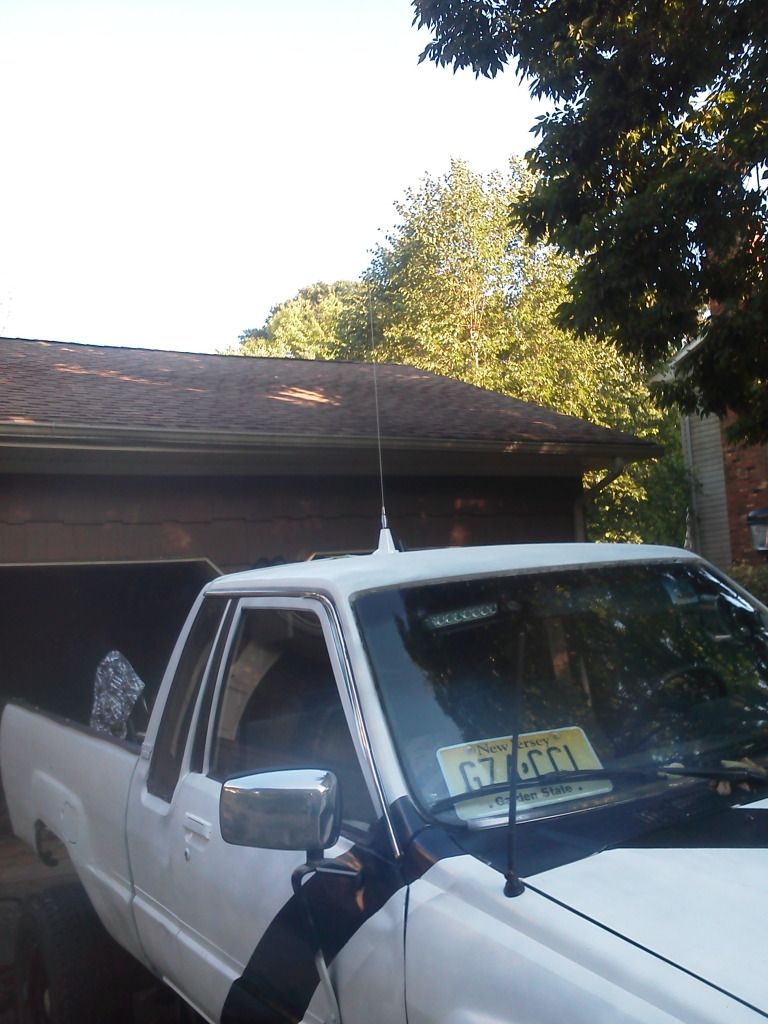
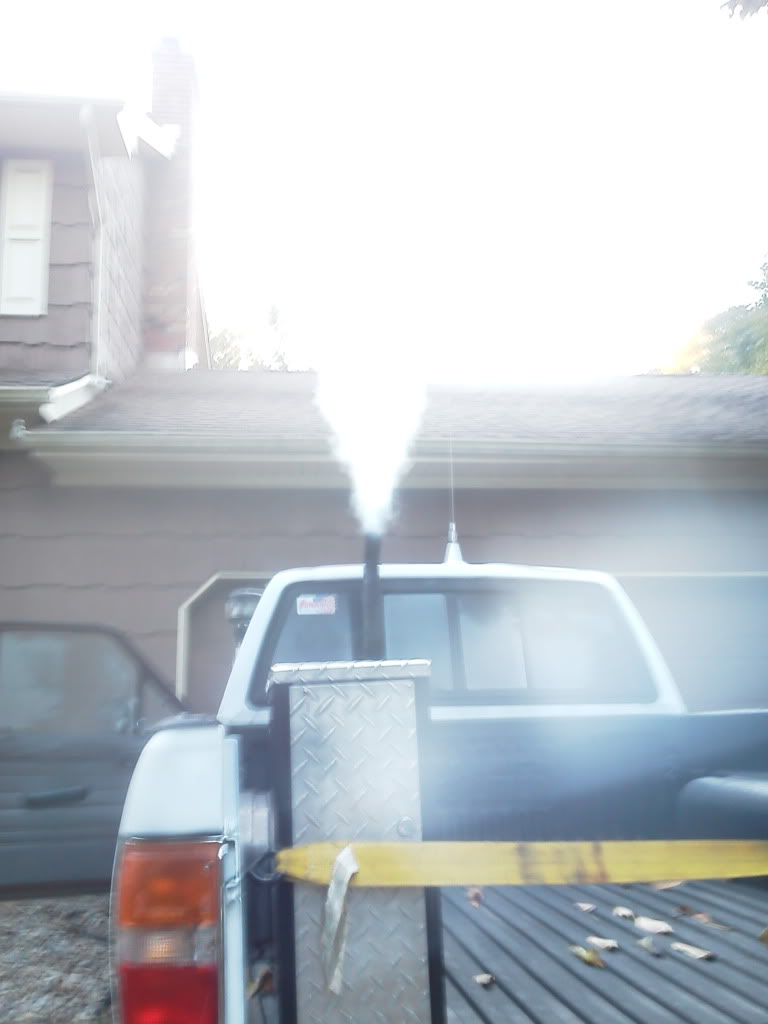
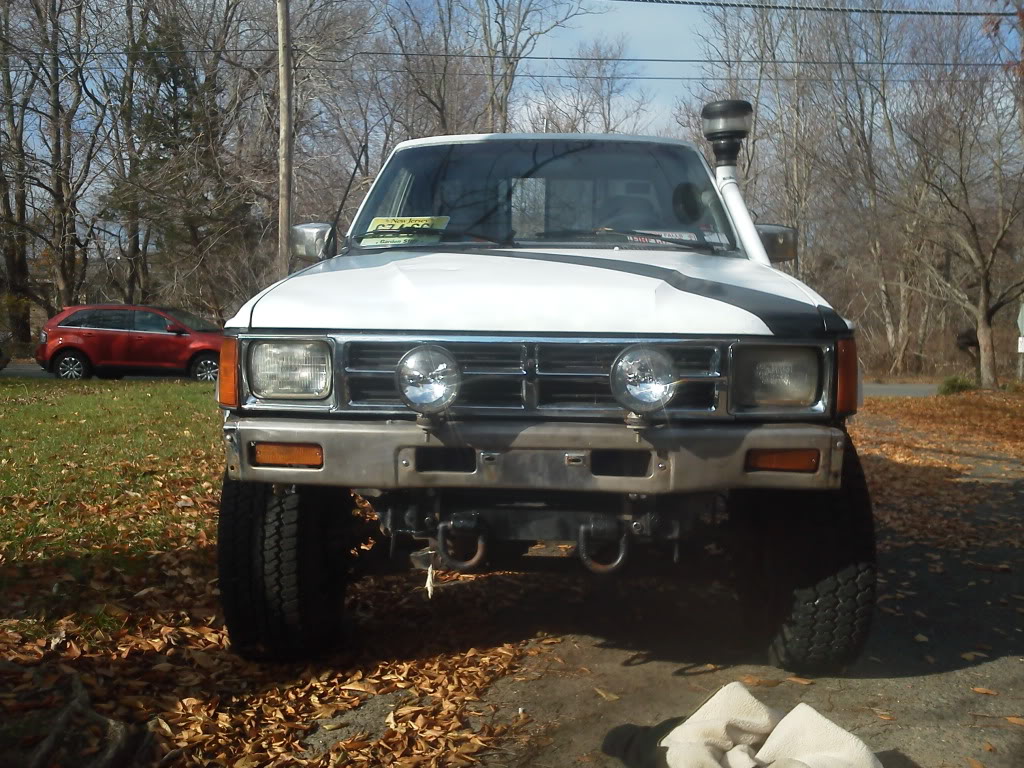
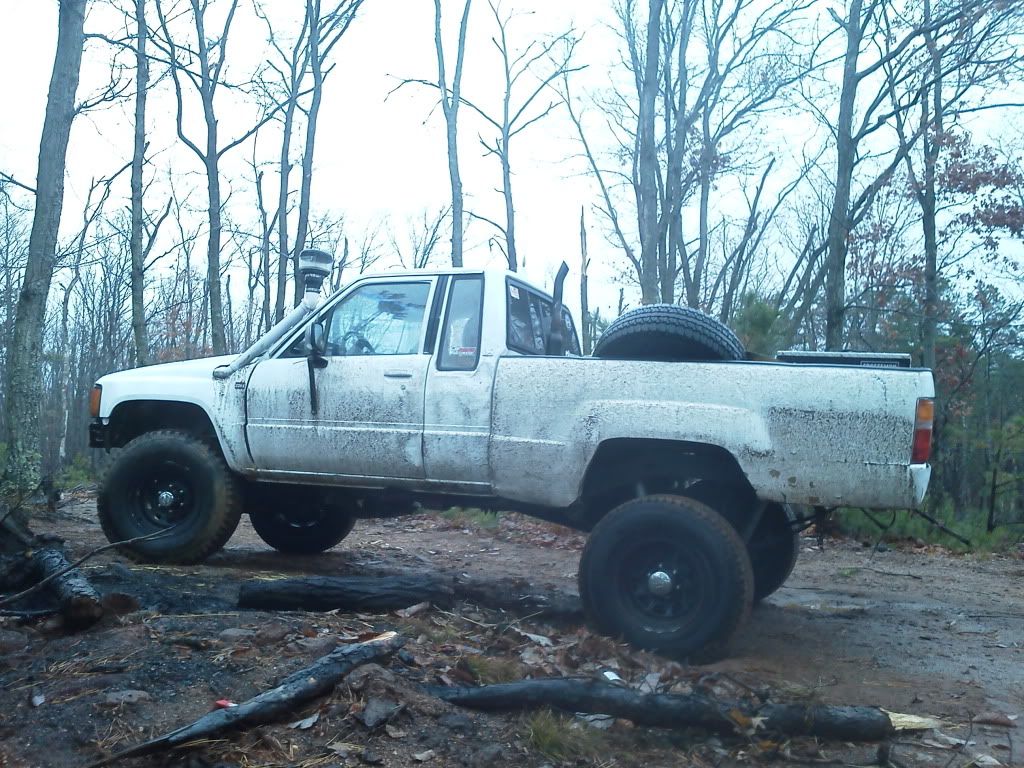
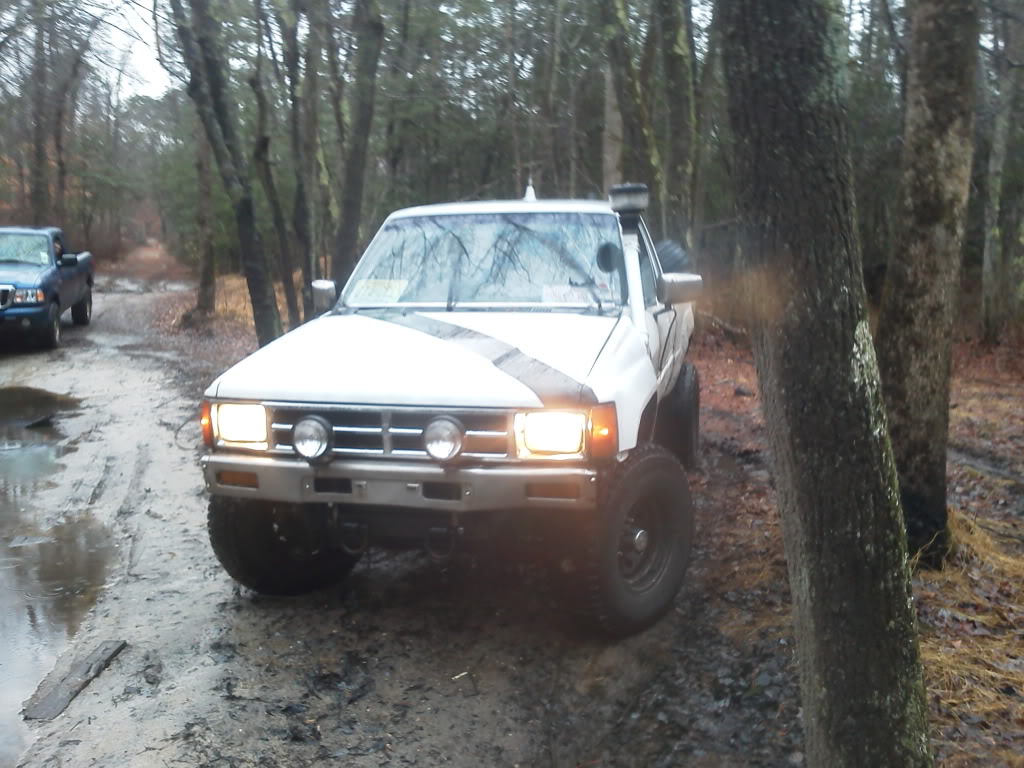
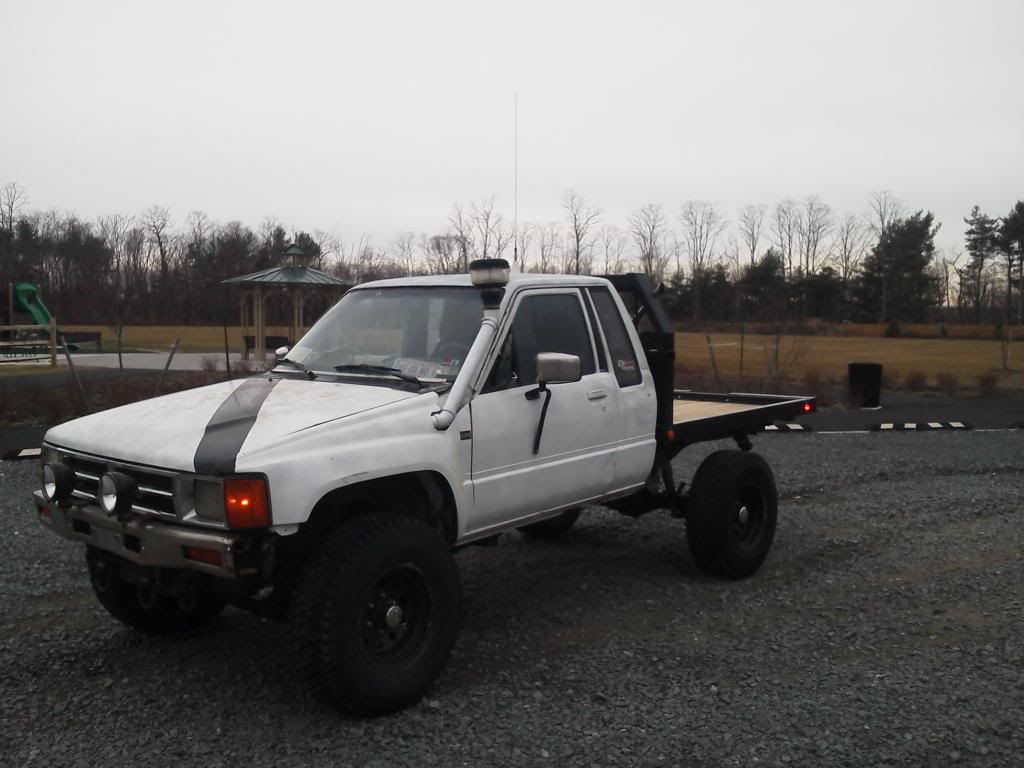
Snorkel time
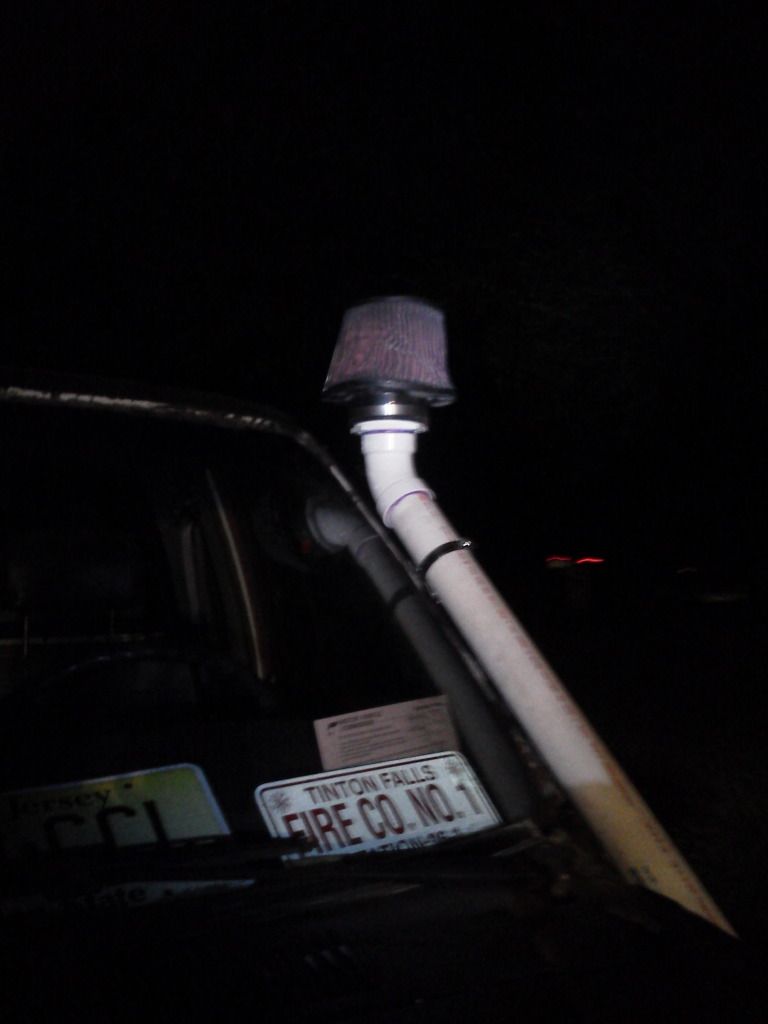
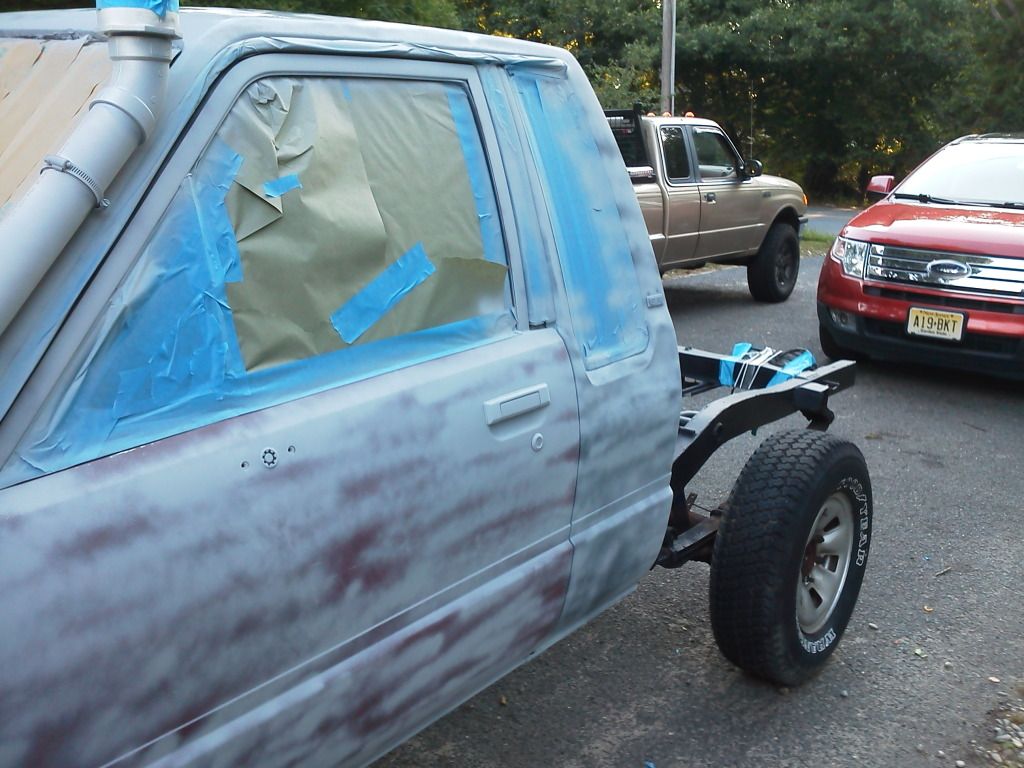
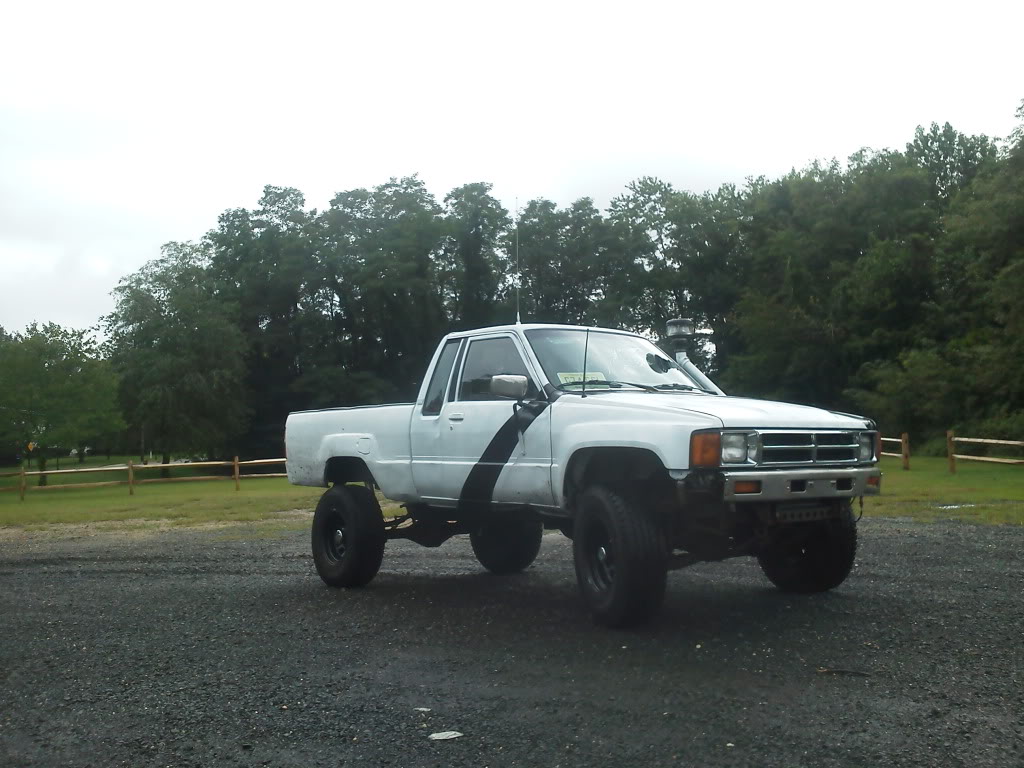
Paint time for the rest

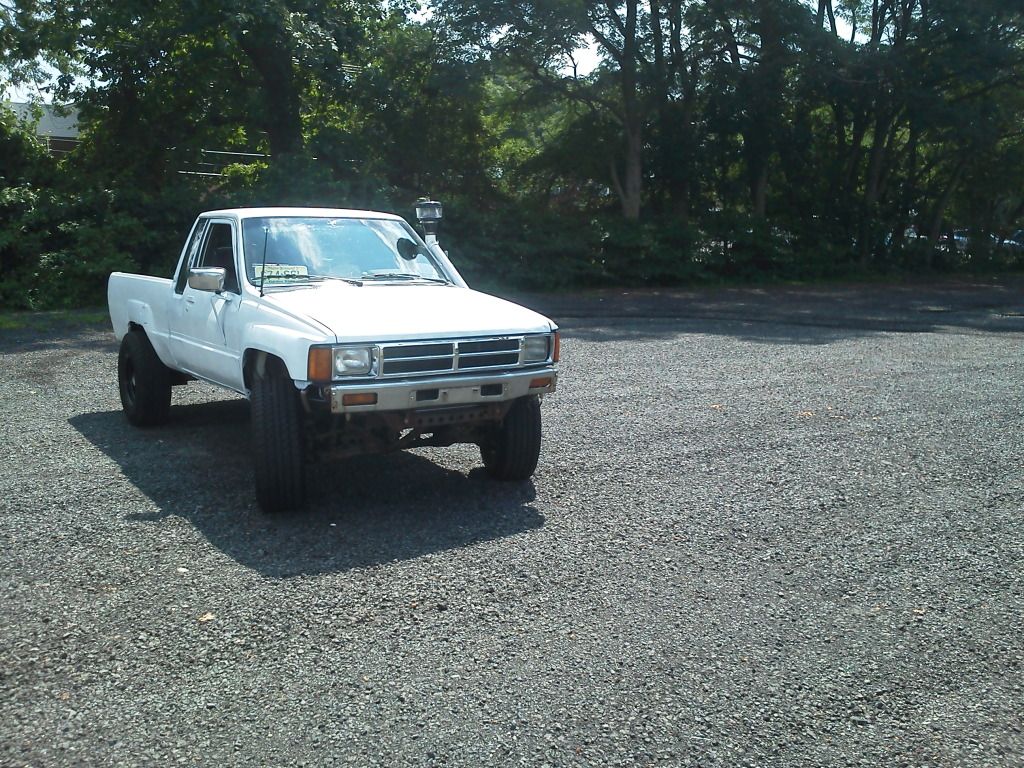
All Done
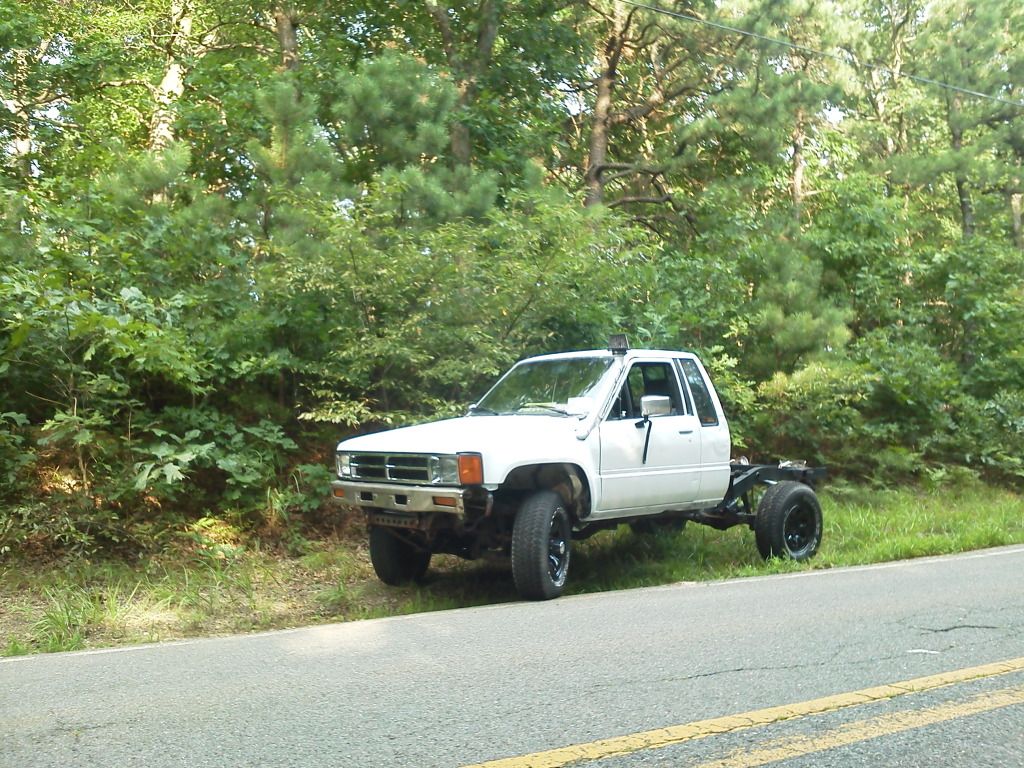
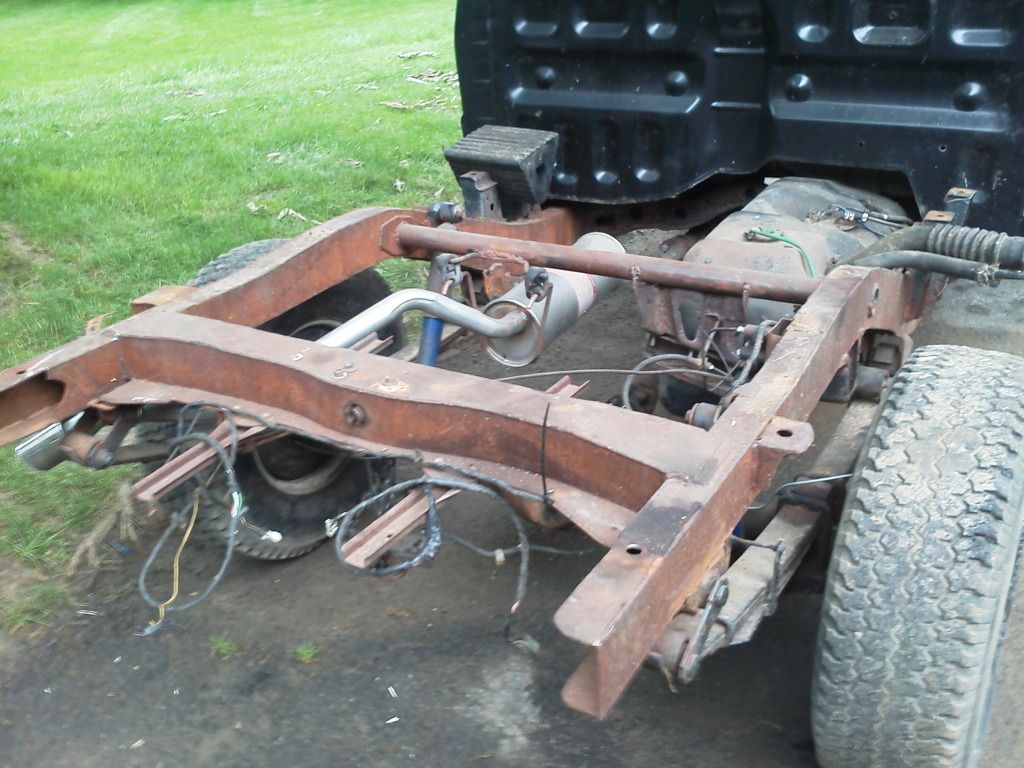
Bed Back on, Still needs tires at this point
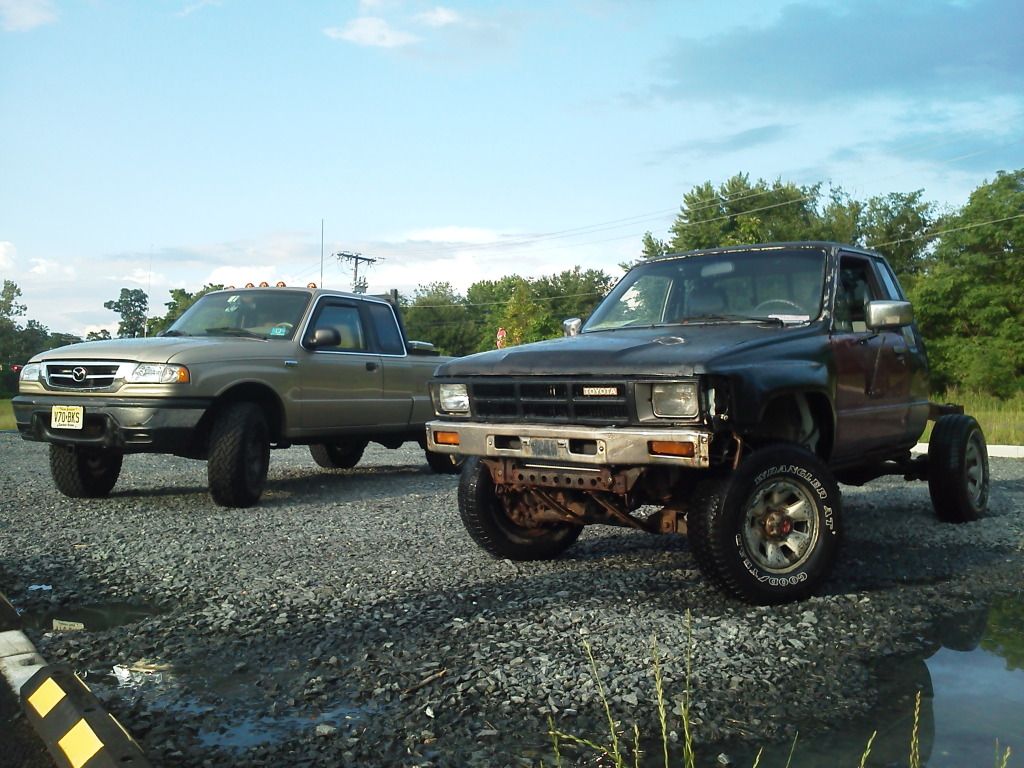
New tires and rims, one toolbox is in, and the correct snorkel tops been put on
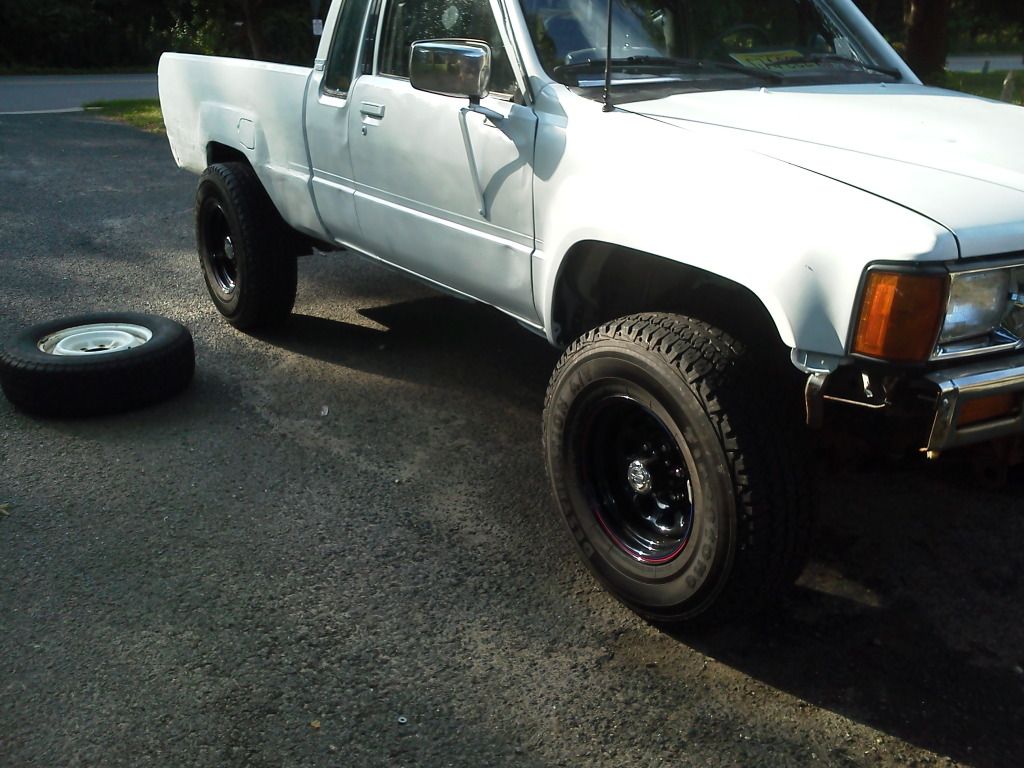
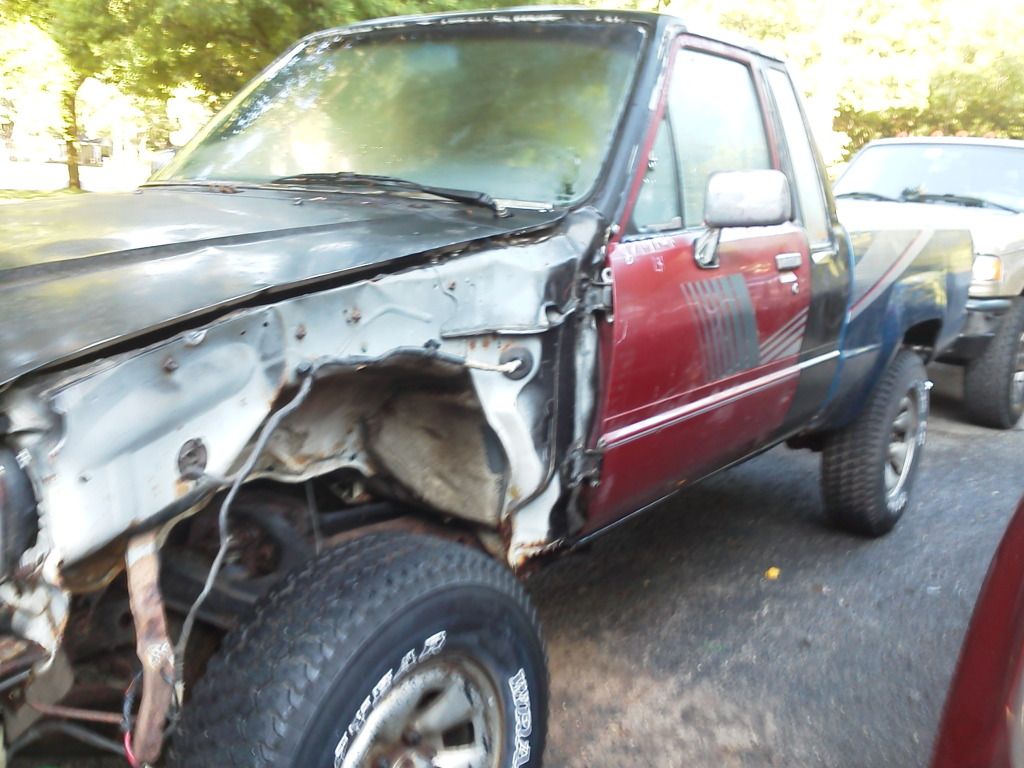
Oh, did i say bed was painted, I meant half... lol goofin with the new tires
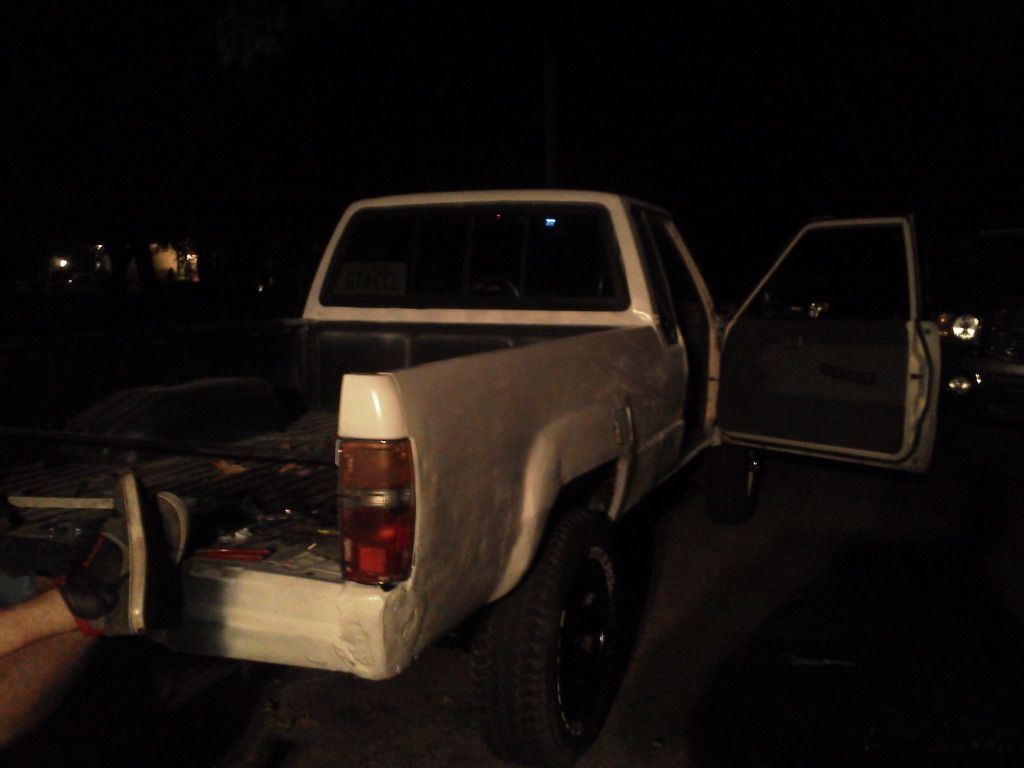
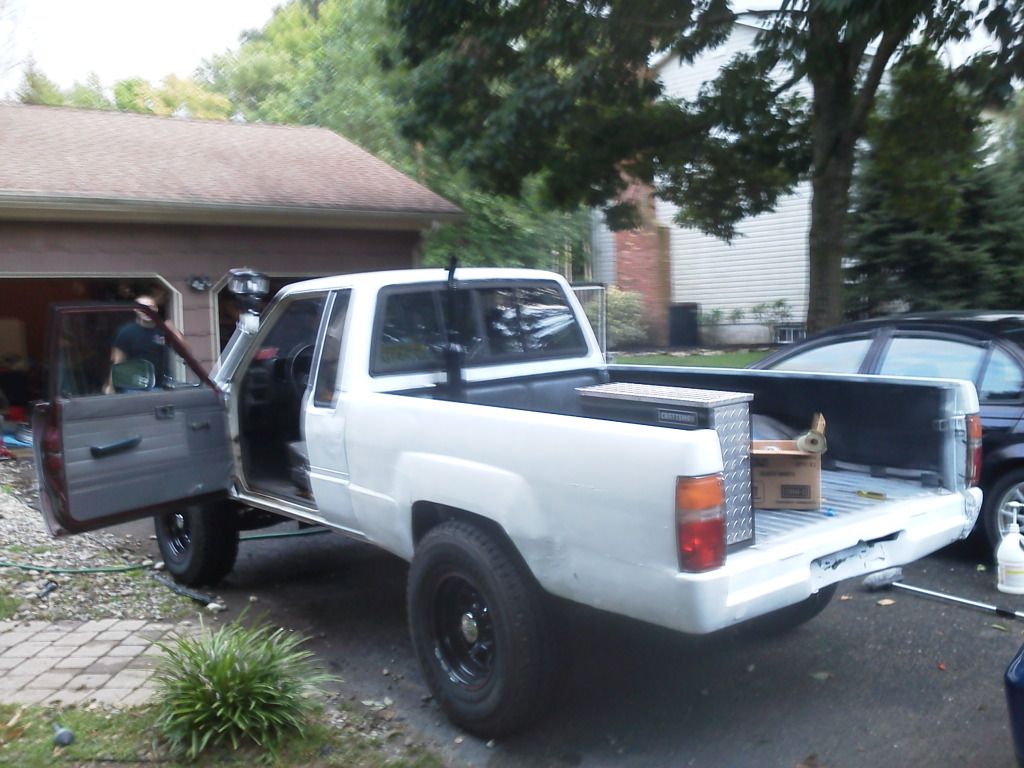
Oh, And the exhaust is now done, Ignore my dumb brother.
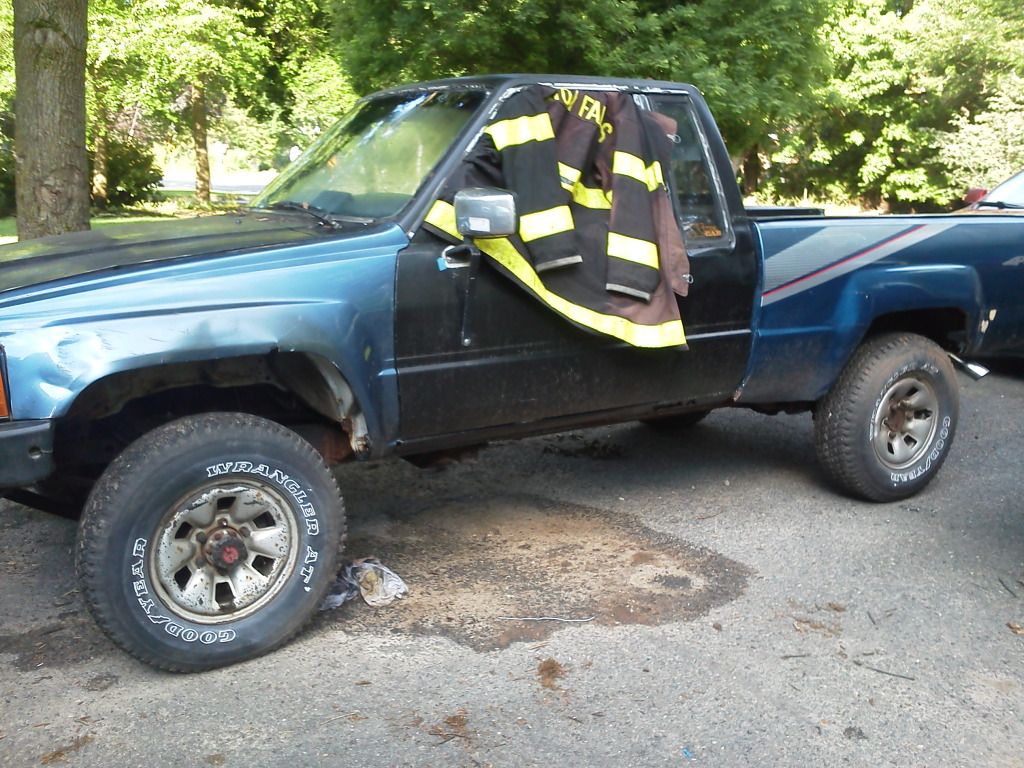
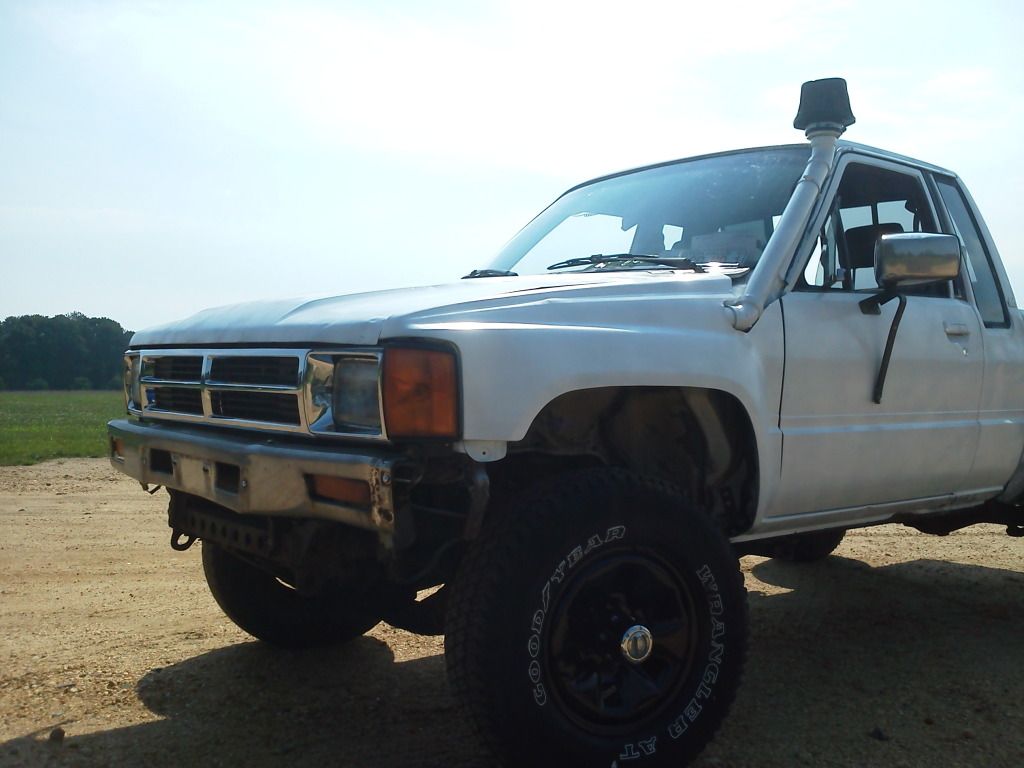
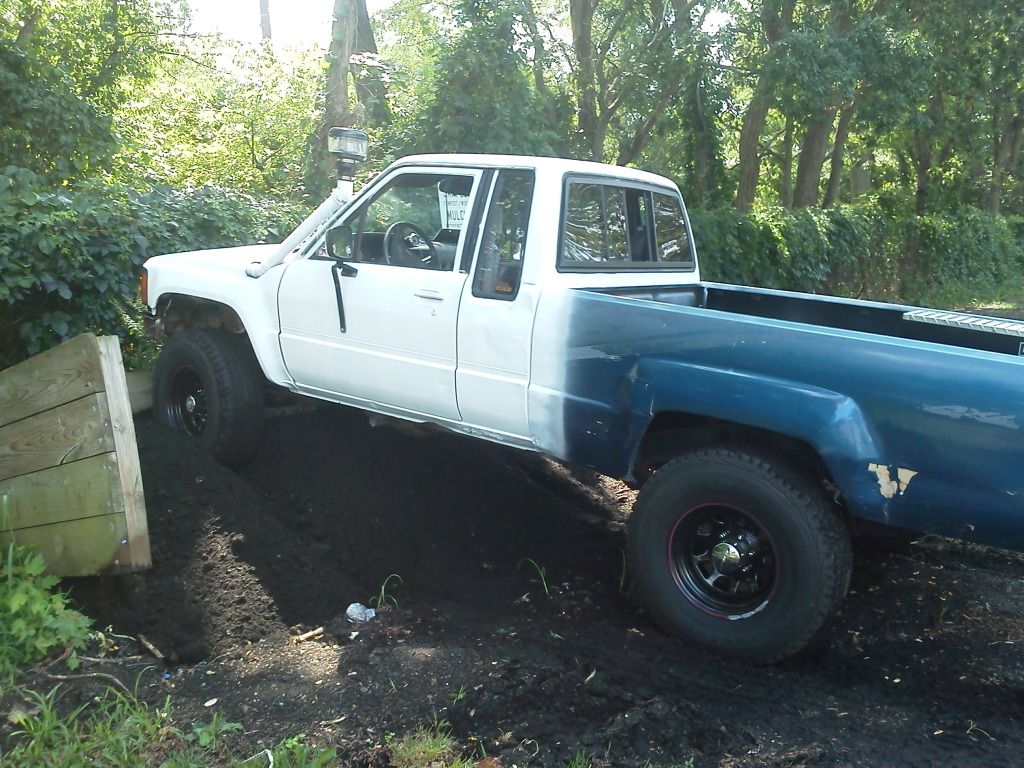
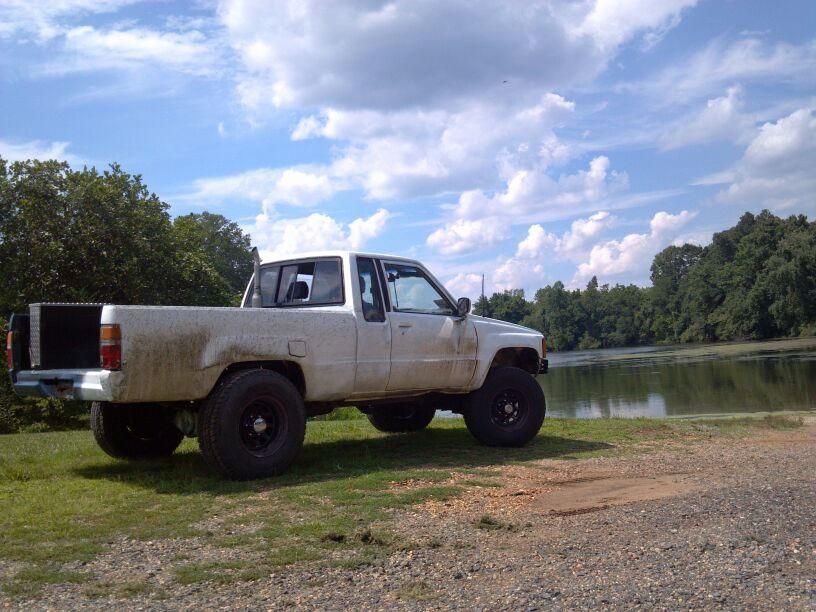
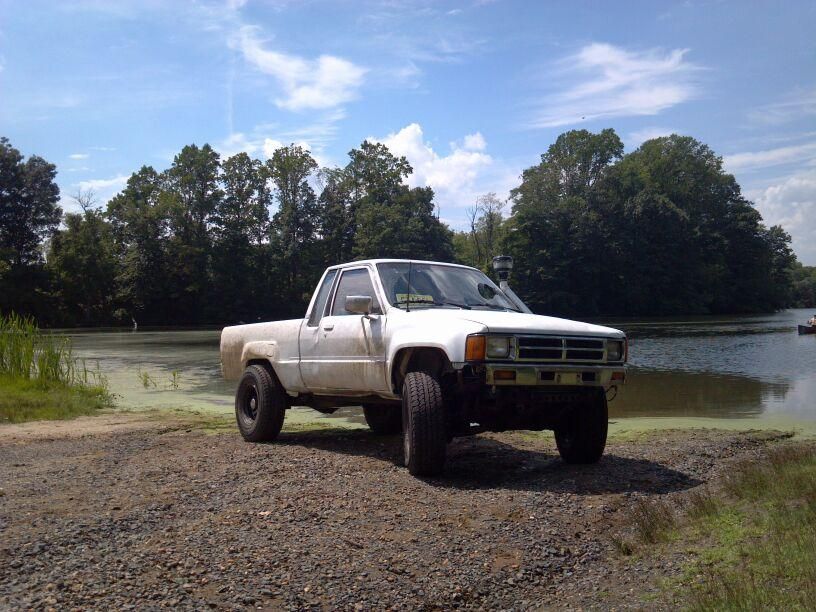
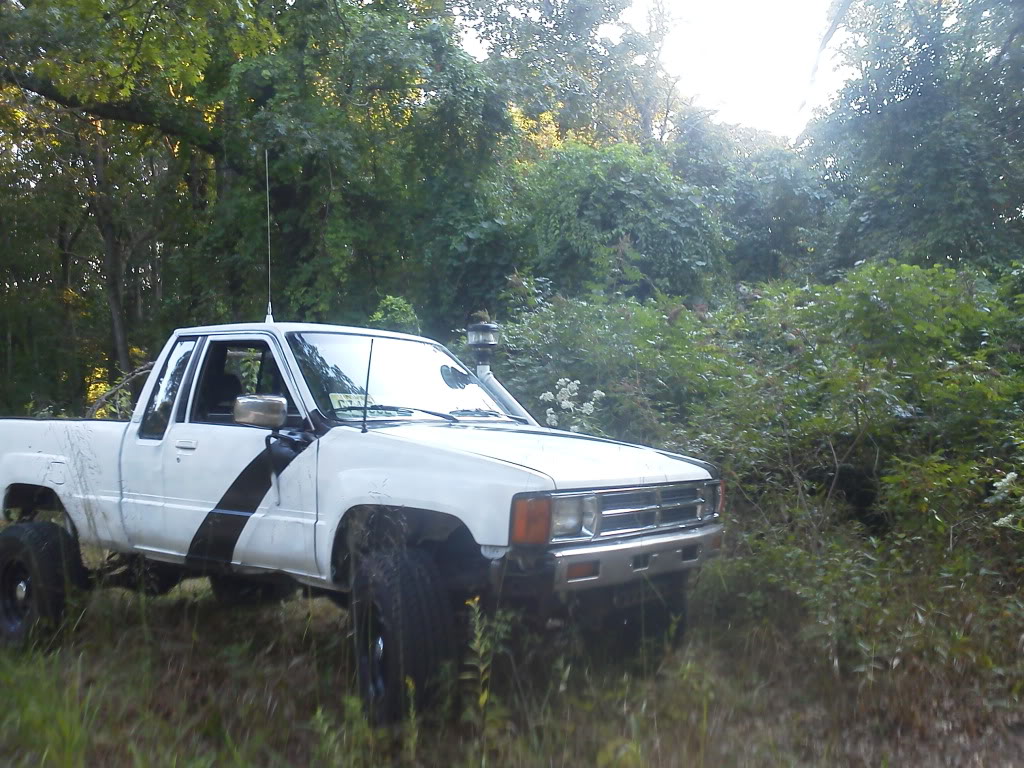
Got her dirty a bit. I need to take the rear springs to get rearched next week.
Oh, and sorry, all phone images im pretty sure
At the guys house
Trailering her home.
Gettin New Fenders
Bed Painted, ignore my horrid bondo work
Some Goodies
Snorkel time
Paint time for the rest
All Done
Bed Back on, Still needs tires at this point
New tires and rims, one toolbox is in, and the correct snorkel tops been put on
Oh, did i say bed was painted, I meant half... lol goofin with the new tires
Oh, And the exhaust is now done, Ignore my dumb brother.
Got her dirty a bit. I need to take the rear springs to get rearched next week.
Last edited by 01B3K; Aug 7, 2012 at 05:44 PM.
 Aug 27, 2012 | 06:35 PM
#3
Registered User
Joined: Apr 2011
Posts: 1,947
Likes: 1
From: Monkton, MD
Looks awesome! You rarely see a stack on a Yota. When you do, it's some giant ugly thing they put on to make it look like a diesel. Yours is tastefully done.
Why would you swap the factory Aisin hubs for Mile Markers? I could see MAYBE putting on Warn Premiums, but not Mile Markers. Their winches are great, but their locking hubs are just god-awful. I think you should rebuild the Aisins and put them back on.
Why would you swap the factory Aisin hubs for Mile Markers? I could see MAYBE putting on Warn Premiums, but not Mile Markers. Their winches are great, but their locking hubs are just god-awful. I think you should rebuild the Aisins and put them back on.
Aug 27, 2012 | 06:47 PM
#4
Thread Starter
Registered User
Joined: Jun 2012
Posts: 37
Likes: 0
Thanks!
Well as for the hubs, I was missing one of the Aisins completely, and I bought the mile markers before learning about how they were junk, yea, stupid me haha. I plan on getting a pair of aisins again soon
Well as for the hubs, I was missing one of the Aisins completely, and I bought the mile markers before learning about how they were junk, yea, stupid me haha. I plan on getting a pair of aisins again soon
 Jan 22, 2013 | 01:56 PM
#6
Thread Starter
Registered User
Joined: Jun 2012
Posts: 37
Likes: 0
small update, alot done, ill let the pictures tell
Took long enough for the springs to come in, but they did
Its cold, Lol
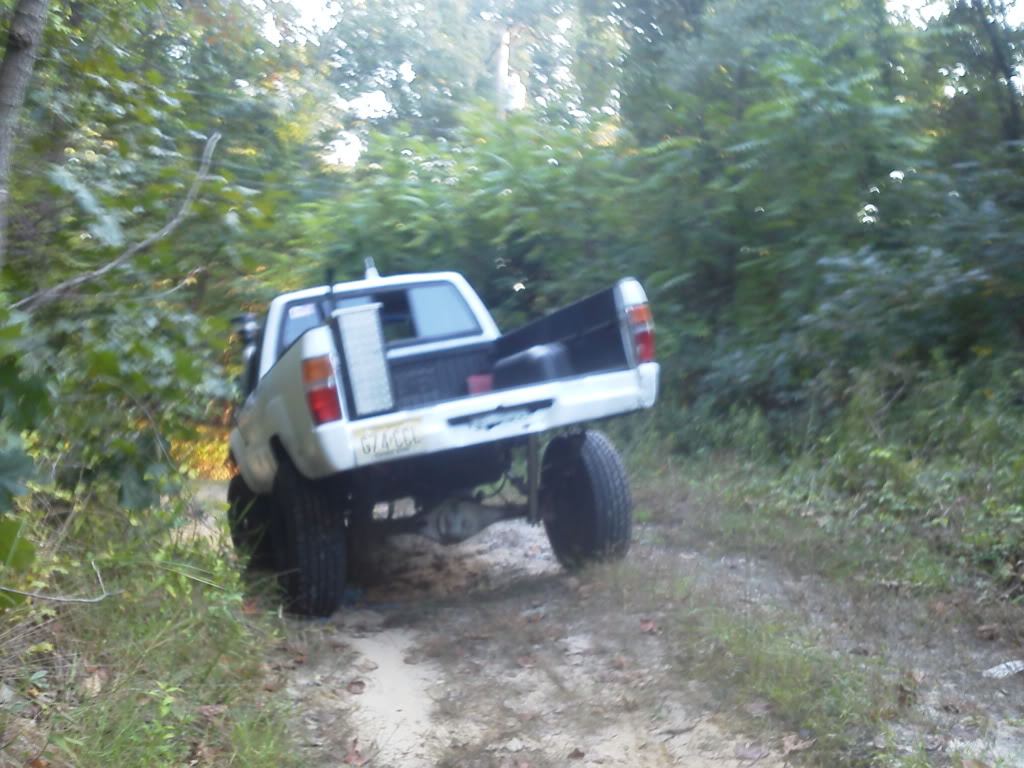
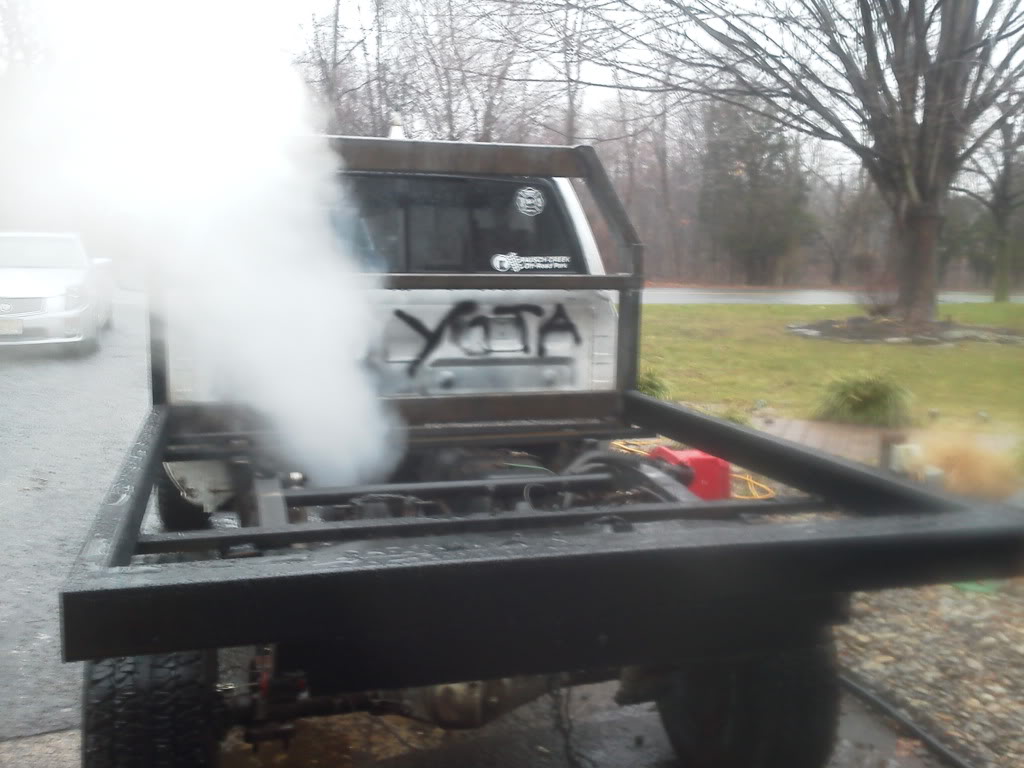
Went a little off the trail
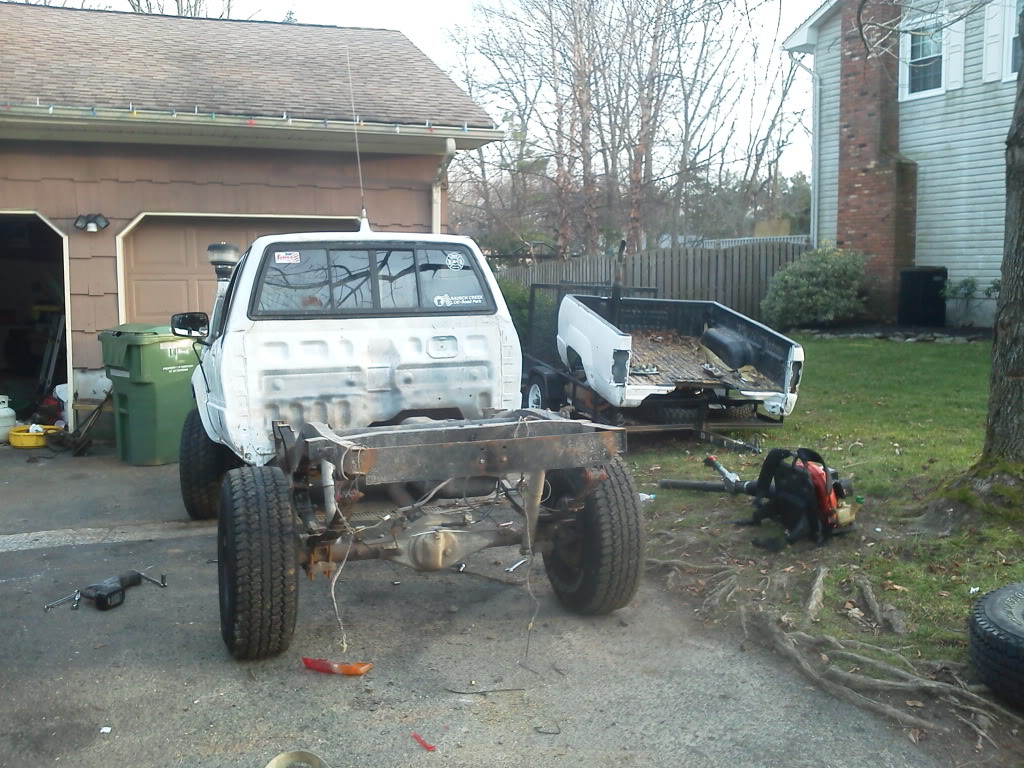
And then she broke. Lost the slave cylinder going to school\
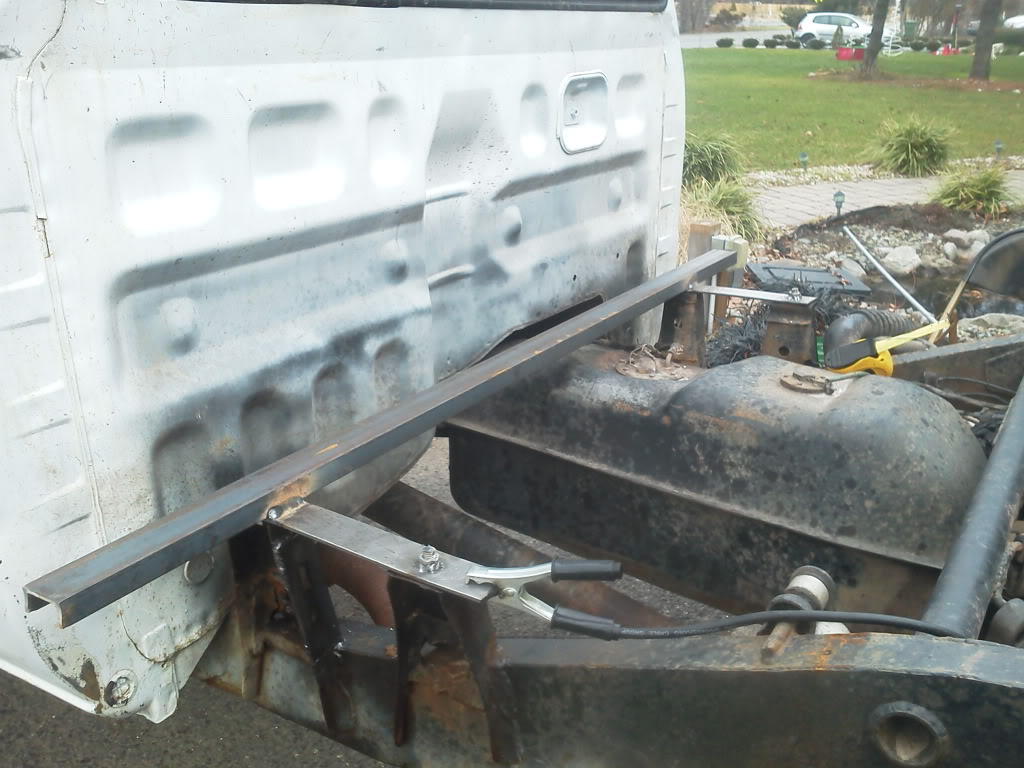
Front tow Points now too!

Me bending my rear tow point at rausch creek
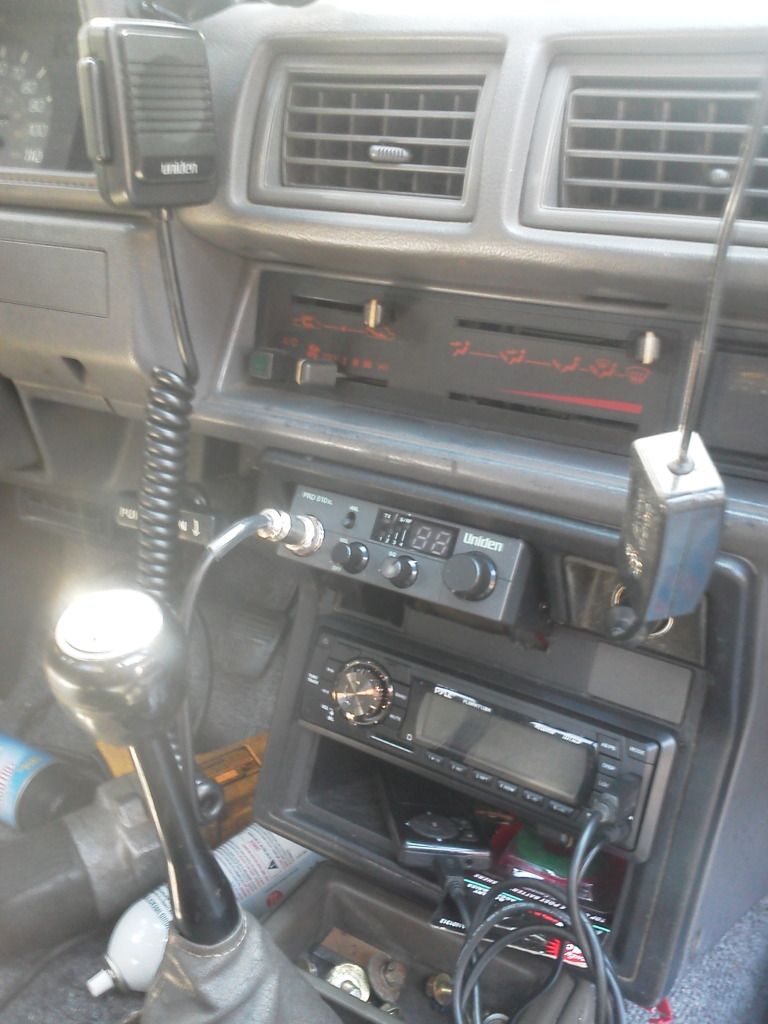
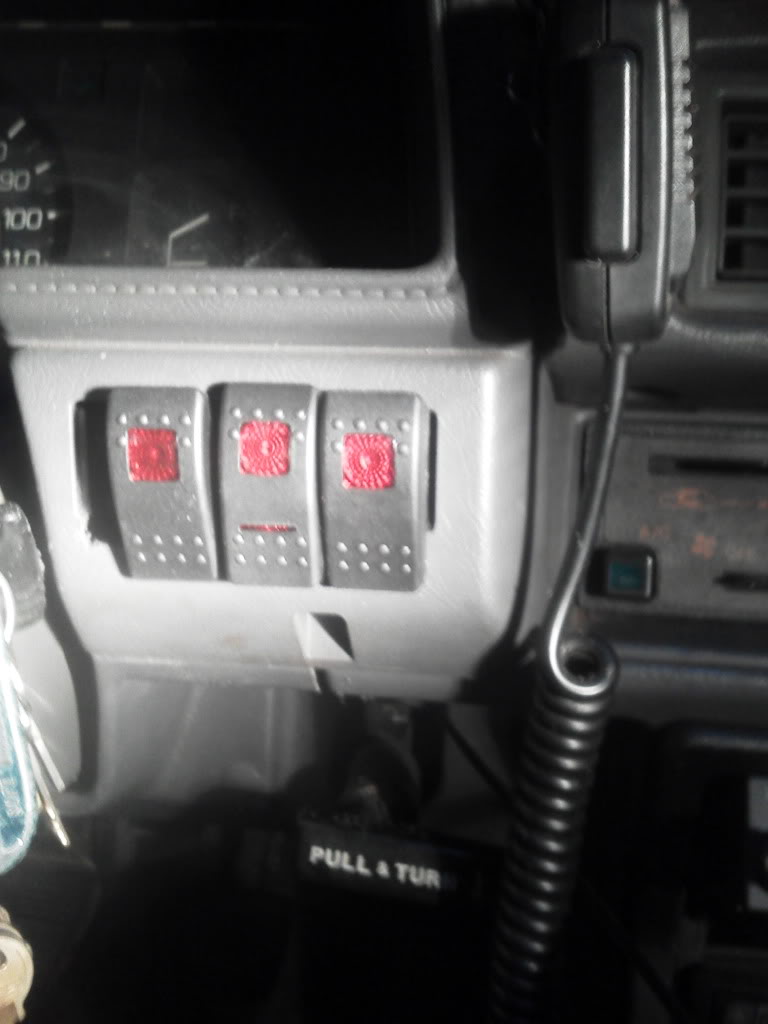
KC's and new switches
Need to do a little more trimming to fit in one more switch
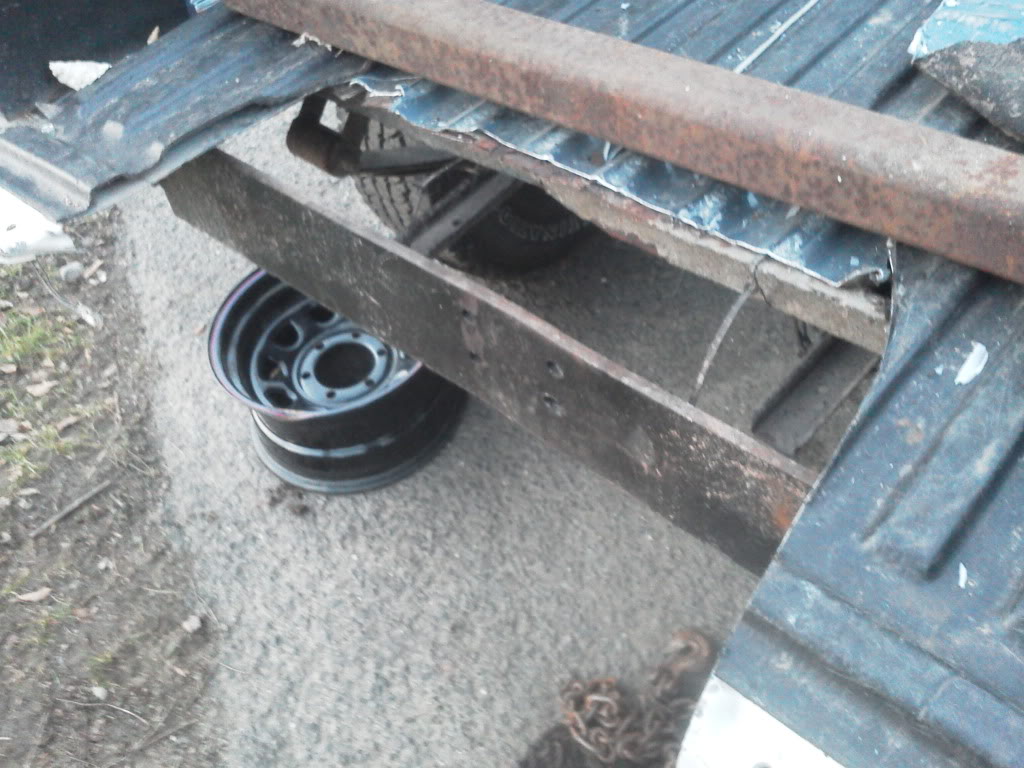
Fixing Said tow point
On board air starting very very soon, preping my tank

did a bit of wheeling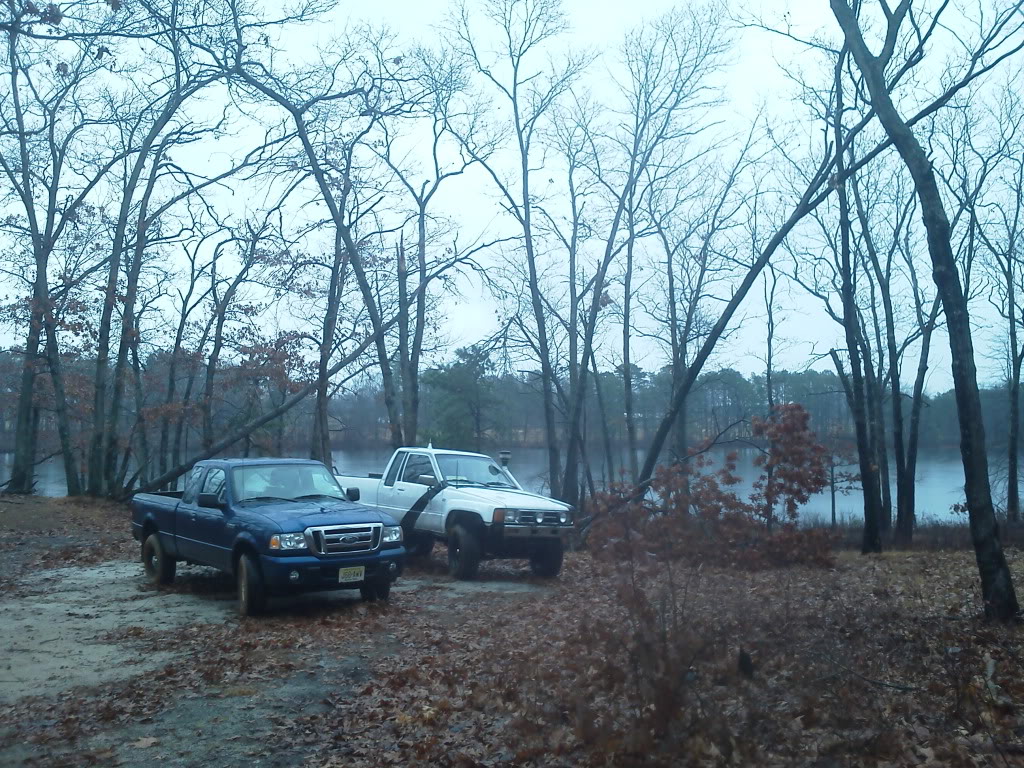
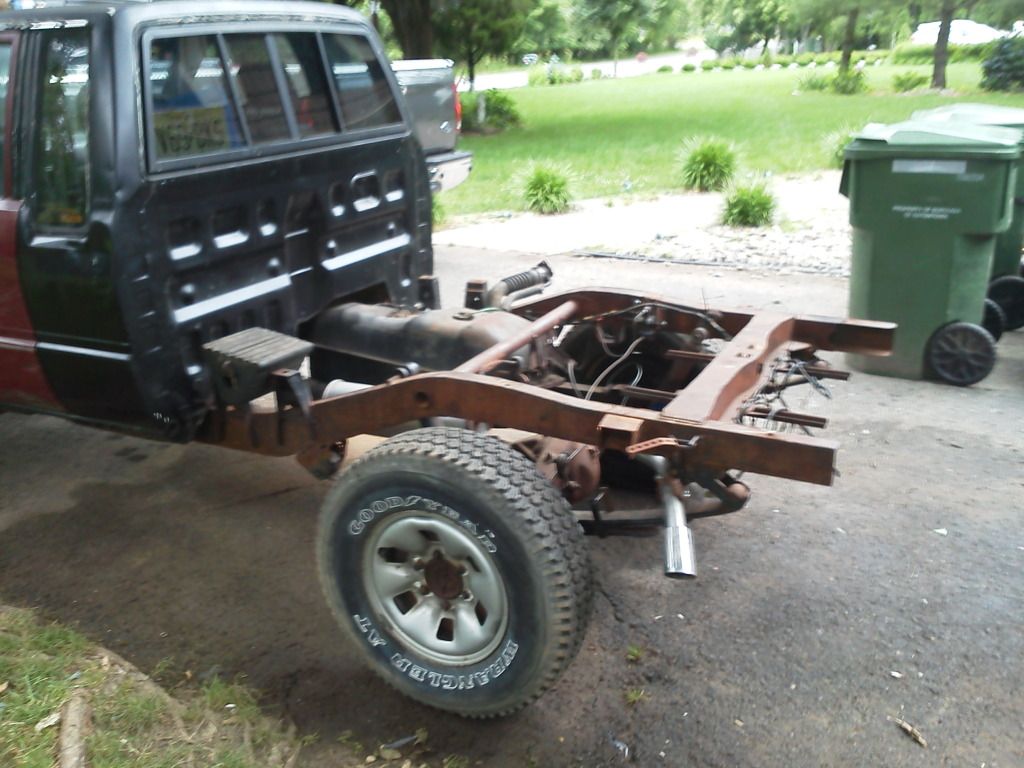
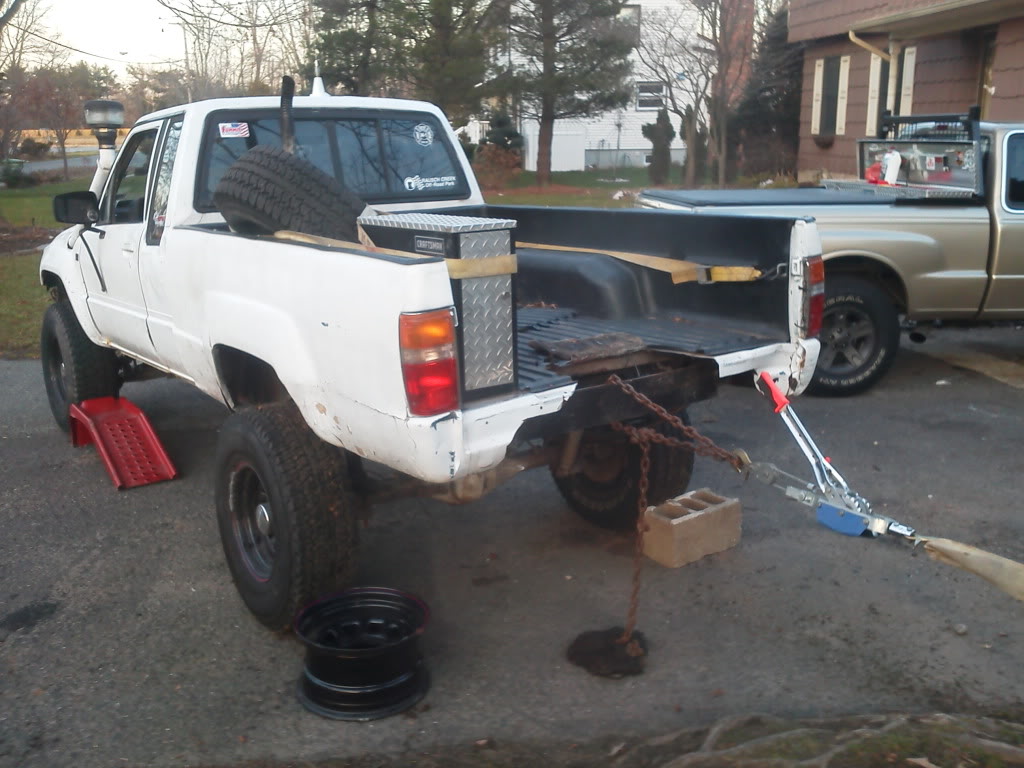
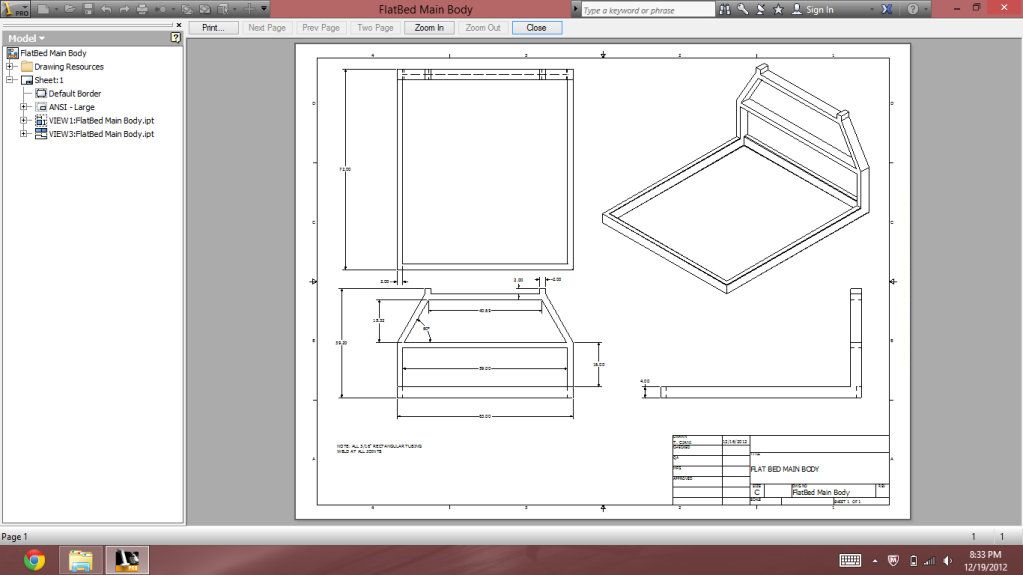
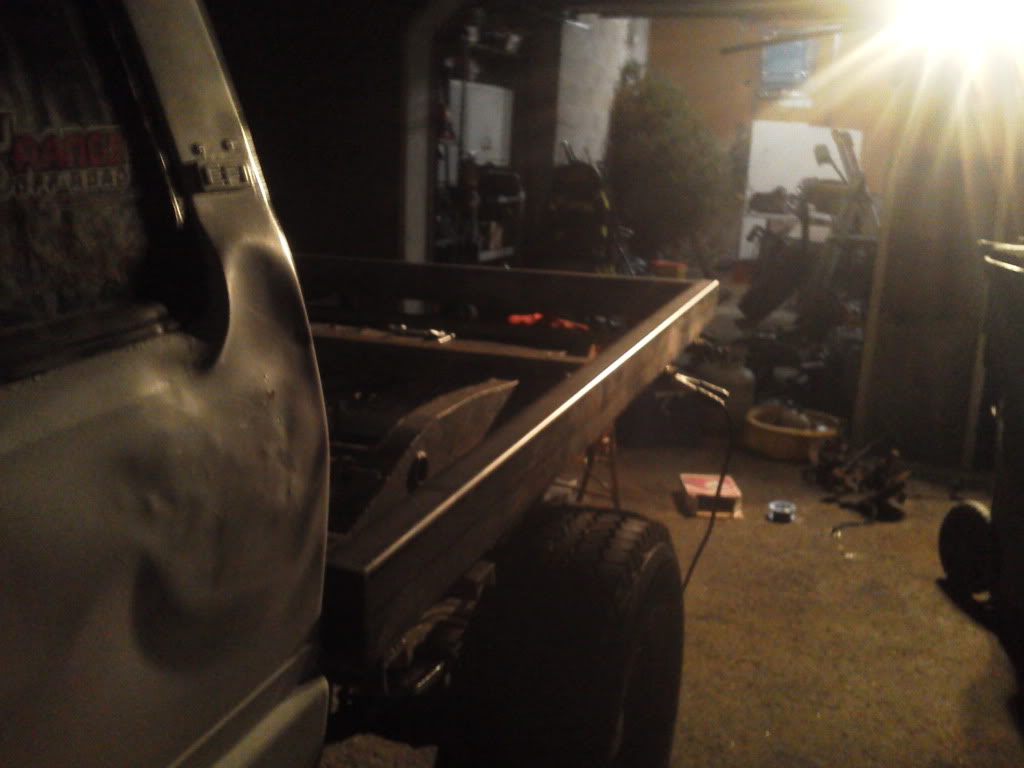
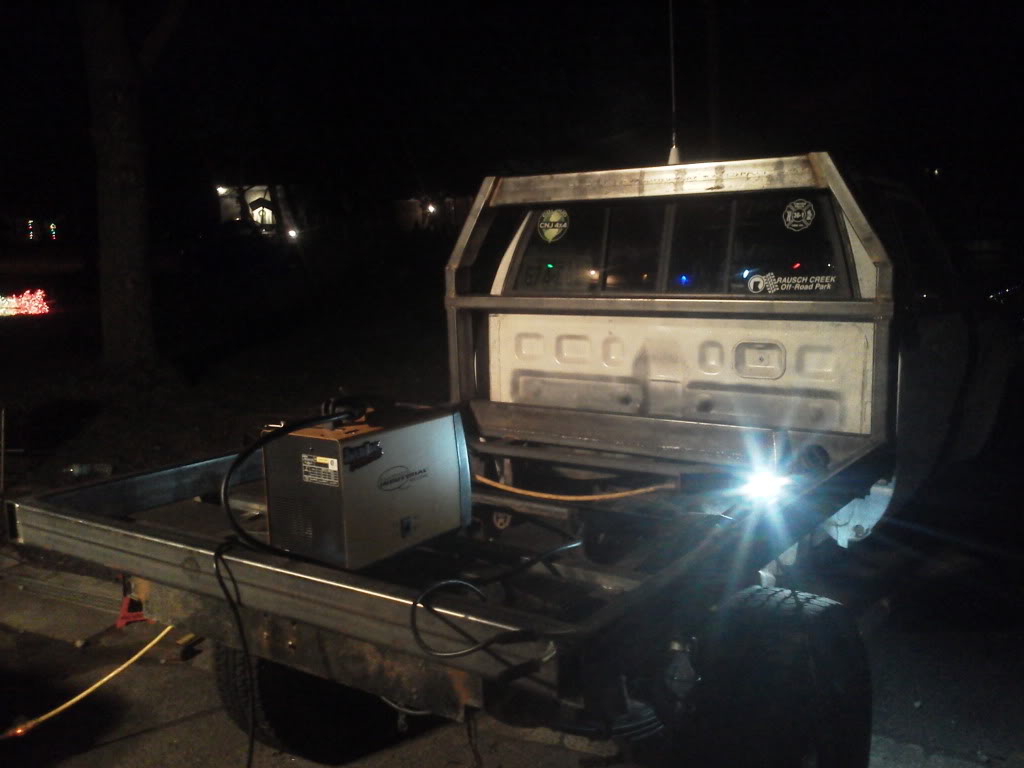
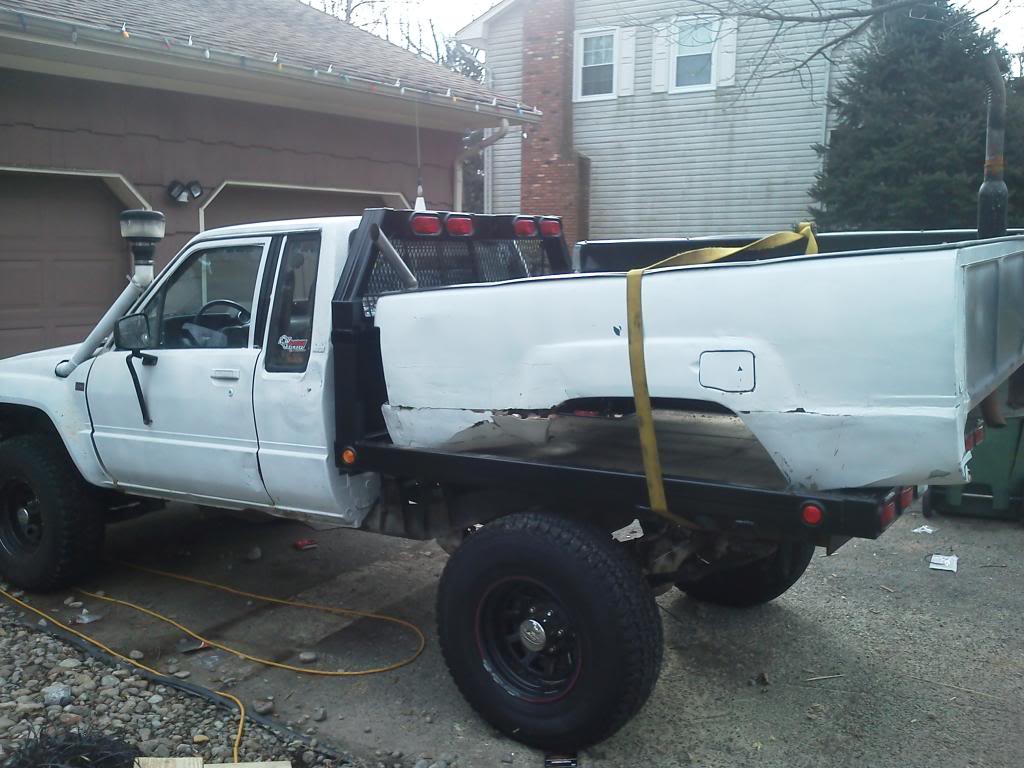
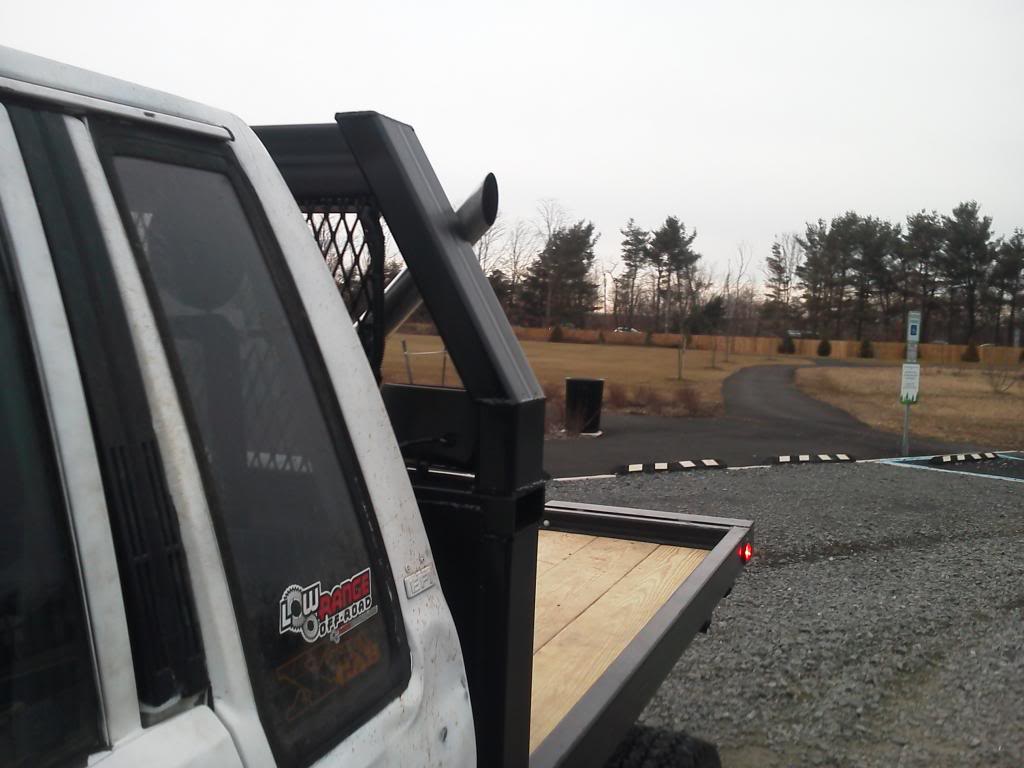
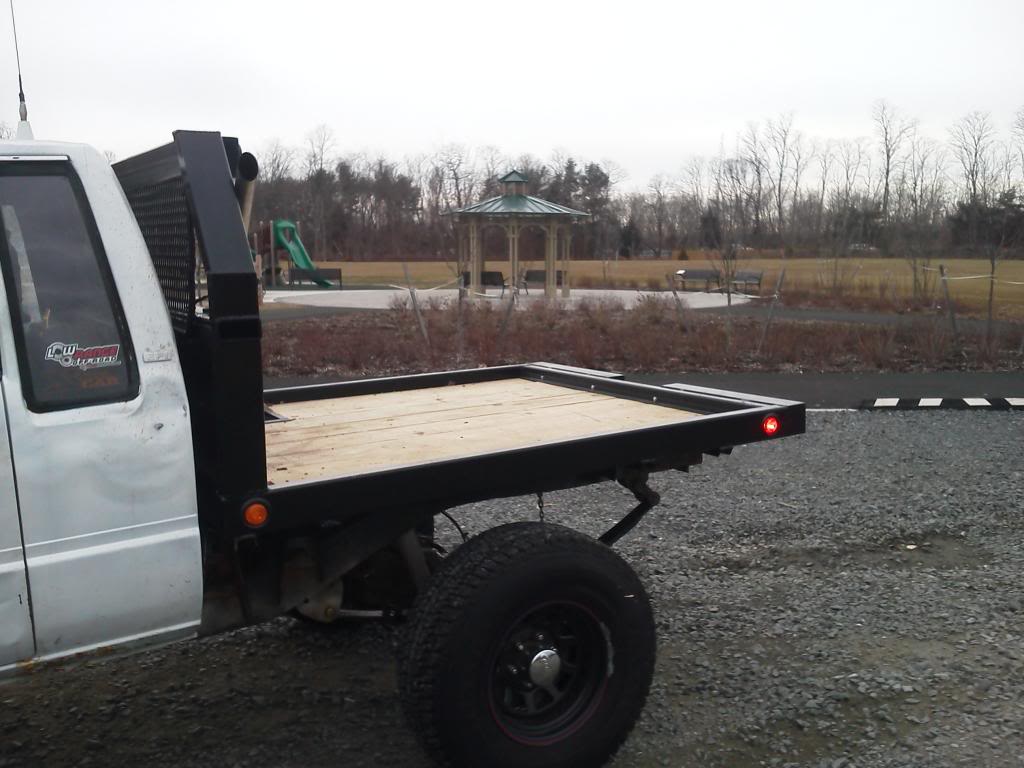
Did anyone say flatbed time?
End of Day one, Everything only a little more than tacked into place. Ignore my buddy

The start of day two...
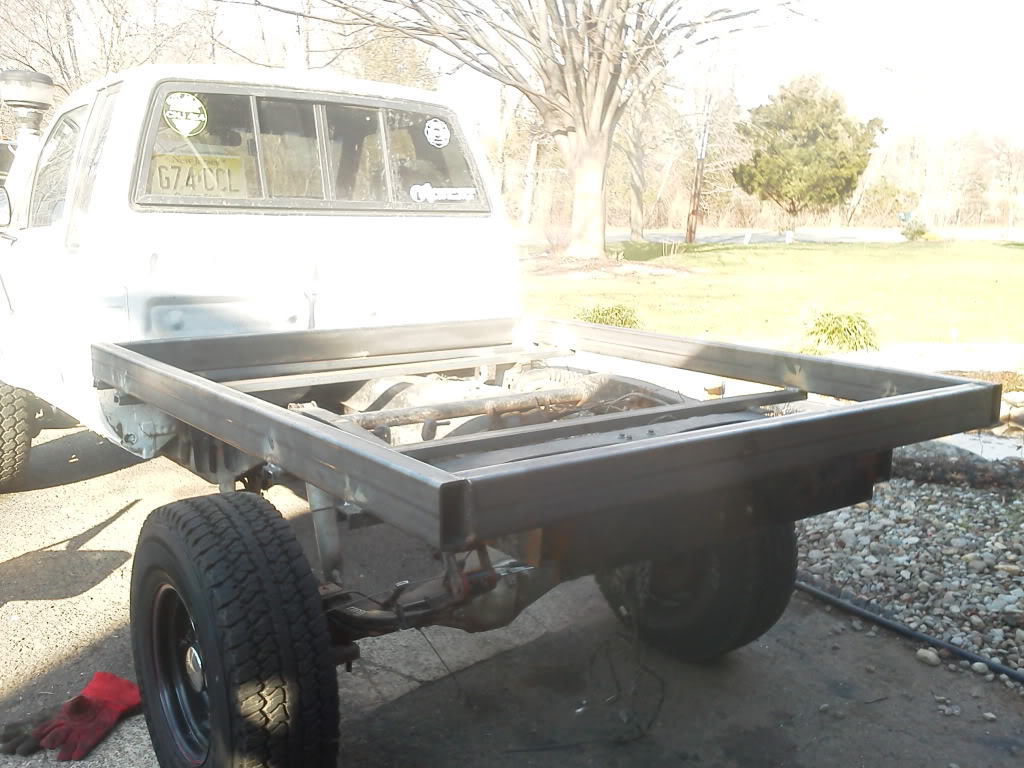
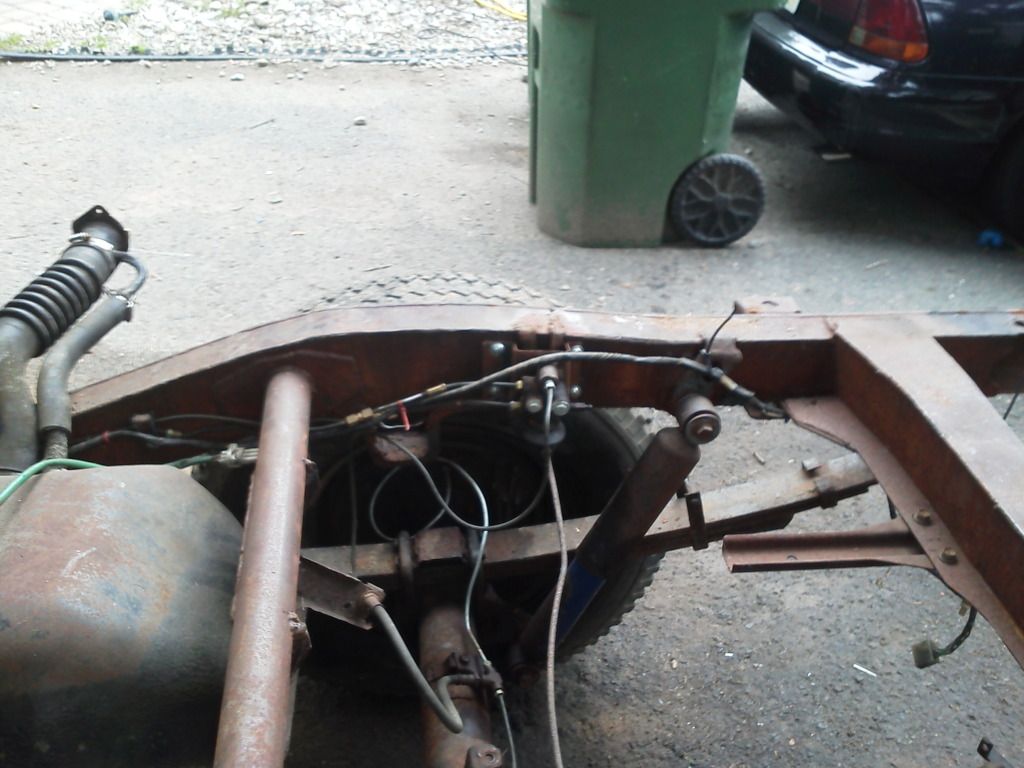
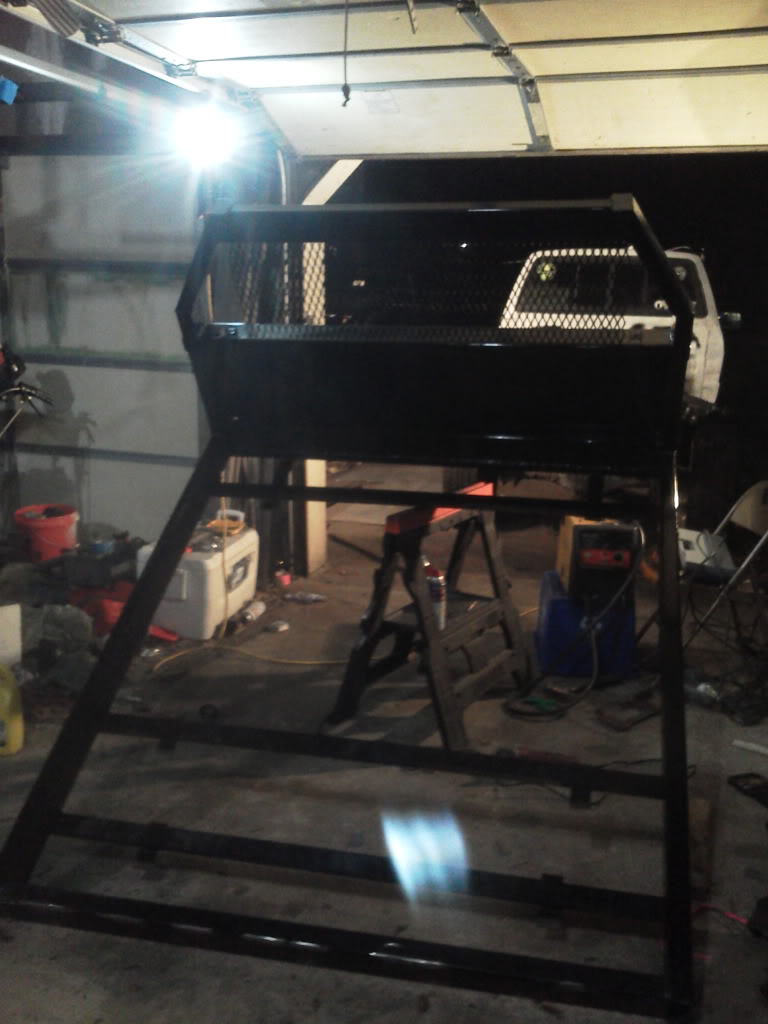
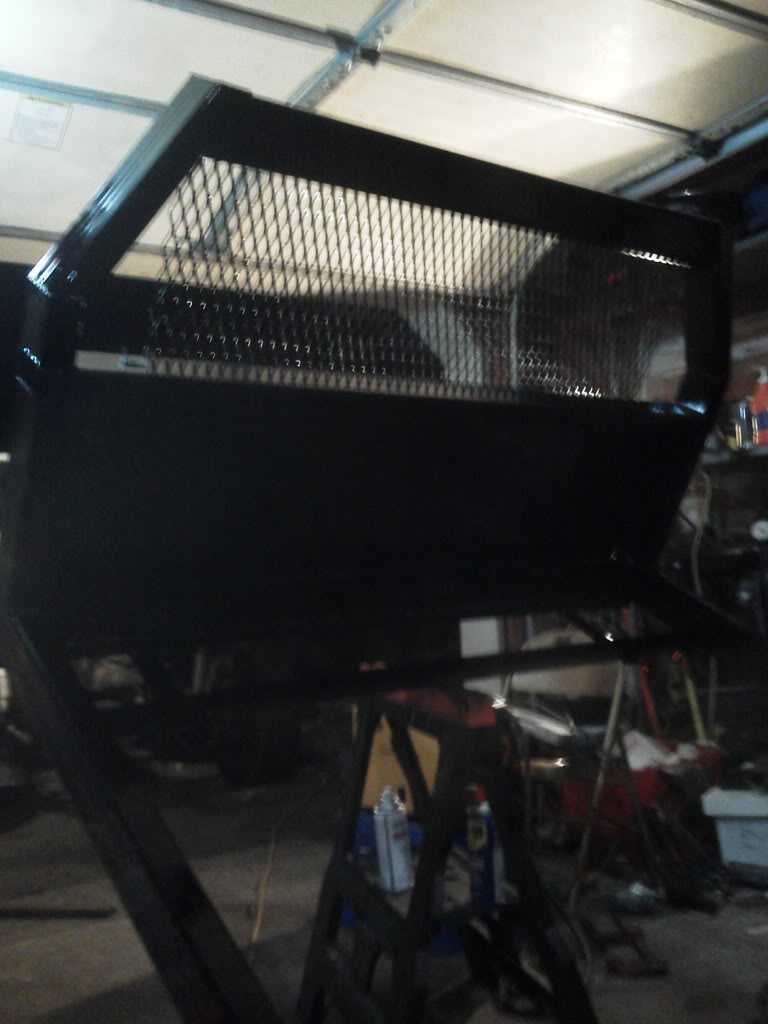
About halfway through, all the bottom welds are done
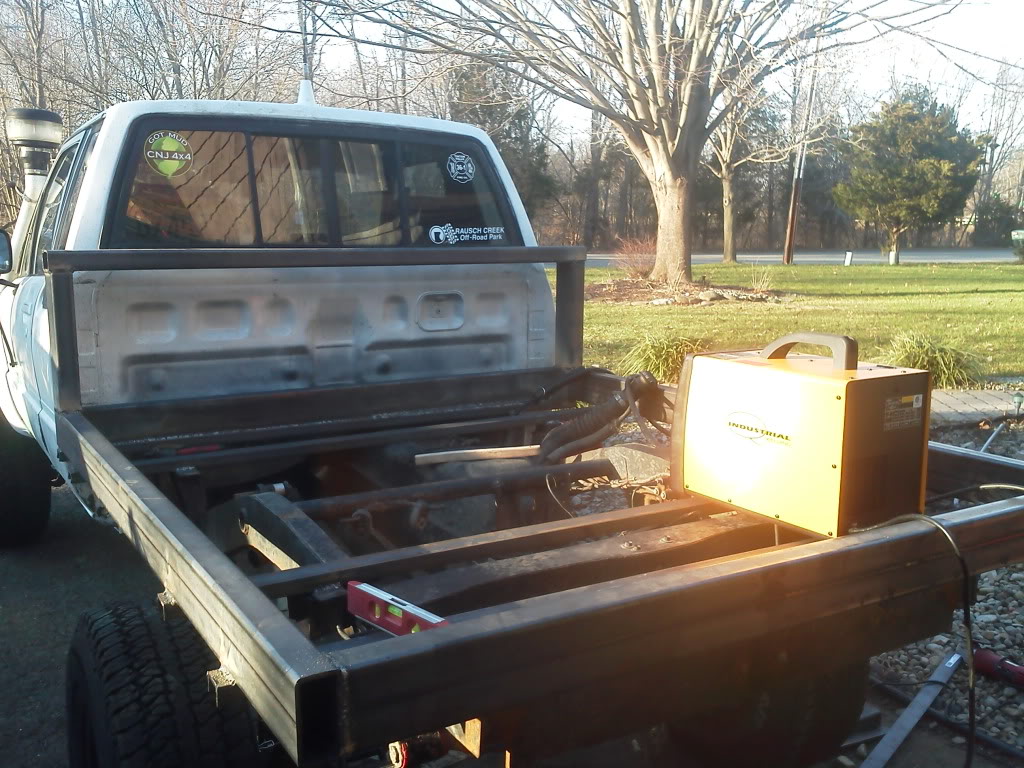
And by the end of day Two, Were here, Everything except whats down low by the cab (impossible to get to) and the back of the upper cross beam are welded in place.
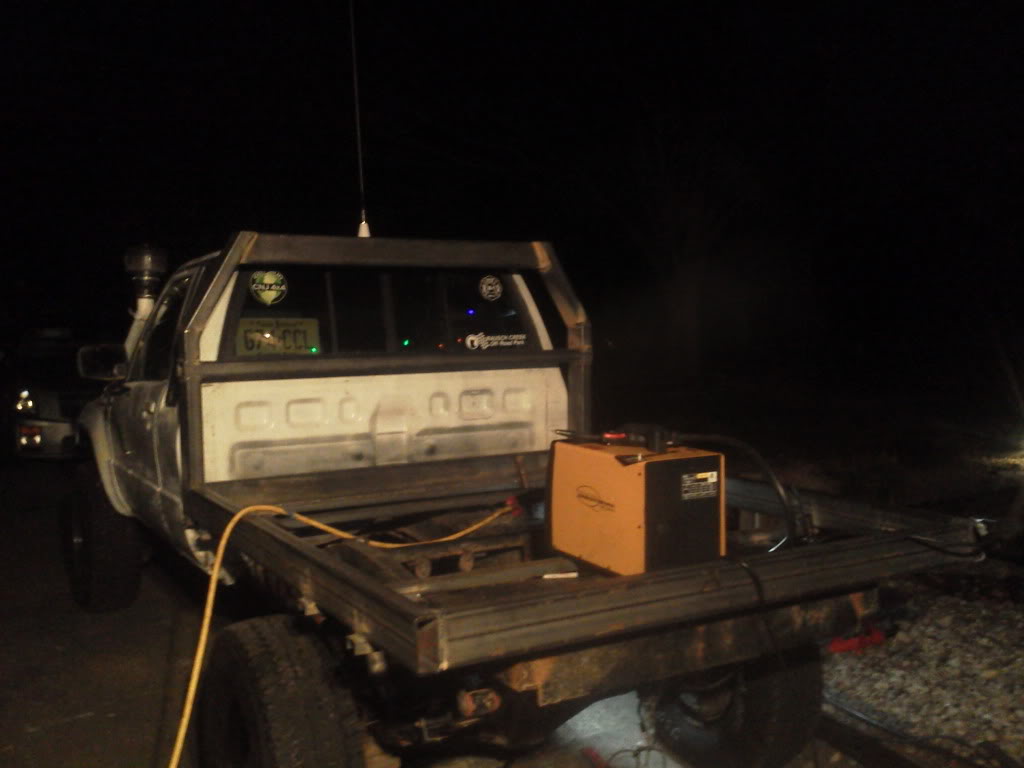
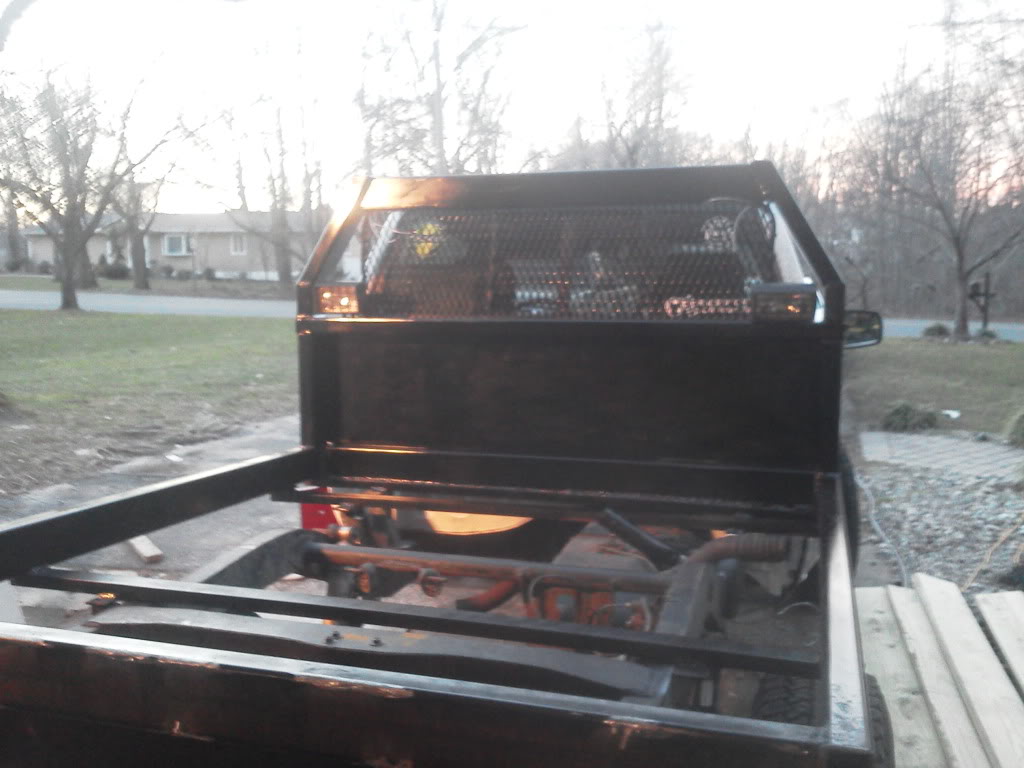
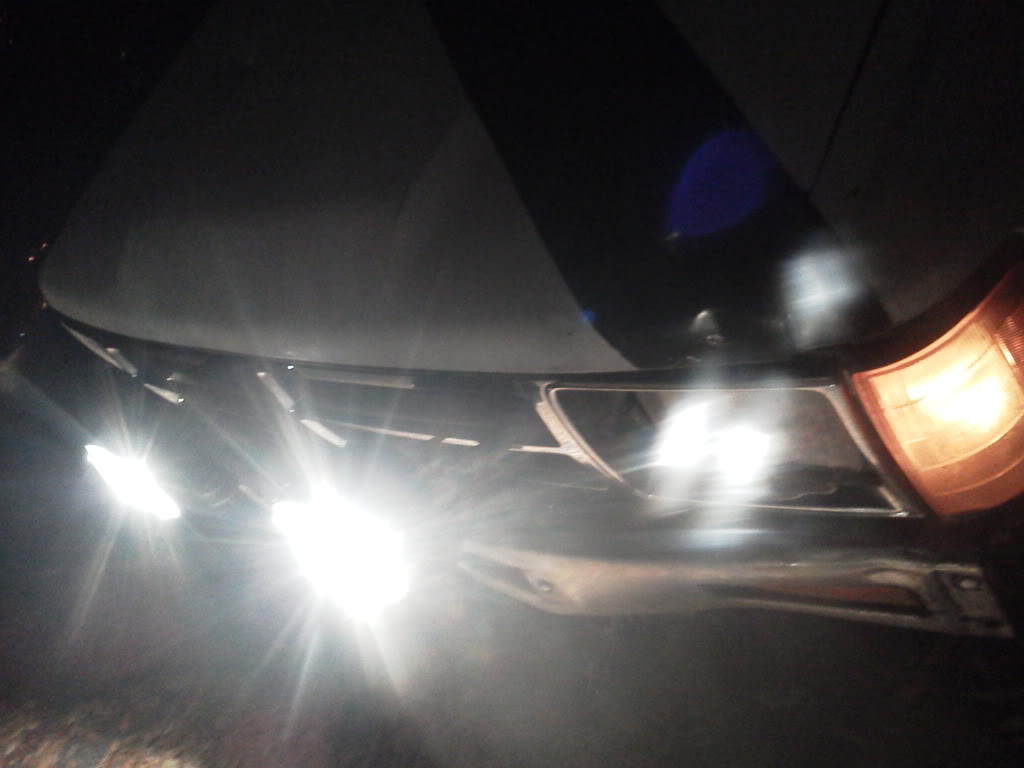
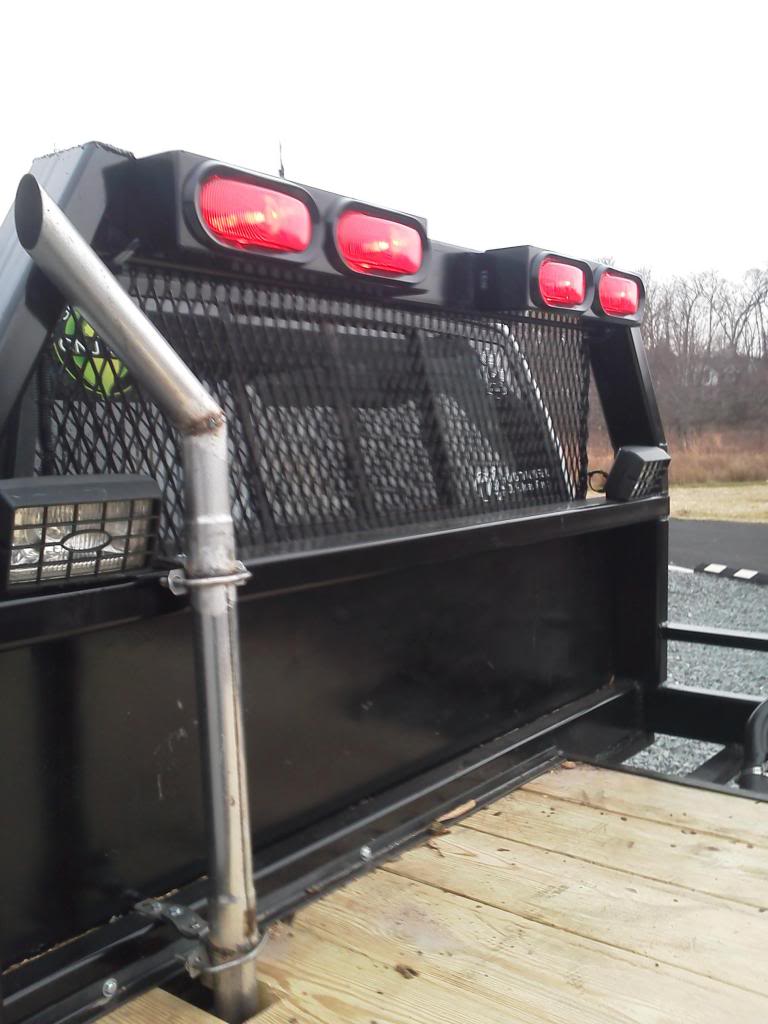
And on one cold thursday, i said, LET THERE BE LIGHTS! AND LOTS OF THEM!
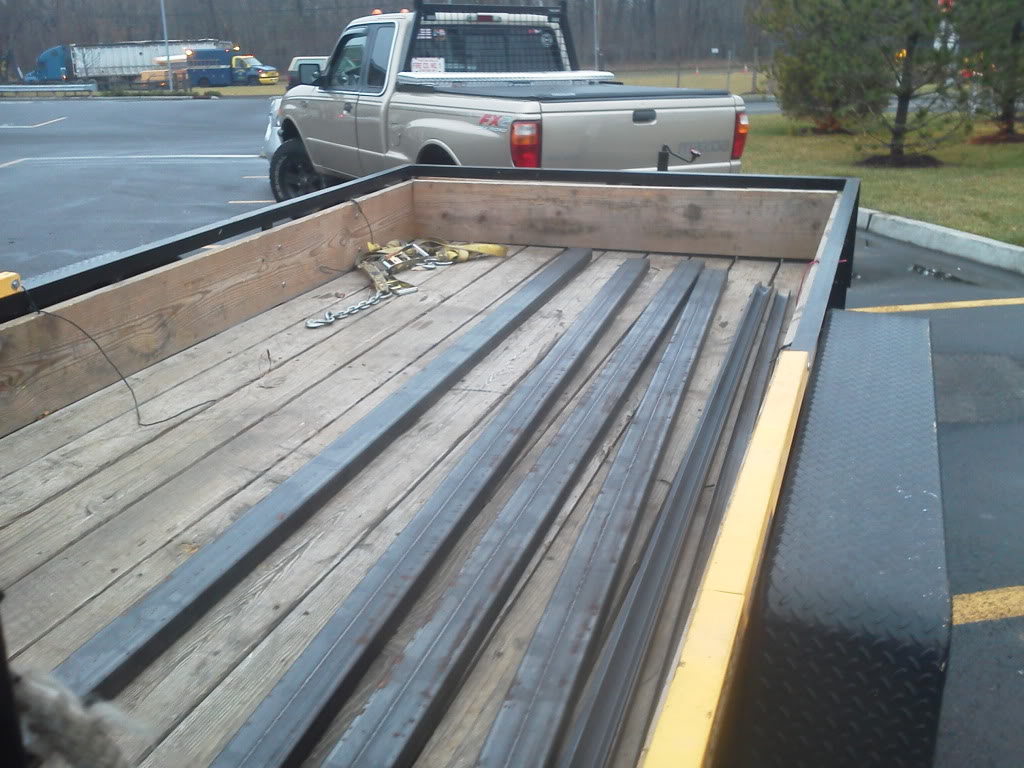
Some wood too
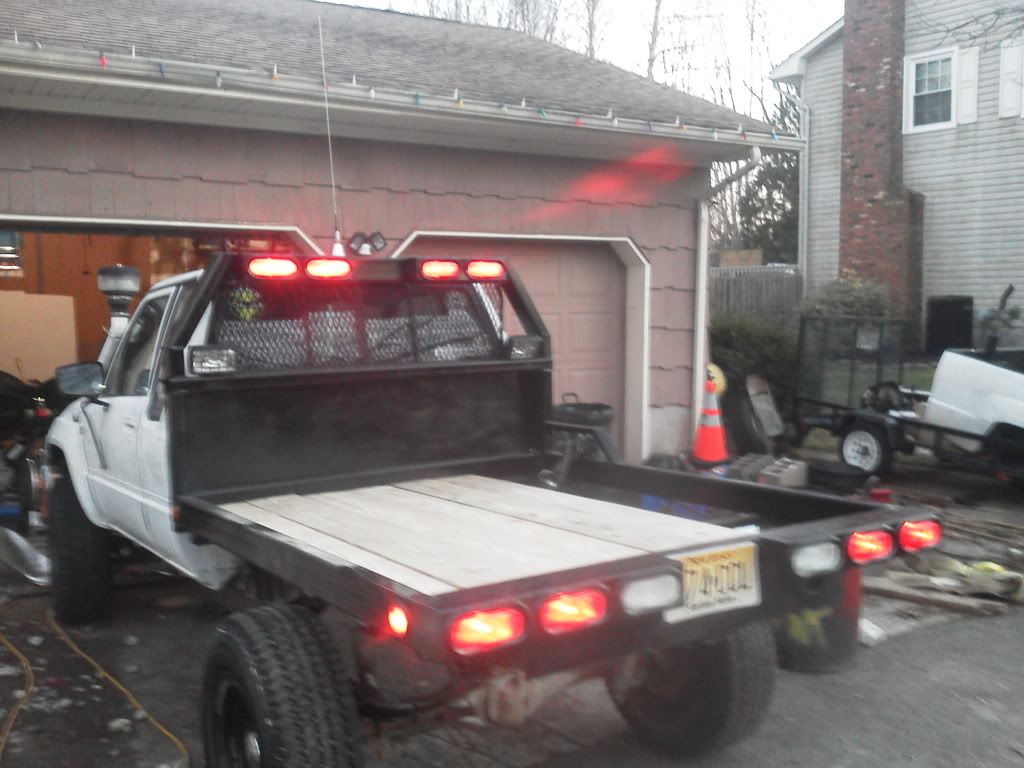
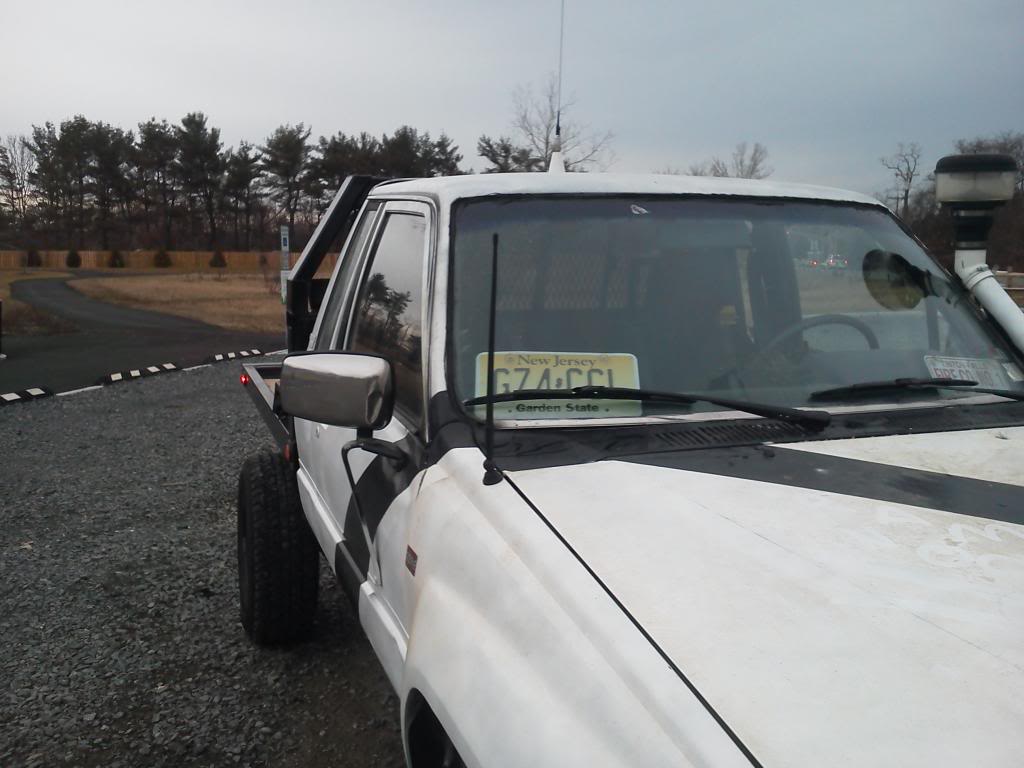
Finished!

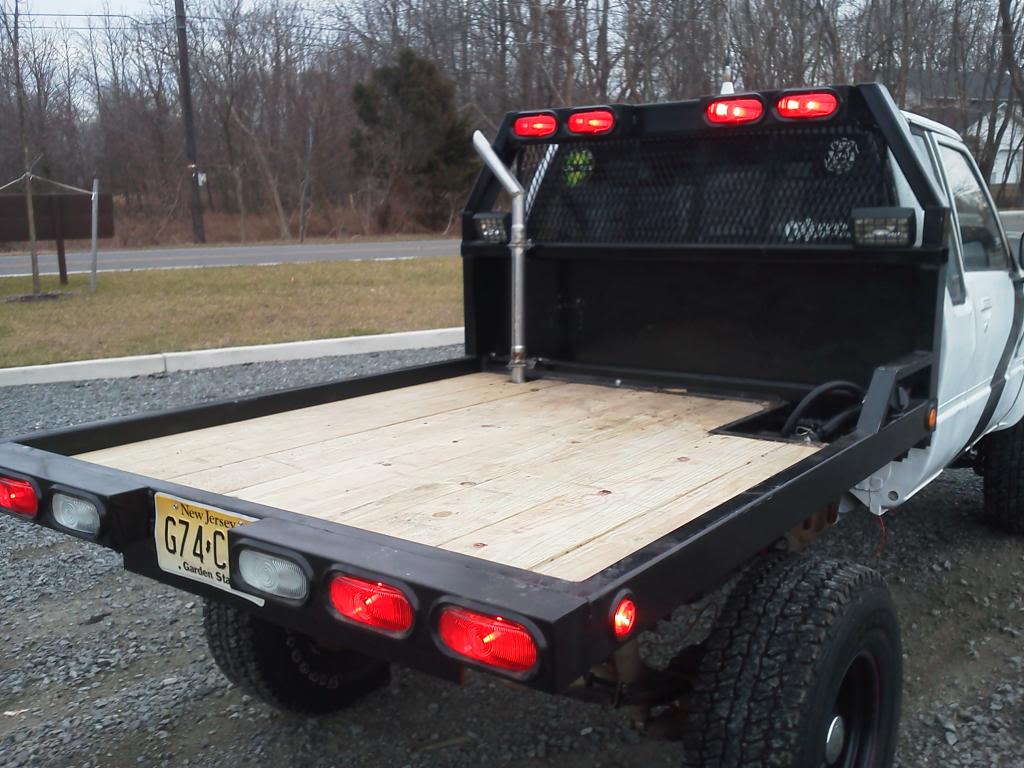
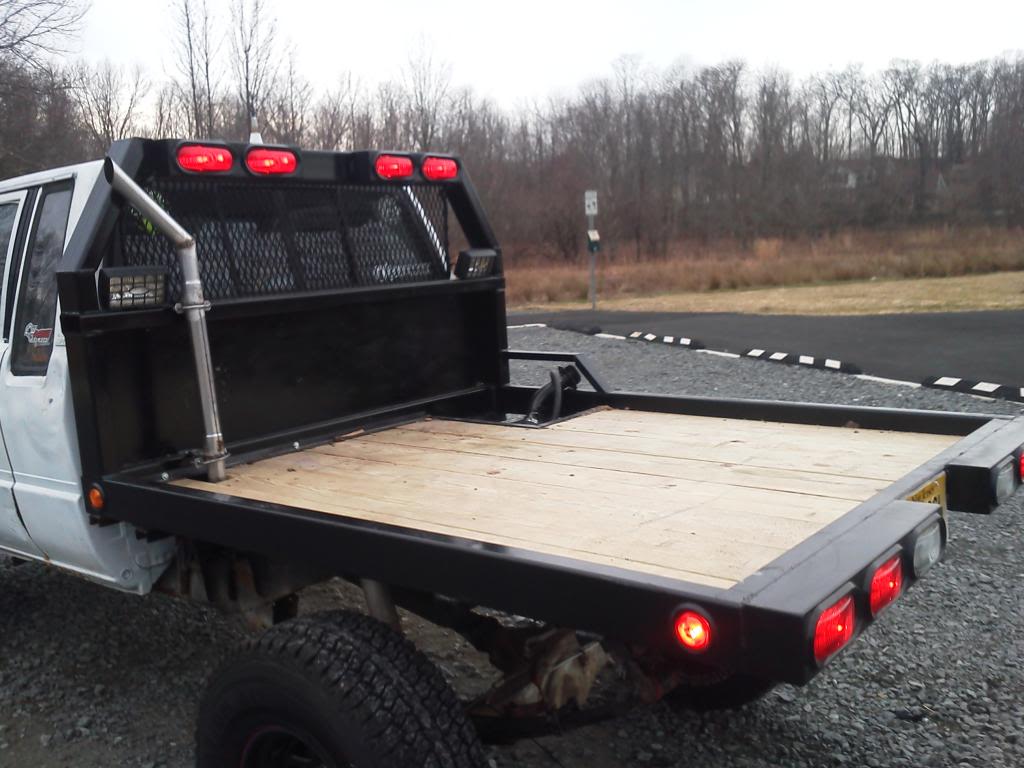
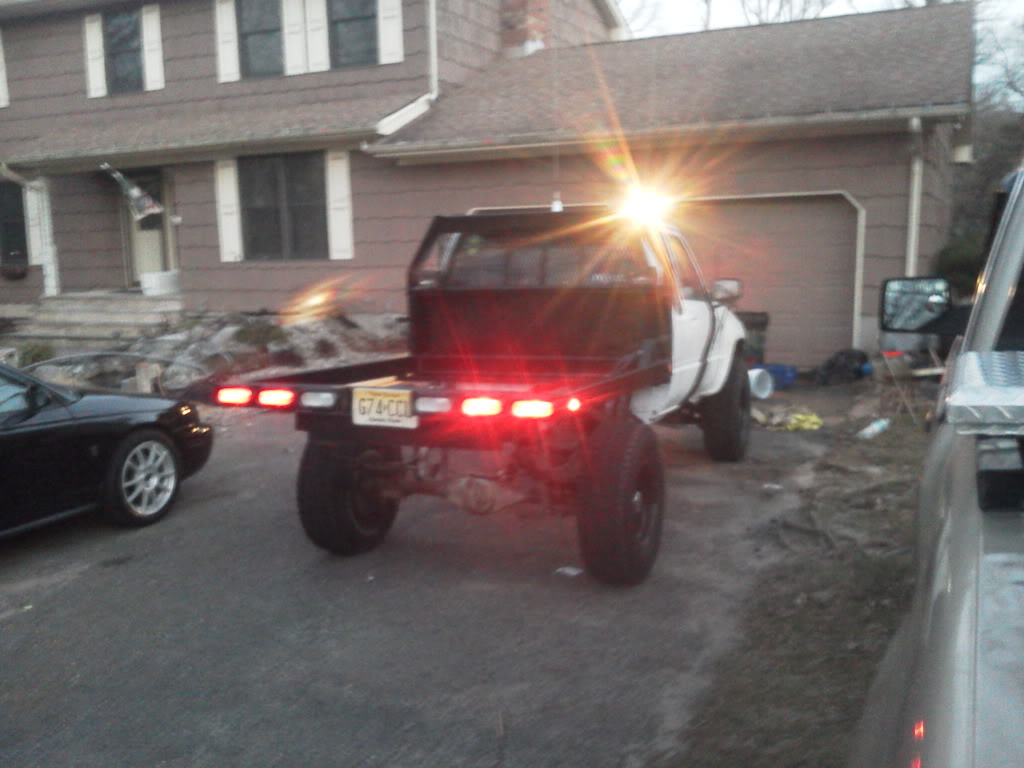
Repainted And then blue lights
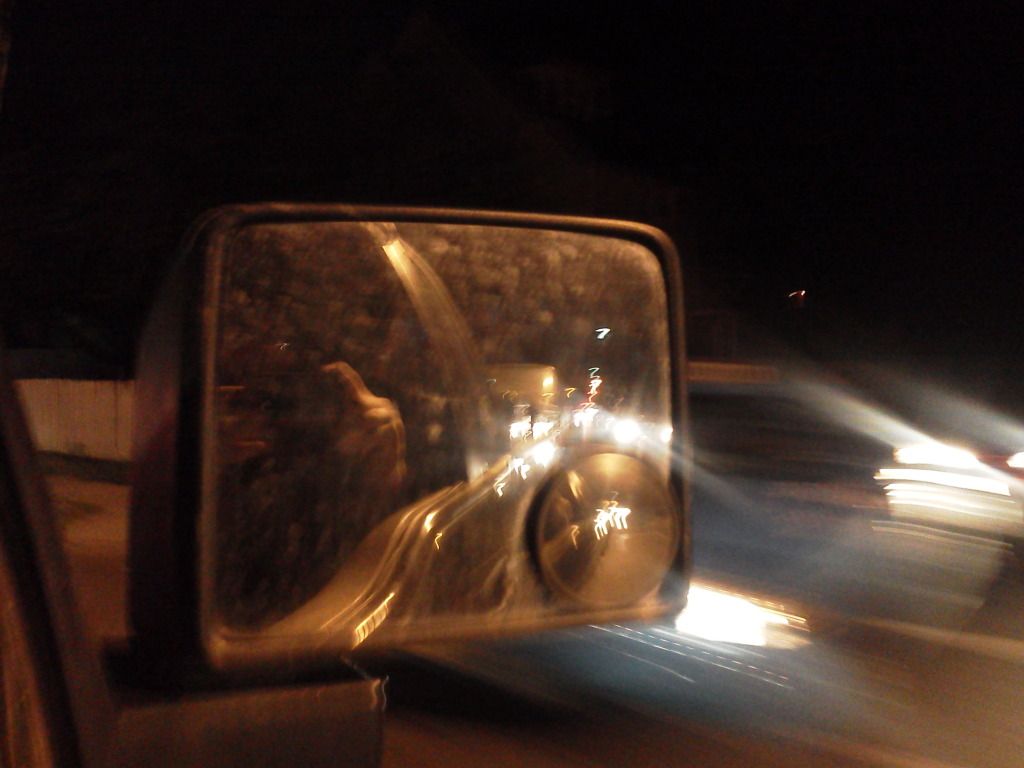
Kinda hard to see in this picture, but it is much shinier!
Took long enough for the springs to come in, but they did
Its cold, Lol
Went a little off the trail
And then she broke. Lost the slave cylinder going to school\
Front tow Points now too!
Me bending my rear tow point at rausch creek
KC's and new switches
Need to do a little more trimming to fit in one more switch
Fixing Said tow point
On board air starting very very soon, preping my tank
did a bit of wheeling
Did anyone say flatbed time?
End of Day one, Everything only a little more than tacked into place. Ignore my buddy
The start of day two...
About halfway through, all the bottom welds are done
And by the end of day Two, Were here, Everything except whats down low by the cab (impossible to get to) and the back of the upper cross beam are welded in place.
And on one cold thursday, i said, LET THERE BE LIGHTS! AND LOTS OF THEM!
Some wood too
Finished!
Repainted And then blue lights
Kinda hard to see in this picture, but it is much shinier!

Trending Topics


Thread
Thread Starter
Forum
Replies
Last Post
RedRunner_87
95.5-2004 Tacomas & 96-2002 4Runners (Build-Up Section)
84
Jun 1, 2021 01:51 PM
tpd143
General Vehicle Related Topics (Non Year Related)
1
Jul 7, 2015 09:06 AM
toyoda8488
84-85 Trucks & 4Runners (Build-Up Section)
2
Jul 5, 2015 10:18 PM


