
WD_40's 1985 4Runner Build-Up Thread
 Apr 5, 2011 | 02:00 PM
#1
Thread Starter
Registered User
Joined: Jun 2009
Posts: 153
Likes: 0
From: Corona, CA
WD_40's 1985 4Runner Build-Up Thread
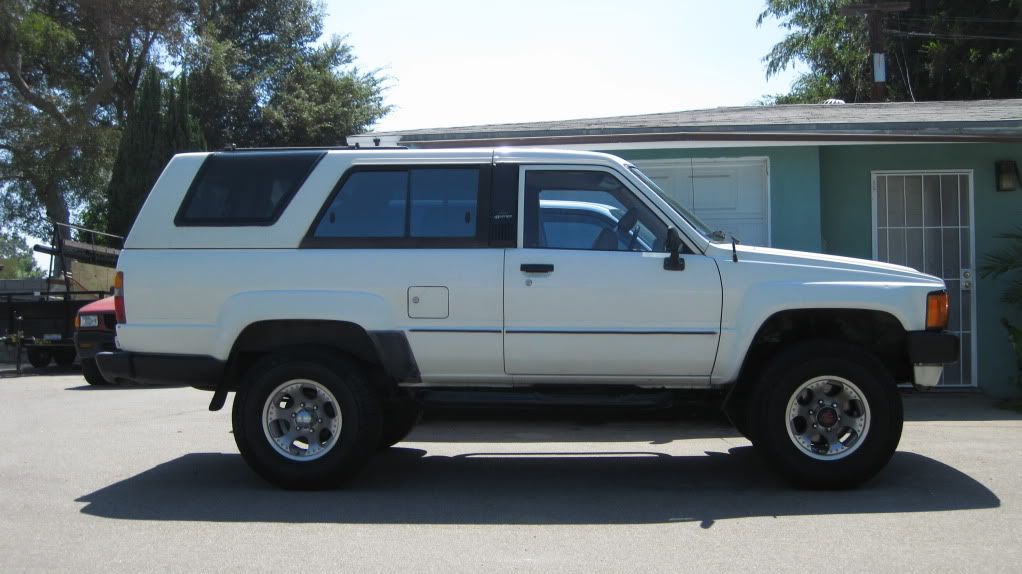
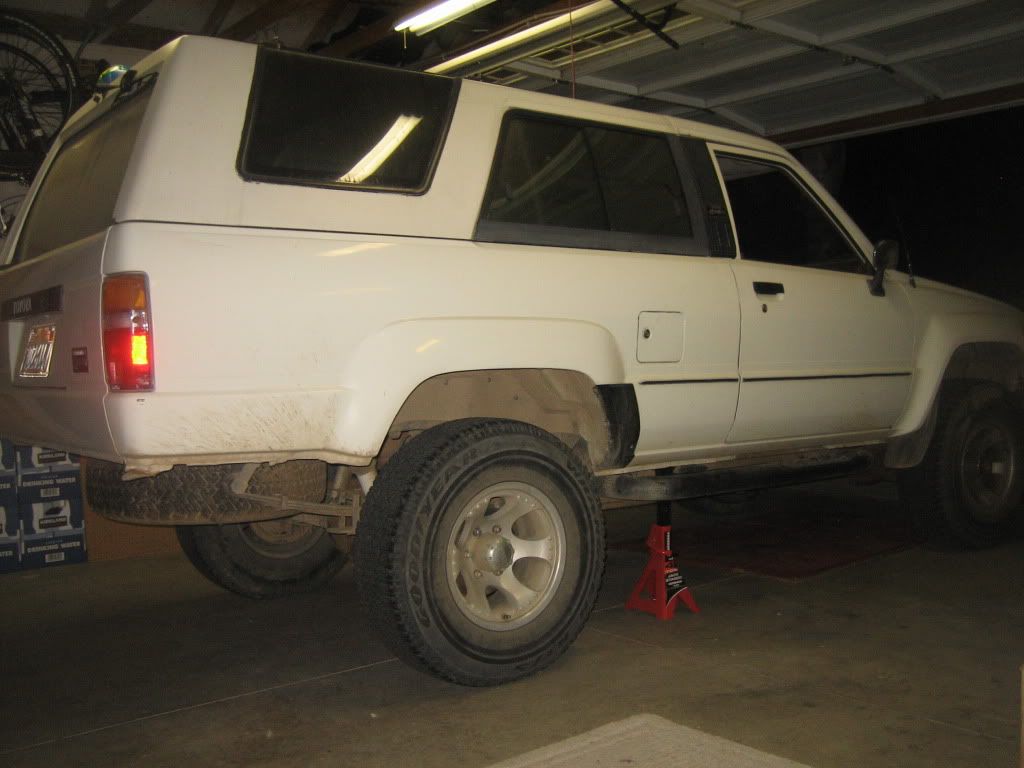
I've been lurking here on Yotatech for awhile now and have gleaned a lot of information. Back in 2009 I acquired an '87 Pickup and shortly after that I got an '85 4Runner from a member here at YT. Here's how it looked the day I bought it:
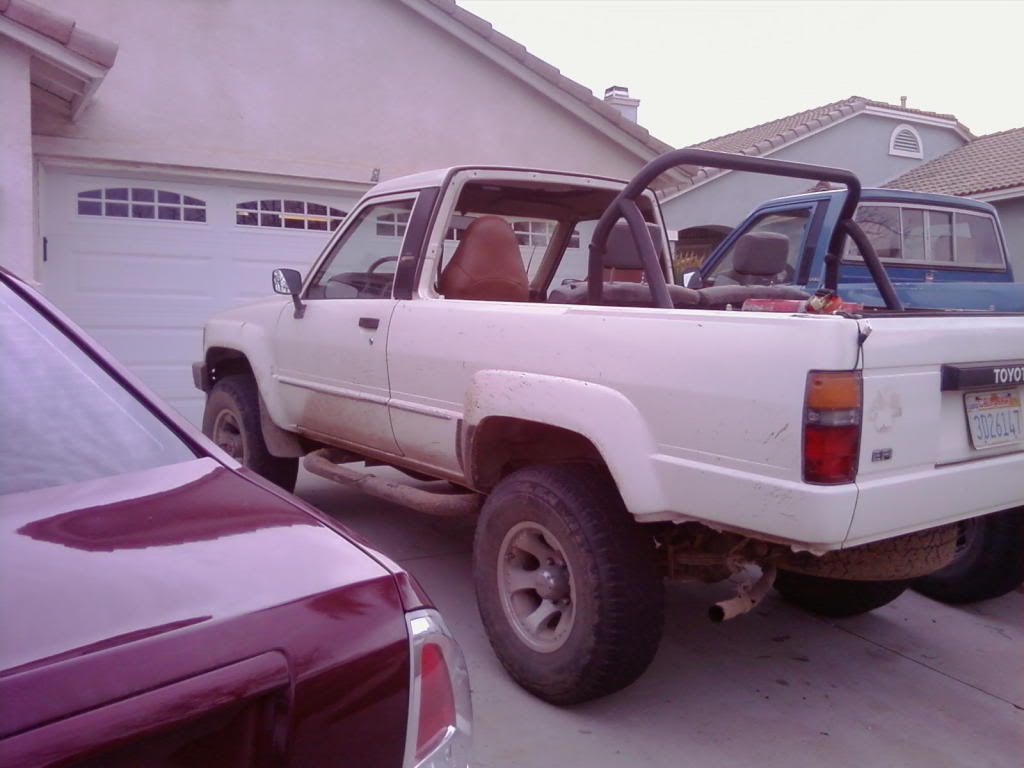
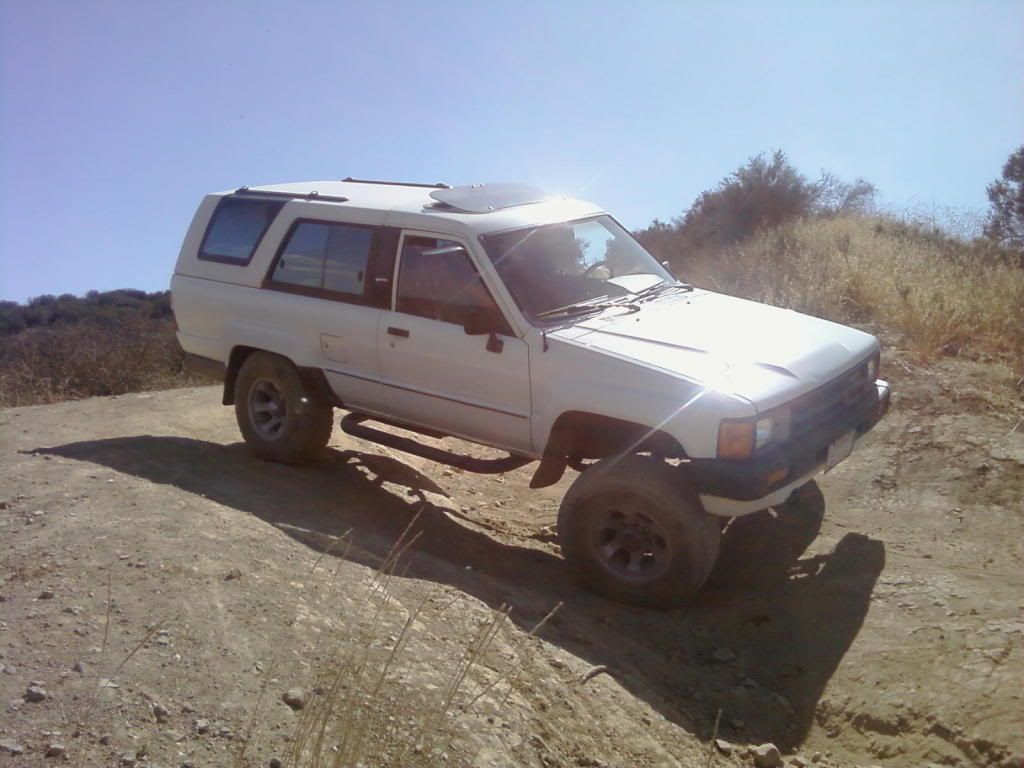
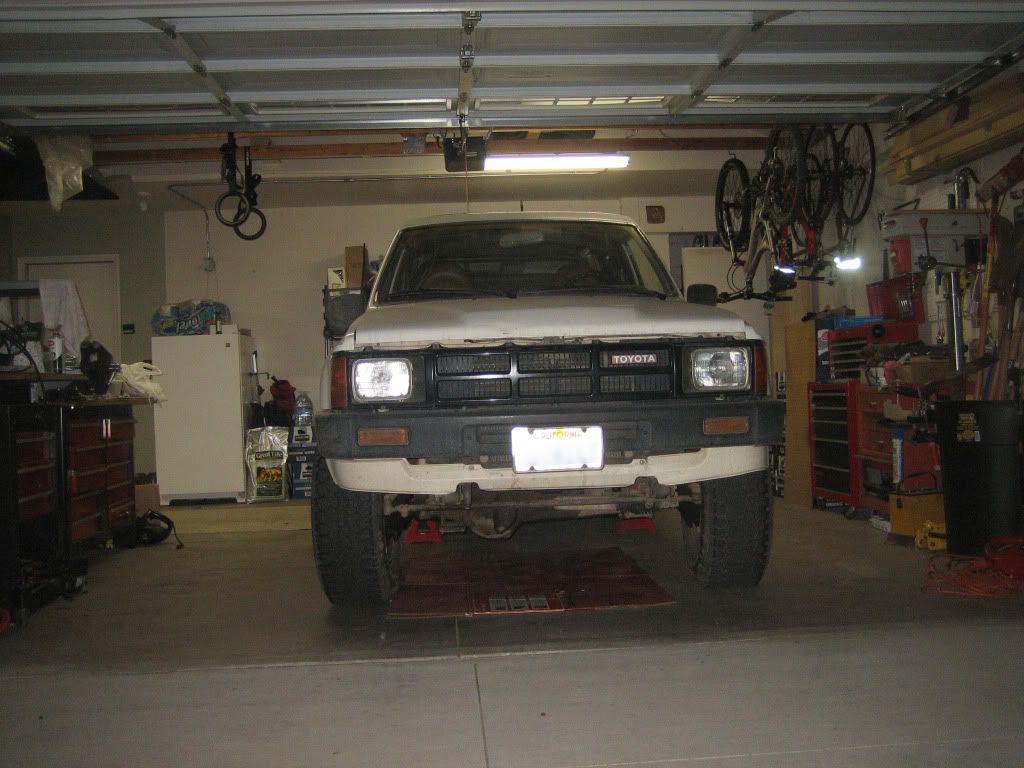
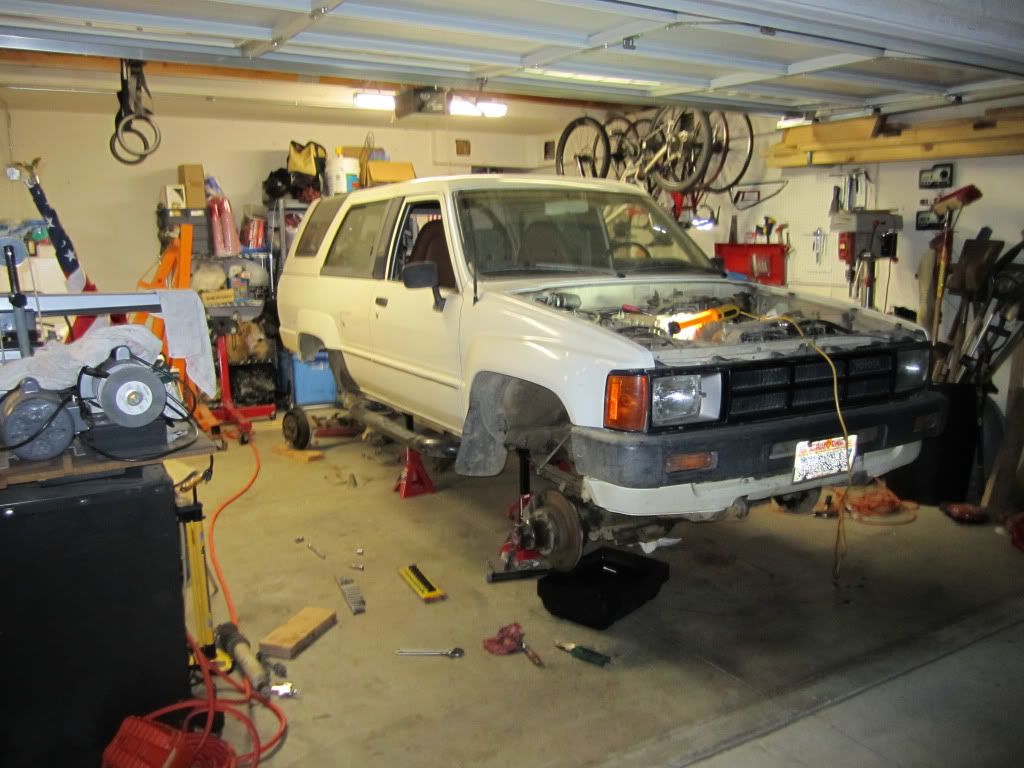
And some other pre-build-up shots:


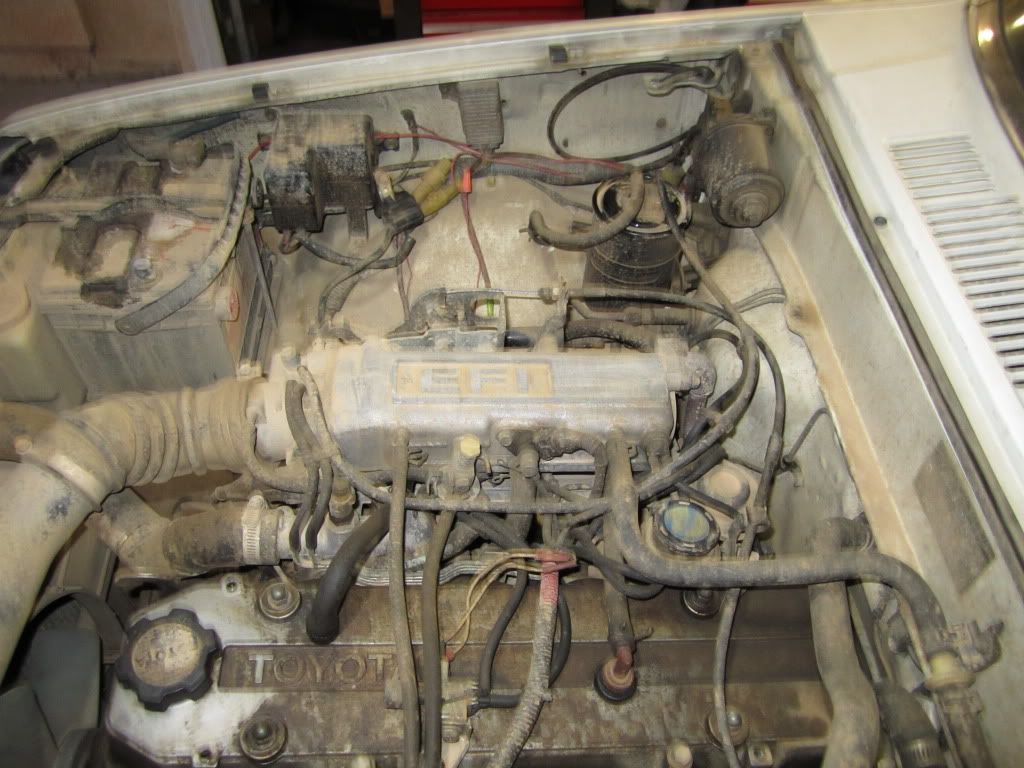
It ran great for a good amount of time, but it always consumed a bit of coolant which lead to problems with the coolant boiling. One night I overheated it and the next day it started blowing lots and lots of steam out of the exhaust. I assumed head gasket failure (which now appears to be doubtful) and decided to rebuild the entire thing. It's been about 7 months now since I parked it and started this project and I'm just working on it as I have time.
The build-up plan is:
New RV head with a hot cam (haven't decided which one yet)
Complete engine rebuild
Recondition the fuel injectors
Toyota E-lockers front and rear
IFS rear axle swap
Rock sliders
2-3" suspension lift
33" tires
Crossover steering
Brake rotor and caliper upgrade - vented discs and larger calipers
as well as fixing some of the common problems like adding a starter relay and re-soldering the injector splices.
Until now I would consider my mechanical experience to be very little and I'm still most definitely a noob, but I'm mechanically inclined and I learn quickly. Between this site, the FSM and with how well designed these trucks are I have a lot of confidence that I will be able to tackle whatever I might run into.
All right... less talky-talky, more pictures!
And some other pre-build-up shots:
It ran great for a good amount of time, but it always consumed a bit of coolant which lead to problems with the coolant boiling. One night I overheated it and the next day it started blowing lots and lots of steam out of the exhaust. I assumed head gasket failure (which now appears to be doubtful) and decided to rebuild the entire thing. It's been about 7 months now since I parked it and started this project and I'm just working on it as I have time.
The build-up plan is:
New RV head with a hot cam (haven't decided which one yet)
Complete engine rebuild
Recondition the fuel injectors
Toyota E-lockers front and rear
IFS rear axle swap
Rock sliders
2-3" suspension lift
33" tires
Crossover steering
Brake rotor and caliper upgrade - vented discs and larger calipers
as well as fixing some of the common problems like adding a starter relay and re-soldering the injector splices.
Until now I would consider my mechanical experience to be very little and I'm still most definitely a noob, but I'm mechanically inclined and I learn quickly. Between this site, the FSM and with how well designed these trucks are I have a lot of confidence that I will be able to tackle whatever I might run into.
All right... less talky-talky, more pictures!
 Apr 5, 2011 | 02:10 PM
#3
Thread Starter
Registered User
Joined: Jun 2009
Posts: 153
Likes: 0
From: Corona, CA
I decided to start by removing the axles for two reasons: 1) I needed to machine them to accept the E-locker thirds and 2) I figured it would be easier to work on everything sans axles and steering linkage.

Also I intend to do a rear IFS axle swap, so now would be a good time for that.
Donor '87:

Two axles down, 1 more to go:
Now to machine the axle housings...


Add material for a gasket mating surface...

Mill it down...
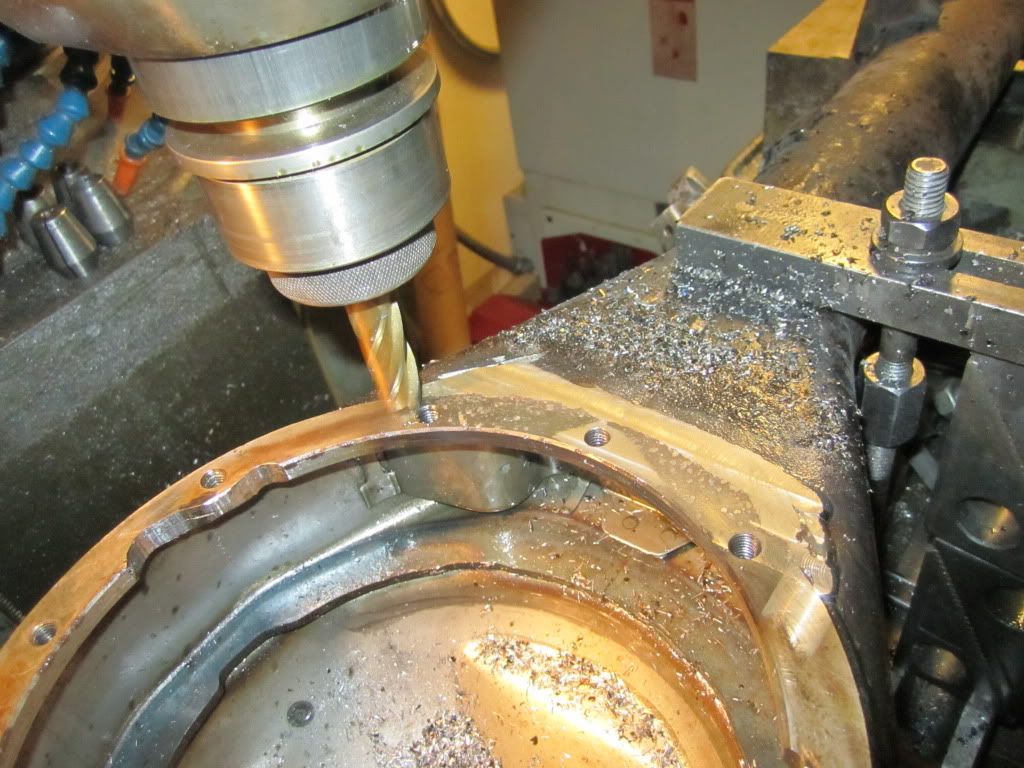
Drill and tap new holes...
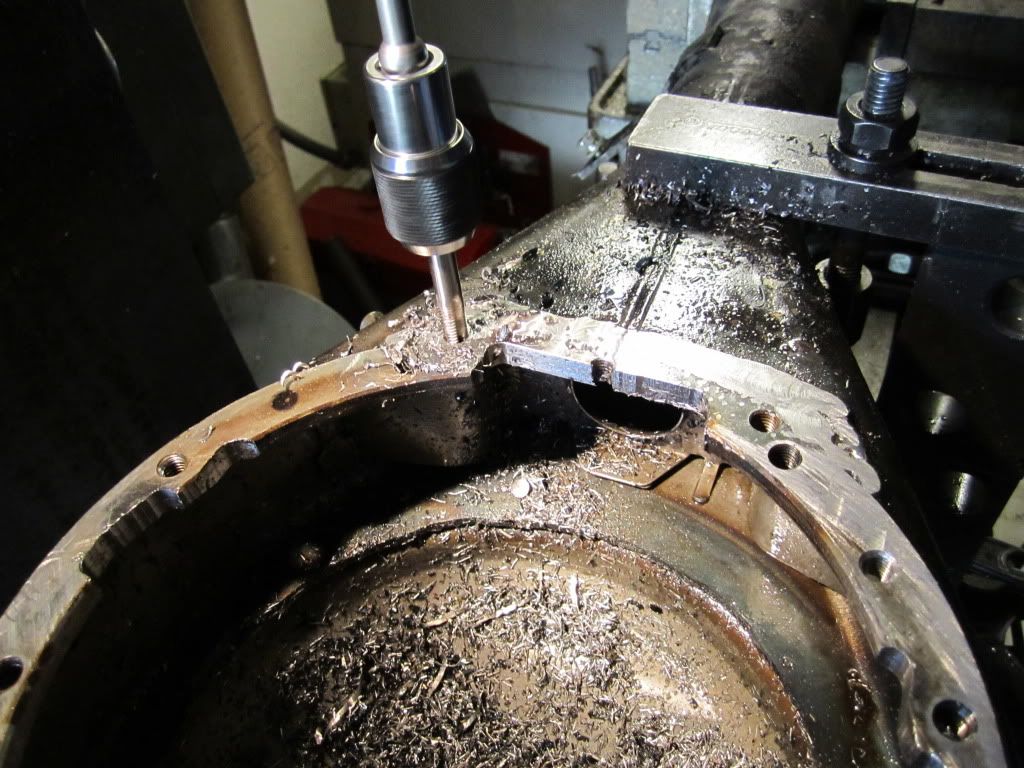
And DONE! (Minus cleaning, of course)
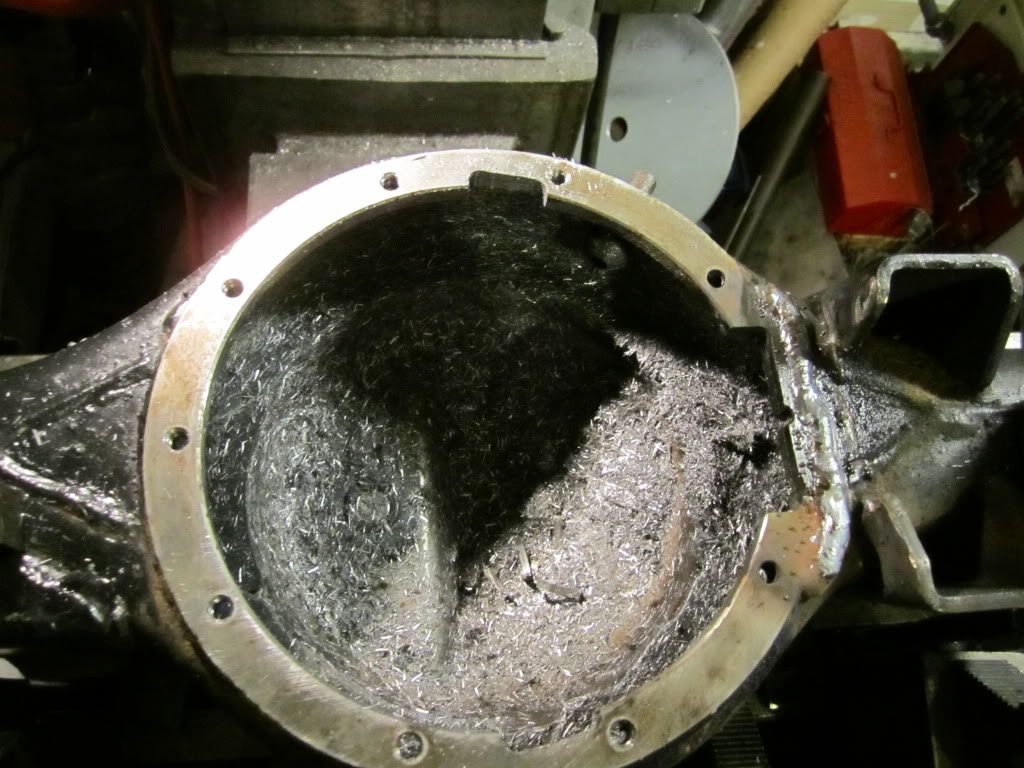
(The astute obserer will notice that this last pic is actually of the front axle housing where the previous ones were of the rear. Both ended up looking about the same and these are the only pictures of the process I have to work with.)
Also I intend to do a rear IFS axle swap, so now would be a good time for that.
Donor '87:
Two axles down, 1 more to go:
Now to machine the axle housings...
Add material for a gasket mating surface...
Mill it down...
Drill and tap new holes...
And DONE! (Minus cleaning, of course)
(The astute obserer will notice that this last pic is actually of the front axle housing where the previous ones were of the rear. Both ended up looking about the same and these are the only pictures of the process I have to work with.)
Last edited by WD_40; Apr 5, 2011 at 02:12 PM.
Apr 5, 2011 | 02:14 PM
#5
Thread Starter
Registered User
Joined: Jun 2009
Posts: 153
Likes: 0
From: Corona, CA
Somewhere in the process my compressor decided to shred all the fins off the cooling fan and I had to MacGyver a fix until I could order a replacement fan:

A computer cooling fan held on to the shaft with a .45 ACP casing. Gotta do what ya gotta do!
A computer cooling fan held on to the shaft with a .45 ACP casing. Gotta do what ya gotta do!
Apr 5, 2011 | 02:15 PM
#6
Thread Starter
Registered User
Joined: Jun 2009
Posts: 153
Likes: 0
From: Corona, CA
I was super stoked to find a clean '85 RE with a 5 speed manual and even more stoked that my wife was excited too!
 Apr 5, 2011 | 02:20 PM
#7
Thread Starter
Registered User
Joined: Jun 2009
Posts: 153
Likes: 0
From: Corona, CA
Now that the housings are milled I'm setting them aside for now. I'll do a complete rebuild of the axles when the time comes, but now, on to the engine!
Evidence of fun being had in mud ponds:
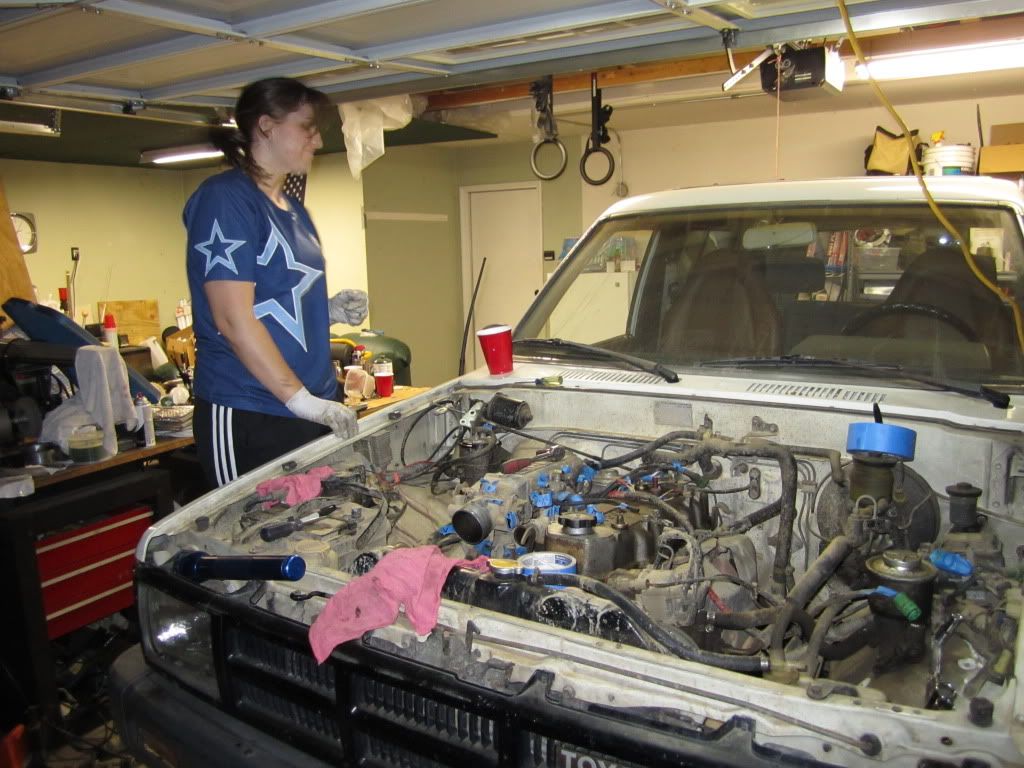
A friend of mine wanted to learn more about cars and didn't have anyone to teach her, so I decided we could learn together and had her come give me a hand.
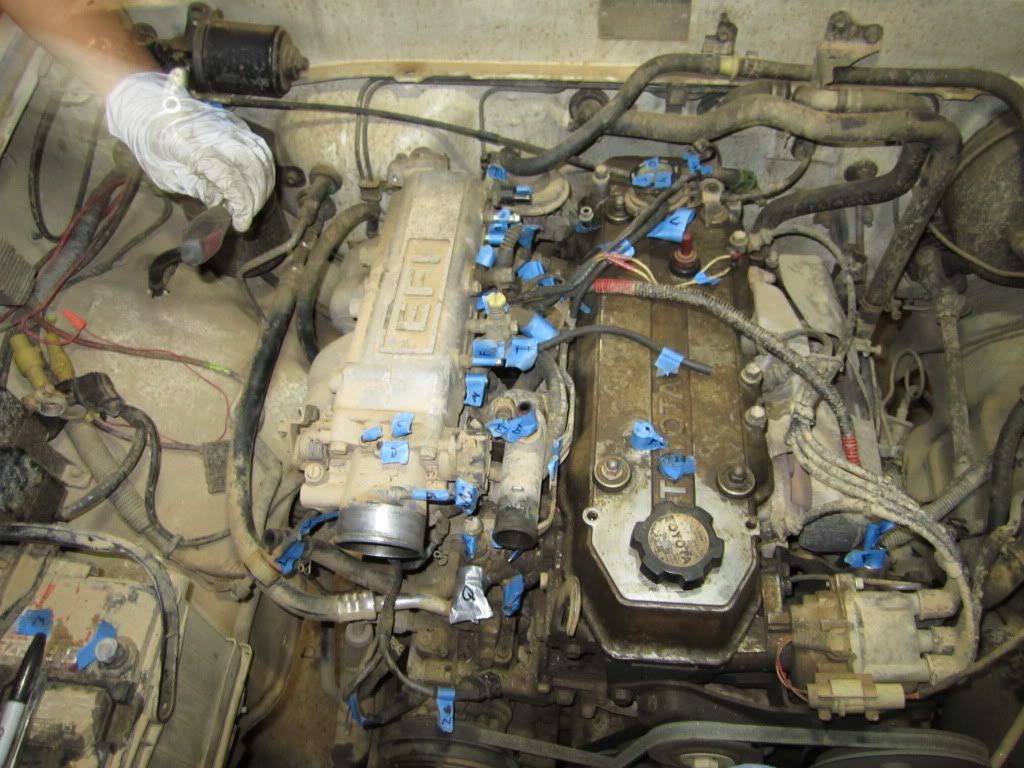
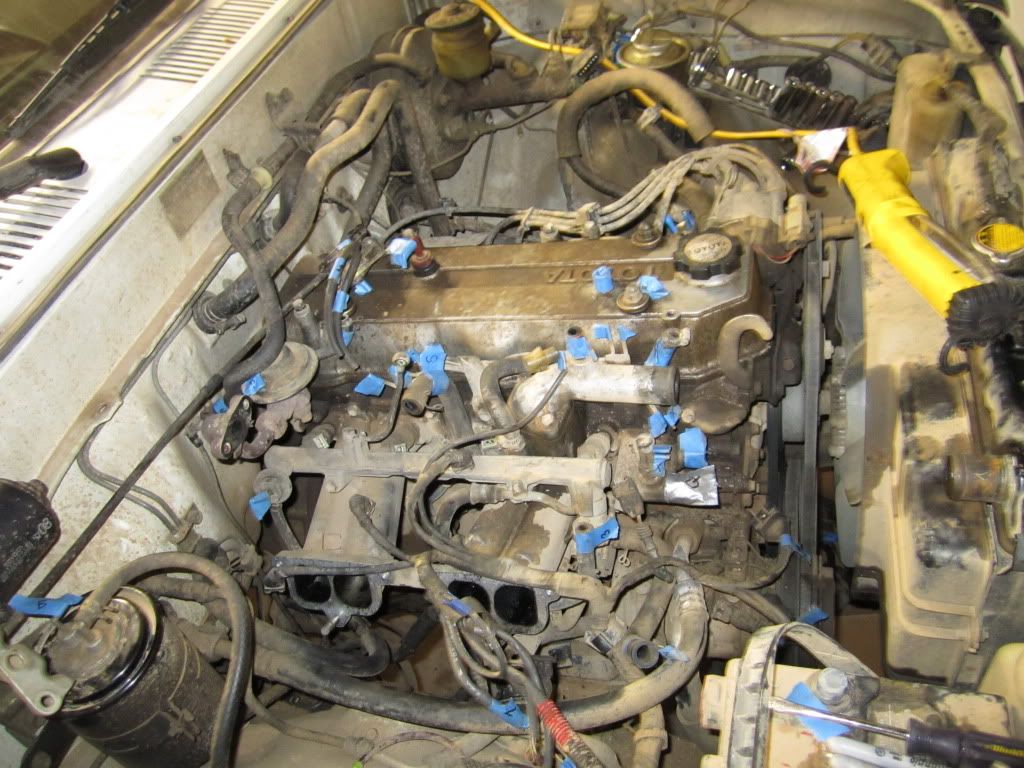
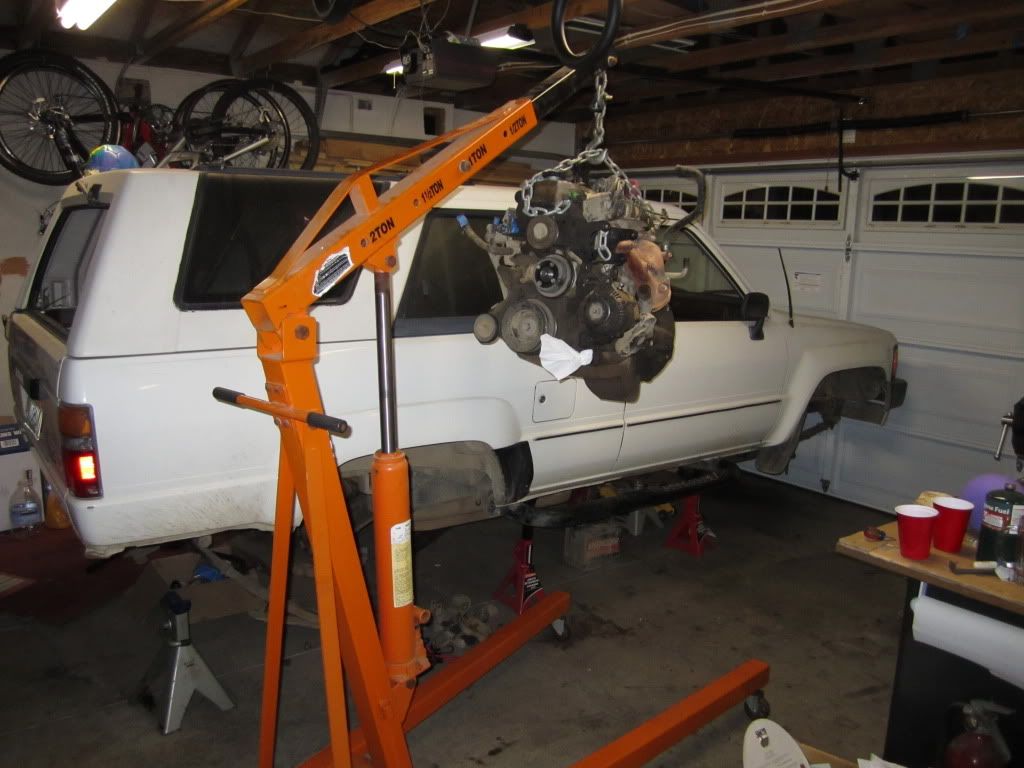
Labeling EVERYTHING:
And hoisting the beast out:

Evidence of fun being had in mud ponds:
A friend of mine wanted to learn more about cars and didn't have anyone to teach her, so I decided we could learn together and had her come give me a hand.
Labeling EVERYTHING:
And hoisting the beast out:
Trending Topics
Apr 5, 2011 | 02:25 PM
#8
Thread Starter
Registered User
Joined: Jun 2009
Posts: 153
Likes: 0
From: Corona, CA
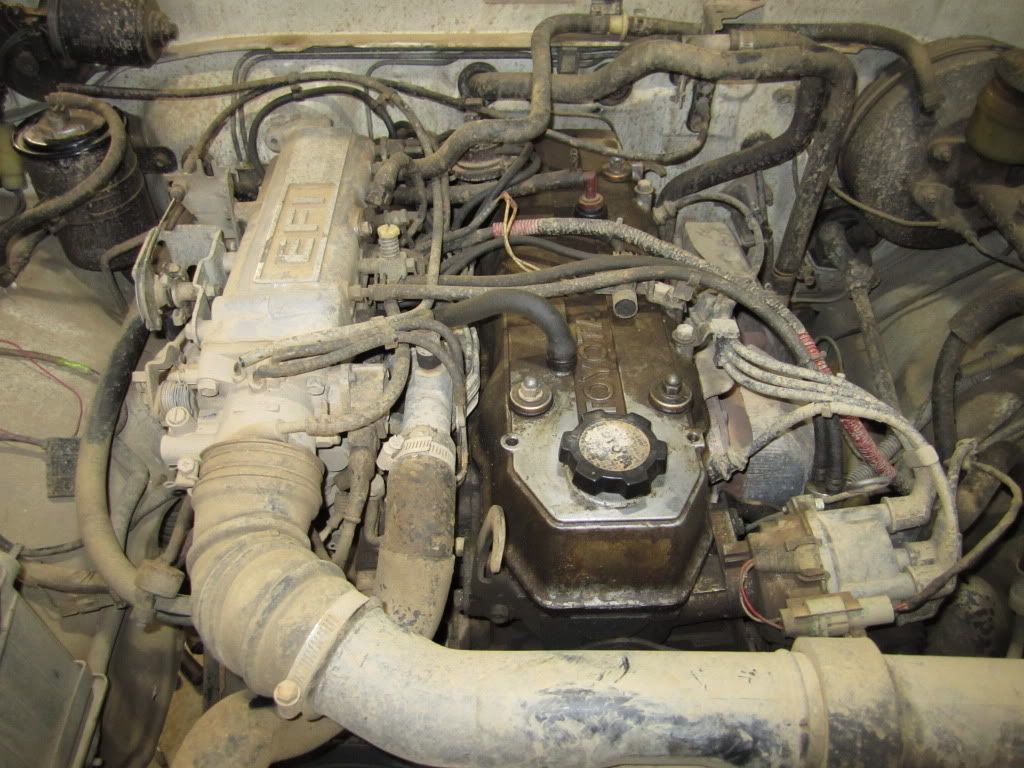
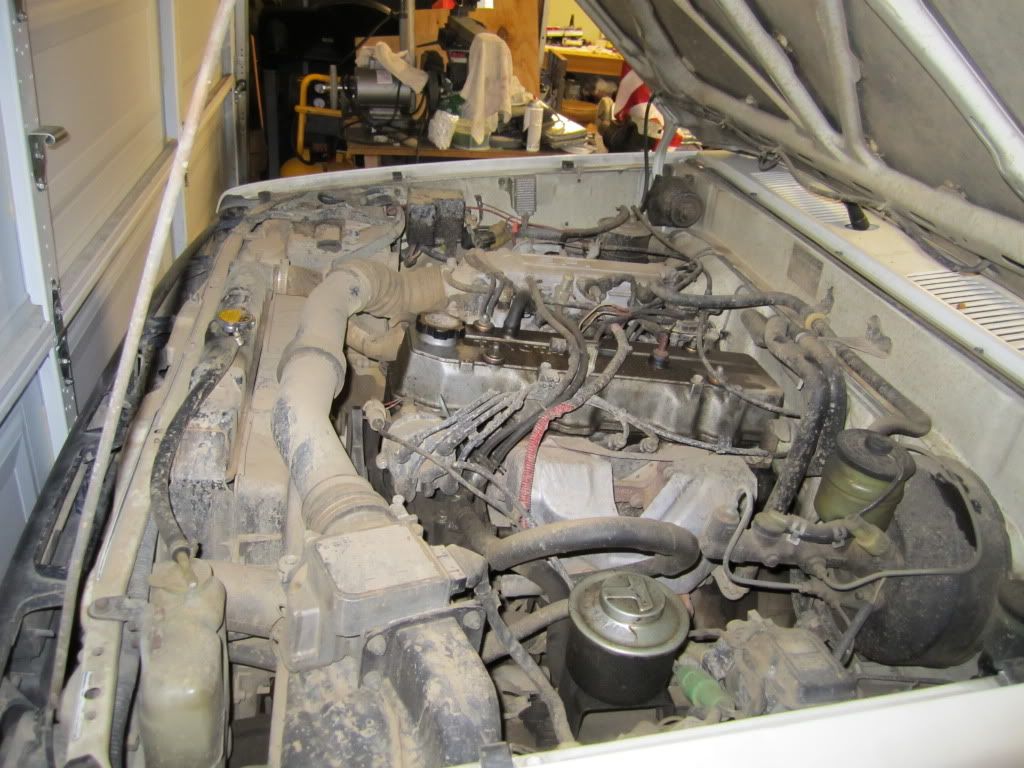
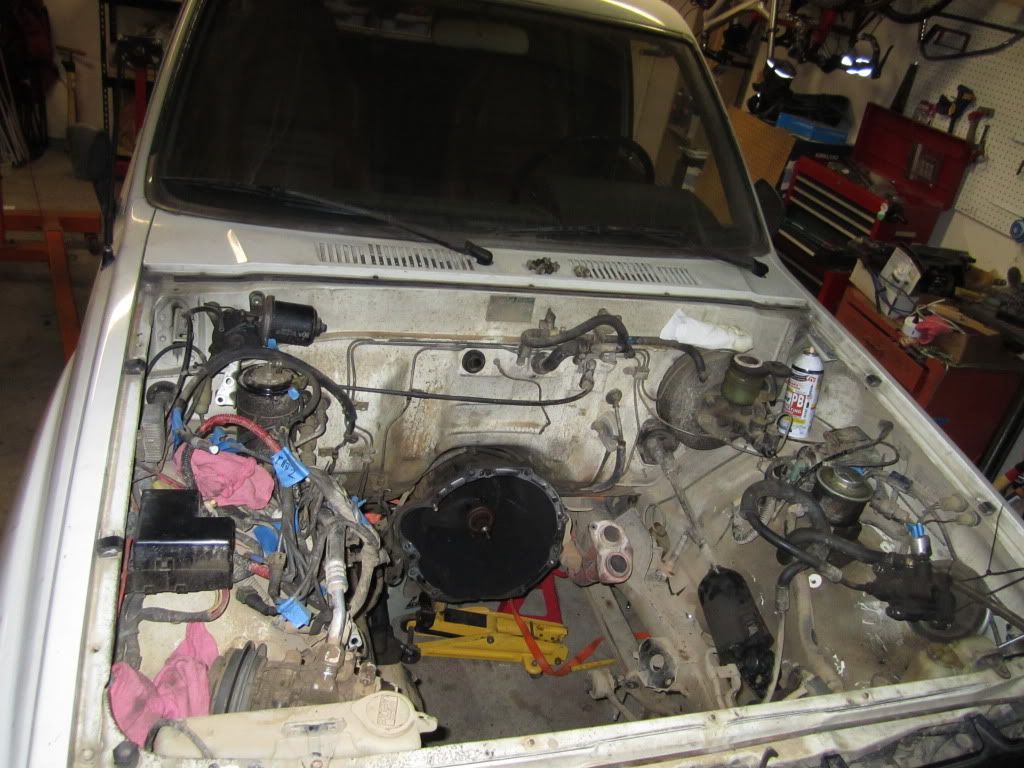
Time to tear the beast down:
That's a custom head holder. You can't just buy those things anywhere.

Looks like the #1 piston got cleaned up by whatever was causing the coolant leak:


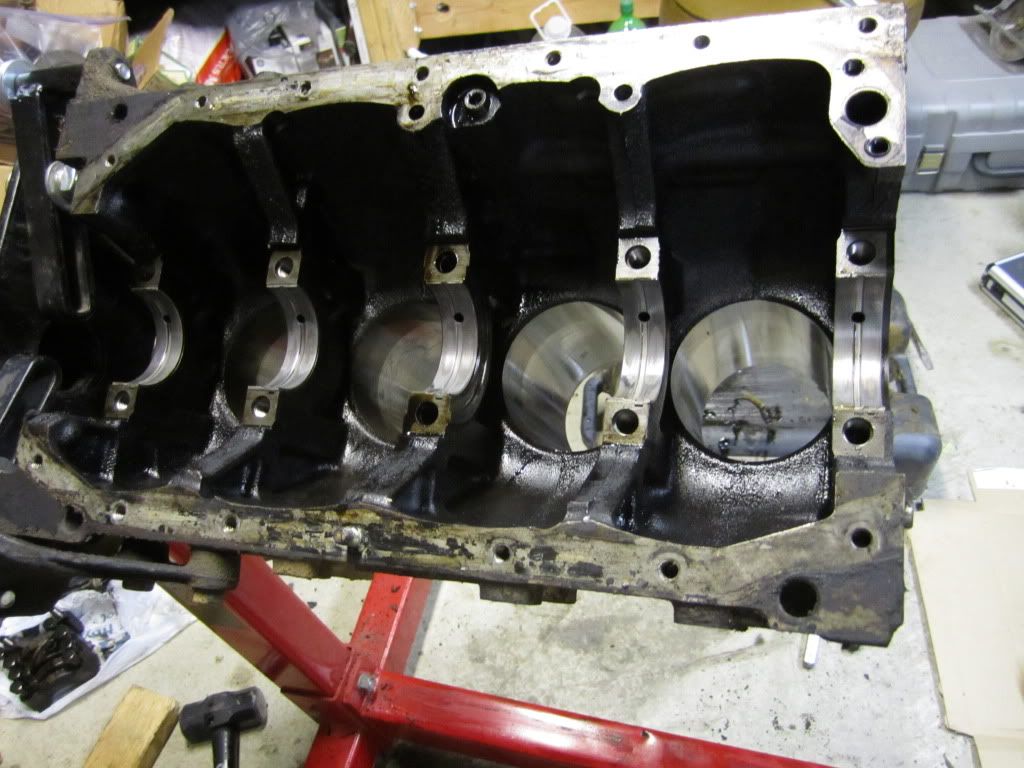
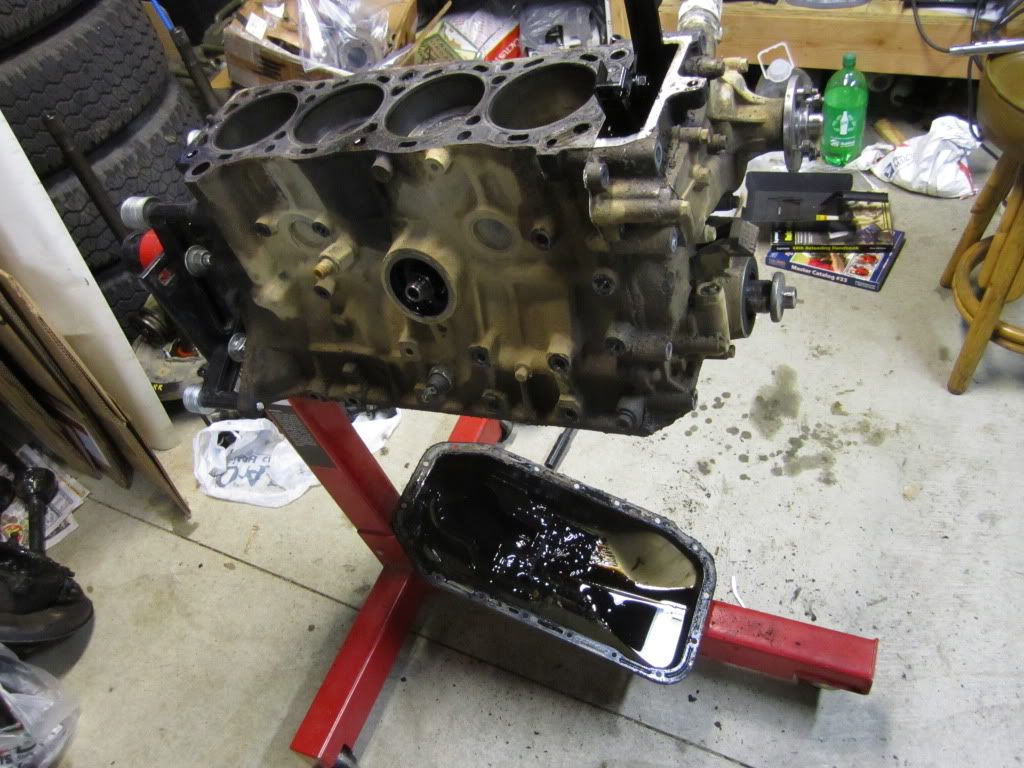
For being fairly high mileage (210,000) the bottom end was in great shape! Everything mic'd out within tolerances except for the #2 cylinder which was slightly over. I had it bored .20 over, cleaned up and I ordered a rebuild kit.
That's a custom head holder. You can't just buy those things anywhere.
Looks like the #1 piston got cleaned up by whatever was causing the coolant leak:
For being fairly high mileage (210,000) the bottom end was in great shape! Everything mic'd out within tolerances except for the #2 cylinder which was slightly over. I had it bored .20 over, cleaned up and I ordered a rebuild kit.


 Apr 5, 2011 | 09:42 PM
#12
Thread Starter
Registered User
Joined: Jun 2009
Posts: 153
Likes: 0
From: Corona, CA
Apr 11, 2011 | 09:55 AM
#15
Thread Starter
Registered User
Joined: Jun 2009
Posts: 153
Likes: 0
From: Corona, CA
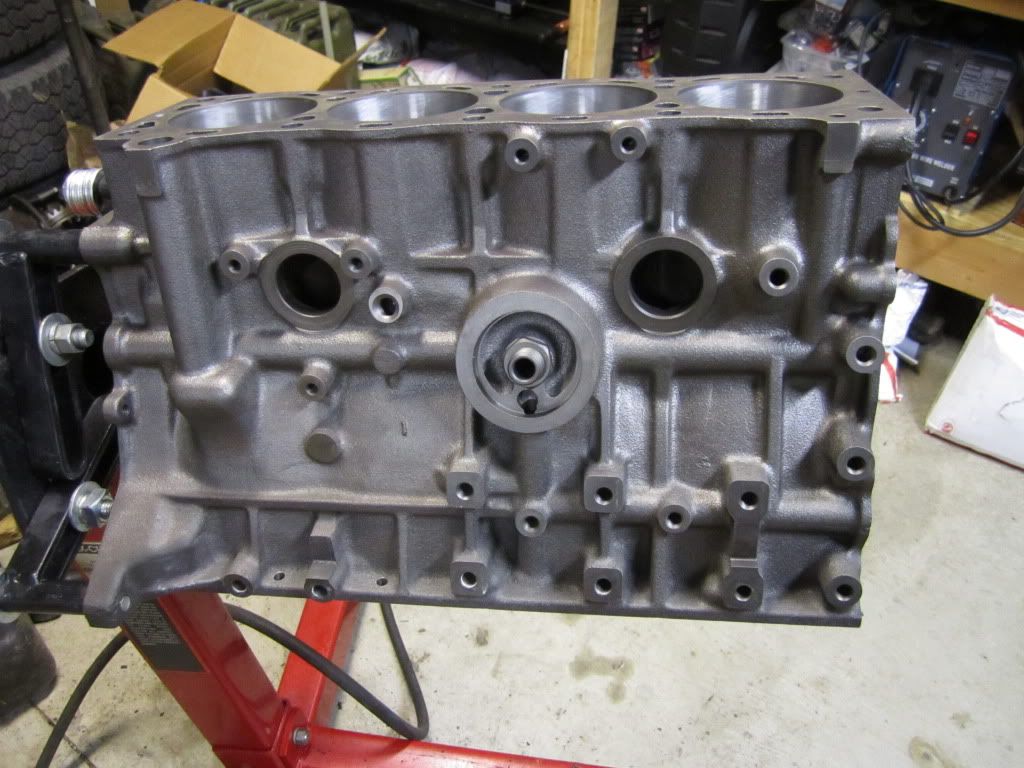
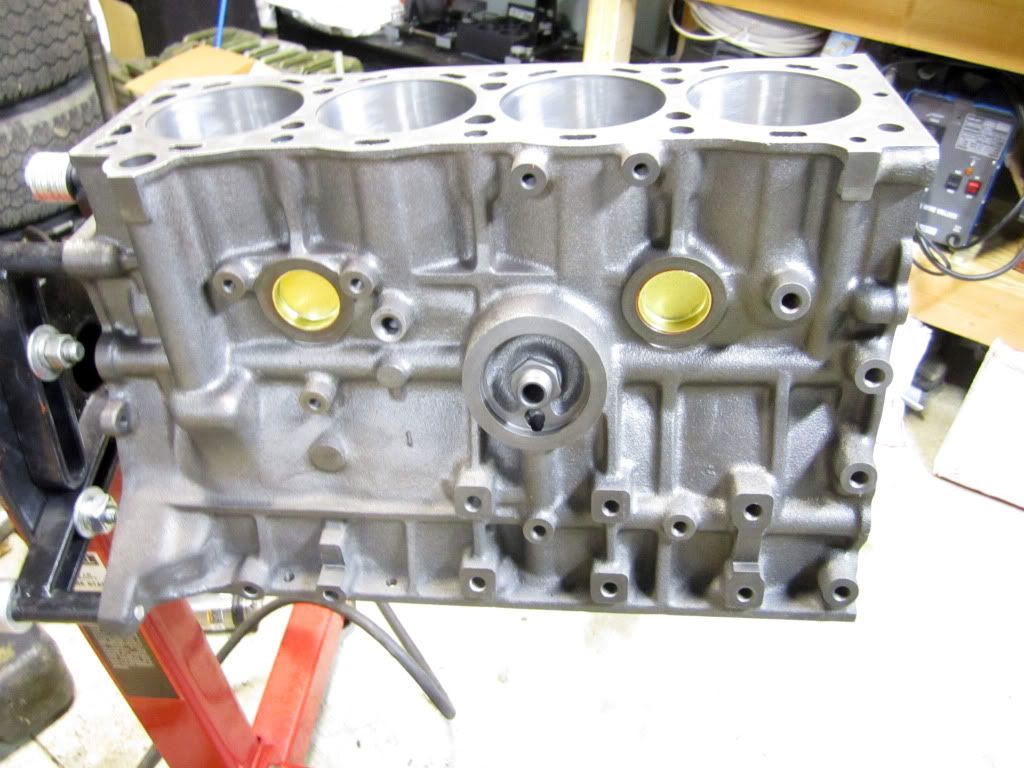
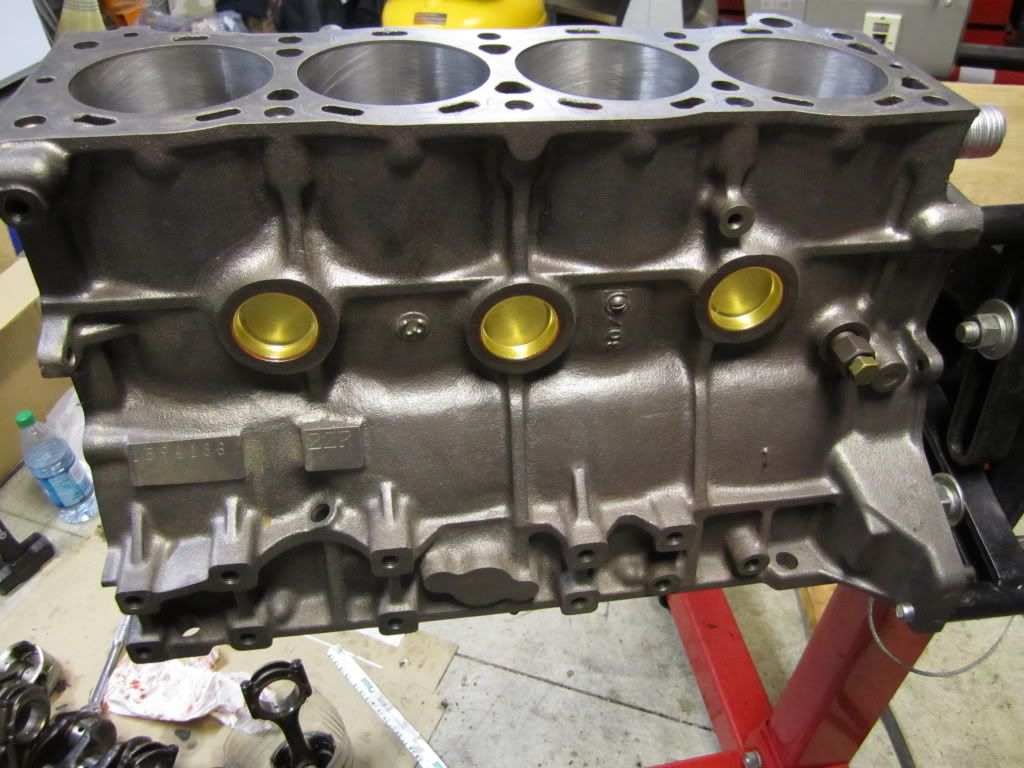
Quick question: Are the oil galley plugs suppose to install flush? Just by looking at them I assumed so, but this is the furthest I can get them in:
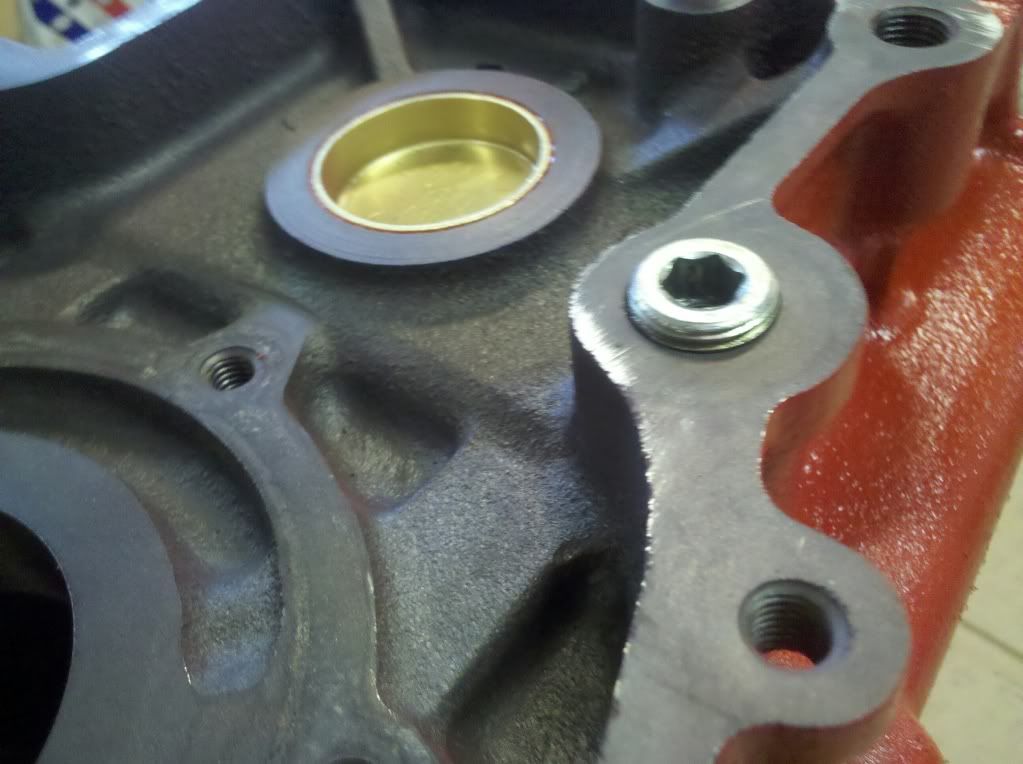
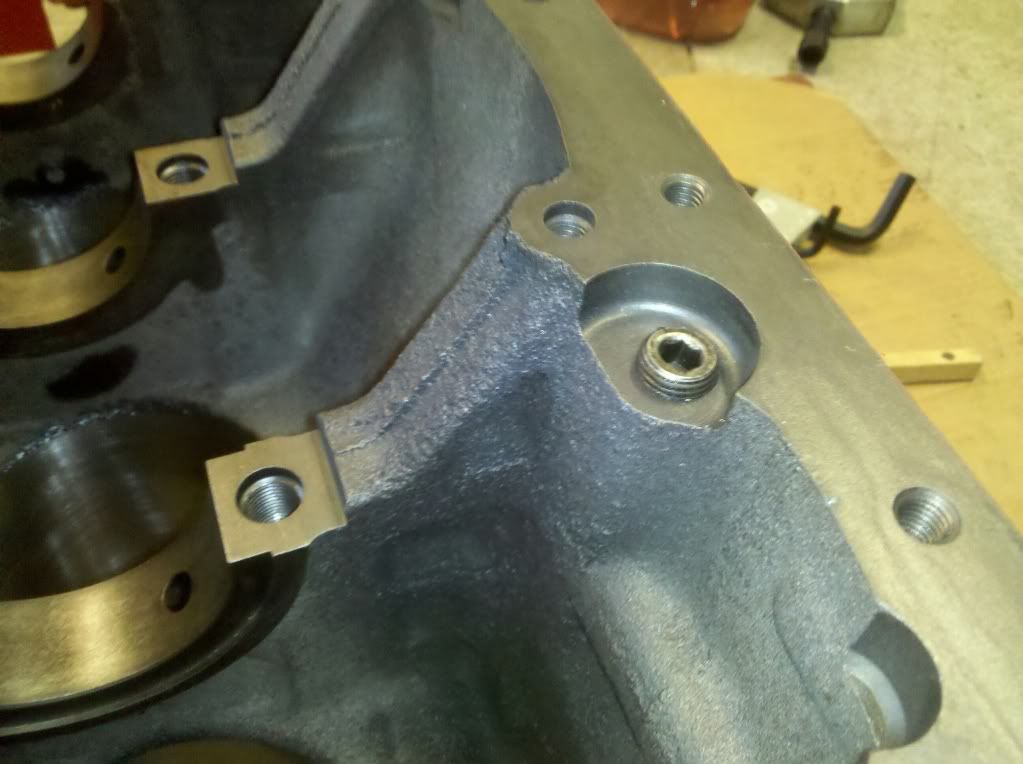
Is that correct?
Also, should I blue locktite these puppies or just crank 'em down real tight?
Is that correct?
Also, should I blue locktite these puppies or just crank 'em down real tight?
Apr 12, 2011 | 08:36 AM
#17
Registered User
Joined: Jun 2010
Posts: 182
Likes: 0
From: Beaumont. Ca.
it all depends on where the plug is. but are you sure a plug goes in that hole in your first pic? i havn't rebuilt a 22re yet but that looks like a bolt should go there. ( but i could be wrong)
Last edited by windedwalrus; Apr 12, 2011 at 08:47 AM.
Apr 12, 2011 | 09:30 PM
#18
Thread Starter
Registered User
Joined: Jun 2009
Posts: 153
Likes: 0
From: Corona, CA
I'm pretty sure it goes there. There are 3 plugs total: one rear, one front and one bottom. From other pictures I've seen on the interwebs I think they're supposed to protrude a little like that. Still hoping someone will weigh in one way or the other...


