
RSWORDS 85 Pick-up - Project Southern X-Posure
 Aug 27, 2014 | 06:06 PM
#62
Thread Starter
Registered User
Joined: Jul 2005
Posts: 124
Likes: 0
Thanks.
Built a front pack out of some trail gear 3" HD springs. Removed a leak for a total of 4, finally the front moves. This weekend I'll measure for shocks (again) and mount some bump stops. The springs like to go negative pretty quick.

Built a front pack out of some trail gear 3" HD springs. Removed a leak for a total of 4, finally the front moves. This weekend I'll measure for shocks (again) and mount some bump stops. The springs like to go negative pretty quick.

 Sep 27, 2014 | 09:18 AM
#67
Thread Starter
Registered User
Joined: Jul 2005
Posts: 124
Likes: 0
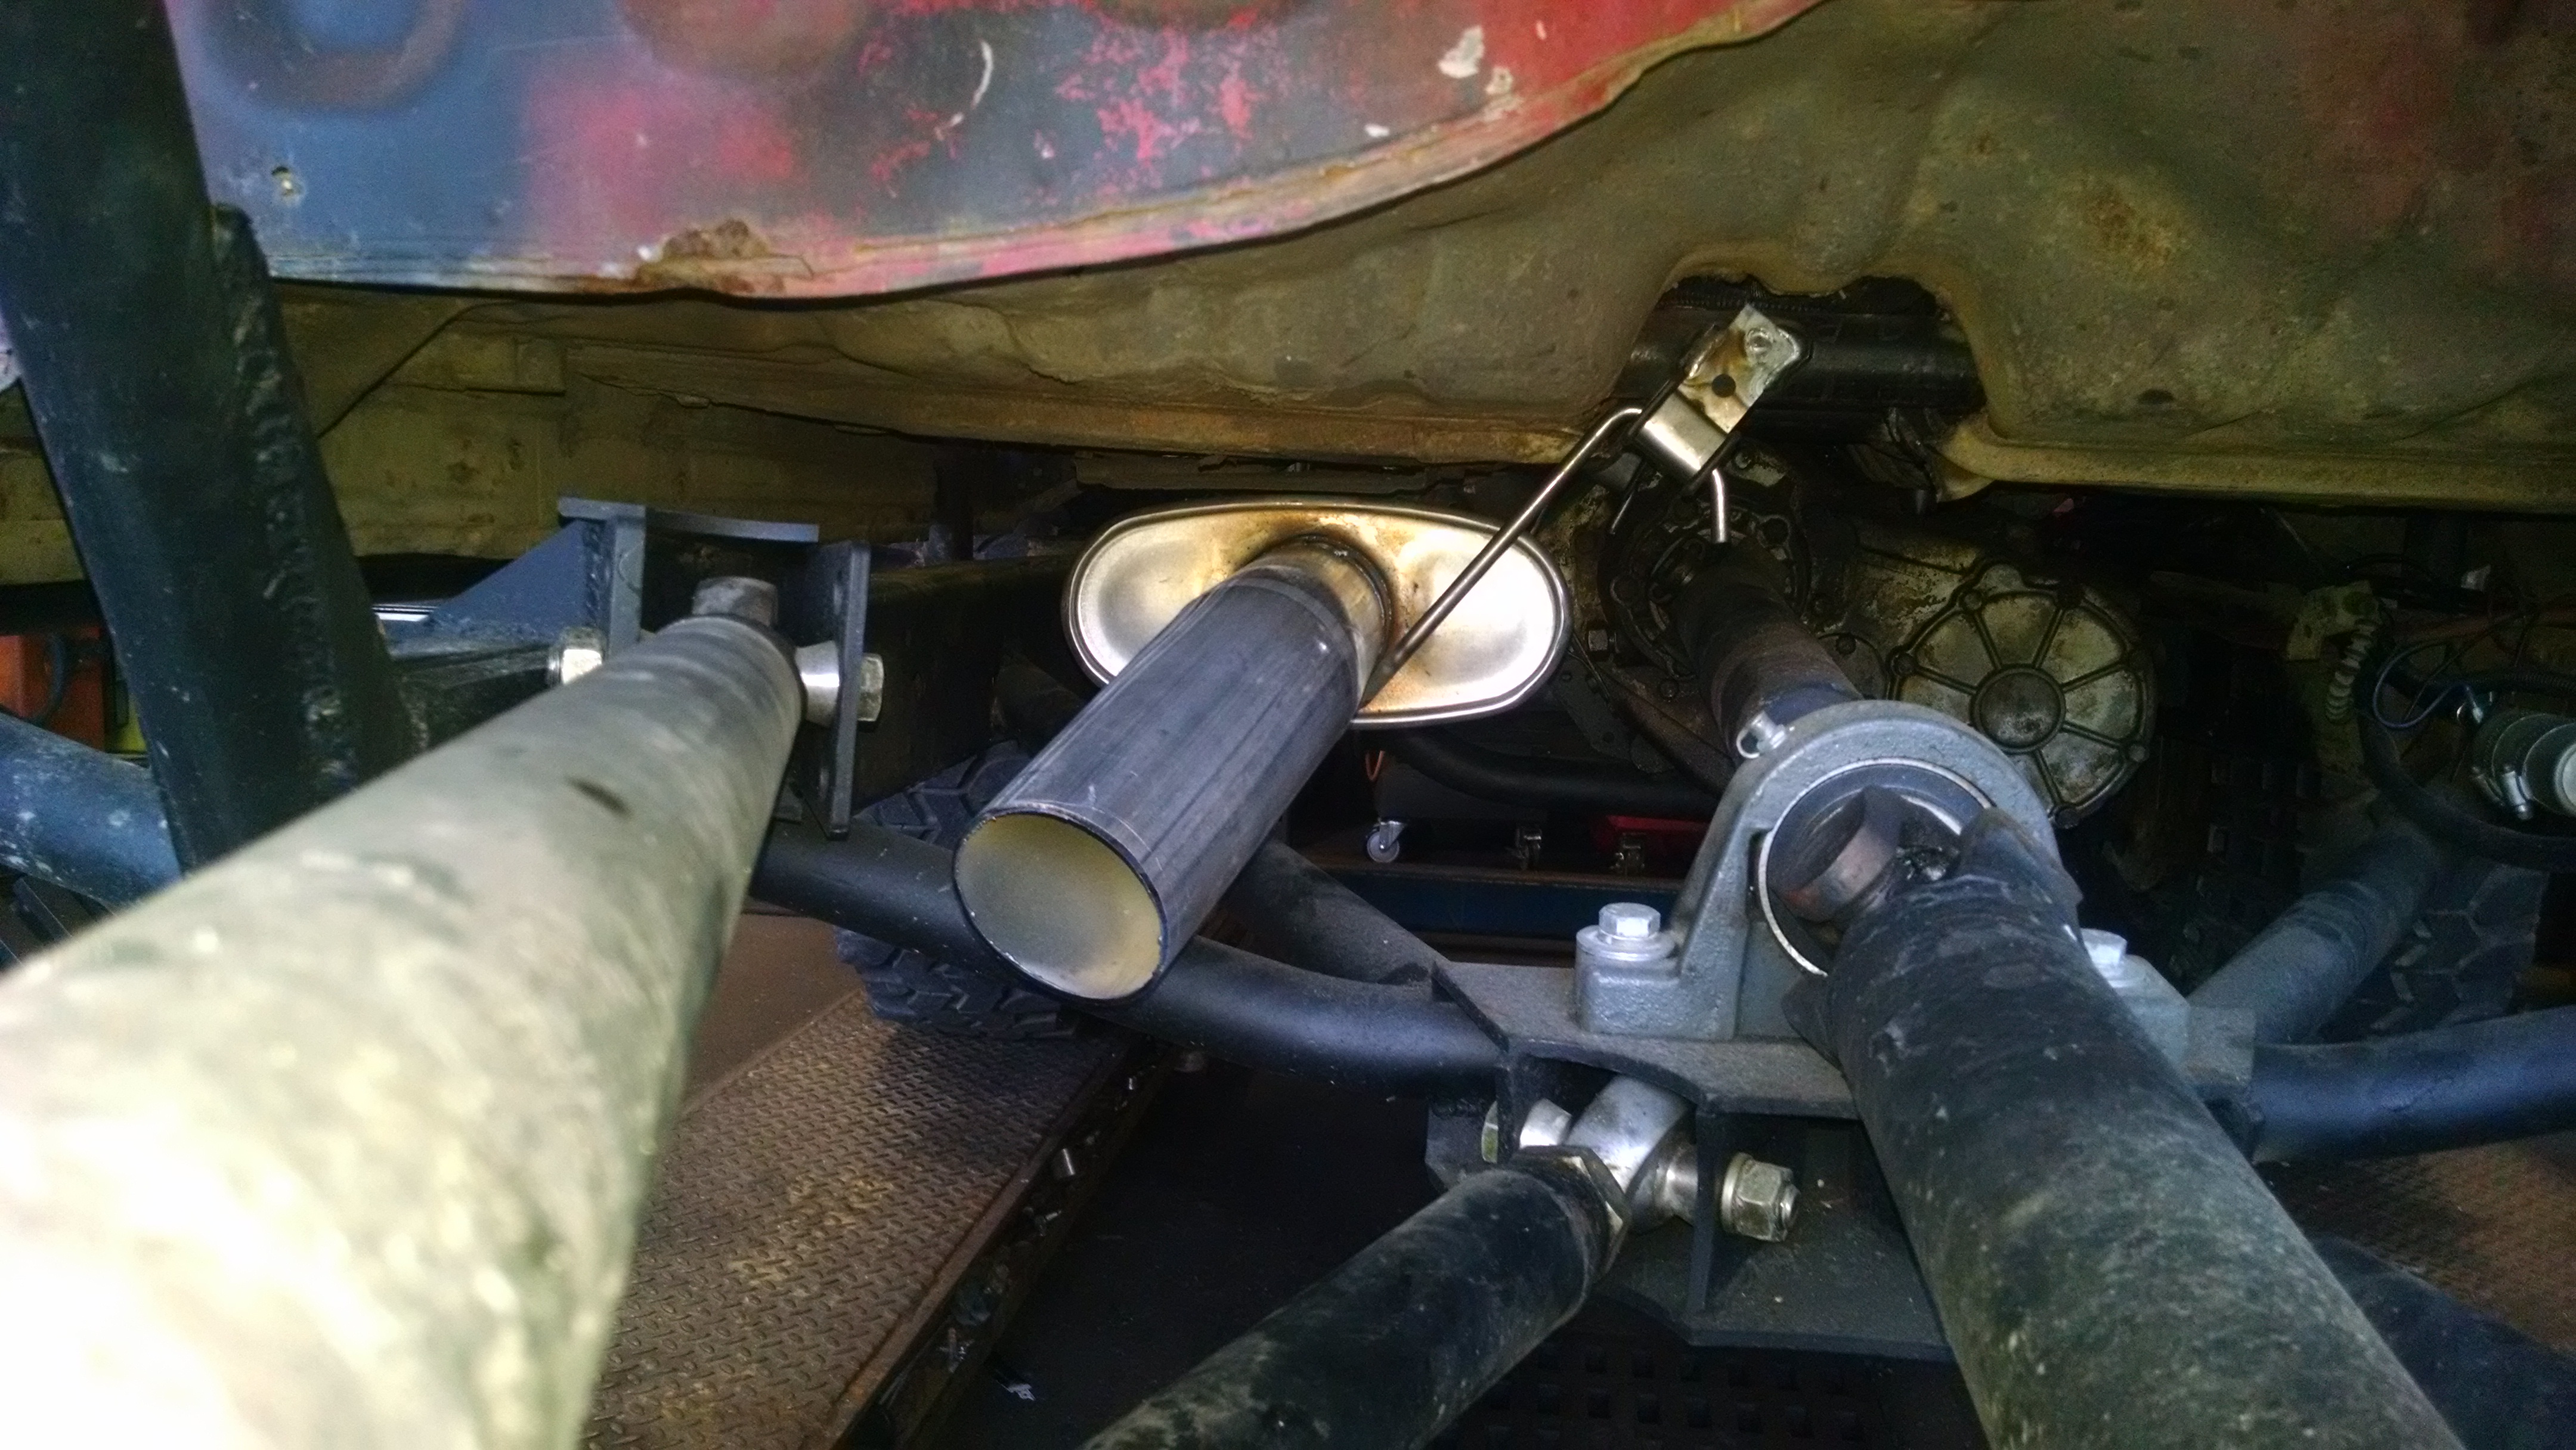
Dropped the truck off at S&B Muffler and Brakes here in Gloucester, VA and Steve knocked the exhaust out for me.
Drivers side clearance

Passenger side
Sits up nice and out of the way tight to the floor. Ran a Dynomax Super Turbo Muffler backwards. Has a nice tone, actually pretty deep for a 4.3.
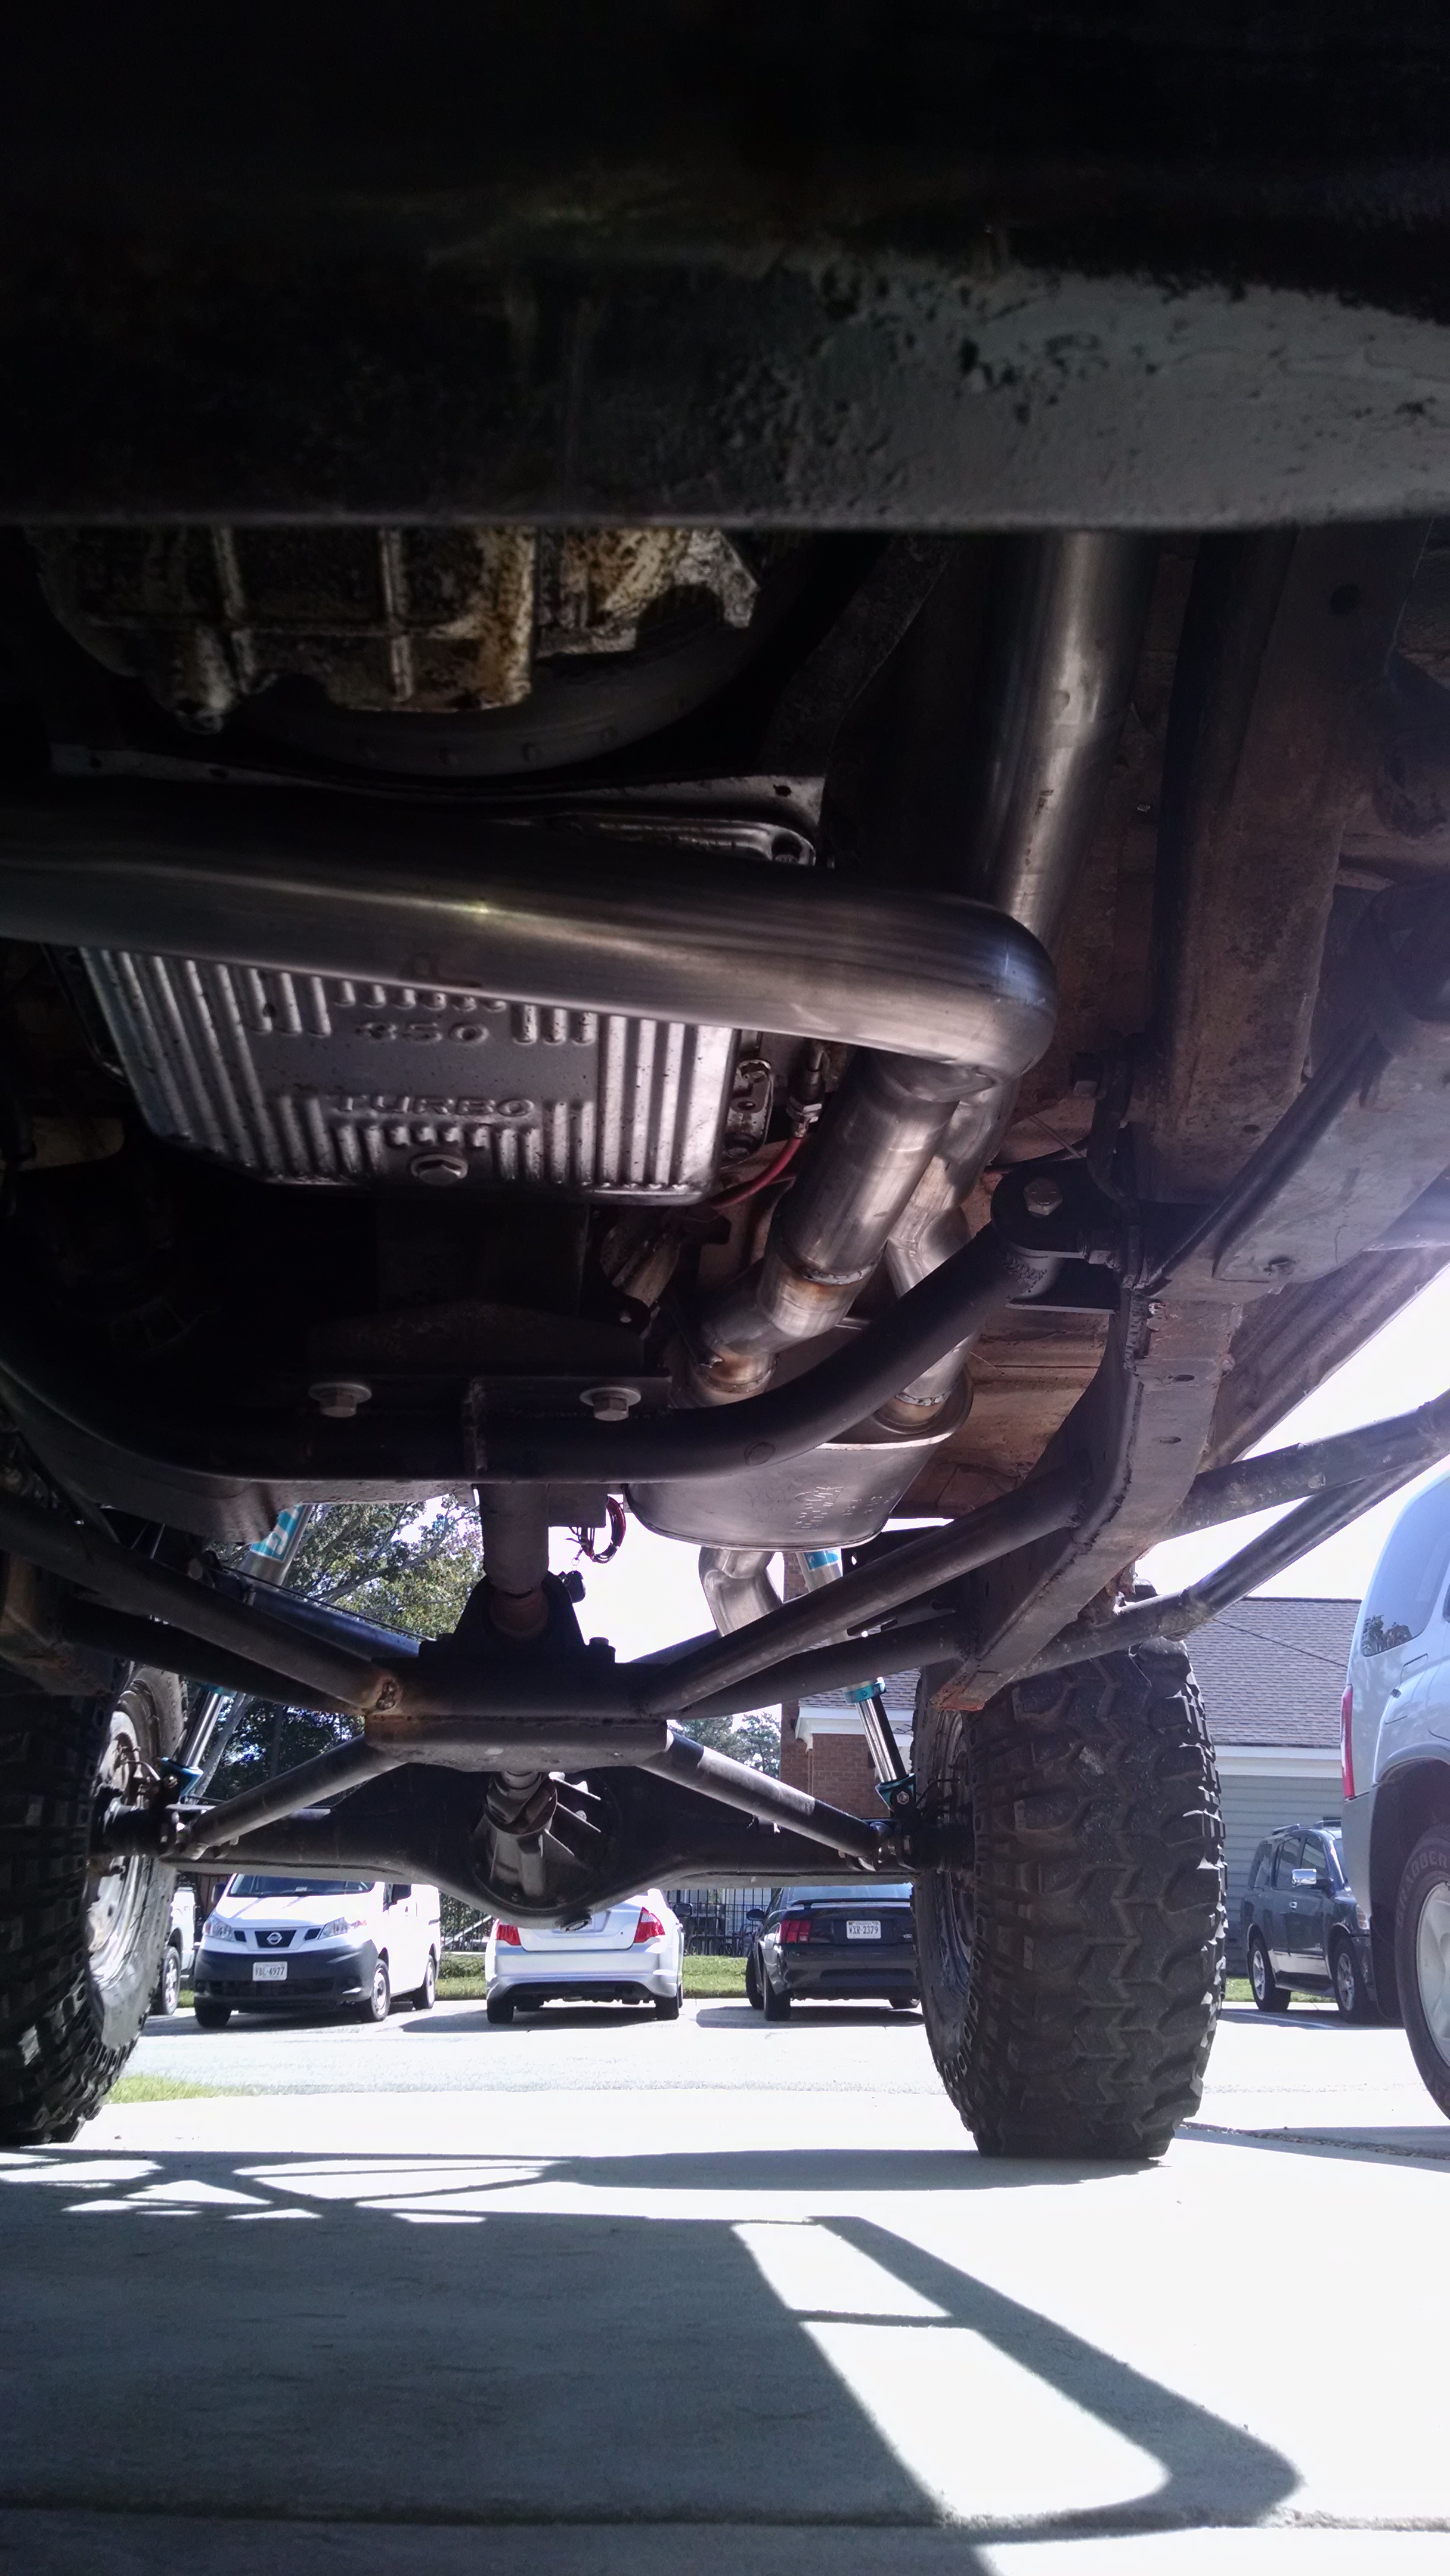
Drops out at the rear of the cab.
Drivers side clearance
Passenger side
Sits up nice and out of the way tight to the floor. Ran a Dynomax Super Turbo Muffler backwards. Has a nice tone, actually pretty deep for a 4.3.
Drops out at the rear of the cab.

 Nov 30, 2014 | 01:45 PM
#71
Thread Starter
Registered User
Joined: Jul 2005
Posts: 124
Likes: 0
 Jan 8, 2015 | 12:12 PM
#75
Thread Starter
Registered User
Joined: Jul 2005
Posts: 124
Likes: 0
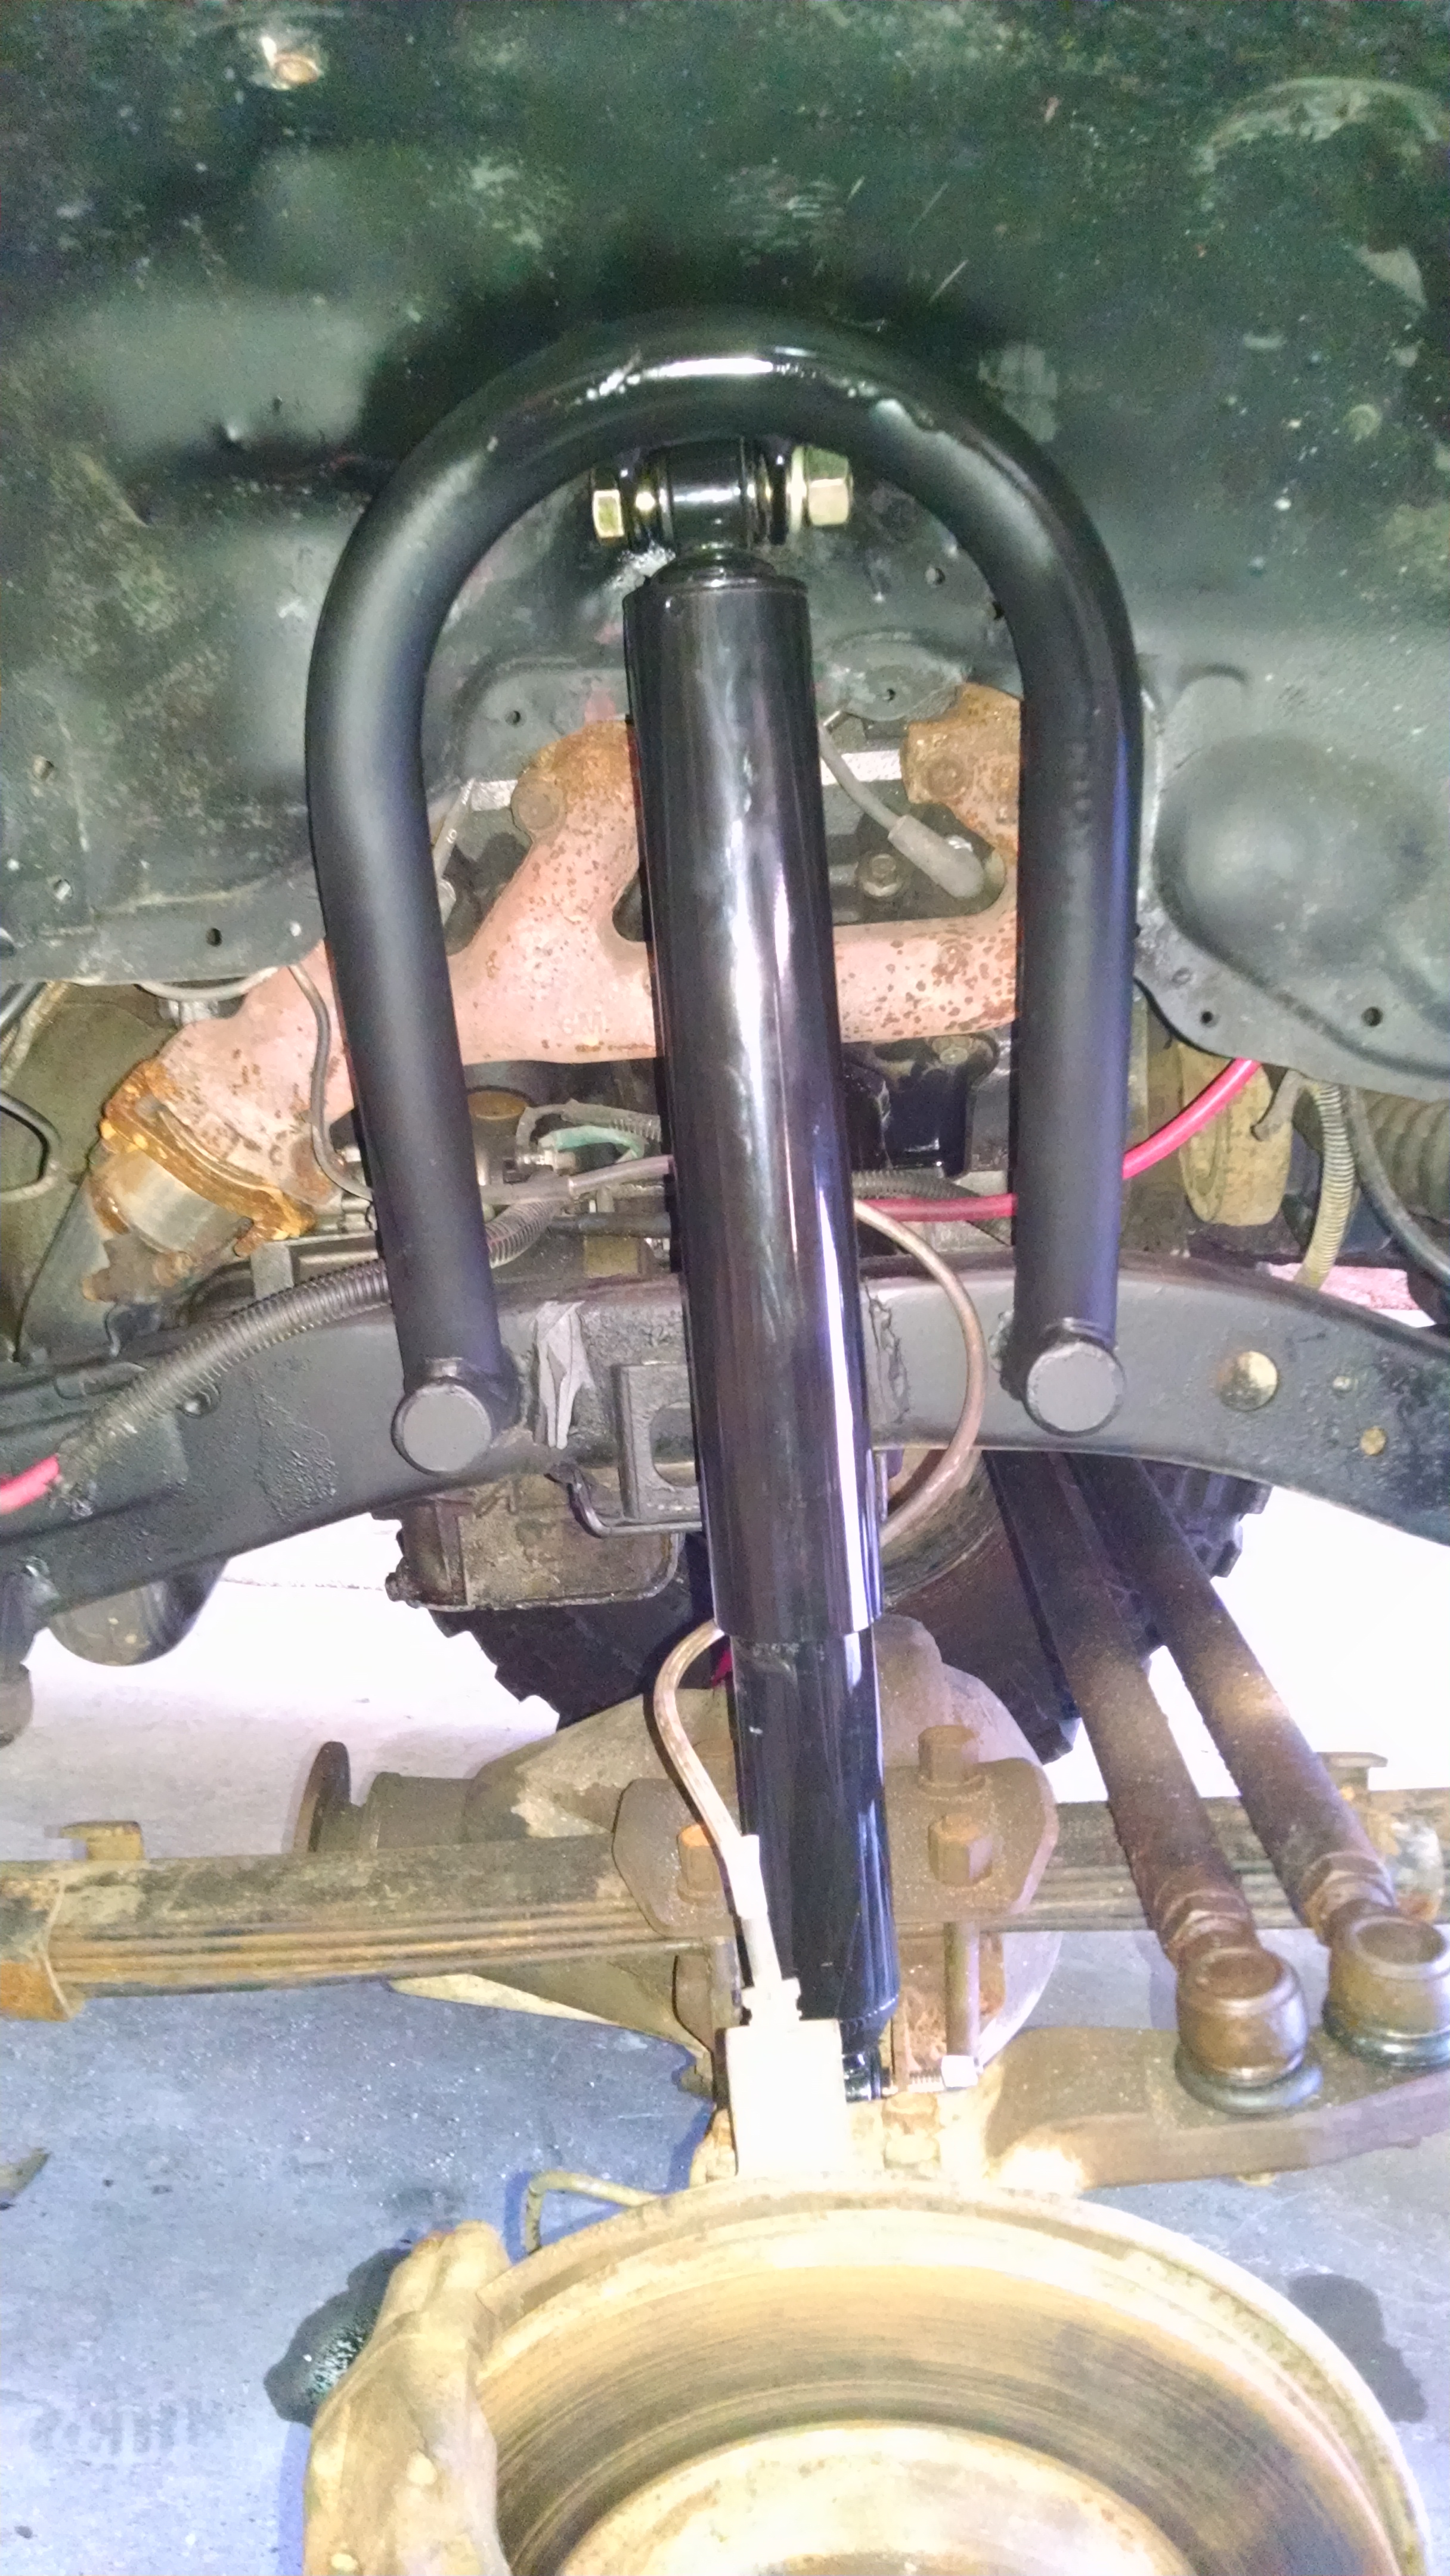
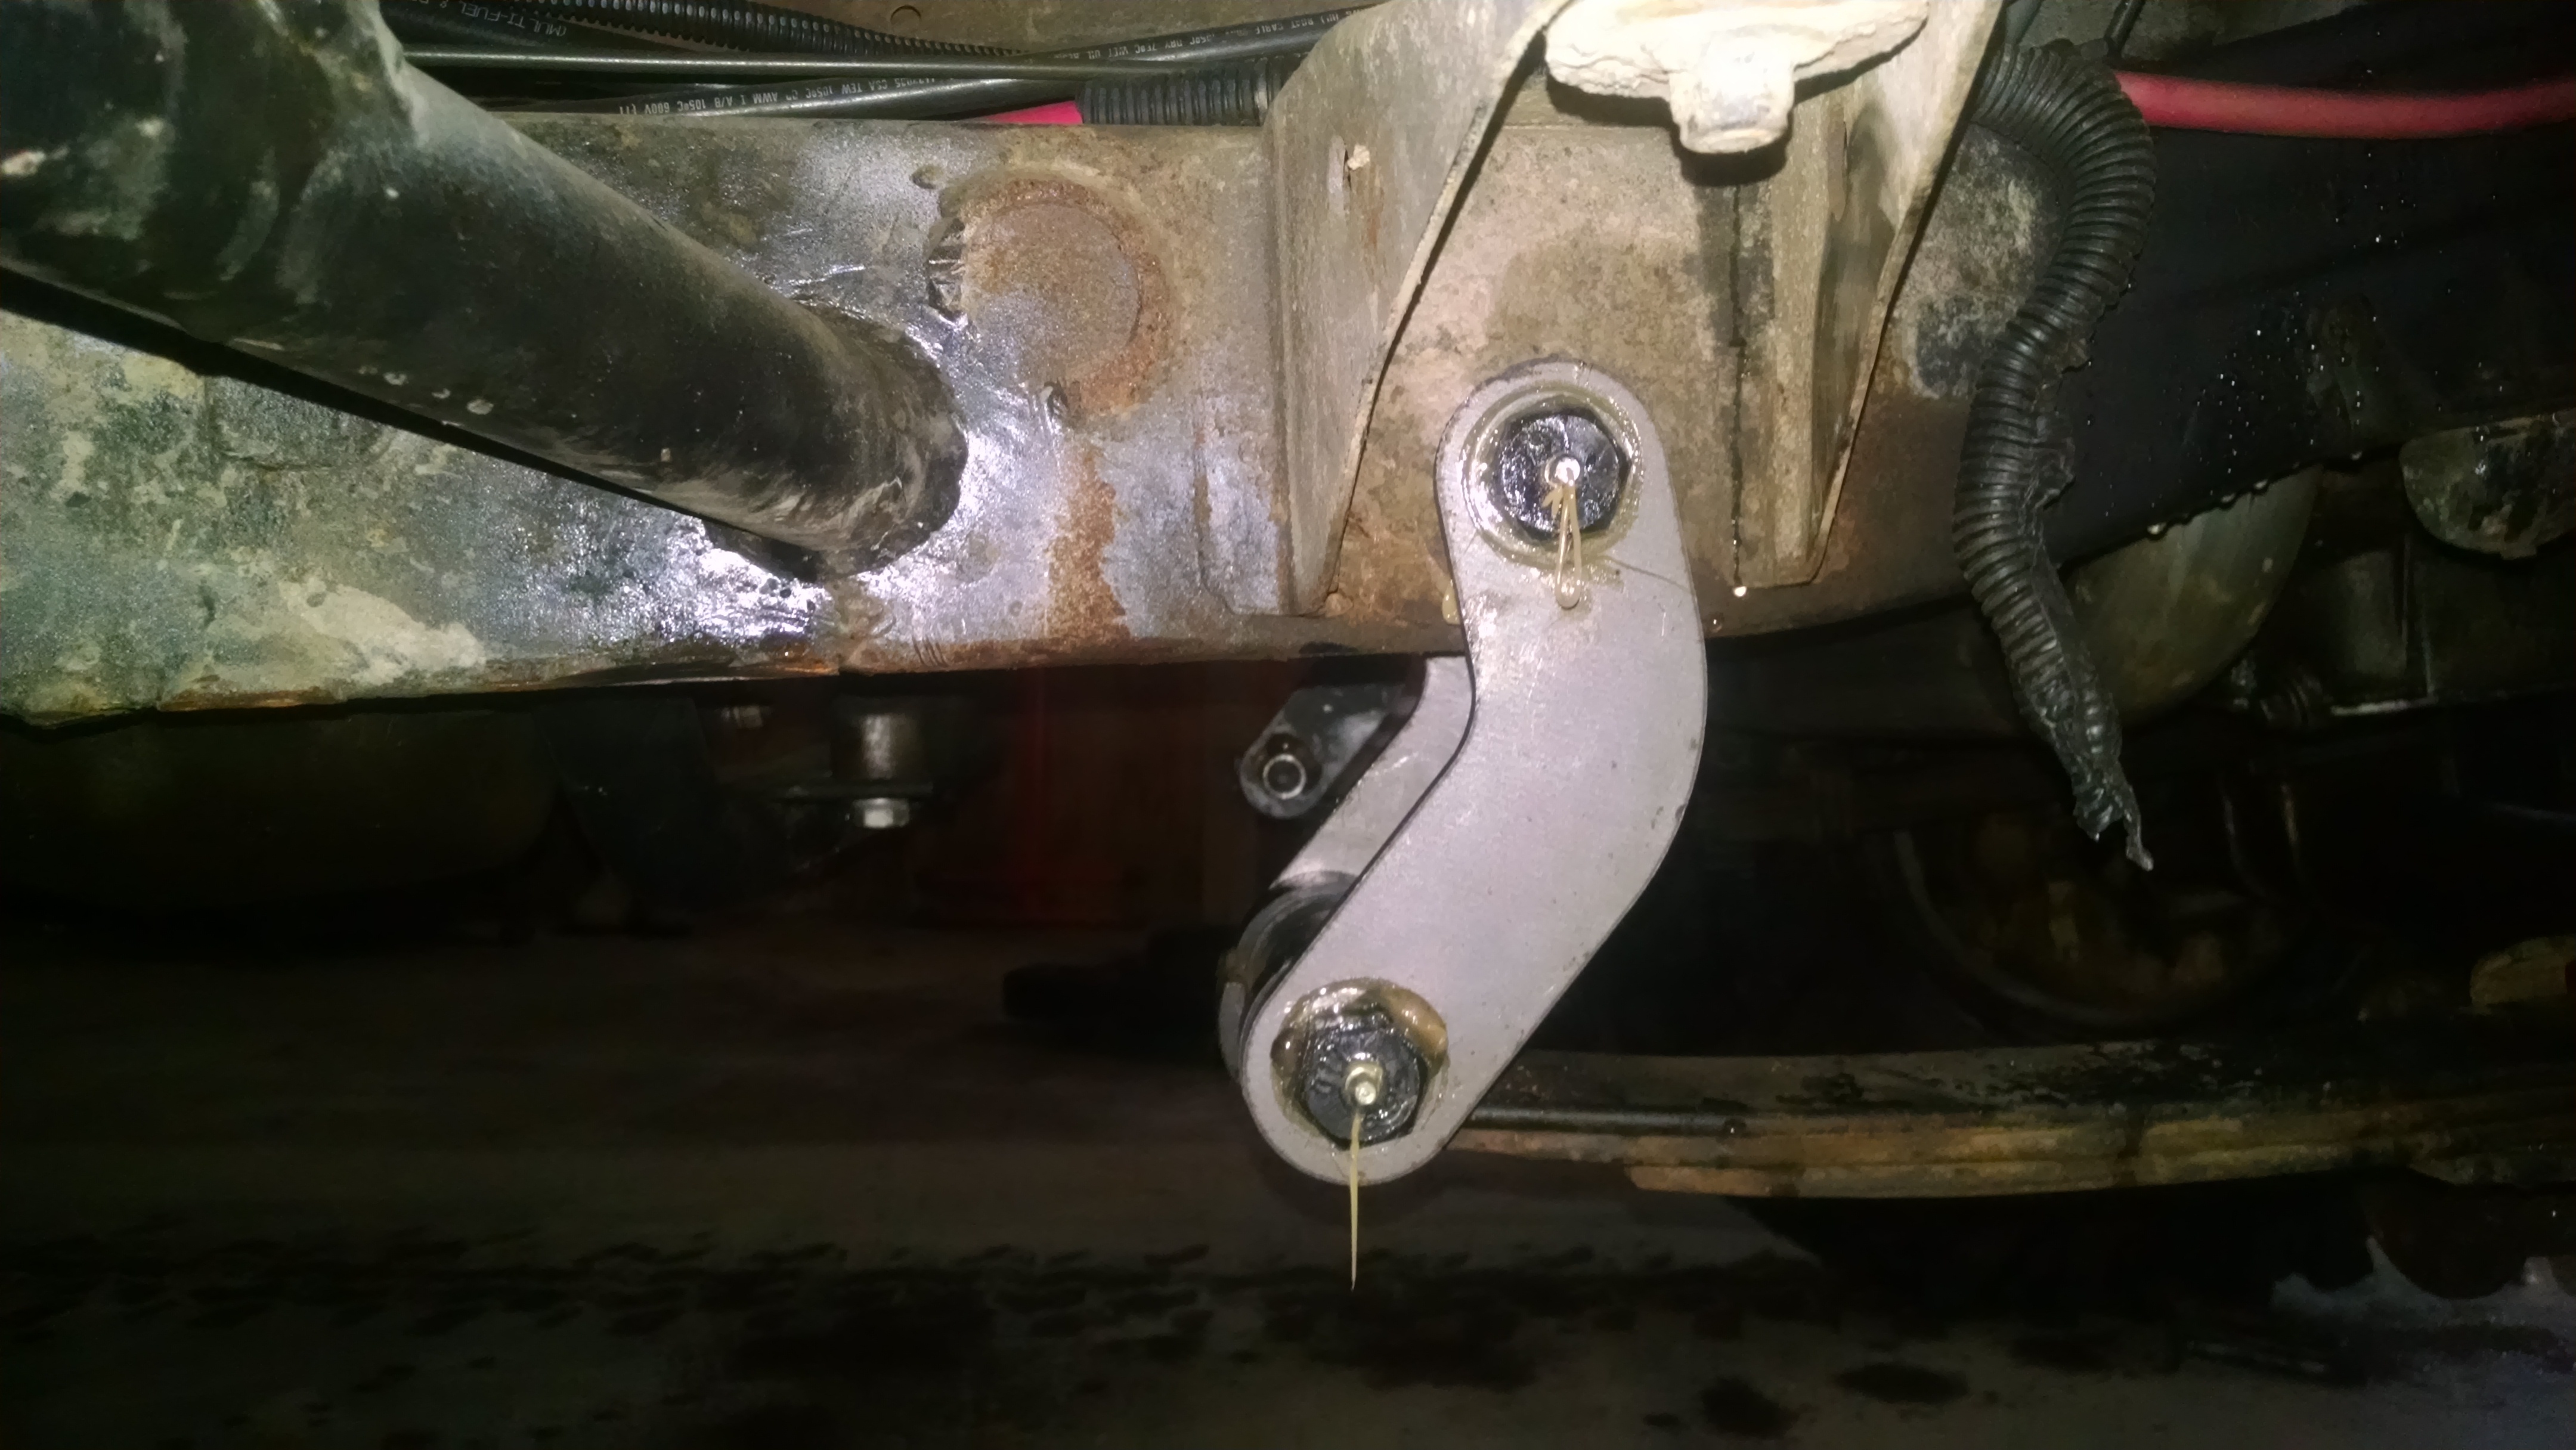
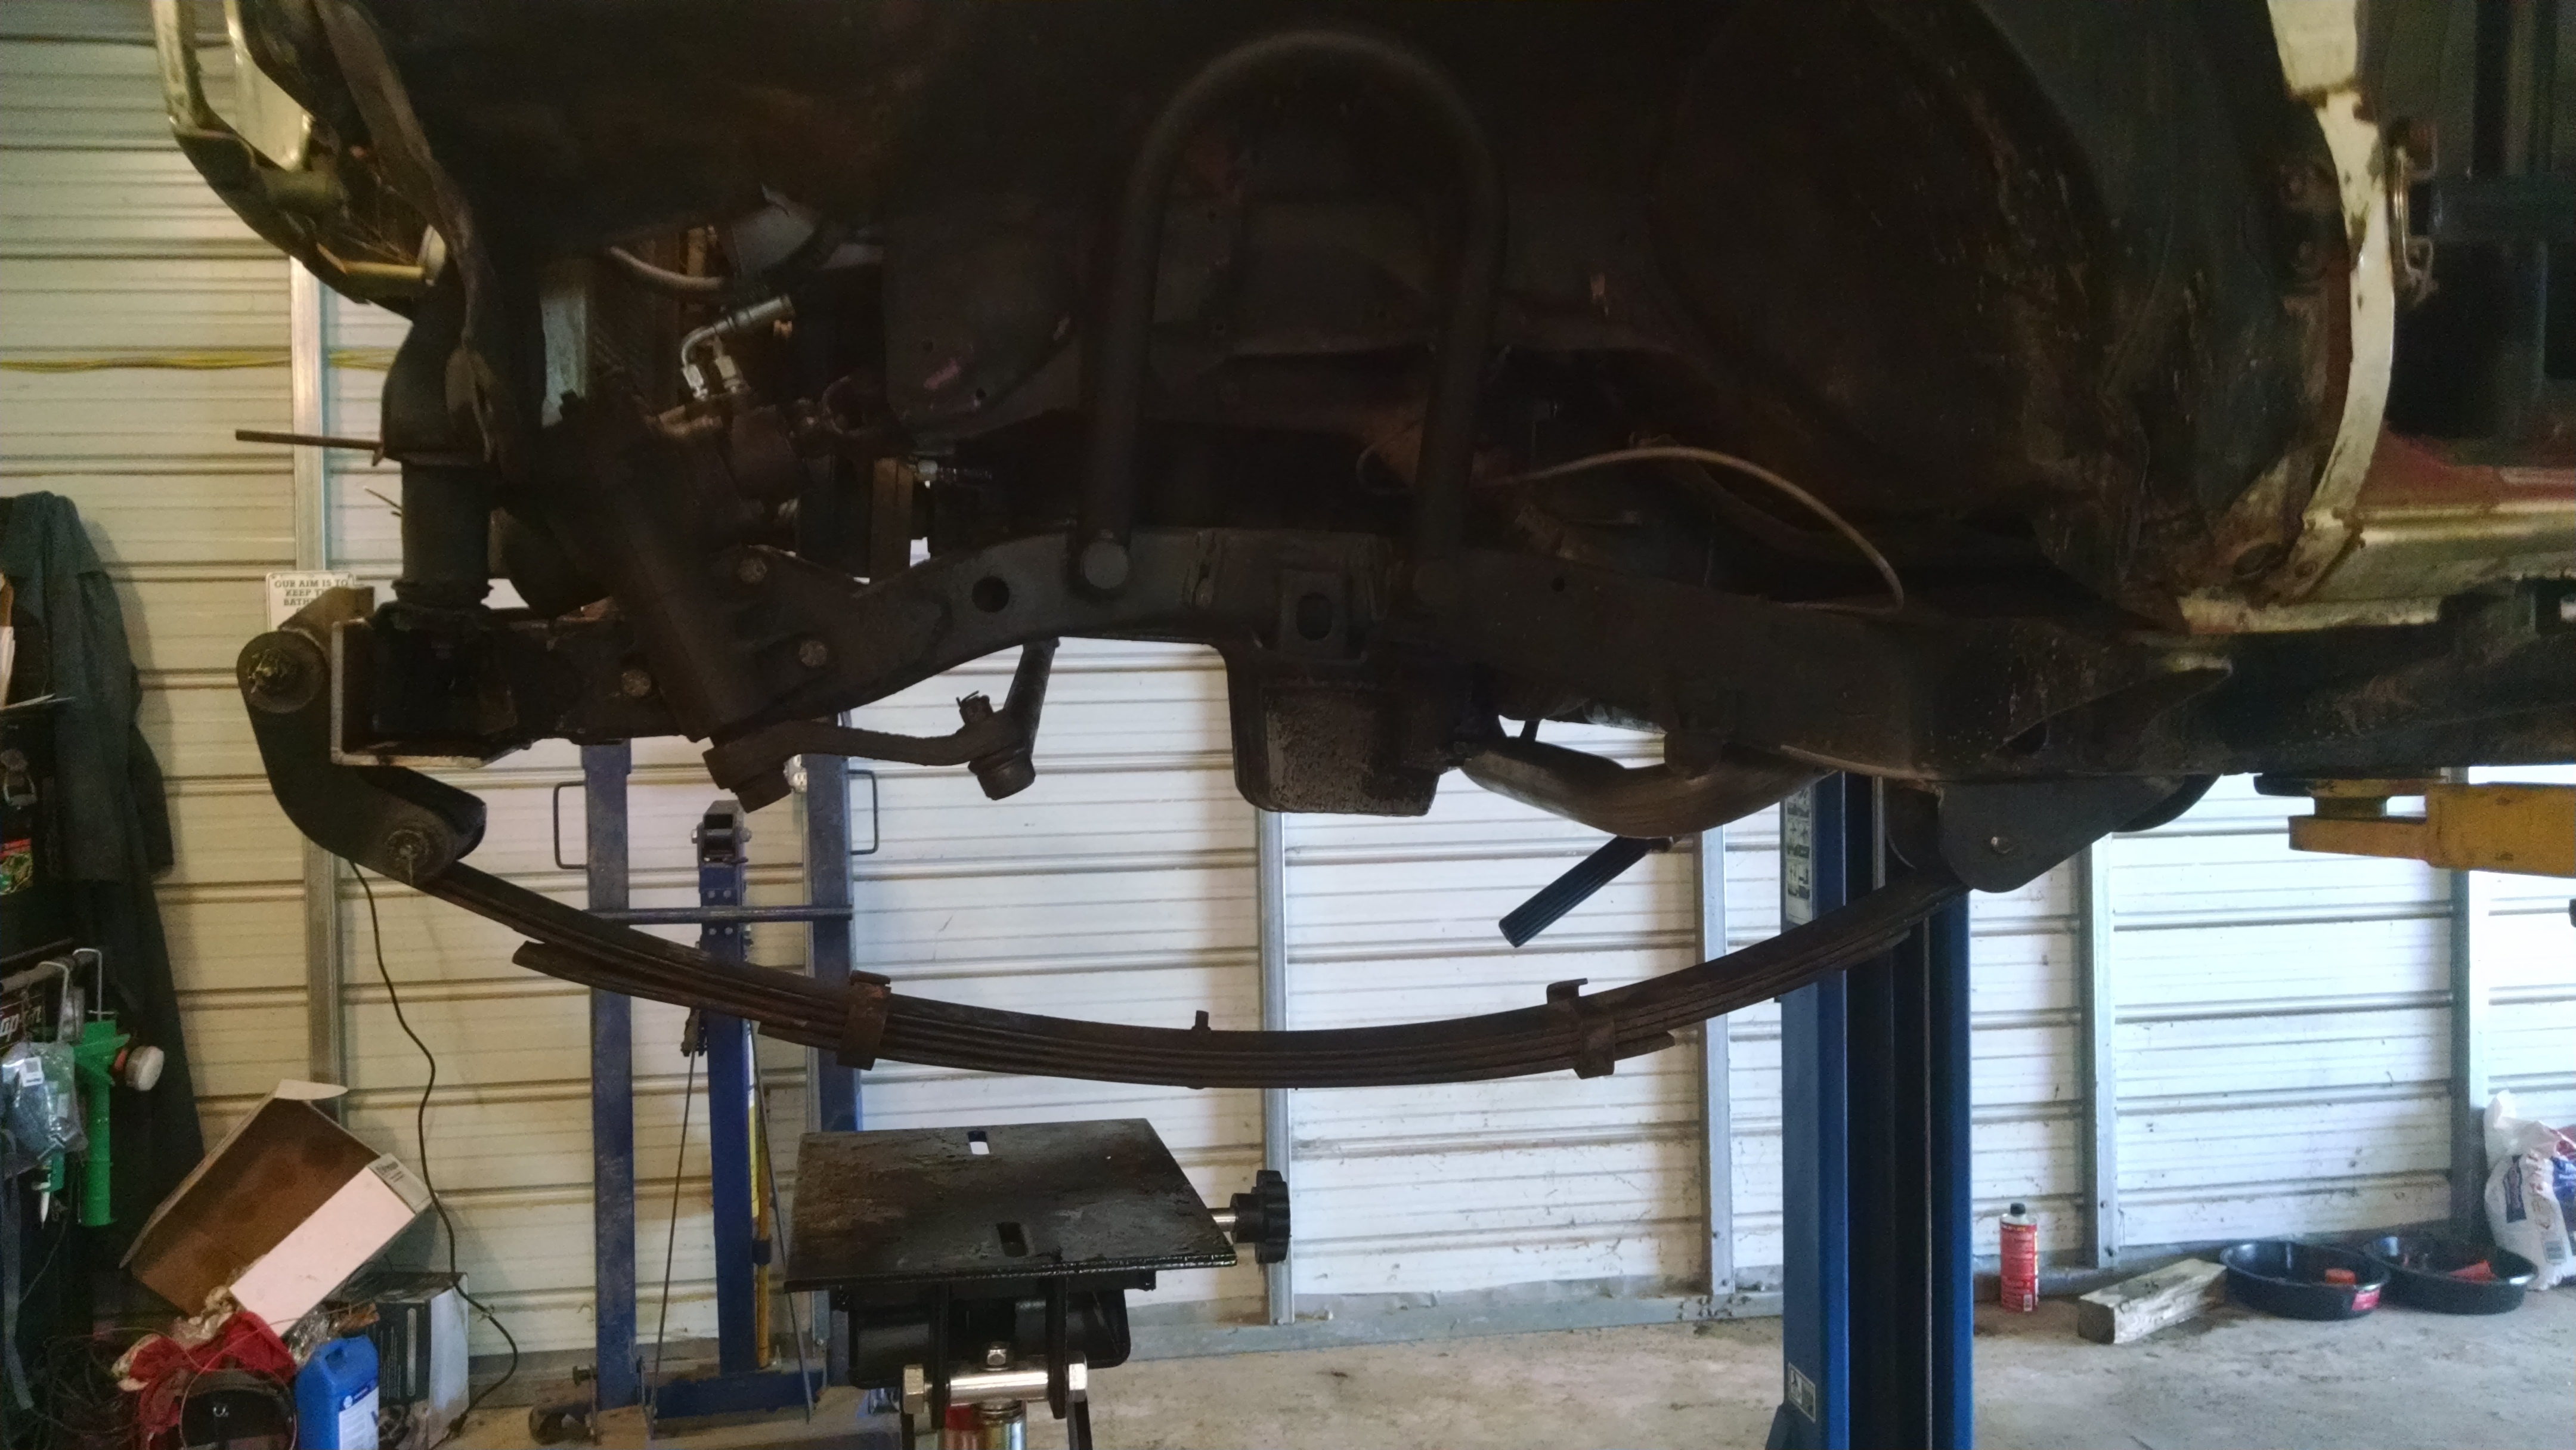
Been moving along a bit. Got some boomerang shackles on... The old shackles sat on the frame at ride height.
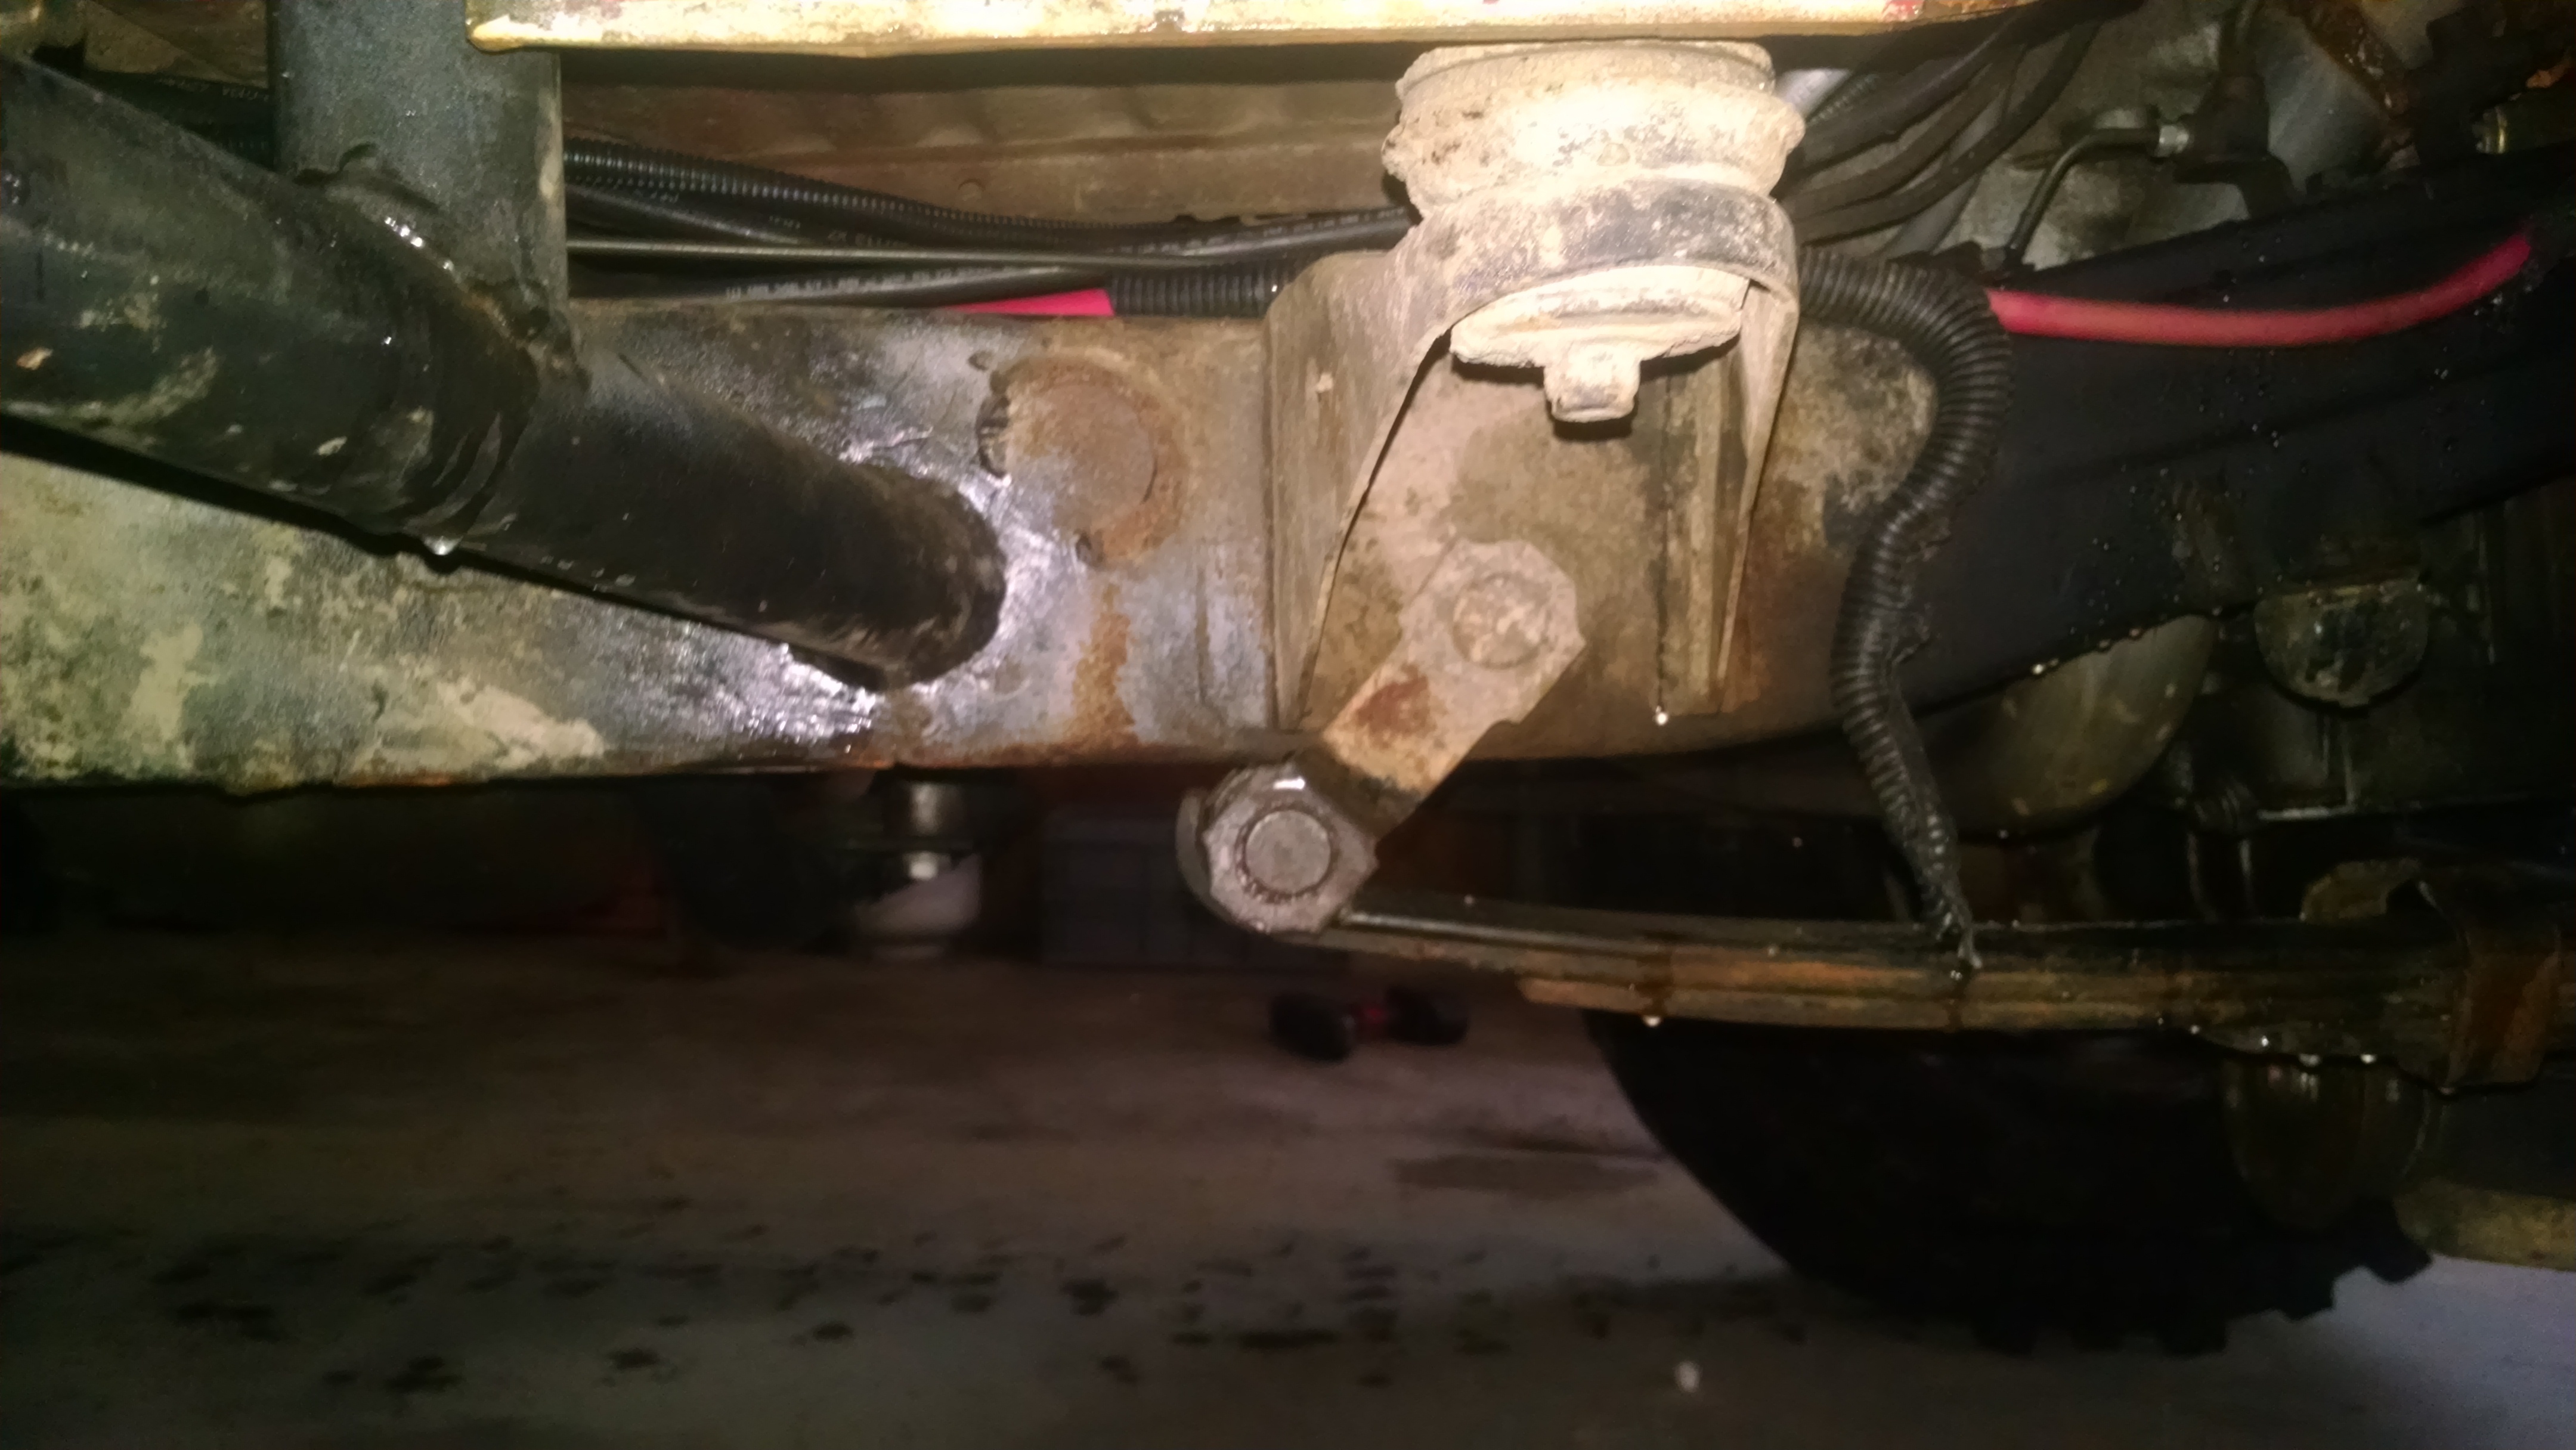
The new Sky shackles make it more better. I may shorten them up a bit though.
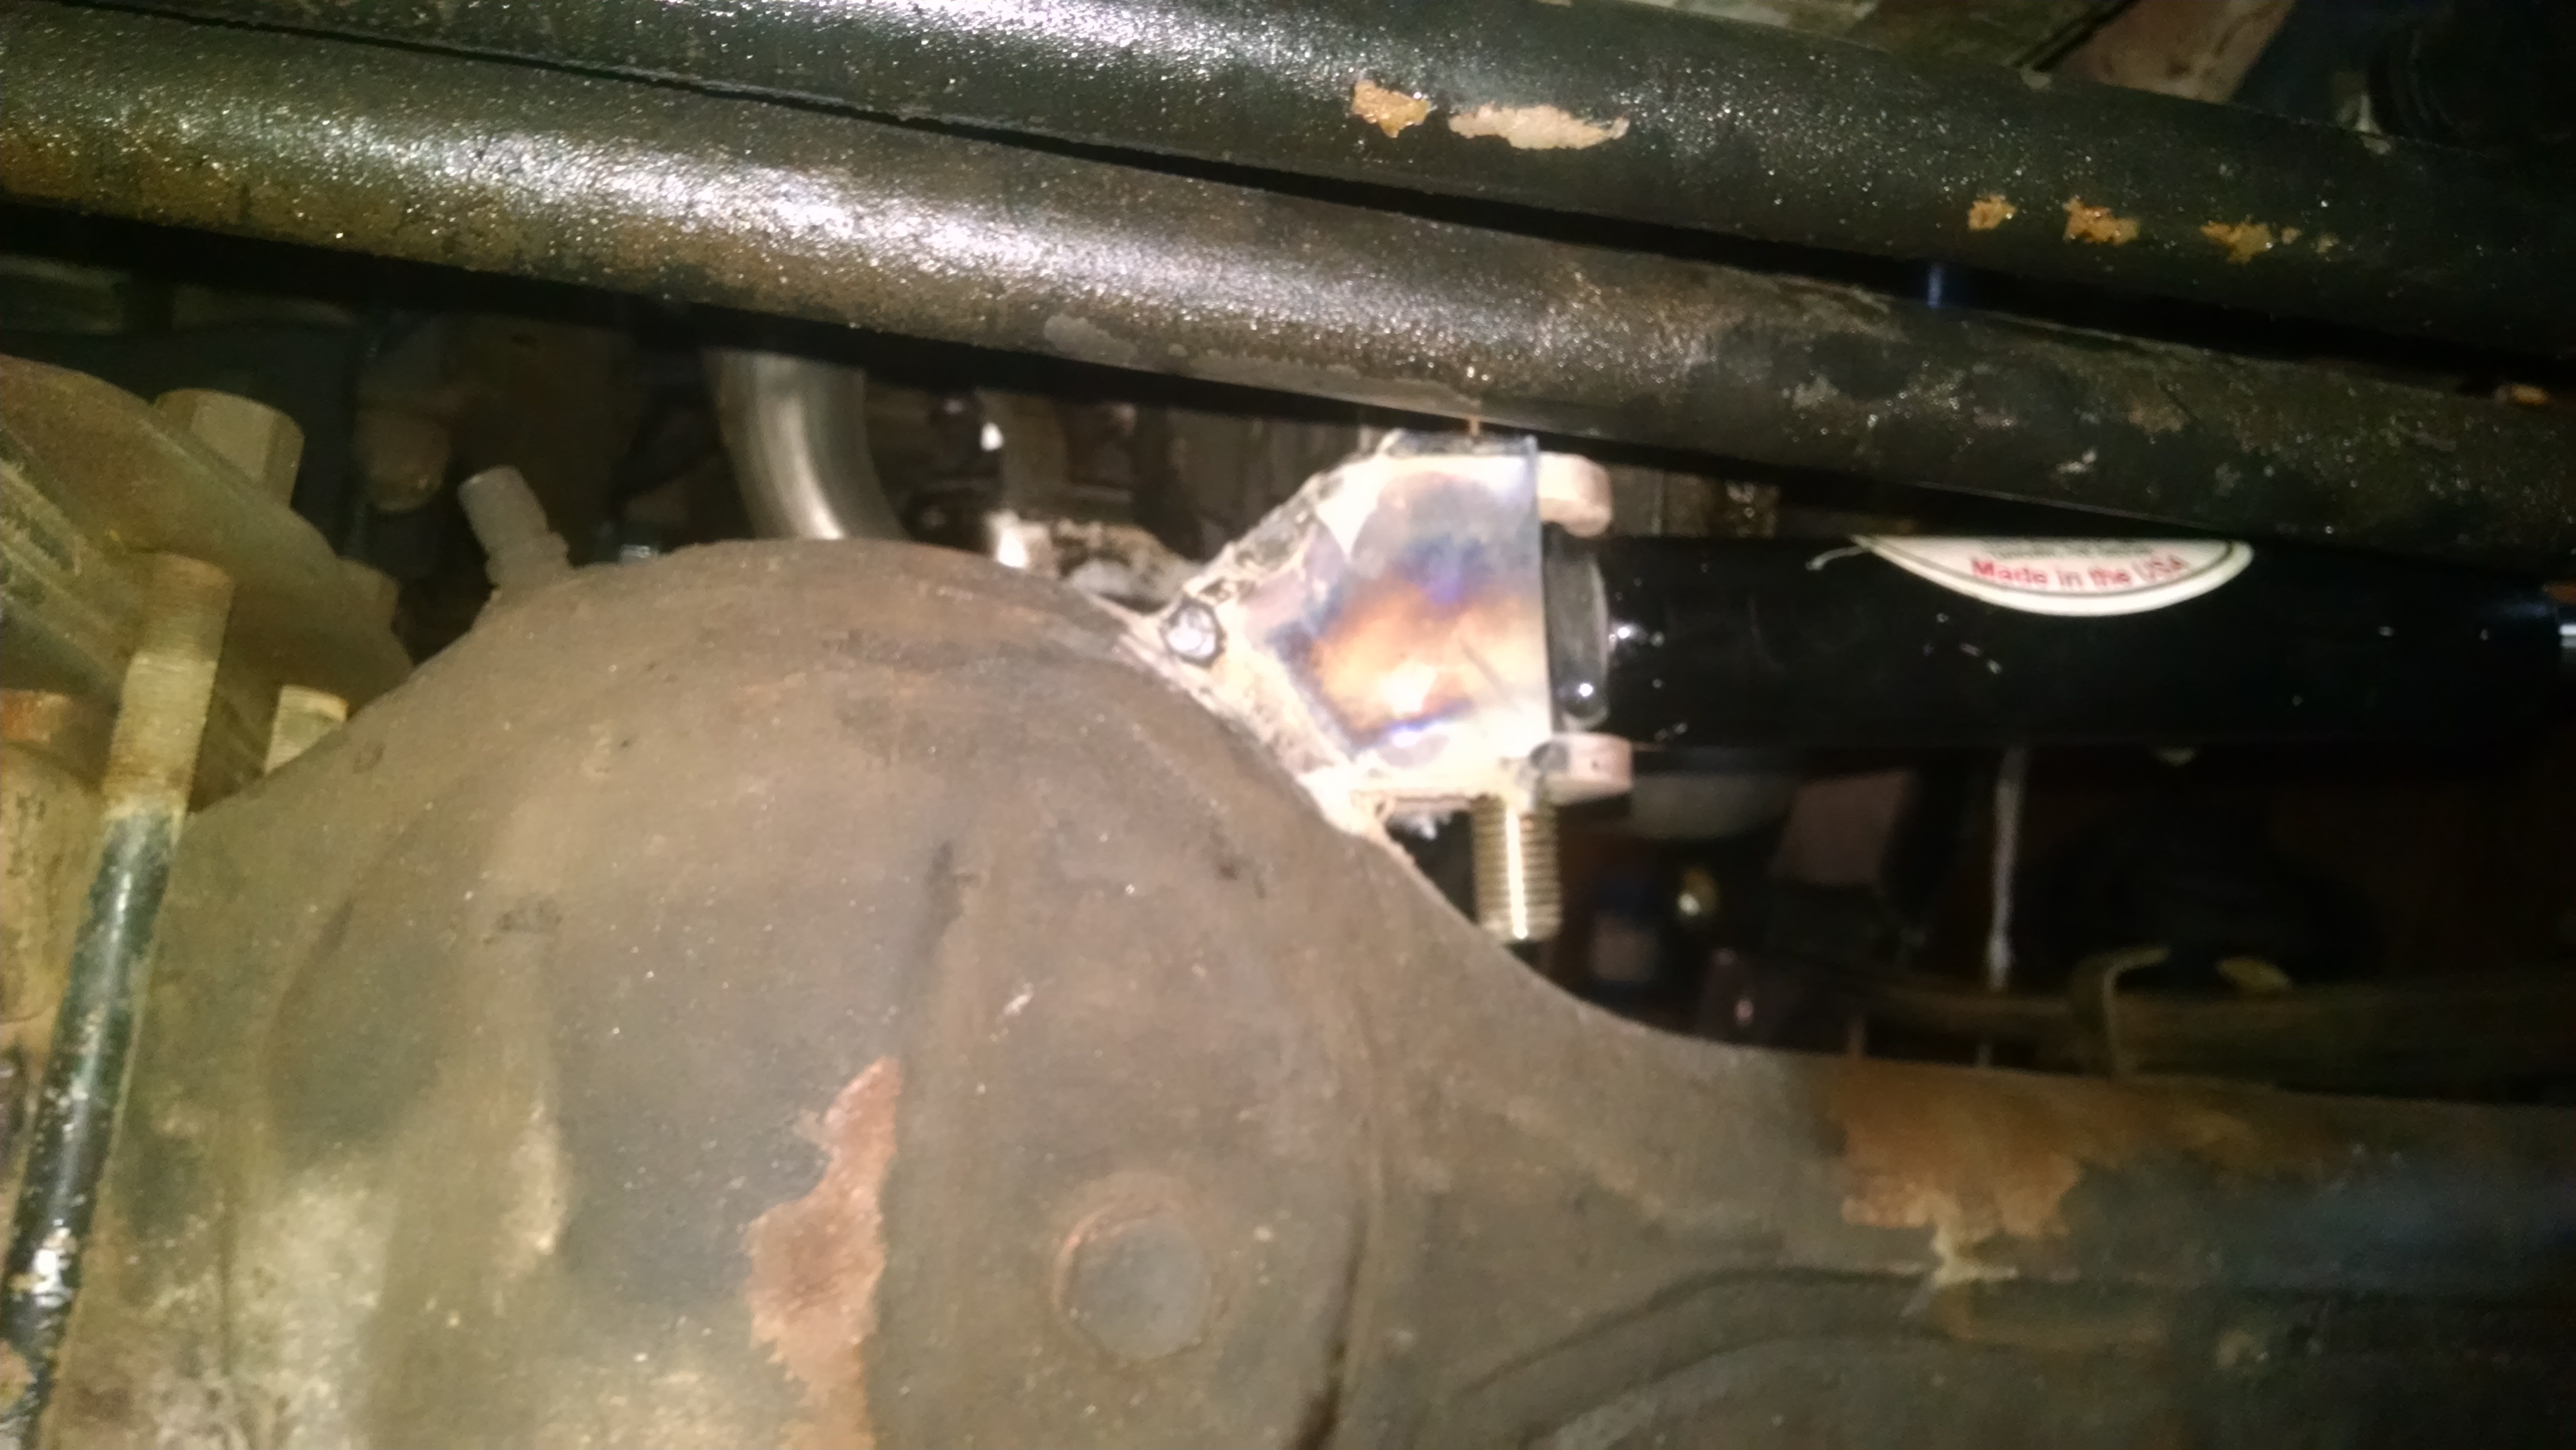
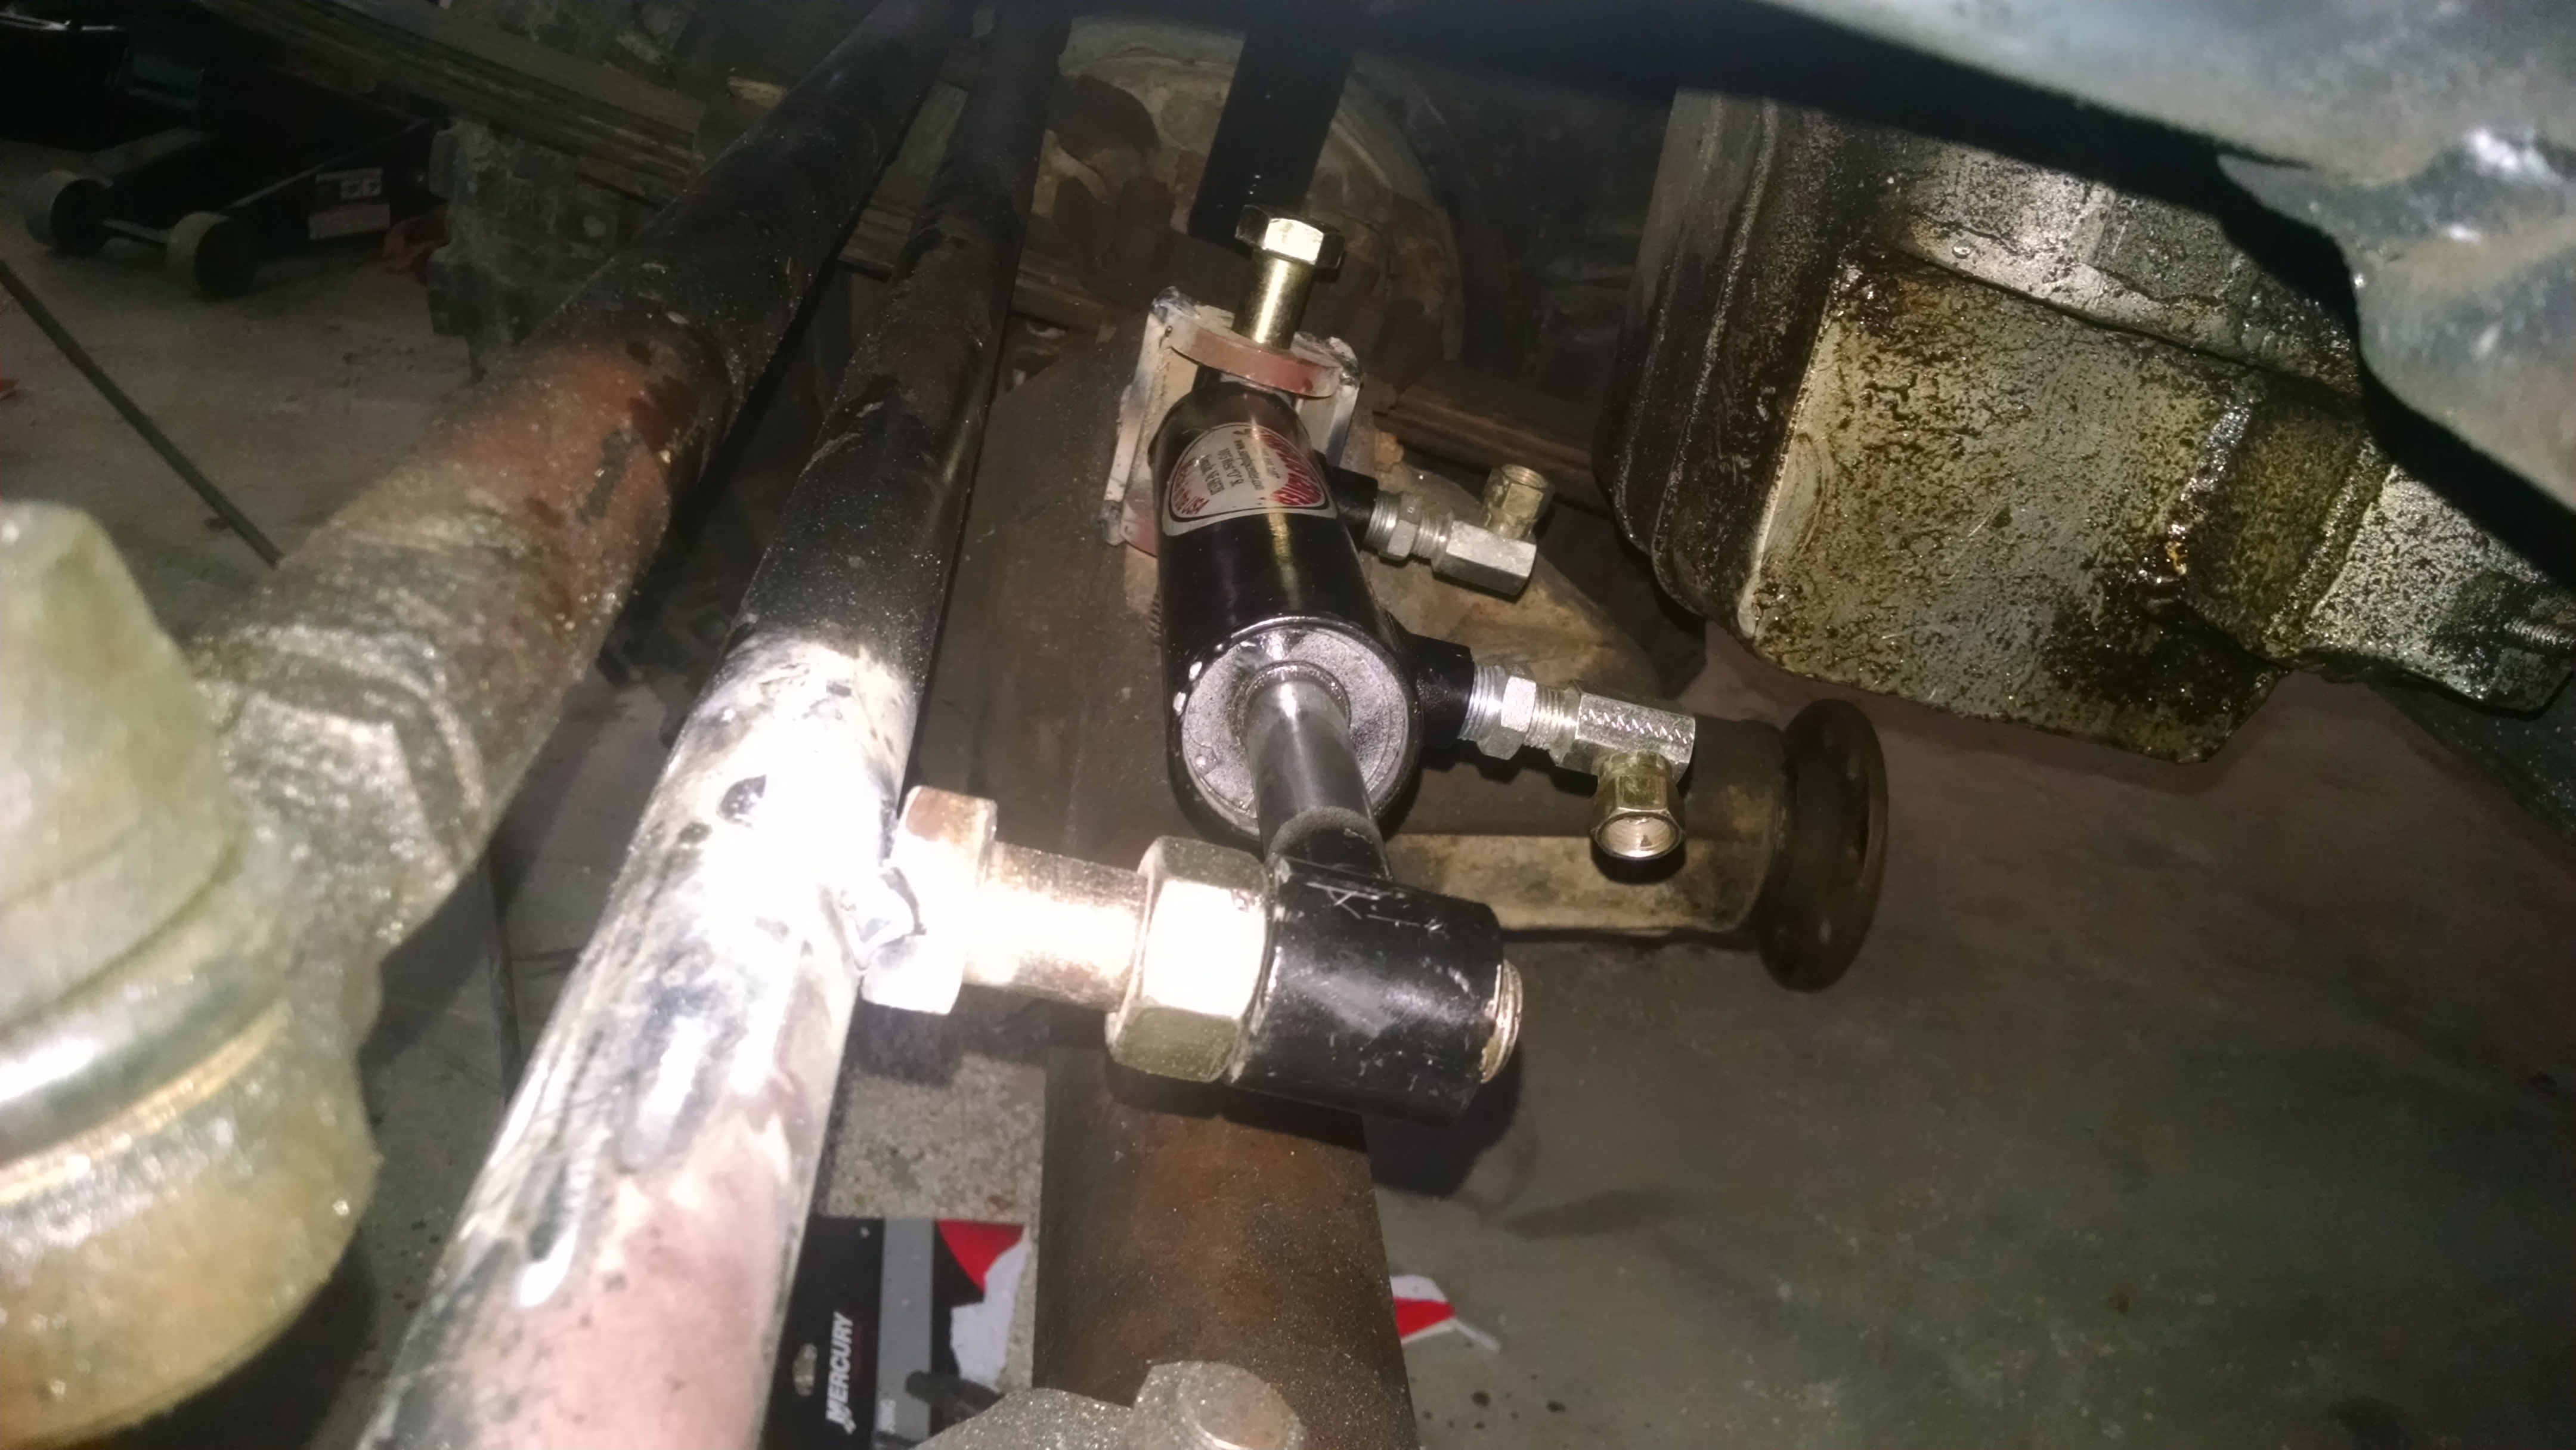
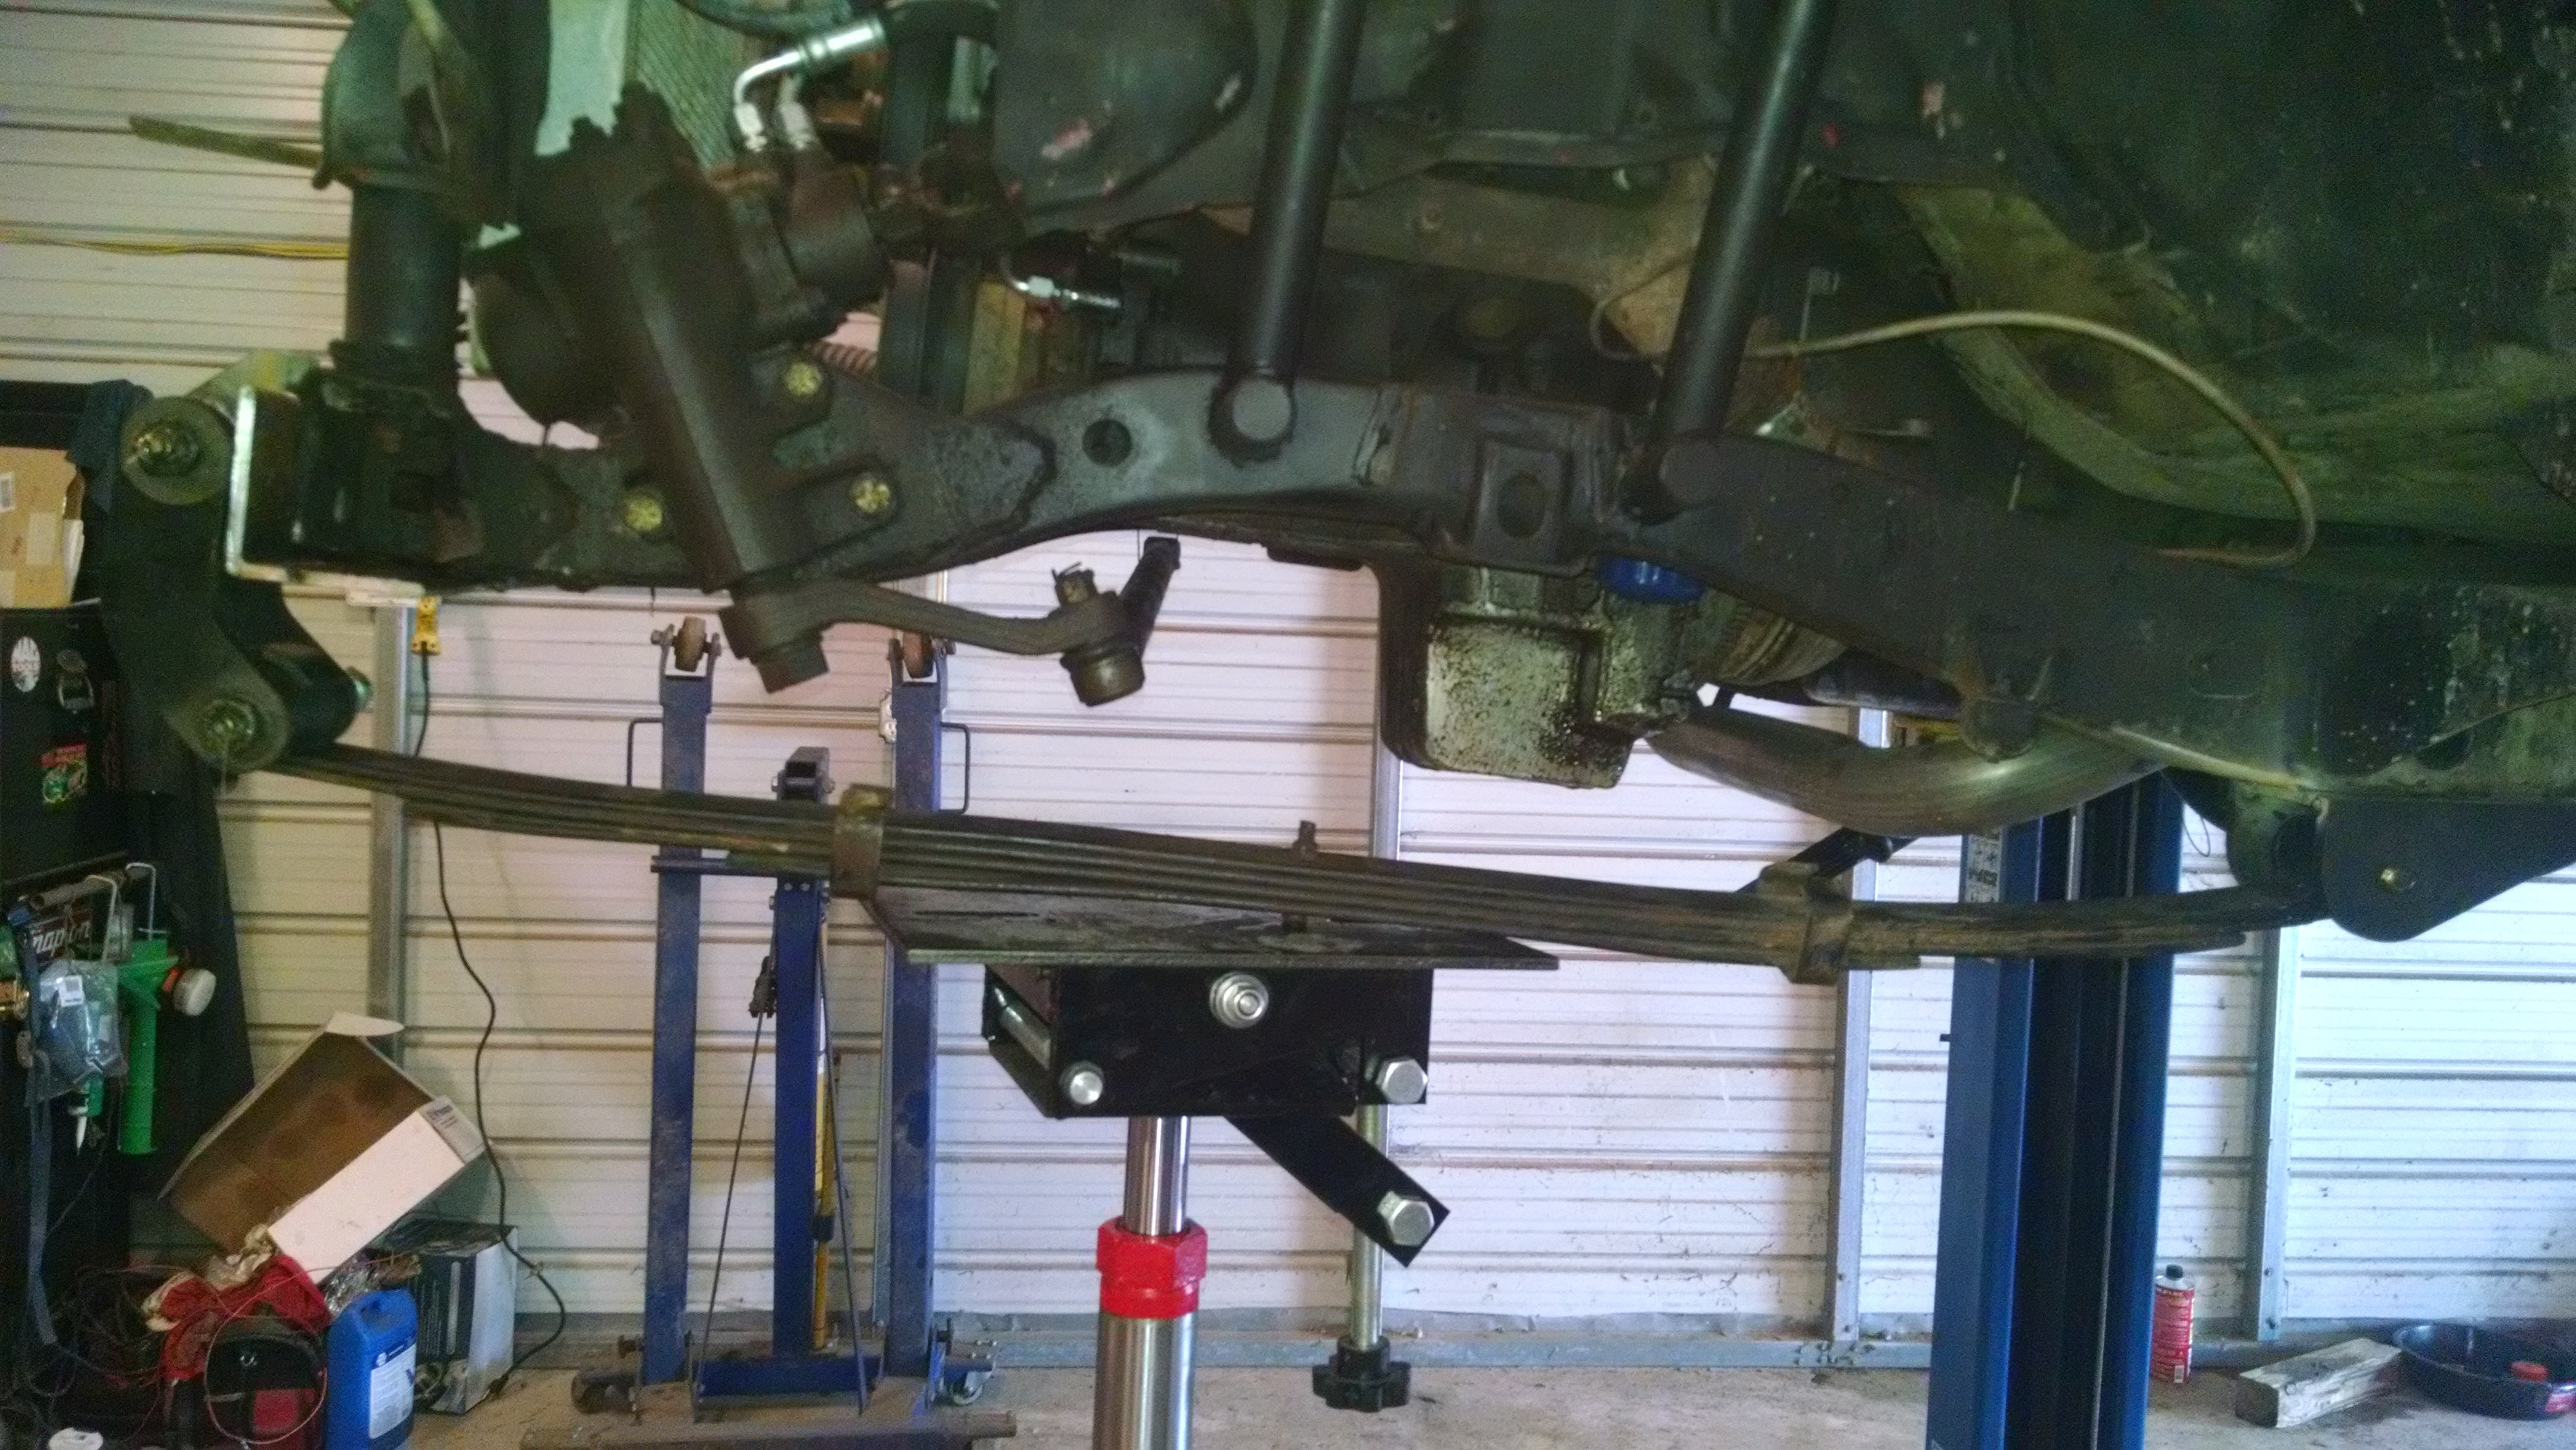
Also started in my hydro assist. Got the axle side mount mostly done, I want to brace it some more and got the tie rod side mocked up. I need to figure out a fancy bracket to make it work.
The new Sky shackles make it more better. I may shorten them up a bit though.
Also started in my hydro assist. Got the axle side mount mostly done, I want to brace it some more and got the tie rod side mocked up. I need to figure out a fancy bracket to make it work.

 Jan 29, 2015 | 02:32 PM
#77
Thread Starter
Registered User
Joined: Jul 2005
Posts: 124
Likes: 0
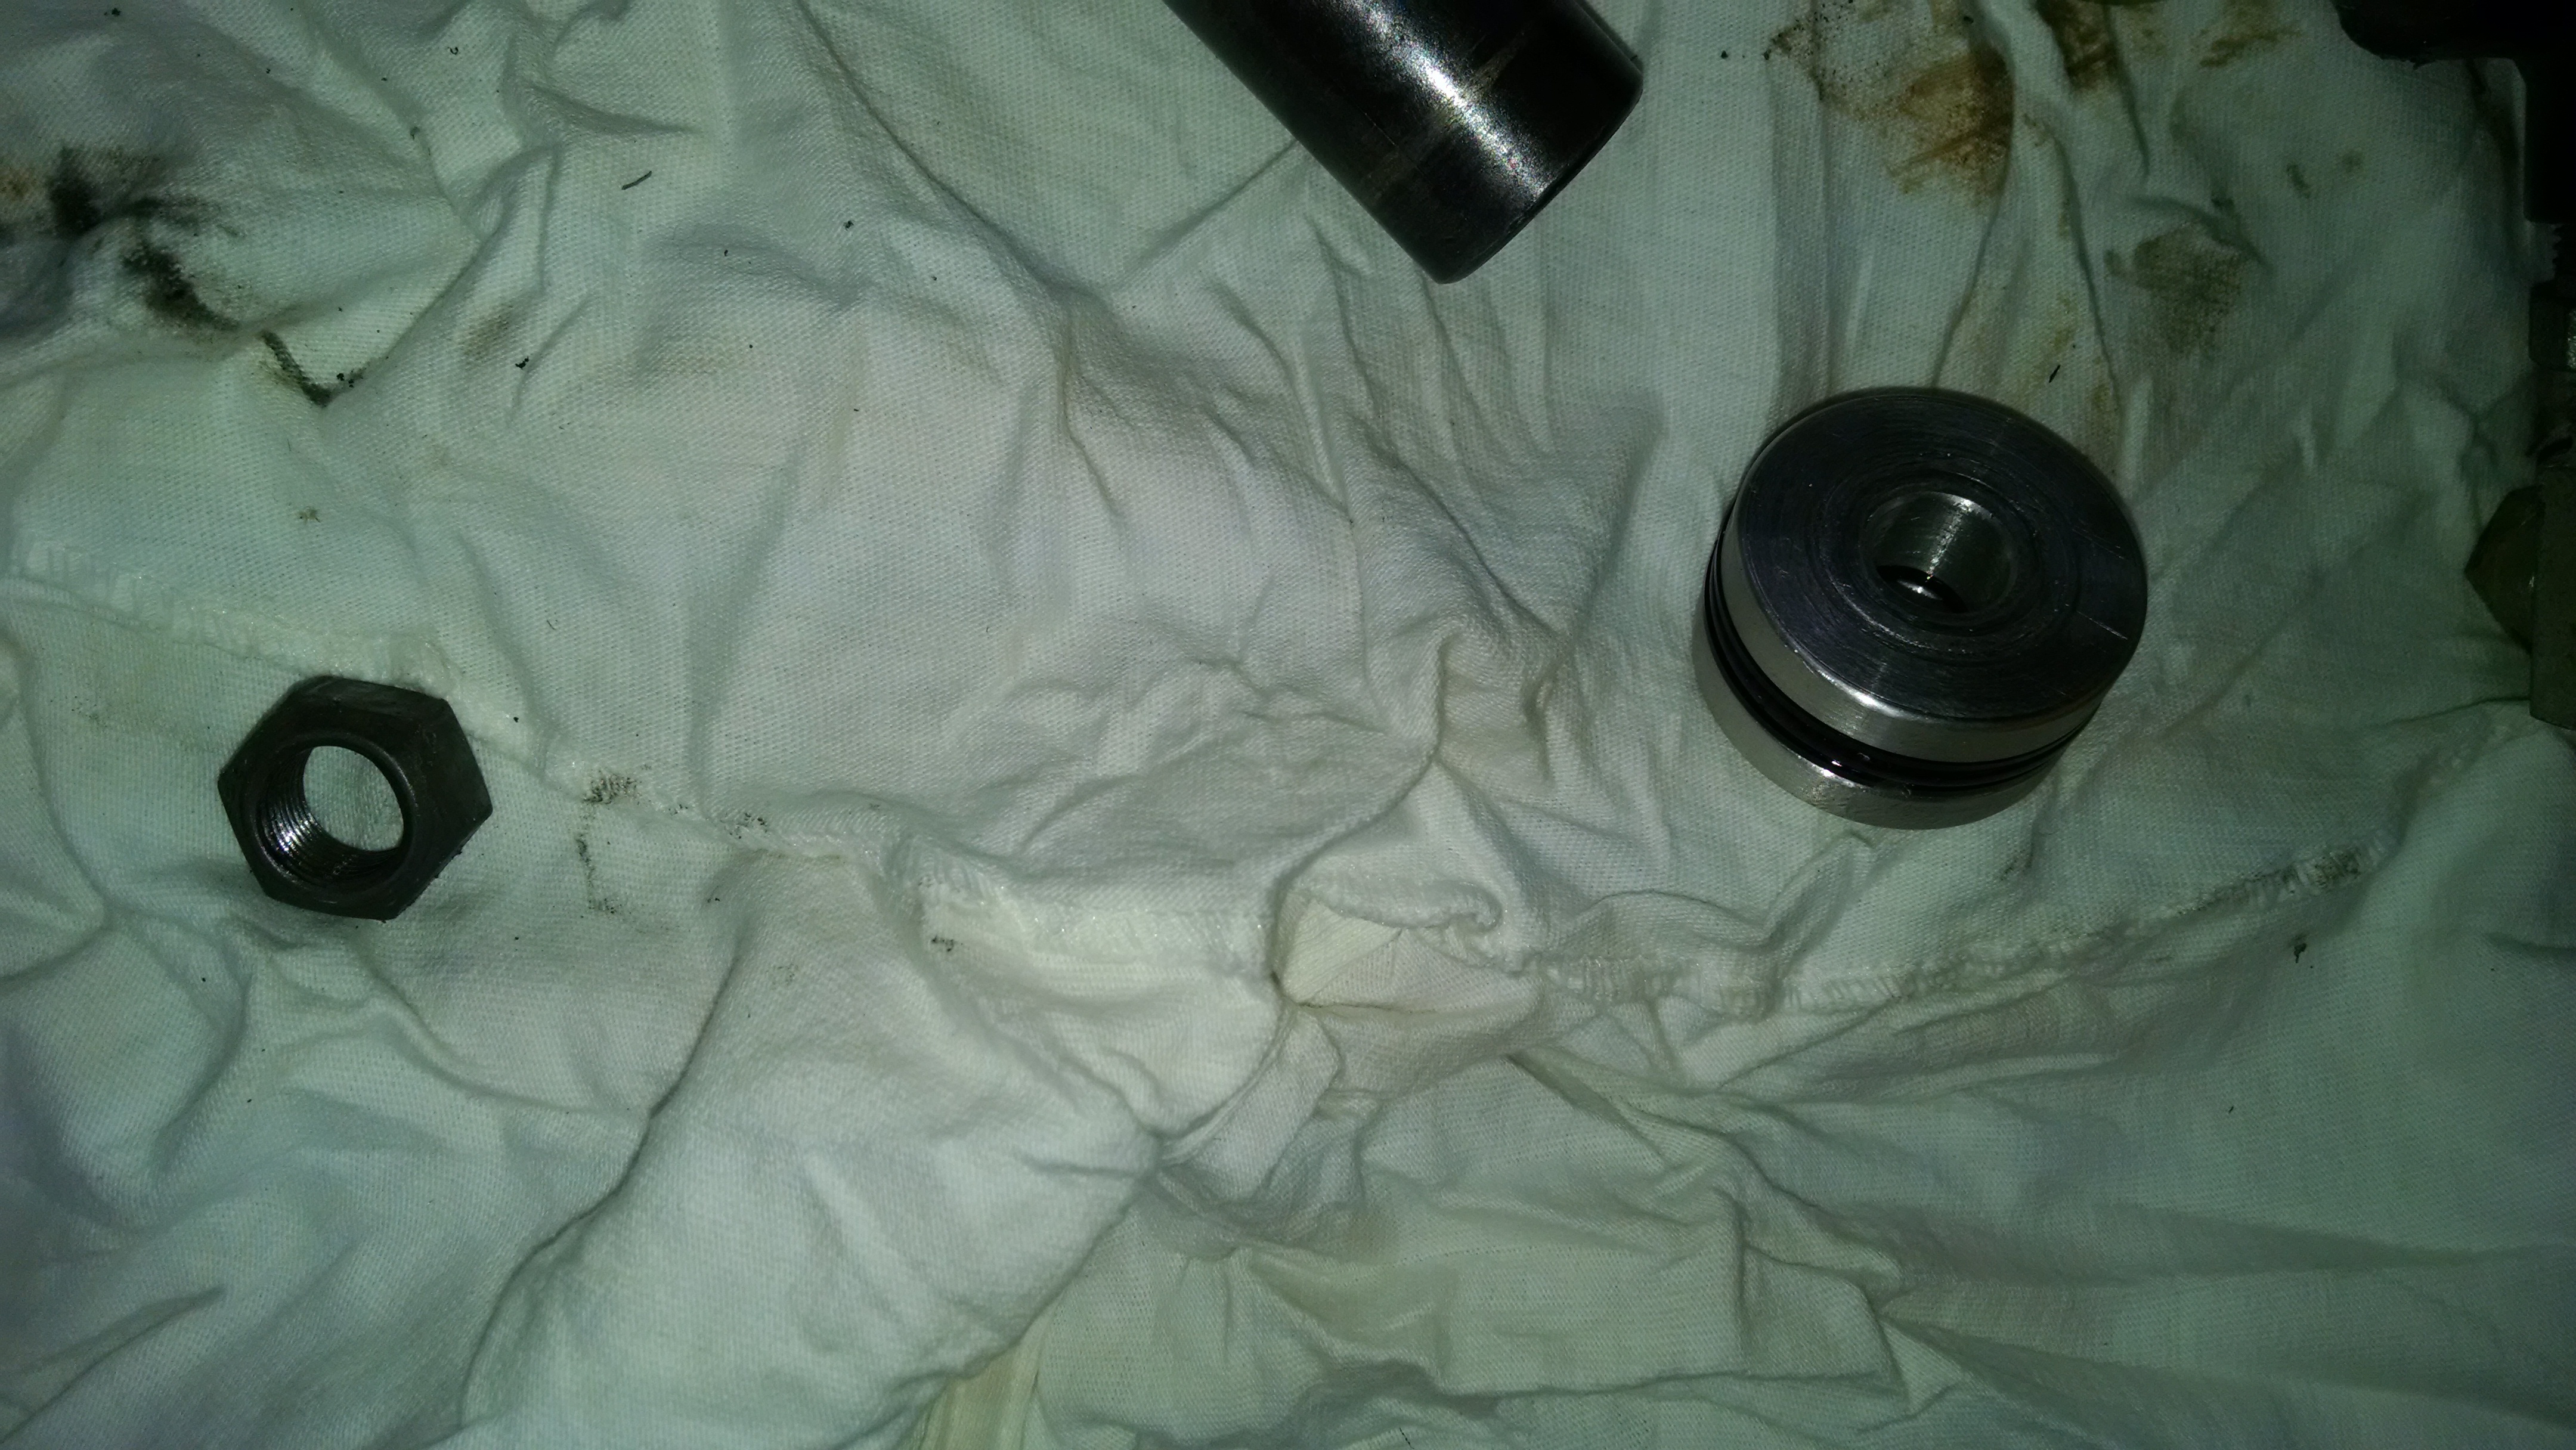
I needed to knock about 1.125" off the stroke of my budget surplus center hydro ram so I jerked it apart tonight.
All that holds the together is a snap ring.

Then simply pull out the shaft
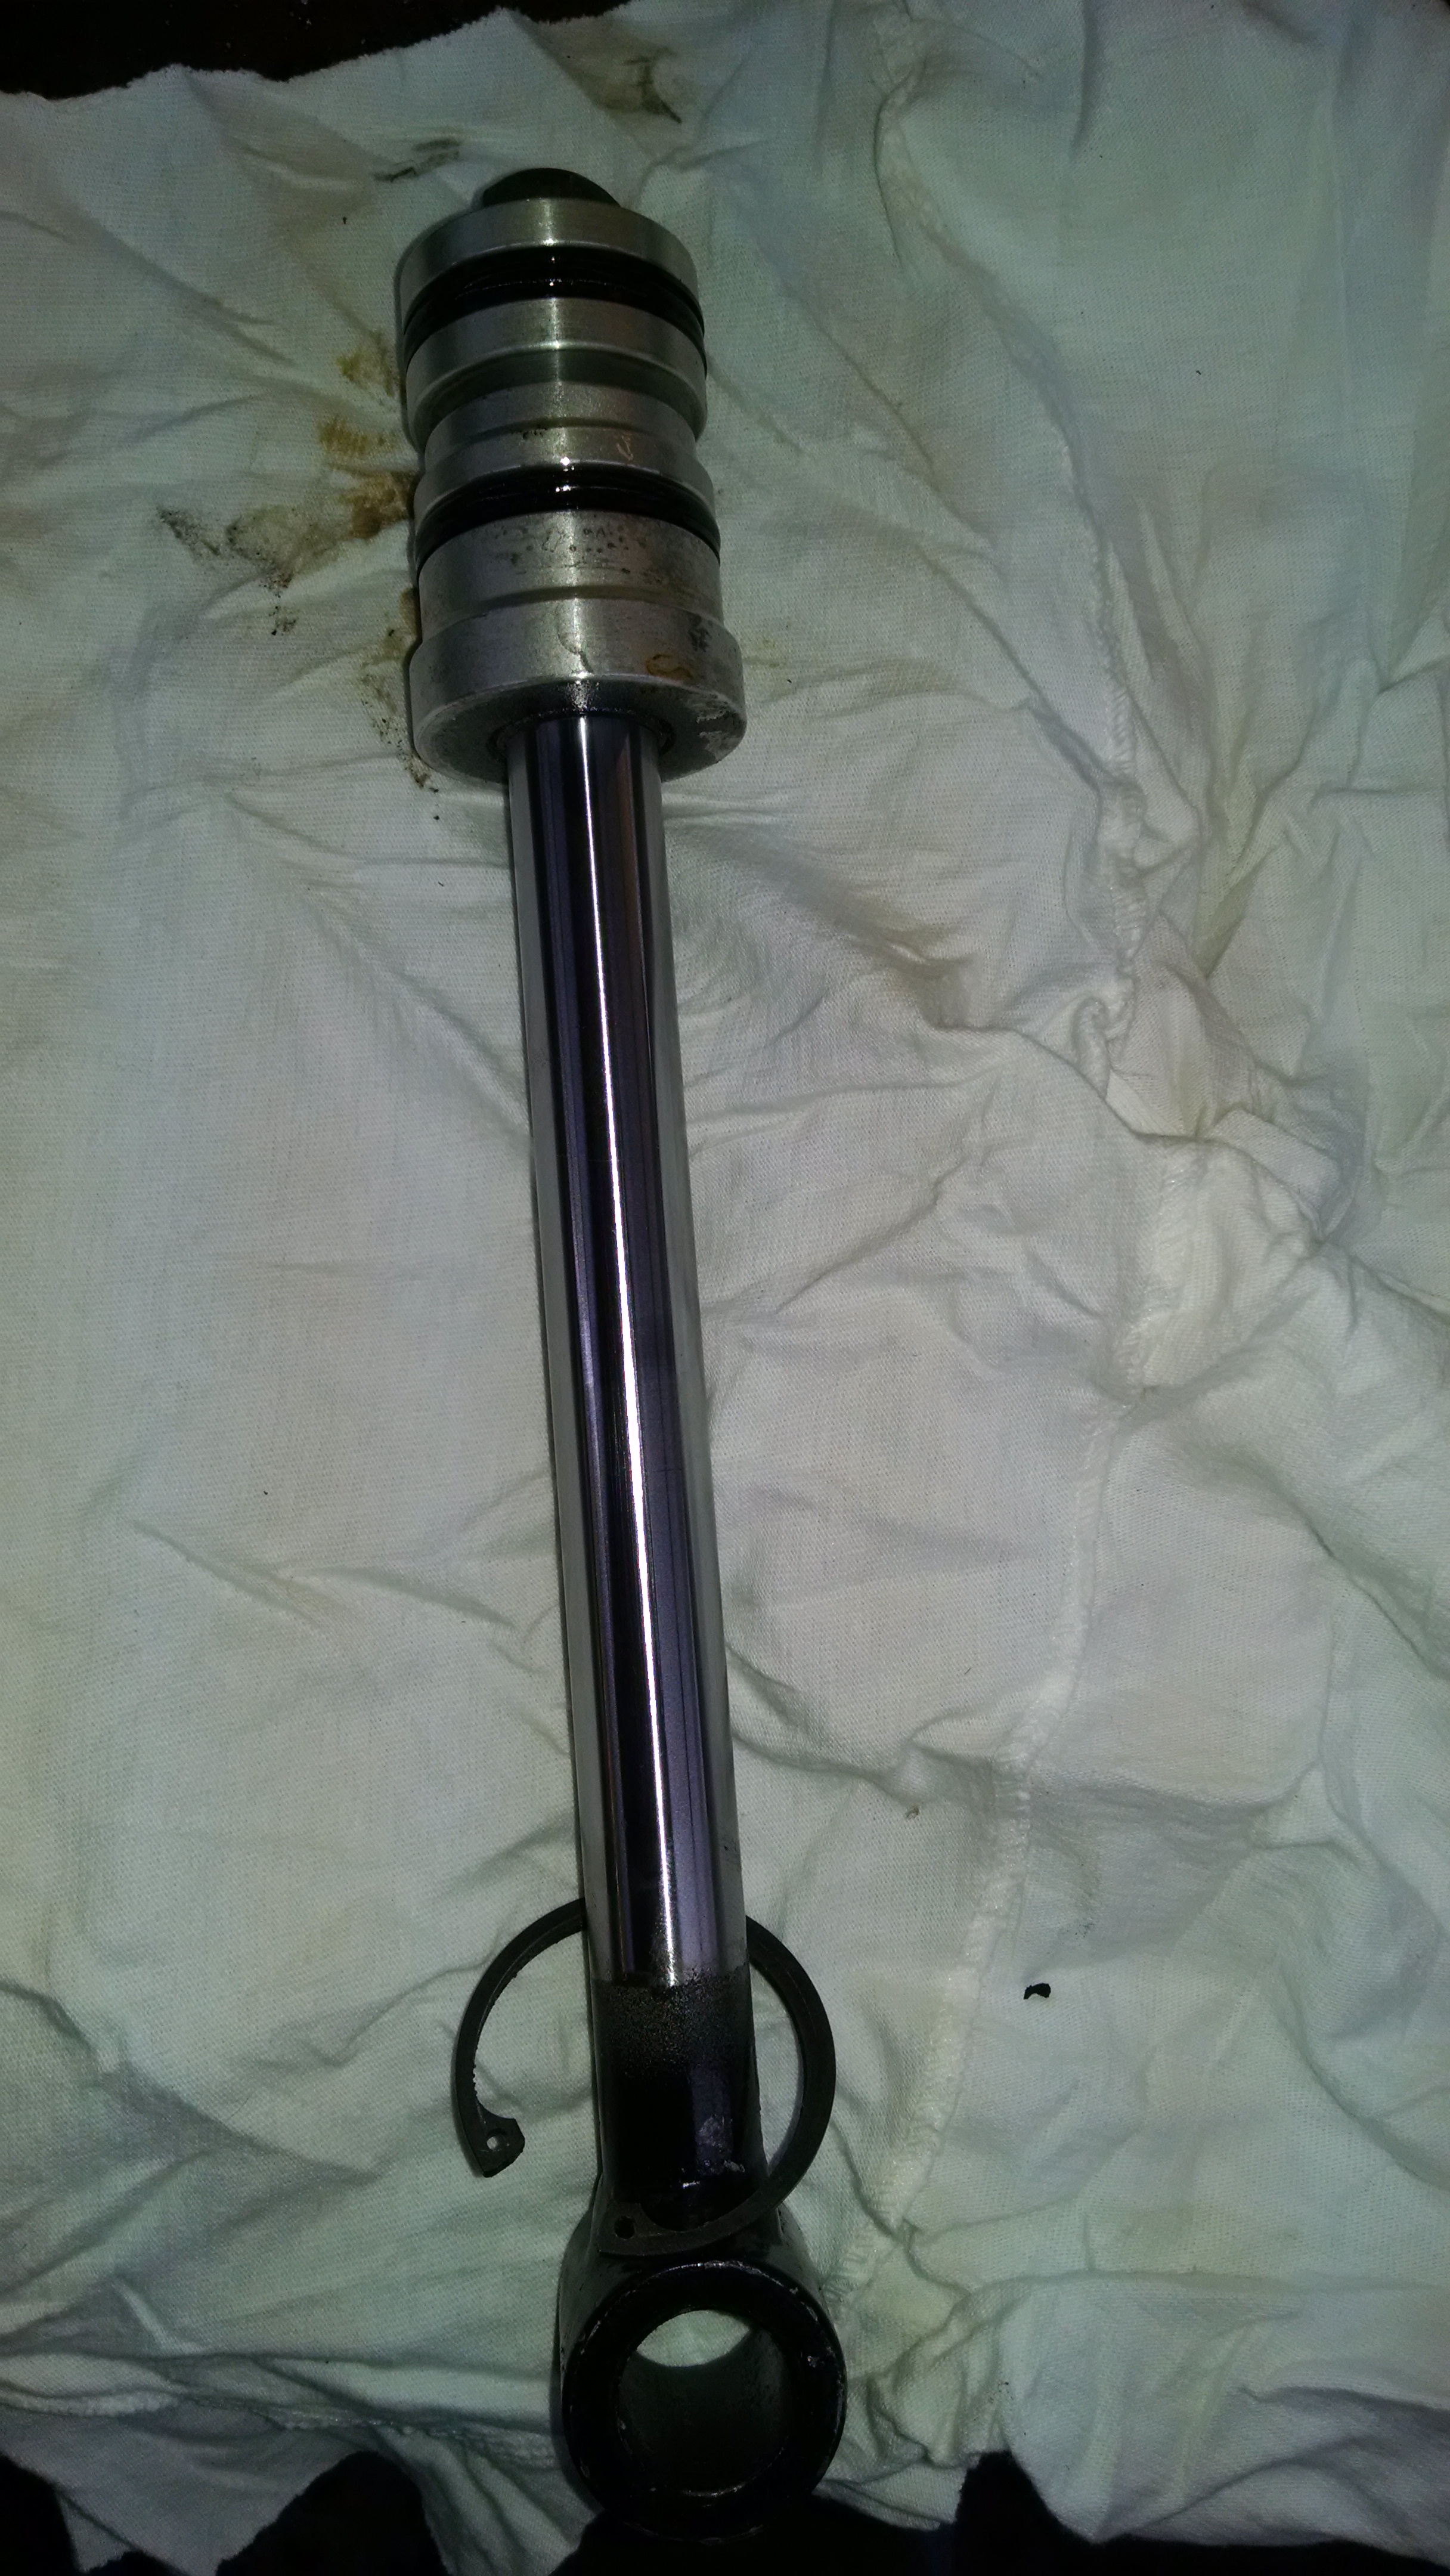
Remove the nut on the shaft the pull the puck off. Make sure to unscrew the o-ring past the threads so you don't tear it. same putting it back on.
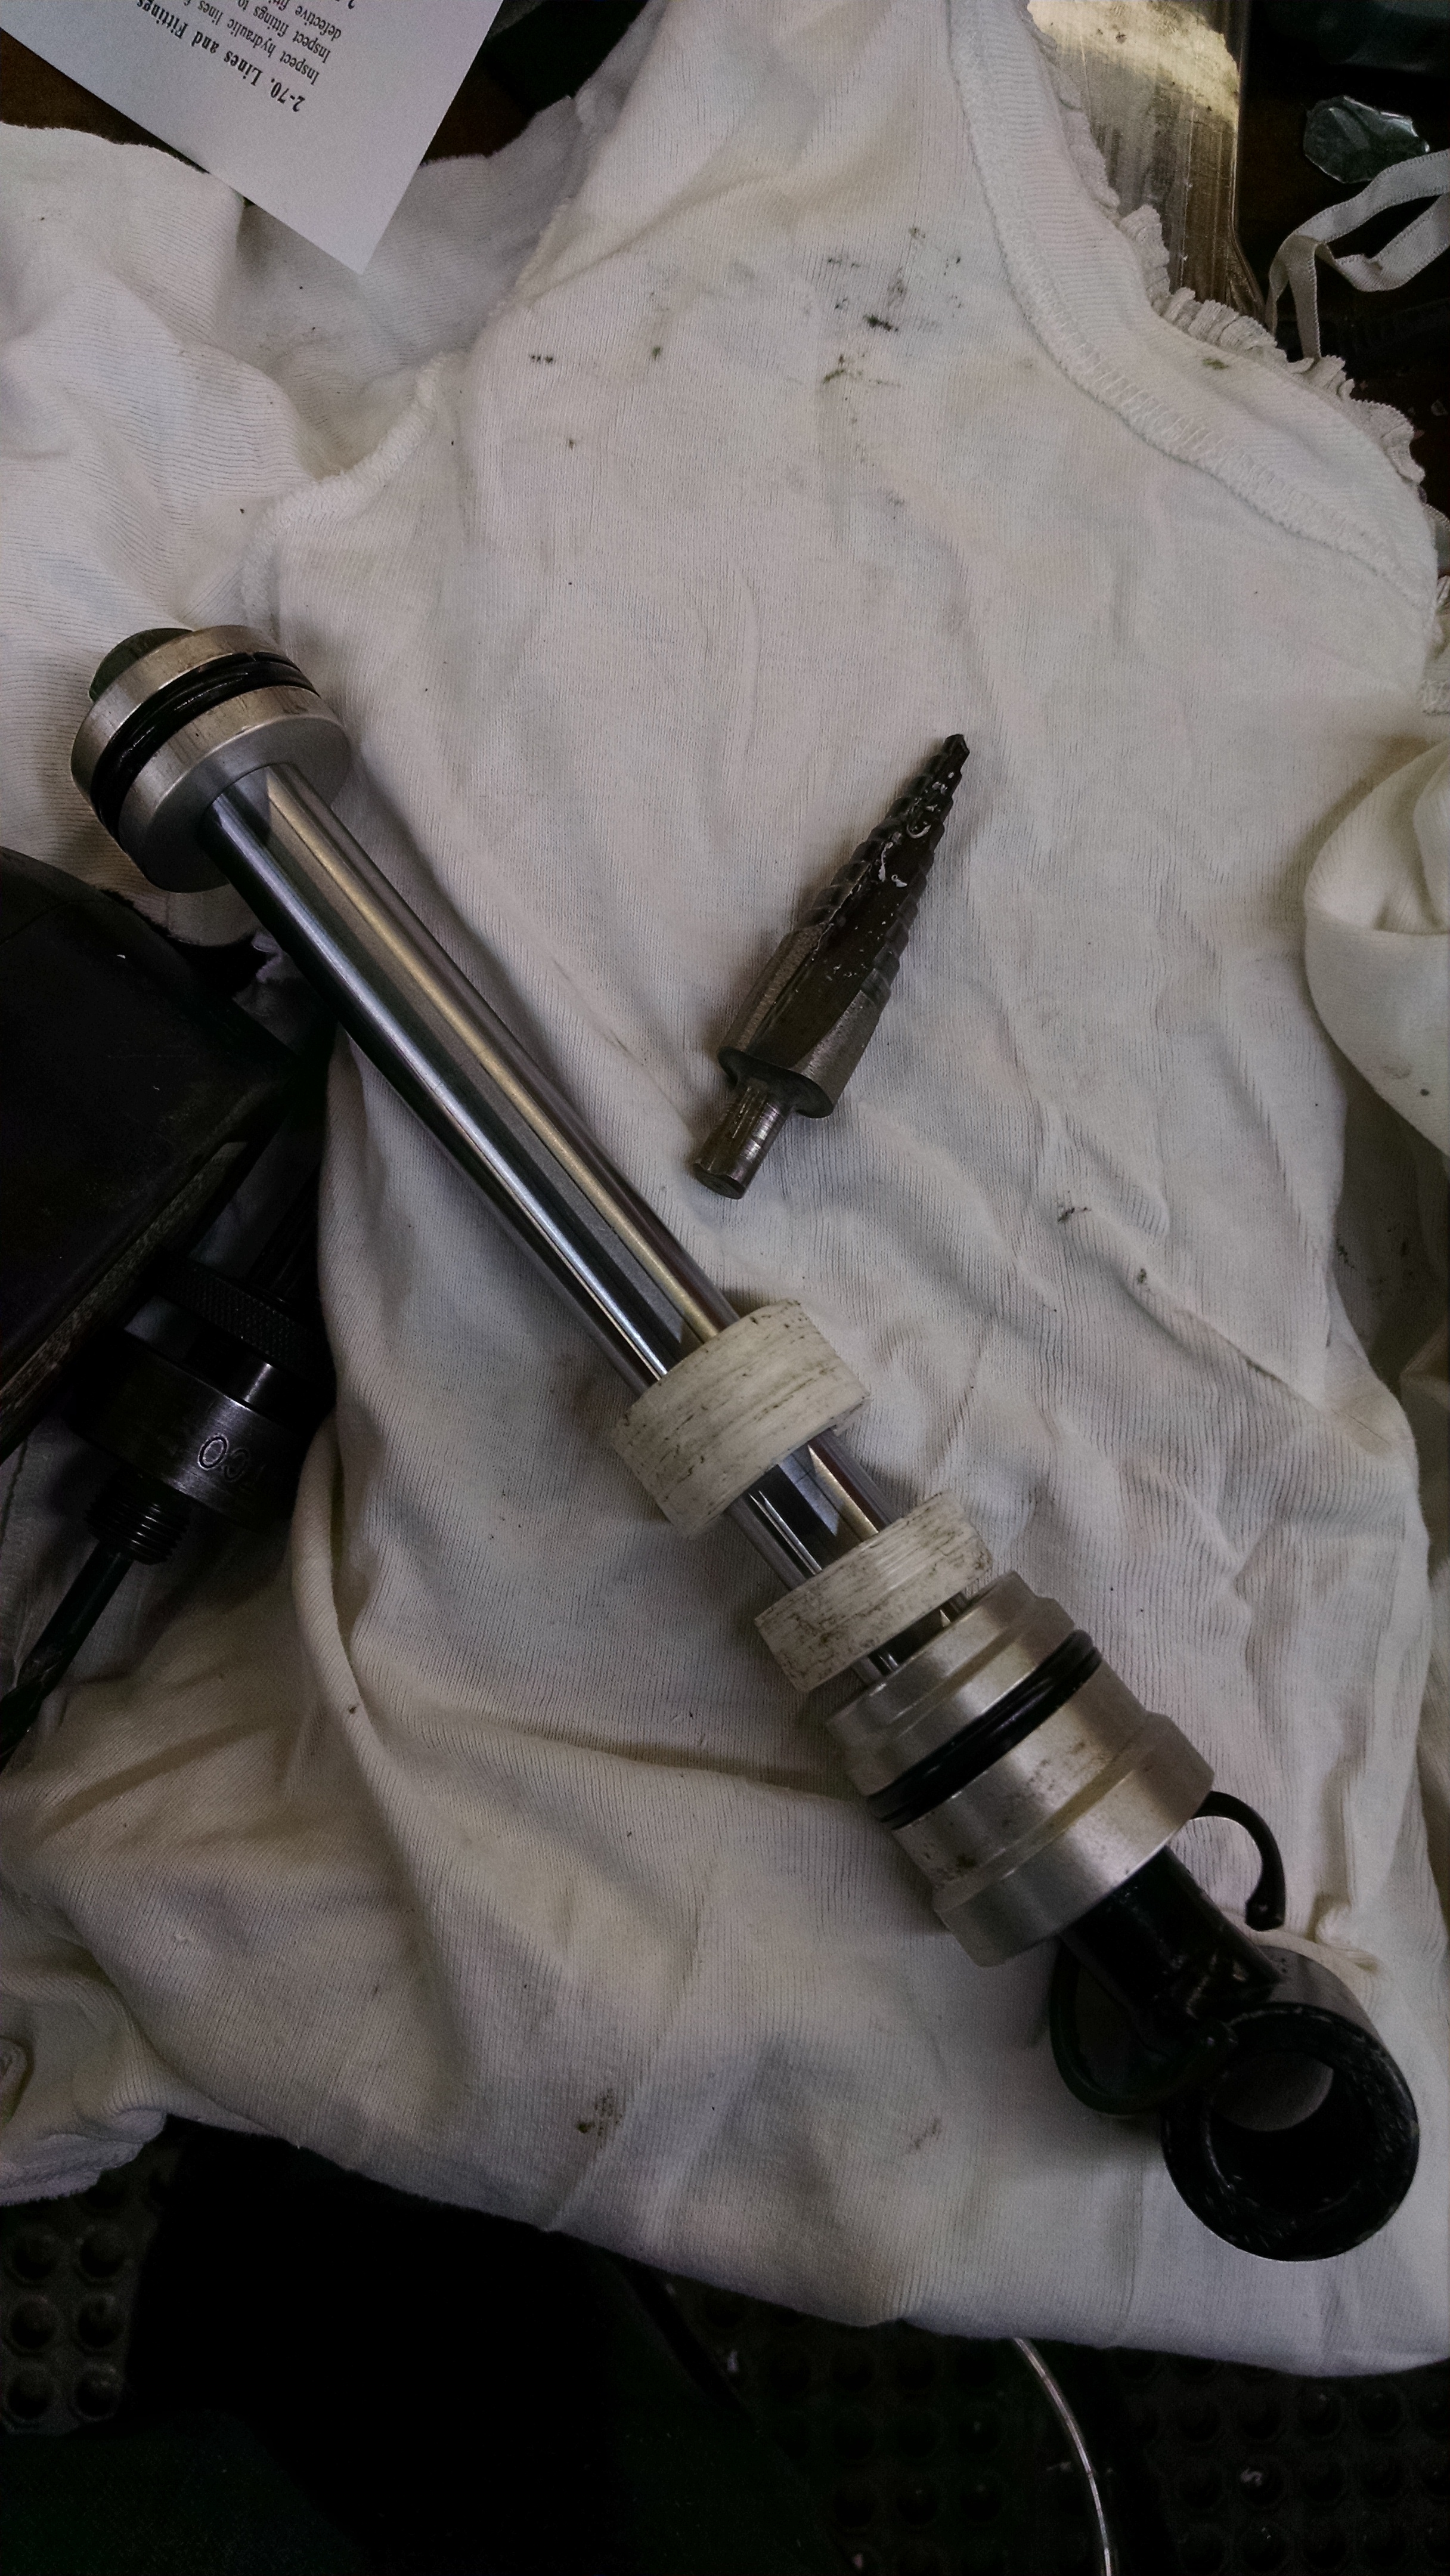
I cut my spacers out of some StarBoard (HDPE) we had laying around the shop. This is easy to find, its the same stuff they make cutting boards out of. Hit it with a hole saw to get the correct OD then drilled the center hole out to just over 3/4. When drilling go slow, you want to cut not melt, especially with the hole saw. I take little bites of about 1/16th of an inch at a time.
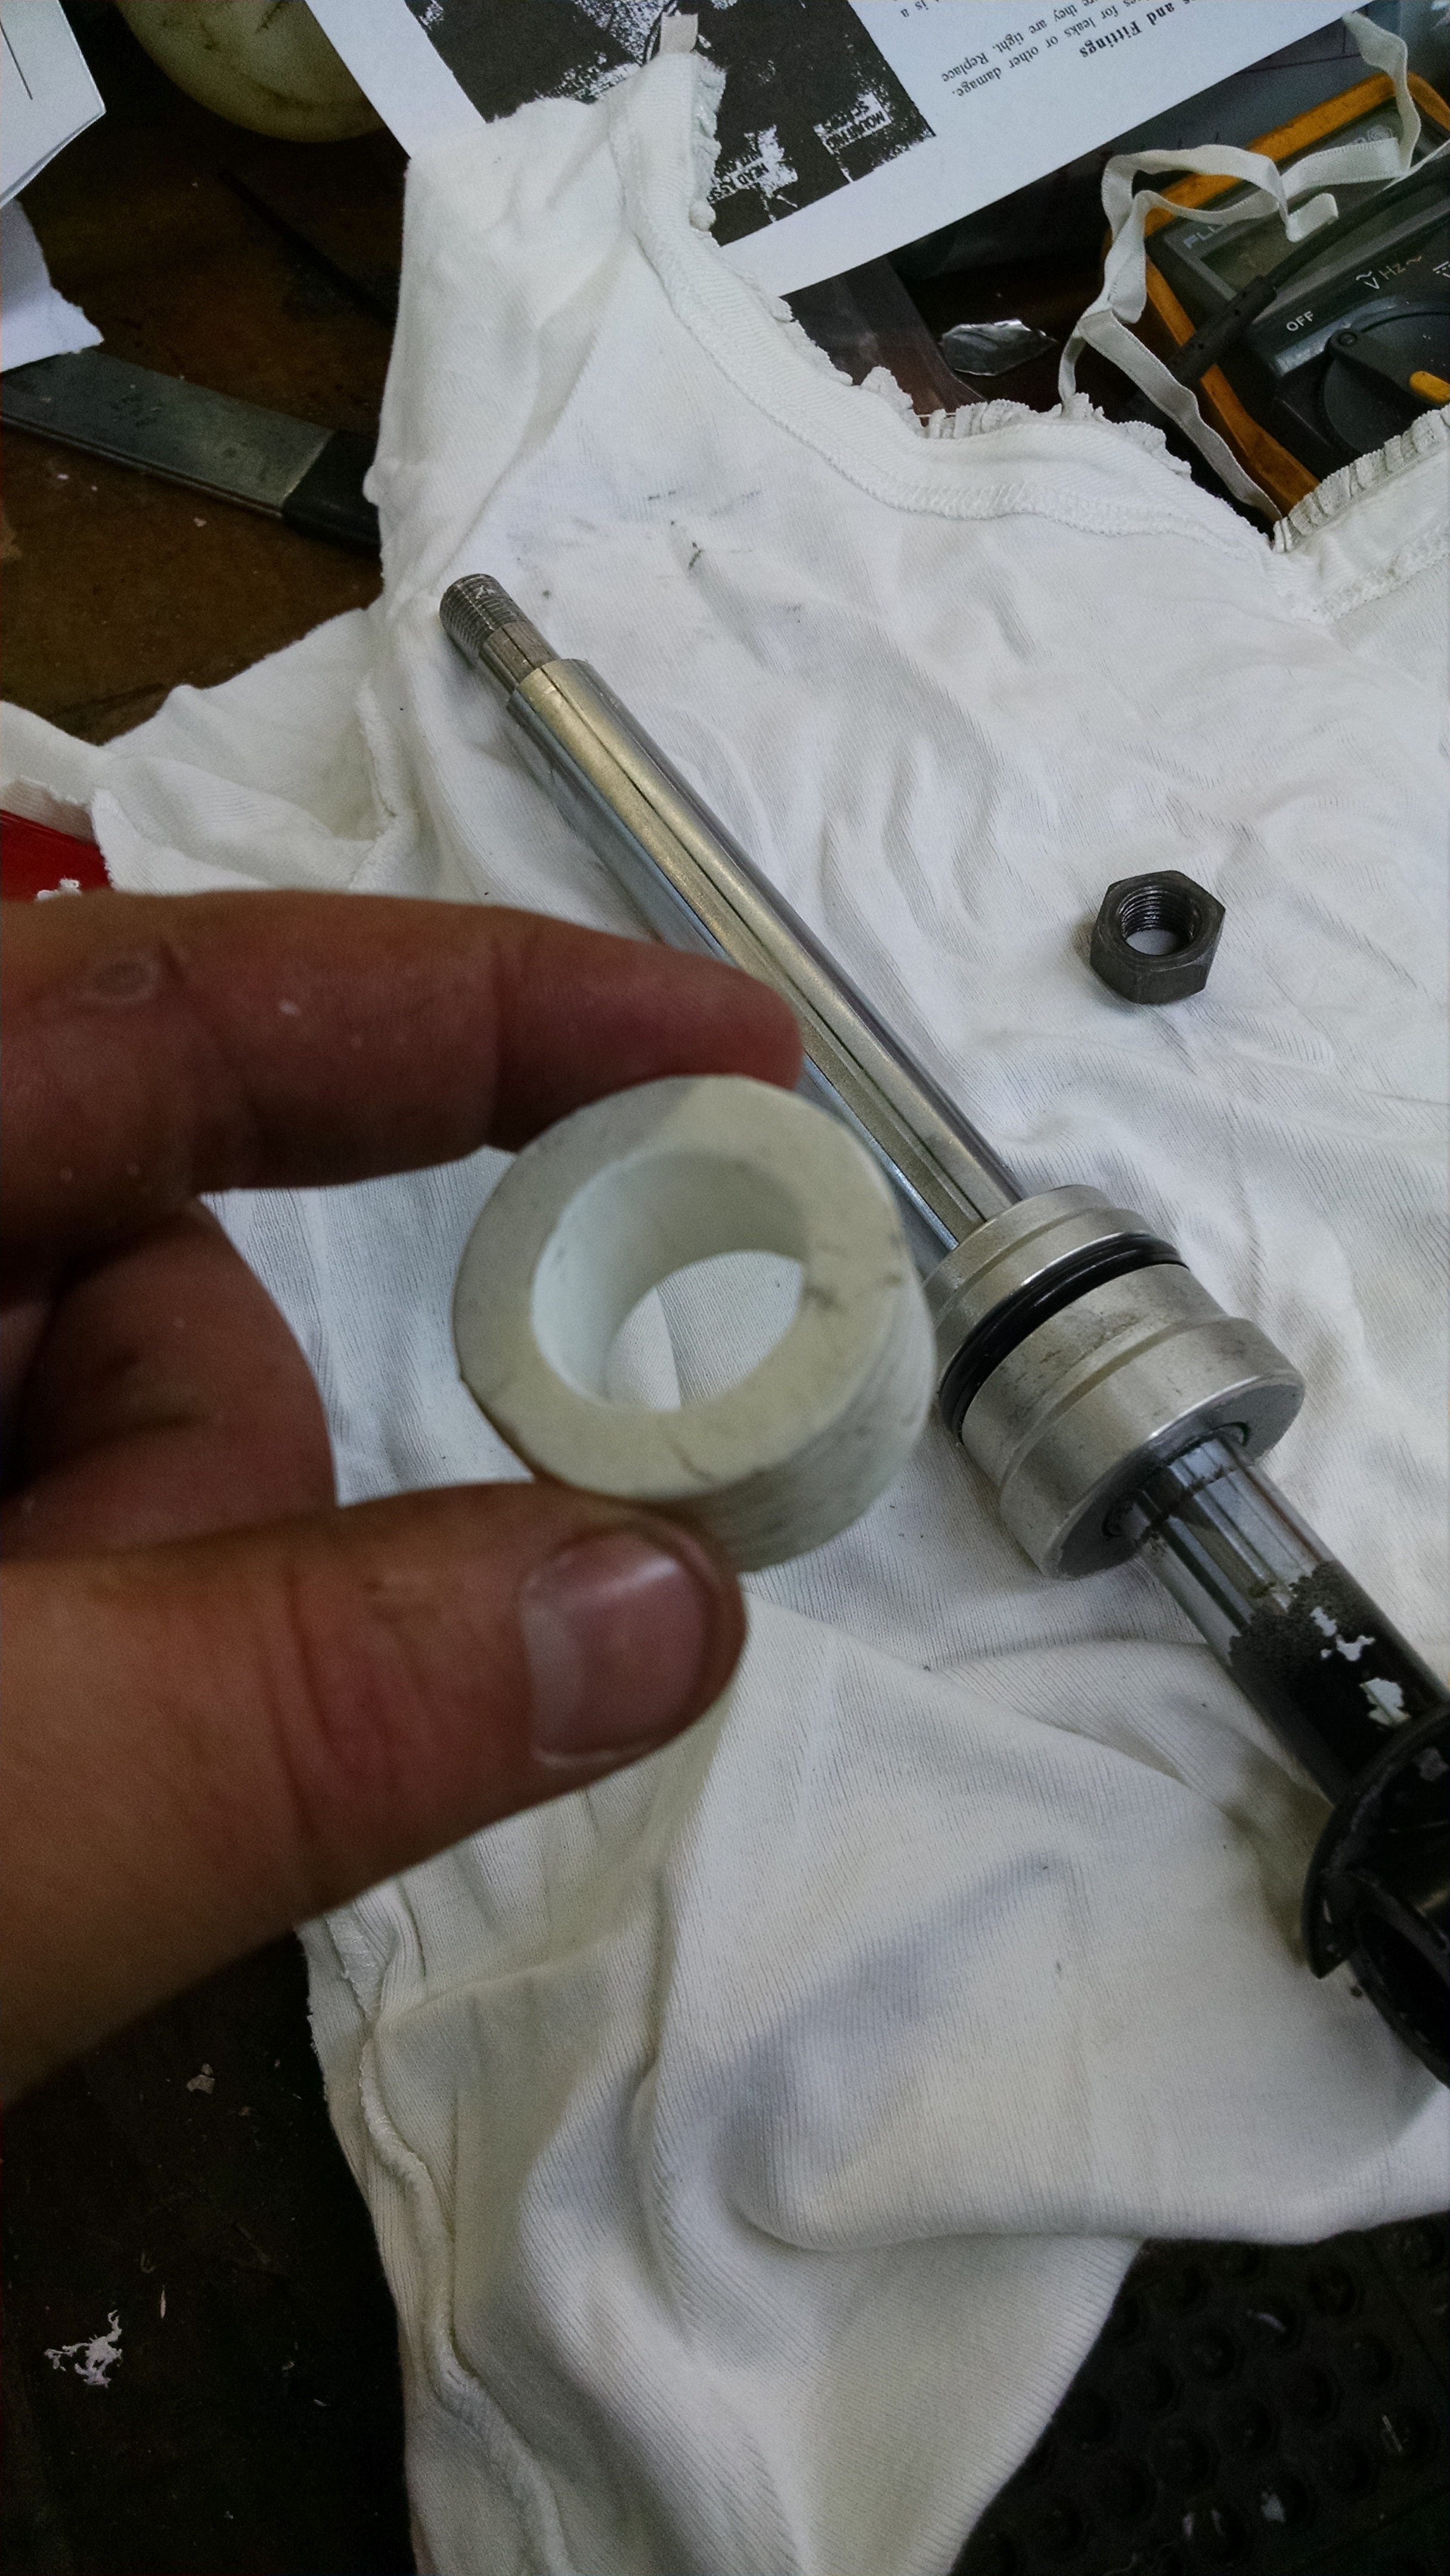
I need two pieces to get to my thickness. A 3/4 and 1/2.
All that holds the together is a snap ring.
Then simply pull out the shaft
Remove the nut on the shaft the pull the puck off. Make sure to unscrew the o-ring past the threads so you don't tear it. same putting it back on.
I cut my spacers out of some StarBoard (HDPE) we had laying around the shop. This is easy to find, its the same stuff they make cutting boards out of. Hit it with a hole saw to get the correct OD then drilled the center hole out to just over 3/4. When drilling go slow, you want to cut not melt, especially with the hole saw. I take little bites of about 1/16th of an inch at a time.
I need two pieces to get to my thickness. A 3/4 and 1/2.
Feb 2, 2015 | 02:19 PM
#78
Thread Starter
Registered User
Joined: Jul 2005
Posts: 124
Likes: 0
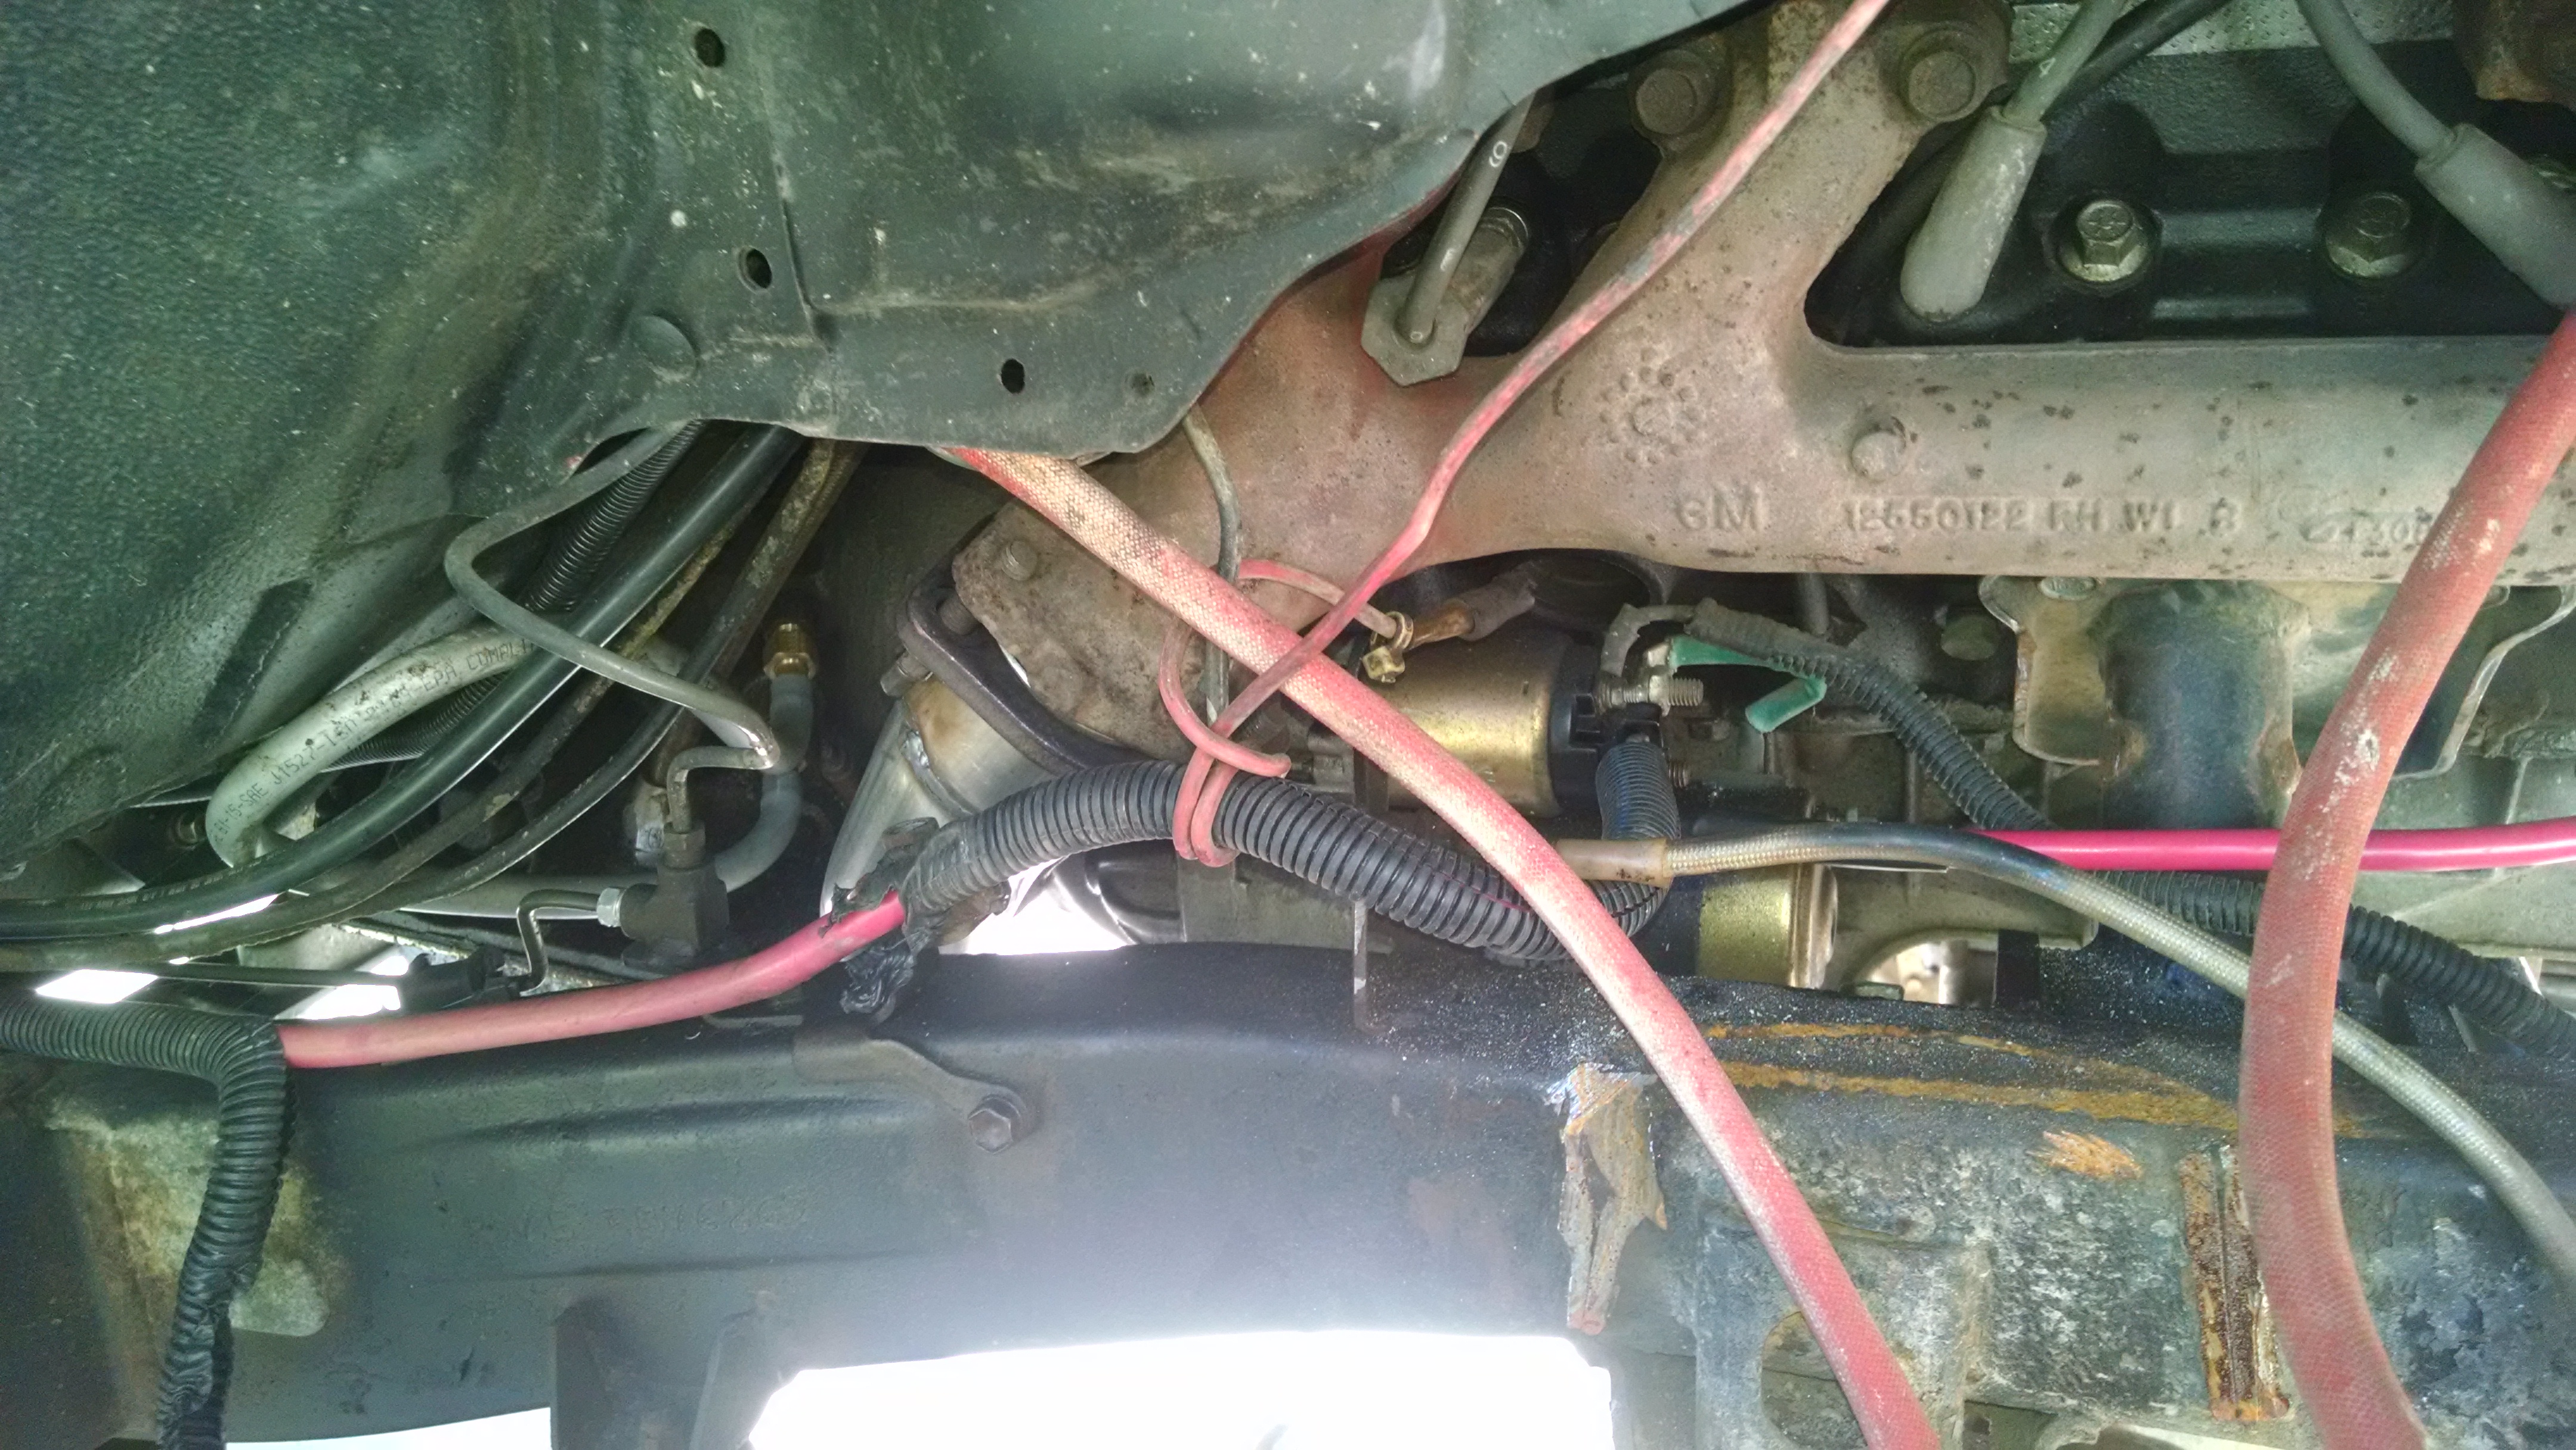
Provence came by the shop Sunday and we busted out some 5th studs.
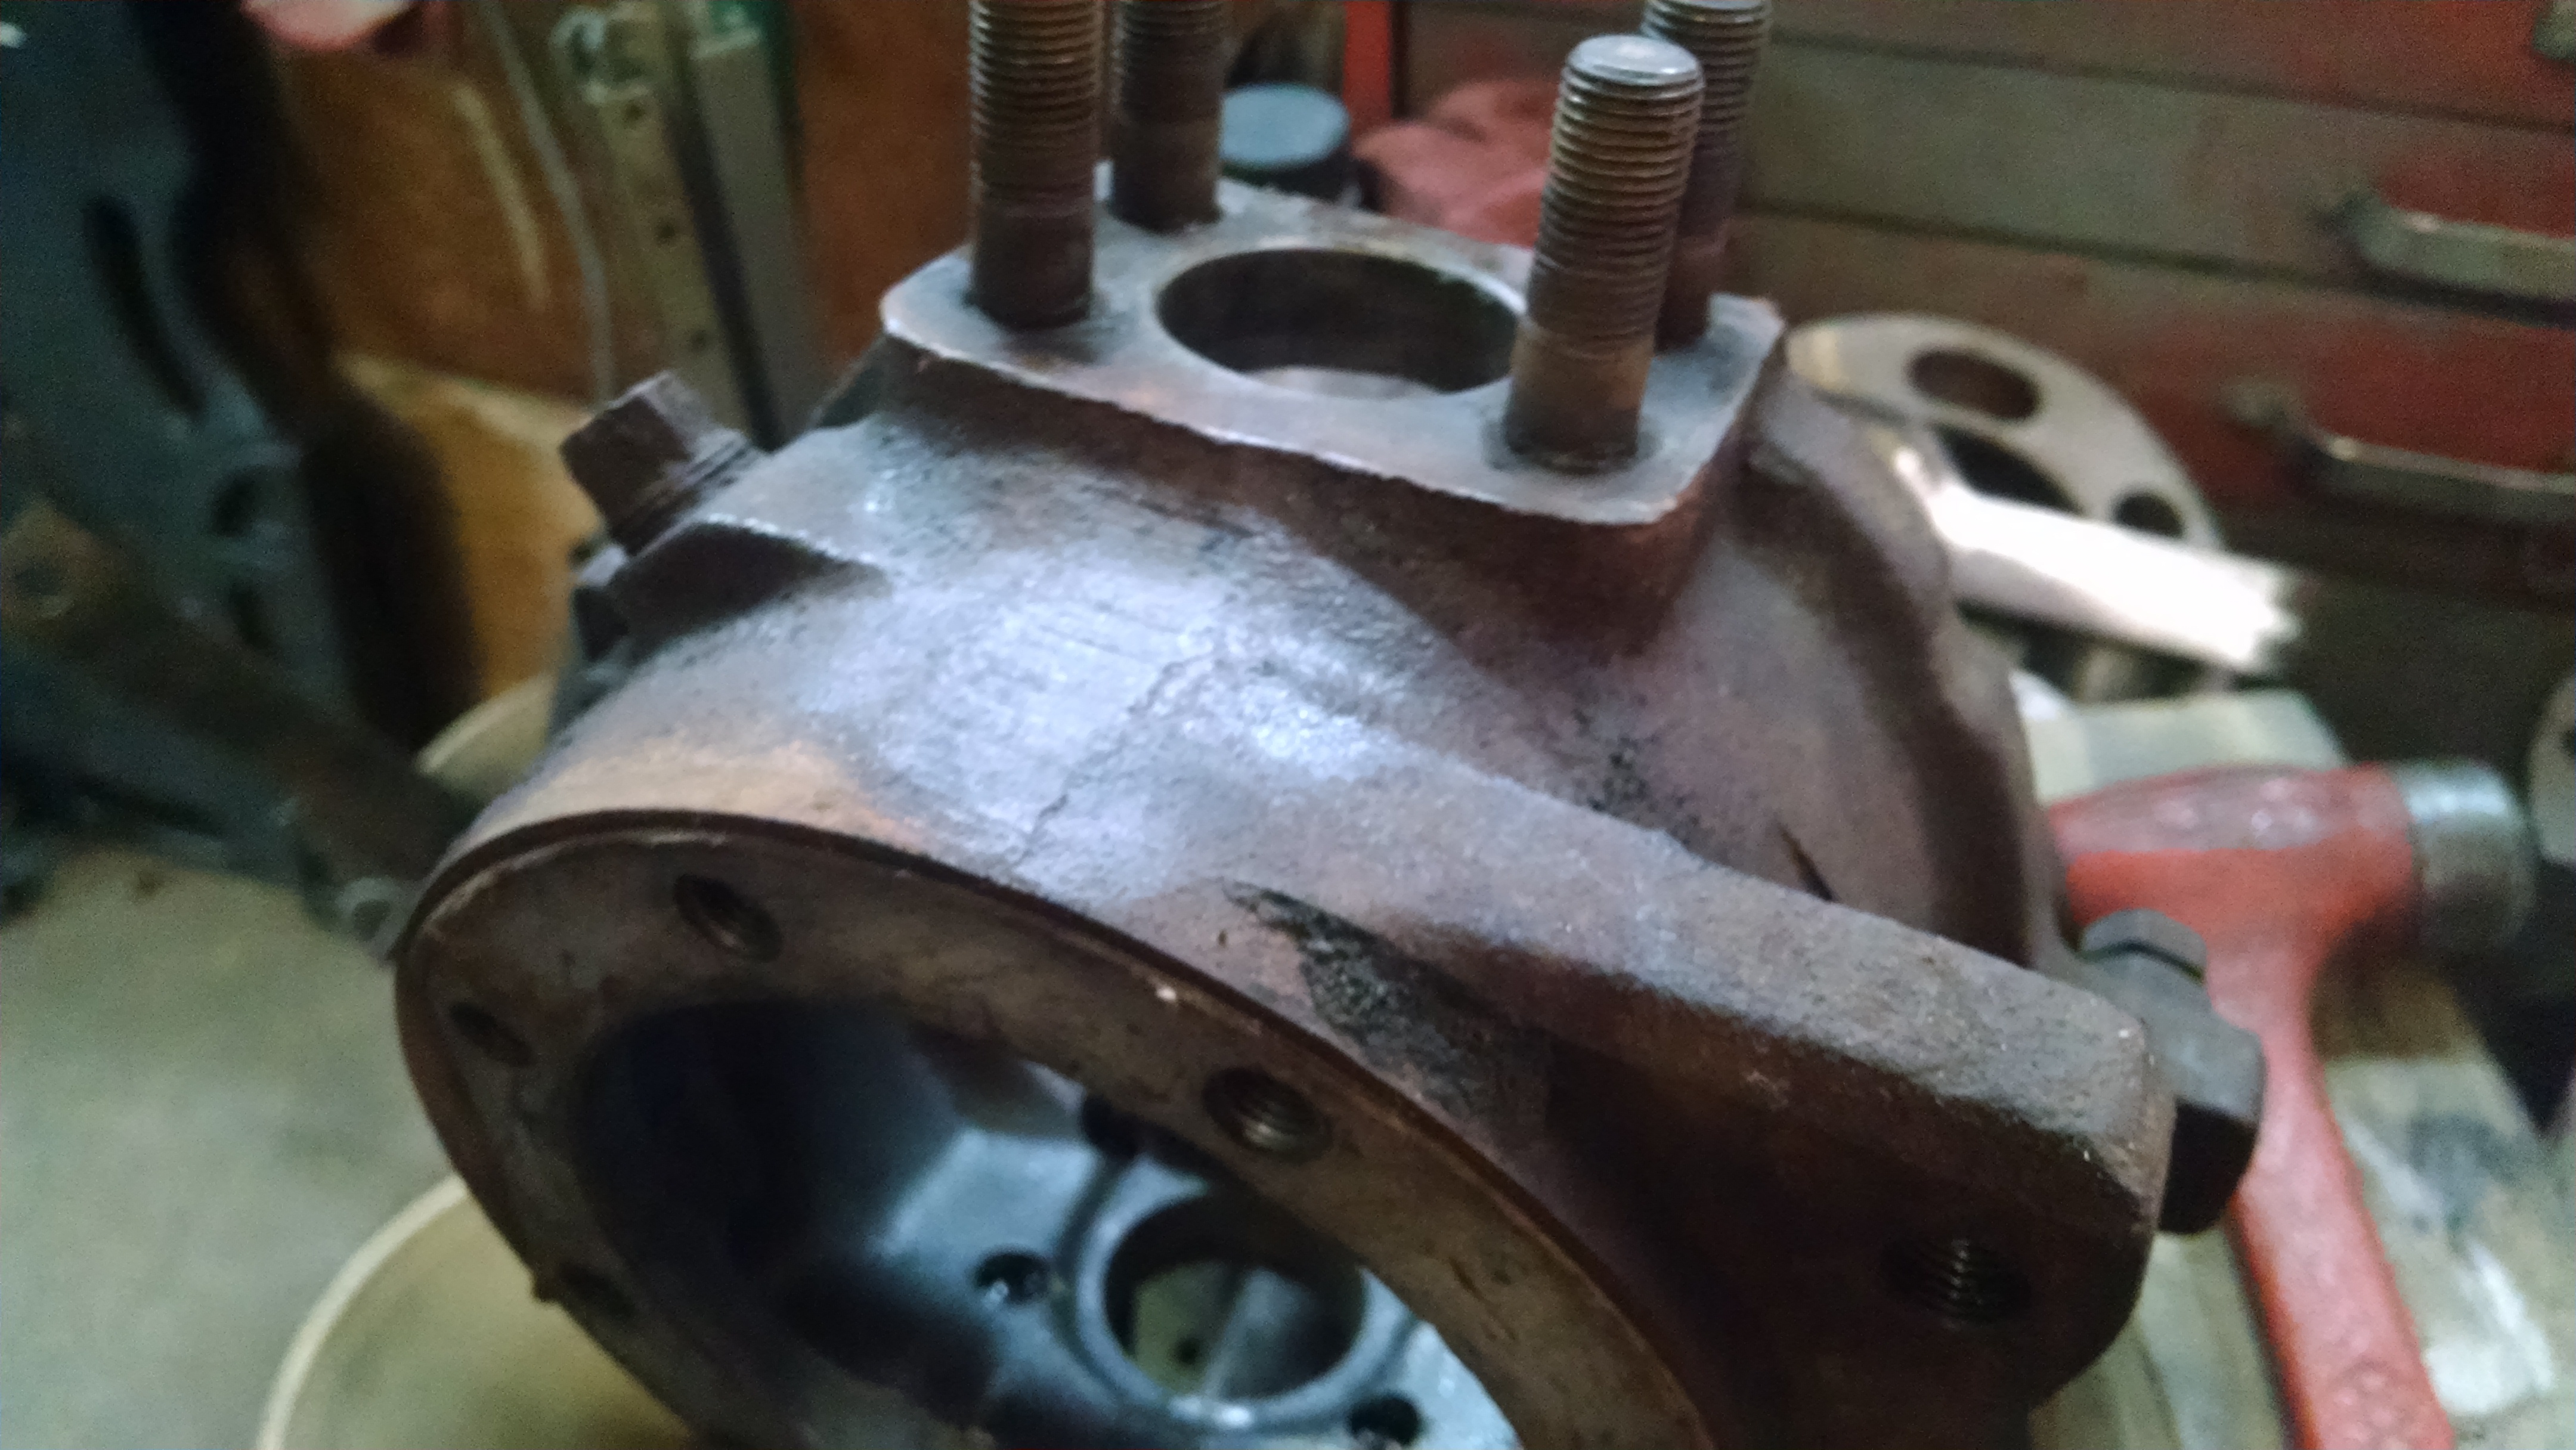
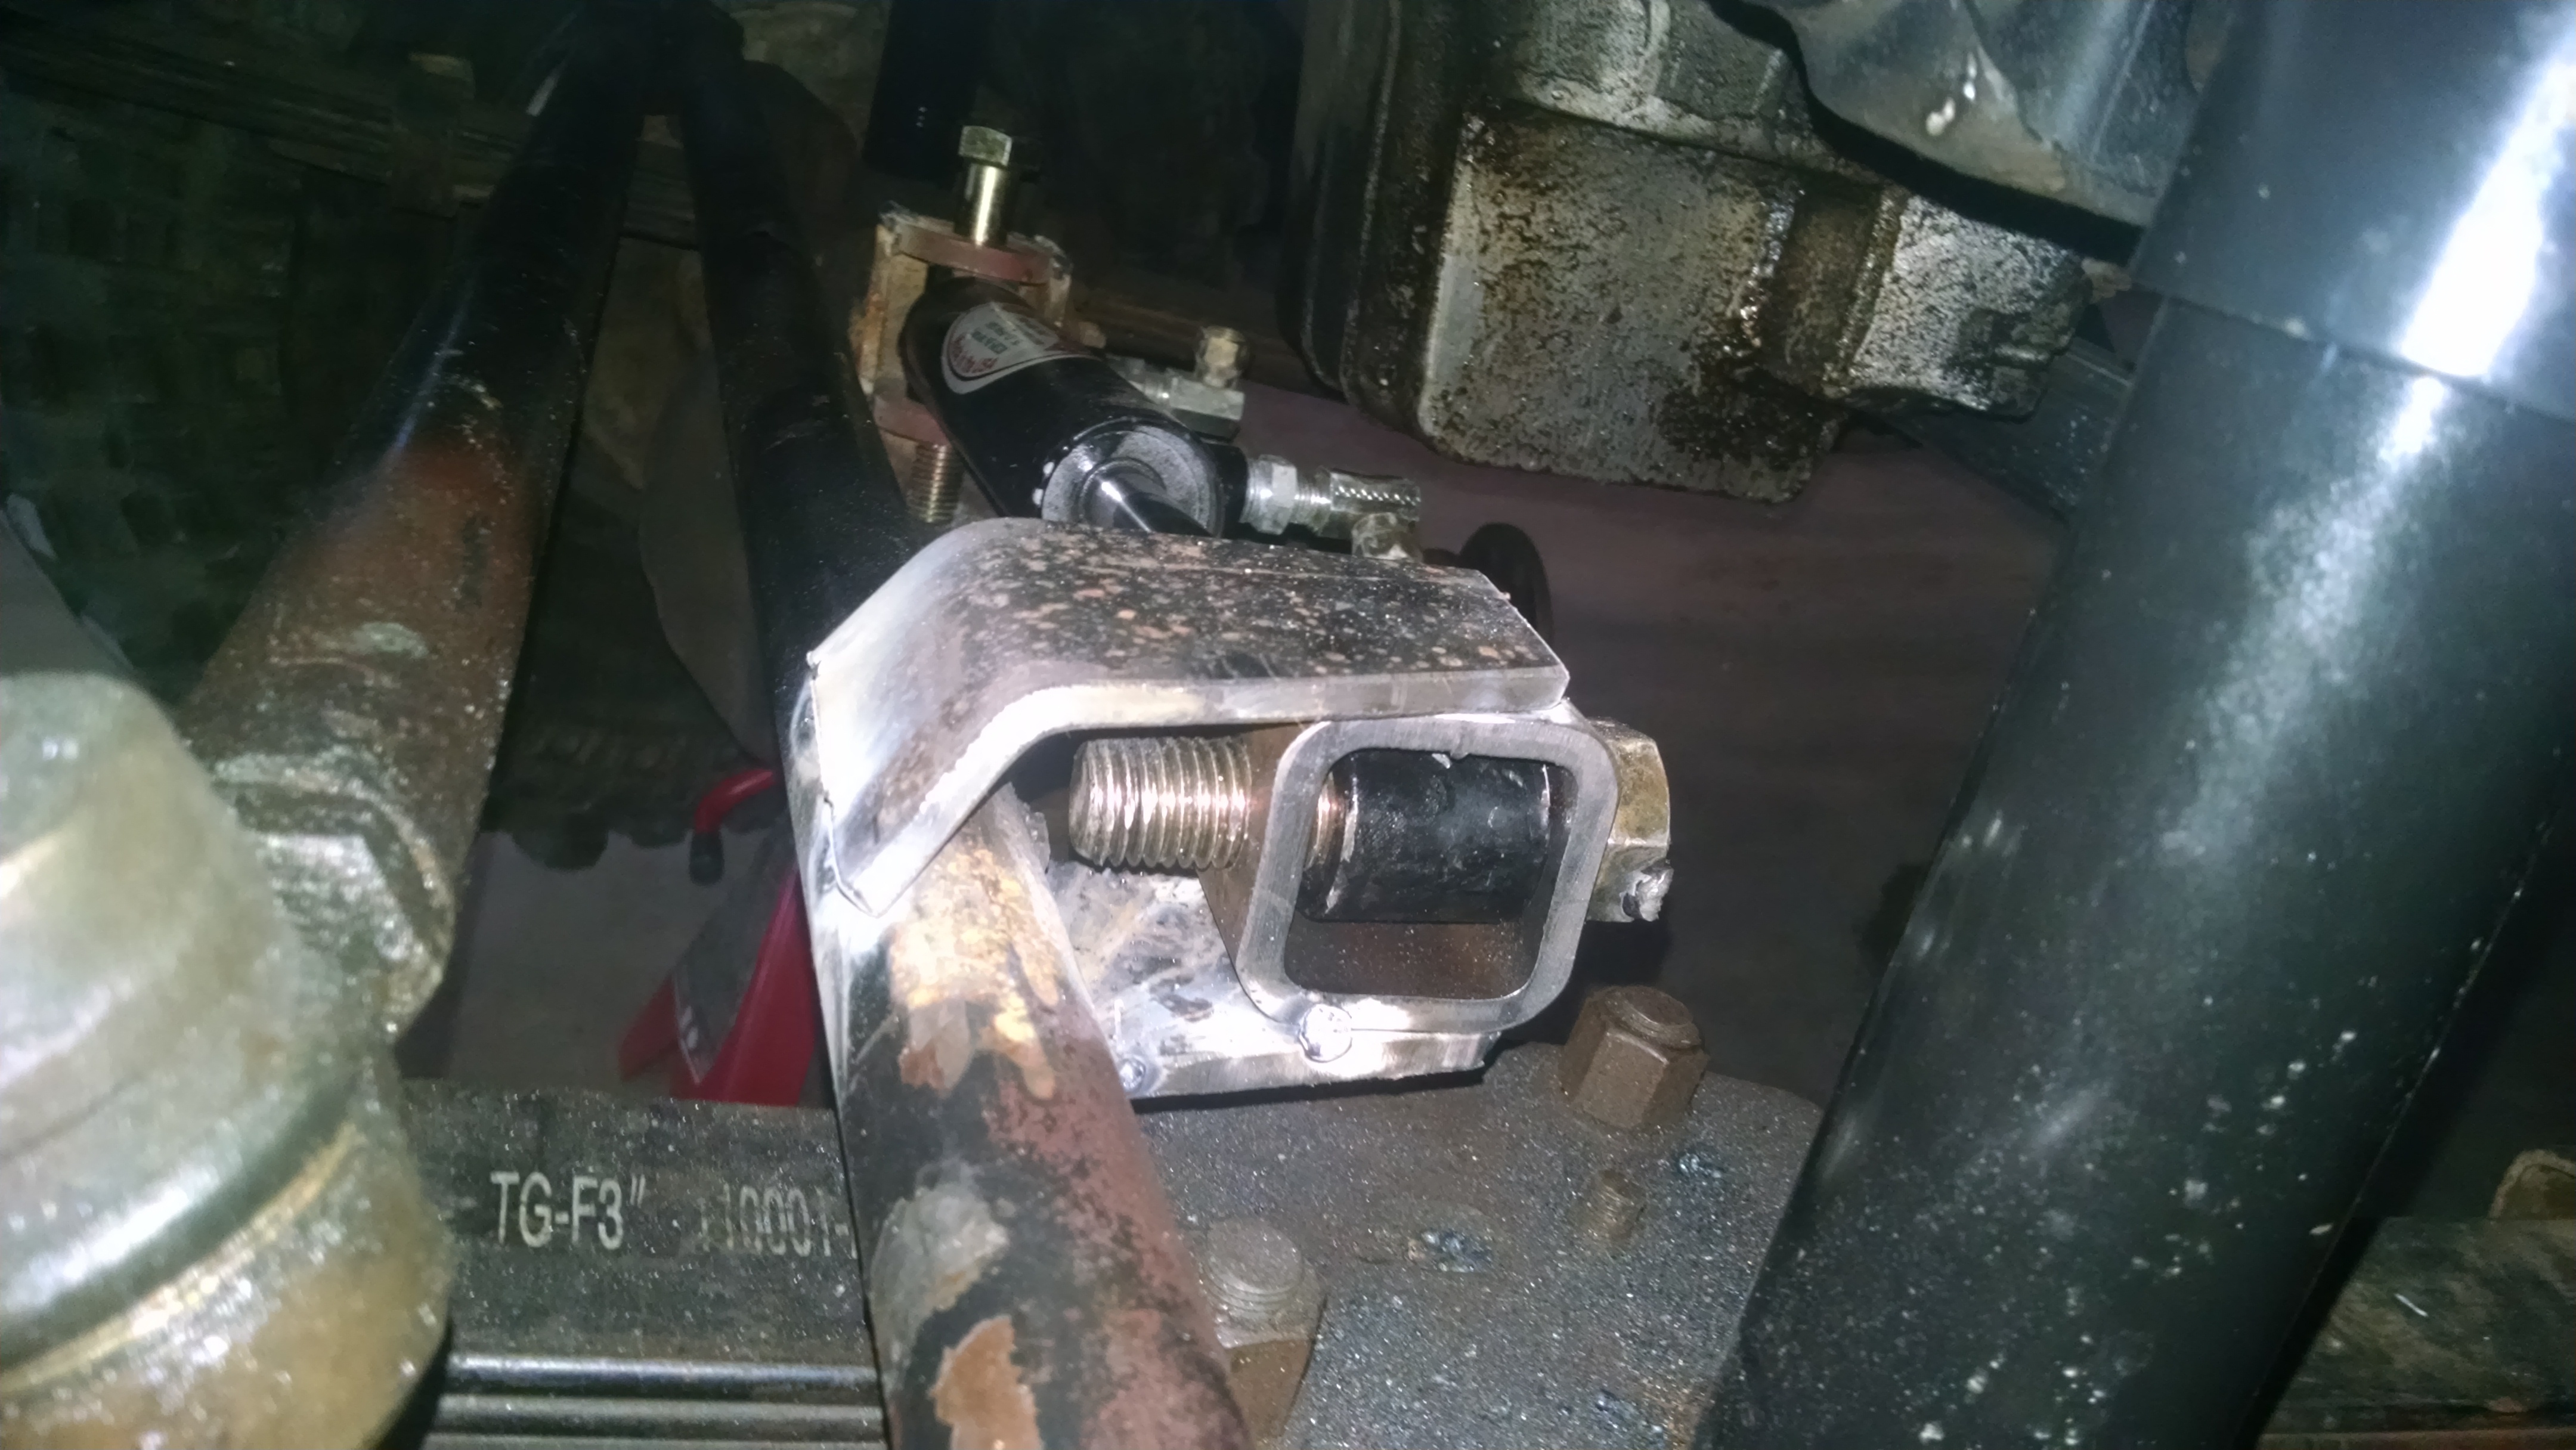
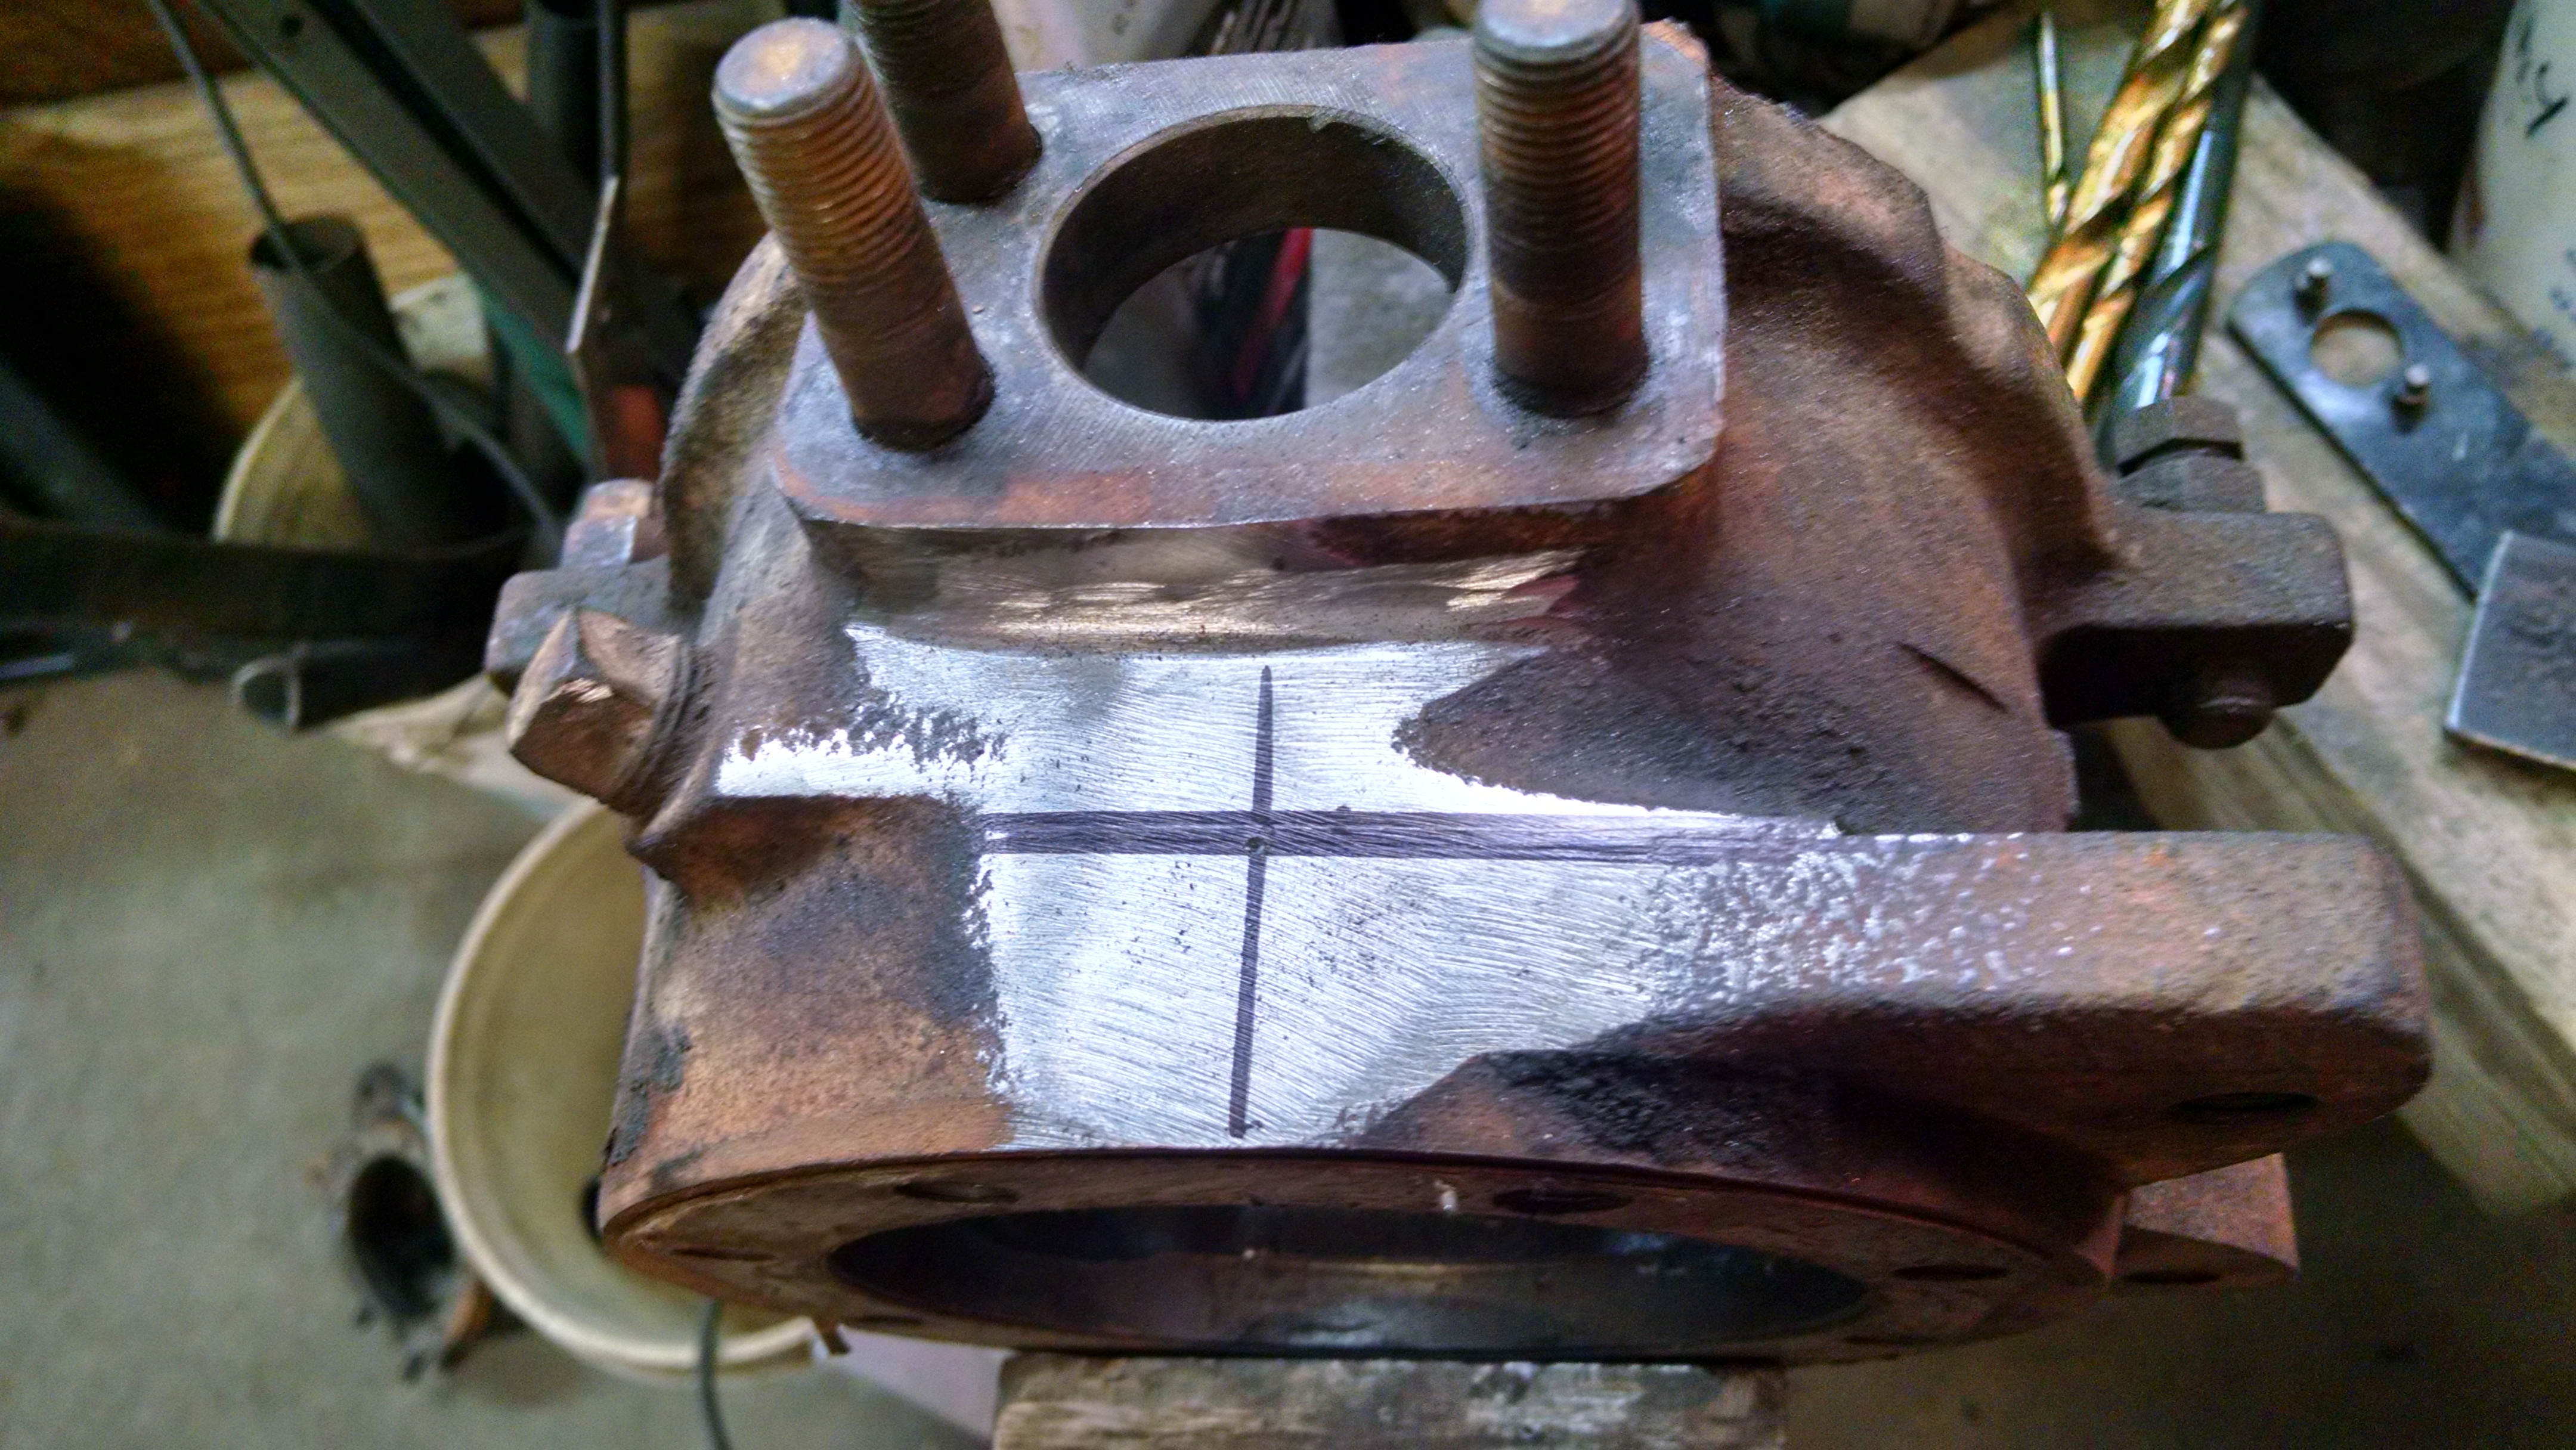
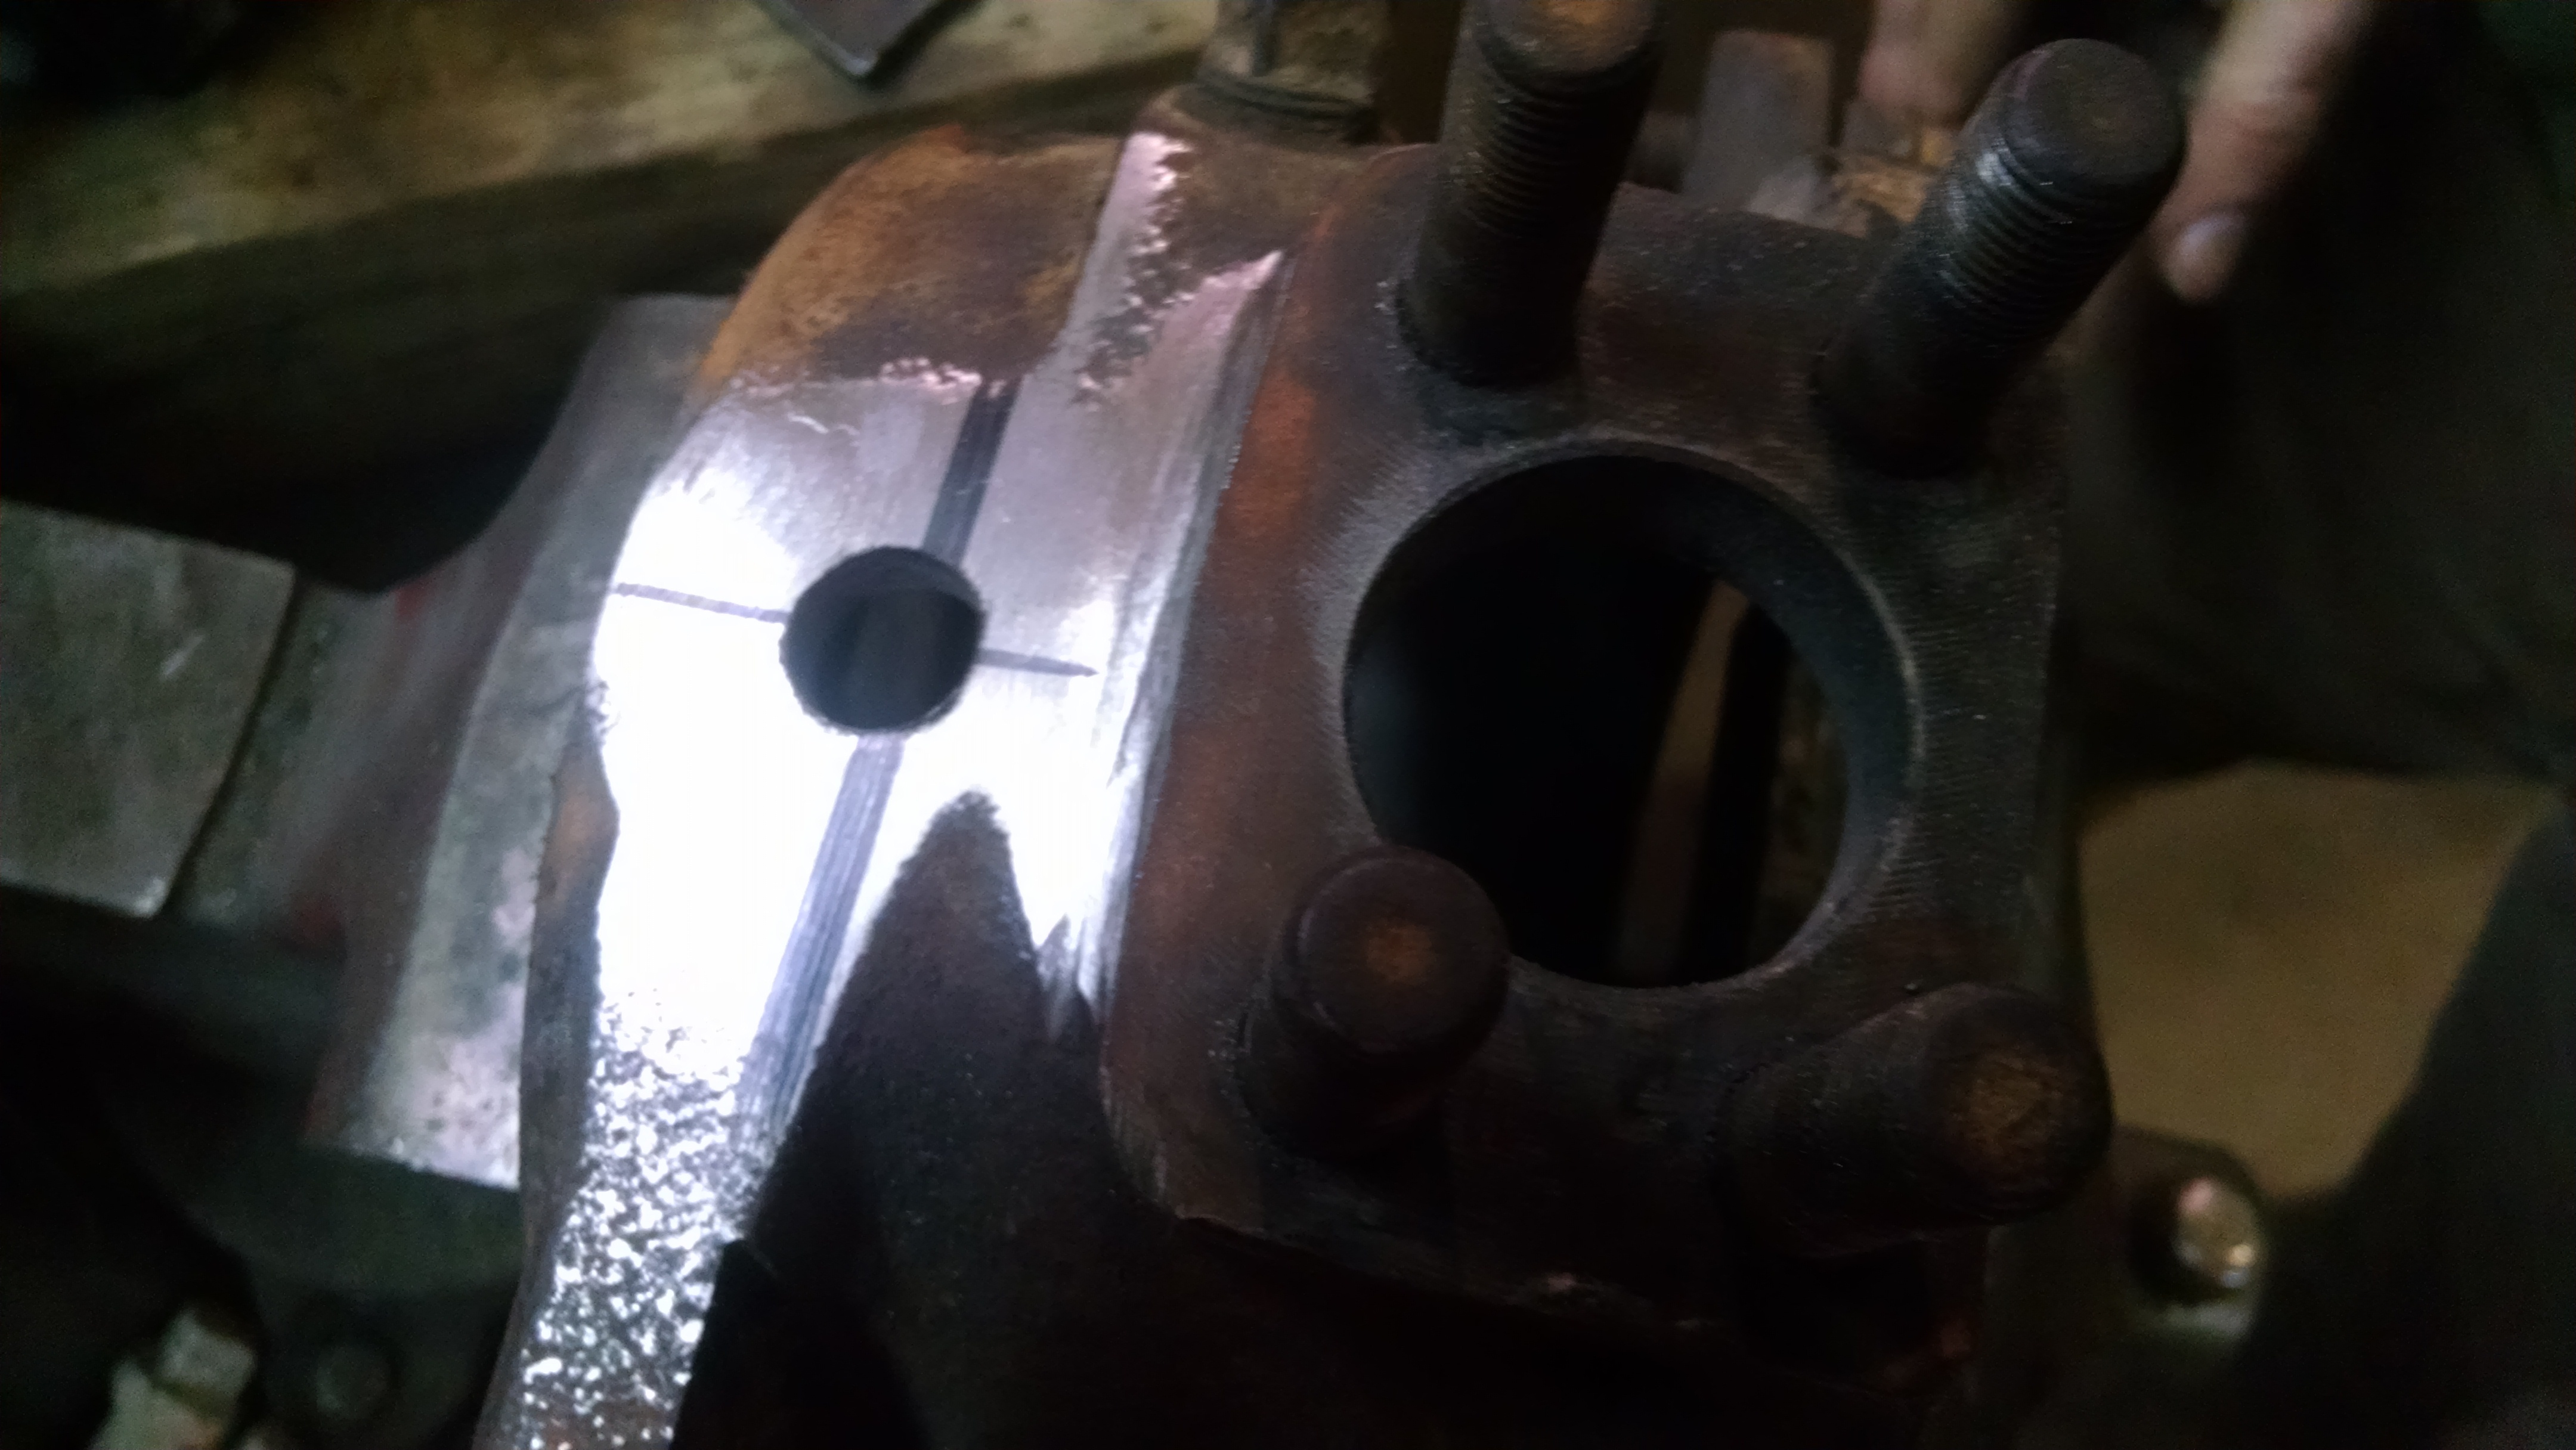
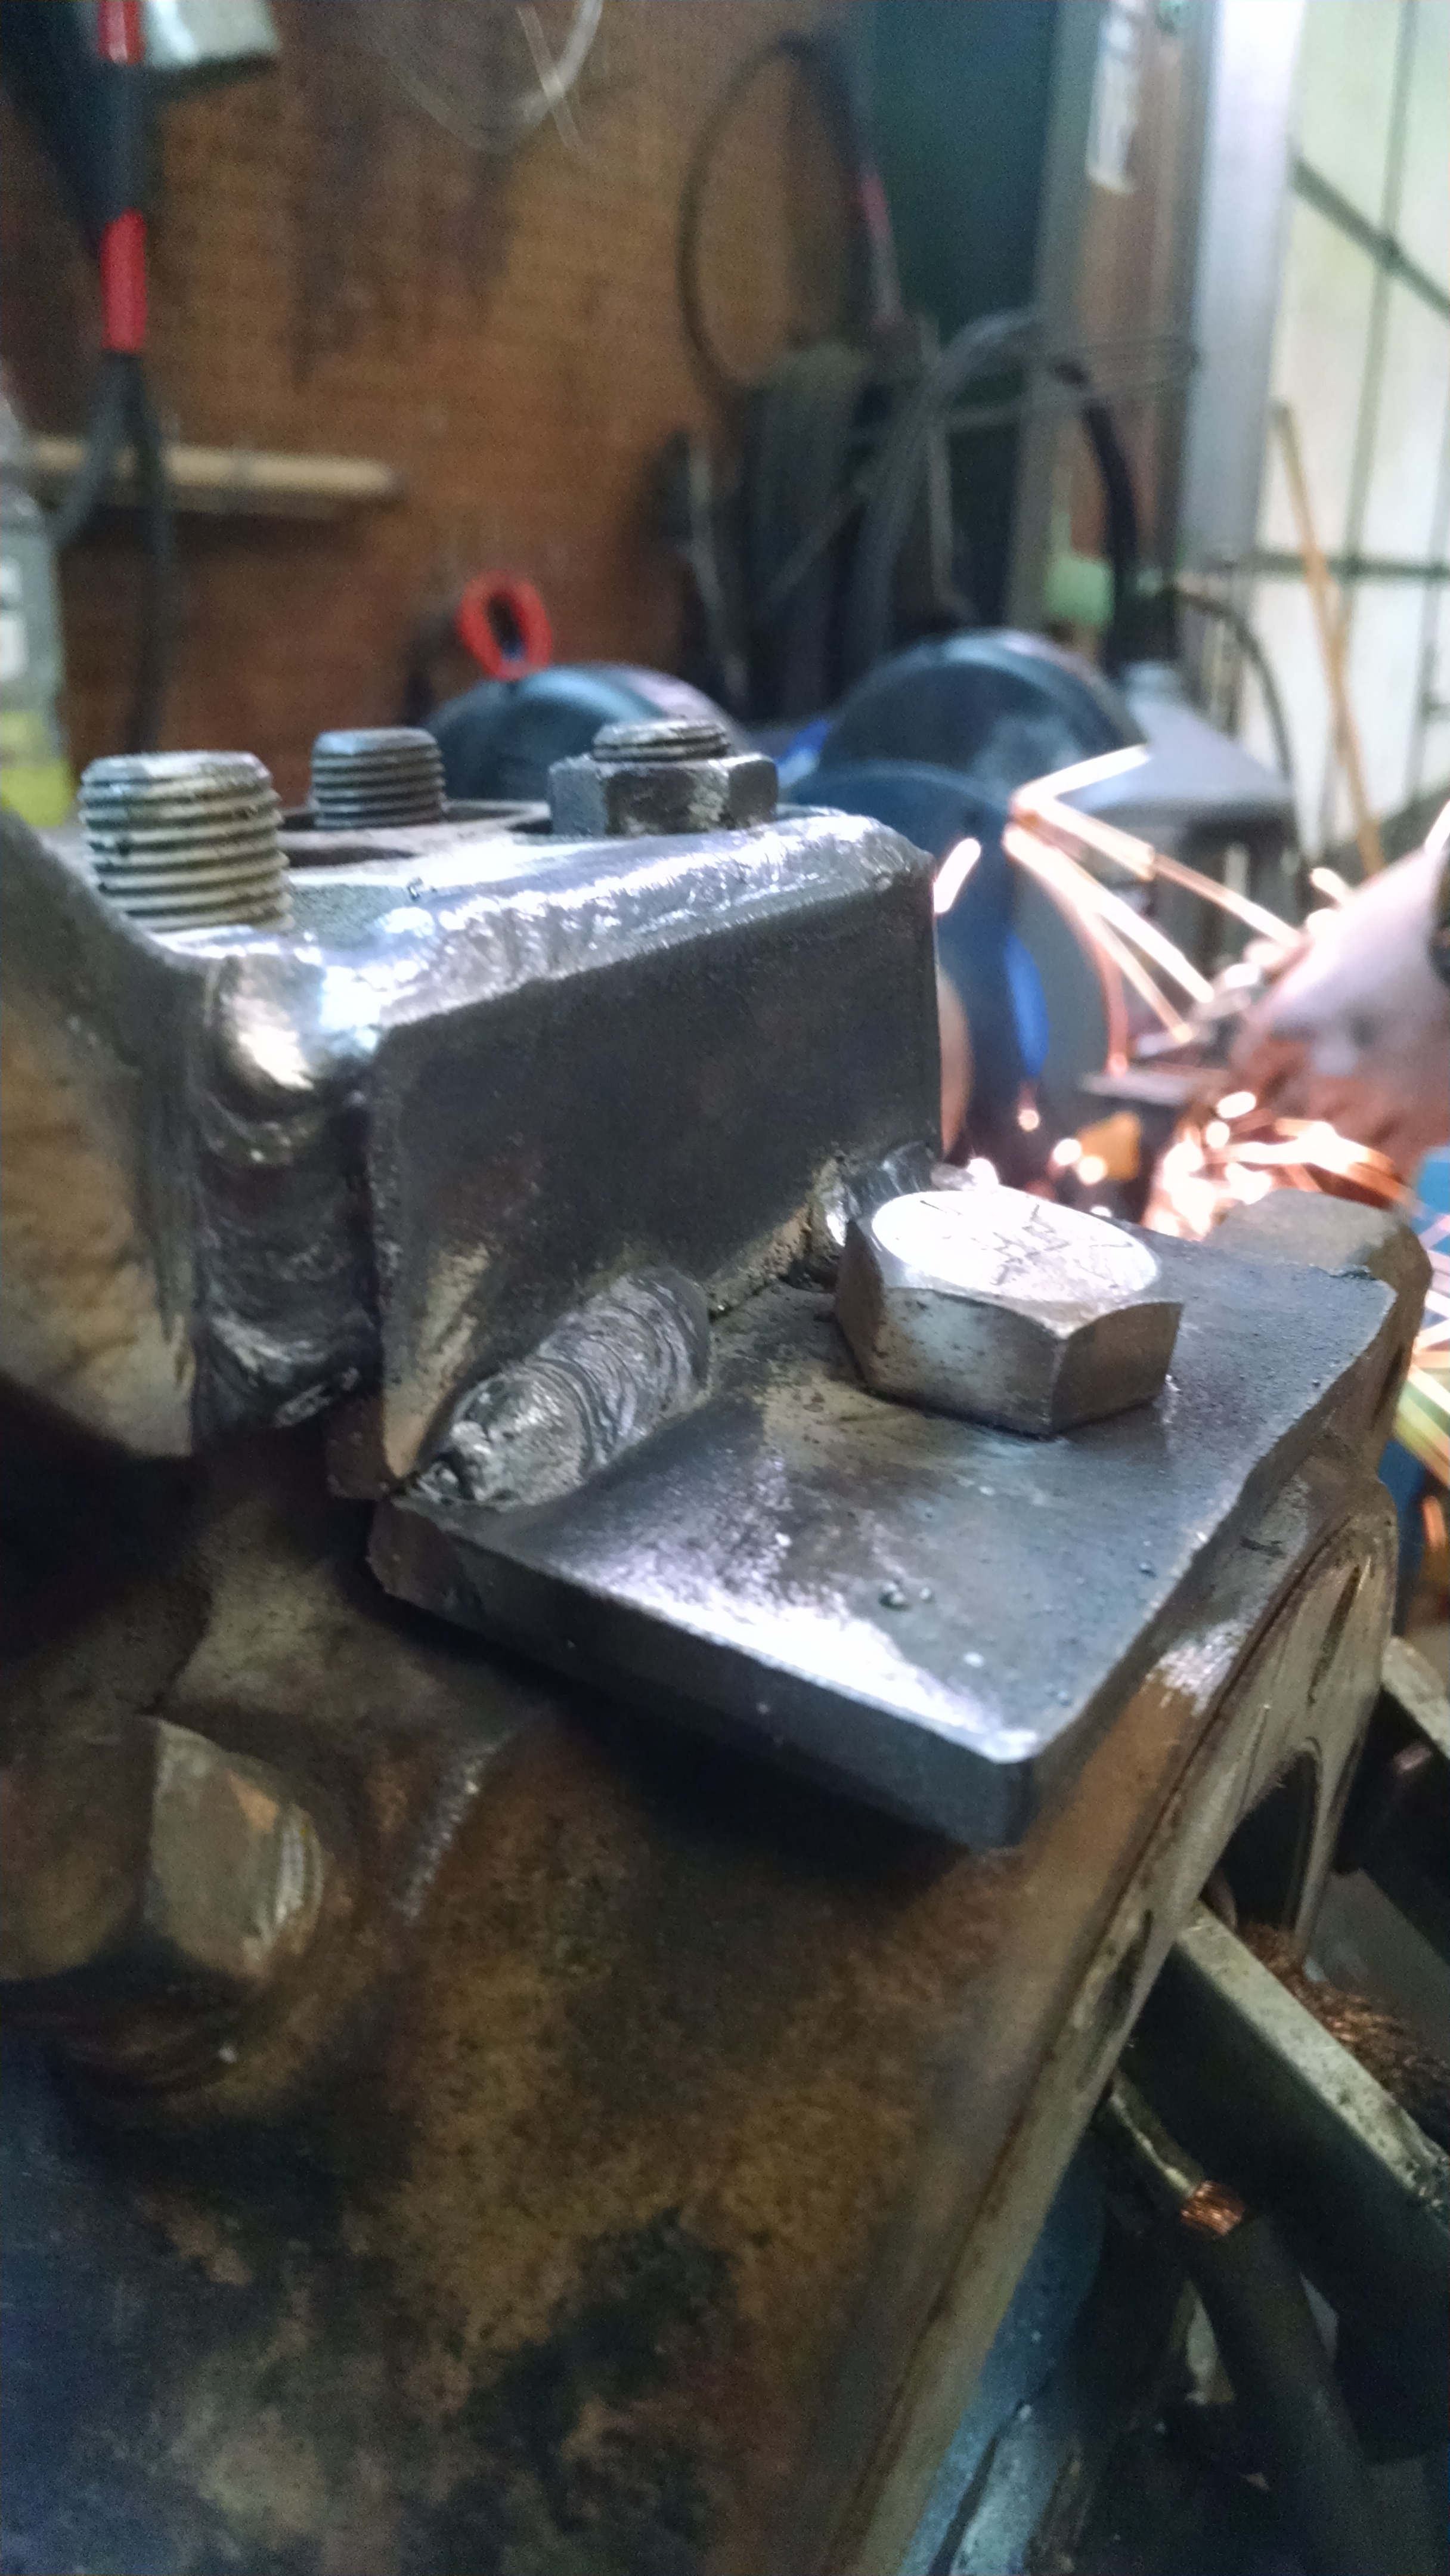
Grind the top flat and mark for the hole. if you go right off the casting line you can fit a 9 /16 bolt with a bit of grinding to the nut.
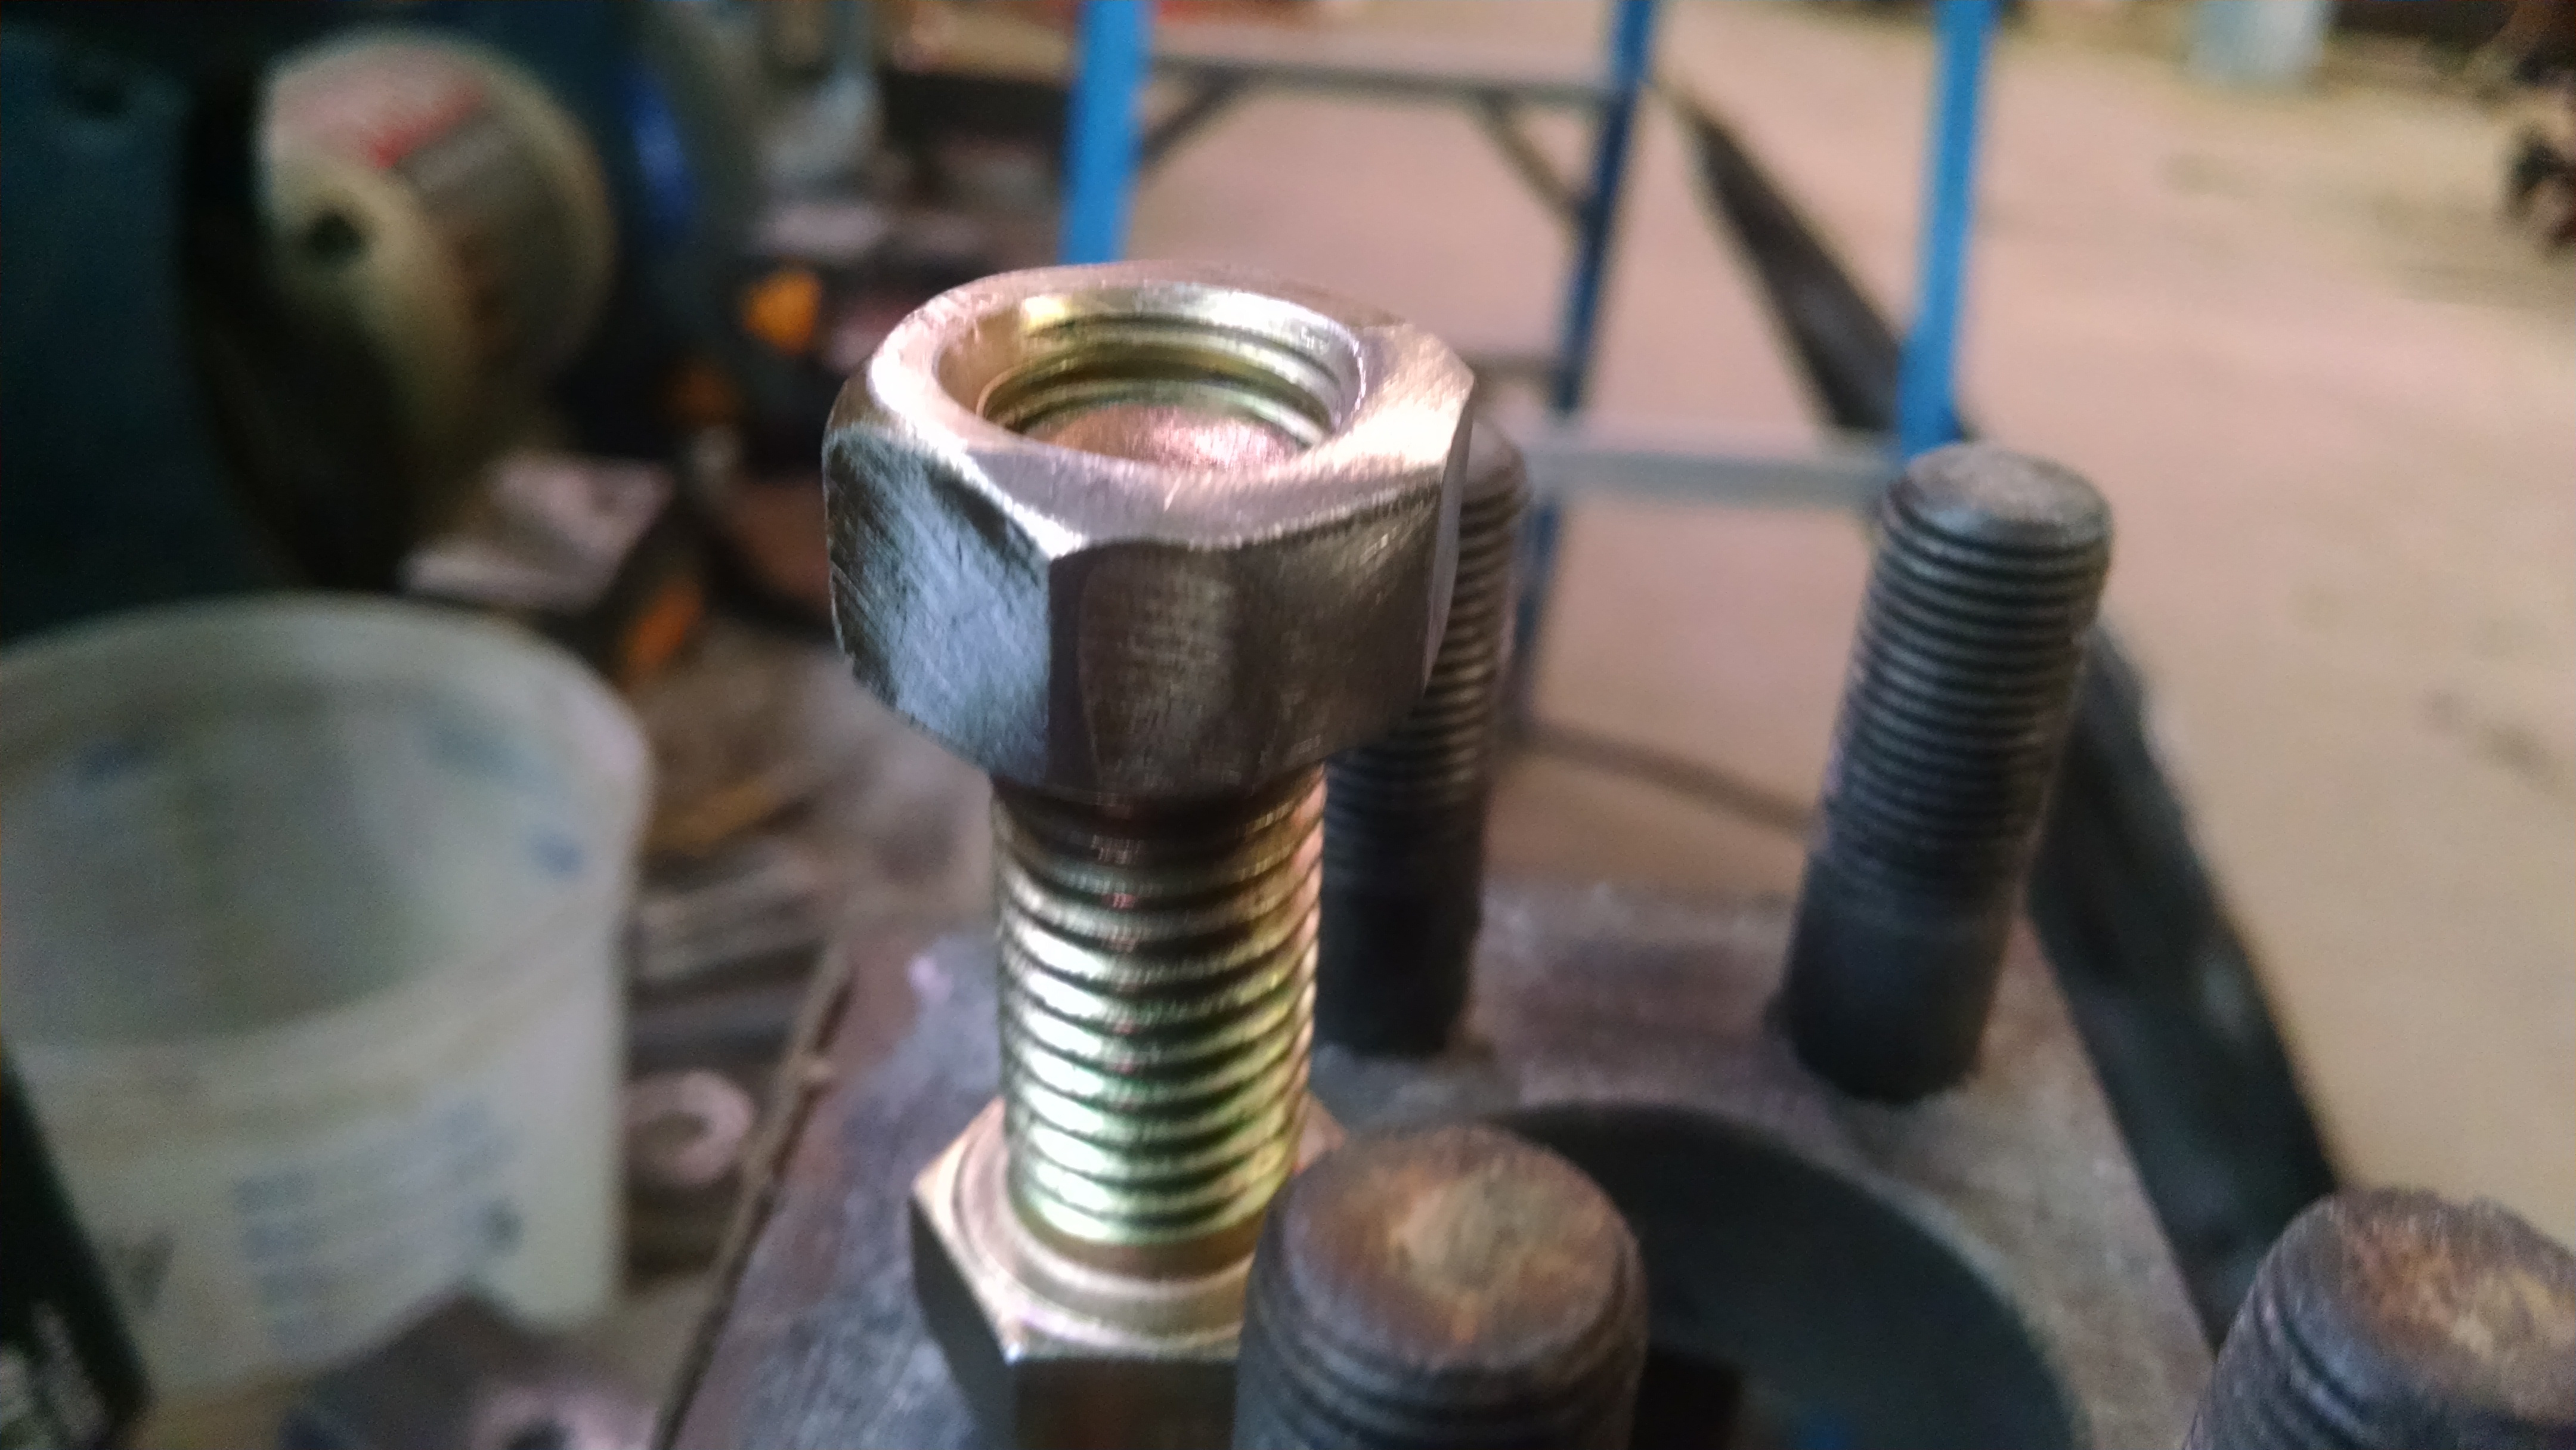
Cut your plates and drill, bolt them in place nice and tight and tac the nut on the bottom.
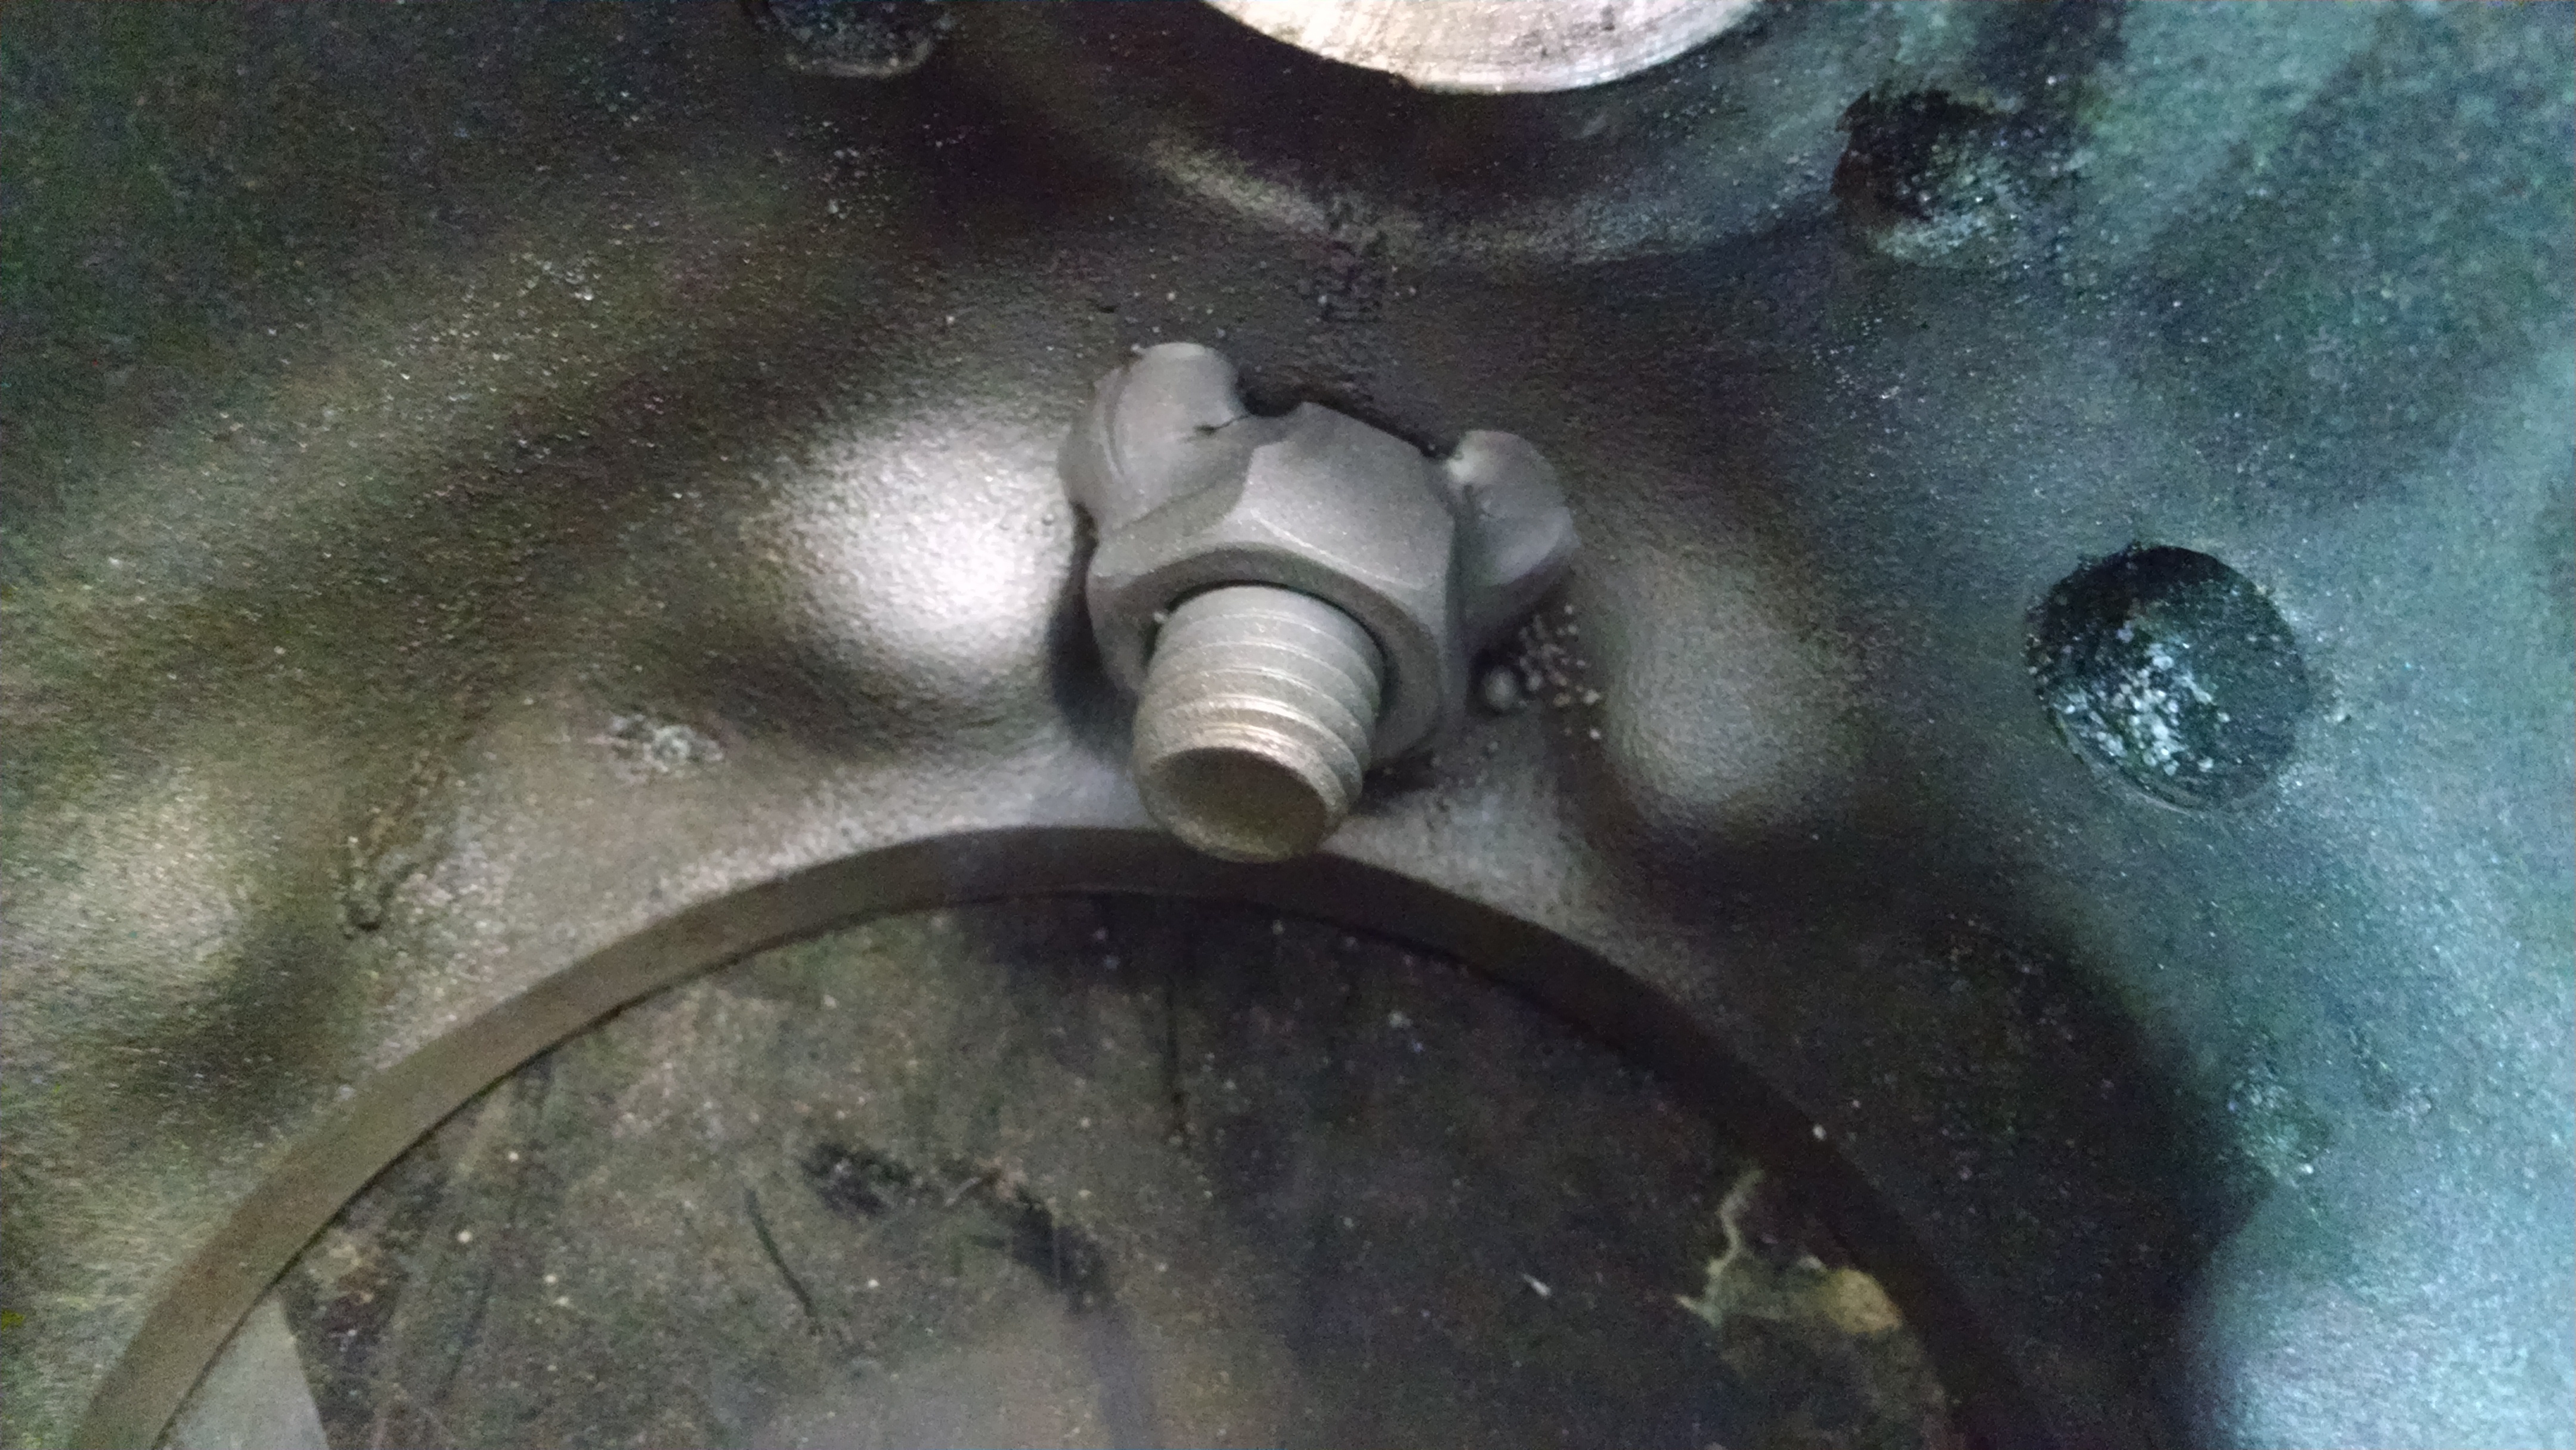
Put the steering arm on with shims and then the plate for the arm, hold it all together with a clamp, tack it on a few side and weld it up. Leave it all tight until everything fully cools.
Grind the top flat and mark for the hole. if you go right off the casting line you can fit a 9 /16 bolt with a bit of grinding to the nut.
Cut your plates and drill, bolt them in place nice and tight and tac the nut on the bottom.
Put the steering arm on with shims and then the plate for the arm, hold it all together with a clamp, tack it on a few side and weld it up. Leave it all tight until everything fully cools.
Feb 28, 2015 | 12:33 PM
#79
Thread Starter
Registered User
Joined: Jul 2005
Posts: 124
Likes: 0
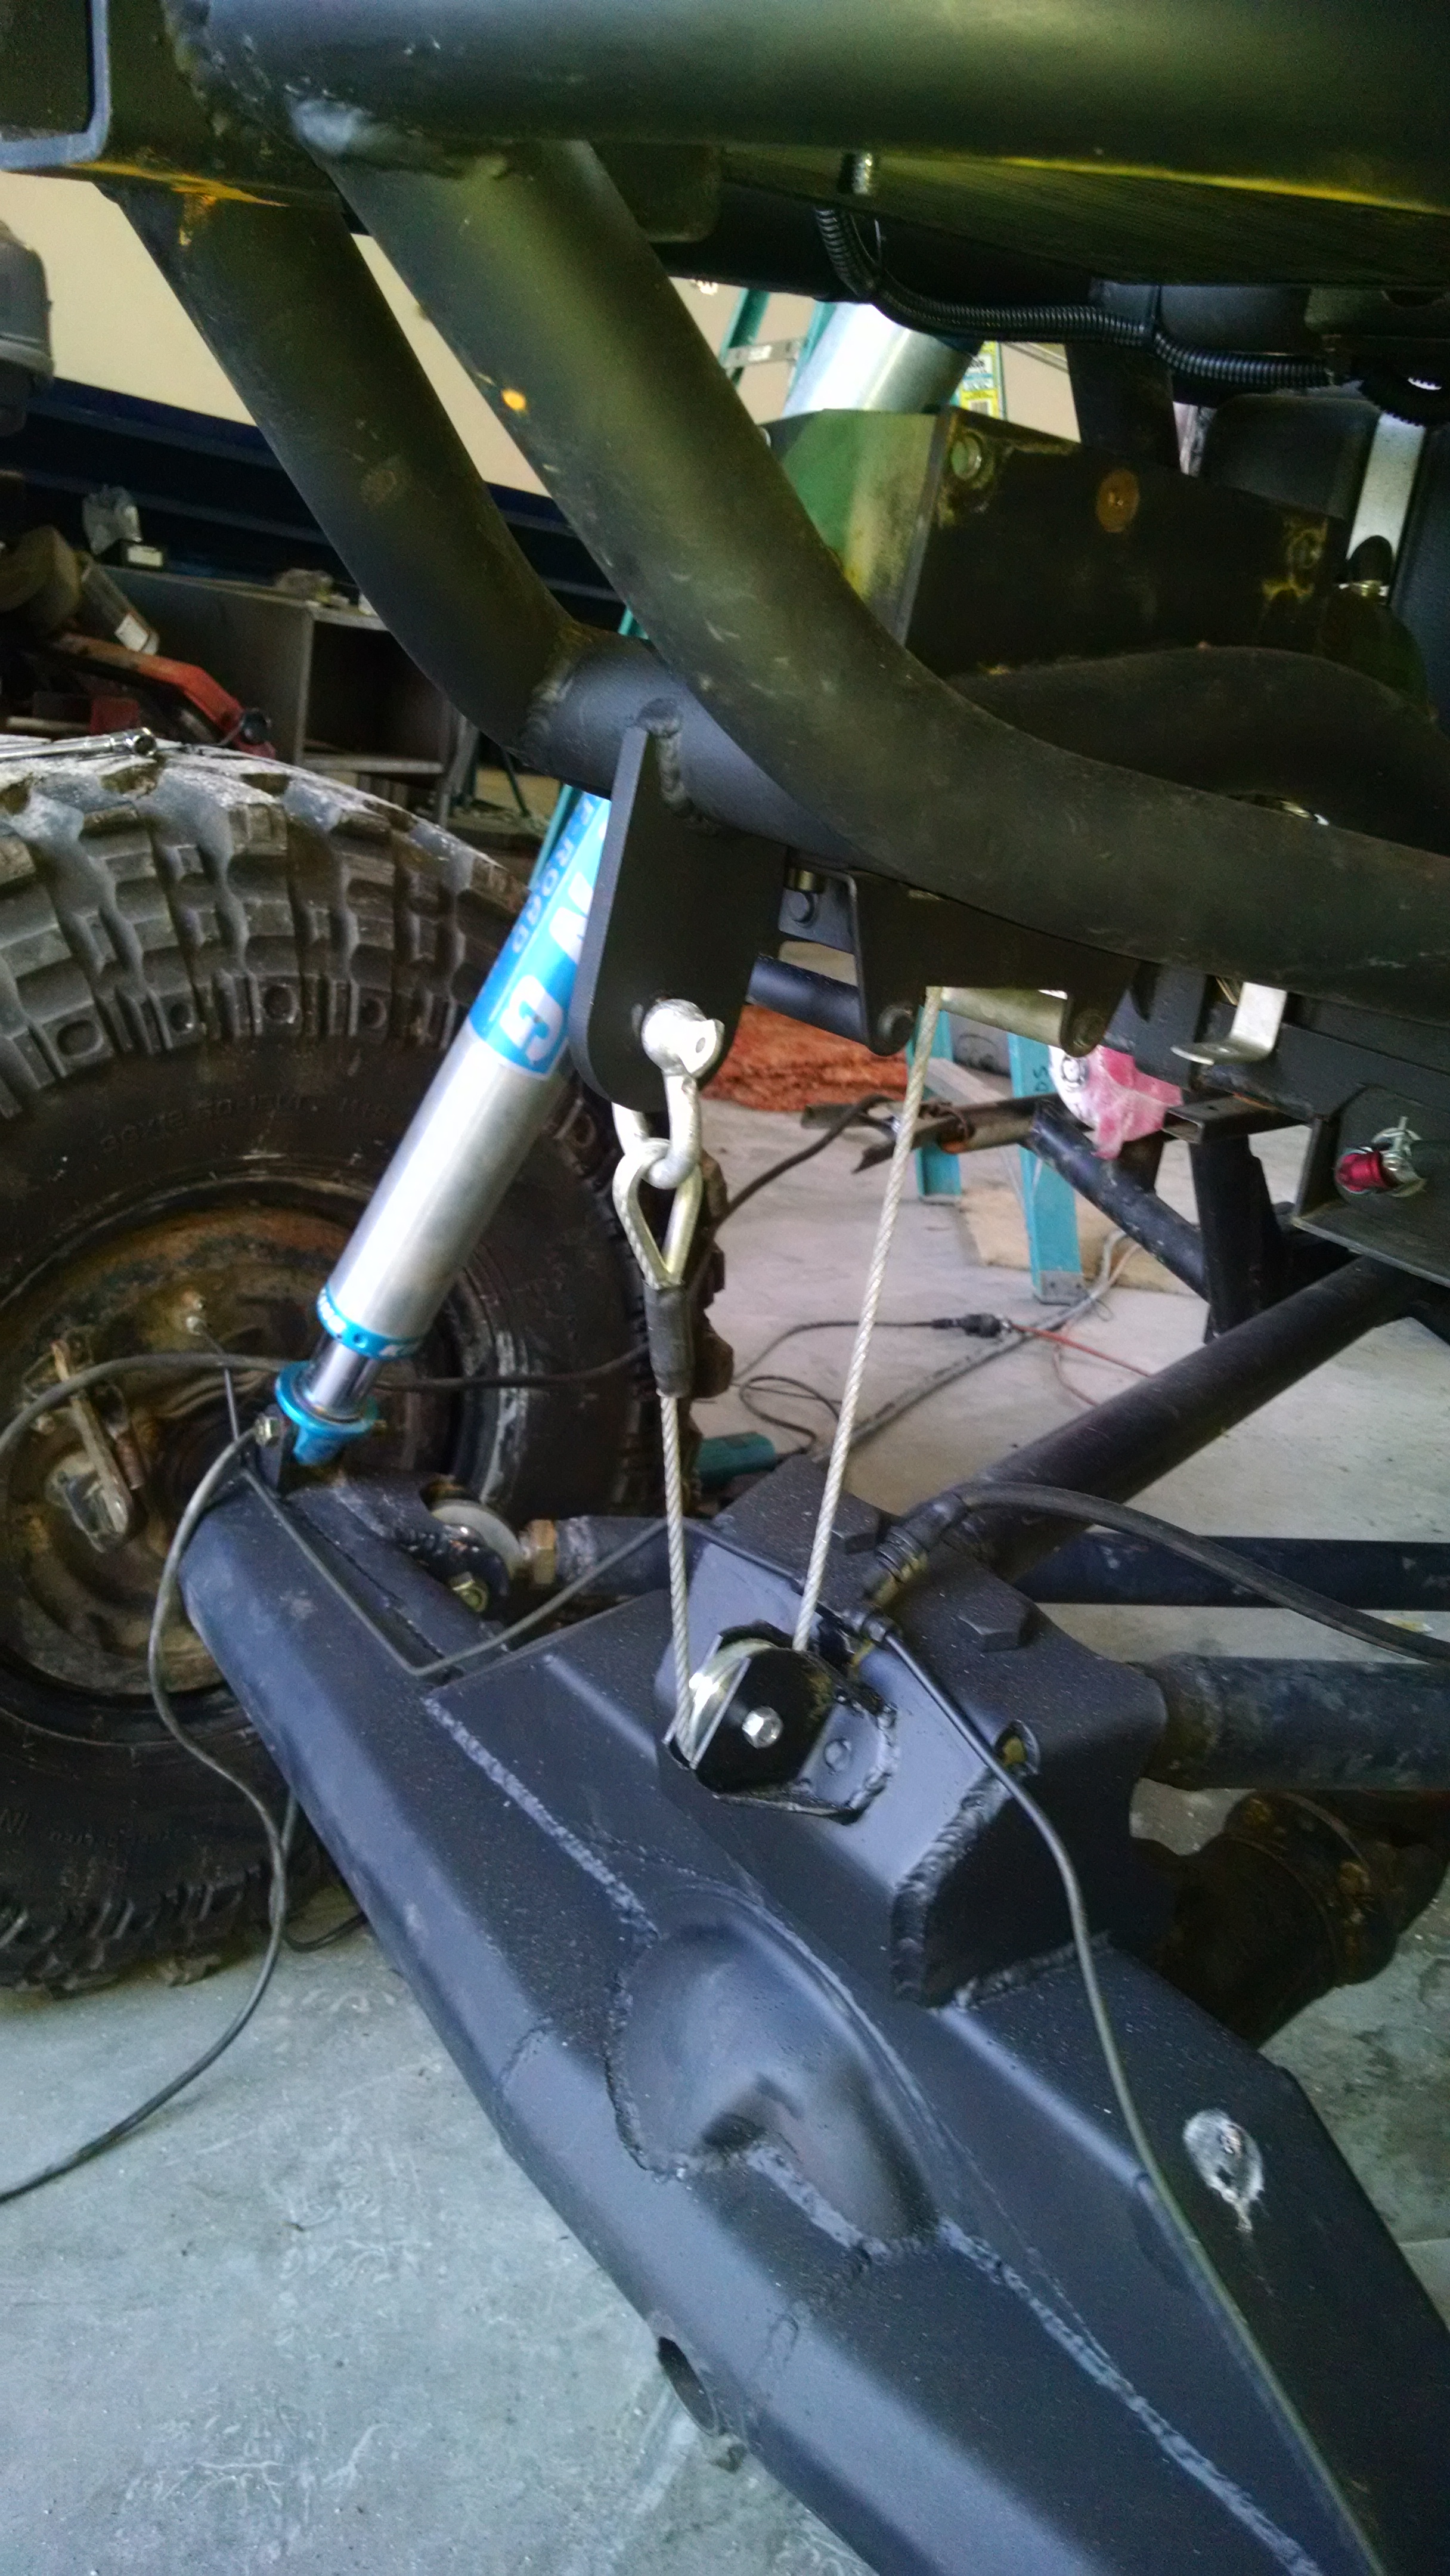
Waiting on some parts to show up to do the front shackle conversion on the front axle. Decided to put in my JB Fab twin cable sticks for the 205. These things are nice! Simple build and design but they work great.
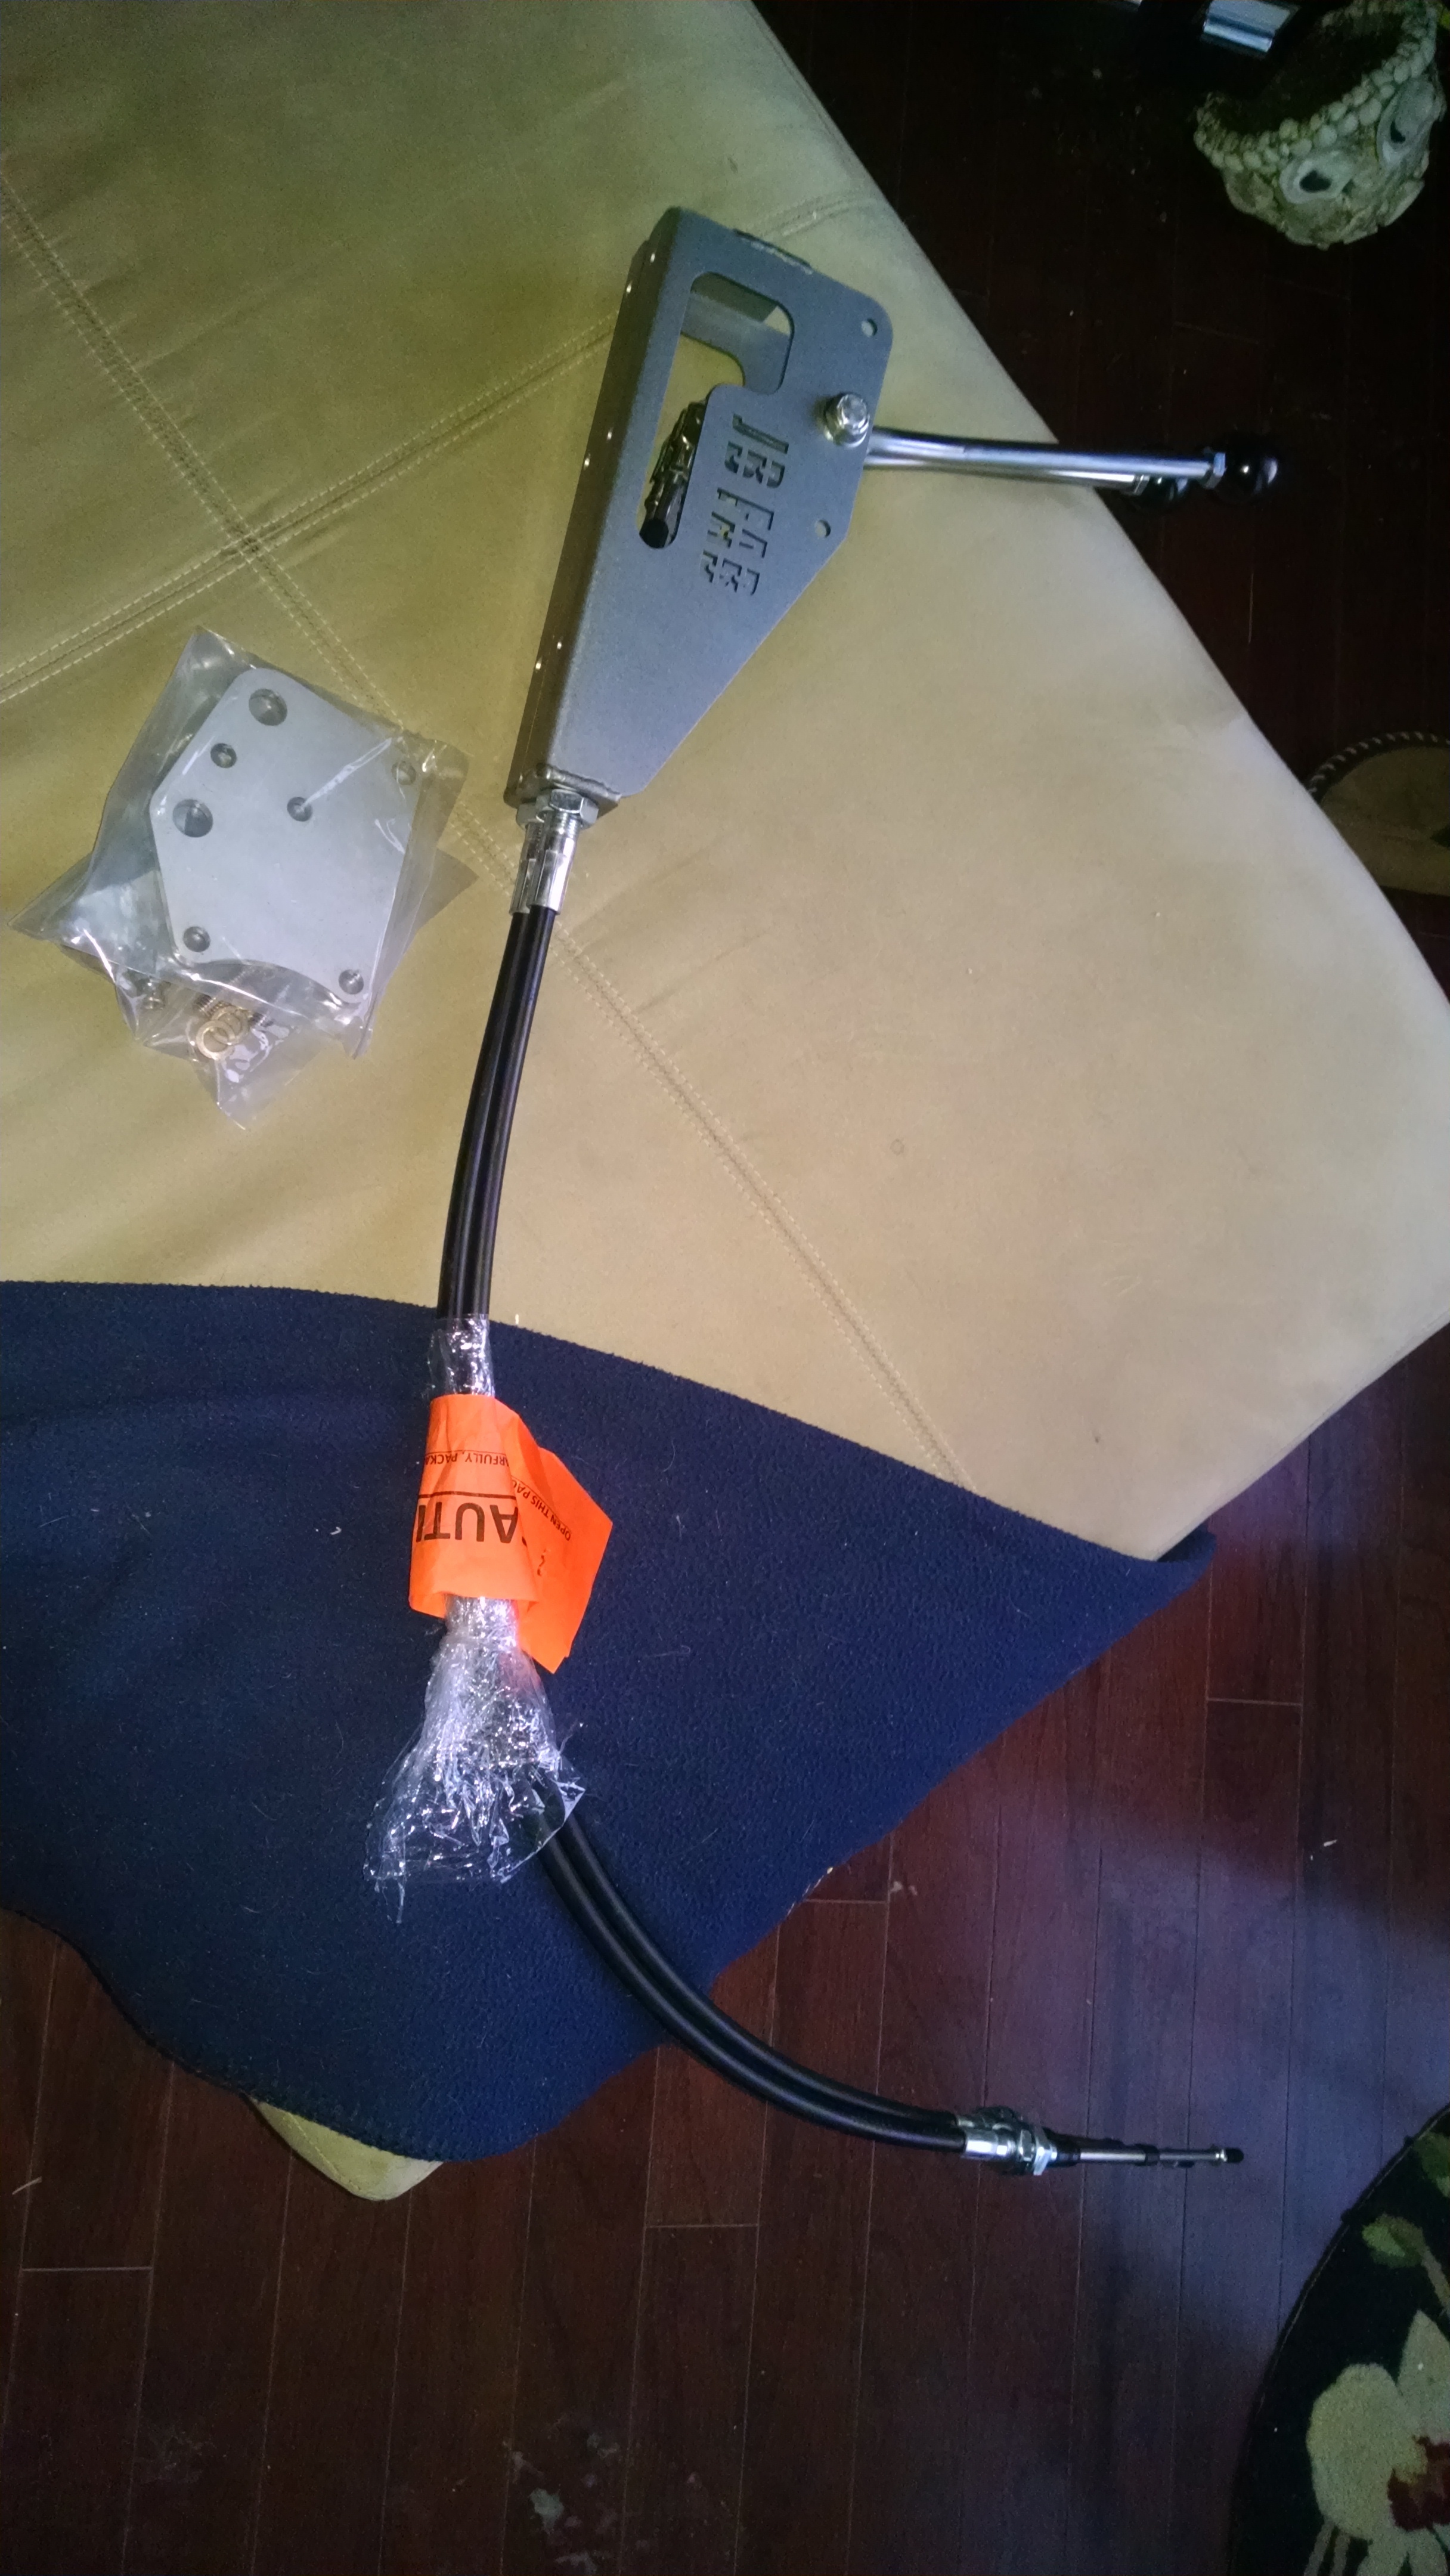

Provence getting the shifters mounted on the top side.

Provence getting the shifters mounted on the top side.
Mar 7, 2015 | 04:07 PM
#80
Thread Starter
Registered User
Joined: Jul 2005
Posts: 124
Likes: 0
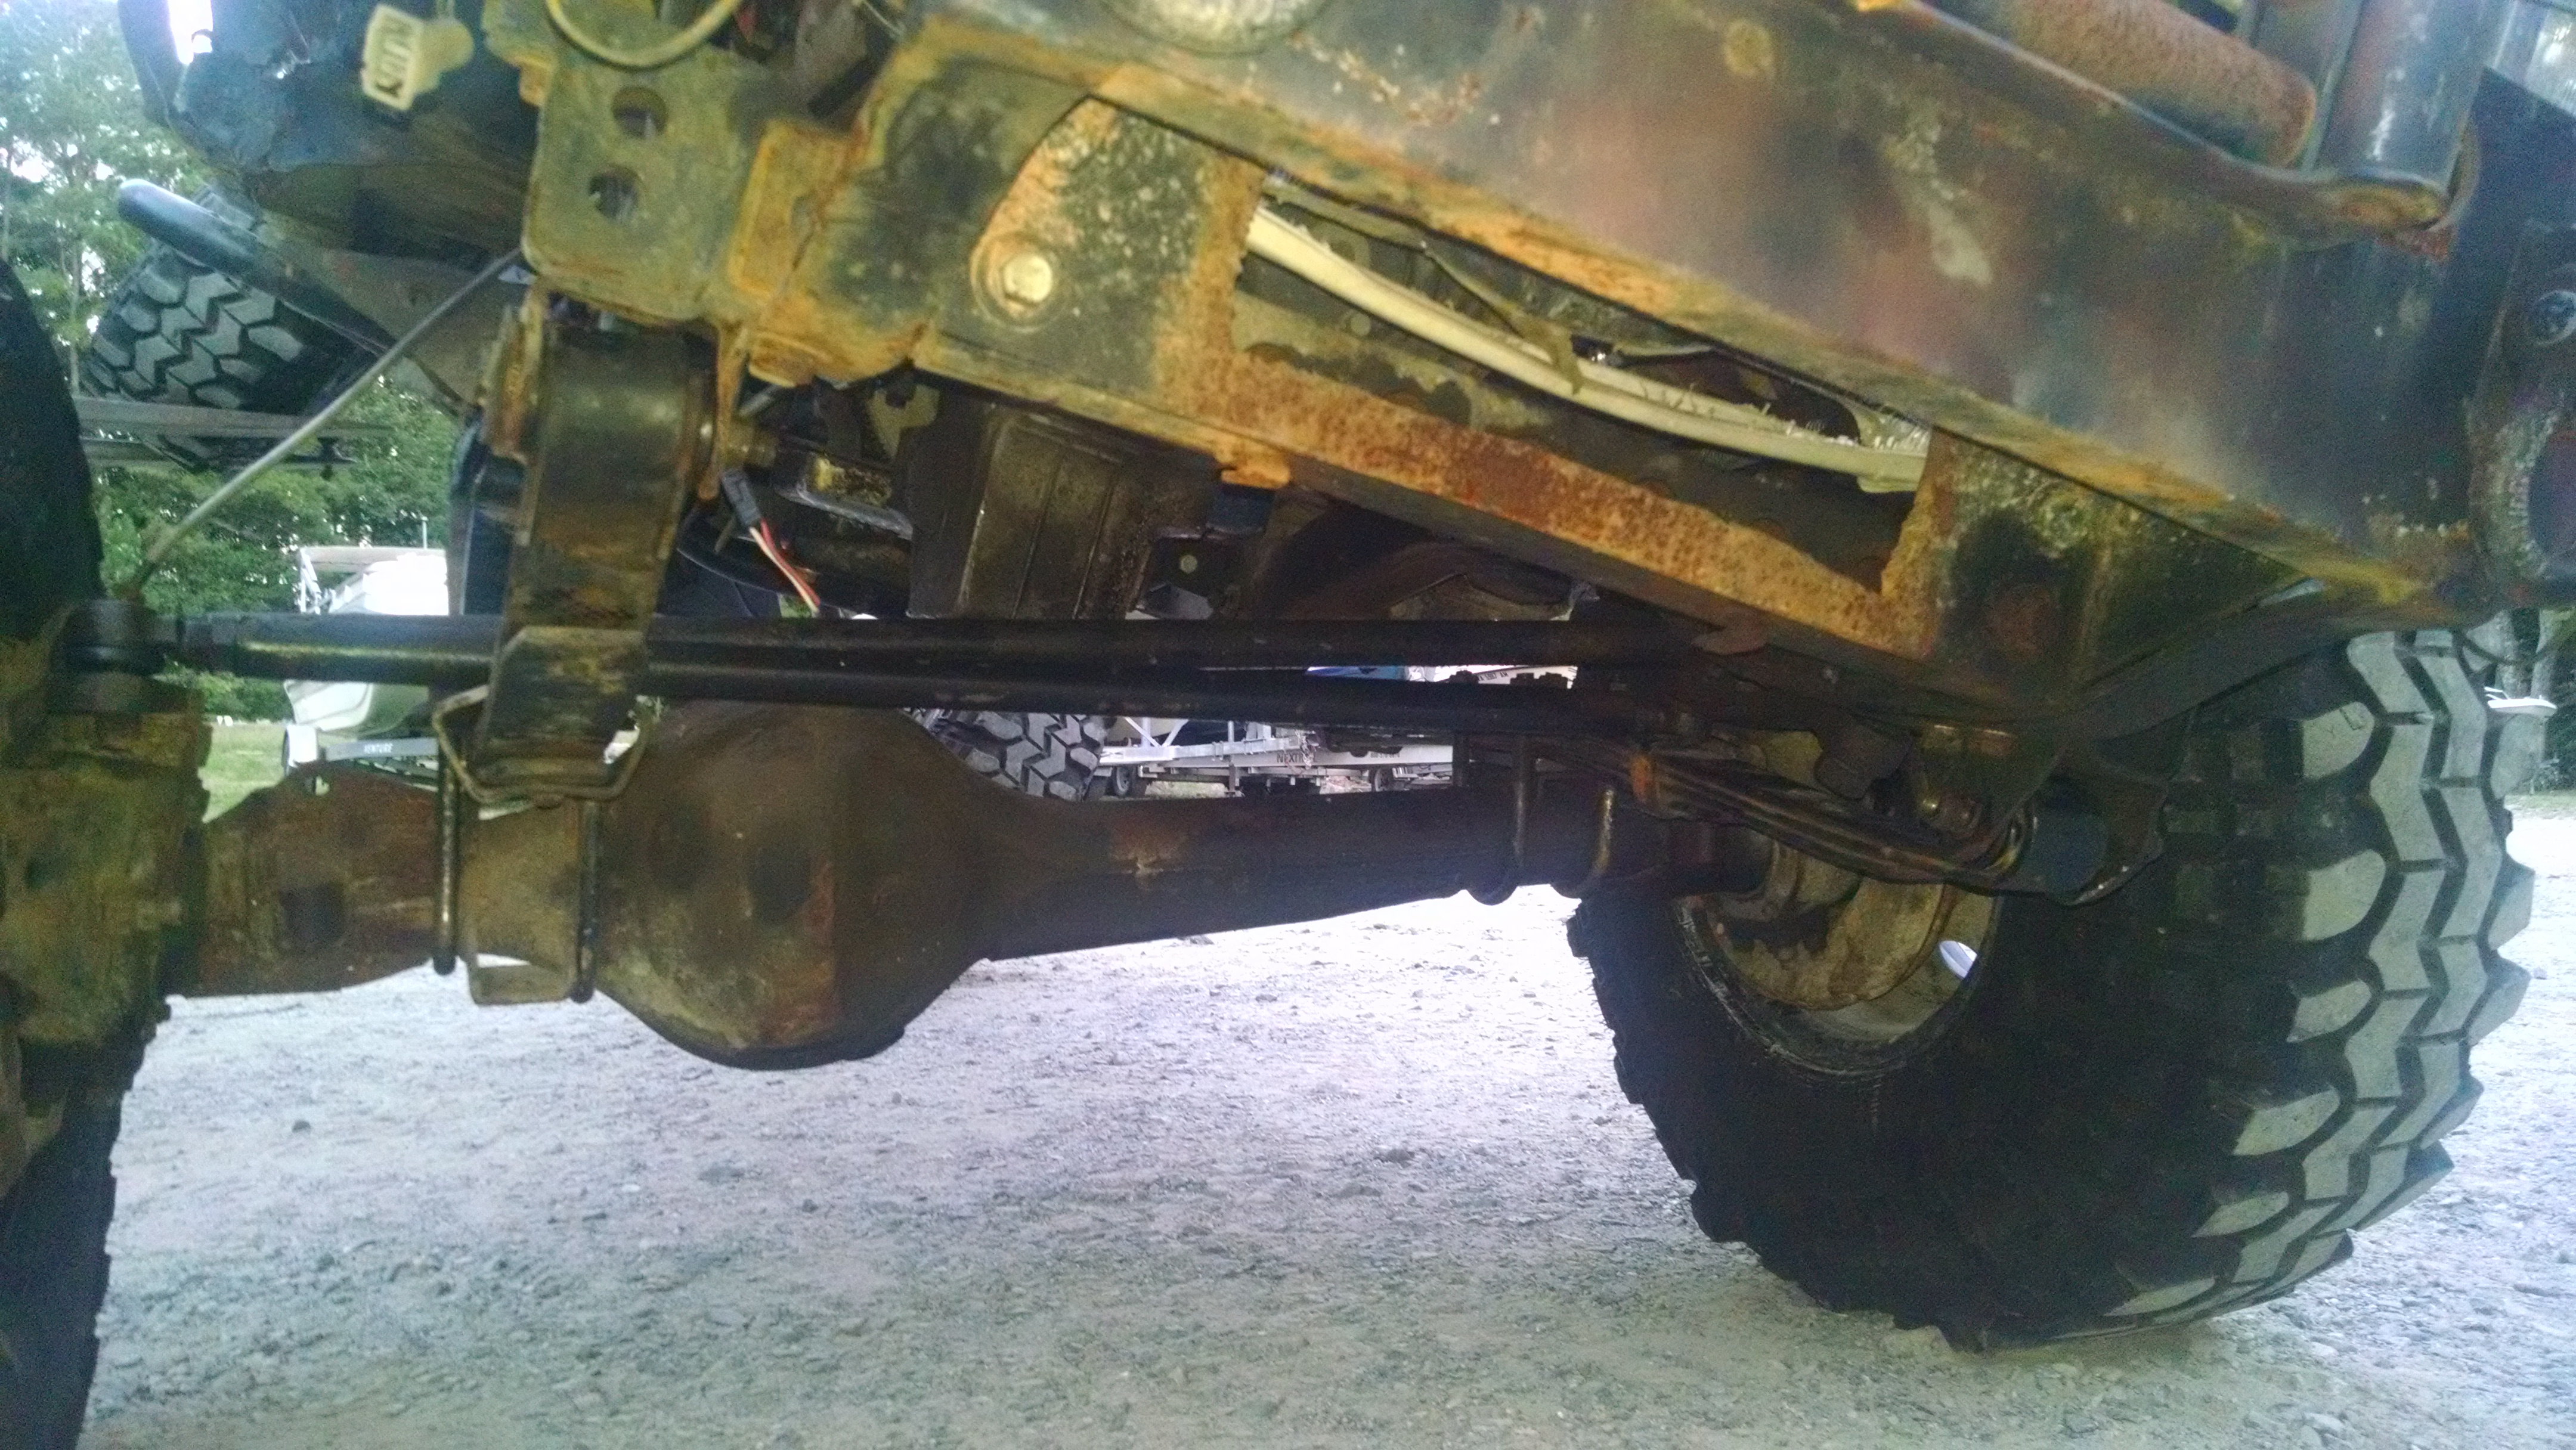
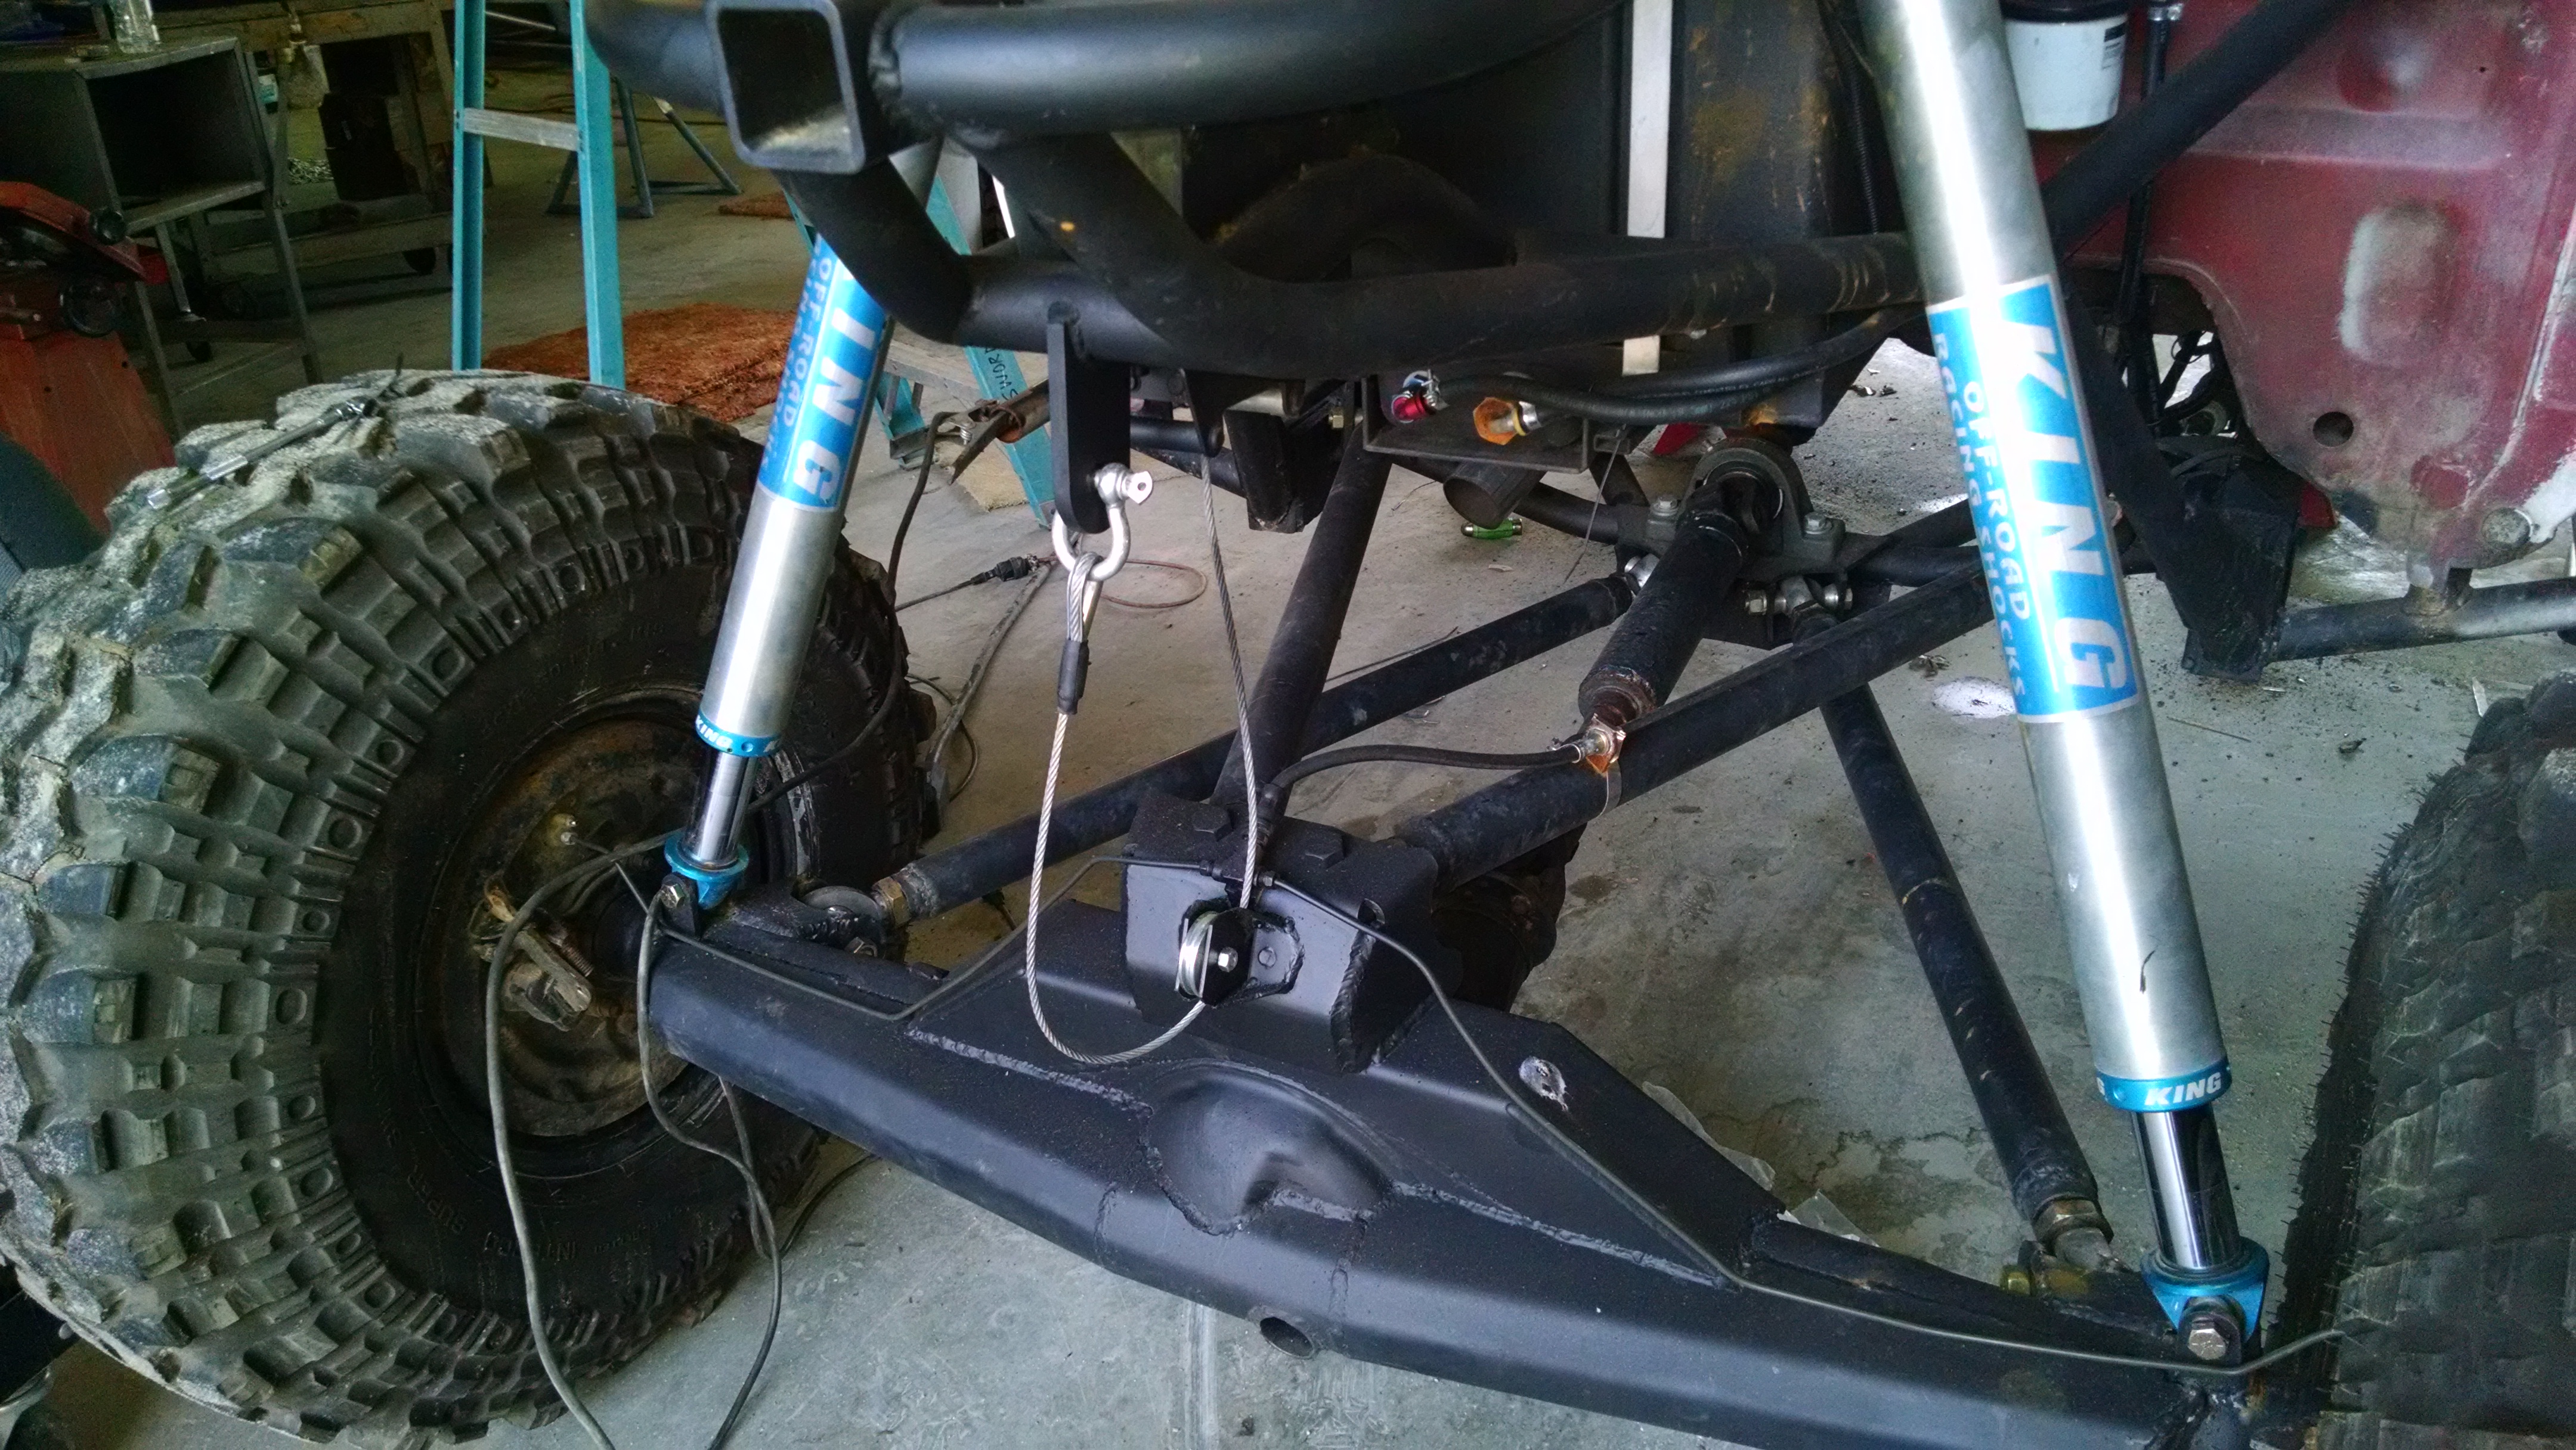
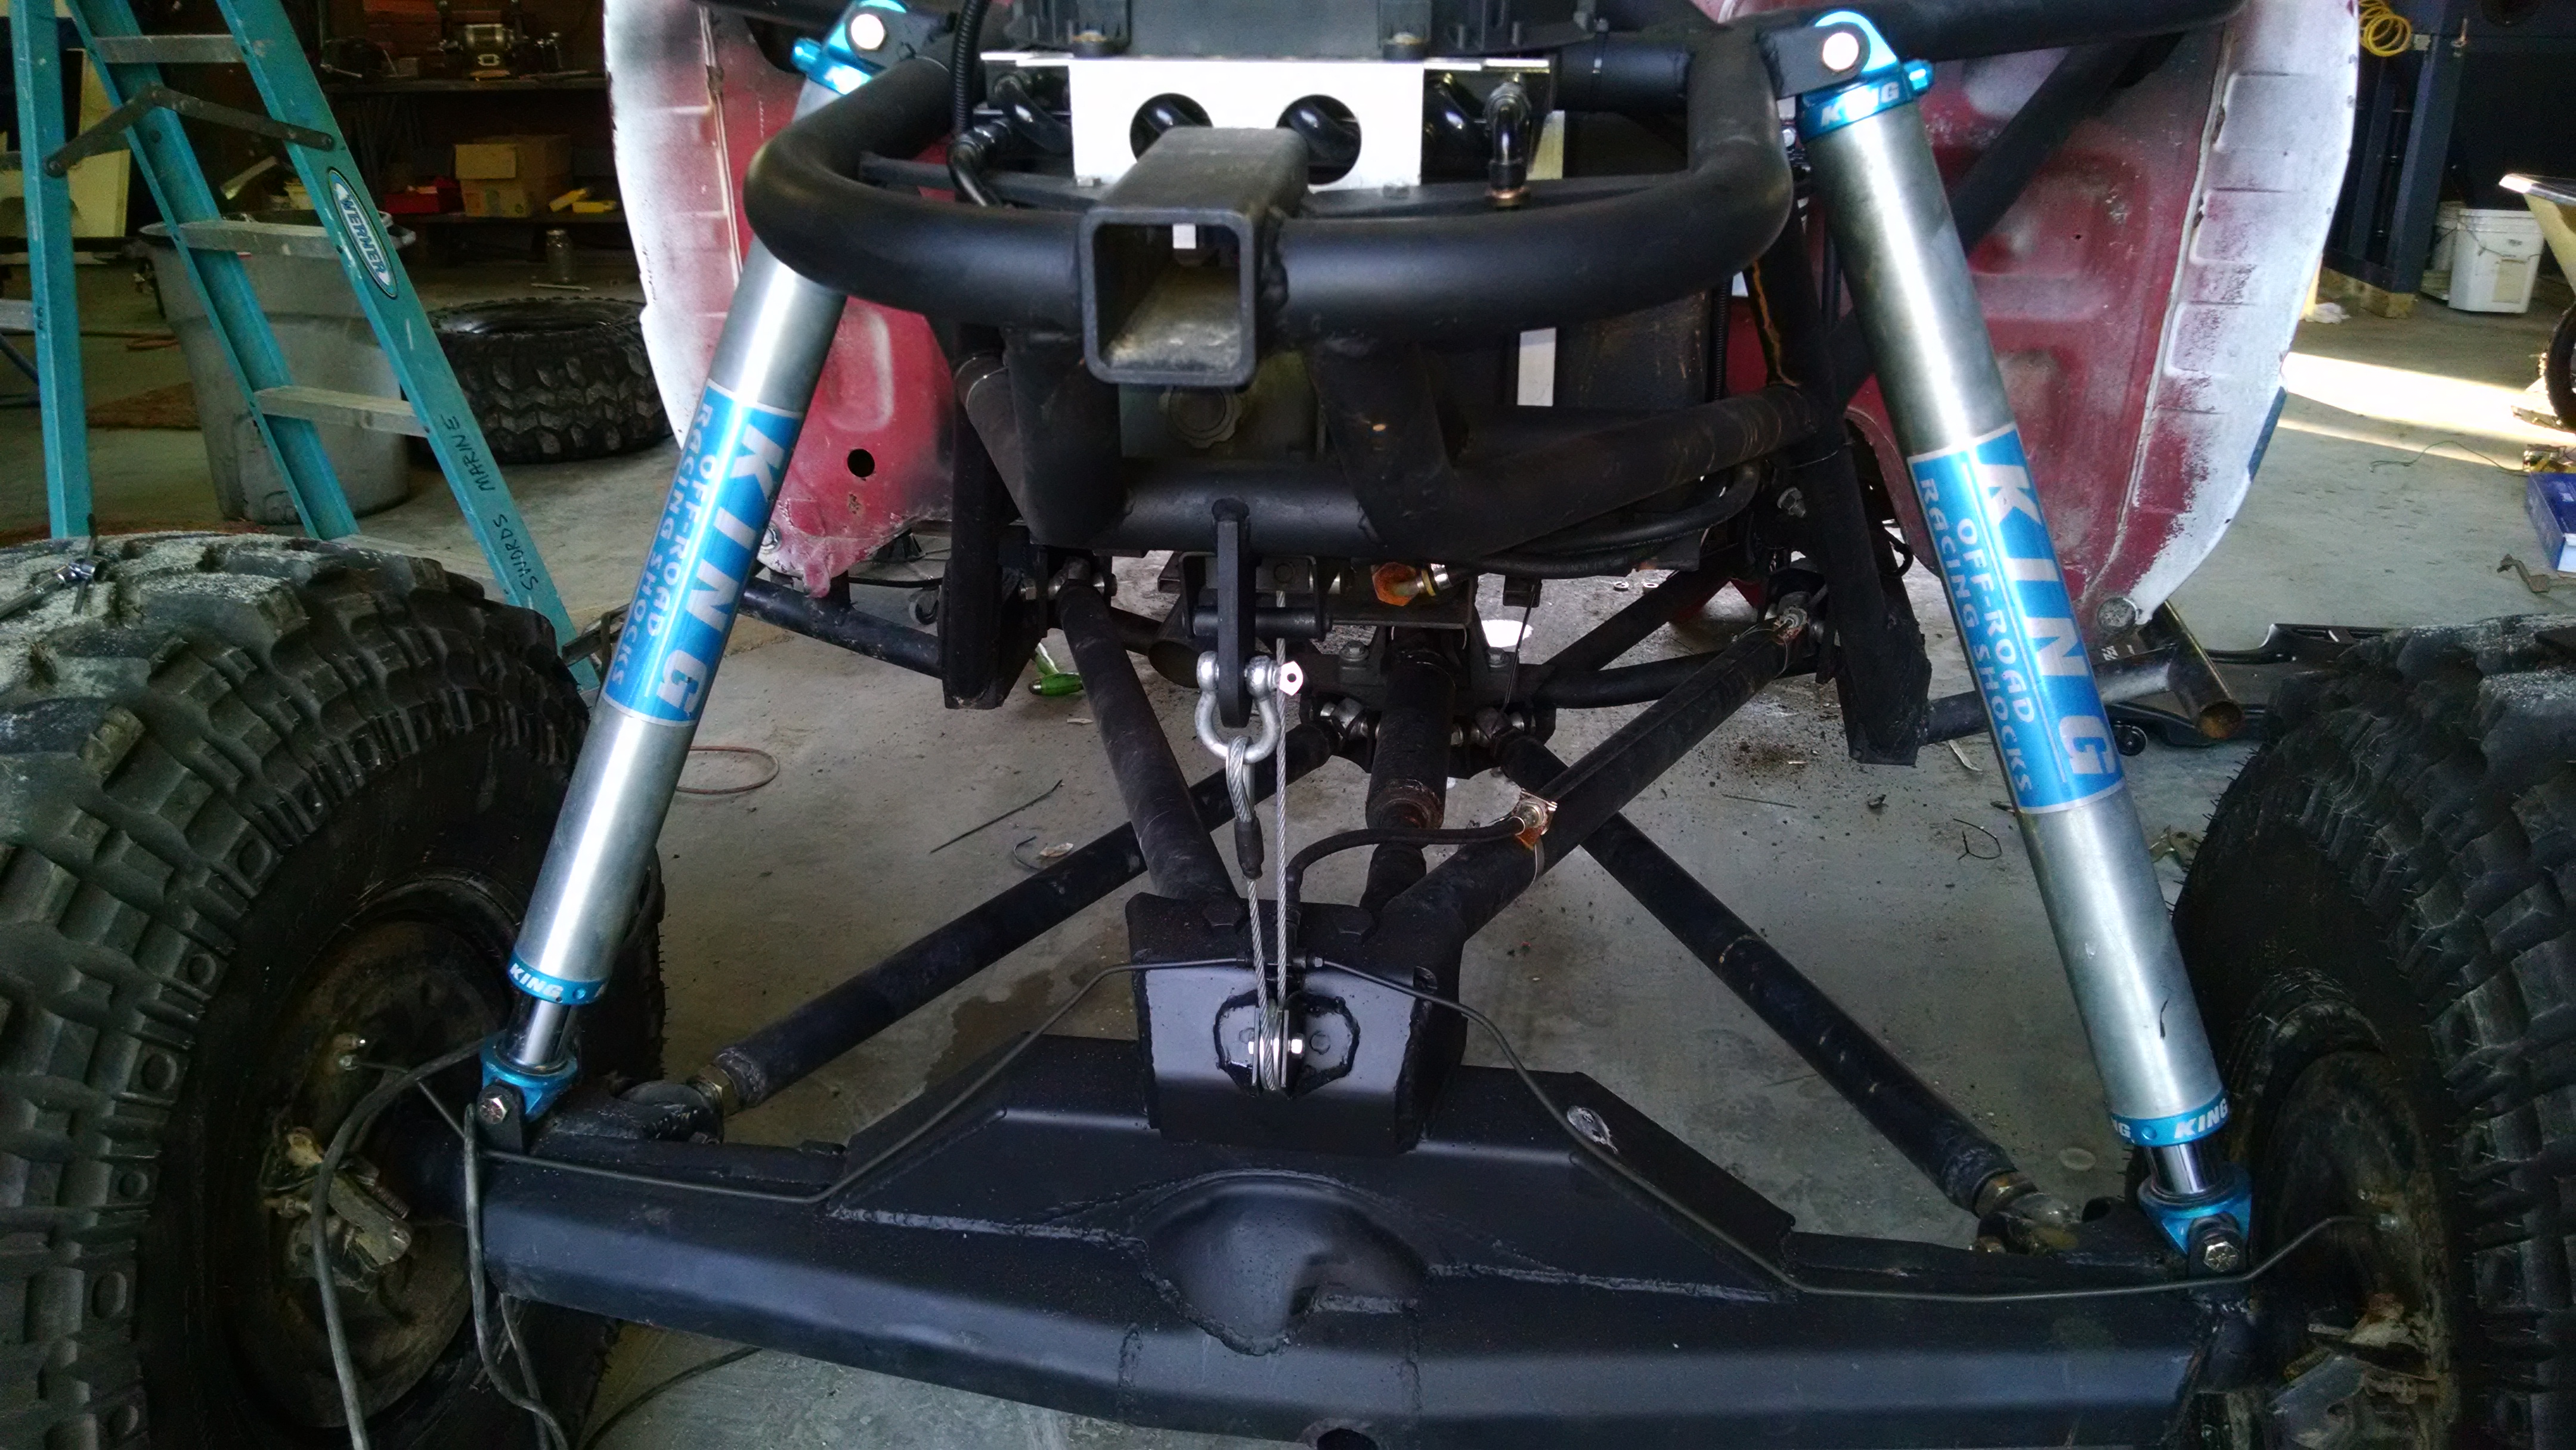
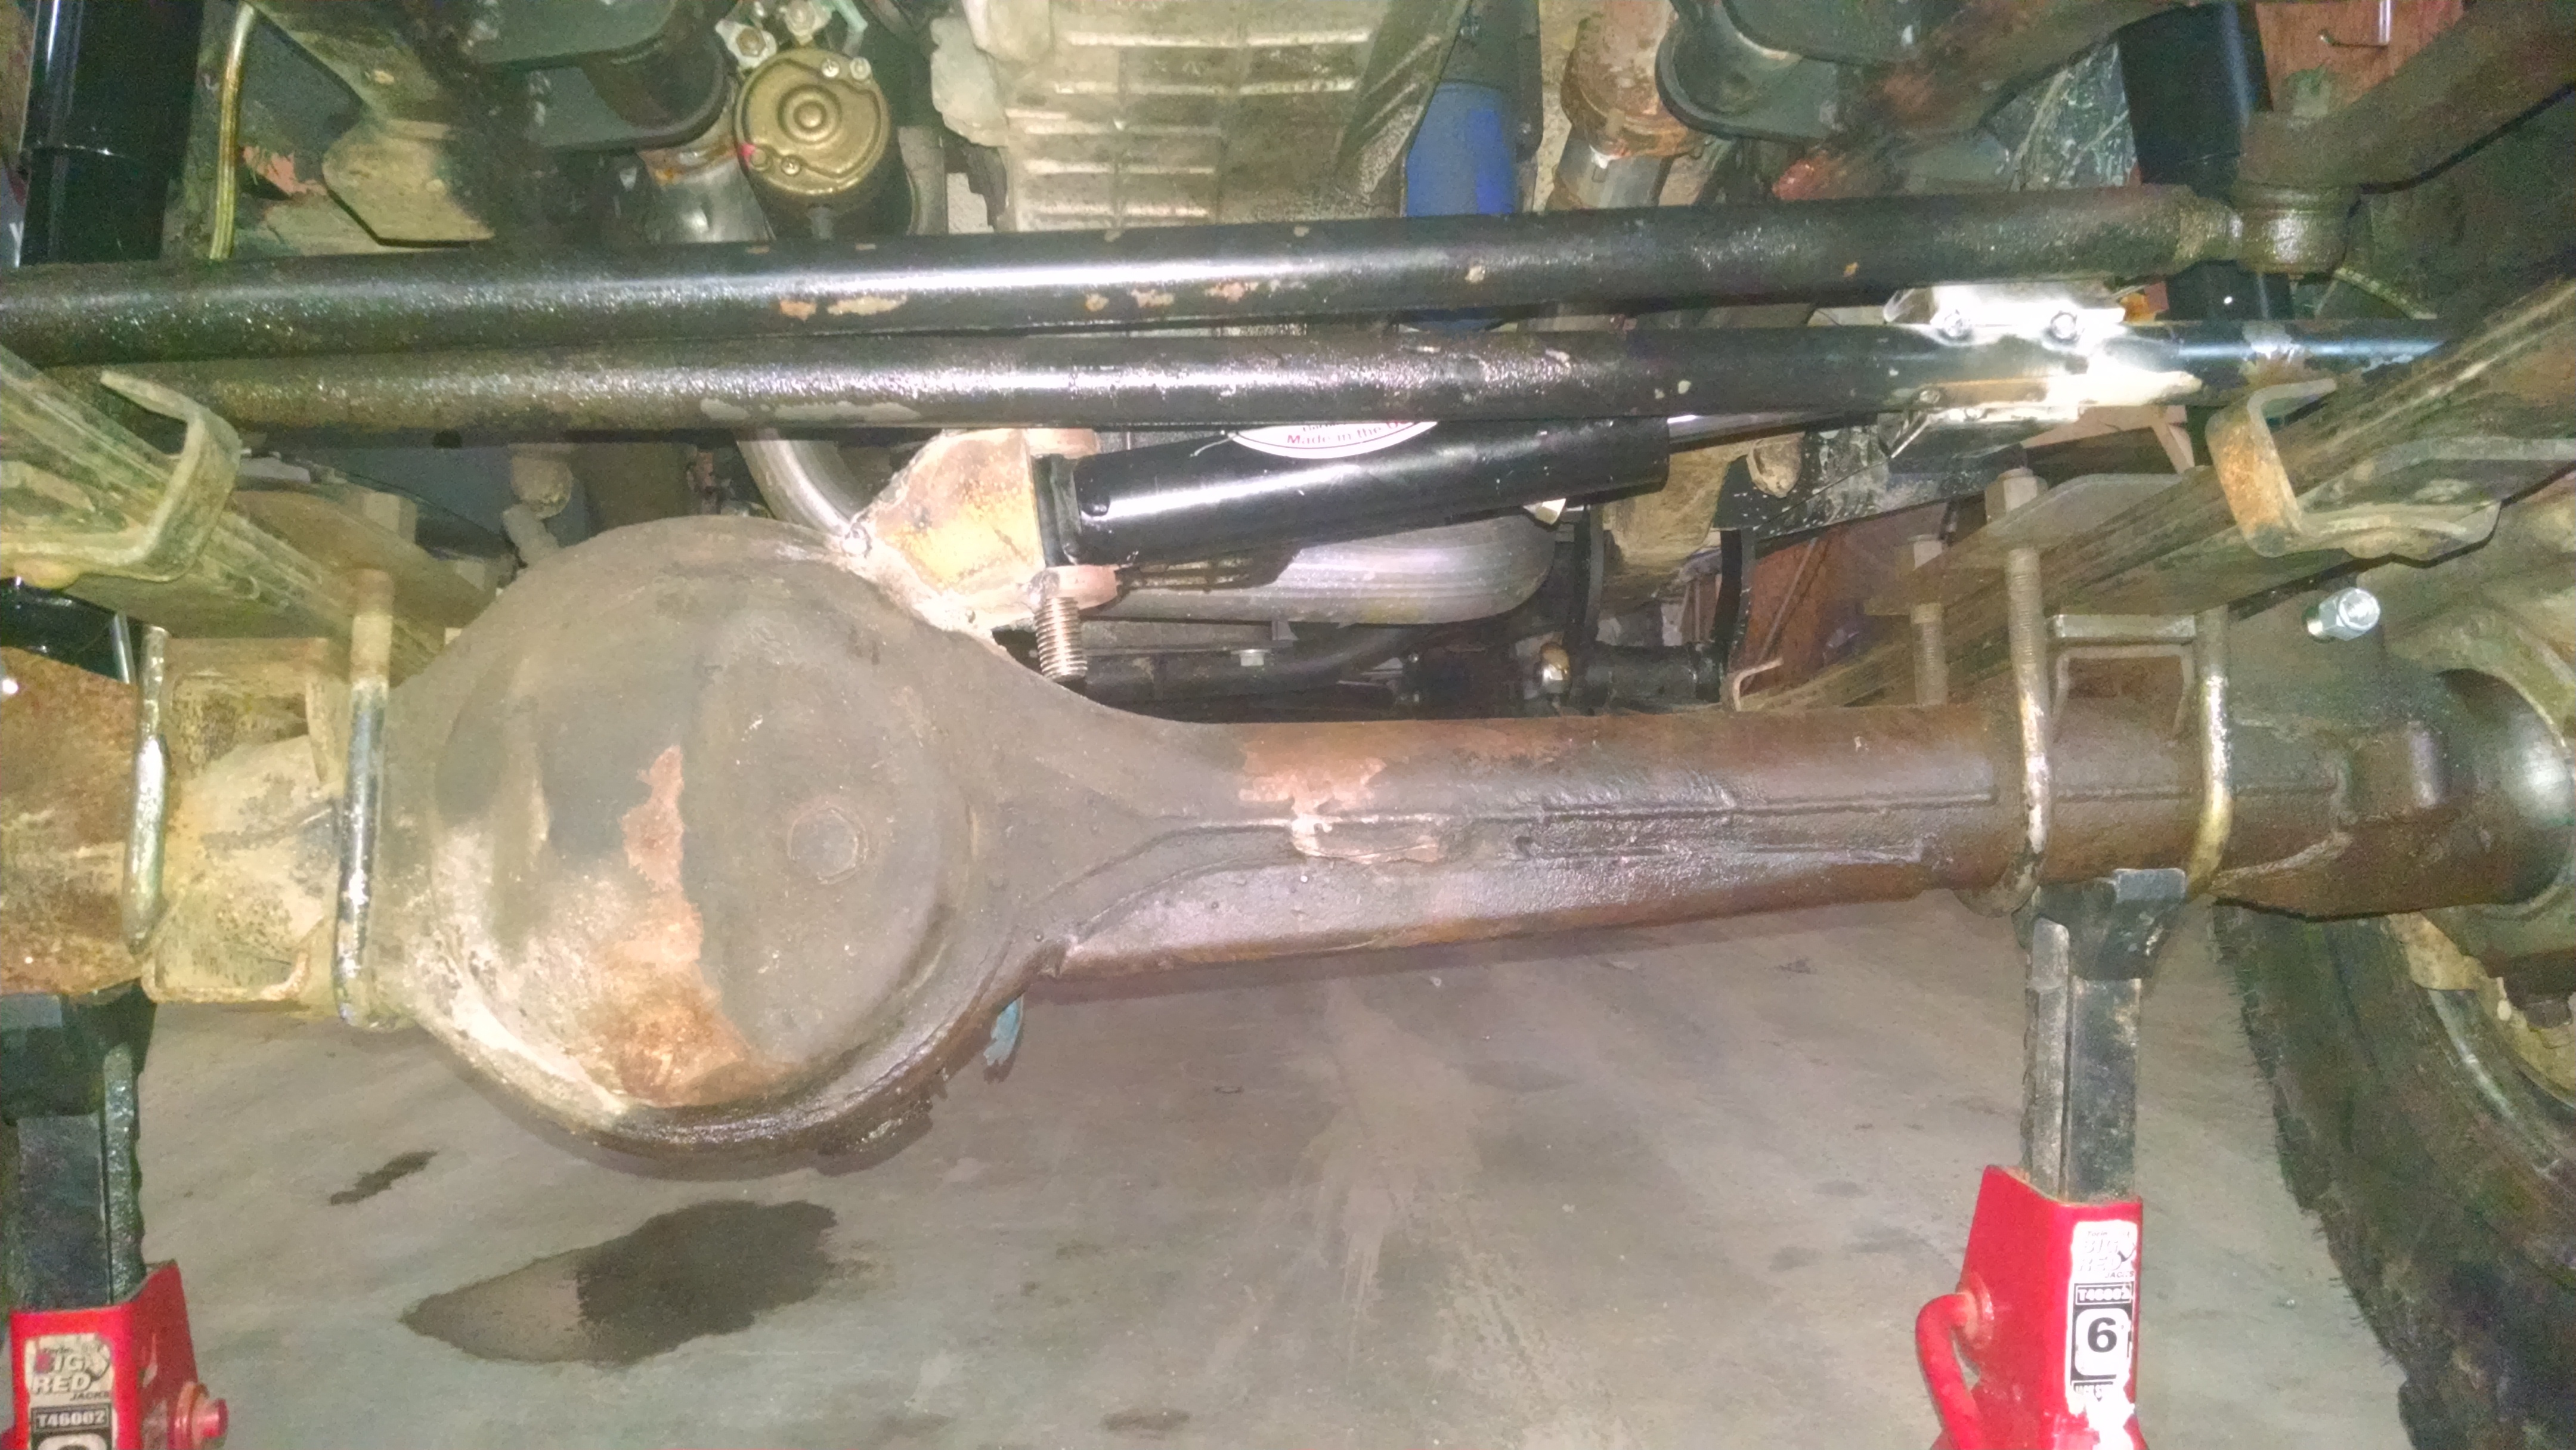
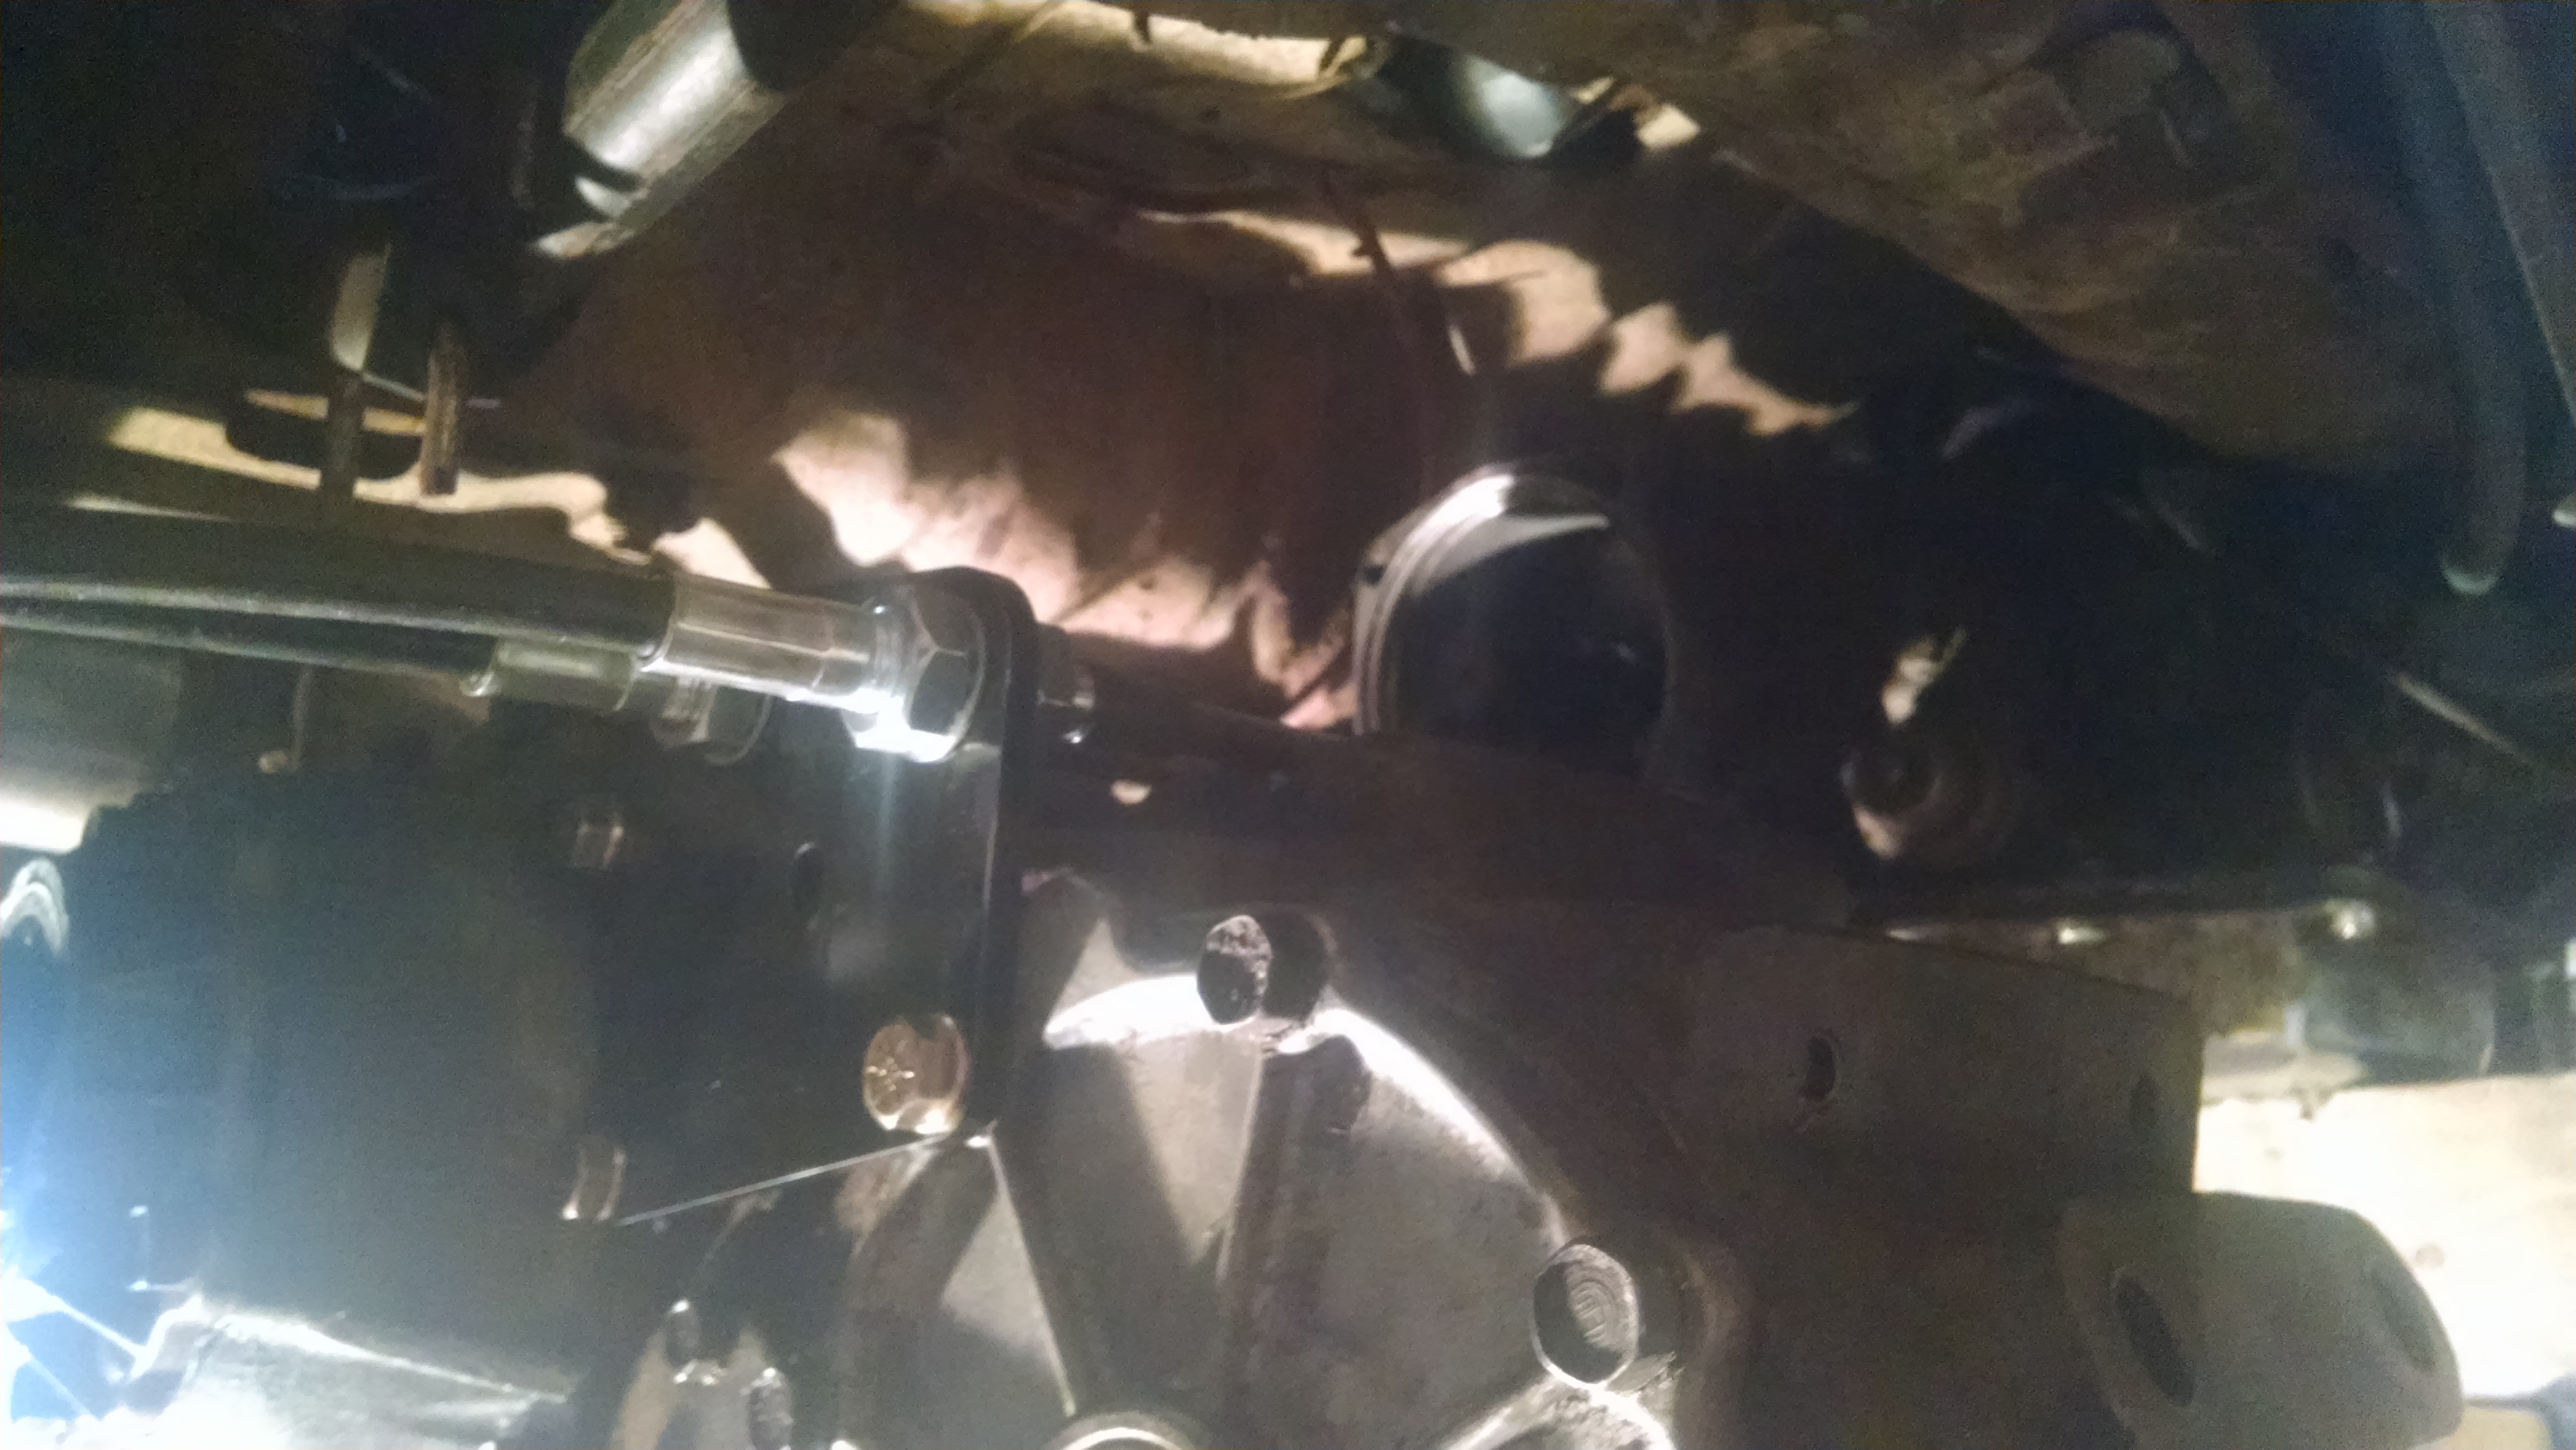
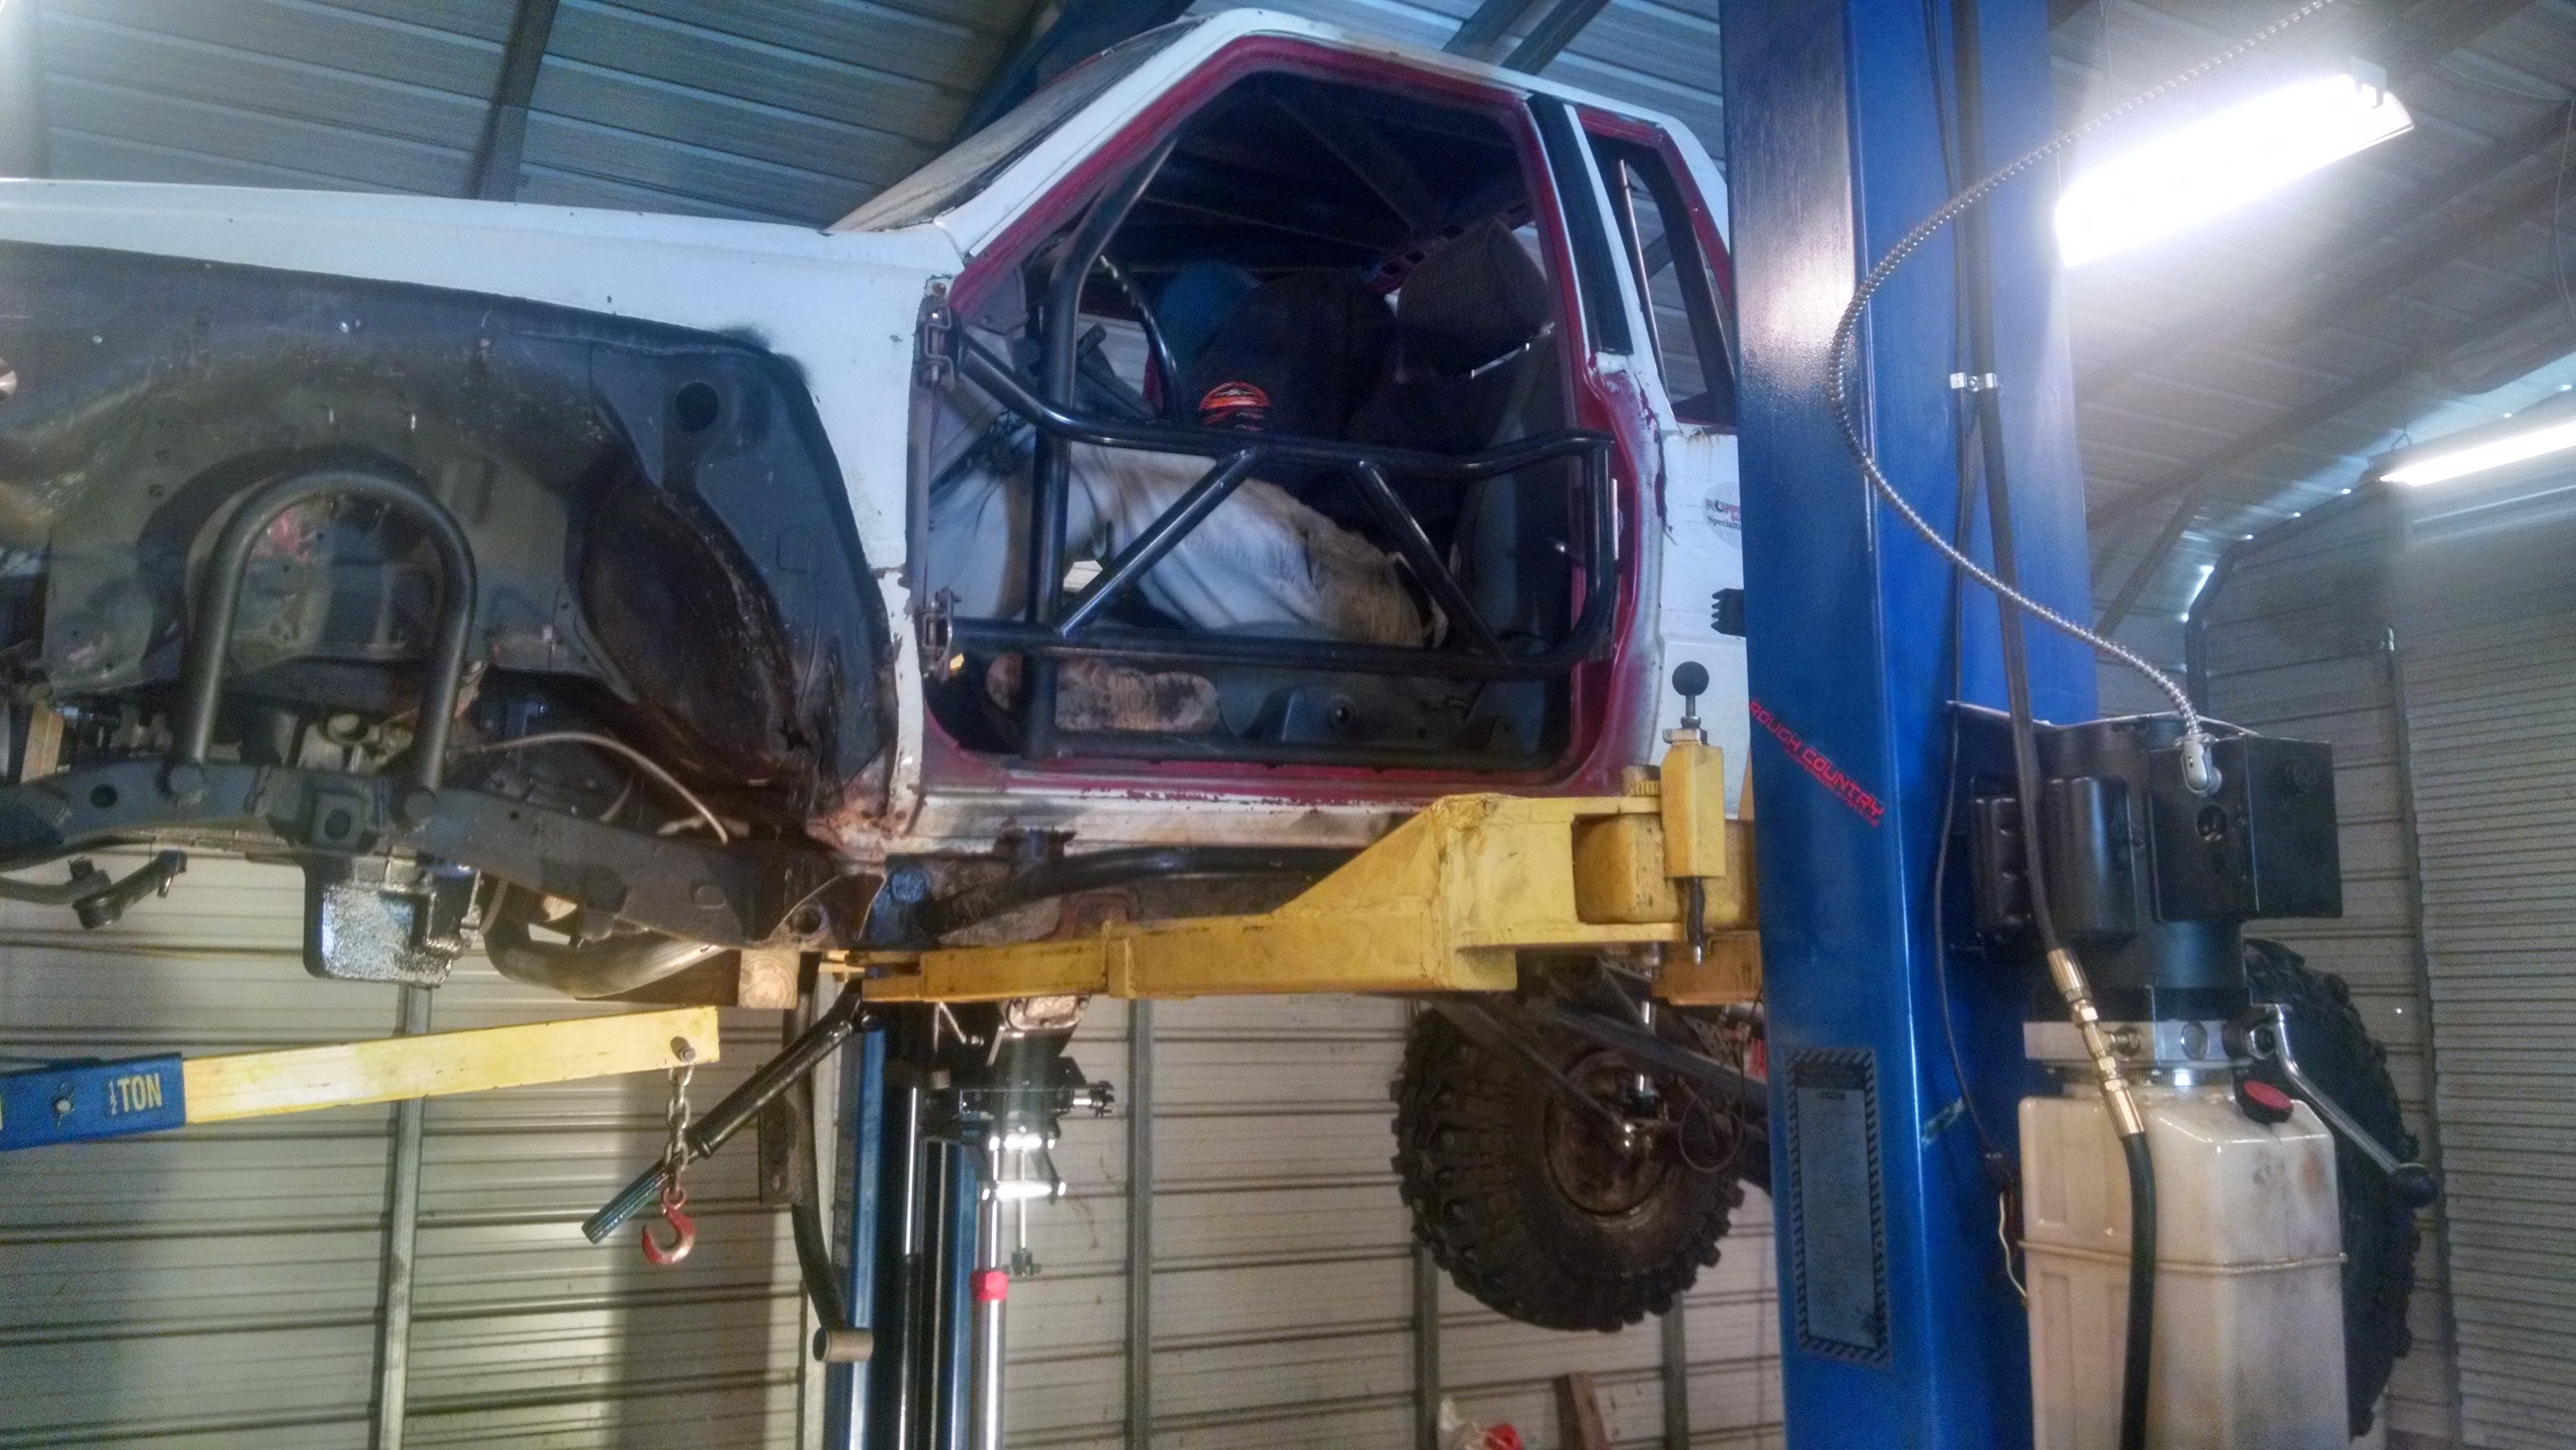
Lets get some things fixed; like ˟˟˟˟ty castor angle, pinion angle, and way to long a slip in the front shaft needed. solution... FRONT SHACKLES!
Got everything hung an mocked up. I actually moved the rear hangers forward an inch after this so the shackle angle is better plus they will settle in a bit.
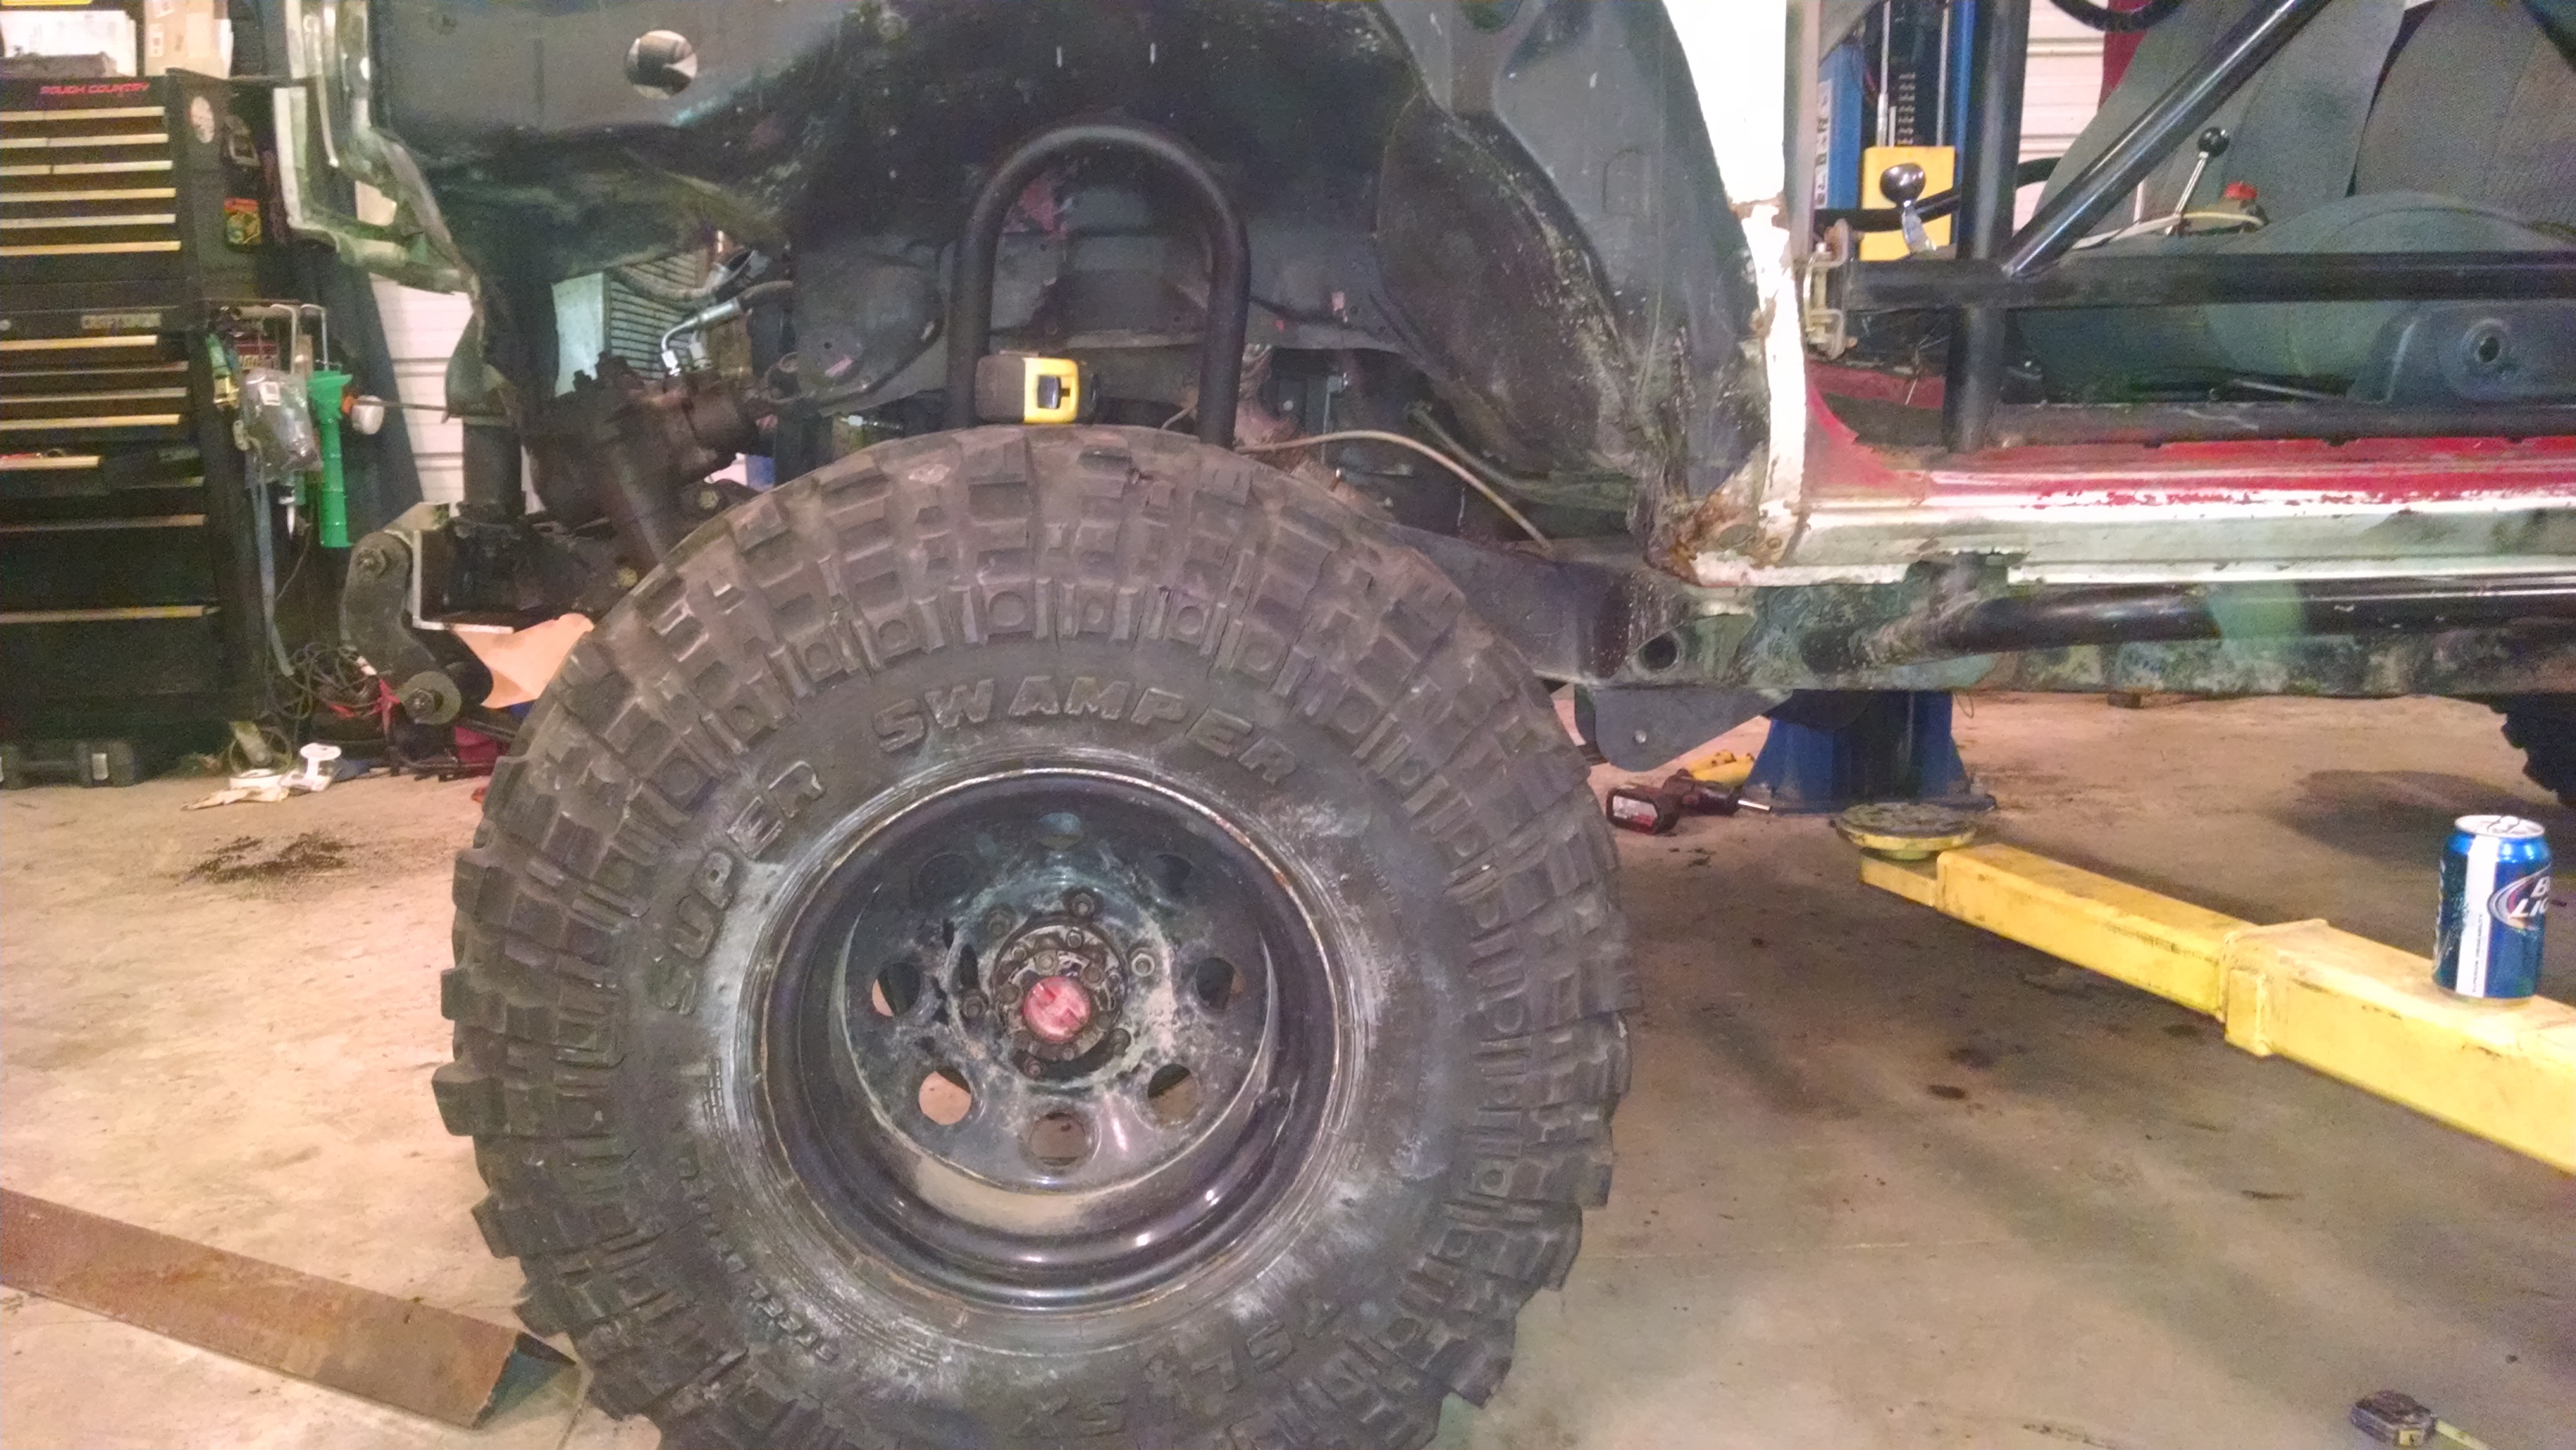
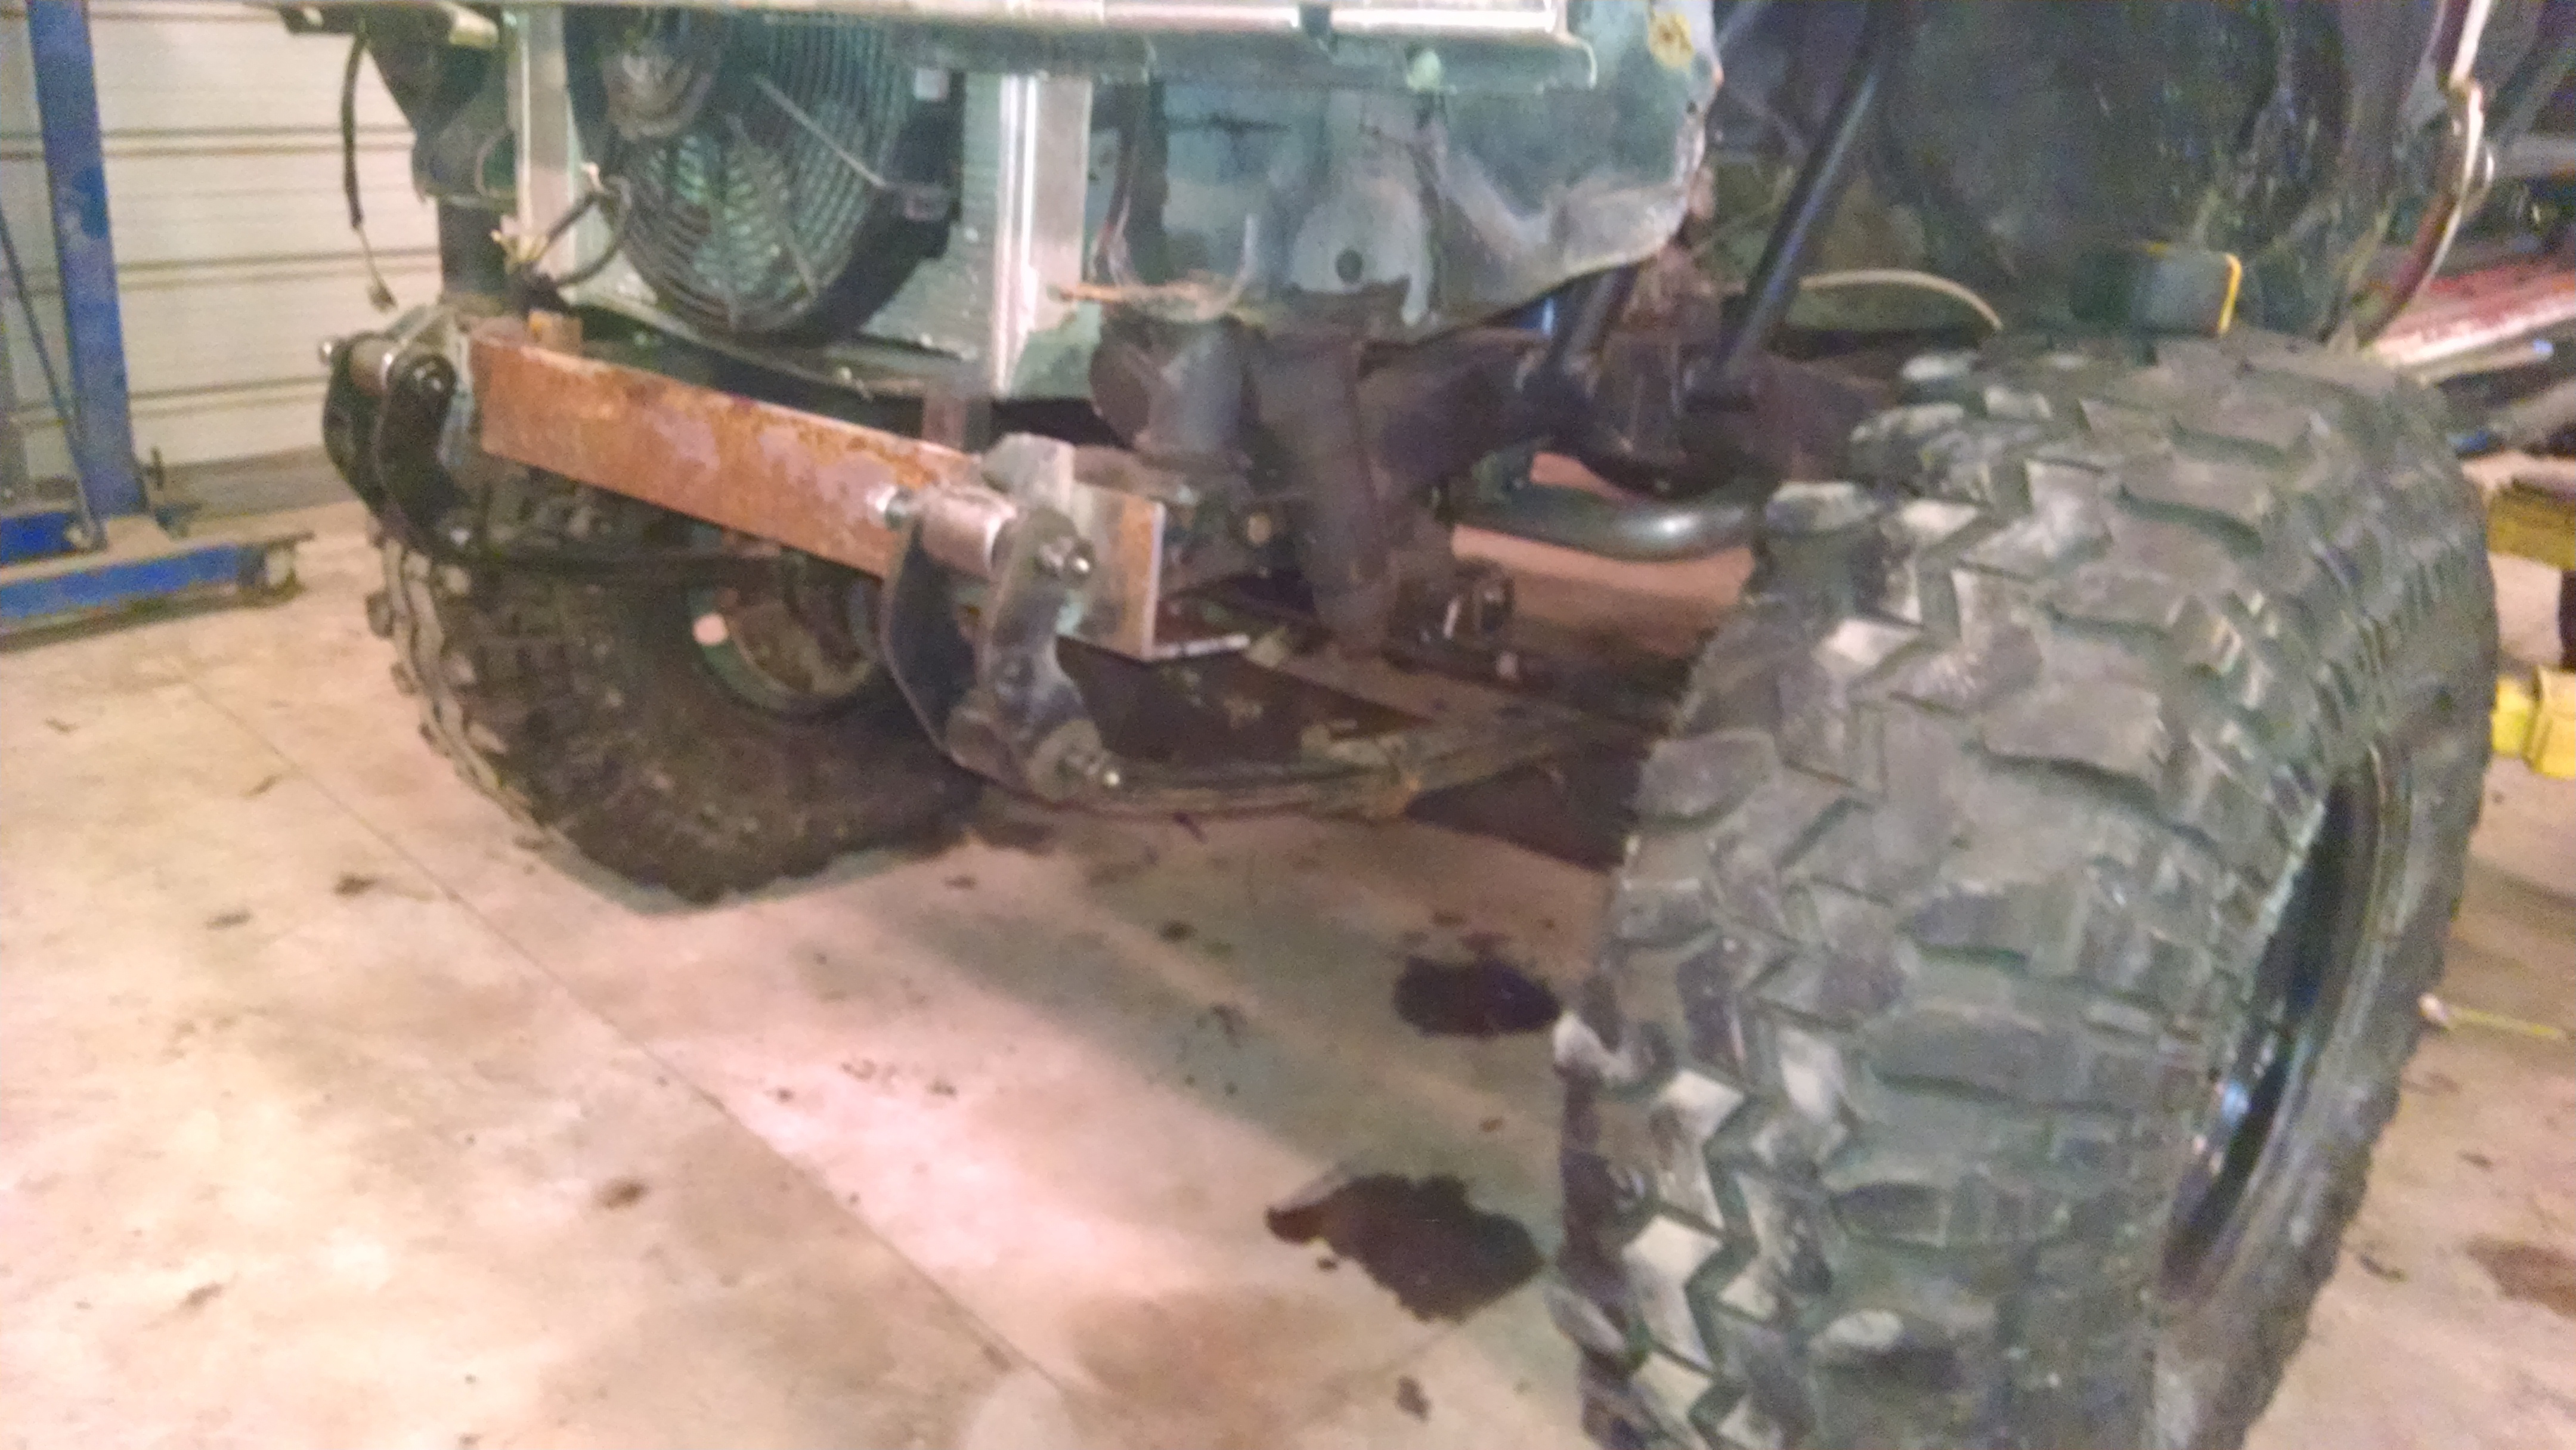
Got everything hung an mocked up. I actually moved the rear hangers forward an inch after this so the shackle angle is better plus they will settle in a bit.
Last edited by rswords; Mar 7, 2015 at 04:09 PM.


