
richf 1985 4runner build-up thread
 Dec 8, 2010 | 08:21 AM
#61
Registered User
Joined: Feb 2010
Posts: 1,934
Likes: 0
From: N. Lake Tahoe/Chico CA
somehow i missed all of these updates. it looks sick with the black top on there man! i really like how it turned out. you should paint yer front bumper black to have it match the grill.
Dec 8, 2010 | 08:30 AM
#62
Thread Starter
Registered User
Joined: Jan 2009
Posts: 477
Likes: 0
From: Moyock,NC
I just figured it out and got it on. Two bolts holes on the bottom of the truck attach the bracket to the truck and then the bolts to hold the bumper. Long story but I'm registering the truck in VA under my business for the time being and then switching over to NC in about 2-3 months once I get some things straightened out.
The front and rear bumpers are only temp. I want to make a rear plate bumper and get an addicted offroad front tube bumper. I might still paint them but I want to try and sell them first. They are in really good shape.
The front and rear bumpers are only temp. I want to make a rear plate bumper and get an addicted offroad front tube bumper. I might still paint them but I want to try and sell them first. They are in really good shape.
Dec 8, 2010 | 01:52 PM
#64
Thread Starter
Registered User
Joined: Jan 2009
Posts: 477
Likes: 0
From: Moyock,NC
I just ordered a few things from the dealership. New Clips for attaching the grill and head light adjusters. I'm always amazed at how cheap or fair priced my local dealer is on parts.
I also ordered some aluminum for my door panels. I got a pretty good deal on it compared to some other places I looked online. We will see what kind of shape the aluminum is in when it shows up.
I also ordered some aluminum for my door panels. I got a pretty good deal on it compared to some other places I looked online. We will see what kind of shape the aluminum is in when it shows up.
Dec 15, 2010 | 01:37 PM
#65
Thread Starter
Registered User
Joined: Jan 2009
Posts: 477
Likes: 0
From: Moyock,NC
I got my aluminum in from the vendor and made my door panels. Finished installing all the little trim on the doors. Got the tail gate installed with the glass. I had the window switch for the key working but it stopped for what every reason... soo let the battle begin with the tail gate wiring. Also the switch in the center console isn't working. The camera took a dump and never came back so I'll have to post some pictures later. The door panels do look cool tho.
Forgot to mention. My back wheels are locking while braking after installing the new wheels and tires. I tired playing with the LSVP today. I made a bracket to raise the LSVP back to its stock position and it did nothing for me. I'm going to look into the wheel cylinders next.
Forgot to mention. My back wheels are locking while braking after installing the new wheels and tires. I tired playing with the LSVP today. I made a bracket to raise the LSVP back to its stock position and it did nothing for me. I'm going to look into the wheel cylinders next.
Last edited by richf; Dec 15, 2010 at 01:45 PM.
 Dec 15, 2010 | 03:49 PM
#68
Thread Starter
Registered User
Joined: Jan 2009
Posts: 477
Likes: 0
From: Moyock,NC
Rob I have looked into the PV but want to rule out that the LSVP is actual the cause before I install the PV. It's weird cause the truck has had a lift for years and never had this problem or I never noticed it?? I'm going to clean the drums, inspect the wheel cylinders and bleed the brakes first. I got new extended brake lines that I still have to install also. If none of that works then I'm going to install the PV.
Dec 20, 2010 | 01:04 PM
#69
Thread Starter
Registered User
Joined: Jan 2009
Posts: 477
Likes: 0
From: Moyock,NC
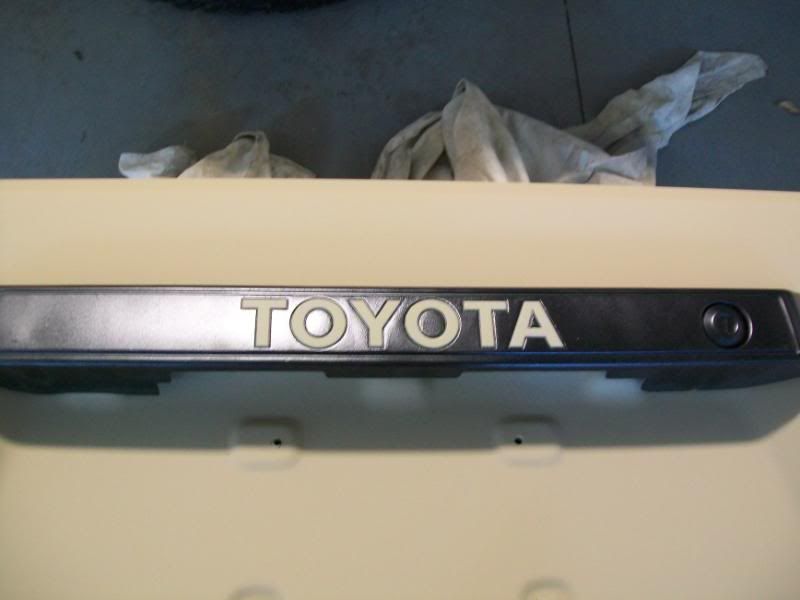
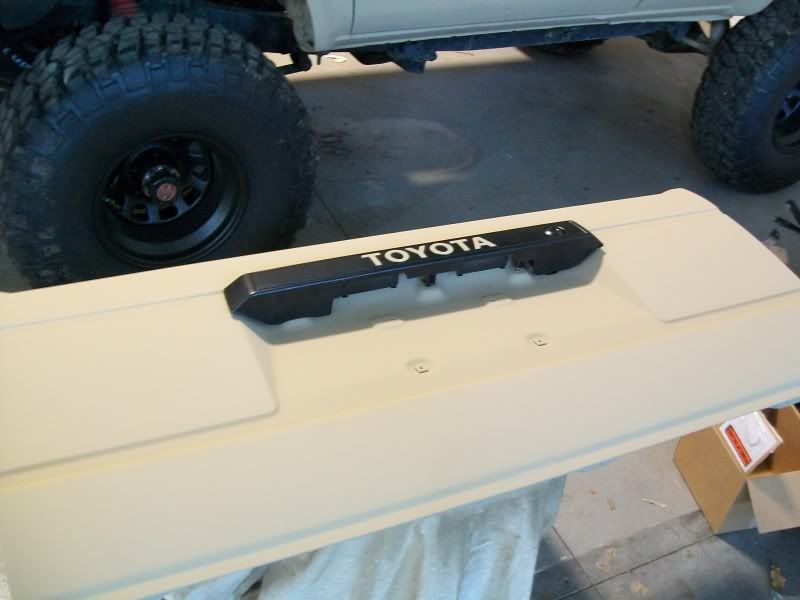
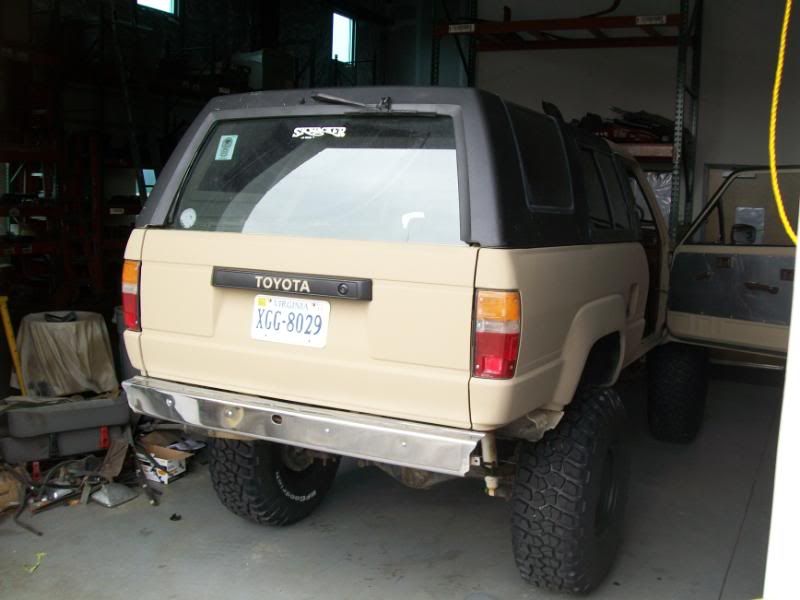
Well here's the tail gate. I actually have it installed now but no pictures.
I'll post some pictures in a little bit of the aluminum door panels I made and the new u joint. I also installed the marlin beefy shift seat for the tranny shifter, rubber shift boot, and new pedal covers from trail gear. The shifter seat made an improvement but I wouldn't go out of my way to place a order just for that part.
I'll post some pictures in a little bit of the aluminum door panels I made and the new u joint. I also installed the marlin beefy shift seat for the tranny shifter, rubber shift boot, and new pedal covers from trail gear. The shifter seat made an improvement but I wouldn't go out of my way to place a order just for that part.
 Dec 22, 2010 | 06:28 AM
#71
Thread Starter
Registered User
Joined: Jan 2009
Posts: 477
Likes: 0
From: Moyock,NC
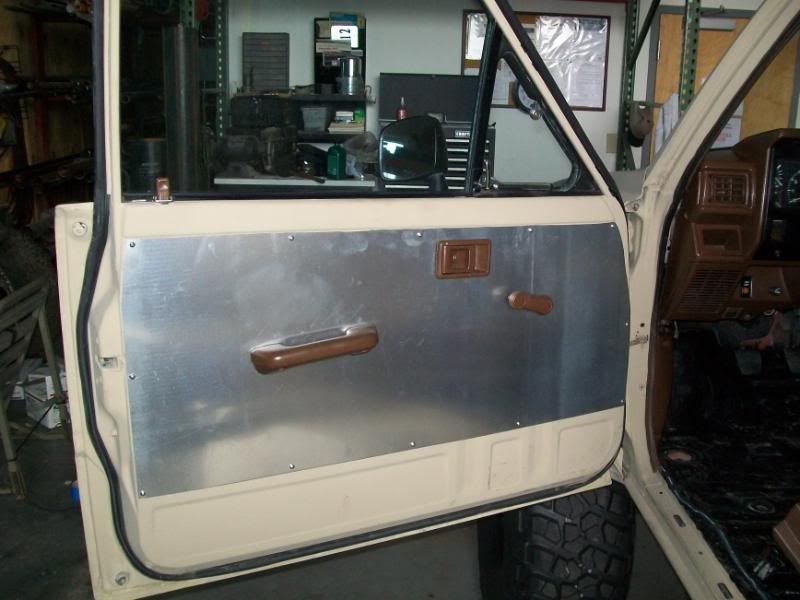
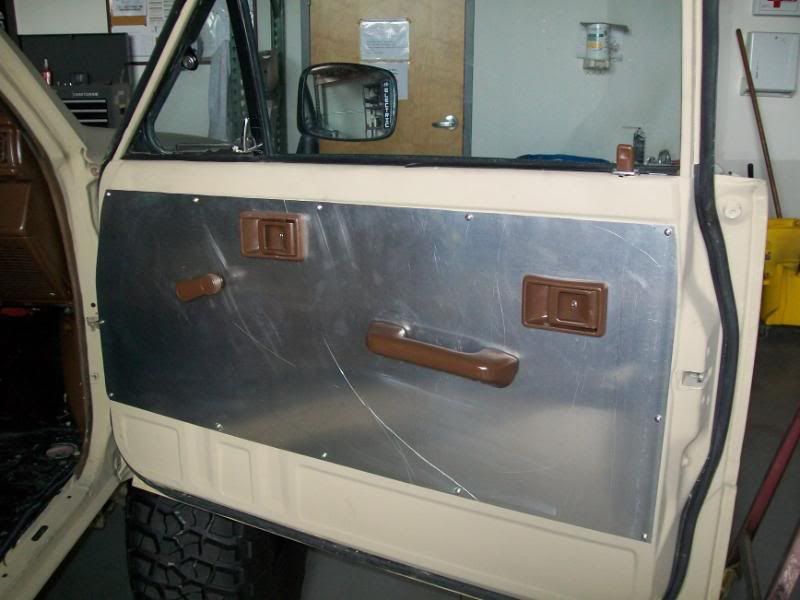
Here are the door panels I made. Nothing crazy but they do the job.
Tail gate with glass installed.
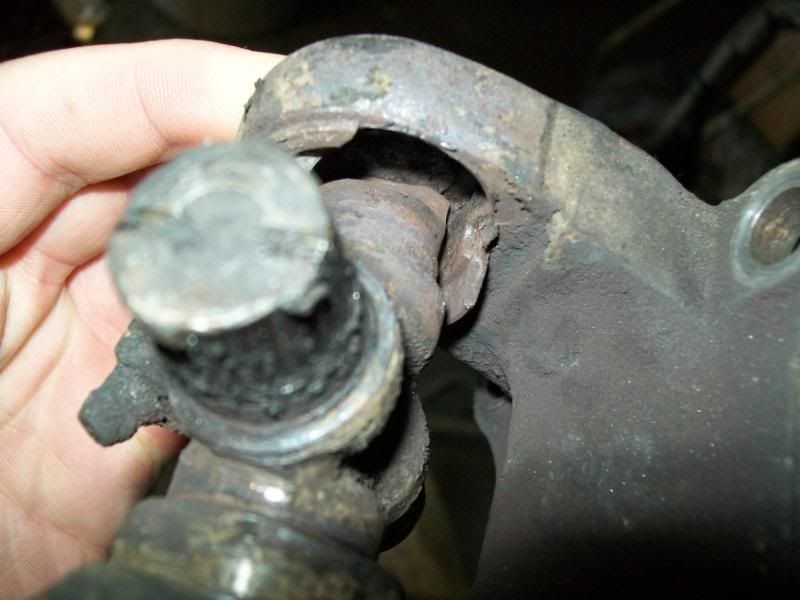
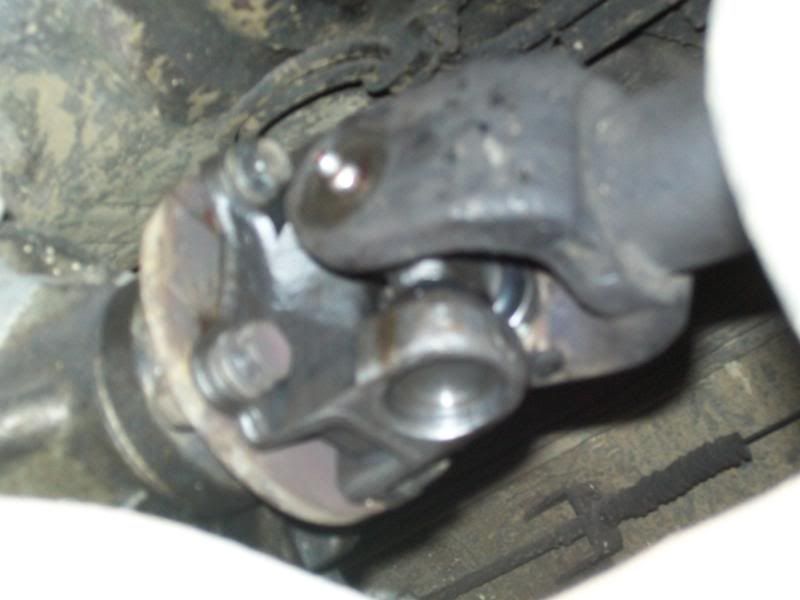
This is the blown u joint. It gave me a crazy vibration at 45+mph. The new joint and yoke make it so much smoother.
Tail gate with glass installed.
This is the blown u joint. It gave me a crazy vibration at 45+mph. The new joint and yoke make it so much smoother.
Dec 22, 2010 | 10:01 AM
#75
Thread Starter
Registered User
Joined: Jan 2009
Posts: 477
Likes: 0
From: Moyock,NC
Thanks guys.
I used some SS screws I got from the local hardware store. Drilled a pilot hole first then screwed them in. The aluminum is .080. It may seem a little thick but it's actually about perfect for the door panels. I was going to put foam weather stripping around the border of the panel but after driving around with them it doesn't need. The thick aluminum does the job itself. I did put foam behind the metal rod for the door latches cause it was vibrating like crazy. O ya forgot to mention I got the aluminum for something like $65.00 shipped. I had them cut two pieces about 1" bigger than the panel. It did come with that scratch on the passenger side but it didn't bother me.
I used some SS screws I got from the local hardware store. Drilled a pilot hole first then screwed them in. The aluminum is .080. It may seem a little thick but it's actually about perfect for the door panels. I was going to put foam weather stripping around the border of the panel but after driving around with them it doesn't need. The thick aluminum does the job itself. I did put foam behind the metal rod for the door latches cause it was vibrating like crazy. O ya forgot to mention I got the aluminum for something like $65.00 shipped. I had them cut two pieces about 1" bigger than the panel. It did come with that scratch on the passenger side but it didn't bother me.
Dec 24, 2010 | 05:06 PM
#77
Registered User
Joined: Jan 2009
Posts: 263
Likes: 0
From: anson, texas
beautiful build man, and as far as a wider stance why not just source a rear axle out of an ifs toyota and then run 1.5 spacers out front? just a thought, i would have to say your thought out process of all the small details is killer kinda makes my build look half a$$ed lol but then again I guess mine is headed down the line of being a full time rock basher so its all good lol but ya man suscribed for sure
Jan 9, 2011 | 12:34 PM
#80
Thread Starter
Registered User
Joined: Jan 2009
Posts: 477
Likes: 0
From: Moyock,NC
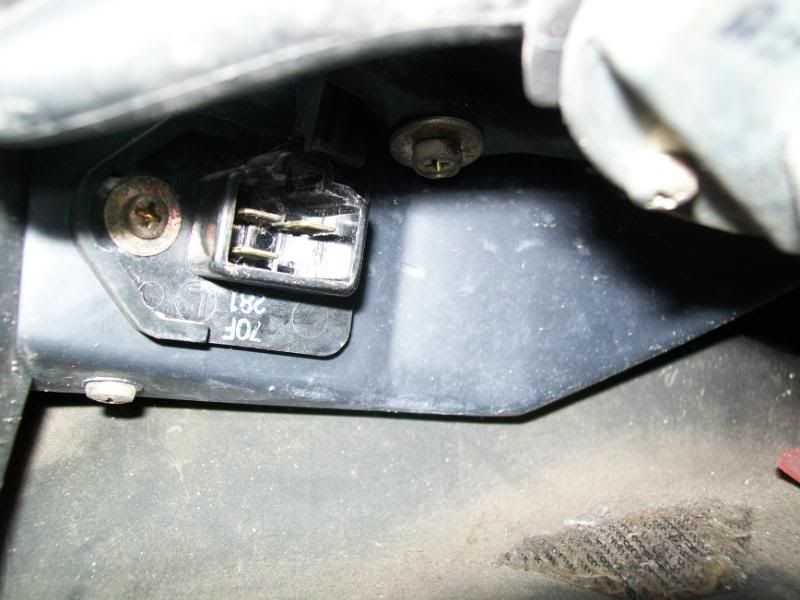
Got a little bit of work done today. Not really build related stuff but good info. Replaced the heater switch resistor. It's the easiest thing you will replace besides maybe a shift nob or rad. cap. It's located under the passenger side dash and controls the speed functions of your blower fan.

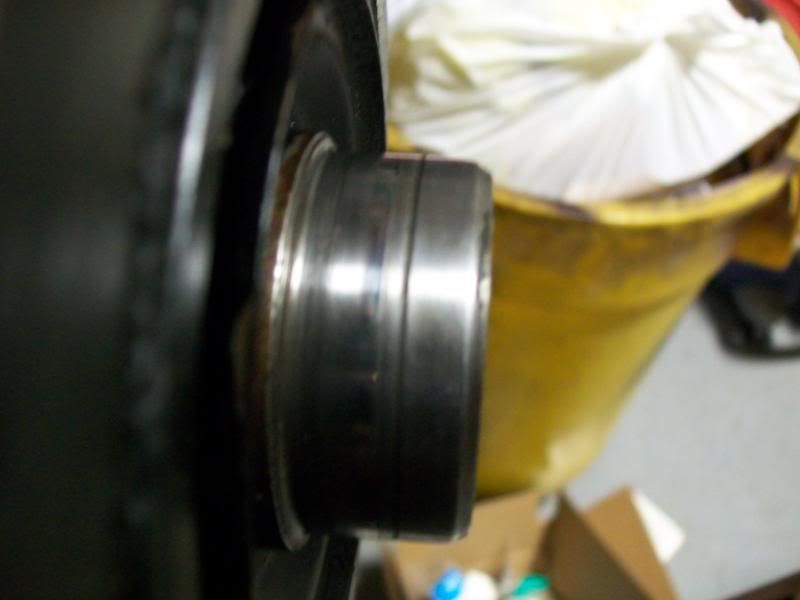
I also got around to fixing my crank pulley seal problem. What happens is the seal rubs a groove into the crank pulley shaft causing oil to leak by and be slung all over the place. I did just replace the front end of the engine about 2-3K miles ago with the engine builder kit but did not inspect the crank pulley for the groove. So I'm not sure if his seal caused the problem or not. Anyways here's how you fix it.
Here's the groove....
You need to go get the crank pulley shaft repair kit from the parts store. I got the felpro kit.
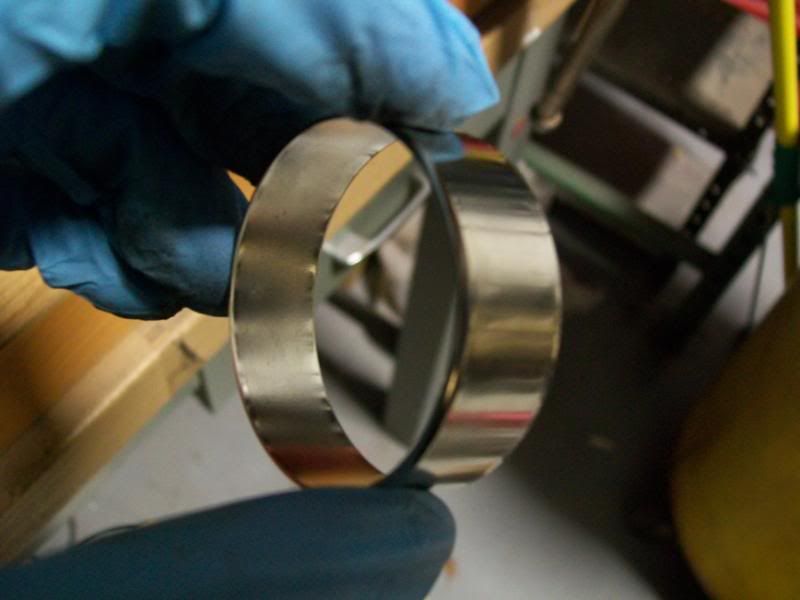
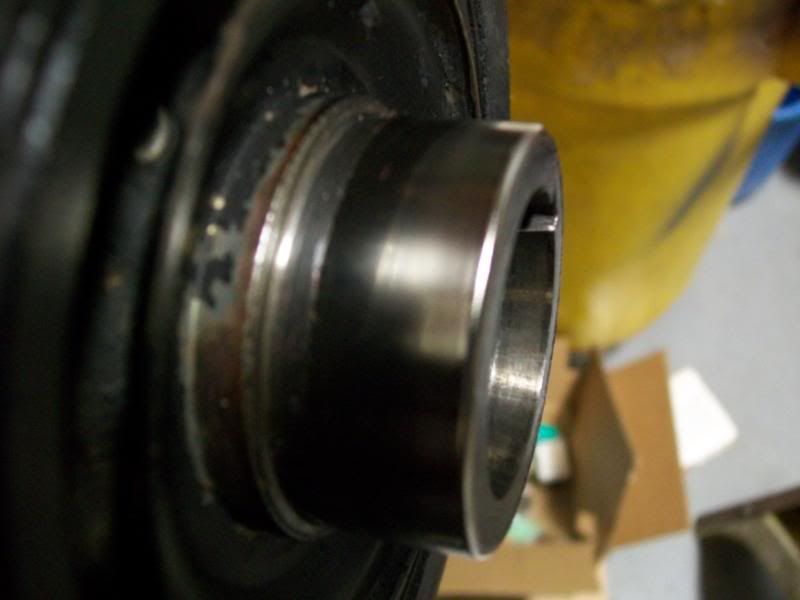
You have to apply the adhesive (Looks to be the same as red loc-tite) to the shaft of the crank pulley and then tap the sleeve over the crank pulley. The sleeve I got had a "rolled lip" on one side the rolled lip goes on the end of the crank pulley obviously.
I'm also getting my stereo and speakers installed Monday. I'll post a vid or something of how it sounds.
I also got around to fixing my crank pulley seal problem. What happens is the seal rubs a groove into the crank pulley shaft causing oil to leak by and be slung all over the place. I did just replace the front end of the engine about 2-3K miles ago with the engine builder kit but did not inspect the crank pulley for the groove. So I'm not sure if his seal caused the problem or not. Anyways here's how you fix it.
Here's the groove....
You need to go get the crank pulley shaft repair kit from the parts store. I got the felpro kit.
You have to apply the adhesive (Looks to be the same as red loc-tite) to the shaft of the crank pulley and then tap the sleeve over the crank pulley. The sleeve I got had a "rolled lip" on one side the rolled lip goes on the end of the crank pulley obviously.
I'm also getting my stereo and speakers installed Monday. I'll post a vid or something of how it sounds.
Last edited by richf; Jan 9, 2011 at 12:38 PM.


