
DMs 85 -its just about to begin
 Oct 8, 2013 | 04:48 PM
#21

Thread Starter
Registered User
Joined: Aug 2013
Posts: 29
Likes: 0
I have a shasta which is more then enough room for two, really 3 could sleep long as its two women and 1 man. The shasta comes with the annex and a floor for the annex, which is kinda nice if you are setting up for a long evening or couple days. Its something to note when looking at prices.
Oct 8, 2013 | 05:26 PM
#22
Thread Starter
Registered User
Joined: Aug 2013
Posts: 29
Likes: 0
I seen were you mentioned you need a little more power. Well I may be able to give you some advise.
My 87 is also a carbureted truck.
What you can do is as follows...
Engine builders 268 or 261 cam
Offenhauser intake
Holley 350 carb
LCE or TriY header
Custom exhaust
Upgraded ignition
Believe it or not those 6 little upgrades will make a giant difference to your truck. When I first done mine I wasn't satisfied because I went with a weber carb. The weber in my opinion is JUNK... I turned around and bought a Holley and man it really changed things.
I cannot tell ya how much power you gain but I can tell ya it's worth every penny. If you decide to do that stuff let us know.
Keep up the work. I'll be watching this thread.
very interesting. I too have had less then good results with Weber carbs.
Right now I really want to focus on suspension and gears- then I may have to look at some of your suggestions. I have been pretty confident that the cam was going to be one of the first motor upgrades, but as you know thats only the start.
To add a little something to the thread on my end. I started prepping for the compressor for the air lockers. I am really thinking about making a vented box and mounting it on the frame work for the roof top tent. That way it is mid mounted which they say is a good idea for air distribution to the lockers. I would also mount my second battery right there if I go that route. my plan was a second deep cycle that I could charge off the alternator or a small solar charger, it would b nice for night lighting when camping and it puts the power right there for the compressor. Just a thought

But I did decide where to mount the switch's and went a little different route for this then the standard.Here is the start - .125" aluminum.

25 degree slant so the switch bodies fit into the area I plan to put them, and it looks pretty good from the drivers seat, hopefully I will get them in Thursday night or Friday, hope to give them a test this weekend.I know its a crappy pic - I really am trying to squeeze this in between the jobs that pay the bills (and the builds).
 Oct 13, 2013 | 04:59 PM
#23
Thread Starter
Registered User
Joined: Aug 2013
Posts: 29
Likes: 0
Swapped my stock open rear out with a V6 4:88 -zip locker.
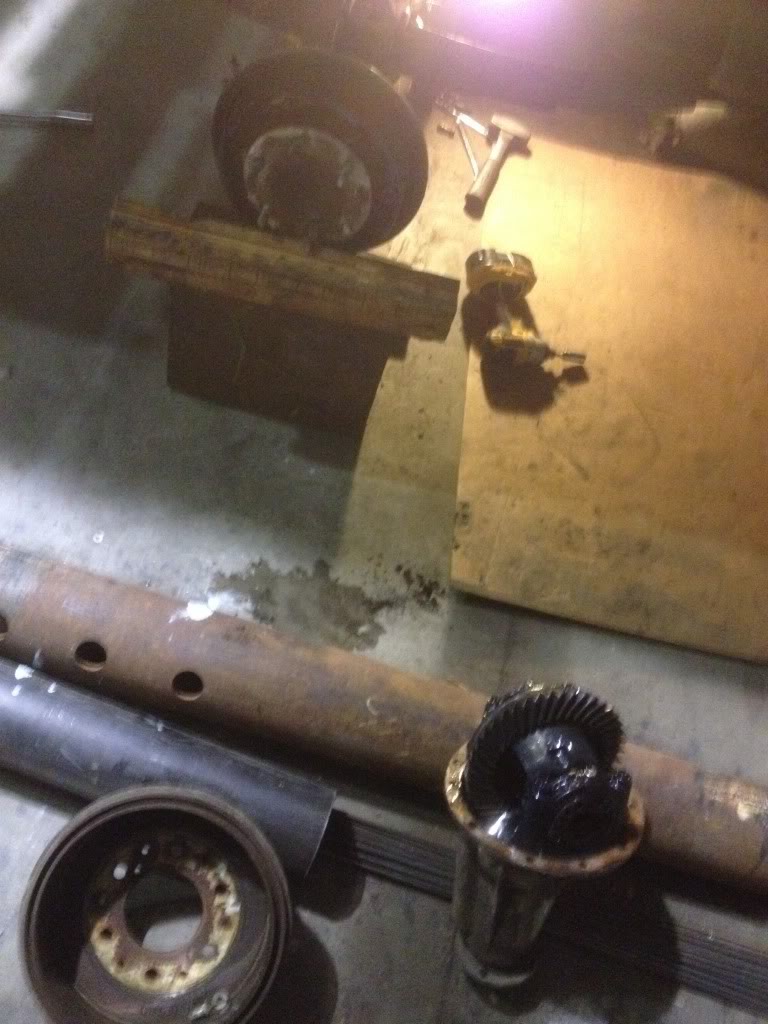
Didnt get to the front yet. But as long as I was cutting the other day I did cut my plates for the mid-mount compressor and deep cycle. Pic doesnt say much but its a start.
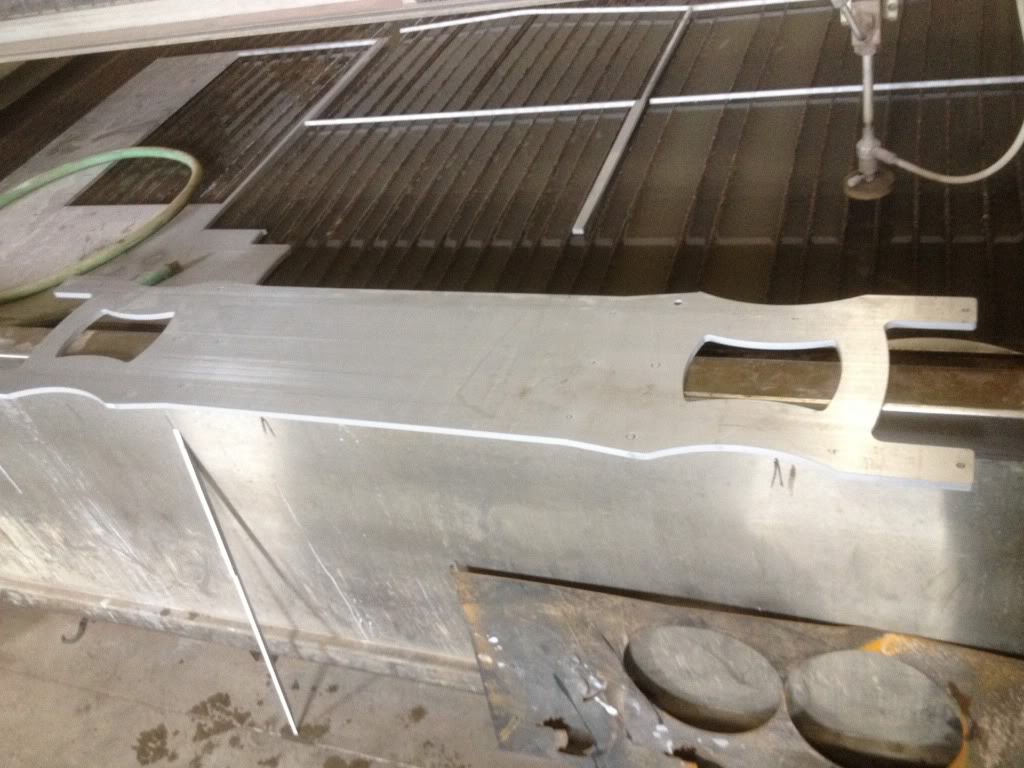
It will be easier to understand when it is mounted to the truck - I hope.

Didnt get to the front yet. But as long as I was cutting the other day I did cut my plates for the mid-mount compressor and deep cycle. Pic doesnt say much but its a start.

It will be easier to understand when it is mounted to the truck - I hope.
Oct 16, 2013 | 07:20 PM
#24
Thread Starter
Registered User
Joined: Aug 2013
Posts: 29
Likes: 0
Today I snuck in a little more on the air supply and yesterday got the front end gears and carrier swapped out. Here was todays -
First-
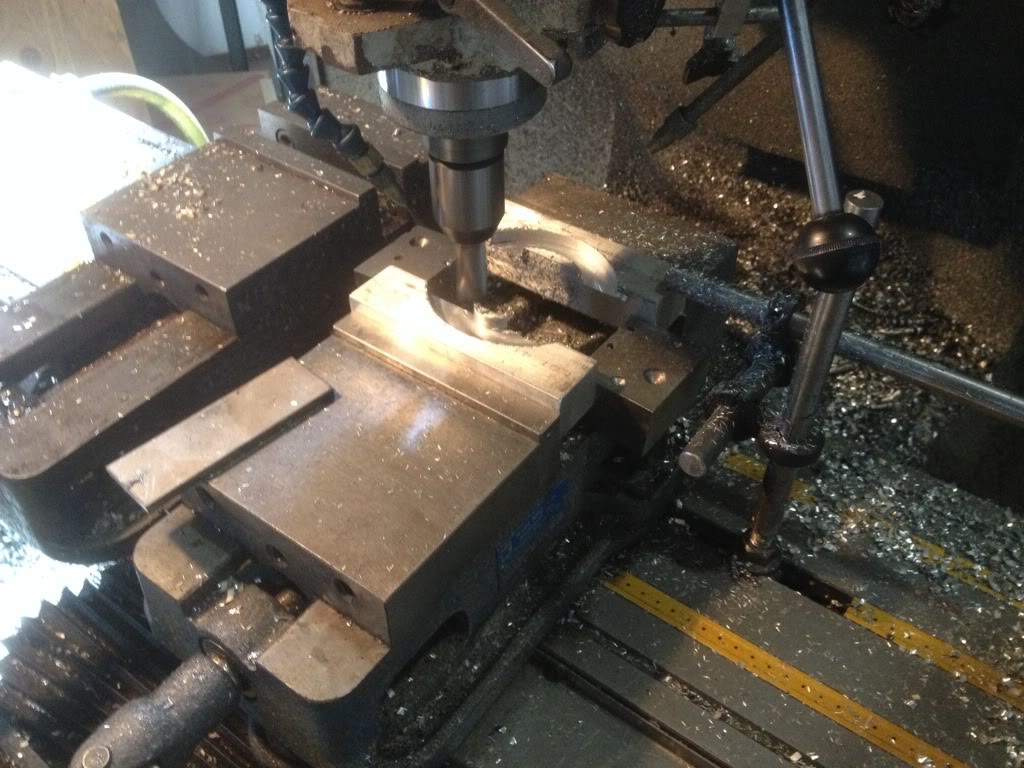
For this - a small air tank. I did not make it too big becuase I dont want to have to wait for it to build pressure for very long when I want to engage lockers.
Maybe a little more tomorrow.
First-

For this - a small air tank. I did not make it too big becuase I dont want to have to wait for it to build pressure for very long when I want to engage lockers.

Maybe a little more tomorrow.
Oct 24, 2013 | 07:15 PM
#25
Thread Starter
Registered User
Joined: Aug 2013
Posts: 29
Likes: 0
Got a little more done today. Been slow progress due to lack of time.
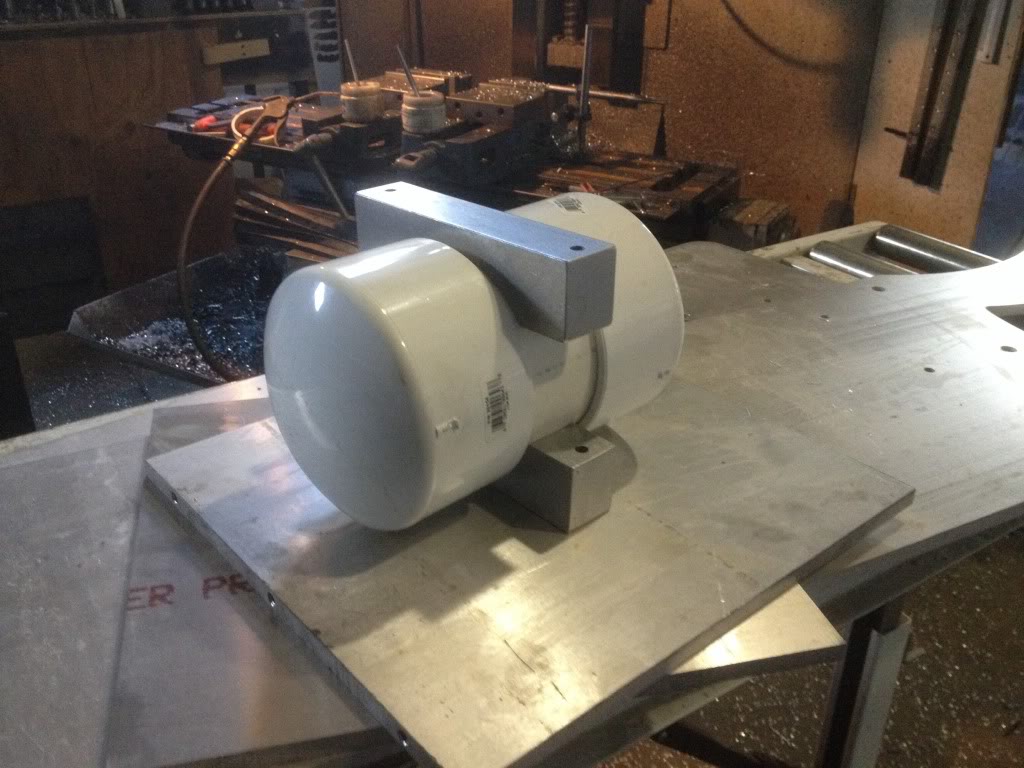
I am mounting my compressor and spare battery at the front of the box, picture will follow so it is more understandable. So I worked on compressor mount with extra air tank and my vented guarding. Here was the cutting -
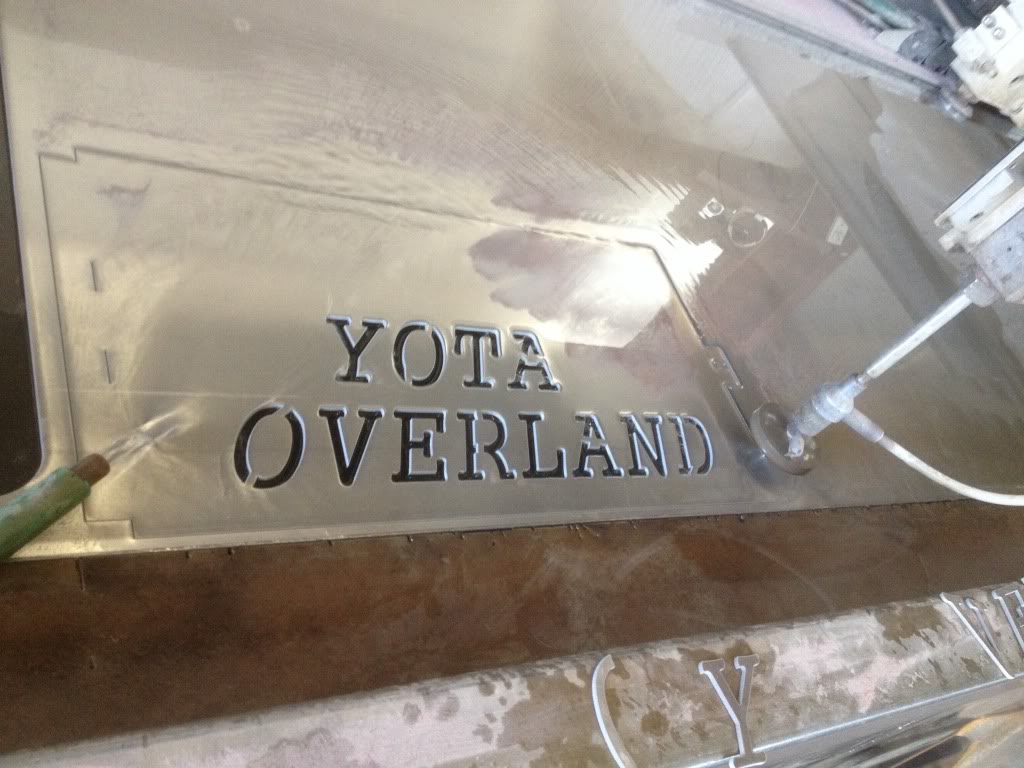
where it will go -
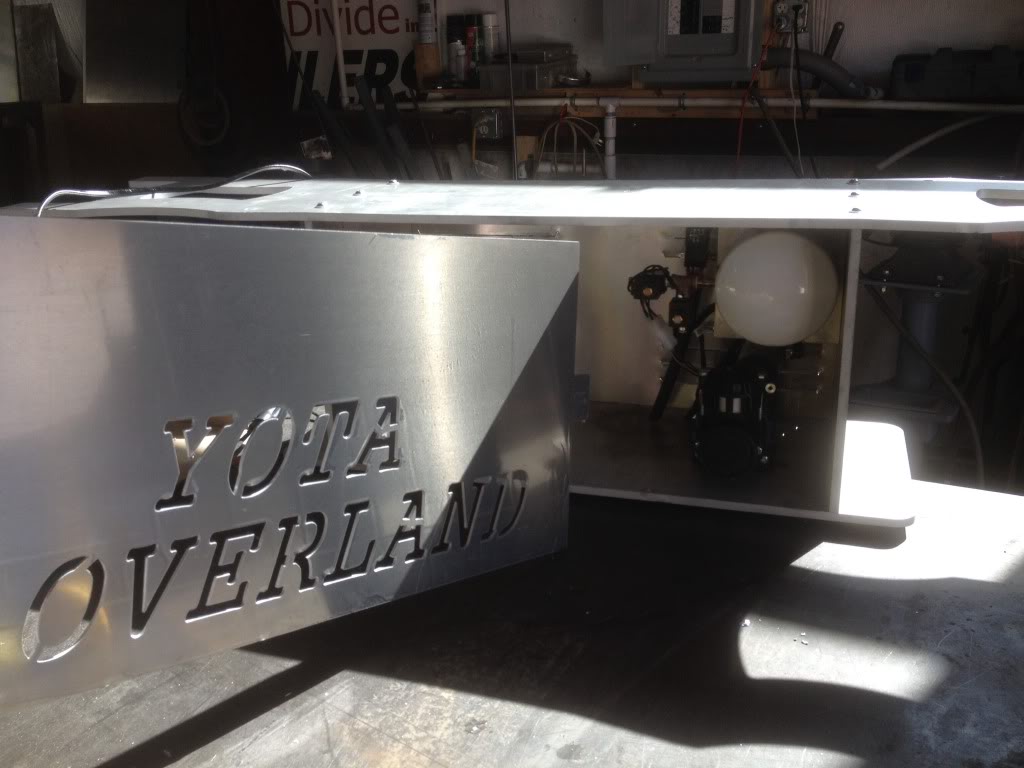
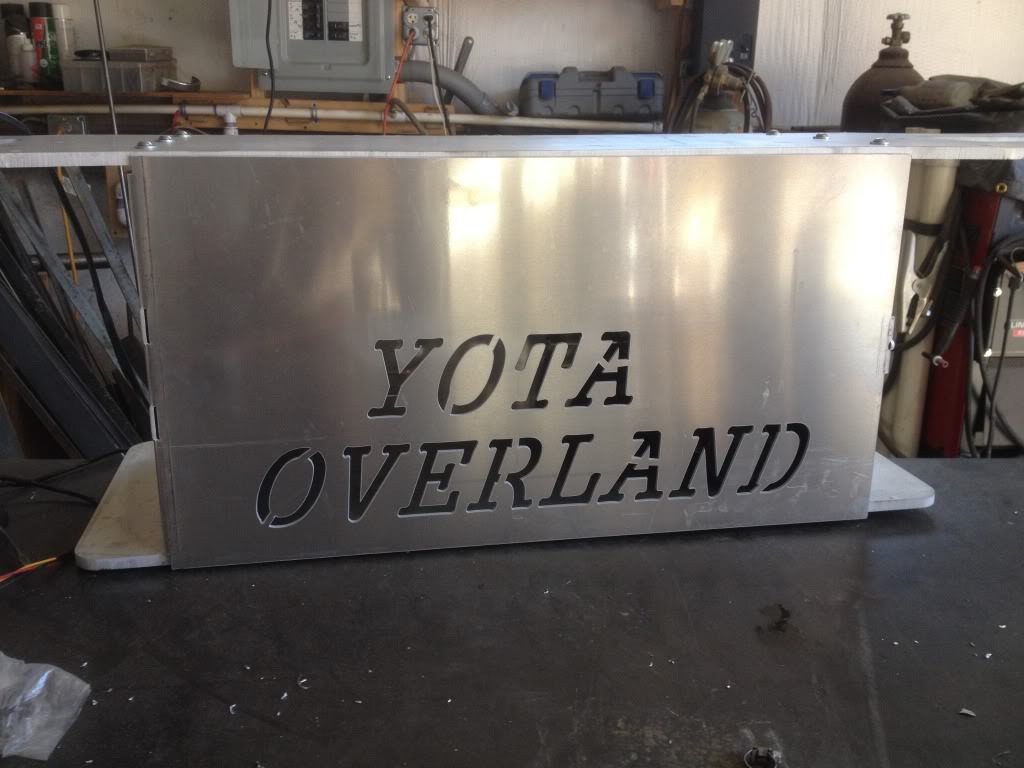
And how it looks after doing the brake work (bending) - tomorrow I will get some aluminum hinge and a cam lock to mount the access panel.
I am mounting my compressor and spare battery at the front of the box, picture will follow so it is more understandable. So I worked on compressor mount with extra air tank and my vented guarding. Here was the cutting -

where it will go -

And how it looks after doing the brake work (bending) - tomorrow I will get some aluminum hinge and a cam lock to mount the access panel.


 Nov 8, 2013 | 08:24 AM
#31
Thread Starter
Registered User
Joined: Aug 2013
Posts: 29
Likes: 0
I appreciate the positive feedback. Having the equpment makes it easier for sure, anything is possible with the right tools (I think). The machining equipment is nice , but the water table really makes it fun to knock out cool stuff with little effort.
Nov 9, 2013 | 05:29 AM
#32
Thread Starter
Registered User
Joined: Aug 2013
Posts: 29
Likes: 0
finally mounted in the vehicle. Now the not so fun work begins- wires and lines.
Going to relocate my spare to hang under the roof top tent. Get it out of the sun - and I have a small solar panel to mount up top for slow charge on the deep cycle When canping and the trucks not running. That will mount where the tire was.
All the dirt is in the back of the truck is coffee grounds, never leave garbage in the truck over night, bears seem to follow their nose, lucky the truck didnt get trashed, I have seen some pretty persistant bears break into truck beds with caps on them and even seen a truck a lady brought here that the bear tried to bite the handle off of the passenger door.
Lucky for the little yota the other morning I hit a mule deer, ripped its guts out and sprayed them on the side of the rear tire,wheel well, and rear bumper. Only one tiny forehead dent to deal with. Time to get out the beater for dodging animals for the next 5 months.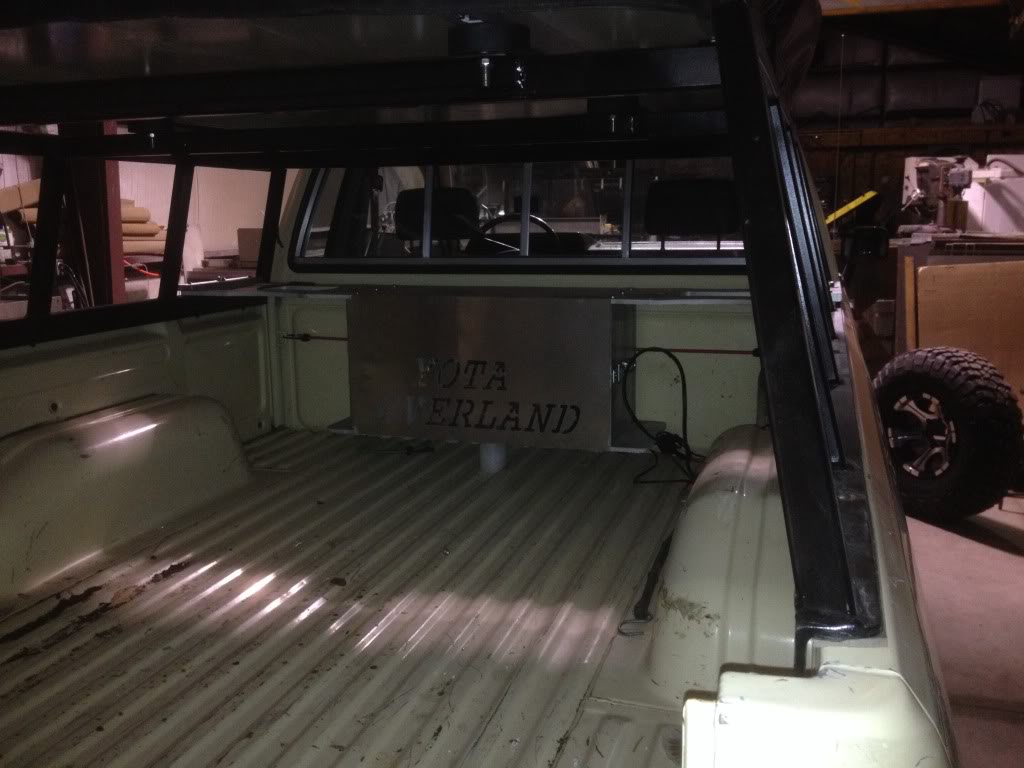


Thread
Thread Starter
Forum
Replies
Last Post
hiluxinargentina
86-95 Trucks & 4Runners
3
Sep 30, 2015 05:51 PM
myotherrideisayoshi
86-95 Trucks & 4Runners
1
Sep 29, 2015 05:41 AM
potatopants
95.5-2004 Tacomas & 96-2002 4Runners
4
Sep 15, 2015 06:26 AM


