When you click on links to various merchants on this site and make a purchase, this can result in this site earning a commission. Affiliate programs and affiliations include, but are not limited to, the eBay Partner Network.
This is my first post here, but I've been lurking around for a while. Although I have a long ways to go on my restoration, this place has been an invaluable resource so far.
I inherited my dad's 1982 Toyota Pickup. I grew up with him driving me around in it. Once he got a newer truck, it ended up sitting in the yard as a dump run truck for several years until my brother started driving it. It was pretty neglected for at least a decade or two. Exhaust leaks, windshield leaks, oil leaks from everywhere. Although it hasn't ran very smooth as long as I can remember, it's always started up after a battery charge and a few cranks on the starter.
What started as cleaning up/restoring the interior has turned into a full fledged, frame off restoration. It's been slowwww process. Beyond gutting the interior, I almost have the engine done being rebuilt and have the cab and bed off of the frame. I'm trying to stick with OEM parts when possible, but it's not always possible due to parts availability and/or cost.
I'll post more details as time comes, but wanted to start off by briefly sharing what I've gotten done so far.
A couple shots of the beast when I picked it up and then managed to drive it almost 100 miles to my house... not bad after sitting for a few years. I was terrified I was going to find a black widow crawling on me though.
Where it all started... gutting the interior to clean it and make it at least tolerable to drive.
Sourced a new OEM dash pad from Toyota to replace this old thing
Have a new OEM headliner and visors to replace these nasty things. Mold/mildew due to a windshield that leaked for a couple decades.
Cleaned up the floor pan, layer down some POR-15 and covered covered with sound deadening material. Fortunately this truck has been in California it's entire life and the rust is mostly limited to the surface.
This is it for now. I'll get to the engine tomorrow.
I ran into a stand still with repainting the interior of the truck and the weather turned cold so I started tearing into the engine since there was oil leaking everywhere and it wasn't running all that great.
Kind of like the interior... what went from "getting things cleaned up" went to completely ripping out the engine and rebuilding everything.
I brought the head, block and flywheel to a local machine shop in Sacramento -- if you're in the area, Mike Parrish at Parrish Automotive was awesome! They magnafluxed the block, honed/bored it, cleaned the head... and that's when I ran into some unexpected issues. They found a couple of small cracks in the valve seats. Mike suggested I could probably find a refurbished head cheaper than they could finish cleaning my head up and repairing the cracks.
I ended up finding a refurbished head down with Nick at Yota1 in Modesto. Another awesome shop. I ended up buying a bunch of OEM parts from them as well. I had originally purchased an ENGNBLDR kit, but after dropping more money than I'd planned at the machine shop and on a new head, I felt like it was cutting some corners... so I went with OEM bottom end components, Aisin water pump, oil pump, etc..
Fast forward and this is about where I'm at now. I've sourced a lot of OEM parts from ToyotaPartsDeal.com as well. Pretty good prices for OEM parts and decent shipping speeds. Waiting on a few parts from them now.
While I wait for some more parts on the engine, I've gotten the cab and bed taken off. Tons of cleaning to do on the frame, but it's not in too bad of shape, rust wise. Most of it seems to be surface rust. I plan on stripping everything else off of the frame and trailer it to be sandblasted. Still debating what to seal it with next... epoxy primer/paint? Something tougher?
I am glad to see another one of these trucks saved!
Make sure the inside of the frame gets cleaned out real good and coated with what ever you choose. Most of these frames rot from the inside out where debris and moisture stay.
I'm assuming most places that sandblast often would probably know how to get the inside of the frame cleaned out well? I was wondering how that would be done, as well as how to get the inside sealed up once it's cleaned out...
82s still came stock with a dual row timing chain. It wasn�t until 83-84 when Toyota made the switch to a single row chain and plastic guides.
Ill post some more progress pictures later. I�ve been working on rebuilding the front axles/Warn manual locking hubs, as well as torn apart my transfer case and transmission to replace all gaskets and seals. Fortunately, everything mechical looks to be in good condition.
Good to know, I thought that when they went to the 22R they were all single rowTC.
I changed out my warn hubs to Aisin, seems to be a better hub and that's what they originally came with. Do you plan on rebuilding the solid front axle while your at it? Bigger tires? You might want to go in there and check things out.If you tour apart the transfer case and tranny don't ignore the axle.
It's been a long while since I've posted anything. I've made a lot of (slow) progress since my last photos.
I stripped everything off of the frame and had it and the axle housings media blasted, epoxy primed and then sprayed with some Imron.
I purchased and fitted a new OME suspension kit from Low Range Off Road.
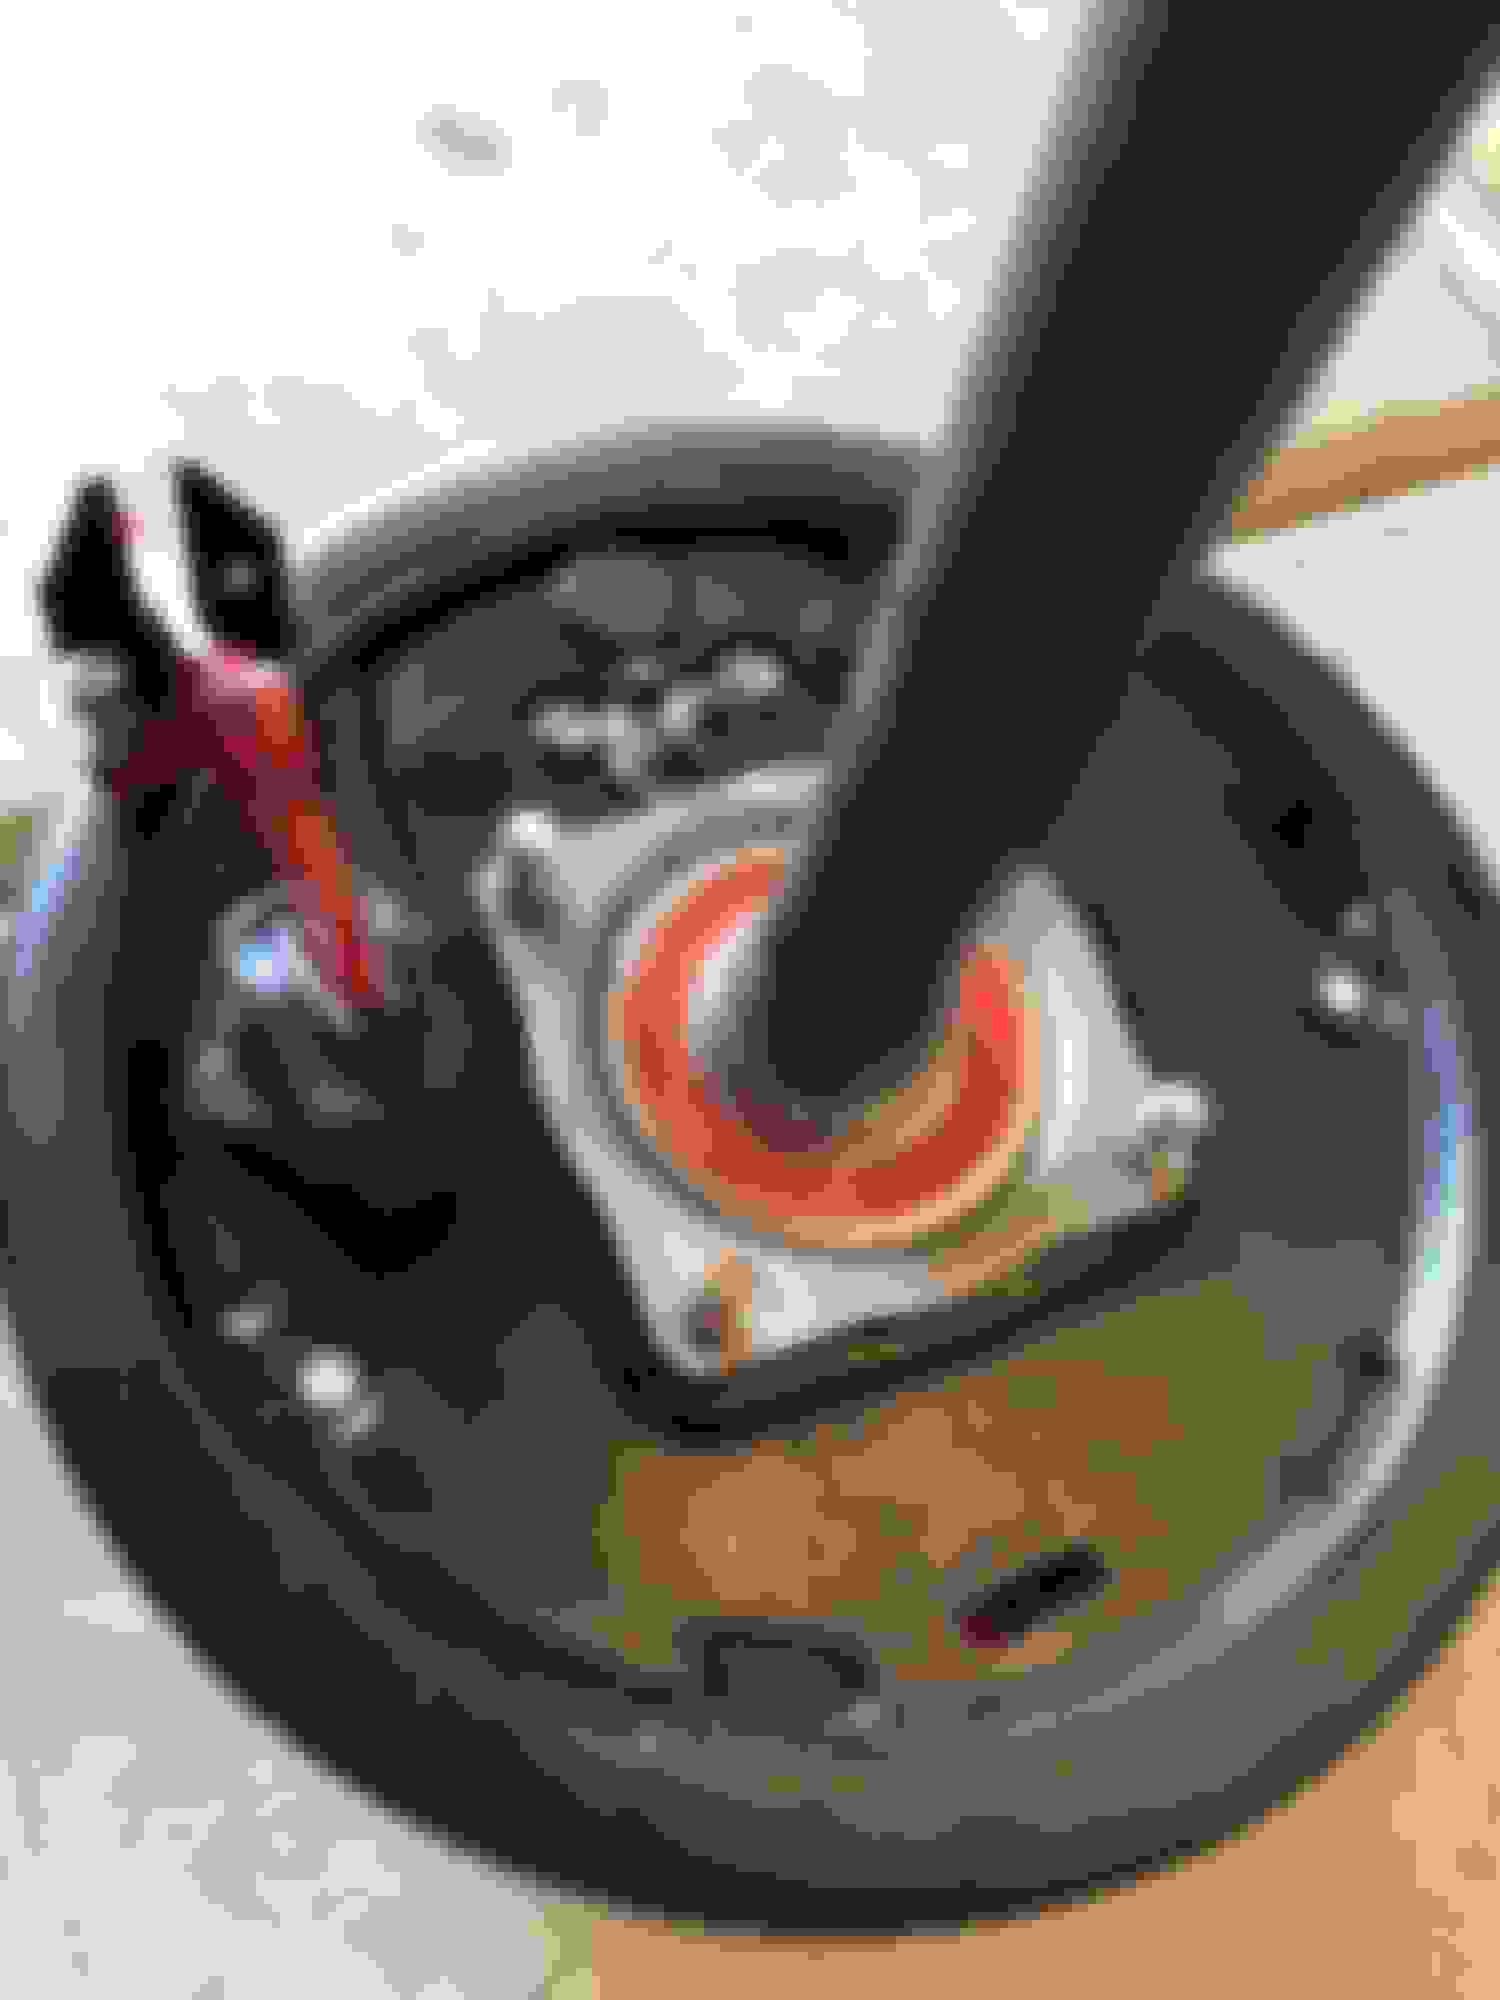
I'm currently in process of rebuilding the front axles/knuckles. I have the Warn locking hubs rebuilt, hubs assembled and spindles prepped to all go on as soon as I get replaced Birfield inner c-clips in the mail so I can pop those back together. I upgraded to FJ40 vented front discs and 4Runner V6 brake calipers.
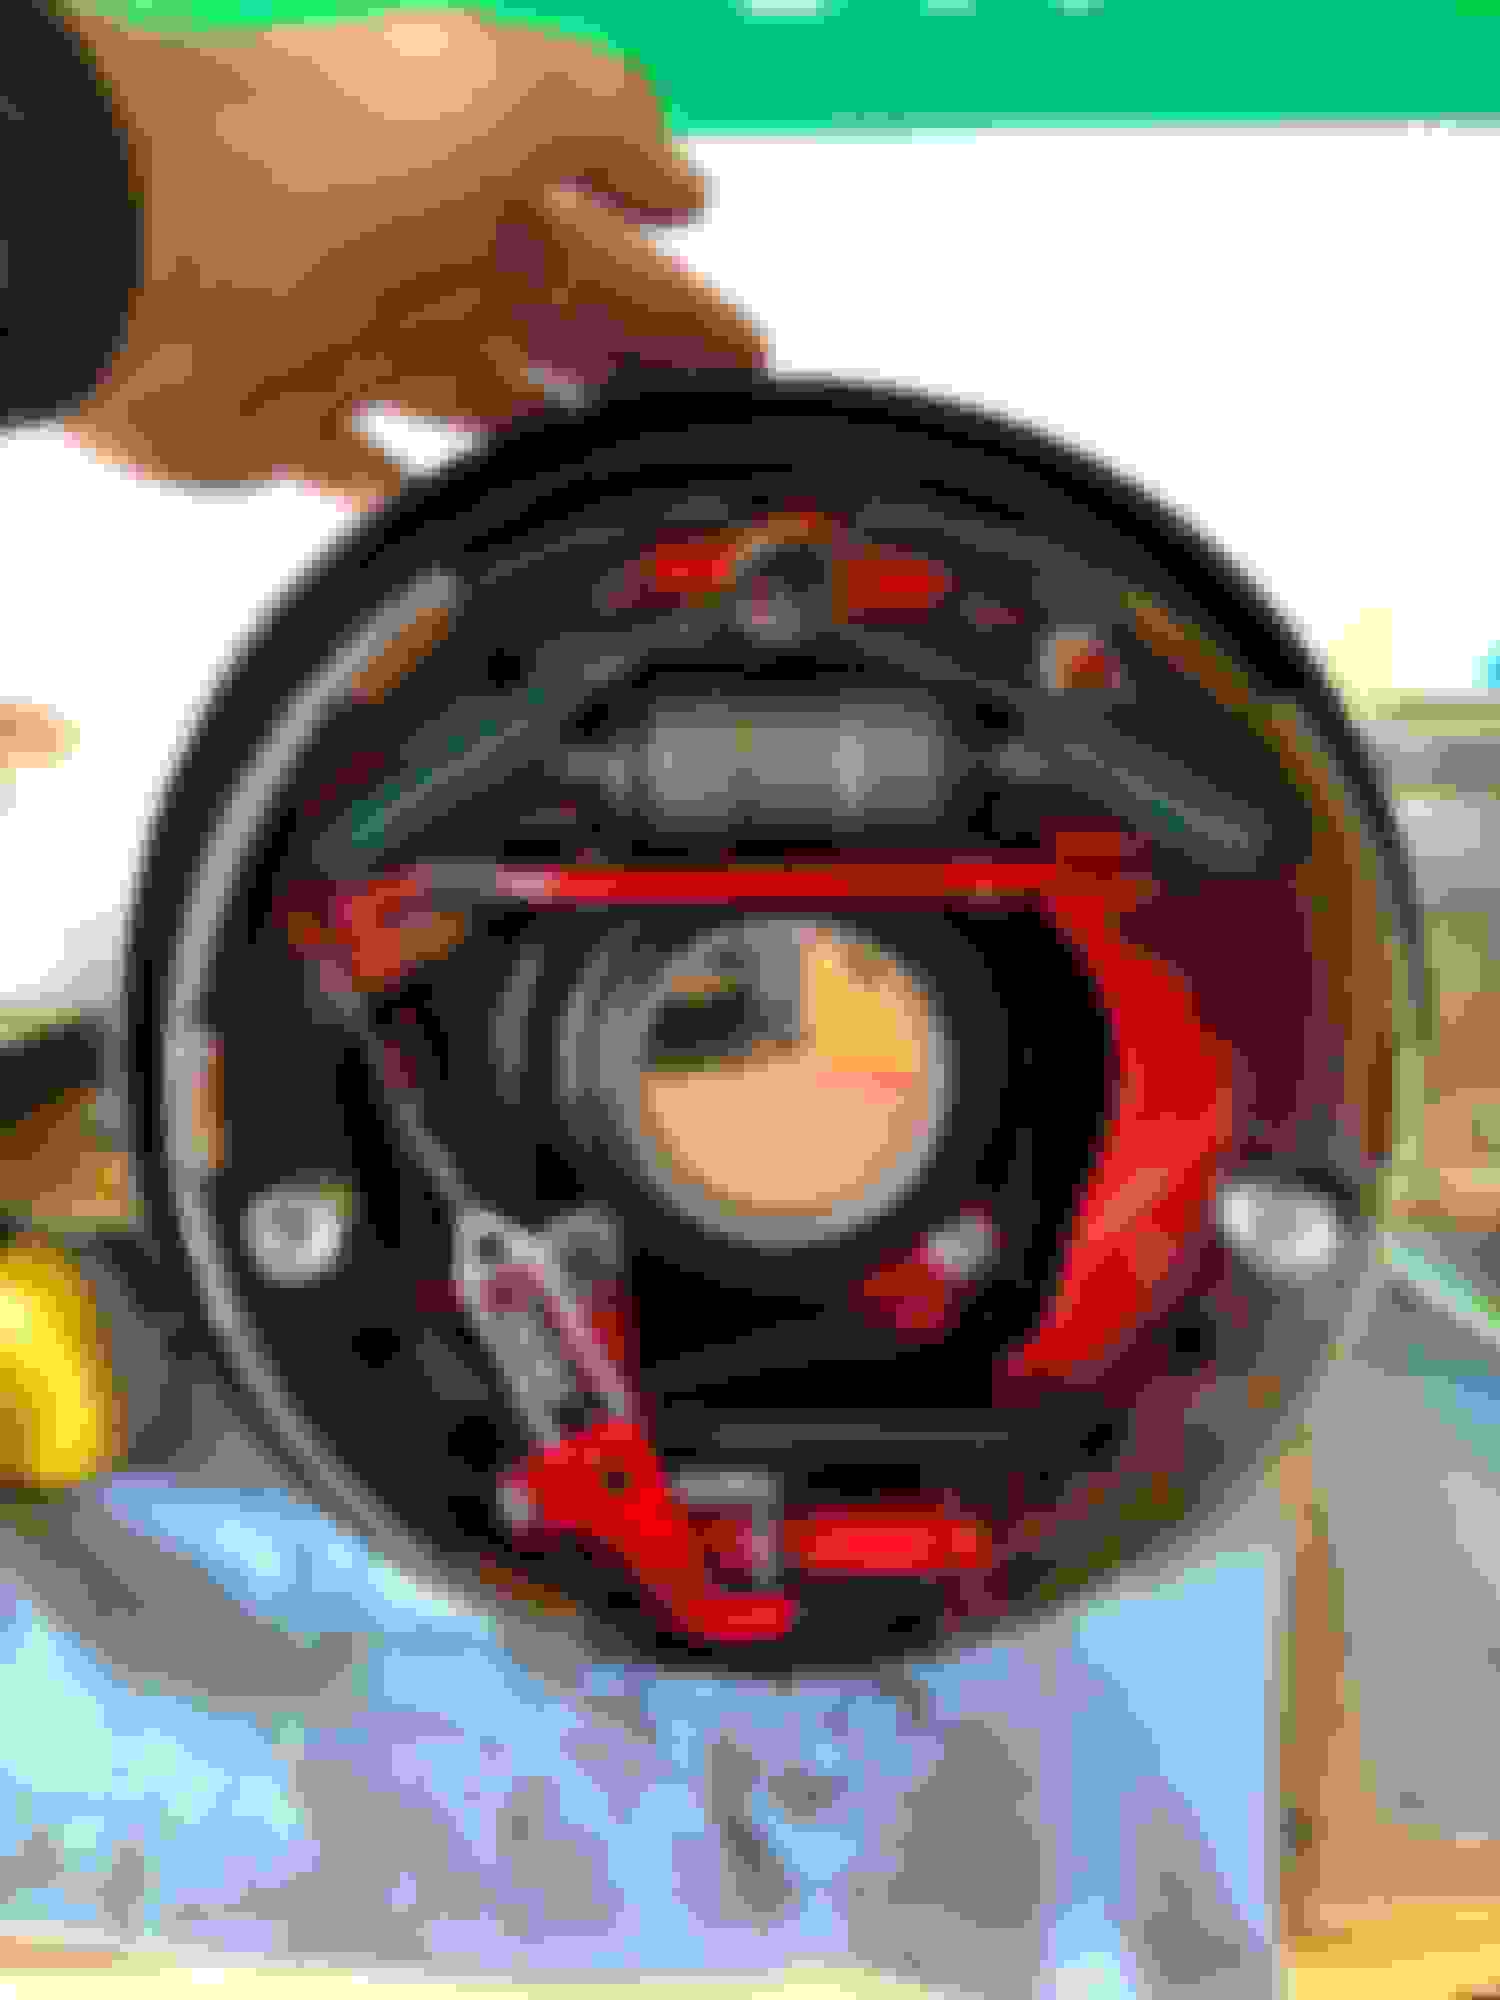
Once I get the front axle/steering/suspension all complete, I'll move onto the rear axle and replace all of the seals/bearings. I'm debating between keeping the stock drums or changing out to disc brakes. I'm not sure I want to lose the factory e-brake setup though. There's something satisfying about the pull mechanism!
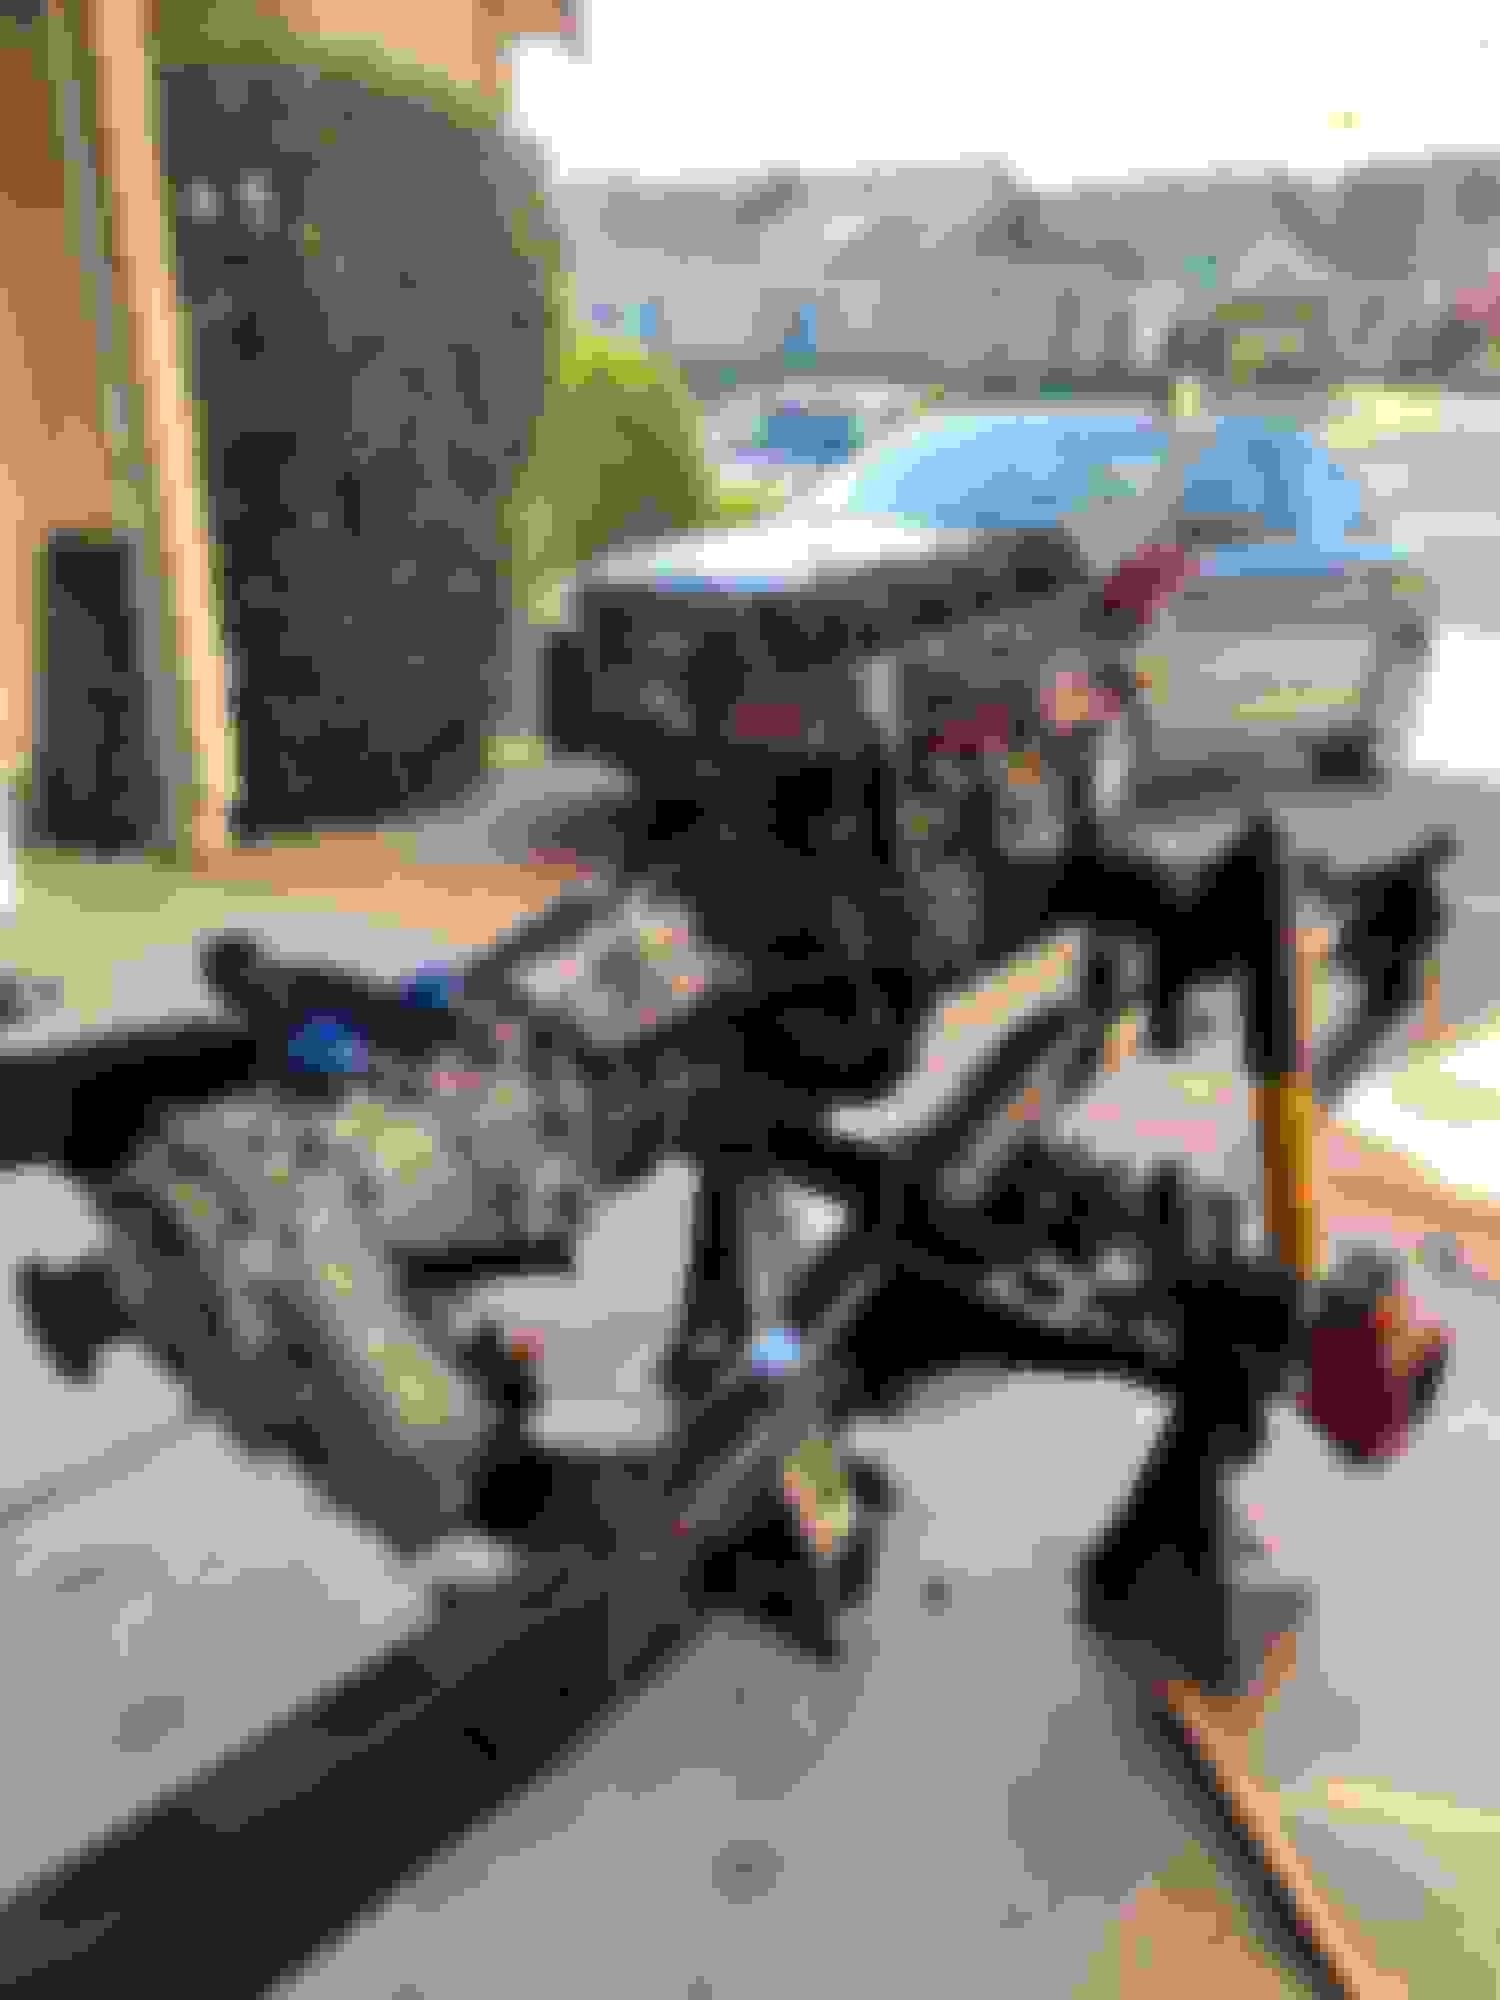
My rolling chassis is getting closer and closer...
Good to know, I thought that when they went to the 22R they were all single rowTC.
I changed out my warn hubs to Aisin, seems to be a better hub and that's what they originally came with. Do you plan on rebuilding the solid front axle while your at it? Bigger tires? You might want to go in there and check things out.If you tour apart the transfer case and tranny don't ignore the axle.
I rebuilt the Warns and will see how they perform. This truck won't be crawled and won't be off-roaded too hard, so I'm sure they'll hold up fine. If I ever have issues in the future though, I'm definitely going to replace them with a set of Aisins.
I am in the process of rebuilding the axle. I'll be going with slightly bigger tires than stock, but nothing too crazy!
I've made a little bit more progress! I have the Birfields cleaned and repacked. The steering knuckles, hubs and Warn locking hubs are all reassembled and seem to be functioning correctly. The new V6 brake calipers and rotors look like they'll be an awesome improvement over the stock components. Amazingly, the wheels I had on the truck prior seem like they'll clear the new calipers without the need for any wheel spacers.
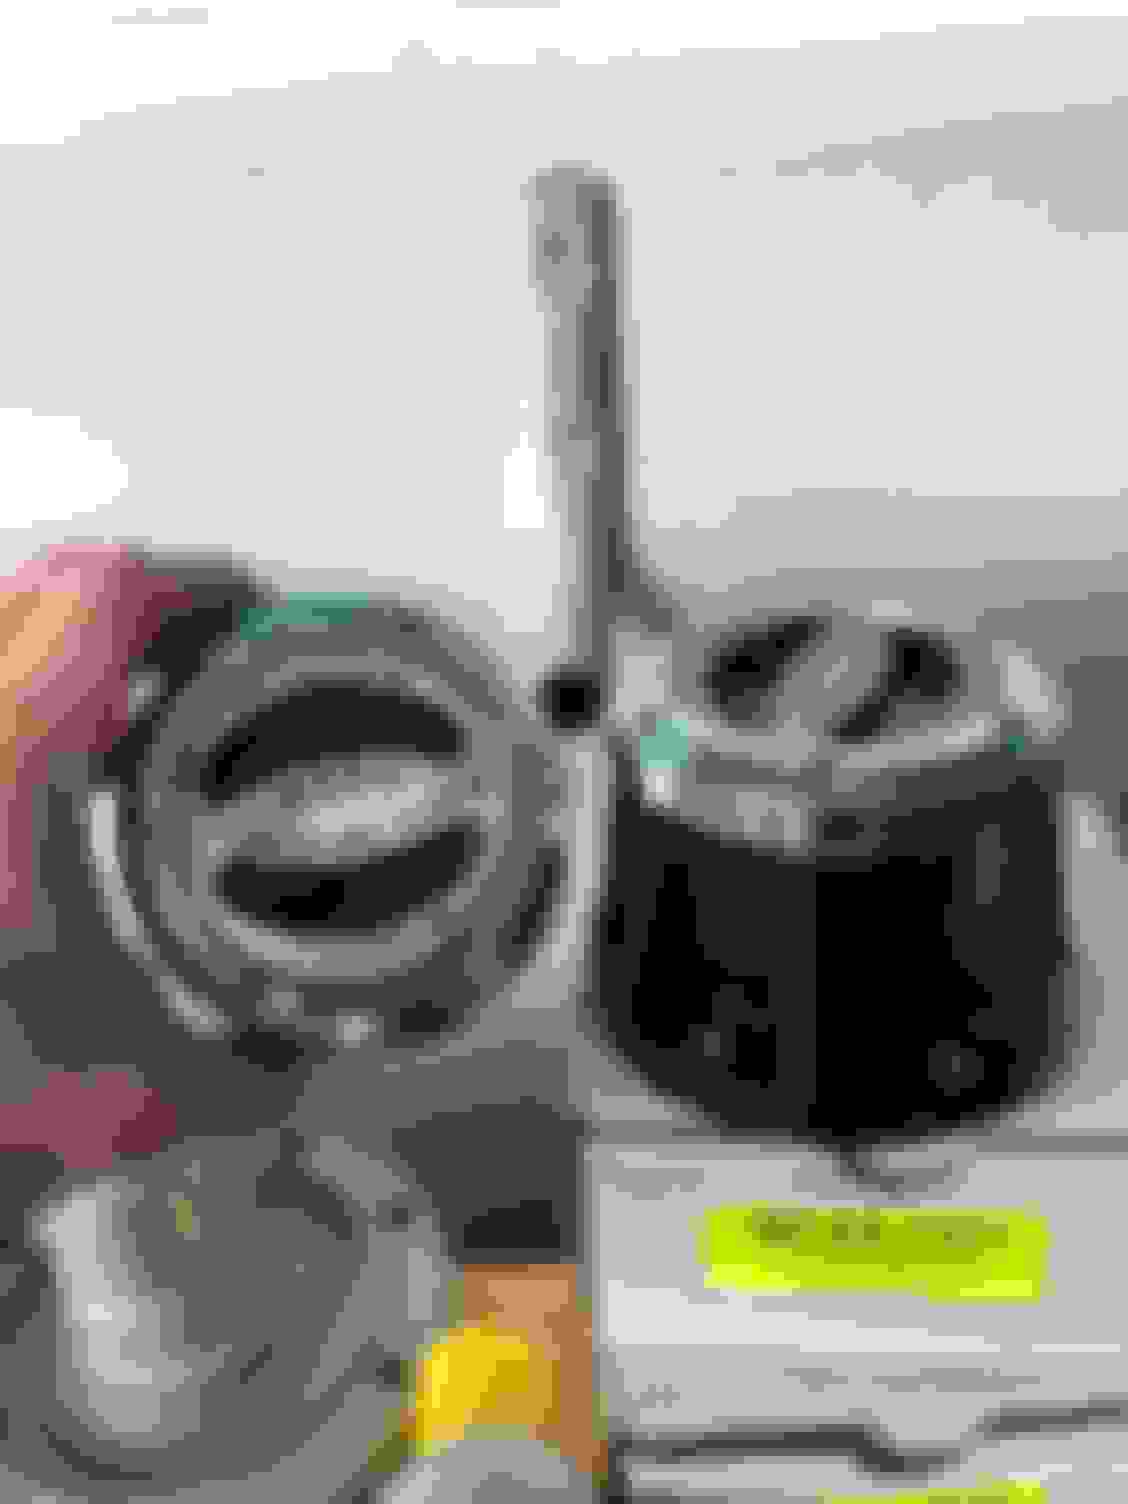
I also removed the front and rear differentials and cleaned the inside of the axle housings of all old grease, replaced the gasket and all the studs with my own "stud eliminator kit" I put together from the hardware store. I also replaced the pinion flange seals... I'm glad I did. The rubber was really hard and there was a lot of crud between the flange and old seals!
Slowly but surely... this thing will be on the road again!
That's not far from here! Nice looking truck. Like the front bumper.
Fortunately, most of these CA trucks seem to be saved from excessive rust. There's surface rust on everything, no doubt, but I haven't found anything rusted through or needing rust repair, yet.
It's been a long time since I've posted, but I've made some progress in the last few months. I'm just about ready to wheel the swap the chassis out of the garage with the cab and bed to start on the body work. Feels good to finally be at this point after so much time!

 May 12, 2018 | 08:10 PM