
KawaZX636's 1983 Toyota Pickup Restoration
 Oct 22, 2014 | 03:53 PM
#961
Registered User
Joined: Oct 2014
Posts: 239
Likes: 1
I also cannot wait to see this truck painted an assembled. My envy level is higher than what is healthy... One day I may undertake this level of restoration, but even when I do, it will definitely not be to as high a standard. As I've already established, polished old parts that show both a little age and a lot of love are kind of a dear thing to the part of my heart occupied with old things. I love your style of restoration, and I hope to see this truck in person some day!
Oct 23, 2014 | 10:05 AM
#962
Thread Starter
Super Moderator
iTrader: (3)
Joined: Jan 2012
Posts: 3,218
Likes: 26
From: Salisbury, MD
Late night of seam sealing last night. Got the engine compartment done and most of the floorpan done. I still need to hit the seam that runs up the kick panels and behind the top of the dash, the door sill/rocker panel rosette welds, and some touch ups here and there but that should go pretty quickly tonight assuming I catch a second wind - I'm tired as hell today...


 Oct 23, 2014 | 11:49 AM
#963


Dave I ask you the same question I've been asked, after putting so much time, effort and money, if you go in a trail and the path is blocked by a 3 feet deep mud hole, with trucks on the other side to winch you out if needed, would you try it or turn around?
Last edited by gillesdetrail; Oct 23, 2014 at 11:51 AM.
Oct 23, 2014 | 12:48 PM
#964
Thread Starter
Super Moderator
iTrader: (3)
Joined: Jan 2012
Posts: 3,218
Likes: 26
From: Salisbury, MD
 )
Oct 24, 2014 | 09:16 PM
)
Oct 24, 2014 | 09:16 PM
#968
Thread Starter
Super Moderator
iTrader: (3)
Joined: Jan 2012
Posts: 3,218
Likes: 26
From: Salisbury, MD
...Juuuuuuust Kidding! I kid I kid!
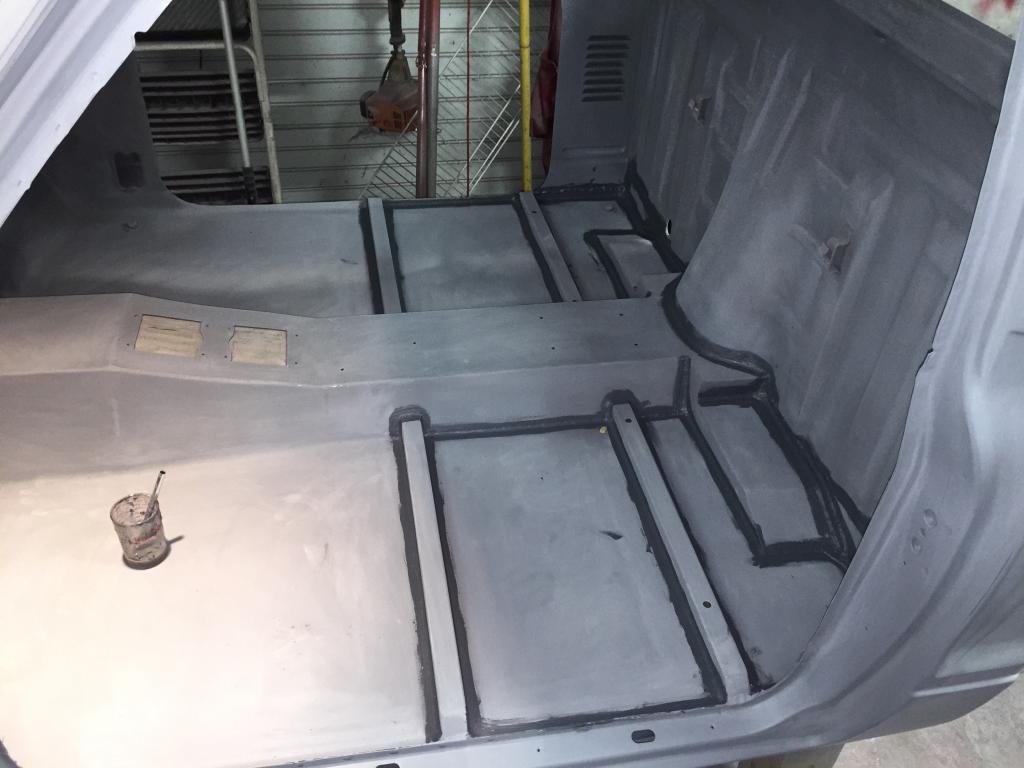
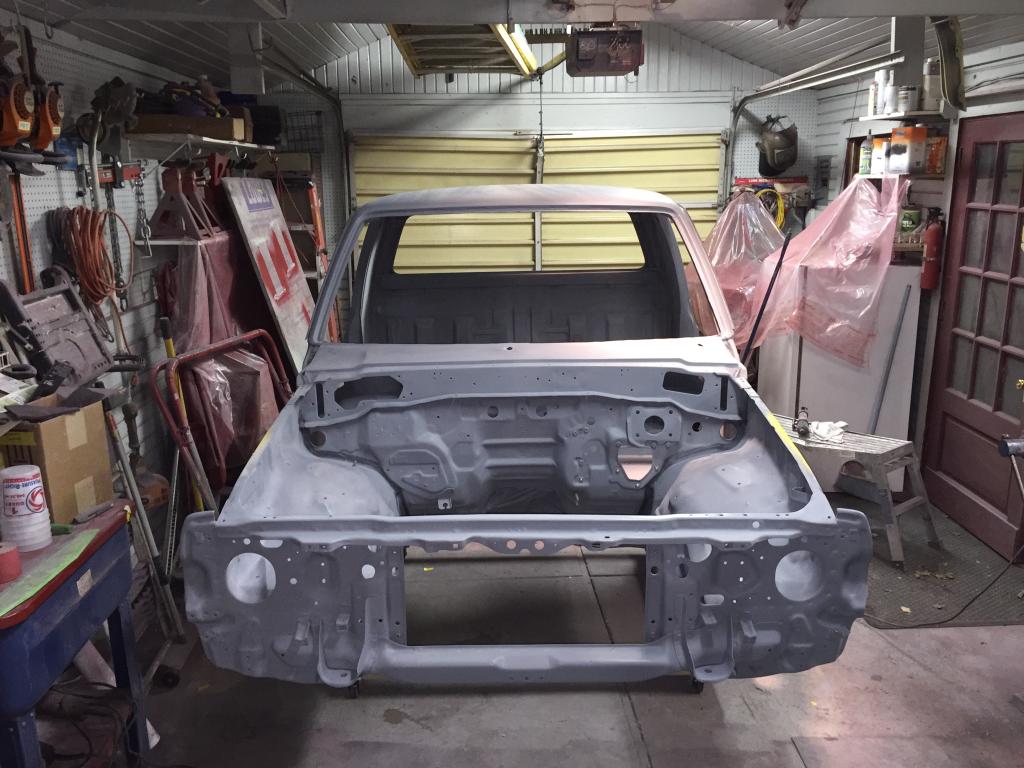
I finished all the prep for the cab tonight. All I need to do is roll it outside and blow it off real good with the air compressor. Last time I blew it off I still had a little bit of sand coming out of it from when I media blasted it!! This time I'm going to huff and puff and blow it with an air compressor until absolutely no sand is left in any crevice! Then degrease with some SEMsolve, tach cloth it and it's color time. I might be able to get it painted tomorrow but my friend is throwing his parents (kind of like my second set of parents) a surprise 40th anniversary party late tomorrow afternoon so I want to go to that and my wife isn't feeling well with the pregnancy so I will likely be kickin' it with my little homie all day tomorrow. Who knows, maybe I'll teach him how to sand and get him to help me with the surface prep on the bed... Anyway, pics:
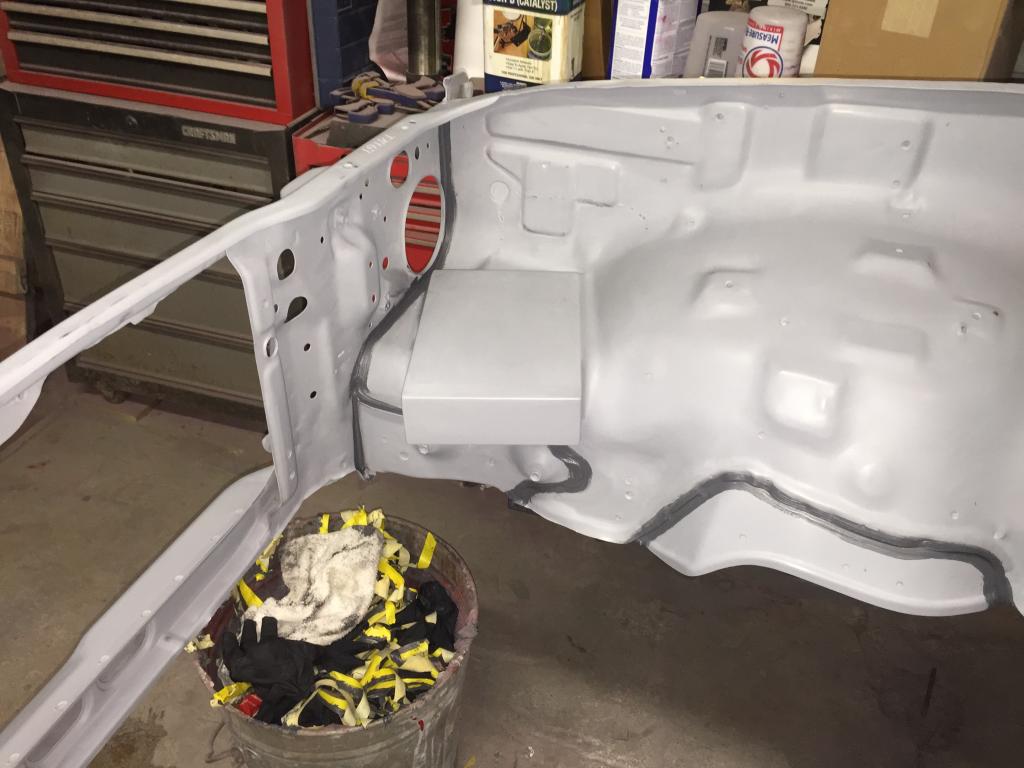
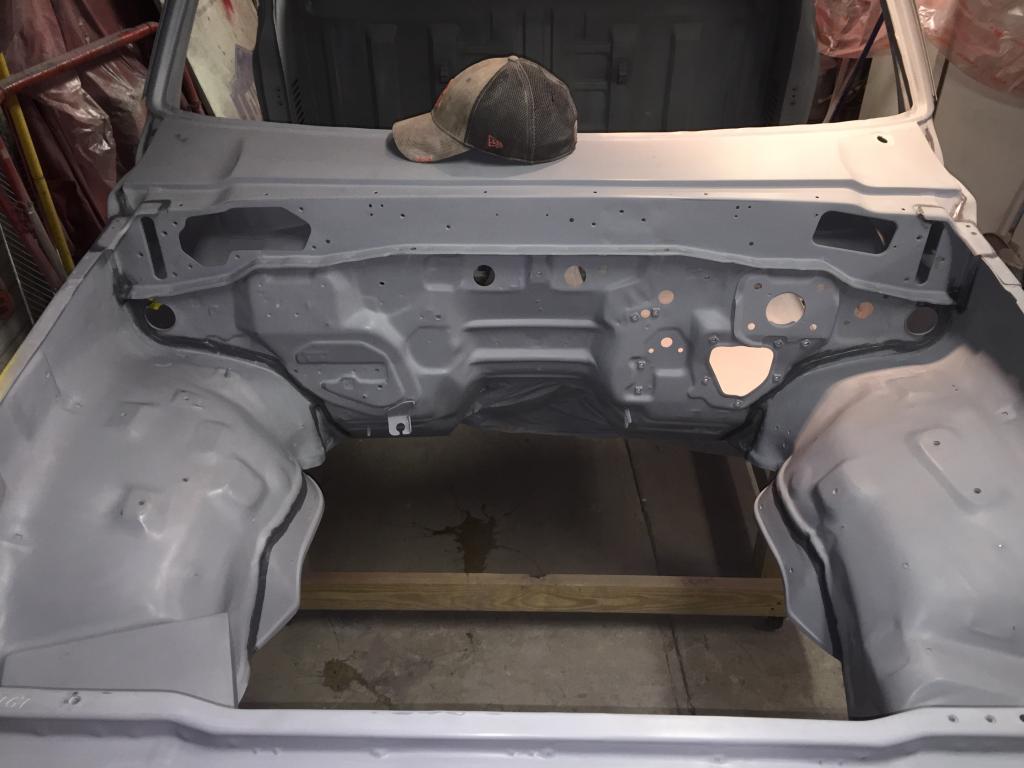
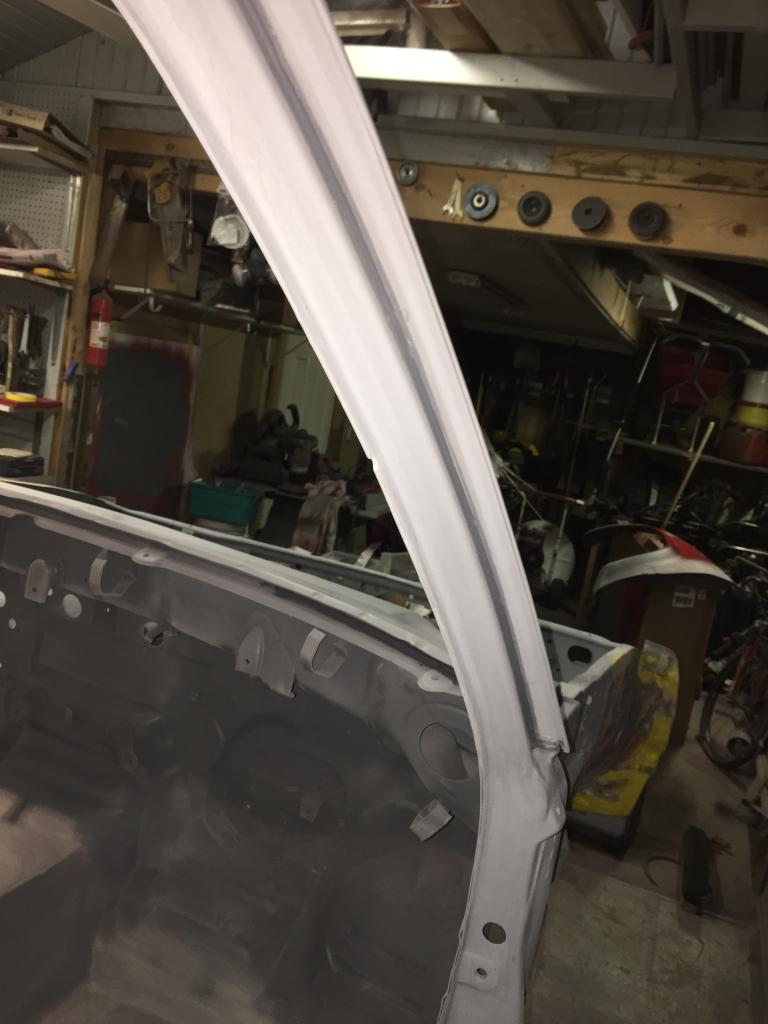
Seam sealed up under the dash along the firewall (this is a VERY important seam, especially in the outside corners where rust tends to develop even under the factory seam sealer):
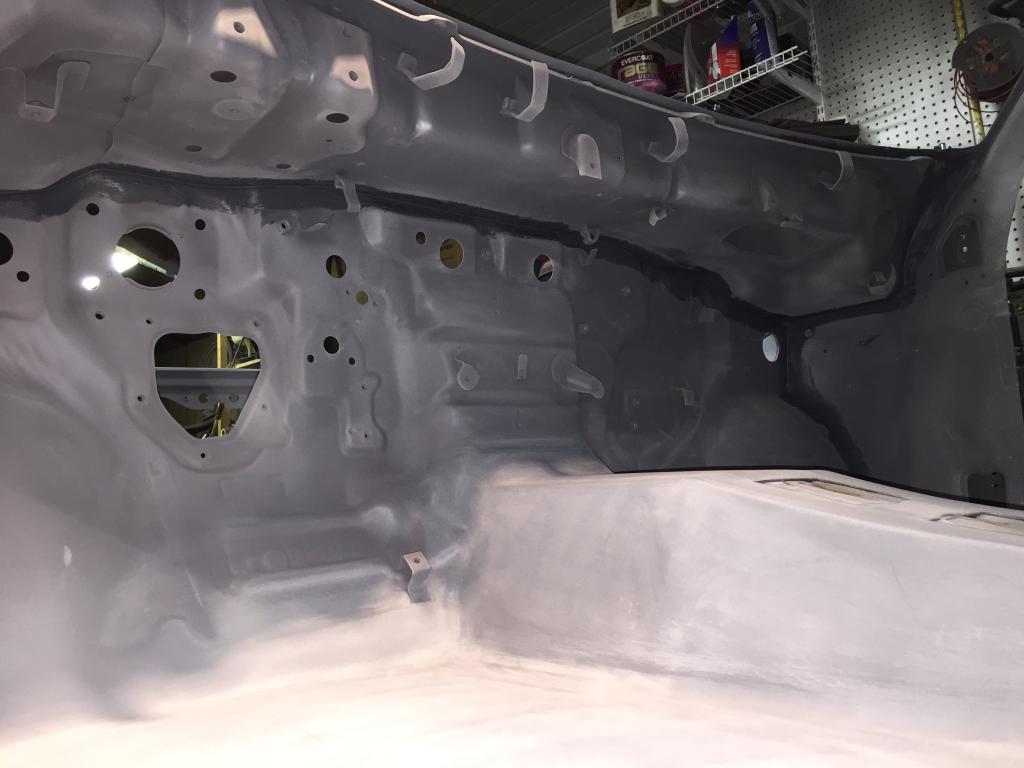
And below the drip rails (it's a lot smoother than it looks in the pictures):
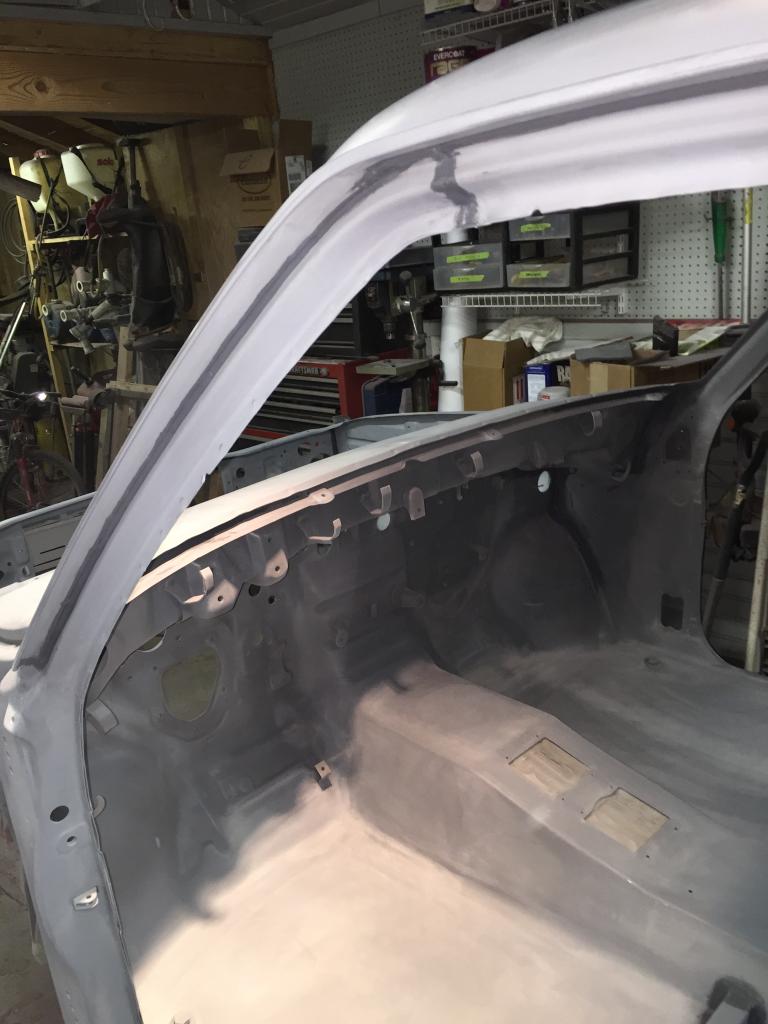
And not it's just sitting purdy waiting to color between the lines:
Hopefully that will be the last time you all every see it grey!
Also, I decided to tackle my door hinges tonight. I want to make my doors easily removable so that maybe I can decide to go doorless at some point, but I would unlikely ever get the notion to be a jeep tool like that... My plan is to eventually make a nice set of half doors to put on during the summer just because. No, I don't need them for rock crawling - you guys should know me better than that! I just think they look cool and would be nice to have when cruising down to the beach. Obviously, when I build some half doors it won't be some quick hack job. I'll build them to match the quality of the rest of my truck. Anyhow, here are the quick release hinges:
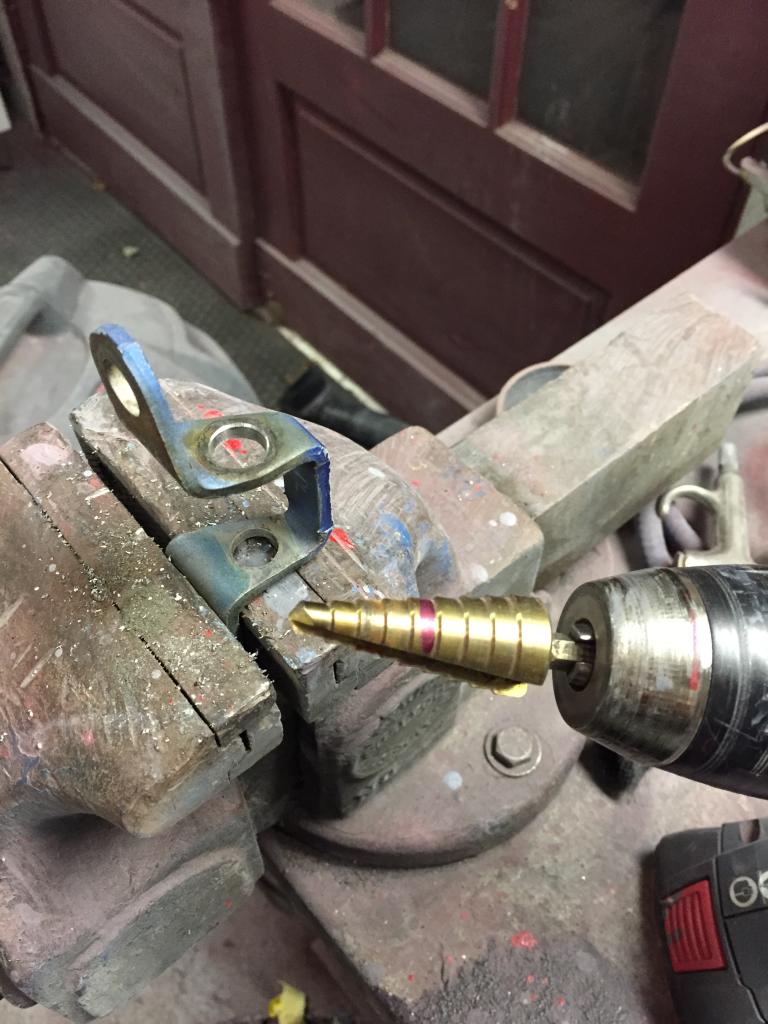
I cut and punched out the old pins to separate the hinges and marked them all so that I match them up properly when I reassemble them. Then I had to drill out the door mount side to 7/16" so the the new bushings will press in:
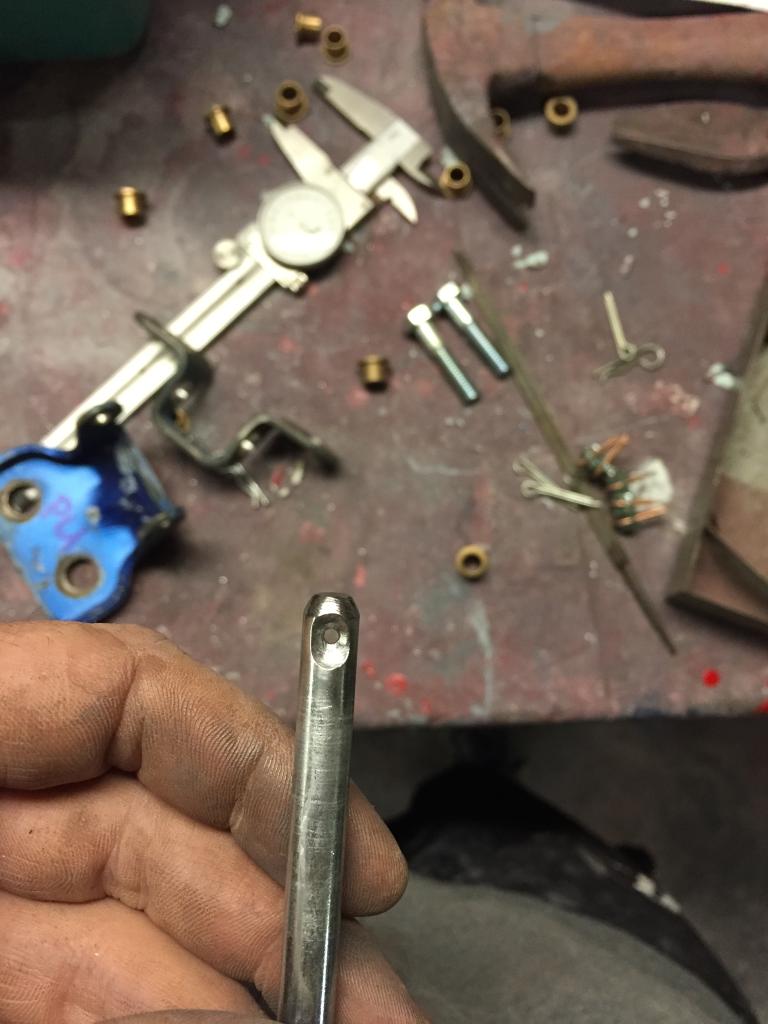
Here's the new bushing. I want to powder coat my hinges so I'm not pressing them in yet plus the company that I ordered the bushings from sent me half of them in the wrong size. The bushings I'm using are 5/16" ID, 7/16" OD, 3/8" OAL, 1/2" flange diameter, 1/16" flange thinckness. I got them from nationbronze.com for $2 each.
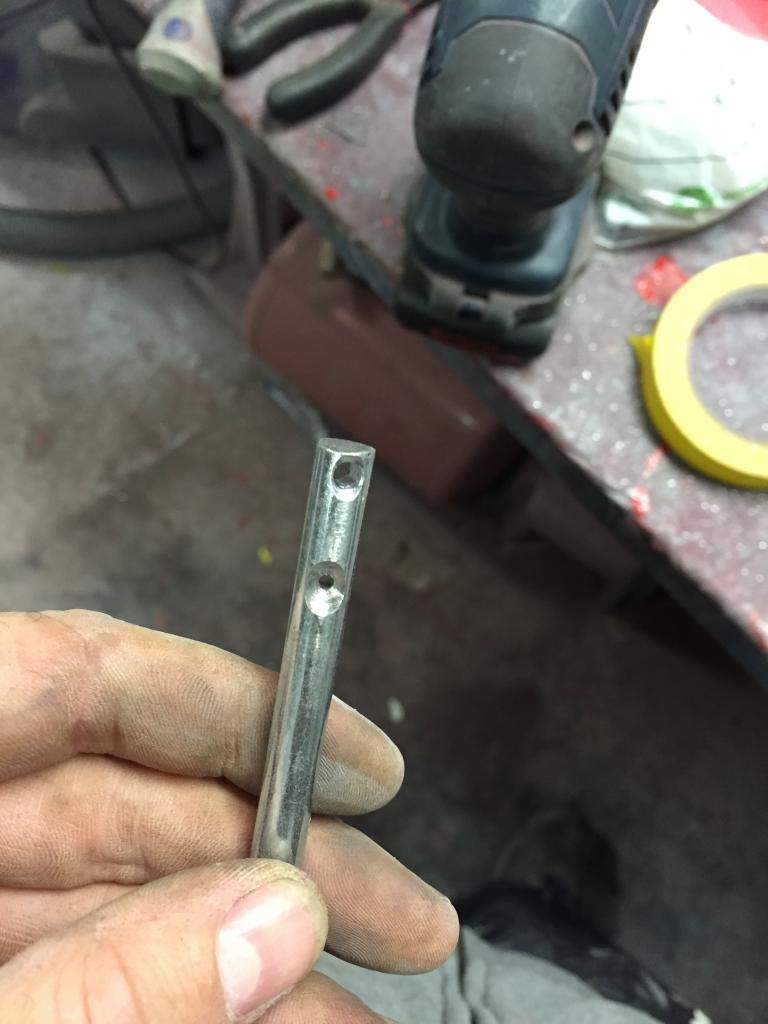
I'm using a 5/16" clevis pin but the hardware store didn't have the length I wanted so I got longer ones, drilled a new hole for the retaining pin, cut it to the proper length and beveled the edges for easy insertion:
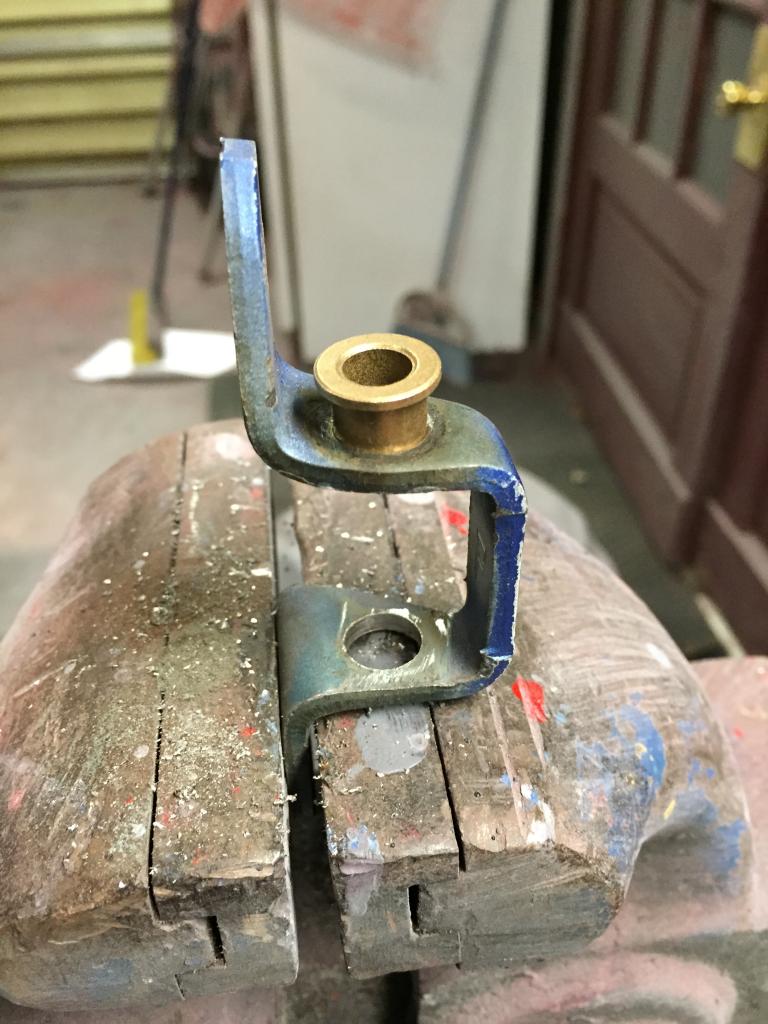
And here is pretty much what it is going to look like. I mocked it up with the smalled OD bushings that they sent me in error:
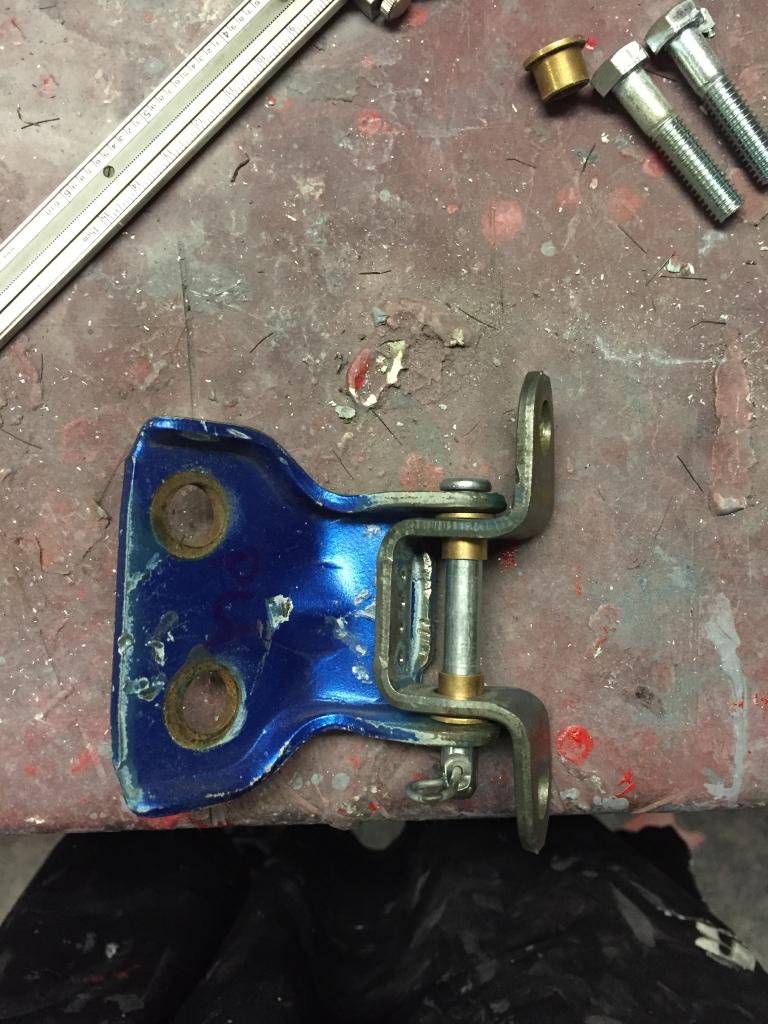
Everything fits nice a snug so there shouldn't be any slop in the door. Now when I get my half doors built I can just do the same thing to the door side of another set of hinges and easily swap them on and off. Now who wants to donate a nice set of doors to my cause??
I finished all the prep for the cab tonight. All I need to do is roll it outside and blow it off real good with the air compressor. Last time I blew it off I still had a little bit of sand coming out of it from when I media blasted it!! This time I'm going to huff and puff and blow it with an air compressor until absolutely no sand is left in any crevice! Then degrease with some SEMsolve, tach cloth it and it's color time. I might be able to get it painted tomorrow but my friend is throwing his parents (kind of like my second set of parents) a surprise 40th anniversary party late tomorrow afternoon so I want to go to that and my wife isn't feeling well with the pregnancy so I will likely be kickin' it with my little homie all day tomorrow. Who knows, maybe I'll teach him how to sand and get him to help me with the surface prep on the bed... Anyway, pics:
Seam sealed up under the dash along the firewall (this is a VERY important seam, especially in the outside corners where rust tends to develop even under the factory seam sealer):

And below the drip rails (it's a lot smoother than it looks in the pictures):


And not it's just sitting purdy waiting to color between the lines:


Hopefully that will be the last time you all every see it grey!
Also, I decided to tackle my door hinges tonight. I want to make my doors easily removable so that maybe I can decide to go doorless at some point, but I would unlikely ever get the notion to be a jeep tool like that... My plan is to eventually make a nice set of half doors to put on during the summer just because. No, I don't need them for rock crawling - you guys should know me better than that! I just think they look cool and would be nice to have when cruising down to the beach. Obviously, when I build some half doors it won't be some quick hack job. I'll build them to match the quality of the rest of my truck. Anyhow, here are the quick release hinges:
I cut and punched out the old pins to separate the hinges and marked them all so that I match them up properly when I reassemble them. Then I had to drill out the door mount side to 7/16" so the the new bushings will press in:

Here's the new bushing. I want to powder coat my hinges so I'm not pressing them in yet plus the company that I ordered the bushings from sent me half of them in the wrong size. The bushings I'm using are 5/16" ID, 7/16" OD, 3/8" OAL, 1/2" flange diameter, 1/16" flange thinckness. I got them from nationbronze.com for $2 each.

I'm using a 5/16" clevis pin but the hardware store didn't have the length I wanted so I got longer ones, drilled a new hole for the retaining pin, cut it to the proper length and beveled the edges for easy insertion:


And here is pretty much what it is going to look like. I mocked it up with the smalled OD bushings that they sent me in error:

Everything fits nice a snug so there shouldn't be any slop in the door. Now when I get my half doors built I can just do the same thing to the door side of another set of hinges and easily swap them on and off. Now who wants to donate a nice set of doors to my cause??
Last edited by kawazx636; Oct 24, 2014 at 09:20 PM.
Oct 26, 2014 | 10:53 AM
#970
Thread Starter
Super Moderator
iTrader: (3)
Joined: Jan 2012
Posts: 3,218
Likes: 26
From: Salisbury, MD
While I wait for the paint to flash in between coats on my cab I figured I'd post an interim update. Yesterday I got the bed blocked down real good to see if there were any areas that I needed to address before surfacer. Just a couple spots need to be swiped with a dap of filler near the contours of the fender wells and it'll be good to go. Like I said before, perfect surface on the bed for most, but I need to take it a step further.
Here's so pics of my boy helping me out yesterday:
Notice no sandpaper on the block..,
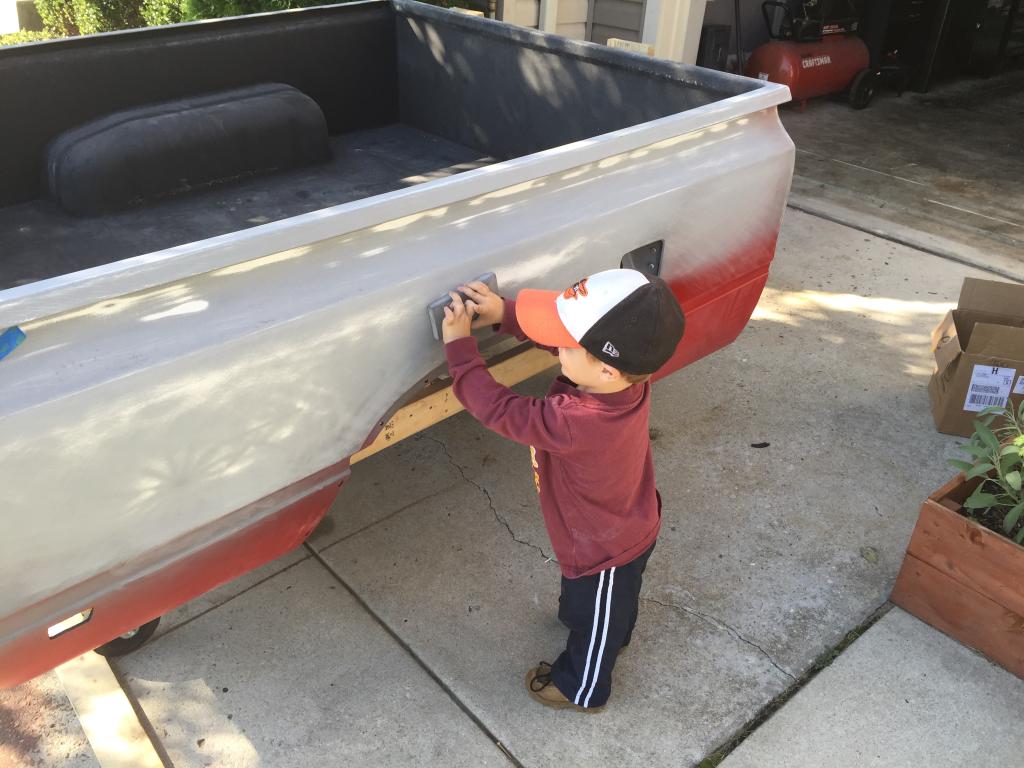
and then he managed to get a hold of one with sandpaper...
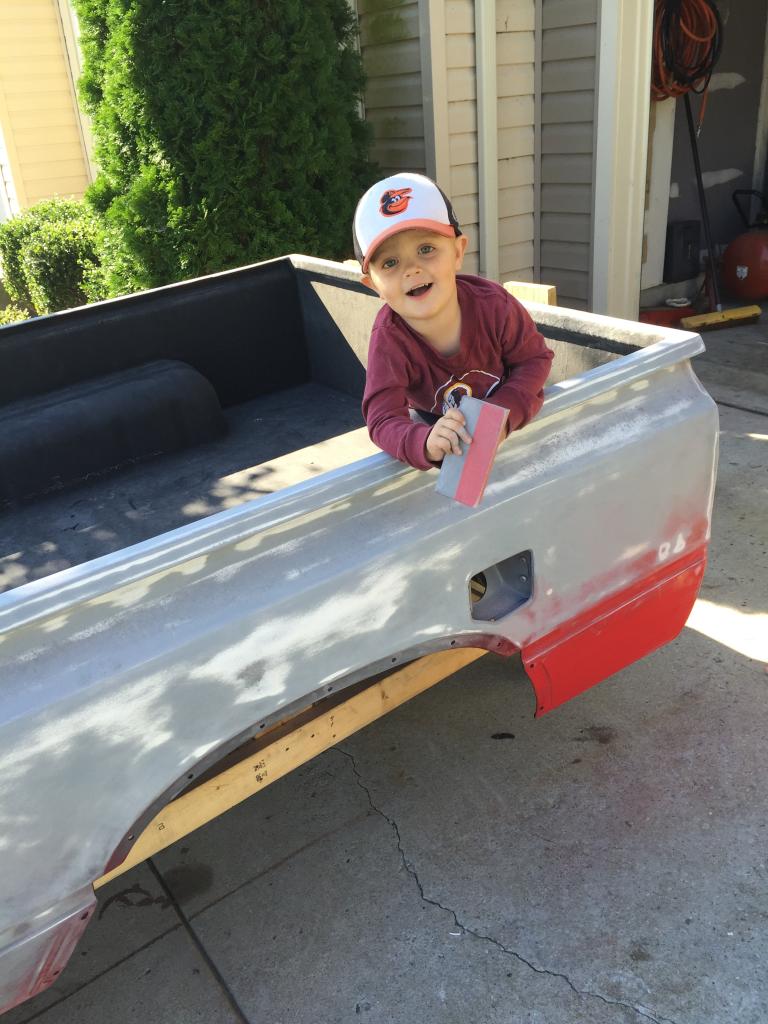
And the results:

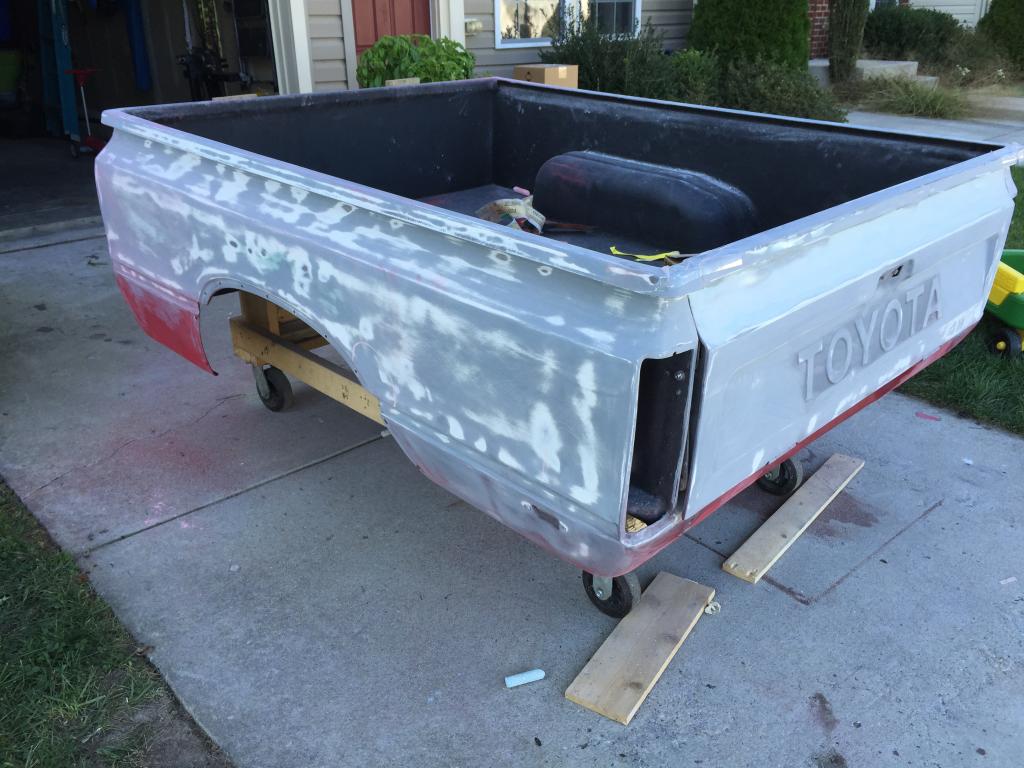
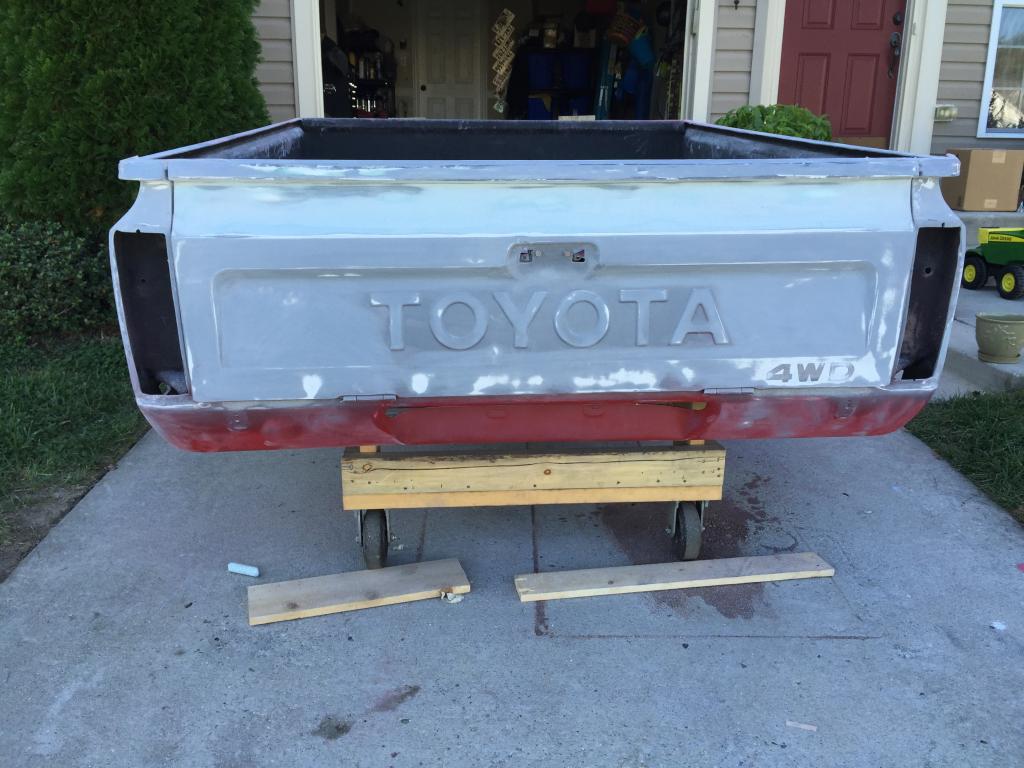
Like I said, a bit of filler and then surfacer and it won't be too long before the bed is painted too... Now back to shooting the cab!
Here's so pics of my boy helping me out yesterday:
Notice no sandpaper on the block..,

and then he managed to get a hold of one with sandpaper...

And the results:


Like I said, a bit of filler and then surfacer and it won't be too long before the bed is painted too... Now back to shooting the cab!
Oct 26, 2014 | 08:18 PM
#971
Thread Starter
Super Moderator
iTrader: (3)
Joined: Jan 2012
Posts: 3,218
Likes: 26
From: Salisbury, MD
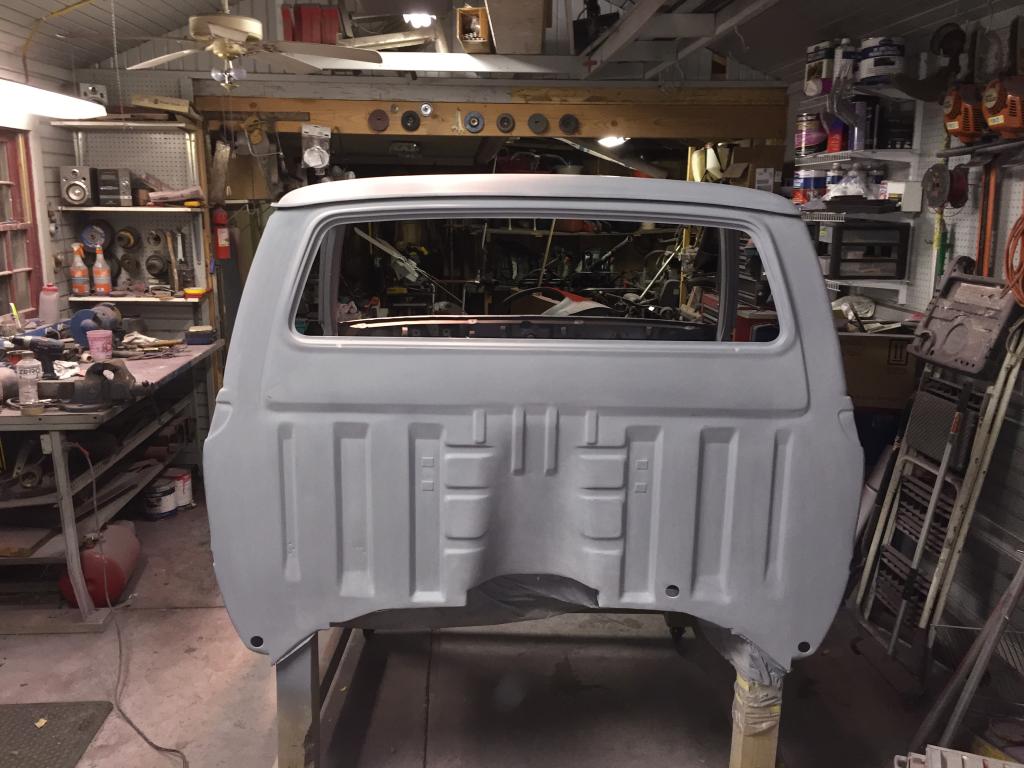
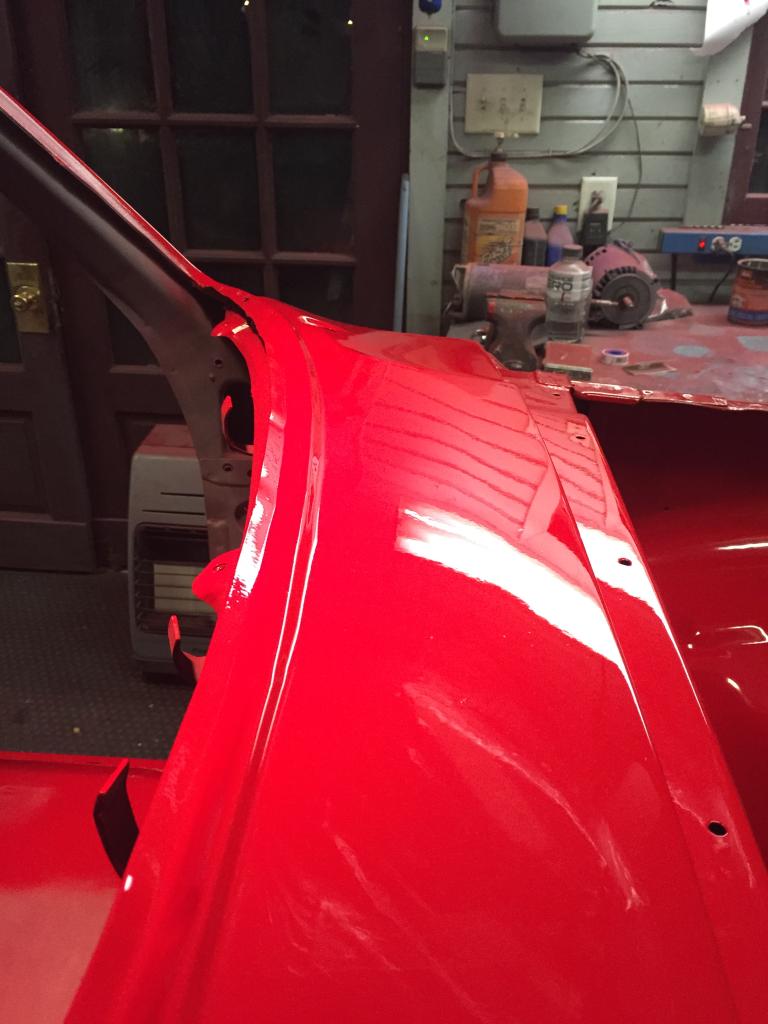
Cab is painted! I couldn't be more pleased with how the smoothie cowl and shaved rear cab seams turned out - definitely adds a nice touch to the over all look of the truck. Paint went down well and flowed out nice despite not having the proper activator for the temperature today. I have very minimal orange peal to sand out and two paint sags to fix. Both sags are in identical places on both sides of the cab behind the doors towards the top of the rear pillars. They aren't super bad so hopefully I can get them out with some 1500 grit and avoid using a nib file, but I want to talk to a painter first to get some sound advice. Here are the results:
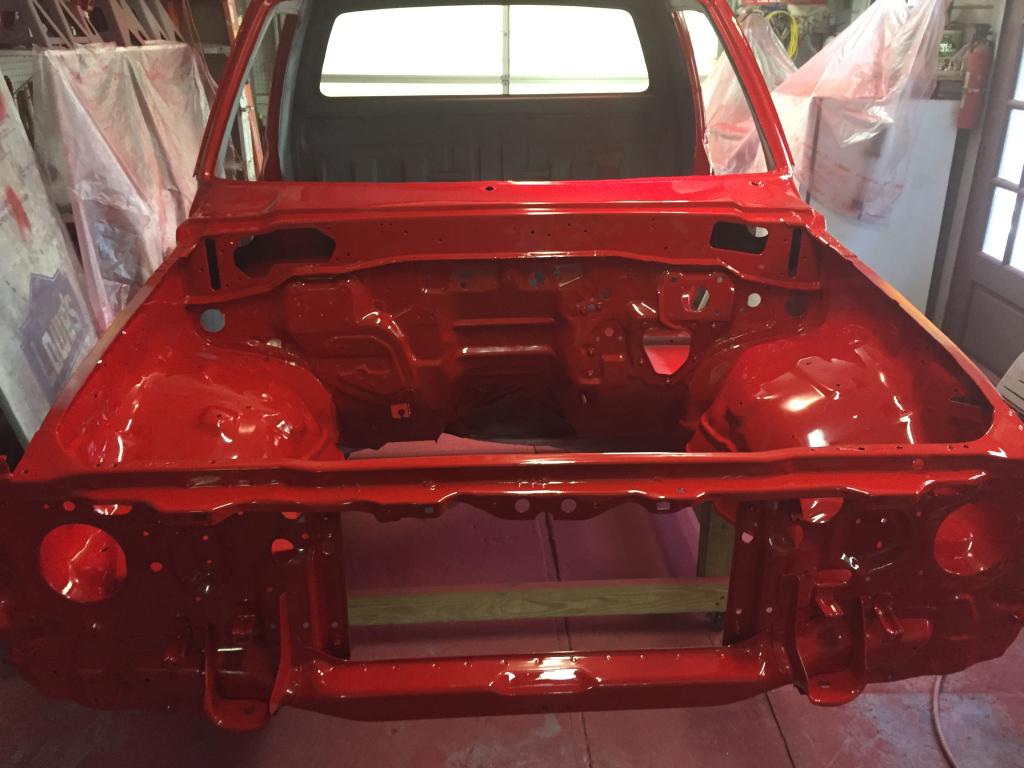
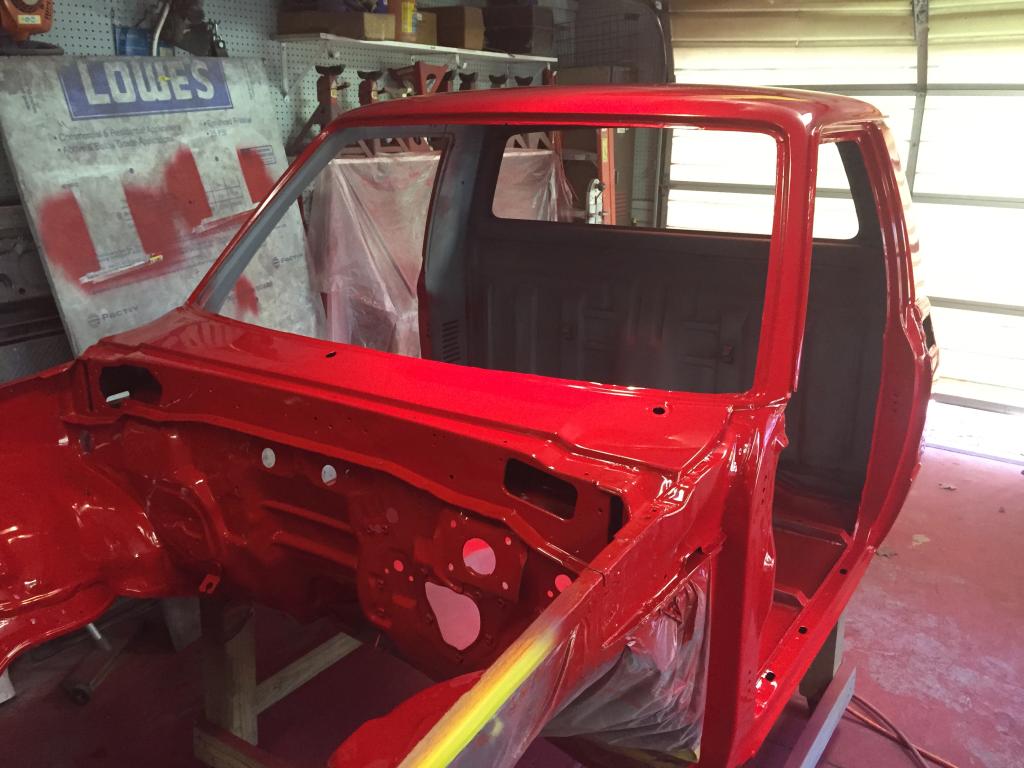
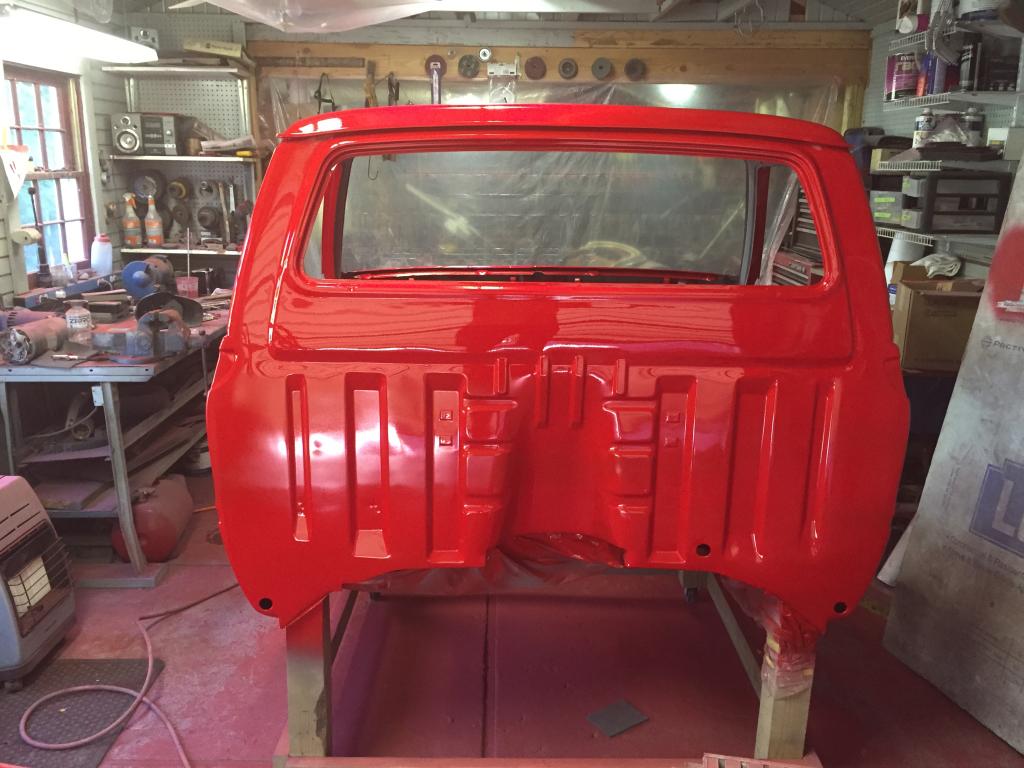
I was worried about the paint laying down even in the engine compartment so I ordered some Satin Black ceramic urethane paint last week but it went down pretty good. Not sure if I should scuff it and shoot the black like I had planned or leave it red. Most restoration guys typically use a black under the hood and the ceramic paint is more resistent to heat and chemicals plus my engine is accented in a red that could possibly clash with the body red. What do you folks think I should do? Red or Satin Black under the hood?


I was worried about the paint laying down even in the engine compartment so I ordered some Satin Black ceramic urethane paint last week but it went down pretty good. Not sure if I should scuff it and shoot the black like I had planned or leave it red. Most restoration guys typically use a black under the hood and the ceramic paint is more resistent to heat and chemicals plus my engine is accented in a red that could possibly clash with the body red. What do you folks think I should do? Red or Satin Black under the hood?
Oct 27, 2014 | 04:04 AM
#974
I say red as I am a restorer and Toyota had the bay to the color of the body. Not that most would notice things like that outside the Toyota world, but also knowing what effort it takes to get the engine bay prepped and painted which is a job in itself as what you have done, someone who knows that will know the effort you put into it.
I am in the same dilemma as you with the motor being painted to the color of the body and worried about it blending in or contrasting with the bay. I think with some accents on the engine with the valve cover, intake, and exhaust could make the difference that you are looking for. I have seen your motor and it looks great, just don't have any suggestions for details to help the engine bay.
I agree with zombie stomp, other makes have black engine bays and it just looks like the factory had extra cans of black paint and took the easy way out.
Last edited by Terrys87; Oct 27, 2014 at 04:08 AM.
Oct 27, 2014 | 11:26 AM
#976
Thread Starter
Super Moderator
iTrader: (3)
Joined: Jan 2012
Posts: 3,218
Likes: 26
From: Salisbury, MD
I think the deciding factor in the engine compartment color will be determined by whether or not I can wetsand and buff out all the paint imperfections in the nooks and crannies without burning through. I really don't have many issues to deal with and I know anything under the hood won't be seen that often, but my dilemma is that I will know that it isn't right despite 90% of people never noticing anything wrong. And I suppose that in the worst case scenario if my red accents on my engine clash with the red body paint, I could easily re-coat them to a black or machine grey. I want to strip and powder coat everything that is red on my engine anyway since those are the only parts that weren't powder coated so I'll be doing it eventually anyway - it's just a matter of what color I re-coat them with.
 Oct 27, 2014 | 12:13 PM
#978
Thread Starter
Super Moderator
iTrader: (3)
Joined: Jan 2012
Posts: 3,218
Likes: 26
From: Salisbury, MD
Yep, that's pretty much their function, to catch leaves! They also function as a collector of water to streamline rust in the front of your rockers and lower fender mounts. Actually, those vents supply air to the heat/ac/vent. With the vents shaved, I won't lose too much airflow since air will still be able to enter the cowl area from where the water drains down to the side behind the fenders. This modification certainly solves way more problems then it could potentially create.
Oct 27, 2014 | 12:19 PM
#979
I think the flat black engine bay would be a great contrast, the engine colours and shiny parts would really pop, kind of like opening a diamond ring box, where the engine would be the star of the bay. Just know that all the oil vapor appears very rapidly to flat black and it's a bitch to clean.
Oct 27, 2014 | 02:38 PM
#980

Since it's our truck now, red. Plenty of elements to distract one's eye from possible shade differences in red. Any stock black parts (if you have any) will even be set off well by the red bay.
Black makes it harder to see when grandpa vision sets in.
The engine bay in my zombie splatter-ish green courier was painted black by some PO and I curse it.
You asked. Love this truck/thread.
Black makes it harder to see when grandpa vision sets in.
The engine bay in my zombie splatter-ish green courier was painted black by some PO and I curse it.
You asked. Love this truck/thread.


