When you click on links to various merchants on this site and make a purchase, this can result in this site earning a commission. Affiliate programs and affiliations include, but are not limited to, the eBay Partner Network.
Looks well done Zuk, like all your stuff. What made you decide to go with shackles to the front?
I've seen it done that way as well as the typical SAS kit like I did. Never drove one with front shackles. I realize it would also keep the tire from moving back into the floor pan when flexing compared to rear shackles.
Hi aztoyman-
I did it once before on a 1992 toy standard cab with a flatbed and 36 inch swamper. Definitely nice
to not worry about the backside of the tire crunching the fender lip......also, the driveshaft can
be oem slip-joint/shafty because the DS is travelling in the same pivotal arc as the leafpack so
no slip spline movement....almost none.....maybe 1/2"
Also, no nose dive.....zero. Slam on brakes....lock em up....and the hood does not head
for the pavement.
Those are my 3 reasons
I have copy/pasted the "shackle orientation" info from Wilson here.....
3.----- Shackle orientation: In the case of a front axle, there are some further considerations as to which end
of the spring you want to fix. The most popular method is to fix the front end of the spring. Popular thought
is that this allows the axle to move backwards when it encounters bumps, yielding a better ride.
For offroad applications this presents a few problems; under droop the axle will move away from transfer case.
This requires a long-travel driveline. Slip lengths of 12"+ are not uncommon for the front axle of a leaf sprung rig.
Long slip drivelines can be expensive, sloppy, and heavy.
Another problem occurs when climbing. Under power, the axle will drive itself out from under the vehicle,
unloading the suspension. This is counter-productive to the task of trying to climb as the axle will not pull any
weight until the suspension limit has been reached. This can also require even longer drivelines to keep up with
increased slip requirements while the axle is under power.
A third problem occurs under compression situations. Under compression the axle moves rearward and towards
the vehicle/ body. This can make building a low-slung rig even more challenging as it is possible for a tire to
recede several inches towards and into the body during compression. Depending on your desired tire size, it
may not be practical to move the axle far enough forward before you run out of frame to attach your spring
hanger to.
Earlier I spoke of popular thought concerning rear shackles on a front axle. I disagree with the blanket statement
that a rear shackle rides better than a forward shackle. While wheel recession should not be discounted, a forward
shackle suspension pivots from a rearward fixed location; just as nearly all front link suspensions do. These
have been proven to be plenty fast, when setup properly. Forward shackle suspensions do not require a long slip
driveline because the axle is pivoting from a fixed end near the transfer case (same as a link suspension). During
climbing, the front axle will constantly be pulling forward, on the fixed end of the spring. It is also easier to build a
low slung vehicle with a forward shackle because under compression, the axle will move away from the body. Yet
another consideration in this particular debate deals with geometry. I once stumbled upon a reference that suggested
that the shackled spring eye, should be located higher than the fixed eye, relative to the ground. I have not been able
to track it down the last f year, but consider OEM applications. Nearly all are setup this way, on both front and rear
suspensions (with the exception of Toyota mini truck front axles). It is much more easy and practical to achieve this
geometry with a forward shackle setup on a front suspension.
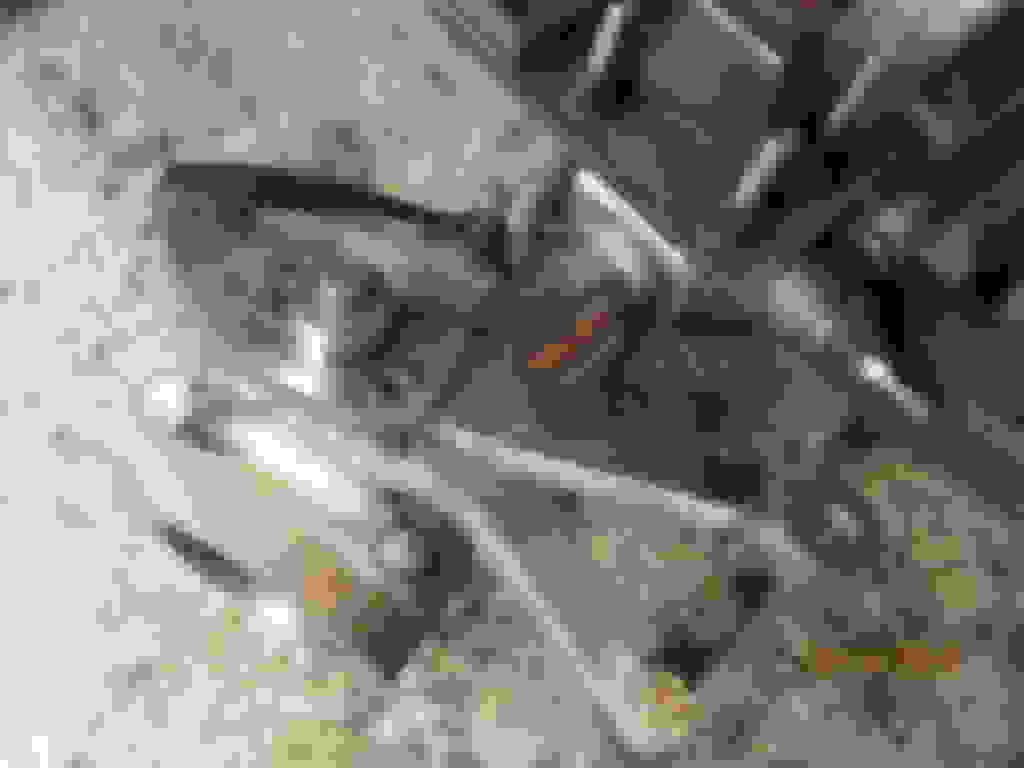
I just fitted up a few things(see pics below and I
moved the leafs BACK 2".......now,looking at it and sizing it up with a 31" and a possible 35" it looks
like I am going to go back ANOTHER 2 inches....crazy. That can be done when you have a frontal
shackle. All bets are off with the usual rear mounted shackle.
Craig---I owe you BIG TIME. Those u-bolts were the perfect fit for the 3 spots. And the 12" travel
Bilsteins are going to fit like a champ....I spot checked them with the Ford towers and all is good.
So much of Craig is going into this build.....and thanks for the leafpacks....they also seem perfect.
Was looking for the easiest....simplest....cheapest way out of a special support system for the inside
u-bolt and found it. A little custom bending with a torch pre-heat and massaged the u-bolt to go
in the different directions I wanted. The other 3 u-bolts are .520" thick and this one customized
bolt is 10% bigger at .580".....figure that would be a prudent thing to do with the bends involved.
Kind of like having the "drain plug" on top of the diff......rocks can't get it and I'll just leave it there.
Good to know about the shackle forward advantages. Looks great. Your work is always top notch and well thought out. I'm looking forward to seeing it finished up.
Seems like I have been kinda busy with other "things" lately....you guys know how that works when you have a project started and all the honeydews. Seems I have had quite a few gear installs and Supra LSD additions....not complaining....mo money for the project additions
Did some cutting of the recent perch welds and carefully tweaked the alignment to the axle....seems to be right on the money now. Semi-welded it in place. pics coming sometime. As I mentioned before, I have one(2) of those johnny joint shackles on the very front of the frame horns....so I'm really interested in how it will drive on the road.
Thanks but I know I'm slow....last of the procrastinators.
Anyways, have more pics here....looks like the front will be almost 3" higher than the rear. I can fix that by modding the rear mounts...all 4 of them.
3" longer shackles(7" eye to eye would do) and the fixed mount I could extend it down 3". I have done that in the distant past....in 1987 I think and
it worked great. pics being downloaded....
Front is 2.5" higher than the rear.....axles equal distance from the ground.
Rear axle shot....
Front measures the same 12 inches off the ground for accurate comparison of front vs rear lift.
About 3.5" center to center on the stockers shackles.....some 7" shackles would take care of this end...
This end I could extend down 4 inches or so the pass thru bolt hole. Keep these existing leafpacks and still get the required 3 inch lift
This driverside pack is skewed slightly to the left.
I made sure this one was the same....should self center when I put the weight on it and bounce around on the road a little.
This driveside is almost 5.5" from edge of perch to axle end.
This one was under 5". I had to do some compromising here because the cat converter was getting close to the rear fixed leafpack mount. Acceptable deviations.
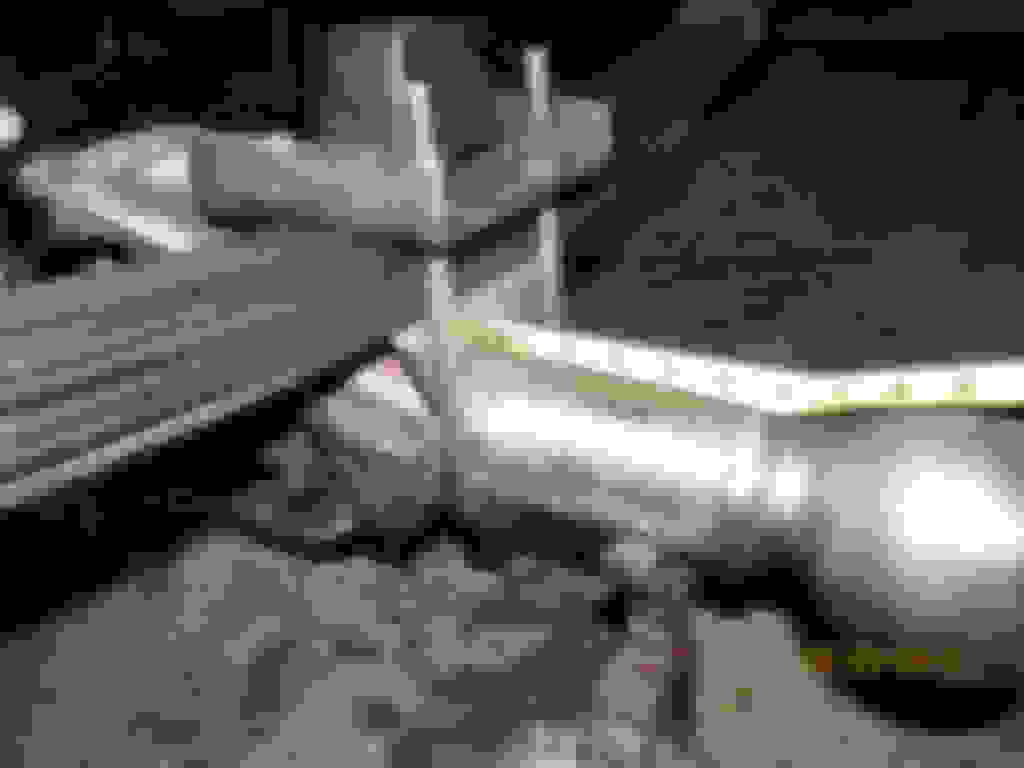
My Customized u-bolt...with the help of a torch and a vice.
Notice how close the diff inside the housing is to touching? The factory 9.5" gets it close. Probably the same for the 8" too.
....................
Looks like the axle flip gets the the driveshaft pretty close to where it needs to be inorder to keep the factory driverside output intact. There will be interference running
the driveshaft to the transfercase flange. A re-design of the transmission cross-brace will have to happen.
Another option for the rear is new spring mounts further up on the frame, utilizing longer
leafs. But, that can be a whole new topic. Carry on Sir!
Exactly....whole new chapter
Anyways, been kinda busy lately with work and also my gear install business so
the SAS was on the backburner for a while.
Bought this leveler on Ebay for about $25....good investment just for this one task.
Kinda tricky to get consistent readings. You have to point the knuckle to the exact
same spot to get it right.....left and right side. In my case I pointed the front face
of the knuckle to the inside of the inside sidewall.
Just a little rotational change effects this "castor" reading.
A little change in the pointing.....
a little more change.....just have to point it same place each time and then you get
the best repeatable reading. The Chinese leveler varied up to +/- .1 degree I noted.
.........................
............................
...........................
In the end, I chose 8 degrees castor towards the sky. I chose that because I will need
to lift the rear of the truck 4 full inches (more like 5") to make it level and, doing the math, every
inch of lift almost equals 1 degree of castor loss so my net castor should be 4 when
it is on the road.
here's my logic .....imagine a circle....the front axle is the center point. The rear axle is one point on
the circle's circumference. This means the circle has a radius of 122".....pie times radius equals 383"
which is the circumference of that circle.There are 360 degrees in a full circle....dividing 360 into 383
gives us the inches per degree...which is 1.06 degrees for every 1 degree of arc. Basically, close enough
to say 1 inch is 1 degree.....so if I lift the rear of the truck 5 inches then I will take away 5 degrees of castor.
So, start with 8 and end up with 3.....cool.
..................................
Welded the knuckles back on did not pull it as much as I thought it might. That is good.
Perches are now fully welded on the outside. Welded the knuckles back in place.
Next is to touch up the right front shackle and get it perfect with the alignment
of the left one....easy job. Run a couple welds on the fixed mounts on the back
of the leafpacks and in about 2 hours I will be ready to tackle the steering
This will be "interesting" because I wish to do the old school Y-arm on the
passenger side....let's see how that works out next post.
On a sidenote.....Stace, got your 8" e-locker with new bearings ready to go.....
Good thing you had me replace the bearings....that small outer pinion bearing
was ready to get noisey. I saved it so you could see it.
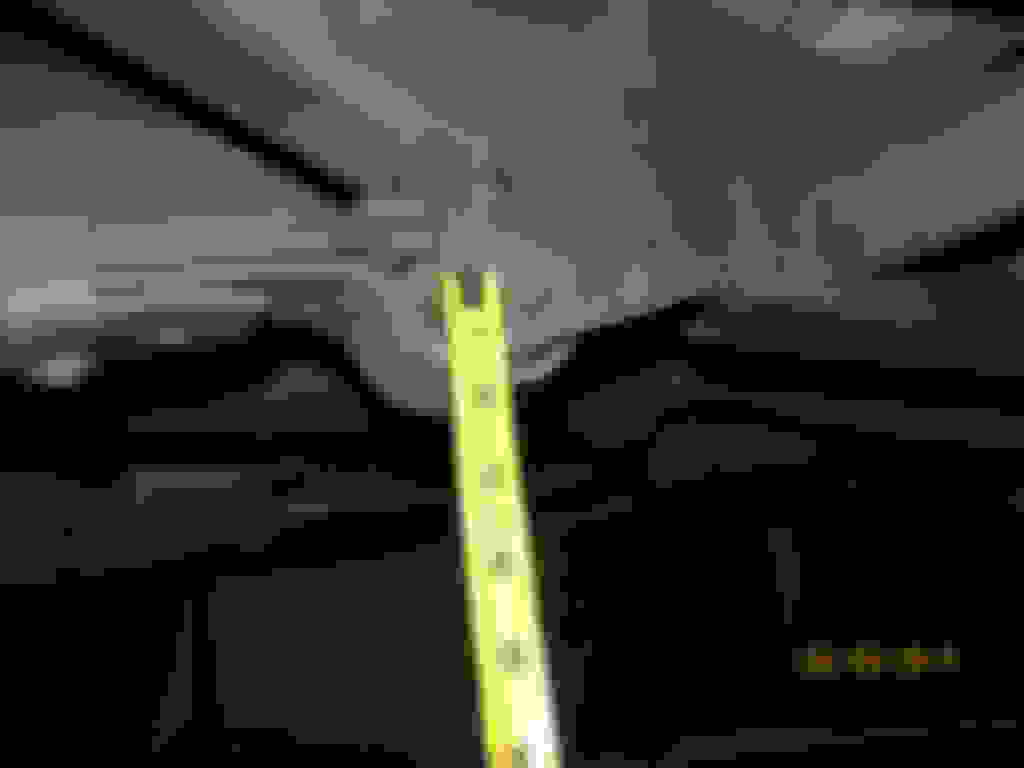
Looking at the front shackles you can see the slight angular difference. I will fix
that next photo session.
I'll have that barbeque rotisserie arm reinforced very soon also.
I appreciate it very much! Carry on with the rig. I cant wait to see the "Y" arm set up. It will be like you did for me,
only with a larger gap.
I just noticed that you used my diff as a jack stand. I wonder about you sometimes.......
LOL.
Yep....tweaked the shackle angles and have them dead nuts even. Ya, I know, they will settle a little
and need more angle changes and that's why I welded it the way I did....I can cut/grind the welds
and do it again
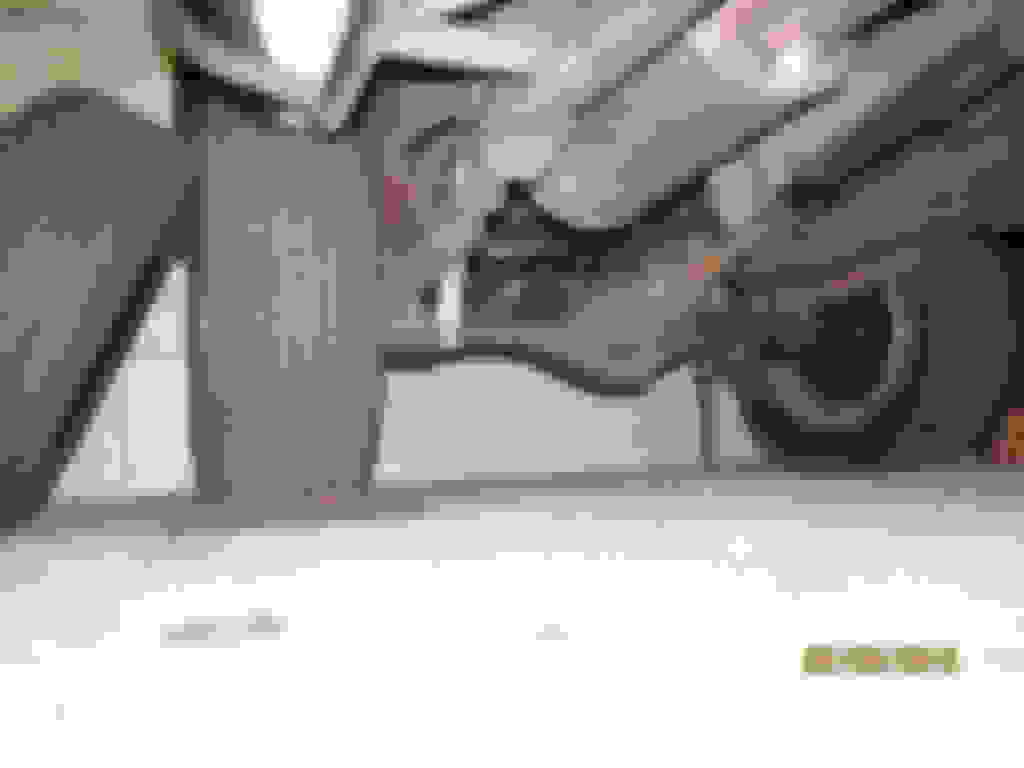
wow....good fit between the bottom of the leafpack
and the tie-rod(cross-rod). Looks like about 1 inch clearance between the two. The
length is just right.
Ya....wasted money.. Didn't need it for any of the TR connections....they are all the same taper it seems.
It's a shame that I have to destroy this perfectly good driver's side J-arm to do what I will
soon do with my chop saw. Haha....my buddy Scot down in Tucson is probably
saying, "Do it! Do it! J-arm sucks and Y-arm RULES!!!"
This guy I know has a similar steering setup that you are doing.
Similar to this Y arm? cool.
So getting ready to chop up this J arm....this side comes off first.
Right about here should suffice.
welder set to these positions for thick deep welds using only 030 wire.
Fitting it up with the steering turned hard left....that puts the draglink closest to the leafpack.
I will torch and heat the arm to relieve the binding you see on the tierod end.
I thought the spacing between the upper and lower arms would be much more but it's not the case
.....I think Stace thought it too.

 Jan 1, 2015 | 09:12 AM