When you click on links to various merchants on this site and make a purchase, this can result in this site earning a commission. Affiliate programs and affiliations include, but are not limited to, the eBay Partner Network.
Nice and centered....just deep enough to make a nice crater to use the tap drill on it.
nd try to mark the other 2 in a similar fashion.....but it doesn't work so good. Minor shifting threw
the centers off so I ended up drilling/tapping one at a time.
By the way, 5.5" from the center of the front box hole to the backside of the front body mount in case anybody else tries a similar configuration.
If I'm not posting enough pictures please let me know.....
Here's the IFS box firmly mounted in place....the thickness of the plate and the frame is over 1/2"
so it threads nicely. Everything was drilled spot on....double checked and triple checked.....
probably drilled the holes within 2/10th of a thou.....and, in the end, the three grade 8 fine thread 1/2"
bolts fitted like they were meant to be there......after some coaxing with a BIG rat-tail file.
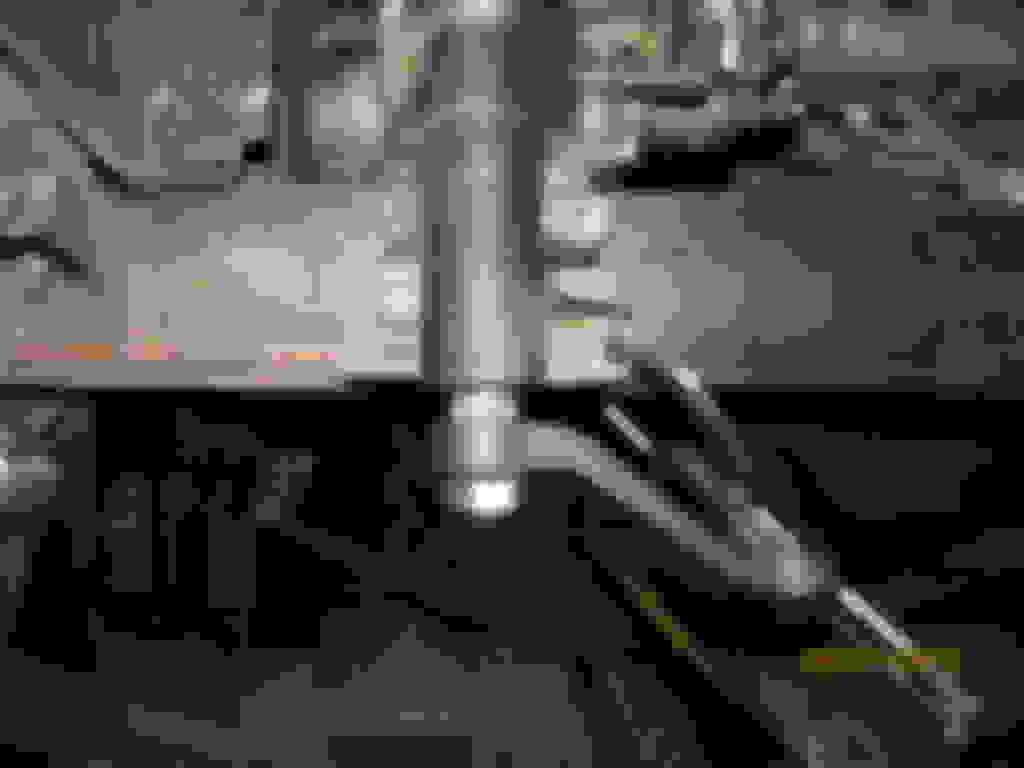
Hard right on the Passenger side....Notice the tie-rod ends have alot of threads exposed. There
are still 10 threads in the tube....on both sides. Acceptable but perhaps the 36.5" draglink
designed for the FJ60 would have been a better choice than this 33.5" tube meant for the
pick-up/4Runner ....but it still works ok. I was prepared to cut it down the middle and sleeve it
but it is just not necessary.
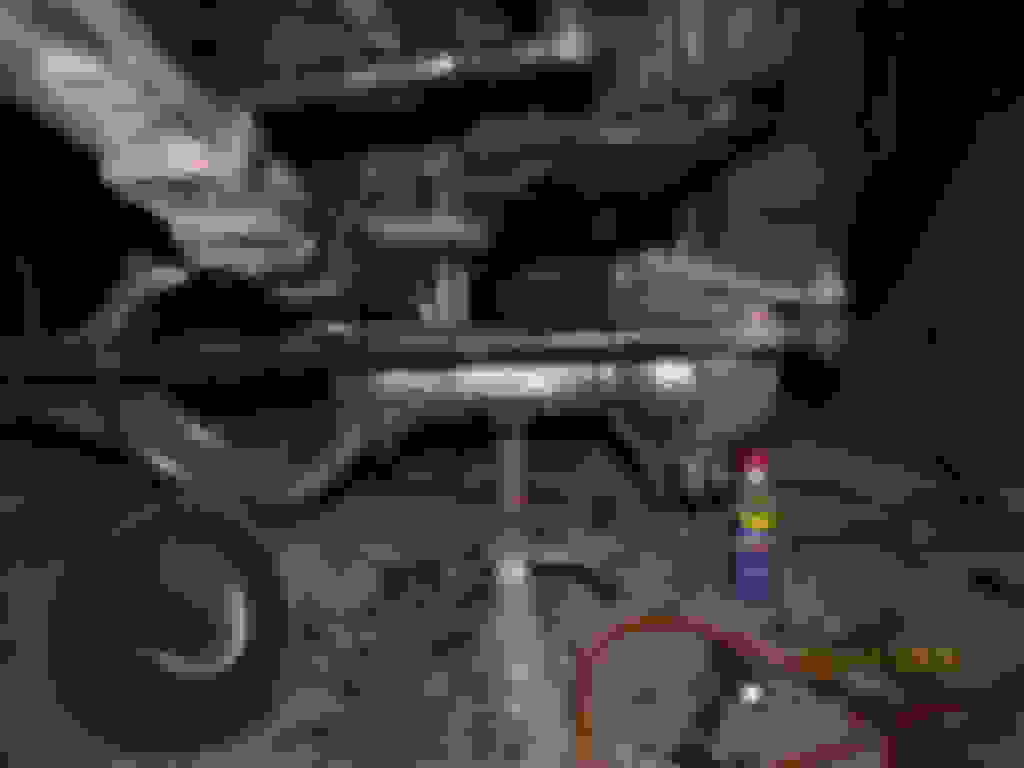
Hard left on the passenger side ....adequate clearance under the leafpack and a ton of
clearance on top. This Friday I am having a customer's G2 529 cryo treated at the Scottsdale location http://www.cryogenicsinternational.com and I think I will add this Y-arm to the batch.
For the small investment of about $45, a cryo'd arm will be free of all the stresses due to welding
and just plain be more durable.....fatigue resistance doubles and triples.
hard left on the drivers side....looks aok.
Here's what it looks like straight on.....I like the clean simple look.
Looking at the pic I can see that I will want to show off/highlight the steering system with the Y-arm
so I foresee spending some of my hard earned "gear install" moneys on a Marlink 36.5" draglink and
a lower tie-rod assembly to match......then paint them red....maybe florescent green all 3 components.
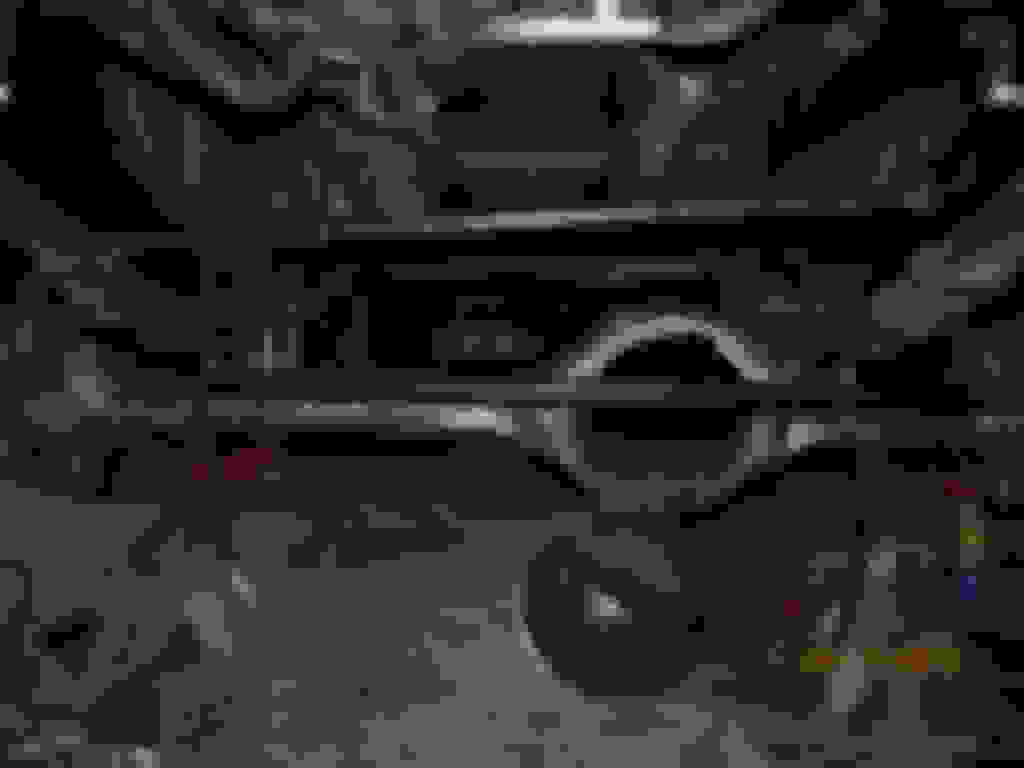
Steering sector shaft fitted just fine and steering wheel vs left full turn vs right full turn was all
checked out aok. I just ordered the correct draglink and tie-rod assembly. Make it look like a
million bucks.
Steering sector shaft fitted just fine and steering wheel vs left full turn vs right full turn was all
checked out aok. I just ordered the correct draglink and tie-rod assembly. Make it look like a
million bucks.
You will love that marlink. Never an issue on mine. Your angles look great too. Shouldn't have any bump steer on that rig!
Did some slot grinding and welded the front cover back on.....
and made sure I did it upside down so that the ring does not contact the cover.
Here's the stock 9.5" 410 3rd loaded in place....
Low pinion 3rd....notice the drain hole is now on top.
I think that will be my new breather
but I have options too.
Flip it over and this is what it looks like with the 4 new notches because the ring is now on the
left half of the hole.
Cover is laid in place and moved around to get a feel where the contact is
and center it best....
Welded in place. top view.
Bottom view.
A simple rock deflector might be nice....nothing big and complex....found this scrap piece
and looks like the ticket. I'll trim off about 1/2" on the right side and give it a clean look.
That ring gear protection will be like the one you bent and welded for my 4Runner. It was perfect. I am starting to see similarities with my rig. All the stuff you did on mine you are using on yours. Except for the flipped axle of coarse. Was I your "test dummy" ?? :-) :-) :-)
That ring gear protection will be like the one you bent and welded for my 4Runner. It was perfect. I am starting to see similarities with my rig. All the stuff you did on mine you are using on yours. Except for the flipped axle of coarse. Was I your "test dummy" ?? :-) :-) :-)
You da guy
Way back in this thread on 4x4wire.... http://www.4x4wire.com/forums/showfl...ue#Post1267081
Always a good idea to not delete the important pictures in the photobucket account....
years later we can see your Y arm and the tiny ring gear cover deflector
Last trivial thing to do with the housing before bolting it back under there is swap 4 studs around......the
2 on the left have to swap to the right side and vice-versa.Double nutting the studs and a small amount
of heat makes removal pretty quick. They apparently
have some loctite on them from the factory.
Received the 36.5" FJ60 draglink and 44" tie-rod from Marlin.....not shown but they did a super job of packing these 2 rods in the long box....
bubble wrapped on the ends and the HD tie-rod ends with nuts/cotter pins in a HD zip lock bag also wrapped in bubble.
Loading up the spindle and hubs soon here....
Leaving the axles out for now. The birfs are being cryo treated right now.
Same for the Y arm....being cryo treated so I have a "place holder"
such that I can do some assembly.
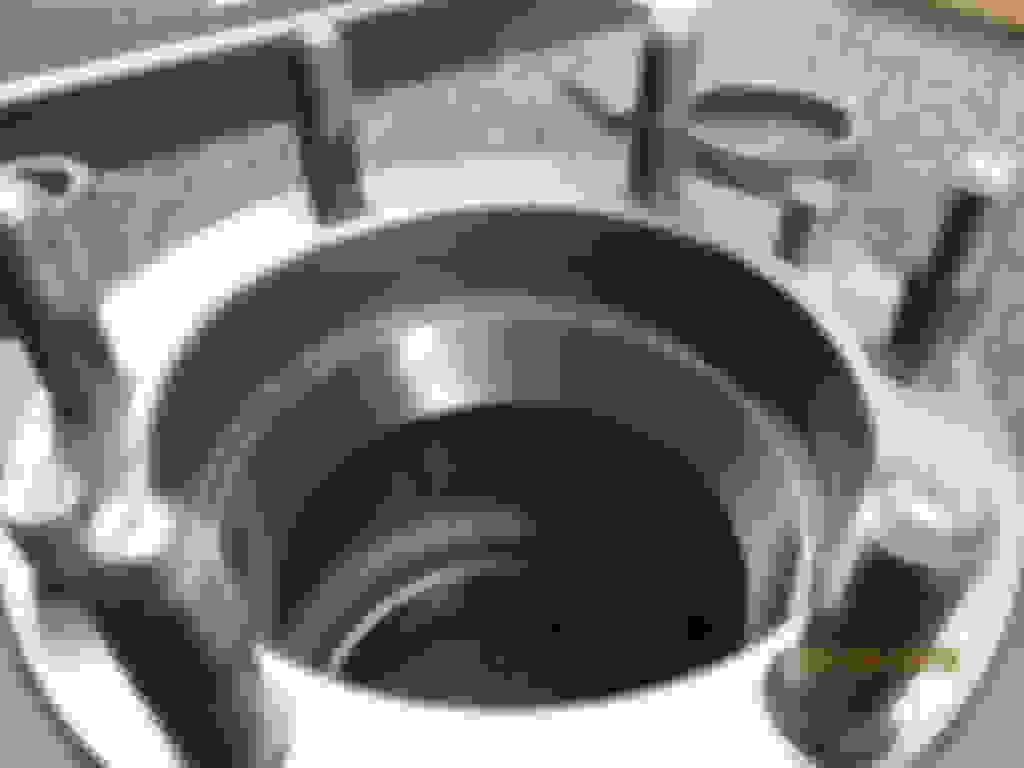
The black dustshield for the rotors will be probably left out permanently as I see no use for them in real life
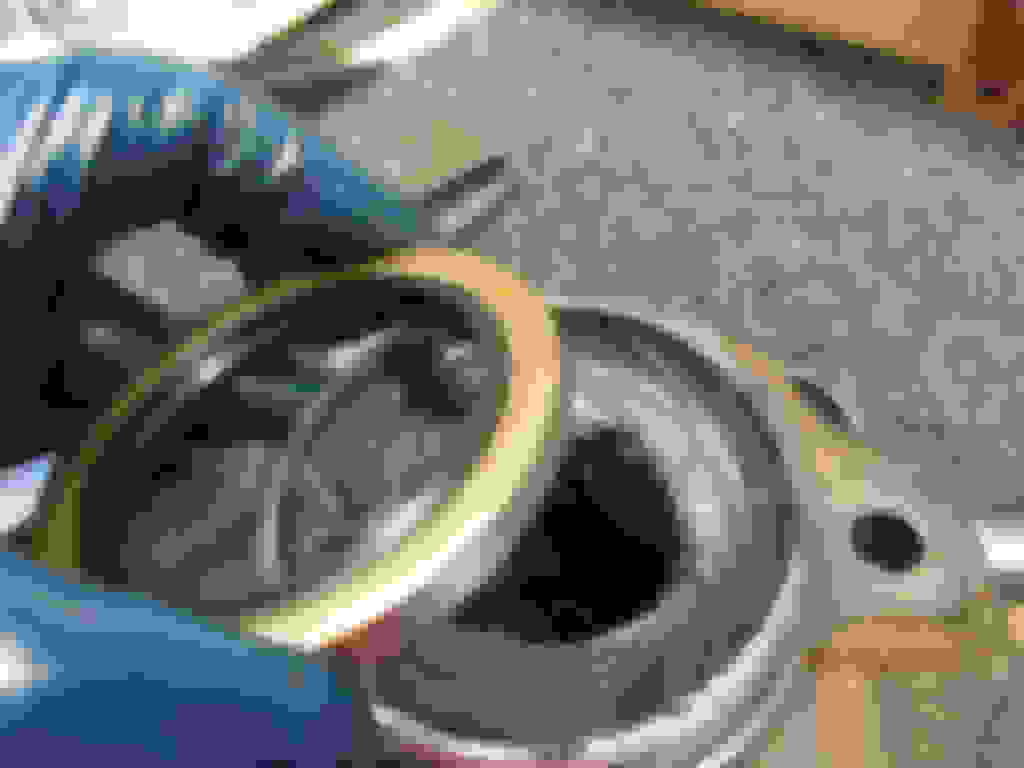
Tap the larger inner front wheel bearing race in....I'm using the old race to evenly distribute the hammer blows.
This end goes down....
Don't forget to put the bearing in FIRST...then the seal
I forgot and I wasted a seal.
Lots of new extreme pressure grease....
Don't fret the seal loss. I once installed a knuckle bearing race upside down in my old axle. Didn't realize it until the bearing wouldn't seat... You are getting closer.... Back to wrenching Oh yeah. Can the dust shield. I cut mine down to the bare minimum.
Staceman-----You "minimized" it.....Ya, I considered leaving the whole dust shield out but it turns out the bolts come too close to bottoming out so I had to spend 5 minutes to cut the essential ring out free and clear. Picture below shows the results.
Thanks sexonwheels. Ya, I chuckled when I noticed it.....here's the gear install guy that installs bearings and seals almost daily and I forget one little ole bearing.
Thanks for the good words BigBluePile. I bought this front / rear axle assemblies pretty much in a basket but he did most of the hard work. Sandblasted a lot of it and has new bearings waiting to go in. Also, I acquired some gear install tools from him. He's a skool teacher in the Grand Junction area and simply didn't have the time for such a big project.
 03-17-2015, 06:13 PM


 . Didn't realize it until the bearing wouldn't seat...
 You are getting closer.... Back to wrenching
  Oh yeah. Can the dust shield. I cut mine down to the bare minimum.


