
1989 Single Cab Axle Swap Project "Ol'Grey"
 May 11, 2014 | 11:16 PM
#1
Thread Starter
Registered User
Joined: Dec 2008
Posts: 96
Likes: 0
From: British Columbia, Canada
1989 Single Cab Axle Swap Project "Ol'Grey"
Finally starting my axle swap after 2 years of reading and collecting parts!
Been wheeling with an Old Man Emu IFS lift for about 3 years and it has served its purpose for what I've been doing, but now it's time to bigger and better suspension! Learned a lot from the IFS point of view, now hoping to learn some more!
New Suspension Specs:
1981 Front Axle
Marlin Rebuild Kit
High Pinion 3rd
Yukon 29 spline 4.56 gears
ARB lockers front and back
Rears up front, 81 mains
High steer
Explorer leafs in the rear
u-bolt flip front and back
Just started 2 weeks ago and will hopefully be done in another 3 weeks in between school and work.
Axle prep and cleaning so far, nothing to special.
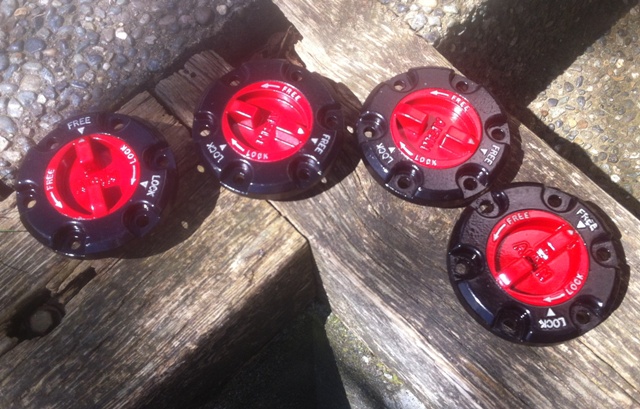
Have extra hub parts, so I rebuilt those as well.
New Trail Gear hub studs and Marlin seal.
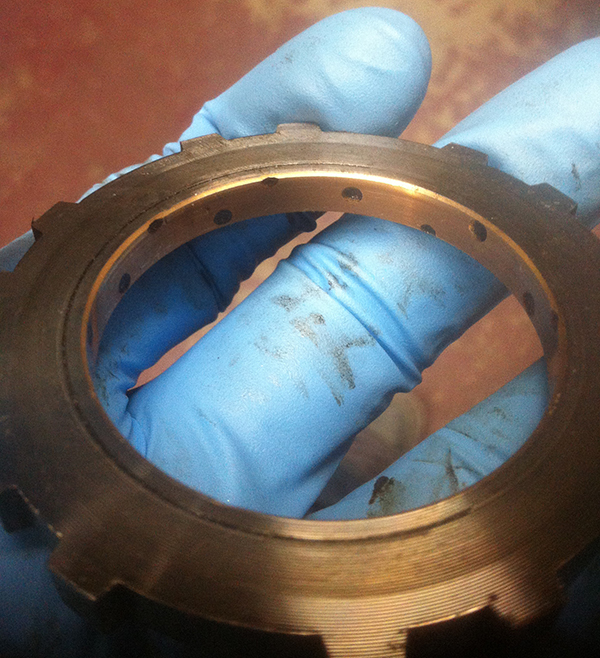
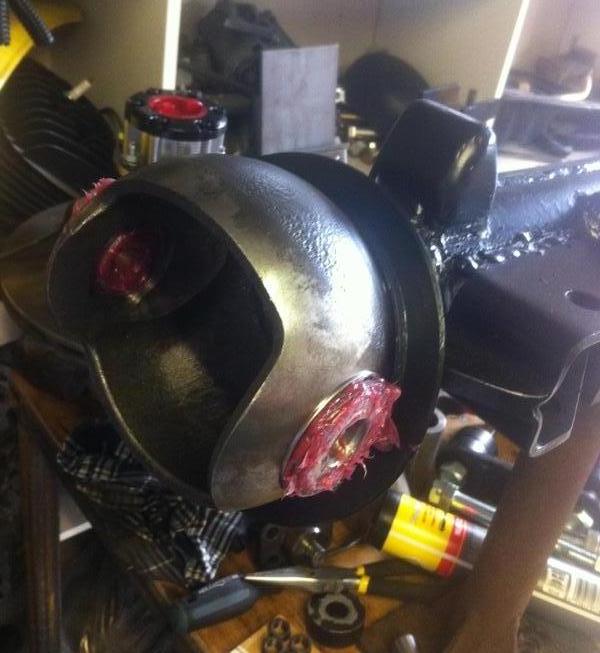
Found these different hub body rings inside my IFS hubs. Seems like they have a brass collar.
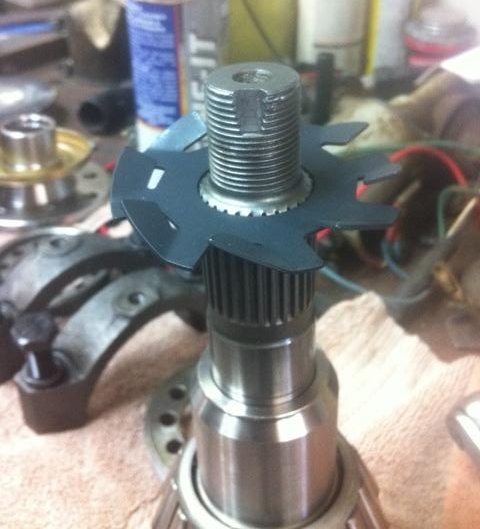
The original 27 spline oil slinger didn't fit on the 29 spline shaft. Had to make the hole slightly larger to fit.


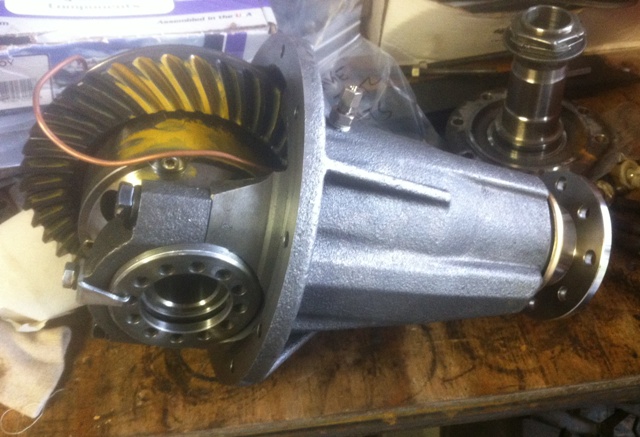
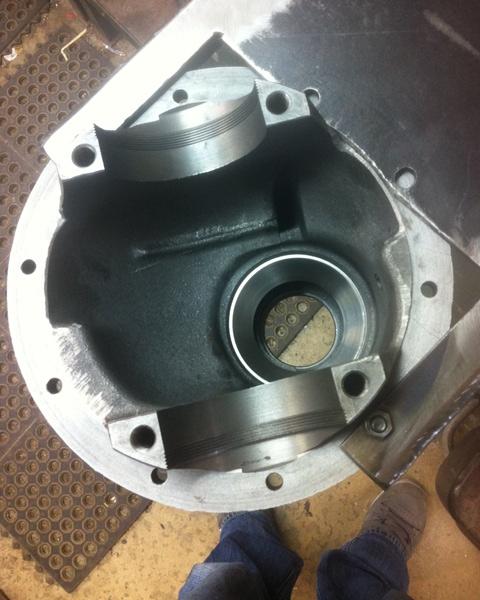
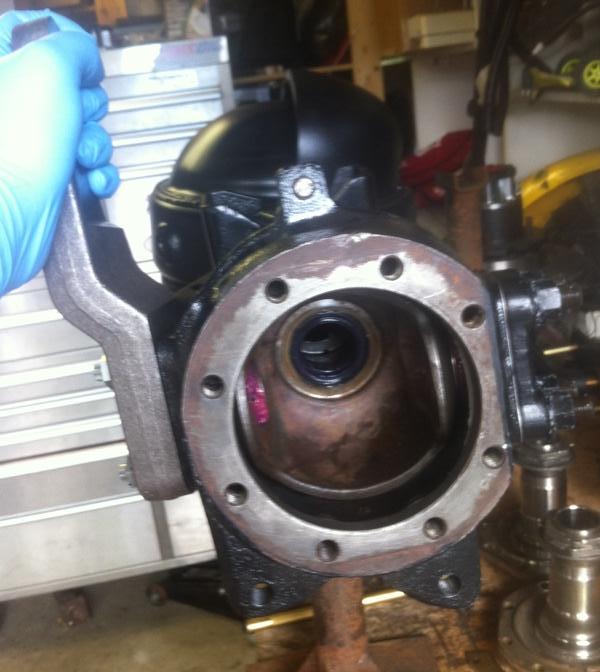
Set up the high pinion with the Yukon gears and got a really nice pattern.
The specs for the diff are:
Solid spacer with 0.089" shims
Pinion spacer with 0.052" shims
17 in-lbs of preload
0.006" backlash
Thanks to gearinstalls.com for all the good reference material!
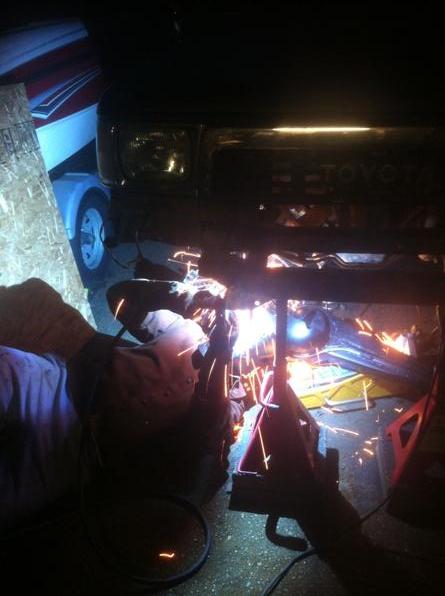
Finished welding up the creeper gussets. I've welded everything on this axle with extreme caution because I've heard they are not hard to bend especially when you burn a large bead on them, and then it's a PITA to get the axle shafts in and out as well as hold oil... So I only welded a 2" bead in 15 minute intervals...the truss took me like 2 days to get welded on. lol. I'm just hoping for a straight, non-leaky axle when everything goes back together.
Been wheeling with an Old Man Emu IFS lift for about 3 years and it has served its purpose for what I've been doing, but now it's time to bigger and better suspension! Learned a lot from the IFS point of view, now hoping to learn some more!
New Suspension Specs:
1981 Front Axle
Marlin Rebuild Kit
High Pinion 3rd
Yukon 29 spline 4.56 gears
ARB lockers front and back
Rears up front, 81 mains
High steer
Explorer leafs in the rear
u-bolt flip front and back
Just started 2 weeks ago and will hopefully be done in another 3 weeks in between school and work.
Axle prep and cleaning so far, nothing to special.


Have extra hub parts, so I rebuilt those as well.


New Trail Gear hub studs and Marlin seal.

Found these different hub body rings inside my IFS hubs. Seems like they have a brass collar.


The original 27 spline oil slinger didn't fit on the 29 spline shaft. Had to make the hole slightly larger to fit.


Set up the high pinion with the Yukon gears and got a really nice pattern.
The specs for the diff are:
Solid spacer with 0.089" shims
Pinion spacer with 0.052" shims
17 in-lbs of preload
0.006" backlash
Thanks to gearinstalls.com for all the good reference material!


Finished welding up the creeper gussets. I've welded everything on this axle with extreme caution because I've heard they are not hard to bend especially when you burn a large bead on them, and then it's a PITA to get the axle shafts in and out as well as hold oil... So I only welded a 2" bead in 15 minute intervals...the truss took me like 2 days to get welded on. lol. I'm just hoping for a straight, non-leaky axle when everything goes back together.
Last edited by sexonwheels; May 12, 2014 at 10:28 AM.
May 11, 2014 | 11:53 PM
#2
Ballsy setting up that high pinion yourself.. nice job Zuk does a great job on his write ups.
Are you going to be able to fab up new brackets to retain the ARB bumper? Can't remember if the SAS changes the mounting points much.
Zuk does a great job on his write ups.Are you going to be able to fab up new brackets to retain the ARB bumper? Can't remember if the SAS changes the mounting points much.
May 12, 2014 | 10:37 AM
#4
Thread Starter
Registered User
Joined: Dec 2008
Posts: 96
Likes: 0
From: British Columbia, Canada
I'll still be using the 2 holes on each side, next to the body mount and the 2 holes in the front of the cross member, so I'll be using 6 original holes so far. We'll see if I can utilize more after the swap is done. I'll probably have to cut a bit of the bumper on the sides too, depending on how far forward my axle sits with the 33's.
May 12, 2014 | 11:08 PM
#5
Thread Starter
Registered User
Joined: Dec 2008
Posts: 96
Likes: 0
From: British Columbia, Canada
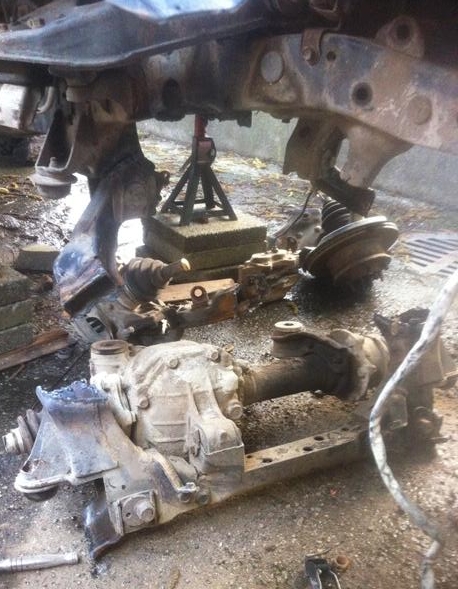
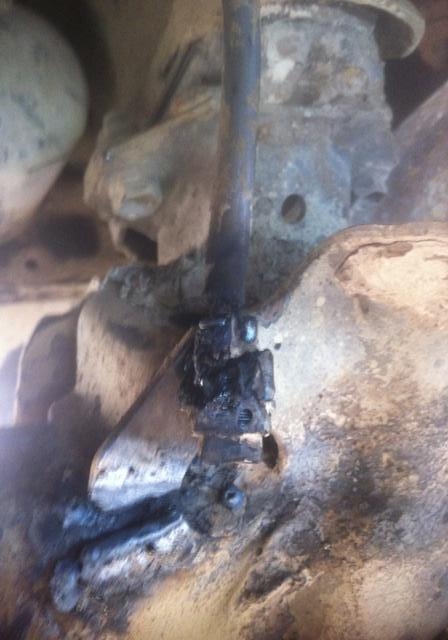
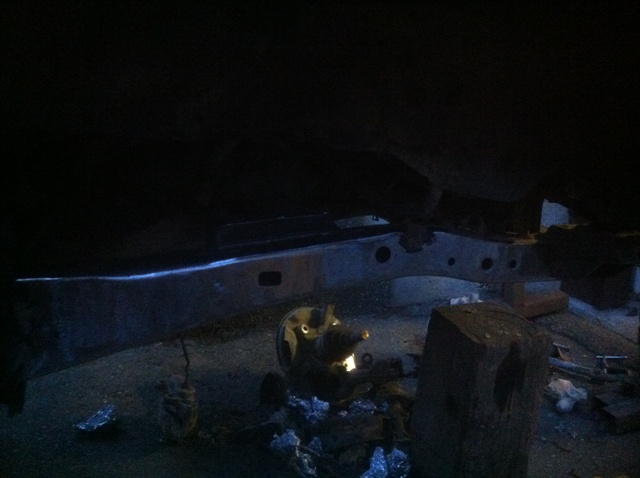
Got the remainder of the IFS cut out this past weekend and managed to torch a loose connector that was dangling in the engine bay.
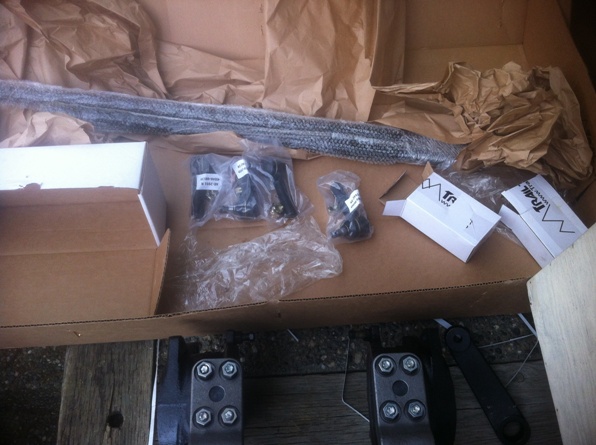
Picked up my TG high steer kit!
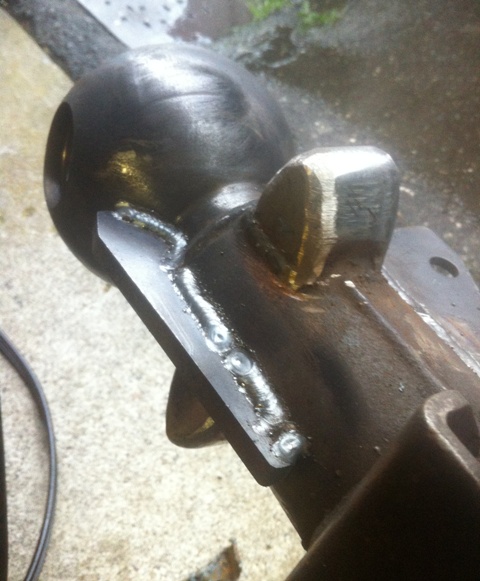
I buddy of mine gave me an 8" round 3/8" thick forged pipe cap that just so happens to fit as diff armour!
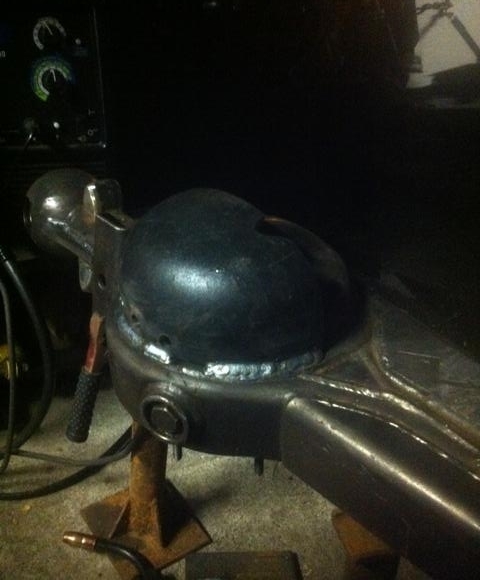
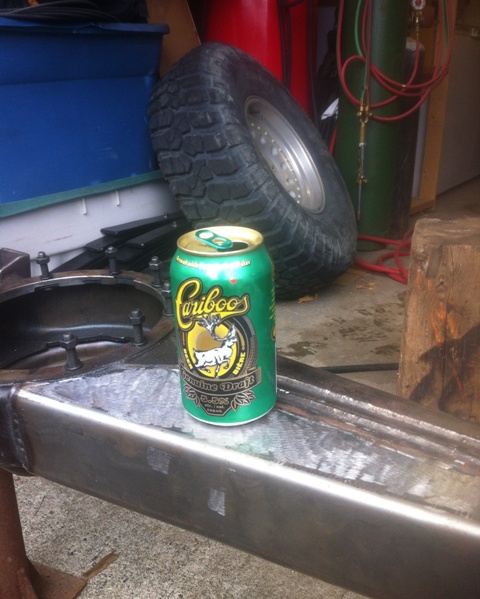
Axle prepped and ready for paint. I'm using this paint called ALK-200, it's suppose to be heavy duty so we'll see how it is after it's painted.


Picked up my TG high steer kit!

I buddy of mine gave me an 8" round 3/8" thick forged pipe cap that just so happens to fit as diff armour!

Axle prepped and ready for paint. I'm using this paint called ALK-200, it's suppose to be heavy duty so we'll see how it is after it's painted.

 May 29, 2014 | 11:45 PM
#6
Thread Starter
Registered User
Joined: Dec 2008
Posts: 96
Likes: 0
From: British Columbia, Canada
Got quite a bit done on the truck in the last week and a half.
Built the front hanger! I like the idea of incorporating the design into the frame of the truck and not just a few stitch welds to hold it to the frame.
I used some of the holes on the frame to align everything and then welded it just about everywhere. It takes a lot longer but is definitely worth it.
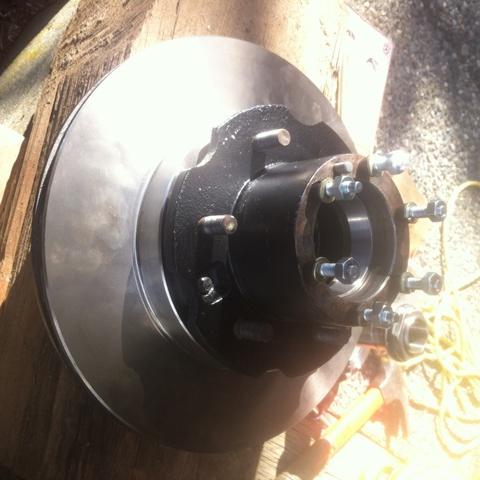
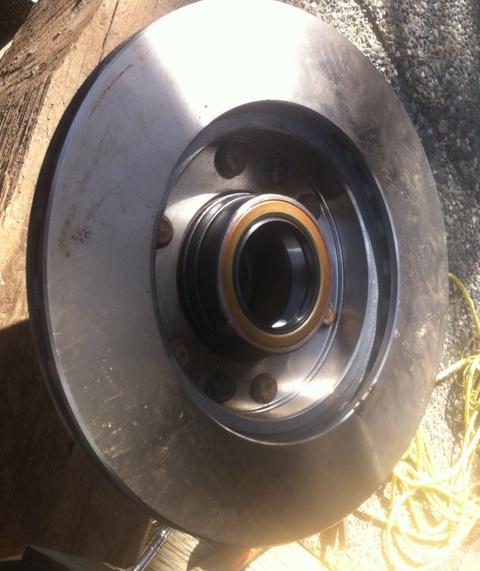
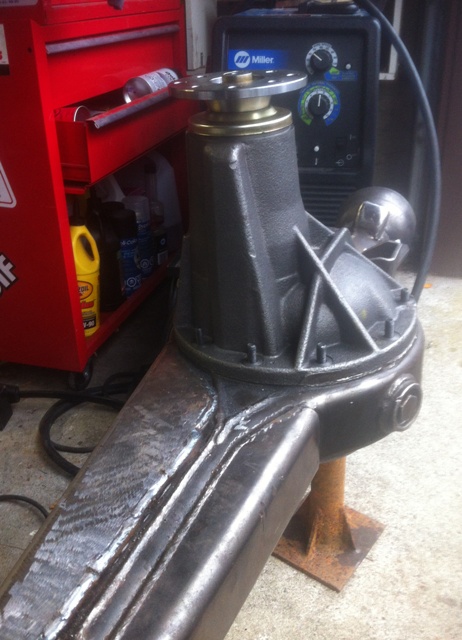
Also got the axle together.
About 13 lbs on the knuckle and 8 lbs of preload on the wheel bearings.

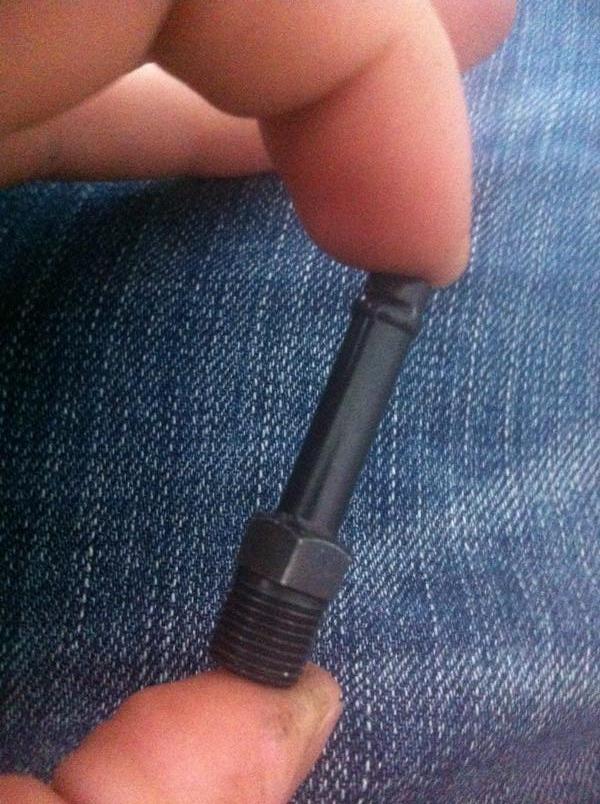
Using this little union piece from Toyota to extend the diff breather. It's the proper British Pipe Thread and fits a 1/4" fuel line.
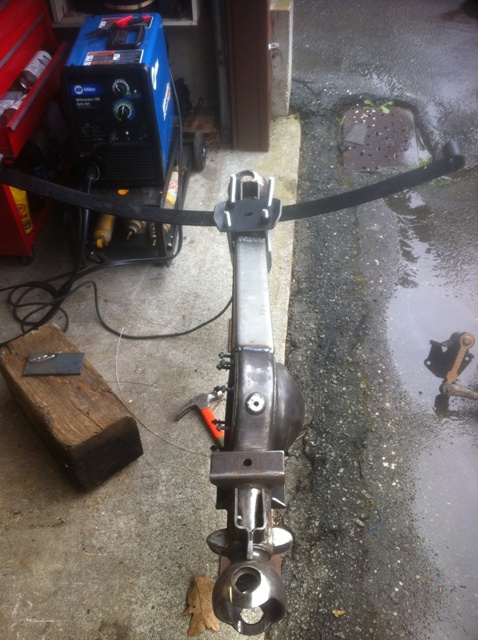
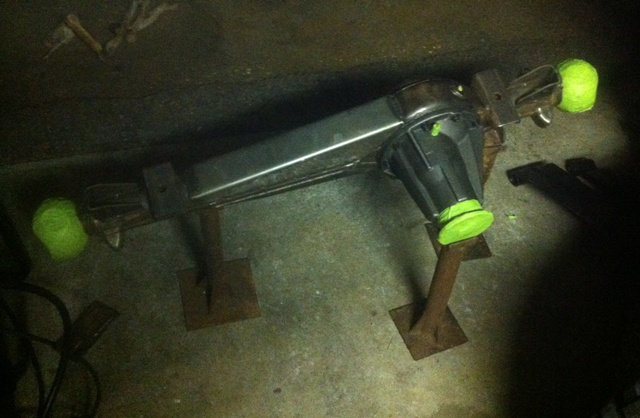
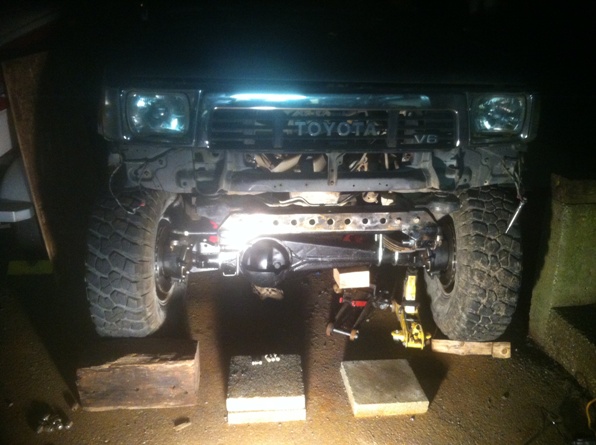
Front axle and springs in!
Running the rears up front with 81 mains and all of the 89 rears plus an OME add-a-leaf.
Built the front hanger! I like the idea of incorporating the design into the frame of the truck and not just a few stitch welds to hold it to the frame.
I used some of the holes on the frame to align everything and then welded it just about everywhere. It takes a lot longer but is definitely worth it.


Also got the axle together.
About 13 lbs on the knuckle and 8 lbs of preload on the wheel bearings.


Using this little union piece from Toyota to extend the diff breather. It's the proper British Pipe Thread and fits a 1/4" fuel line.

Front axle and springs in!
Running the rears up front with 81 mains and all of the 89 rears plus an OME add-a-leaf.

Trending Topics
Jan 28, 2015 | 07:49 PM
#8
Thread Starter
Registered User
Joined: Dec 2008
Posts: 96
Likes: 0
From: British Columbia, Canada
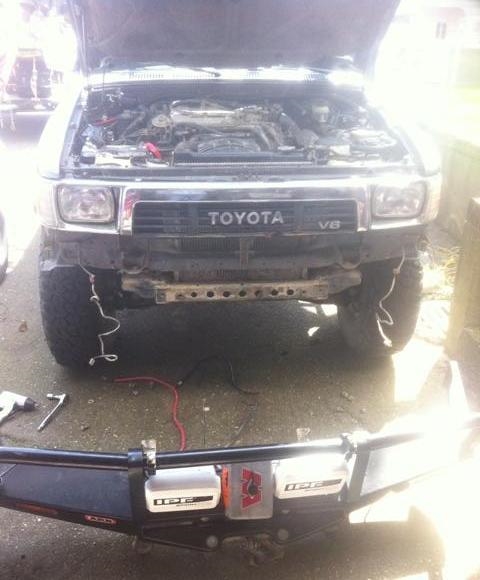
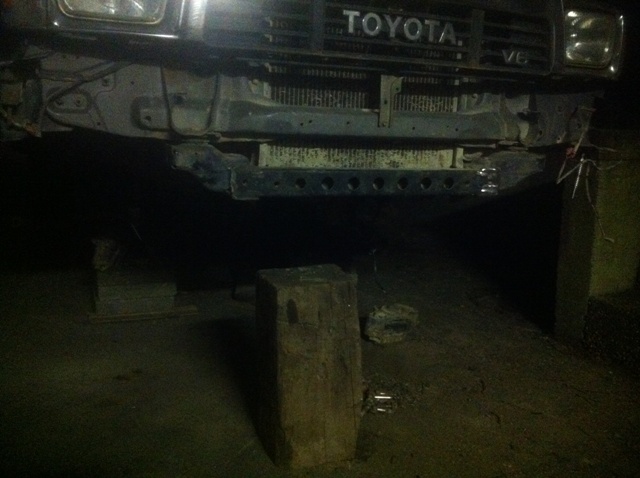
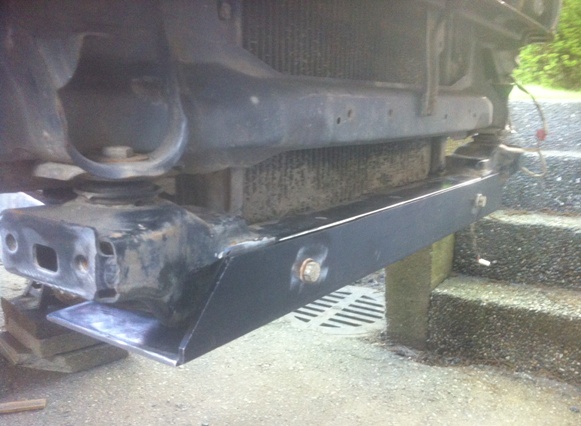
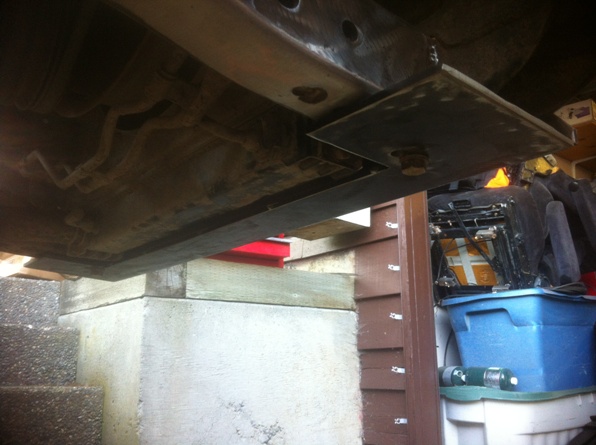
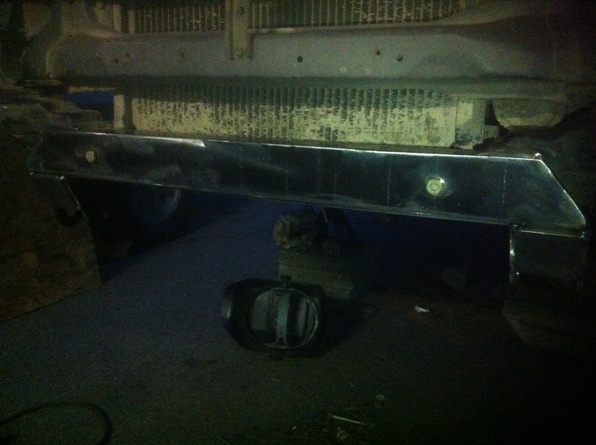
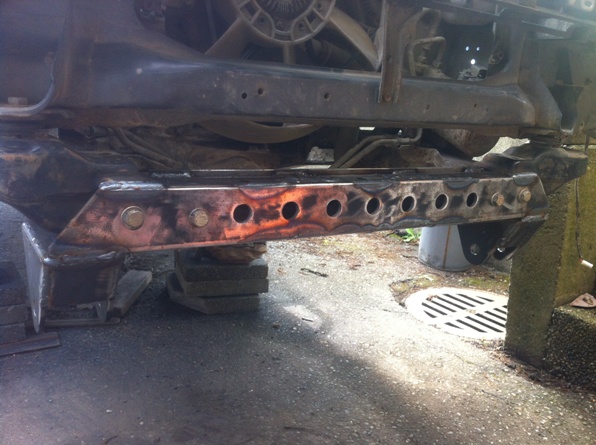
Also trimmed my ARB bumper to fit with the new spring hanger. I made sure to take a few pictures cause I know there are a few people that would like to see how it's done, and it's actually quite easy!
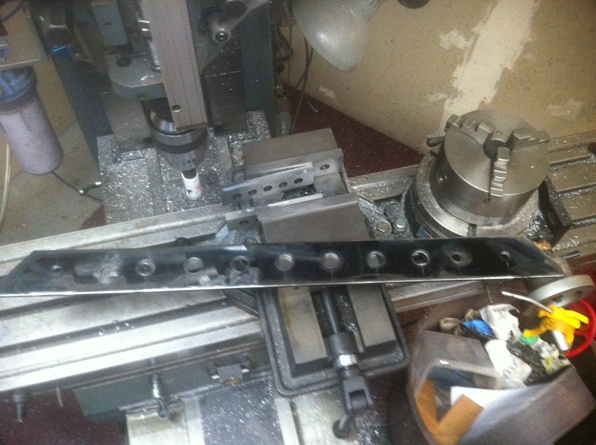
The third picture is all the pieces that need to be cut off. After all is said and done it fits back nicely and still used 6 bolts to secure it to the frame.
The third picture is all the pieces that need to be cut off. After all is said and done it fits back nicely and still used 6 bolts to secure it to the frame.
Jan 28, 2015 | 07:54 PM
#9
Thread Starter
Registered User
Joined: Dec 2008
Posts: 96
Likes: 0
From: British Columbia, Canada
With how I set up my front hanger, I needed to push my steering box as far forward as I could.....Got it about 1.75" forward from stock and there's plenty of room for my steering and I could even put the springs forward farther if I wanted to use the rear 4runner mains later down the road.
Last edited by sexonwheels; Jan 28, 2015 at 07:57 PM.
Jan 28, 2015 | 08:01 PM
#10
Thread Starter
Registered User
Joined: Dec 2008
Posts: 96
Likes: 0
From: British Columbia, Canada
Next was to get my rear shock mount build and welded in.
I build it as high as possible to accommodate the largest shocks and I tried to get them as vertical as I could. The next time I do this I'm just cutting through the bed to get the shocks vertical for better handling.
I build it as high as possible to accommodate the largest shocks and I tried to get them as vertical as I could. The next time I do this I'm just cutting through the bed to get the shocks vertical for better handling.


 Jan 30, 2015 | 02:14 PM
#13
Thread Starter
Registered User
Joined: Dec 2008
Posts: 96
Likes: 0
From: British Columbia, Canada
For my pickup, I find the axle wrap isn't too bad. I haven't really put it in any crazy spots since I put them in to really test it out, but I would like a traction bar eventually. Plus I don't run any leaf blocks and I tried to keep the suspension low to minimize stuff like that.
All in all, they are actually a really nice size spring for the overall Toyota truck size and they seem to hold some weight and flex nice at the same time.

I'll try and post up another pic later of the bumper back on the truck and how it all looks together.
Last edited by sexonwheels; Jan 30, 2015 at 02:21 PM.
Feb 1, 2015 | 08:25 AM
#16
Thread Starter
Registered User
Joined: Dec 2008
Posts: 96
Likes: 0
From: British Columbia, Canada
Sep 17, 2015 | 02:44 PM
#17
Thread Starter
Registered User
Joined: Dec 2008
Posts: 96
Likes: 0
From: British Columbia, Canada
Here's some reference drawings of the springs hanger I used.
The only thing you may need to use is the different drawings for Spring_Hanger_Part_3(a,b or c) depending on what size leaf spring you are using and how much lift you want to build into the axle swap.
The only thing you may need to use is the different drawings for Spring_Hanger_Part_3(a,b or c) depending on what size leaf spring you are using and how much lift you want to build into the axle swap.
Last edited by sexonwheels; Sep 17, 2015 at 02:53 PM.

Thread
Thread Starter
Forum
Replies
Last Post
FS[PacSouthWest]: 2- 8"3rd members:4.88 ratchet lockers,new setup kit, rear axle rebuild kit,diff armor
jerusry
Axles - Suspensions - Tires - Wheels
1
Oct 19, 2015 05:28 PM
toyoda8488
84-85 Trucks & 4Runners (Build-Up Section)
2
Jul 5, 2015 10:18 PM


