
 03-23-2016, 02:55 PM
Last edit by: IB Advertising
See related guides and technical advice from our community experts:
- Toyota 4Runner, Tacoma, and Tundra Paint Modifications<br>Overview of popular modifications to help you customize your Toyota.

Show us your best cheap mods!
01-27-2010, 08:53 PM
#141
Registered User
Join Date: Aug 2008
Location: Nor, CAL
Posts: 1,816
Likes: 0
Received 0 Likes
on
0 Posts
I used a piece of exhaust piping for my ISR mod; Flanged the ends, gave it a shot of primer and it's been flawless ever since:
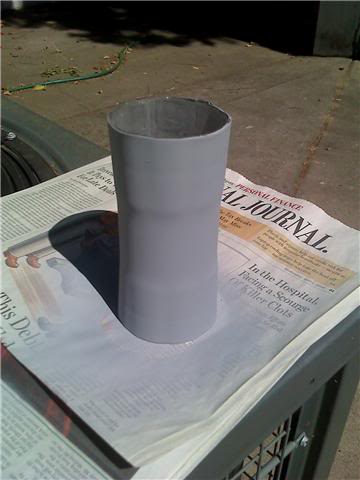
Cost: I brought lunch to my neighbor who works at a muffler shop.
Cost: I brought lunch to my neighbor who works at a muffler shop.
 01-27-2010, 08:58 PM
#142
Registered User
Join Date: Sep 2009
Location: East Alton, IL
Posts: 178
Likes: 0
Received 0 Likes
on
0 Posts
Yea I just cut a peice of exhaust pipe off of one of the bigfoot's and put that in place for my ISR mod as well.
But I think I need to add pics of all my mods.... And boy is there alot.
But I think I need to add pics of all my mods.... And boy is there alot.
 01-27-2010, 09:49 PM
#144
Registered User
Join Date: Dec 2009
Location: Dixon CA
Posts: 78
Likes: 0
Received 0 Likes
on
0 Posts
in-bed two bike carrier:
two sections of 3/4" ID pipe and a piece of 3/4" threaded rod, two nuts, two lock washers, four hose clamps, two quick release bicycle front hubs = about 10 bucks
hose clamped a hub to each of the pipes, put the threaded rod in between with the nuts and washers, stuck the whole thing between the tie down points in the bed closest to the cab, tightened down. Worked great but now I have a cap so i cant fit bikes upright any more.
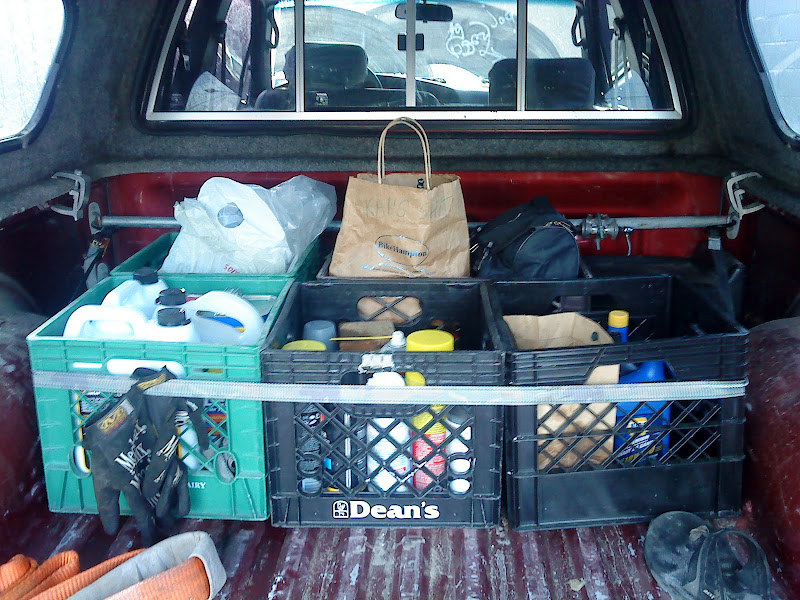
I also have about 6 milk crates secured with ratchet straps to the same tie downs i used for the bike carrier that are home to many of my tools, fluids, rattlecans, spare parts, etc.
two sections of 3/4" ID pipe and a piece of 3/4" threaded rod, two nuts, two lock washers, four hose clamps, two quick release bicycle front hubs = about 10 bucks
hose clamped a hub to each of the pipes, put the threaded rod in between with the nuts and washers, stuck the whole thing between the tie down points in the bed closest to the cab, tightened down. Worked great but now I have a cap so i cant fit bikes upright any more.
I also have about 6 milk crates secured with ratchet straps to the same tie downs i used for the bike carrier that are home to many of my tools, fluids, rattlecans, spare parts, etc.
 tac.
tac.
 01-31-2010, 02:01 AM
#150
Registered User
Join Date: Oct 2009
Location: See above
Posts: 401
Likes: 0
Received 0 Likes
on
0 Posts
Welded 3 point hitches to the front and rear so I can move my winch from the front to the back as needed. Extended winch wired "remote" with similar rubberized wire found at home depot for 4$. (So it would reach the rear of my truck (My truck is very long with the crew cab addition))
Using quick connect welding (stick) for the power feeds to the winch in the front and back for quick movement. Made roof rack's for the camper top (Made out of "new scrap" bought at a metal supply store that was miss-cut. paid $00.39 lb for it scrap price),
Adding 2nd battery to help with the winch electronics, have the drivers side of the engine compartment all cleaned out, just have to weld up a battery mount to put it in and wire it.
Put in bucket seats I took out of a probe I got for free, also took the probe's windshield washer sprayers out and made them fit in my truck, work so nice. Have 4 streams in stead of 2 dribbles... All free from friends towing yard. (Probably the best thing I have done to my truck because the bench seat was tired and sprung and was terrible to sit in/on and you couldnt adjust the back it had one setting straight up, and you couldnt move it cause the mechanisim was all jammed up and I felt like a circus clown trying to drive it with my knees trying to touch my ears...)
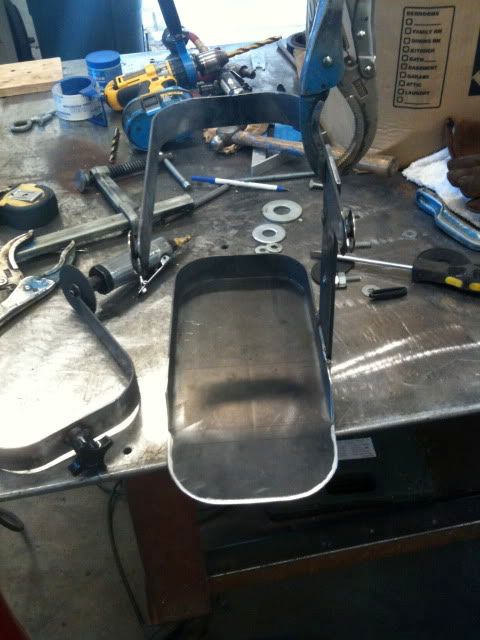
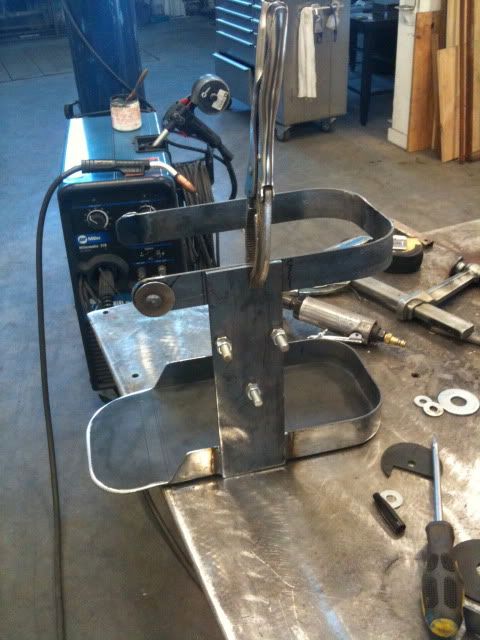
Oh yah, home made sheet metal break ( http://s883.photobucket.com/albums/a...metal%20break/ ) -> which I then used to bend some rubberized metal for a nice heavy duty skid plate (Friend of mine snagged me the blue rubberized metal for free from a construction job, which strangely was exactly the right size for my skid plat, just had to bend it, and drill it. Going to put more holes in it for air flow once the tempature gets over 35 (In TEXAS! WHAT?)
Damn global warming LOL.
Going to put in thin mount burners (lights) on the front grill guard, recessed to keep the tree limbs away from them, that are actuated by Orilley's relay switches ($4.00) to the high beams, and a set on the rear to help with seeing when I back up.
I also just ordered a rear view camera, which doubles as a LCD monitor for a dvd which clips over the rear mirror and is 10.5" for like $125 delivered to the door off Ebay. Thought that was a neat mod because I cant hardly see behind the truck when I back up bcause of the cap...and have already destroyed a sign at my local vet's office.
Probably a bunch more but I cant think of them right now because I have not drank enough coffee yet.
Oh yah, useful and simple, 600w power inverter ($40 from Freys Electronics) to plug lap top, phone, Q-beam... into.
Using quick connect welding (stick) for the power feeds to the winch in the front and back for quick movement. Made roof rack's for the camper top (Made out of "new scrap" bought at a metal supply store that was miss-cut. paid $00.39 lb for it scrap price),
Adding 2nd battery to help with the winch electronics, have the drivers side of the engine compartment all cleaned out, just have to weld up a battery mount to put it in and wire it.
Put in bucket seats I took out of a probe I got for free, also took the probe's windshield washer sprayers out and made them fit in my truck, work so nice. Have 4 streams in stead of 2 dribbles... All free from friends towing yard. (Probably the best thing I have done to my truck because the bench seat was tired and sprung and was terrible to sit in/on and you couldnt adjust the back it had one setting straight up, and you couldnt move it cause the mechanisim was all jammed up and I felt like a circus clown trying to drive it with my knees trying to touch my ears...)
Oh yah, home made sheet metal break ( http://s883.photobucket.com/albums/a...metal%20break/ ) -> which I then used to bend some rubberized metal for a nice heavy duty skid plate (Friend of mine snagged me the blue rubberized metal for free from a construction job, which strangely was exactly the right size for my skid plat, just had to bend it, and drill it. Going to put more holes in it for air flow once the tempature gets over 35 (In TEXAS! WHAT?)
Damn global warming LOL.
Going to put in thin mount burners (lights) on the front grill guard, recessed to keep the tree limbs away from them, that are actuated by Orilley's relay switches ($4.00) to the high beams, and a set on the rear to help with seeing when I back up.
I also just ordered a rear view camera, which doubles as a LCD monitor for a dvd which clips over the rear mirror and is 10.5" for like $125 delivered to the door off Ebay. Thought that was a neat mod because I cant hardly see behind the truck when I back up bcause of the cap...and have already destroyed a sign at my local vet's office.
Probably a bunch more but I cant think of them right now because I have not drank enough coffee yet.
Oh yah, useful and simple, 600w power inverter ($40 from Freys Electronics) to plug lap top, phone, Q-beam... into.
Last edited by rjfortuna; 01-31-2010 at 02:48 AM.
01-31-2010, 03:23 AM
#151
Registered User
Join Date: Oct 2009
Location: See above
Posts: 401
Likes: 0
Received 0 Likes
on
0 Posts
Oh, and I've been using B.Miller's cheapo duct tape cup holder mod until I get the center console figured out due to the bucket seat install.
*** Battery mount fabricated yesterday.****** How do you inbed pictures in the posts?
*** Battery mount fabricated yesterday.****** How do you inbed pictures in the posts?
Last edited by rjfortuna; 02-01-2010 at 05:03 AM.
02-03-2010, 11:53 AM
#152
Registered User
Join Date: Oct 2008
Location: Burlington, VT
Posts: 1,584
Likes: 0
Received 0 Likes
on
0 Posts
Okay finally took some photos
Heres my bed organization setup, and in the background you can see the bike rack too
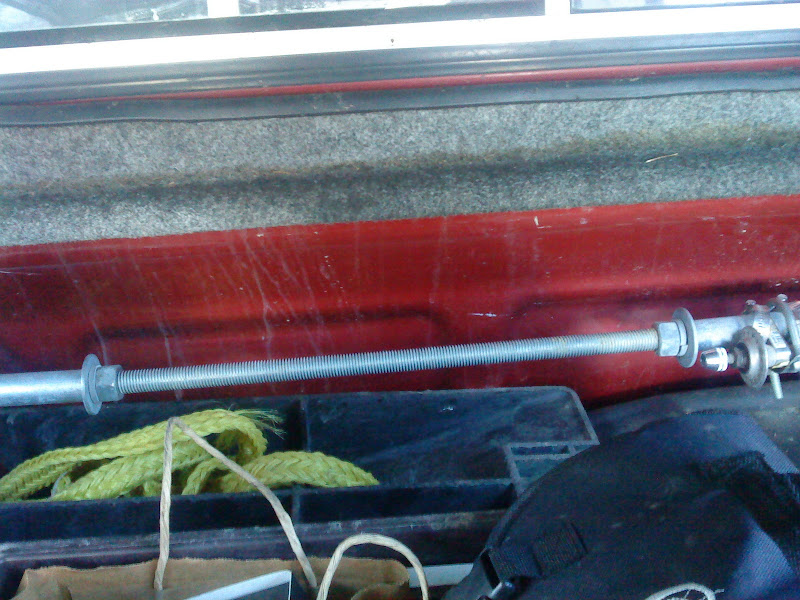
How I mounted it
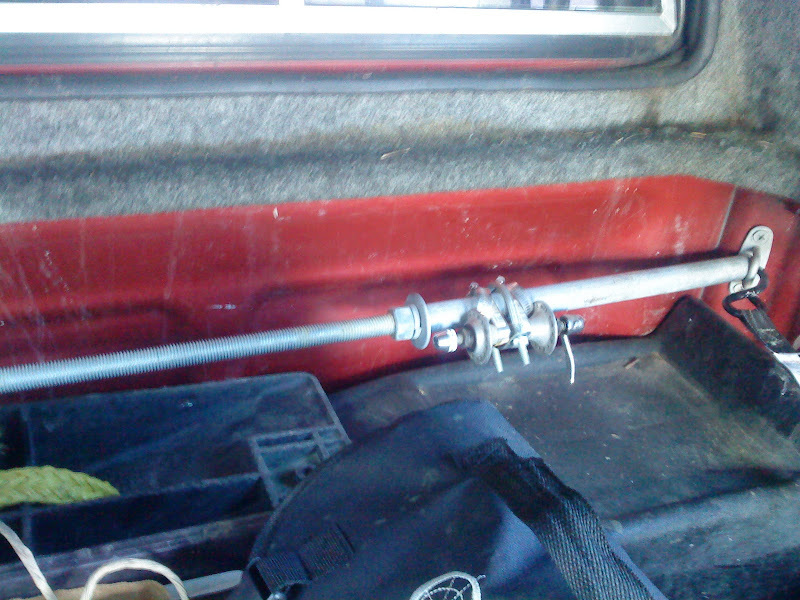
You can see the threaded rod bit that works sort of like a shower curtain rod that adjusts the width of the rack and keeps everything from moving around
Edit: the hubs have little notches cut out of the flanges to keep em from shifting around. The u bolts were originally what was holding the hubs to the pipe, but they just werent cutting it so they are there only as a backup retainer, the hose clamps are doing all of the work.
Heres my bed organization setup, and in the background you can see the bike rack too
How I mounted it
You can see the threaded rod bit that works sort of like a shower curtain rod that adjusts the width of the rack and keeps everything from moving around
Edit: the hubs have little notches cut out of the flanges to keep em from shifting around. The u bolts were originally what was holding the hubs to the pipe, but they just werent cutting it so they are there only as a backup retainer, the hose clamps are doing all of the work.
Last edited by flashkl; 02-03-2010 at 11:56 AM.
 I want to do something similar but dont have much space in my bed... Very creative though!
02-03-2010, 11:10 PM
I want to do something similar but dont have much space in my bed... Very creative though!
02-03-2010, 11:10 PM
#154
Registered User
Join Date: May 2009
Location: Hawaii
Posts: 181
Likes: 0
Received 0 Likes
on
0 Posts
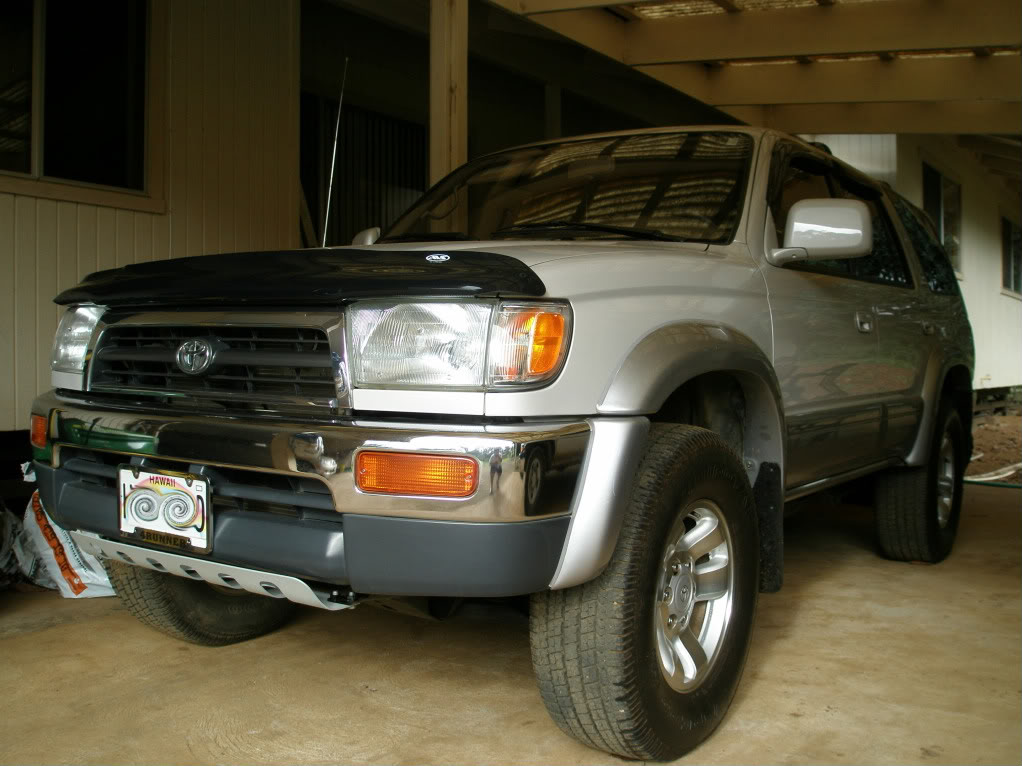
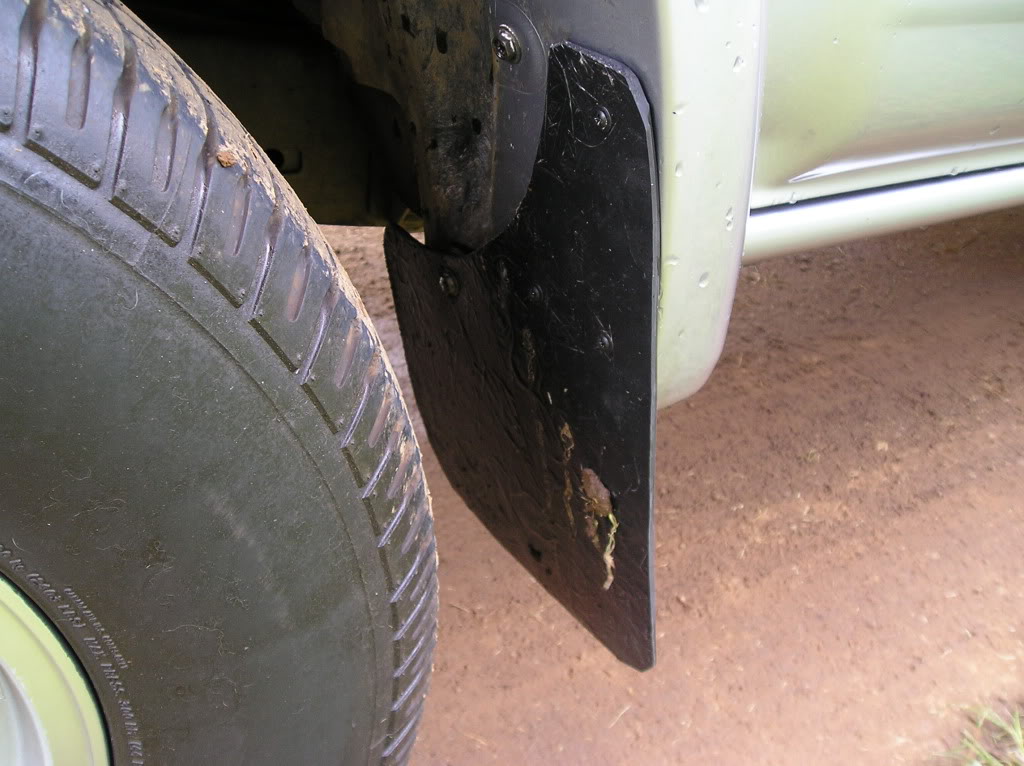
So I like the look of my runner without the running boards, but I don't like dirt and other road crap messing up my paint, so I drilled on some cheap mudflaps. (I have a Limited btw, which has no available OEM mudflaps). They are pretty good, they keep 99% of dirt and stuff off of my paint now.
02-03-2010, 11:16 PM
#155
Registered User
I see someone crouching in the bumper! Where you at on the big island, bra? I'm from Mt. View, I still have family in keaau and Hilo. Craving some malasadas and fresh starfruit!
02-04-2010, 12:11 AM
#156
Registered User
02-04-2010, 02:07 AM
#157
Registered User
Join Date: Dec 2009
Location: Dixon CA
Posts: 78
Likes: 0
Received 0 Likes
on
0 Posts
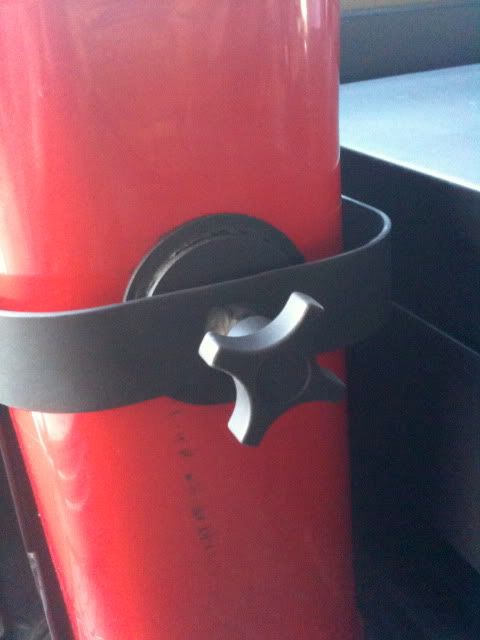
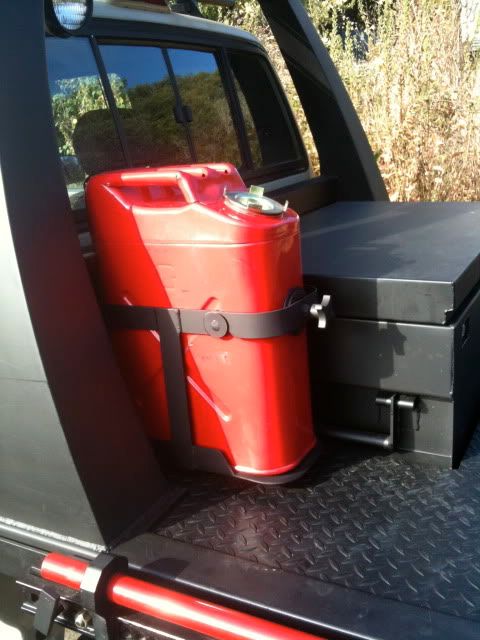
Just thought of a pretty simple and cheap mod...Im sure its already been done but just throwin it out there...Im gonna go buy 2 of the "bottle holders" that go on MT.Bikes and mount them up as cup holders in my truck...I think they around 5 dollars or so and will virtually lasst forever... 
02-04-2010, 05:52 PM
#158
Registered User

Join Date: Aug 2009
Posts: 65
Likes: 0
Received 0 Likes
on
0 Posts
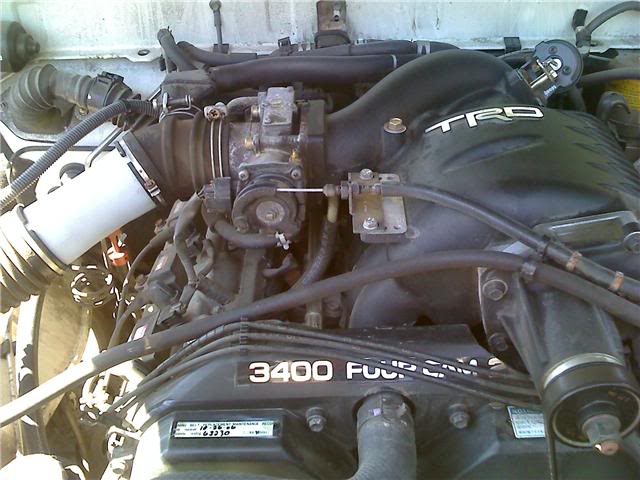
At first it didn't start out as a mod but by far one of the bestest-cheapest mods I ever did was upgrading the main power wire on my 3.0
Not only did it fix my original problem, it made everything electrical operate better and honest to goodness the thing seems to run much better.
Best 10 bucks I ever spent on the 4Runner
Not only did it fix my original problem, it made everything electrical operate better and honest to goodness the thing seems to run much better.
Best 10 bucks I ever spent on the 4Runner
02-04-2010, 06:27 PM
#160
Contributing Member
iTrader: (3)
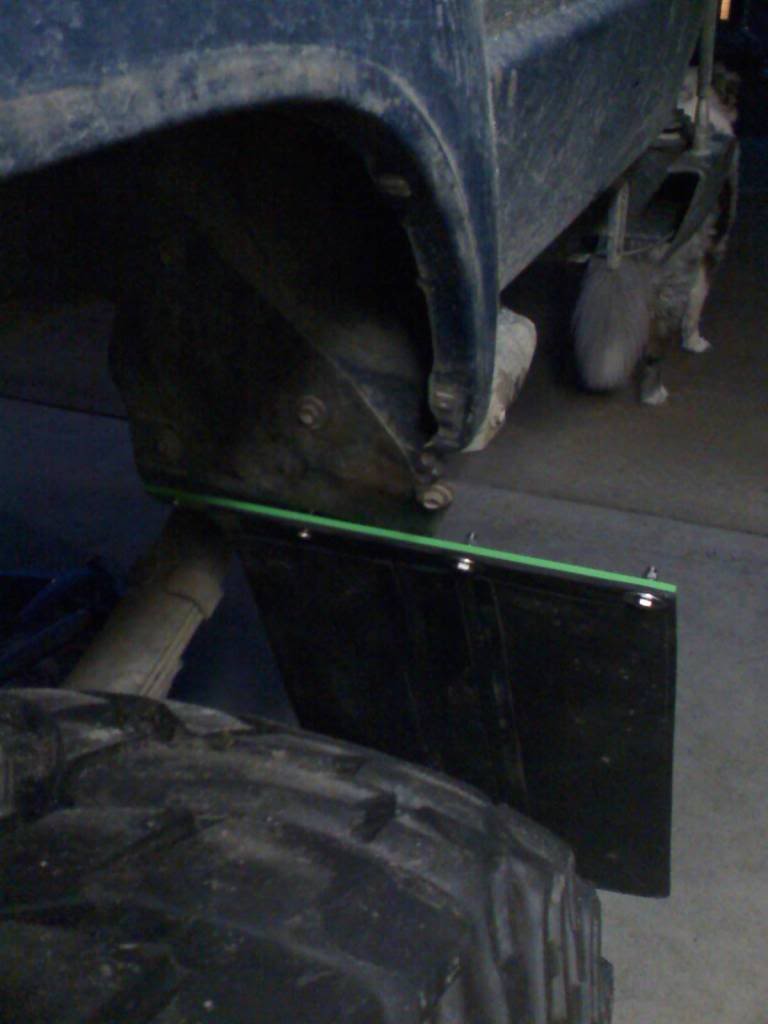
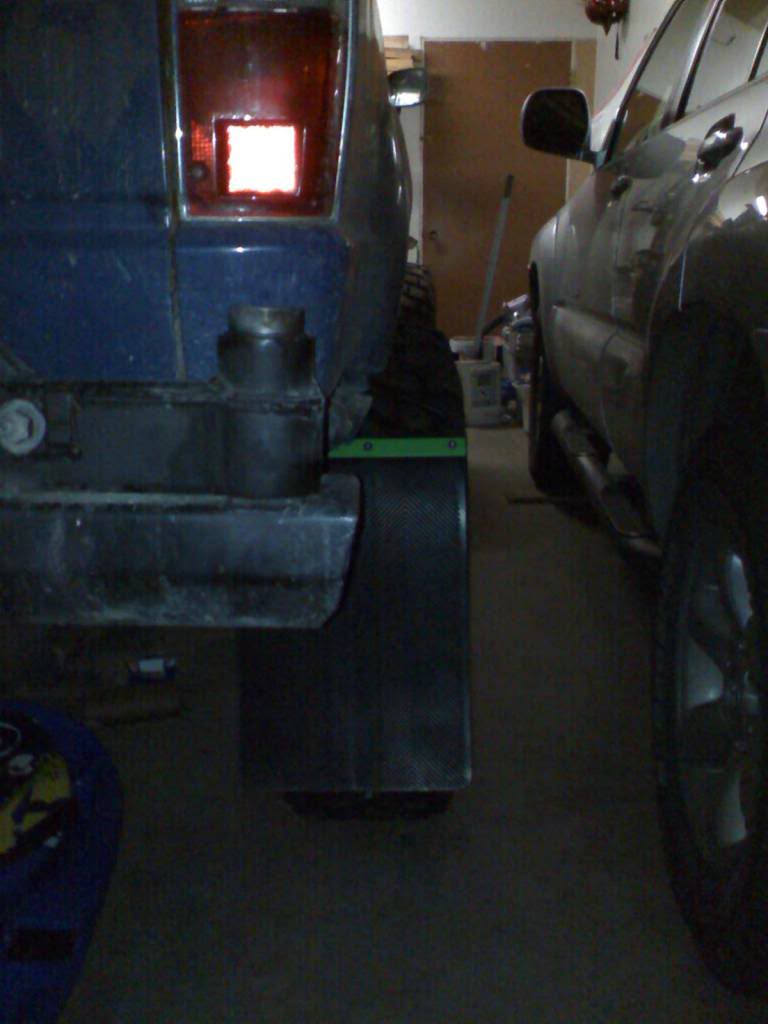
Mud Flap Mod
Here's a cheap way to add some bigger mud flaps to your rig to appease the local five-oh's and state laws.
Ingredients:
x1- set of 12"x18" mud flaps from the auto parts store
x1- 1" barstock
x4- 1/4" diameter bolts
x4- self locking nuts
x4- small washers(nut side)
x4- fender washers(bolt head size)
x4- retaining pins
x4- clevis pins
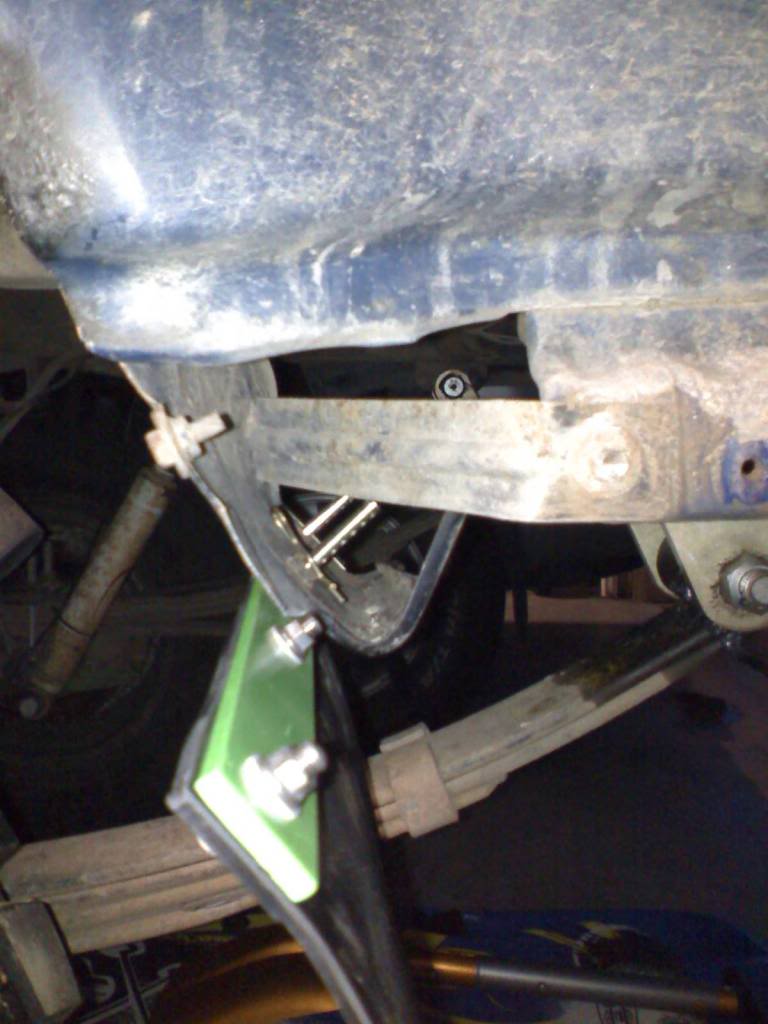
Basically attached the barstock to the mud flap with the two bolts, but drilled four holes total.

Using the stock mud flap location I simply ran a 1/4" drill bit thru the OEM mounts to run the clevis pins thru. Obviously, I've bent that factory bracket back enough to clear the tires during full stuff.
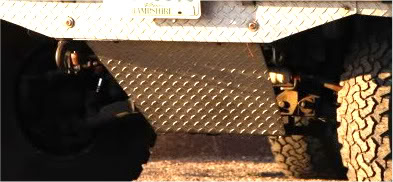
The mud flaps cover the tread pattern effectively.
They also hang down low enough to be well below the axle tube.
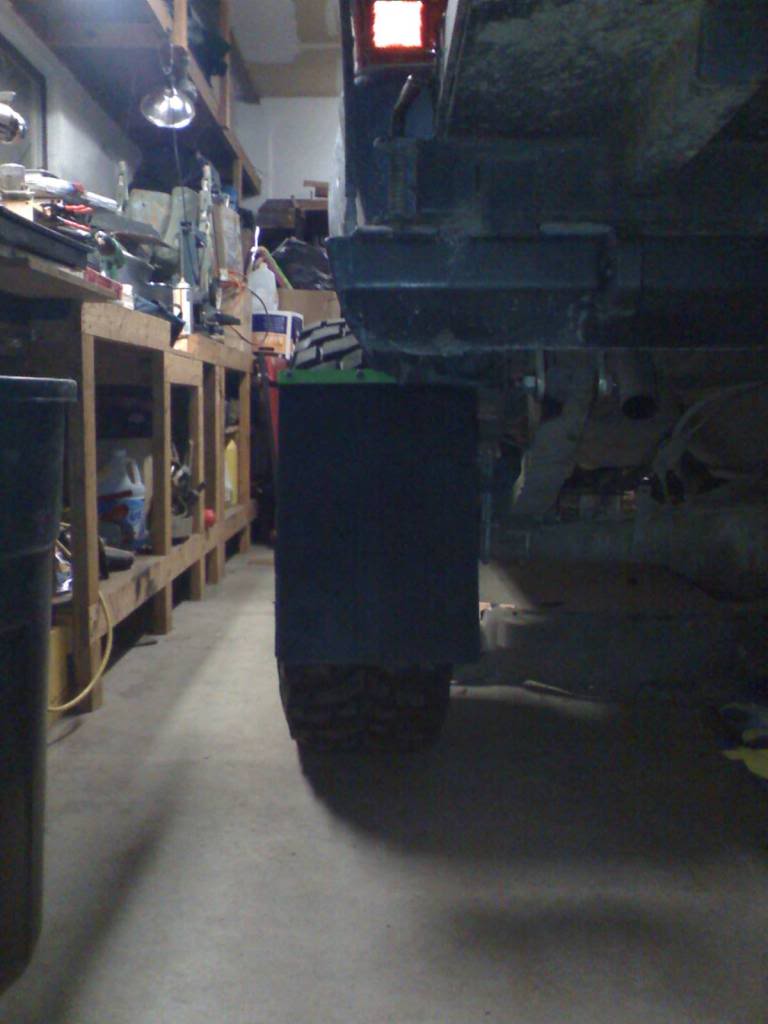
Honestly, I have NO idea if these are going to last, but that's why they're quick disconnects. I think I spent less than $25 on this total, I had the bolts/nuts/washers on hand already.
So, there ya go. Simple and effective.

Ingredients:
x1- set of 12"x18" mud flaps from the auto parts store
x1- 1" barstock
x4- 1/4" diameter bolts
x4- self locking nuts
x4- small washers(nut side)
x4- fender washers(bolt head size)
x4- retaining pins
x4- clevis pins
Basically attached the barstock to the mud flap with the two bolts, but drilled four holes total.
Using the stock mud flap location I simply ran a 1/4" drill bit thru the OEM mounts to run the clevis pins thru. Obviously, I've bent that factory bracket back enough to clear the tires during full stuff.
The mud flaps cover the tread pattern effectively.
They also hang down low enough to be well below the axle tube.
Honestly, I have NO idea if these are going to last, but that's why they're quick disconnects. I think I spent less than $25 on this total, I had the bolts/nuts/washers on hand already.
So, there ya go. Simple and effective.


