
Time to rebuild
 Mar 28, 2011 | 08:03 PM
#63
Thread Starter
Registered User
iTrader: (1)
Joined: Feb 2010
Posts: 271
Likes: 0
From: Glen Burnie MD
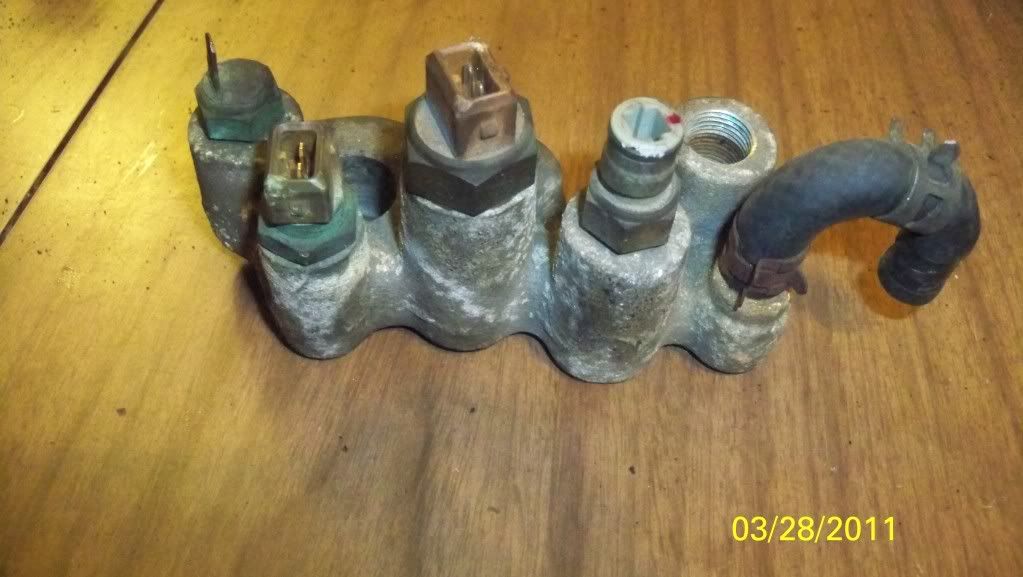
got a question. following are pics of 2 different sensor banks 1st 2 are from a 93 ish motor and second 2 are from my 88. I have the replacement for the sensor on the far right on hand, the one that looks like an F. Can anyone tell me what the one to the far left and the one on the right (black non-F looking one) 
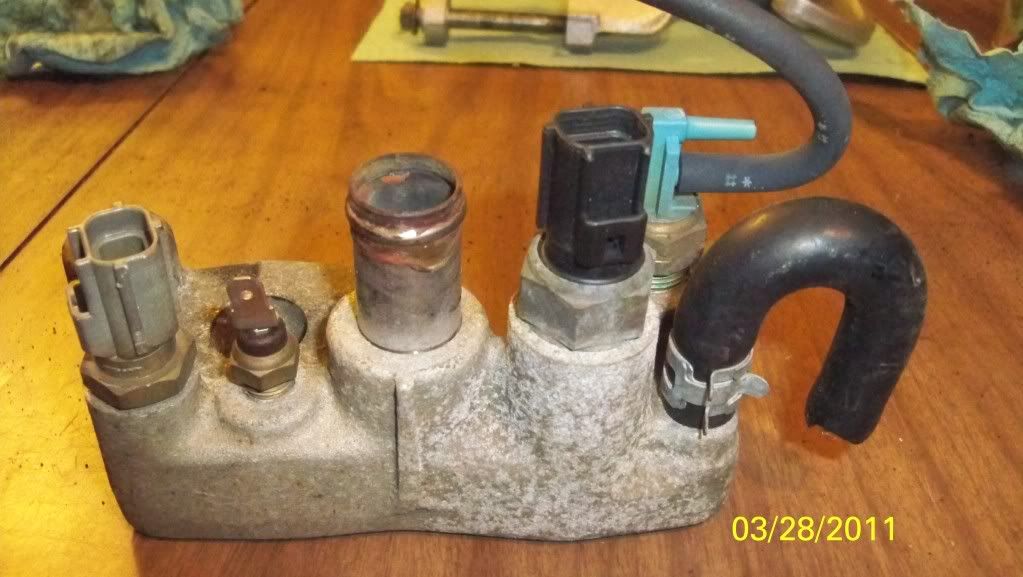

I have hopes that these 2 sensors are the same as the 2 that are in my 88 and i can swap them over. I have the connectors from the wire harness that go the the 93 ish...lol
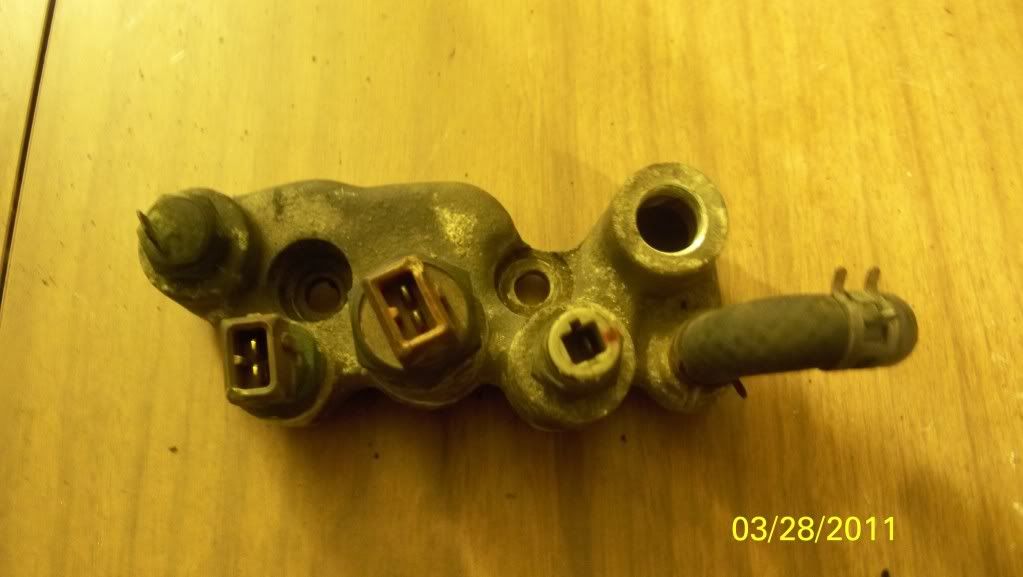
the 2 i am looking to replace are the middle and the one just left of middle. like i said hope they are the same sensors as the two in the first pics. little help from you guys wouold be greatly appreceiated!!!
I have hopes that these 2 sensors are the same as the 2 that are in my 88 and i can swap them over. I have the connectors from the wire harness that go the the 93 ish...lol
the 2 i am looking to replace are the middle and the one just left of middle. like i said hope they are the same sensors as the two in the first pics. little help from you guys wouold be greatly appreceiated!!!
Last edited by S.Skinner; Mar 28, 2011 at 08:05 PM.
Mar 29, 2011 | 03:02 AM
#64
Registered User

Joined: Jan 2010
Posts: 3,795
Likes: 33
From: Bloodymore
^^^Last Pic
from left
Water Temp Sending Unit (to Dash)
Water Temperature Sensor(ECM)
Cold Start Timer(i think)
TVV
Do you have an FSM? You NEED one for the job you are doing. And you will NEED a torque wrench if you don't already have one.
try this link:
https://www.yotatech.com/forums/f116...sender-227227/
from left
Water Temp Sending Unit (to Dash)
Water Temperature Sensor(ECM)
Cold Start Timer(i think)
TVV
Do you have an FSM? You NEED one for the job you are doing. And you will NEED a torque wrench if you don't already have one.
try this link:
https://www.yotatech.com/forums/f116...sender-227227/
Apr 22, 2011 | 02:53 PM
#65
Thread Starter
Registered User
iTrader: (1)
Joined: Feb 2010
Posts: 271
Likes: 0
From: Glen Burnie MD
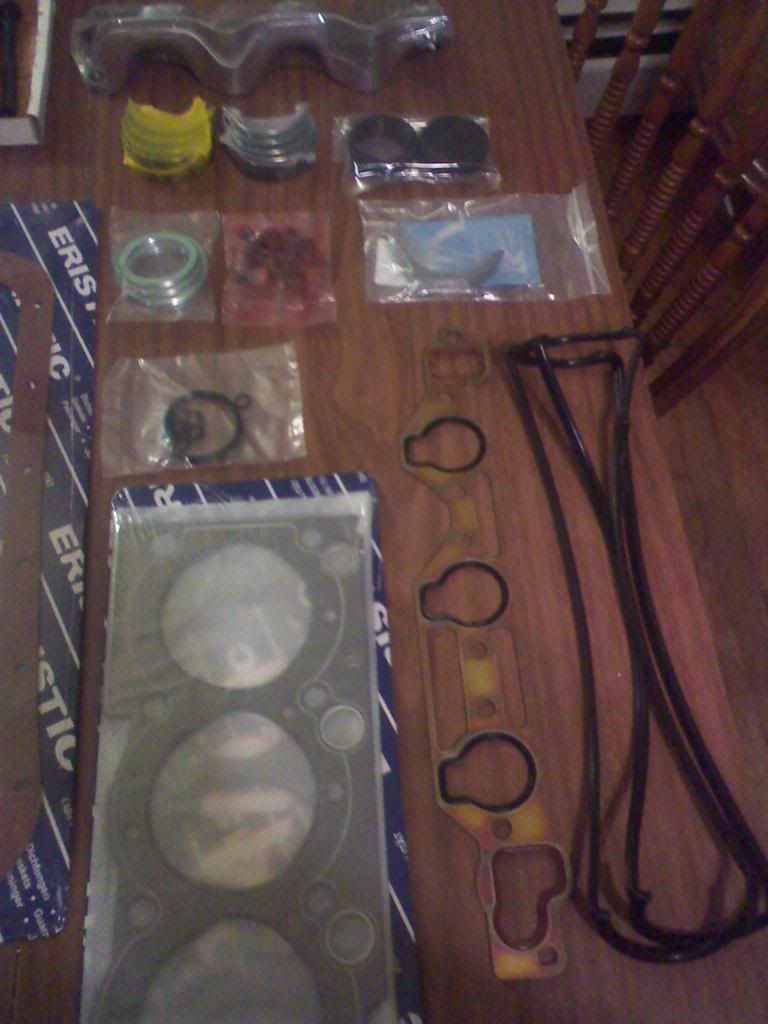
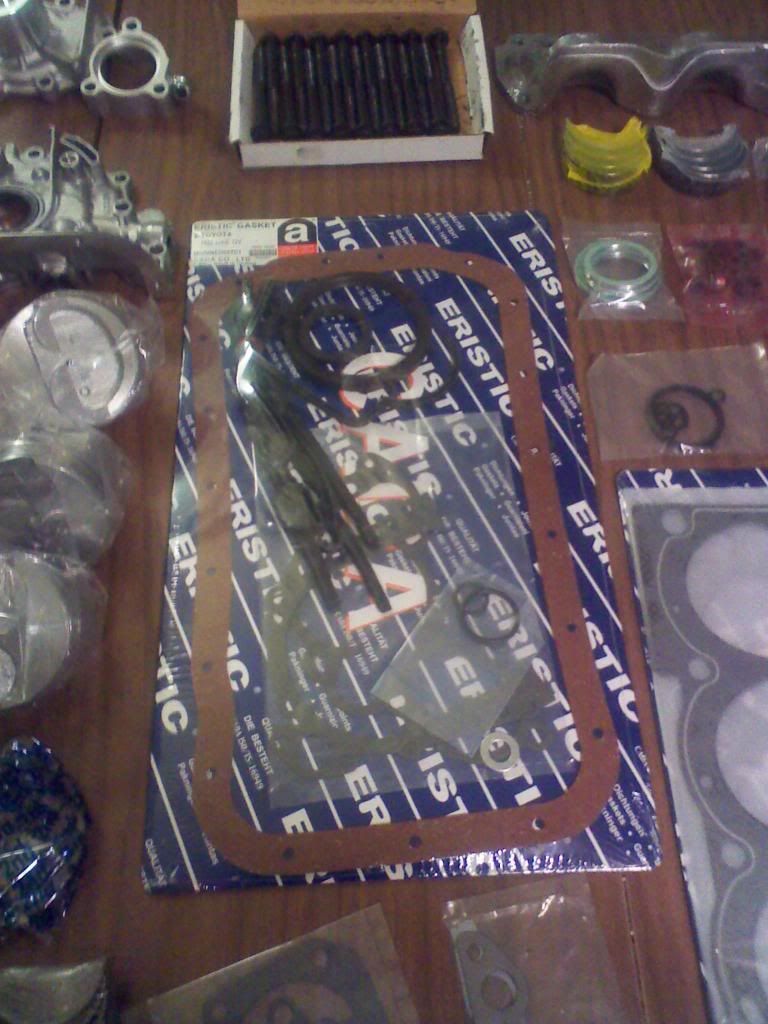
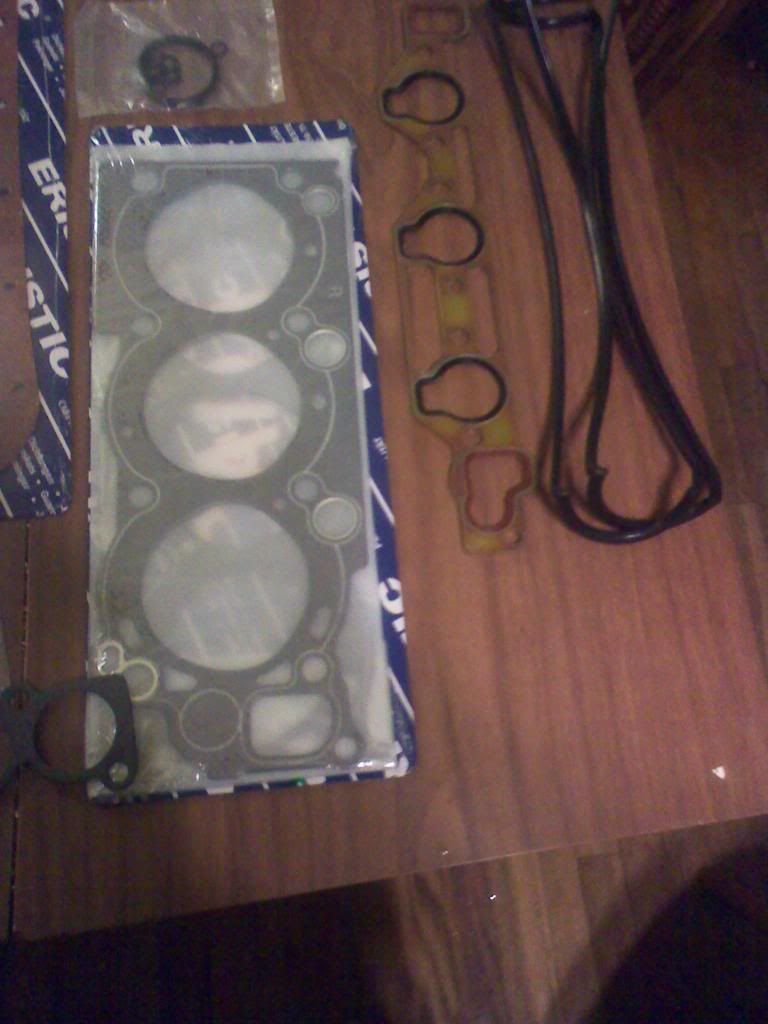
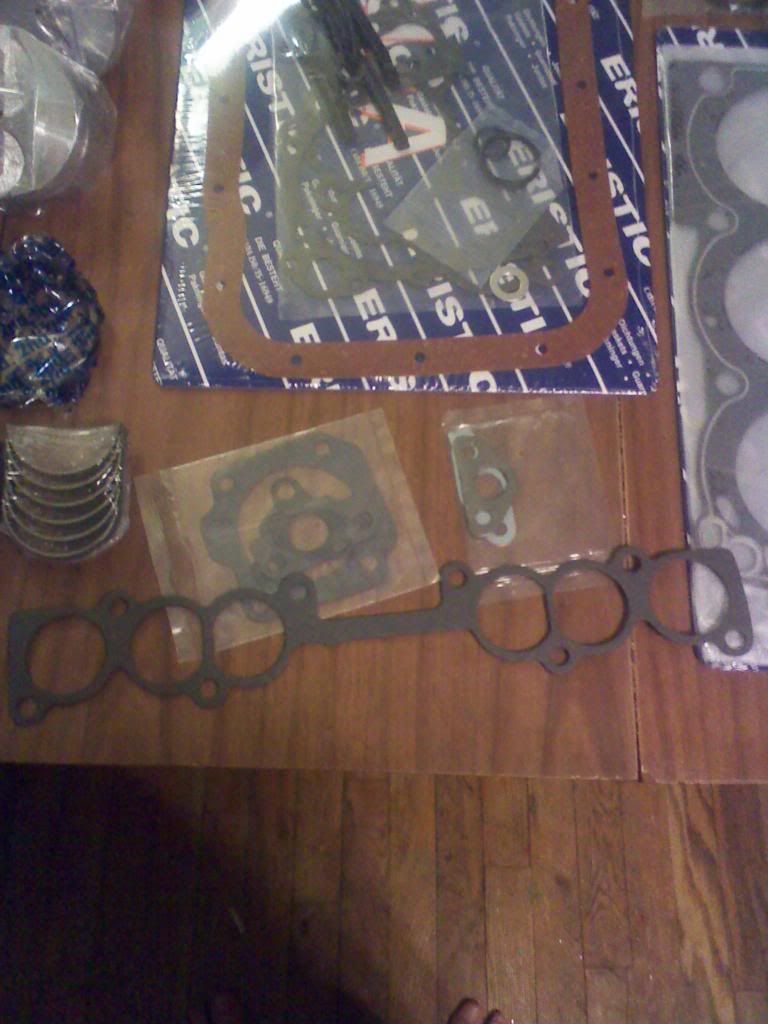
 Finally....something to report!!!! Came home lastnight to christmas on my table. Took the valve stem seals and pistons to the machine shop this am so providing i have the cash on hand next week, i should get my block and heads back SOON!!!!! Doin the happy dance
 !!! Congratz, ....have fun slappin her together, man!
Apr 25, 2011 | 06:16 AM
!!! Congratz, ....have fun slappin her together, man!
Apr 25, 2011 | 06:16 AM
#70
Thread Starter
Registered User
iTrader: (1)
Joined: Feb 2010
Posts: 271
Likes: 0
From: Glen Burnie MD
Question about my fan bracket..... should the wheel spin freely or should there be tension when turning by hand? Note* bracket is off the truck and fan is off the wheel.
Last edited by S.Skinner; Apr 25, 2011 at 06:17 AM.
Apr 25, 2011 | 06:30 AM
#71
Registered User
Joined: Jan 2010
Posts: 3,795
Likes: 33
From: Bloodymore
Fan bracket? The clutch to the fan is inside the fan hub assembly, it will spin pretty freely. I am not aware of a way to test the fan off the truck. I know when mine went up it wasn't spinning up, causing the truck to overheat in stop 'n go traffic. When i removed it, and compared it to a good working one, i couldn't tell the difference.
Apr 25, 2011 | 09:24 PM
#72
Registered User


Joined: Jan 2011
Posts: 695
Likes: 103
From: exo-reality -wave if you see me; Front Range, CO
Hey Mr Skinner,
see you got parts friday, looks like you mighta spent some time playin this weekend. How'd it go?
R U still happy with the home assembly? Facing same ??'s myself, and have seen sources for $15-$1800 (3yr wrnty). Like outfit toyotacarpart.com. Gallery: feel free to chime in here if anyone's had experience with 'em or others. thnx
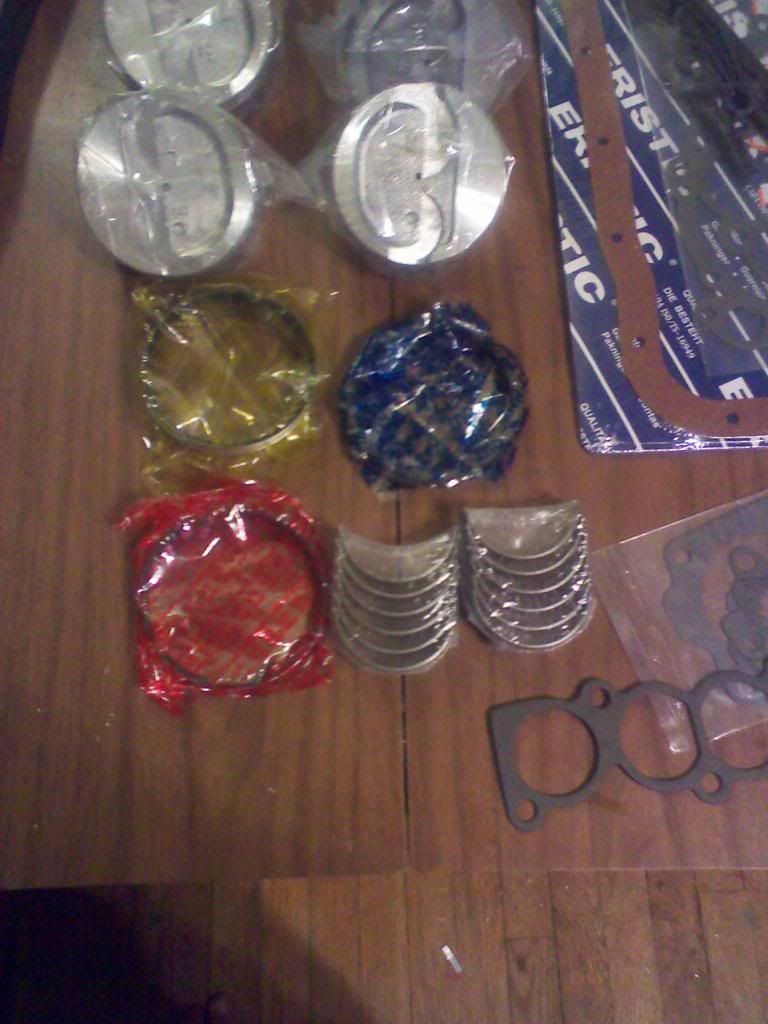
Also, did you have the machine shop disassemble and measure end play, etc (altho looks like you got ALL your money's worth w/ the bearings!)? Or did you just do measurments yourself?
Hope it's all gone well!
see you got parts friday, looks like you mighta spent some time playin this weekend. How'd it go?
R U still happy with the home assembly? Facing same ??'s myself, and have seen sources for $15-$1800 (3yr wrnty). Like outfit toyotacarpart.com. Gallery: feel free to chime in here if anyone's had experience with 'em or others. thnx
Also, did you have the machine shop disassemble and measure end play, etc (altho looks like you got ALL your money's worth w/ the bearings!)? Or did you just do measurments yourself?
Hope it's all gone well!
Jun 4, 2011 | 07:26 PM
#73
Thread Starter
Registered User
iTrader: (1)
Joined: Feb 2010
Posts: 271
Likes: 0
From: Glen Burnie MD
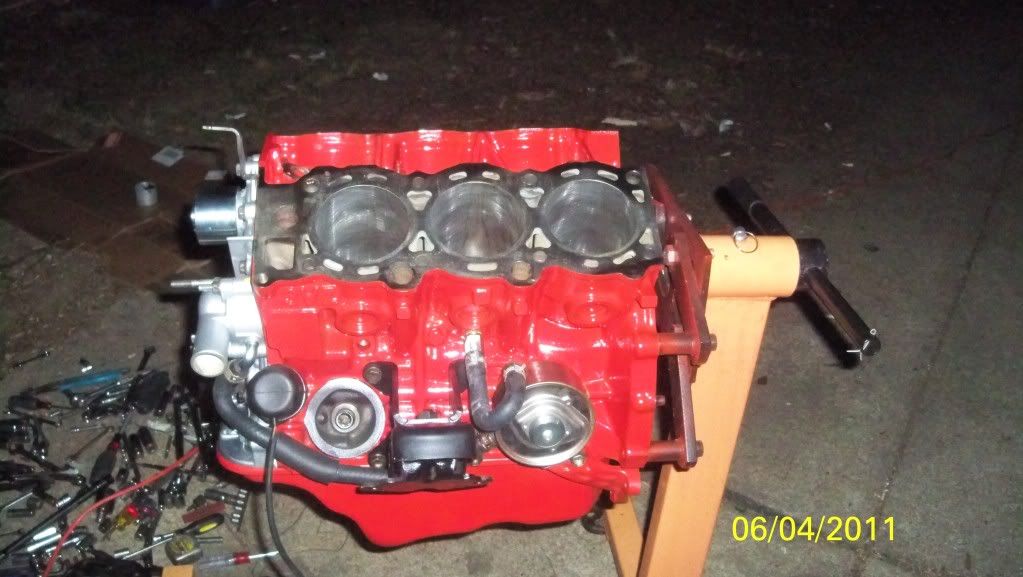
Well, finally somthing to update with. Picked up my block yesterday and got a little time to work on it. Hopefull i get the heads in about 2 weeks. Still going to be a while before it's back in action, but here is where is sit right now. Enjoy the pics
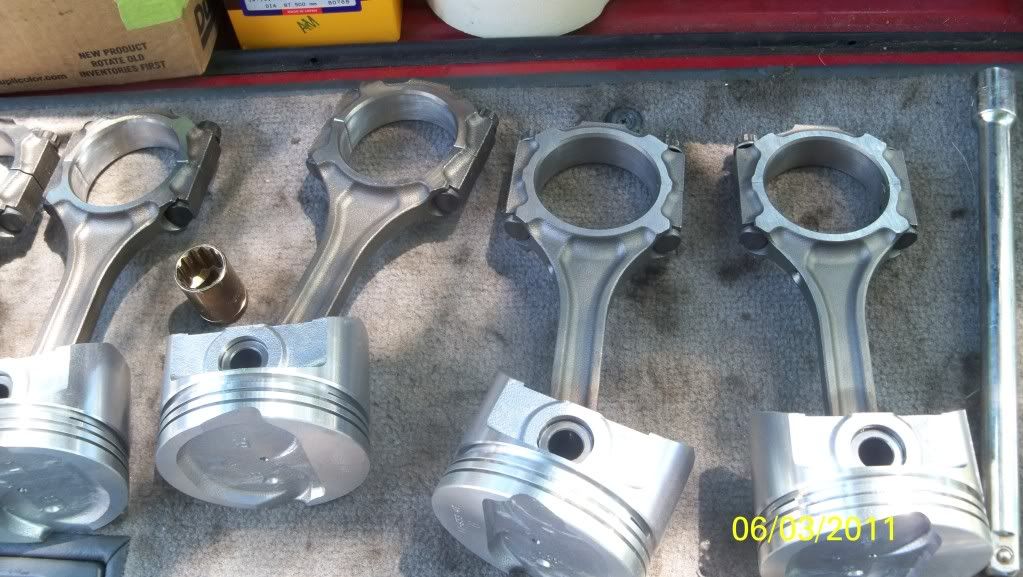
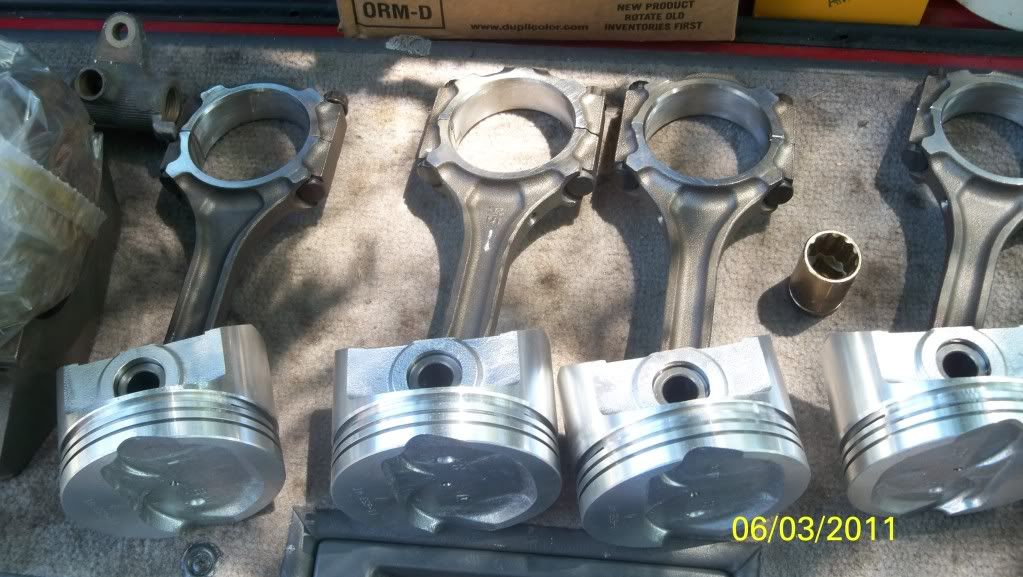
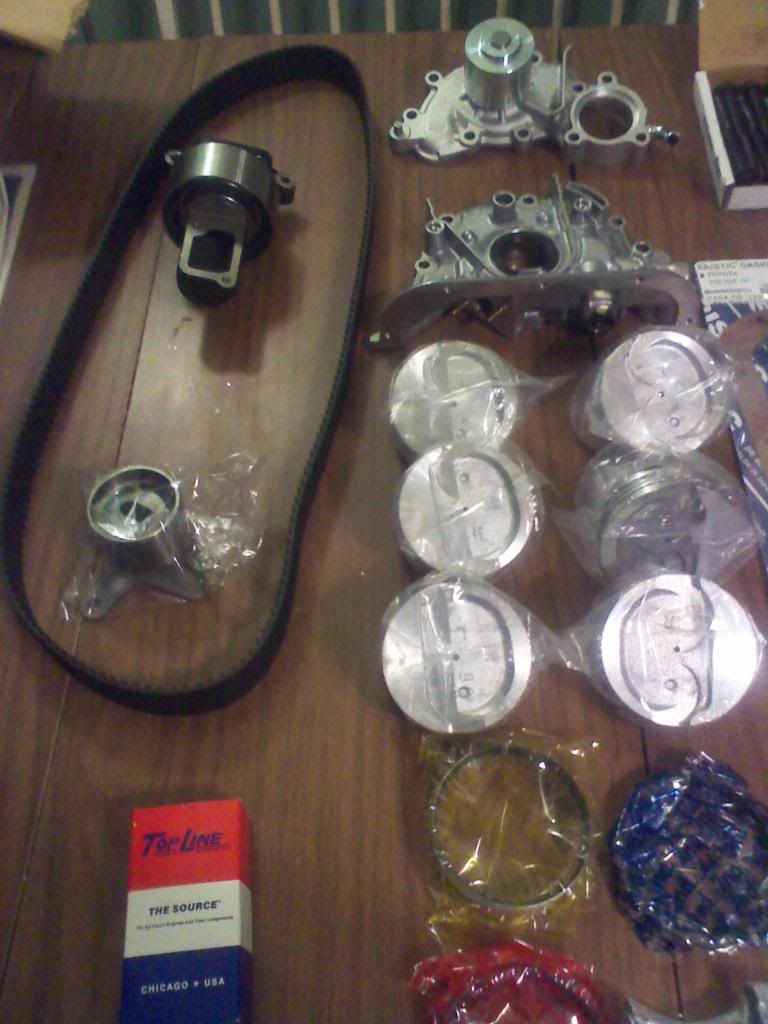
pistons ready and waiting.
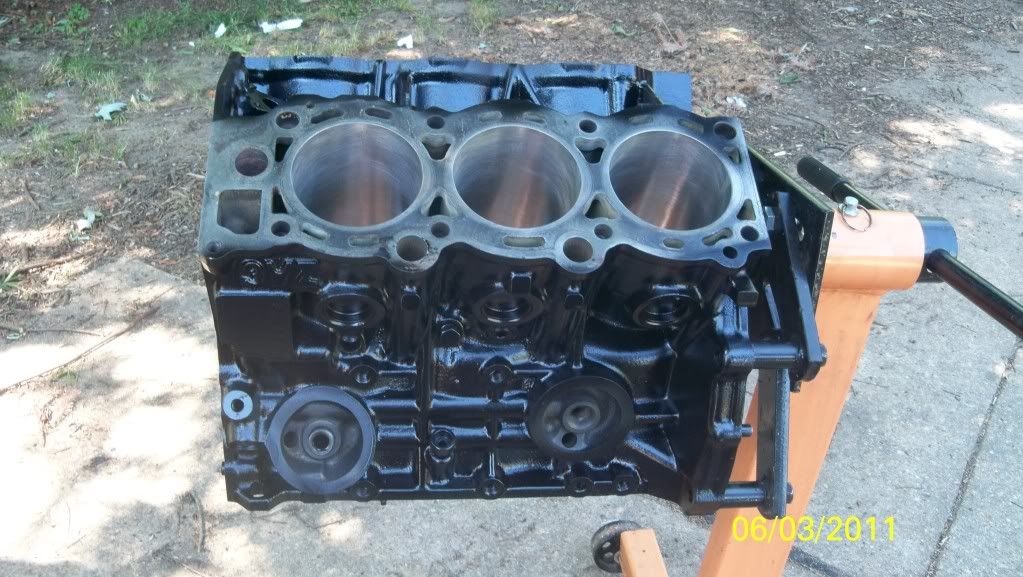
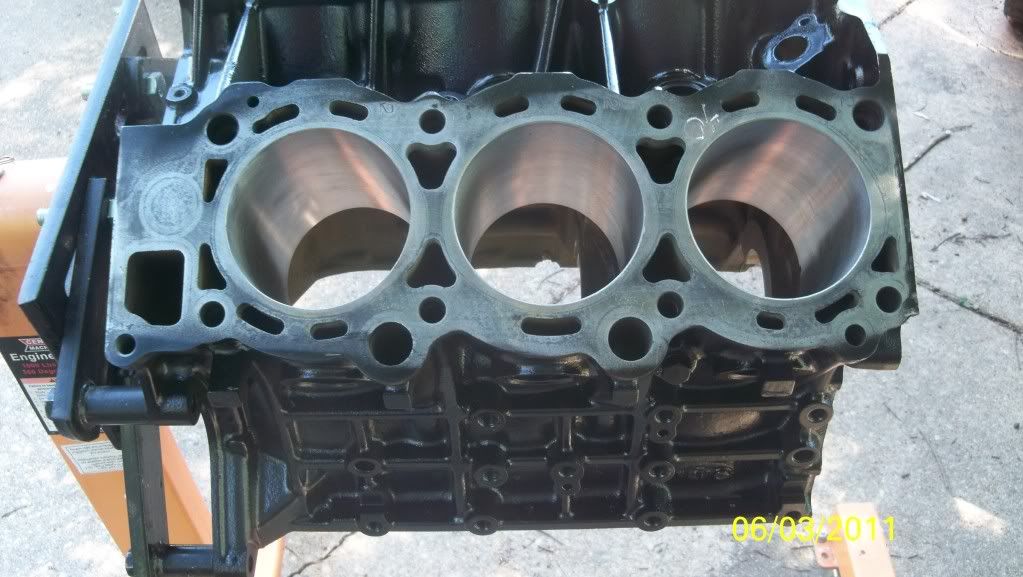

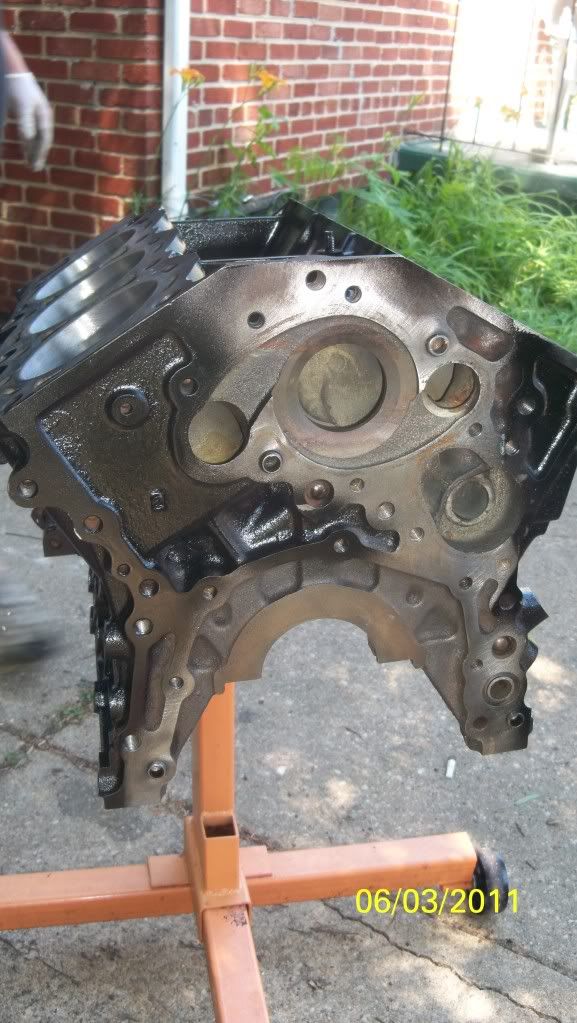
nothing done yet, just sitting on the stand.
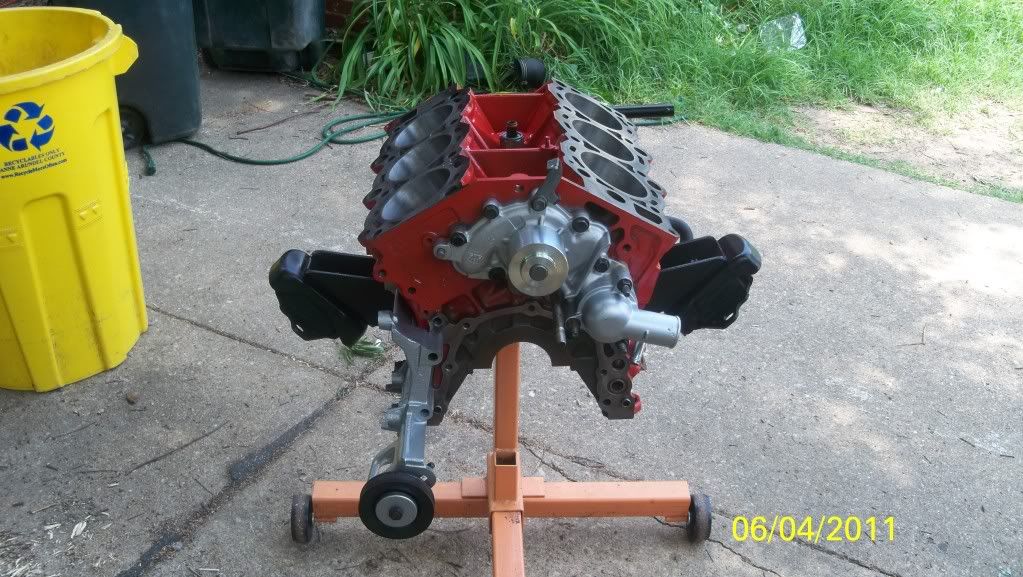
Painted, A/C compressor bracket on, water pump on, motor mounts on.
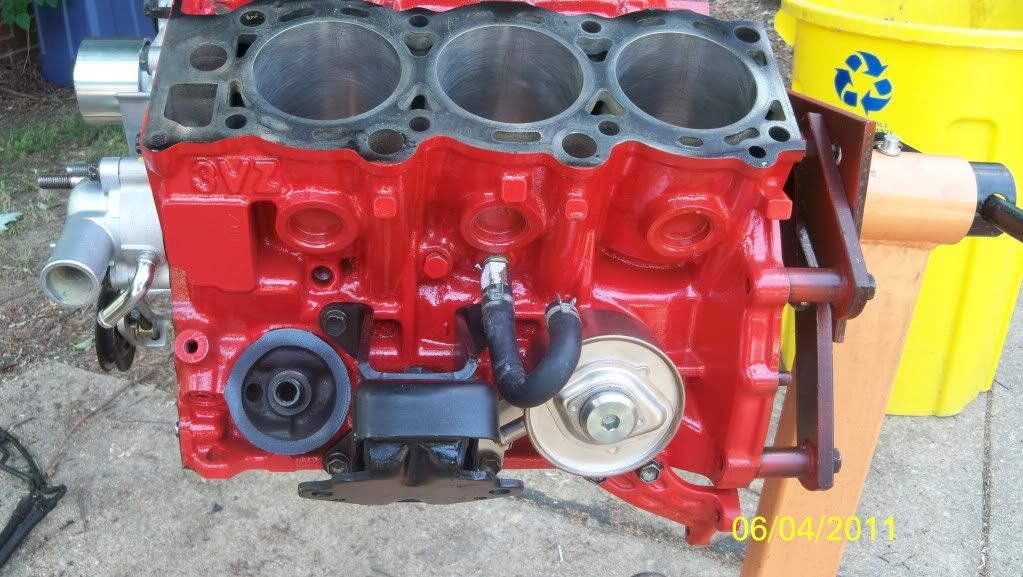
Secondary oil cooler installed. Kinda worried about the supply line, it rests against the mmotor mount pretty good.....
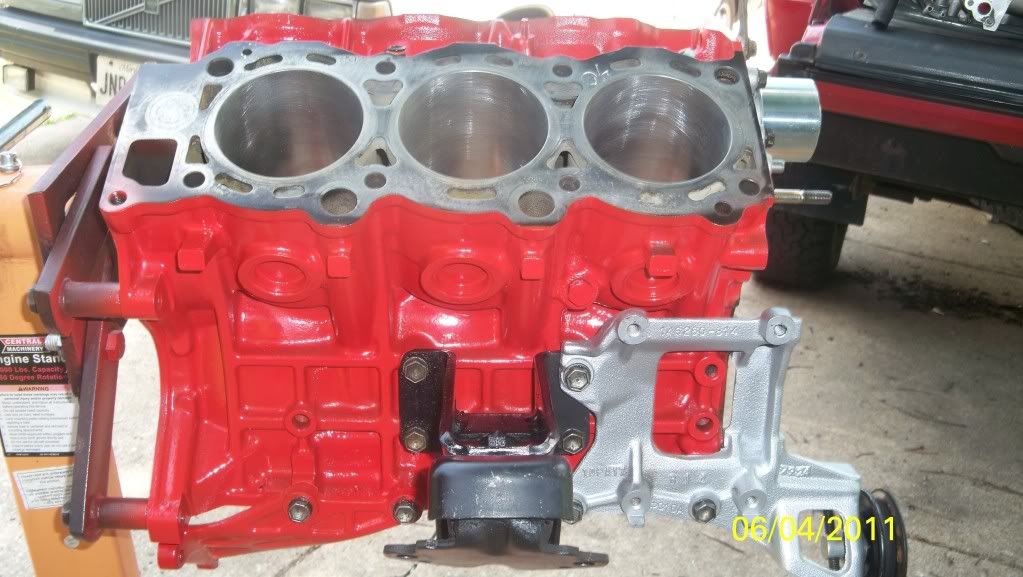
Passanger side
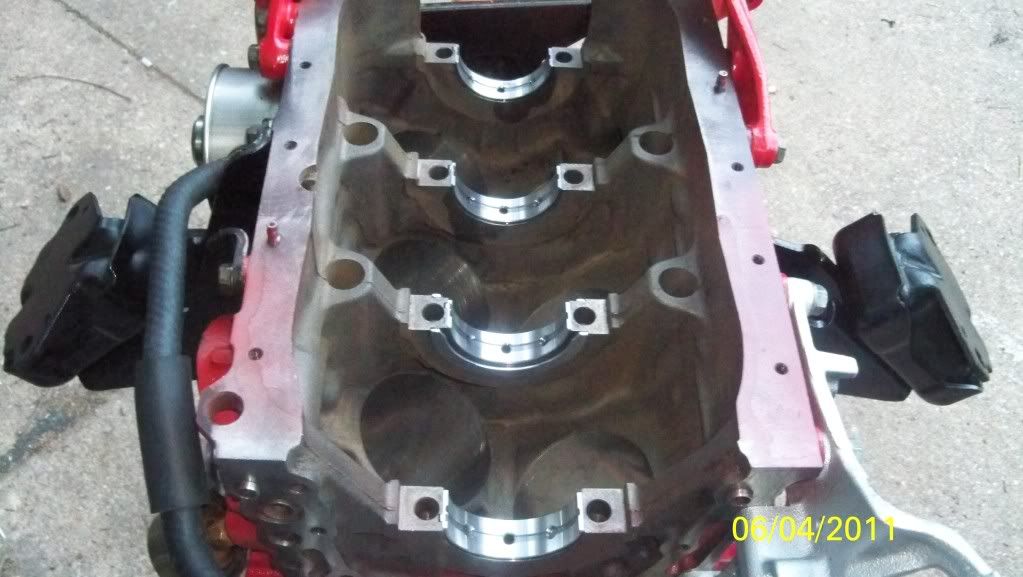
Cleaned and ready for the carank and carrier
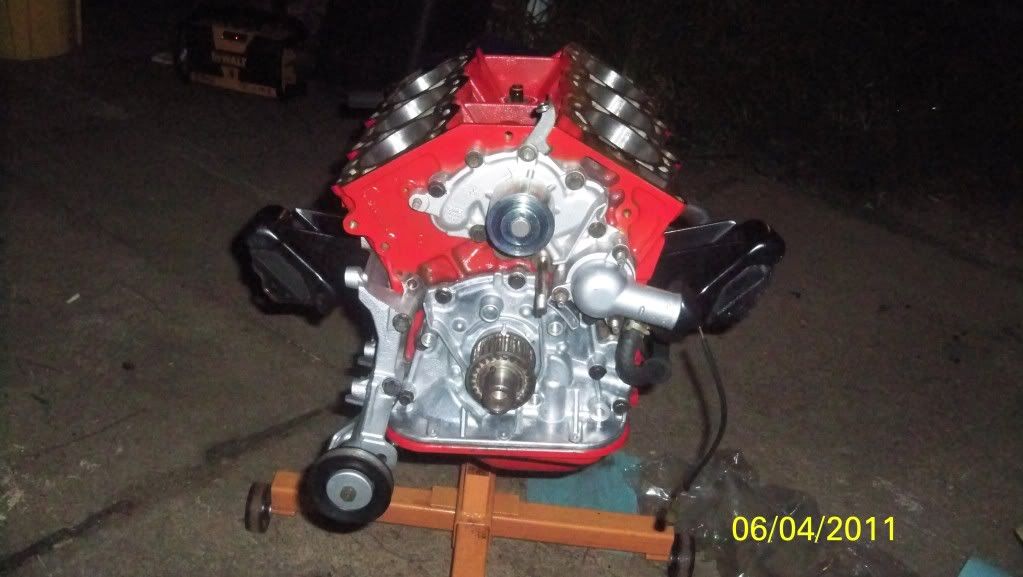
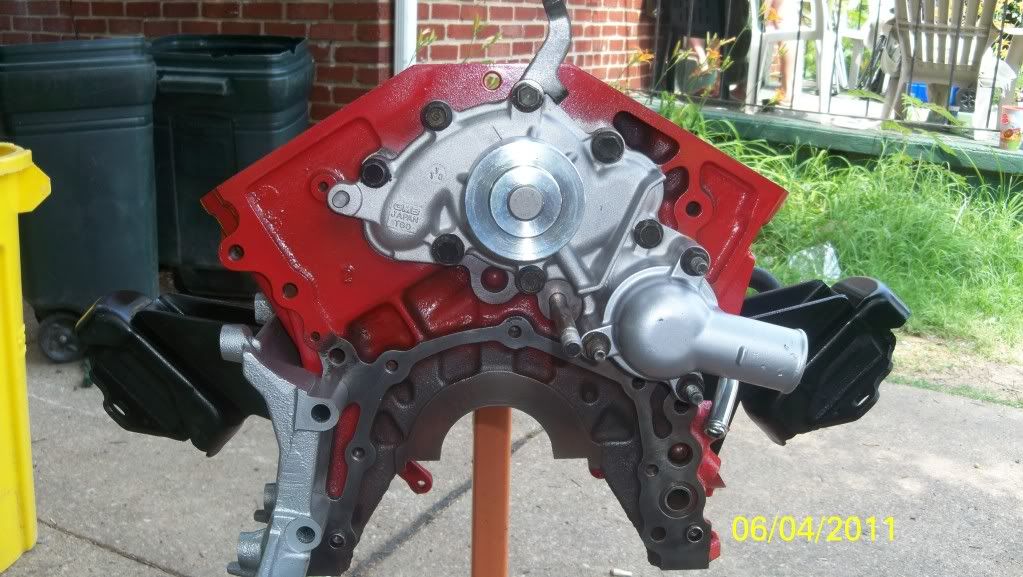
Oil pump and carrier installed.
Oil pan on just to keep junk out for the night
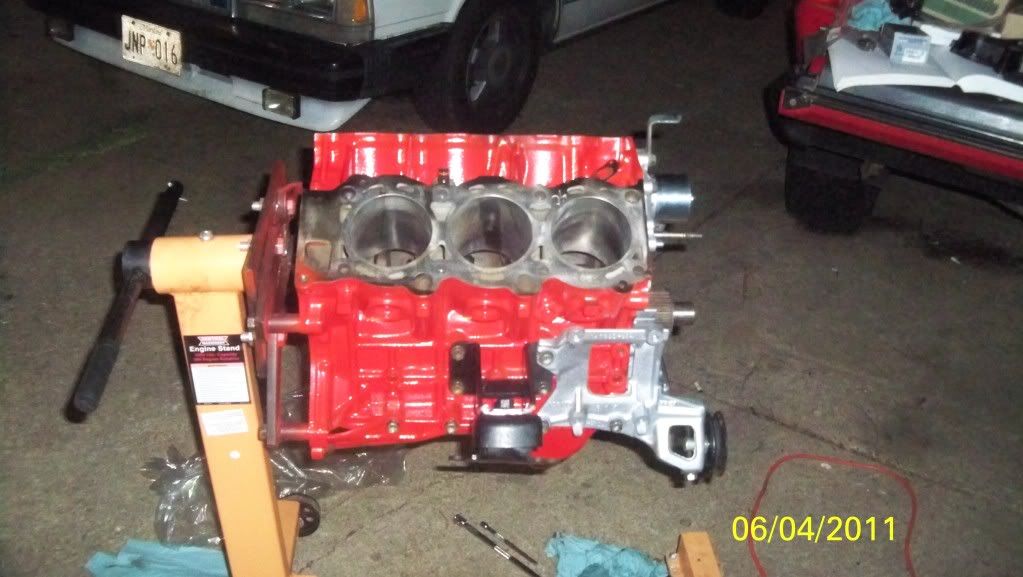
Pistons go in tomorrw.
BTW, anyone have a spare fake fan pully? Mine is binding and 2 out of 3 local PNP's have them, but want as much as a new one costs....
pistons ready and waiting.
nothing done yet, just sitting on the stand.
Painted, A/C compressor bracket on, water pump on, motor mounts on.
Secondary oil cooler installed. Kinda worried about the supply line, it rests against the mmotor mount pretty good.....
Passanger side
Cleaned and ready for the carank and carrier
Oil pump and carrier installed.
Oil pan on just to keep junk out for the night
Pistons go in tomorrw.
BTW, anyone have a spare fake fan pully? Mine is binding and 2 out of 3 local PNP's have them, but want as much as a new one costs....
Jun 4, 2011 | 09:04 PM
#76
Wow, nice pics, man! I just finished helping machine mine and just assembled the shorty(22re, not this monster I see before me, above! lol).... Really was quite a rewarding feeling to spin that crank and have no binding, etc.!
Hope all the goodies go in without issue, Skinner! Watchin>>>> (taps fingers on table, anxiously emoticon) hahaha.
Hope all the goodies go in without issue, Skinner! Watchin>>>> (taps fingers on table, anxiously emoticon) hahaha.
Jun 4, 2011 | 09:07 PM
#77
Registered User
Joined: Jan 2011
Posts: 695
Likes: 103
From: exo-reality -wave if you see me; Front Range, CO
paint or primer
Hey Mr. Skinner.
Looking great.
Did you prime the block black first, then paint red?
Left my block at shop back in TX. Maybe a month or two b4 i get back to it (time and money; have neither now!!).
Are you going with elec fan, thus the fake pulley? (Didn't take time to go back and read thru post)
Looking great.
Did you prime the block black first, then paint red?
Left my block at shop back in TX. Maybe a month or two b4 i get back to it (time and money; have neither now!!).
Are you going with elec fan, thus the fake pulley? (Didn't take time to go back and read thru post)
Jun 5, 2011 | 06:26 AM
#78
Thread Starter
Registered User
iTrader: (1)
Joined: Feb 2010
Posts: 271
Likes: 0
From: Glen Burnie MD
@ Mark. Yeah it was a good feeling getting the crank in and feeling it spin nice and smooth. It will feel even better later today when i feel it spin with the pistons in 
@ coopster they painted it black at the machine shop. Not sure if its paint or primer. I just wanted a color that was easy to spot any leaks on that wasnt outlandish. I'm lookin for a fake fan pully for the time being, but will be doin an e-fan in the not too distant future aswell as an ISR mod.
@ coopster they painted it black at the machine shop. Not sure if its paint or primer. I just wanted a color that was easy to spot any leaks on that wasnt outlandish. I'm lookin for a fake fan pully for the time being, but will be doin an e-fan in the not too distant future aswell as an ISR mod.
Jun 5, 2011 | 07:26 PM
#79
Thread Starter
Registered User
iTrader: (1)
Joined: Feb 2010
Posts: 271
Likes: 0
From: Glen Burnie MD
So pistons are in, rear main seal done, oil pick up tube done, oil pan on for good and freeze plugs replaced. srry didnt get pics yet but they will come soon. Still no luck on the fake fan pully. Anyone?


