
My 86 4Runner (56k death)
 ?
?
 Feb 1, 2010 | 11:58 PM
#62
Registered User
Joined: Dec 2006
Posts: 2,880
Likes: 2
From: Olympia, WA
Hey nice job =) Wish i had all those people to help with mine! I had my bro and a friend for a lil bit, friend helped grind one side for me and my bro helped me hang the axle but that was it.
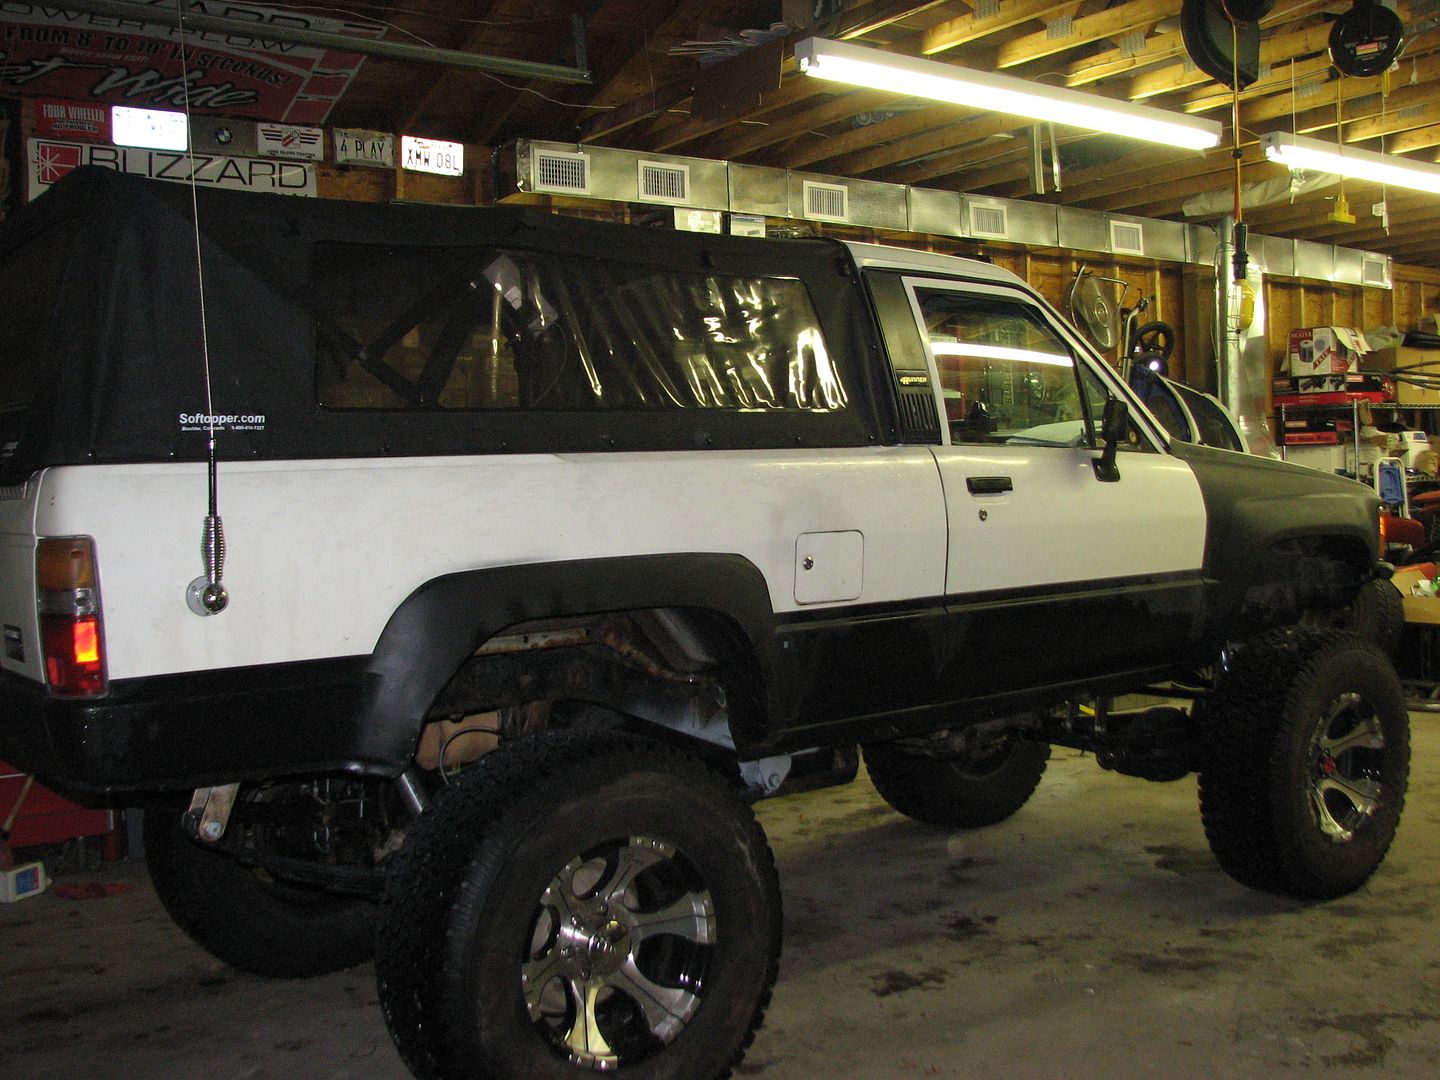
Just a couple questions/concerns. Got a pick of your shackle angle? You're free-hanging shot looks a lot like mine did before i positioned my front hangar (and your tubes look like they're exactly where I put mine) .. and your hangar looks like it's exactly where i put mine (round 1).
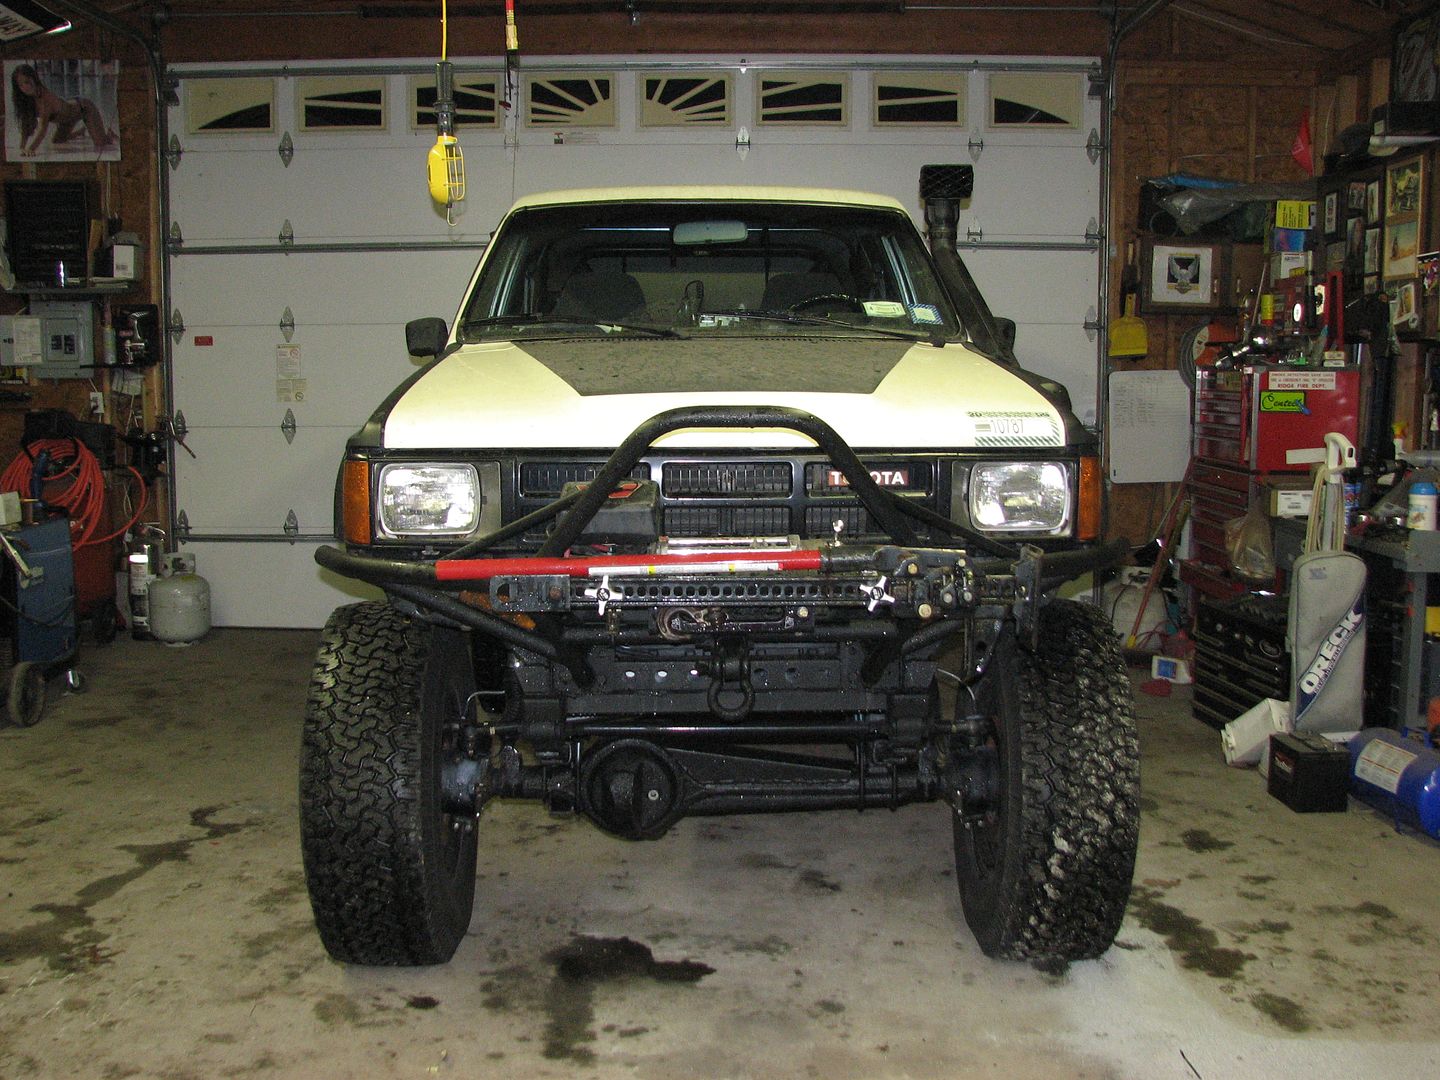
Also, hard to say with the boots on the shocks but from where you located the shock hoops looks like you may have shock hangup .. in other words, the shock fully extending and not allowing full axle drop.
I set my bumpstops and my shocks up so at full stuff the bump stops hit right before the steering links hit (the frame) and the shock bottoms out.
The problem i had to with the axle dropping on articulation when the shackle was near vertical (slightly aft) at rest was the axle wasnt dropping as far as it could of.
For full drop potential the shackle should be almost vertical.... since that is the lowest (the lower bolt on the shackle) can possibly go. You want the spring to hit it's lowest point with the shackle vertical so you're dropping as far as physically possible. Once the shackle starts inverting it starts going back up. Get what im saying?
Then on full stuff it allows the shackle to go back and up allowing the spring to come up further. But this part isnt as critical because you're limiting upward axle movement with the bumpstops on purpose stopping upward movement to avoid things contacting.
Just things to think about, its never to late to change stuff Trust me i did! :-p
Just a couple questions/concerns. Got a pick of your shackle angle?
You're free-hanging shot looks a lot like mine did before i positioned my front hangar (and your tubes look like they're exactly where I put mine) .. and your hangar looks like it's exactly where i put mine (round 1).Also, hard to say with the boots on the shocks but from where you located the shock hoops looks like you may have shock hangup .. in other words, the shock fully extending and not allowing full axle drop.
I set my bumpstops and my shocks up so at full stuff the bump stops hit right before the steering links hit (the frame) and the shock bottoms out.
The problem i had to with the axle dropping on articulation when the shackle was near vertical (slightly aft) at rest was the axle wasnt dropping as far as it could of.
For full drop potential the shackle should be almost vertical.... since that is the lowest (the lower bolt on the shackle) can possibly go. You want the spring to hit it's lowest point with the shackle vertical so you're dropping as far as physically possible. Once the shackle starts inverting it starts going back up. Get what im saying?
Then on full stuff it allows the shackle to go back and up allowing the spring to come up further. But this part isnt as critical because you're limiting upward axle movement with the bumpstops on purpose stopping upward movement to avoid things contacting.
Just things to think about, its never to late to change stuff
Trust me i did! :-p
Last edited by drew303; Feb 2, 2010 at 12:01 AM.
Feb 2, 2010 | 12:04 AM
#63
Registered User
Joined: Dec 2006
Posts: 2,880
Likes: 2
From: Olympia, WA
Technically SAS'ing with a kit isn't very complicated or hard. It's just TIME CONSUMING and laborious!
Also, It's still HIGHLY reccomended to torch/clean then hang your hanger to get the right shackle angle! Different weight motors, 4runner vs truck vs ext cab vs big bumper, big winch (someone say 8274???) .. I think a good method of getting proper shackle angle for maxium droop is to hang the springs with axle weight and adjust the front hangar for a good near vertical or slightly inverted shackle.. This will gaurantee a nice aft shackle angle (which helps ride quality, a more vertical shackle at rest will give you a stiffer ride)
Feb 3, 2010 | 04:08 AM
#64
Thread Starter
Registered User
Joined: Mar 2004
Posts: 104
Likes: 0
From: long island, ny
Hey nice job =) Wish i had all those people to help with mine! I had my bro and a friend for a lil bit, friend helped grind one side for me and my bro helped me hang the axle but that was it.
Just a couple questions/concerns. Got a pick of your shackle angle? You're free-hanging shot looks a lot like mine did before i positioned my front hangar (and your tubes look like they're exactly where I put mine) .. and your hangar looks like it's exactly where i put mine (round 1).
Also, hard to say with the boots on the shocks but from where you located the shock hoops looks like you may have shock hangup .. in other words, the shock fully extending and not allowing full axle drop.
I set my bumpstops and my shocks up so at full stuff the bump stops hit right before the steering links hit (the frame) and the shock bottoms out.
The problem i had to with the axle dropping on articulation when the shackle was near vertical (slightly aft) at rest was the axle wasnt dropping as far as it could of.
For full drop potential the shackle should be almost vertical.... since that is the lowest (the lower bolt on the shackle) can possibly go. You want the spring to hit it's lowest point with the shackle vertical so you're dropping as far as physically possible. Once the shackle starts inverting it starts going back up. Get what im saying?
Then on full stuff it allows the shackle to go back and up allowing the spring to come up further. But this part isnt as critical because you're limiting upward axle movement with the bumpstops on purpose stopping upward movement to avoid things contacting.
Just things to think about, its never to late to change stuff Trust me i did! :-p
Just a couple questions/concerns. Got a pick of your shackle angle?
You're free-hanging shot looks a lot like mine did before i positioned my front hangar (and your tubes look like they're exactly where I put mine) .. and your hangar looks like it's exactly where i put mine (round 1).Also, hard to say with the boots on the shocks but from where you located the shock hoops looks like you may have shock hangup .. in other words, the shock fully extending and not allowing full axle drop.
I set my bumpstops and my shocks up so at full stuff the bump stops hit right before the steering links hit (the frame) and the shock bottoms out.
The problem i had to with the axle dropping on articulation when the shackle was near vertical (slightly aft) at rest was the axle wasnt dropping as far as it could of.
For full drop potential the shackle should be almost vertical.... since that is the lowest (the lower bolt on the shackle) can possibly go. You want the spring to hit it's lowest point with the shackle vertical so you're dropping as far as physically possible. Once the shackle starts inverting it starts going back up. Get what im saying?
Then on full stuff it allows the shackle to go back and up allowing the spring to come up further. But this part isnt as critical because you're limiting upward axle movement with the bumpstops on purpose stopping upward movement to avoid things contacting.
Just things to think about, its never to late to change stuff
Trust me i did! :-pThe shocks/tubes I set up as per TGs instructions with the 60% of the piston inside the shock body (I think is what it had said)
Once the back is done and the truck if rolling level again I am going to have my friend flex it out with his fork lift this way I can see where my bump stops need to go and that should work the springs in a bit as well. Then I will be able to see what the final shackle angle looks like and if I have to go back to make adjustments then I will (although I am hoping I don't)
Feb 25, 2010 | 05:51 PM
#66
Thread Starter
Registered User
Joined: Mar 2004
Posts: 104
Likes: 0
From: long island, ny
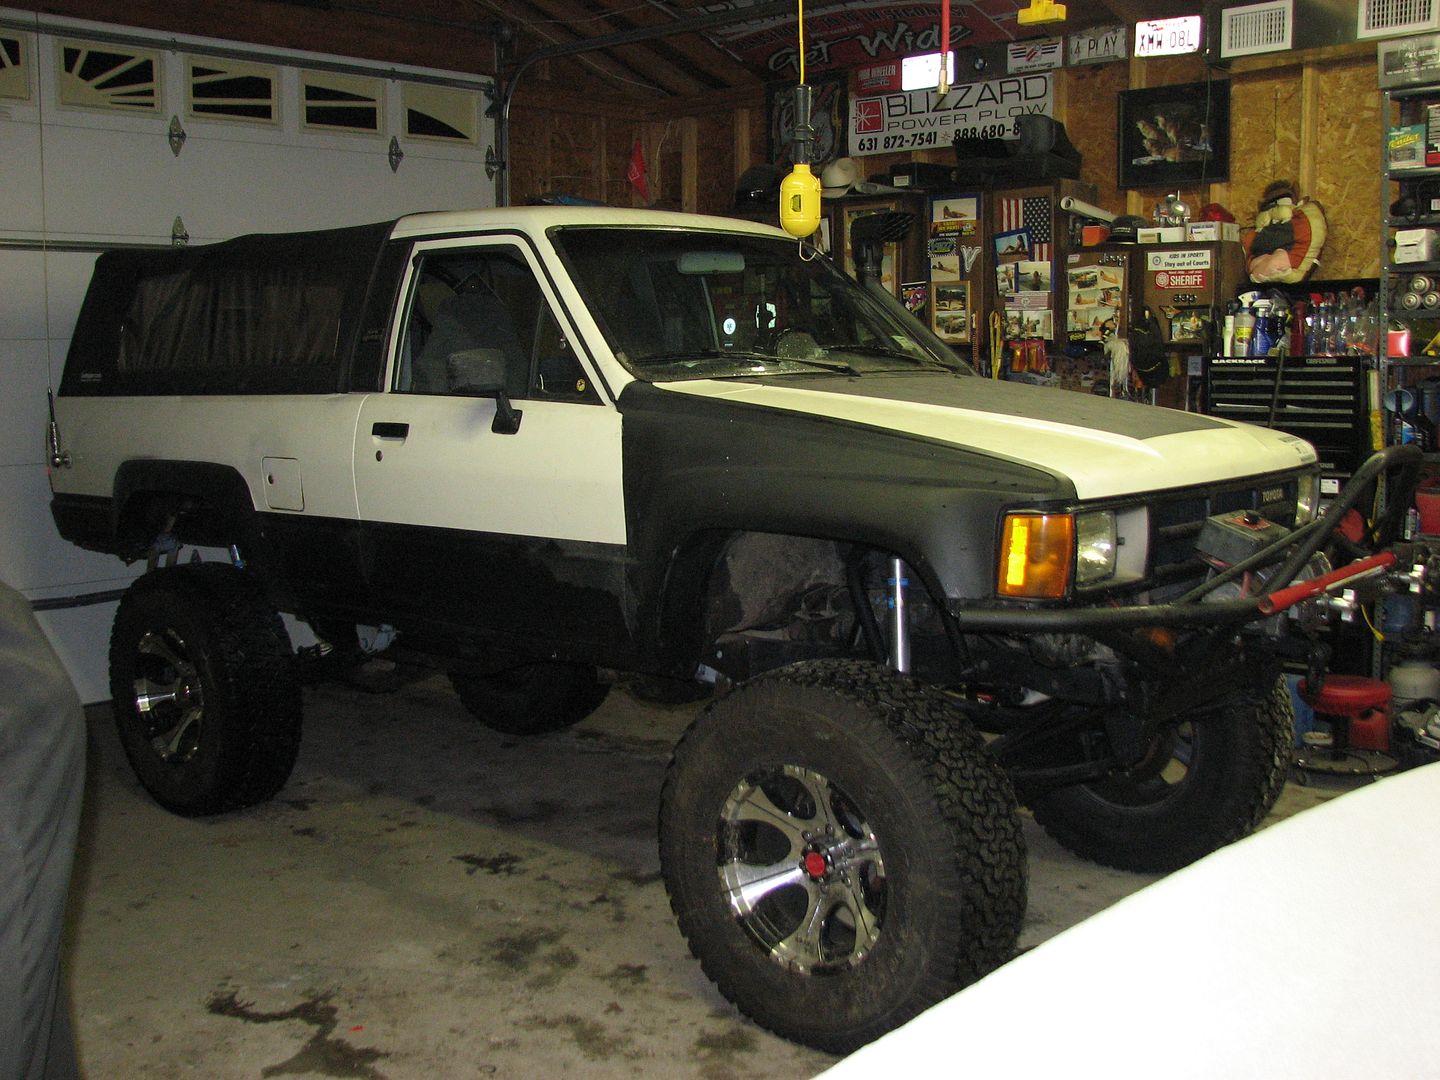
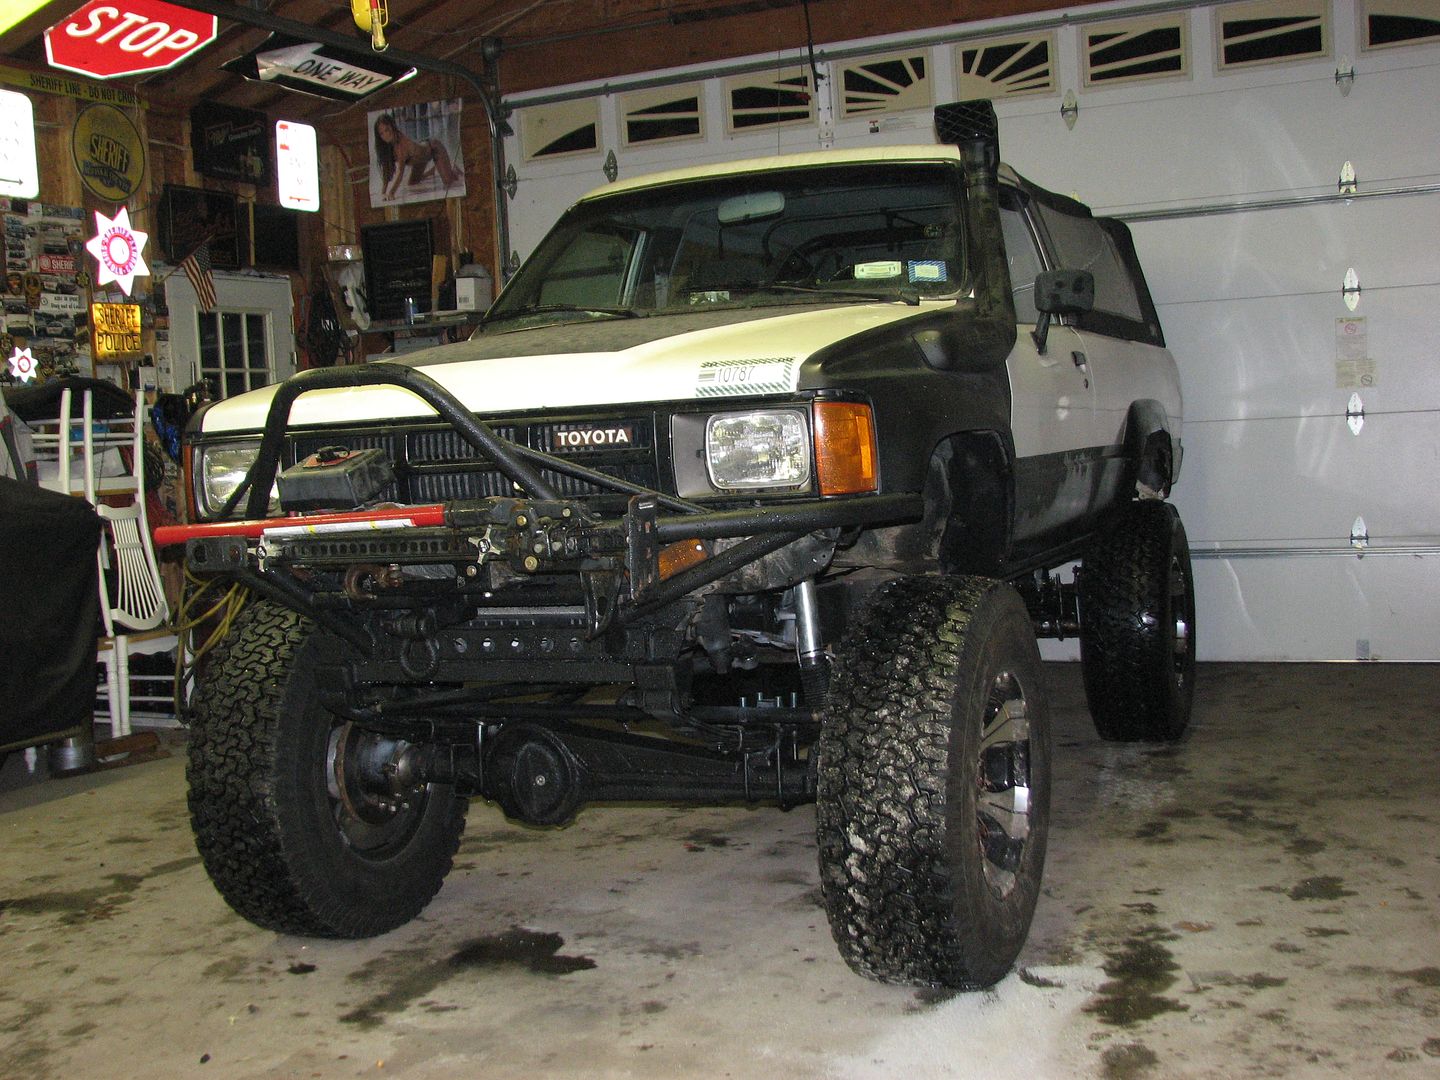
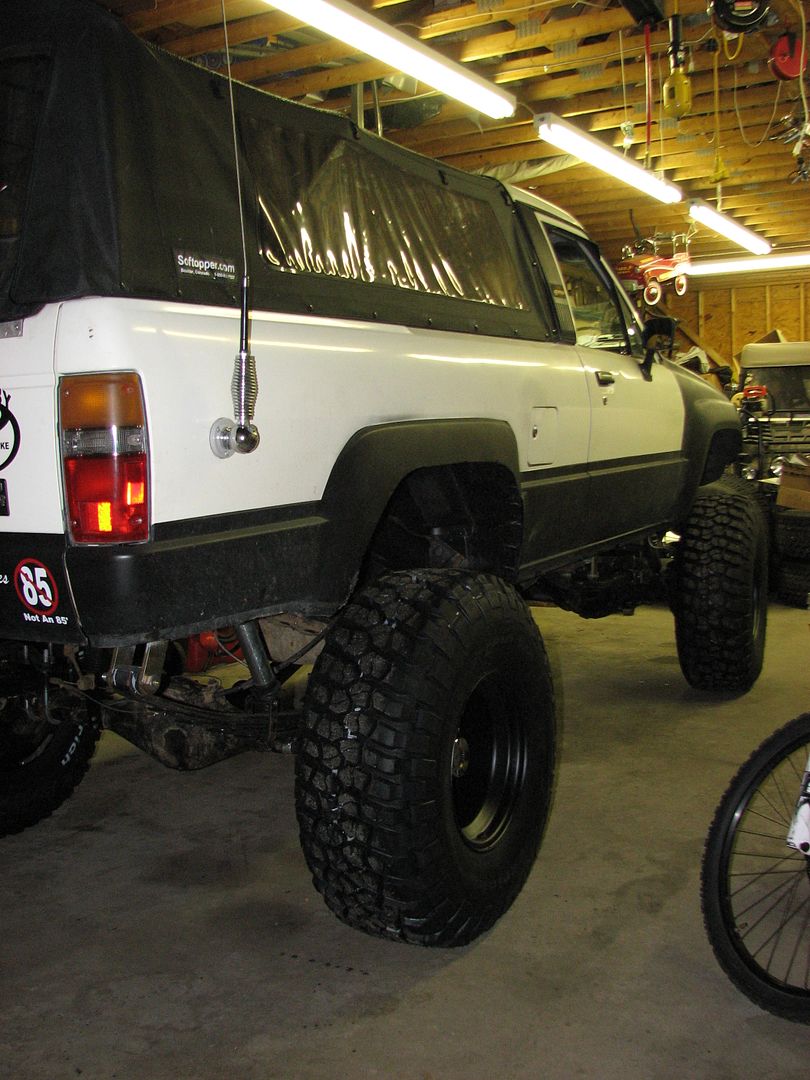
4Runner is drivable again, not wheelable yet, but its getting there. I borrowed my moms 35s off of her rolled Tacomer to get an idea of what it will look like with 35s on it. rear kit is in, dropped the tank and had it boiled out. New fuel pump bracket, sending unit, fuel line hose and main fuel line installed.
Drove it to work today, did a brake flush on it, stops good now also did an alignment...took all of 5 minutes
More to follow
Drove it to work today, did a brake flush on it, stops good now also did an alignment...took all of 5 minutes
More to follow
Feb 28, 2010 | 06:03 PM
#68
Thread Starter
Registered User
Joined: Mar 2004
Posts: 104
Likes: 0
From: long island, ny
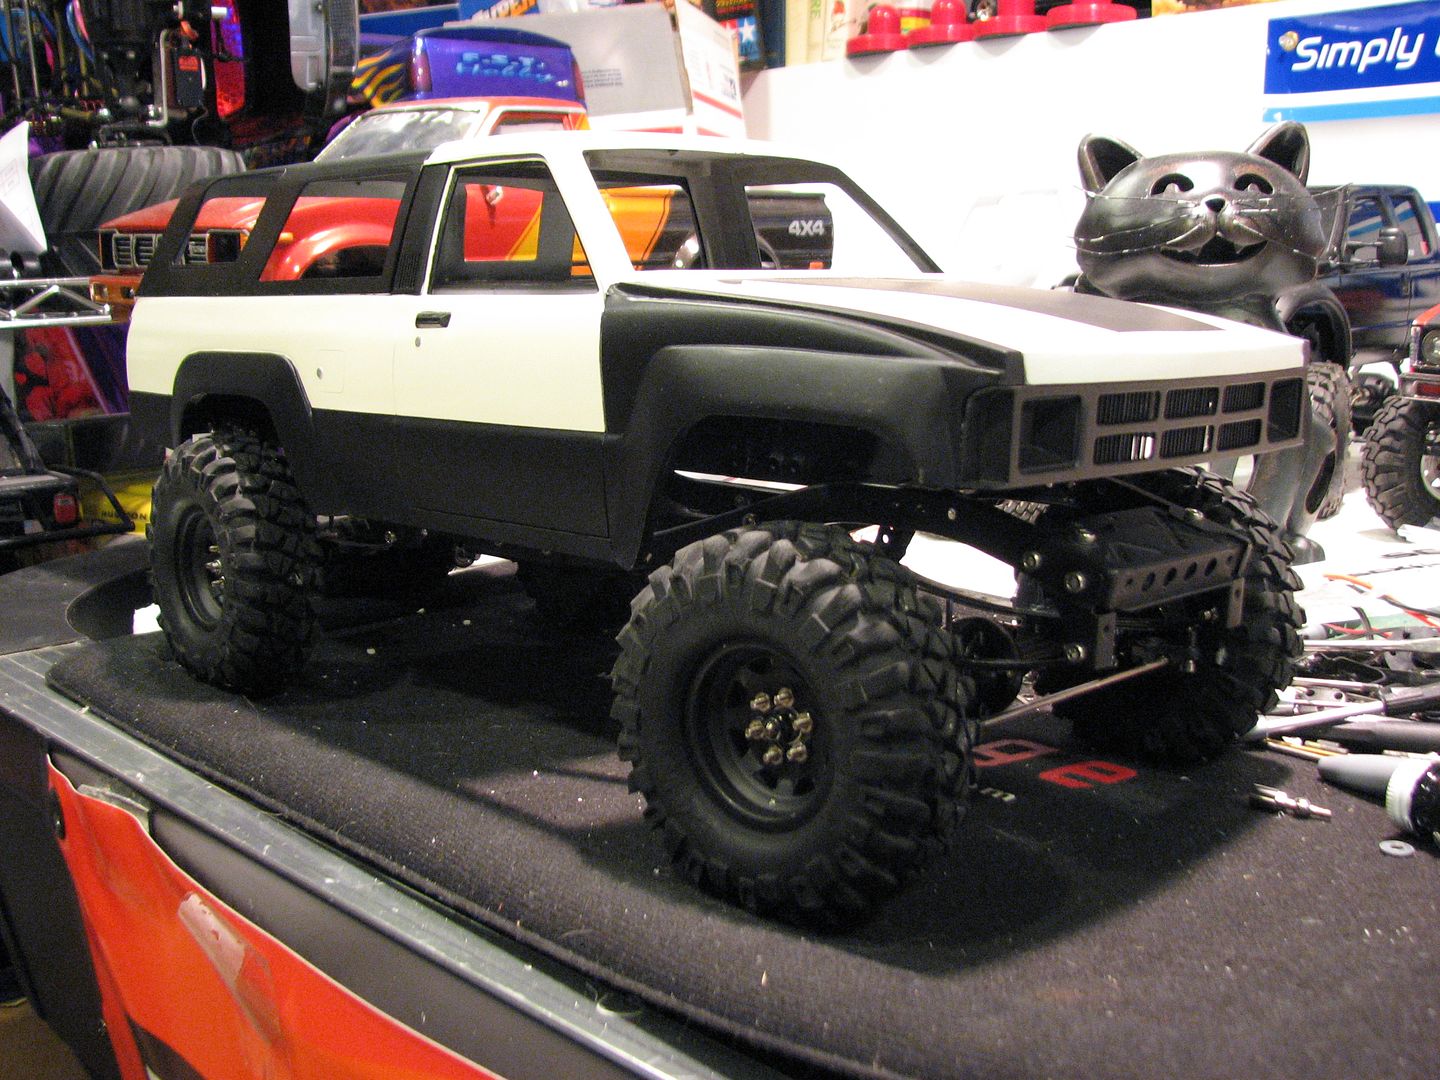
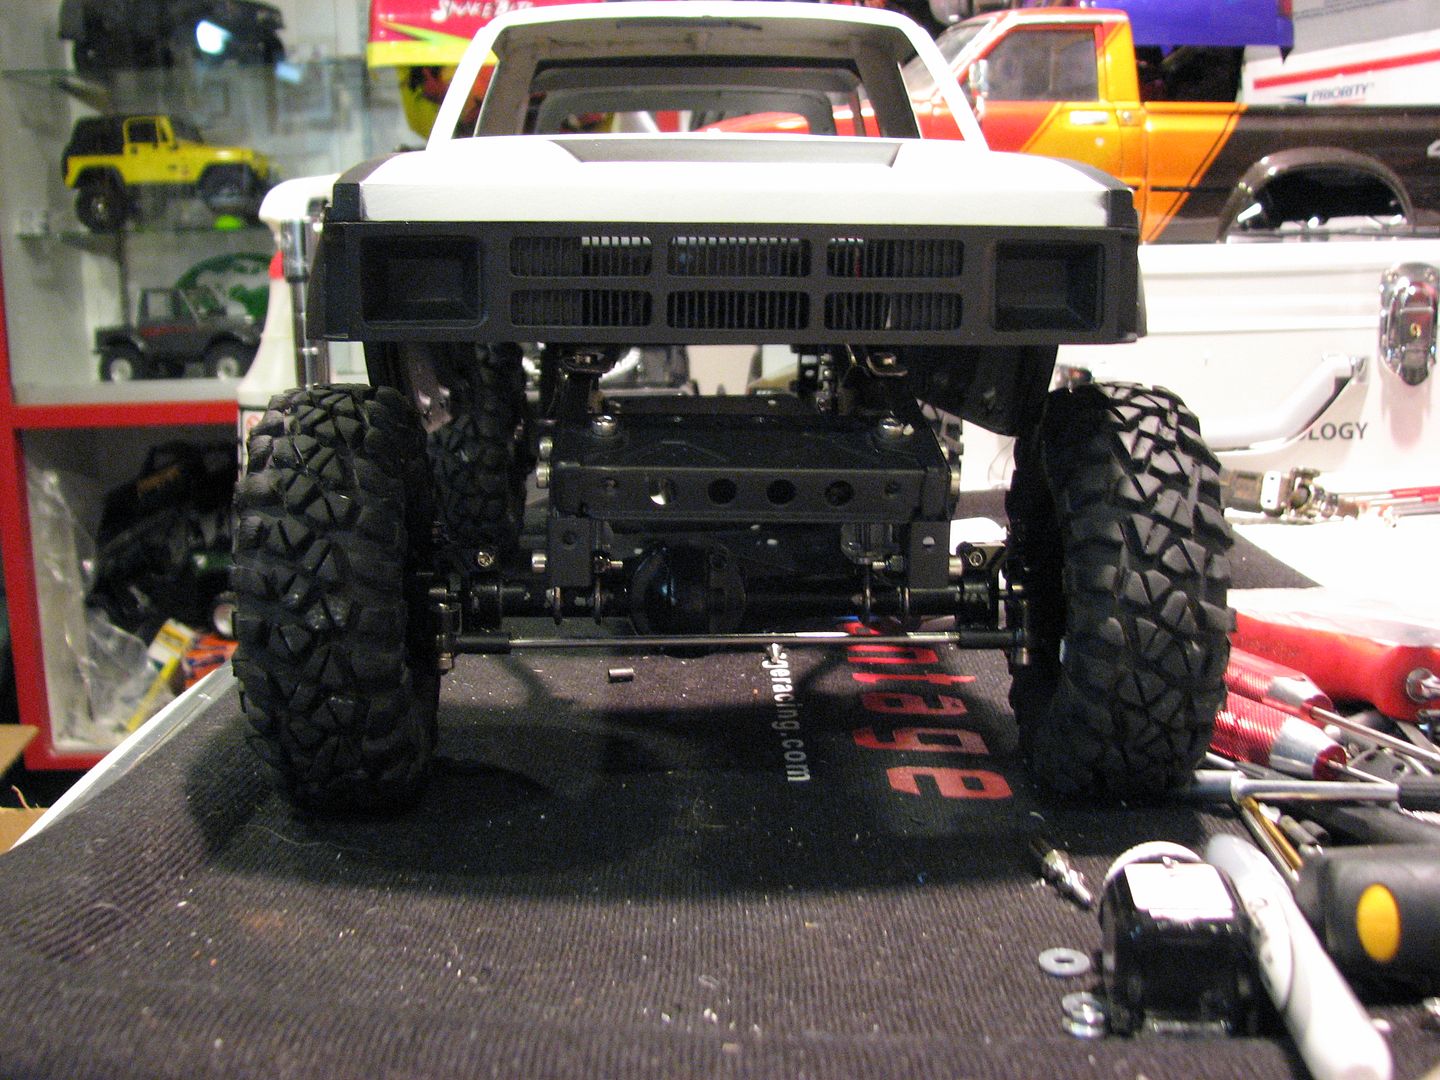
waiting for my 35s BGF KM2s to get here, along with the rear locker from 4Wheelparts... order was delayed because of the snow. Shafts go to the drive shaft shop on tuesday, I got the TG 10" ling spline set up for the front. In the mean time, I have started on the mini me version...
Mar 5, 2010 | 12:48 PM
#72
Registered User
Joined: Oct 2008
Posts: 1,018
Likes: 2
From: New Britain, CT

 Mar 6, 2010 | 04:01 PM
#78
Thread Starter
Registered User
Joined: Mar 2004
Posts: 104
Likes: 0
From: long island, ny
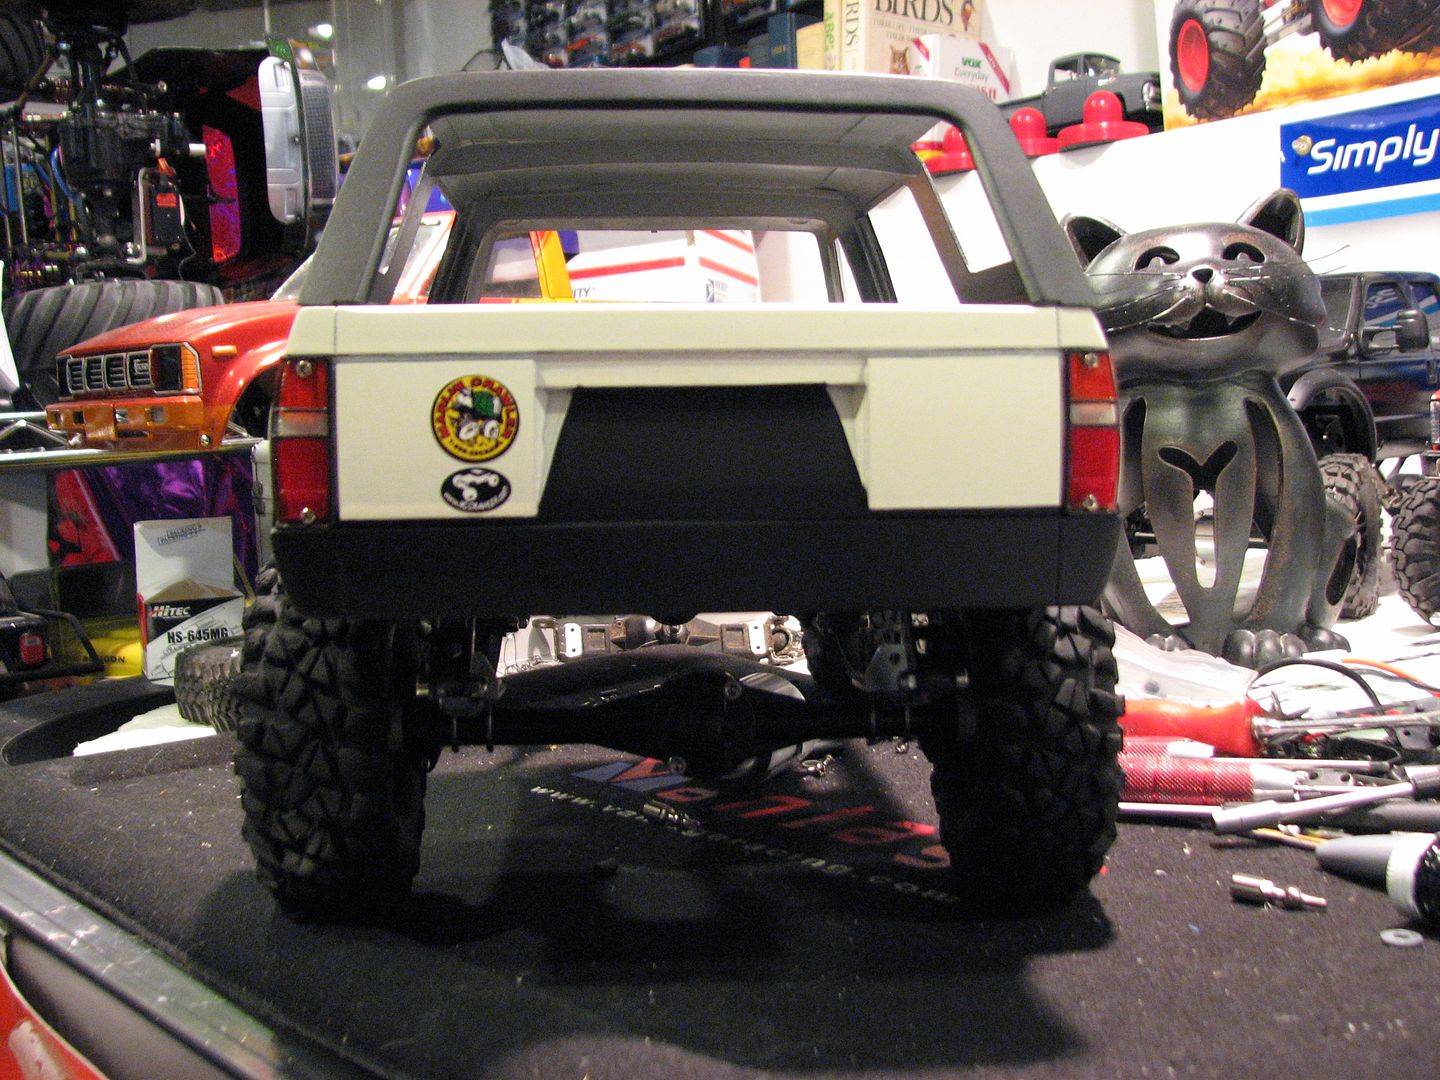
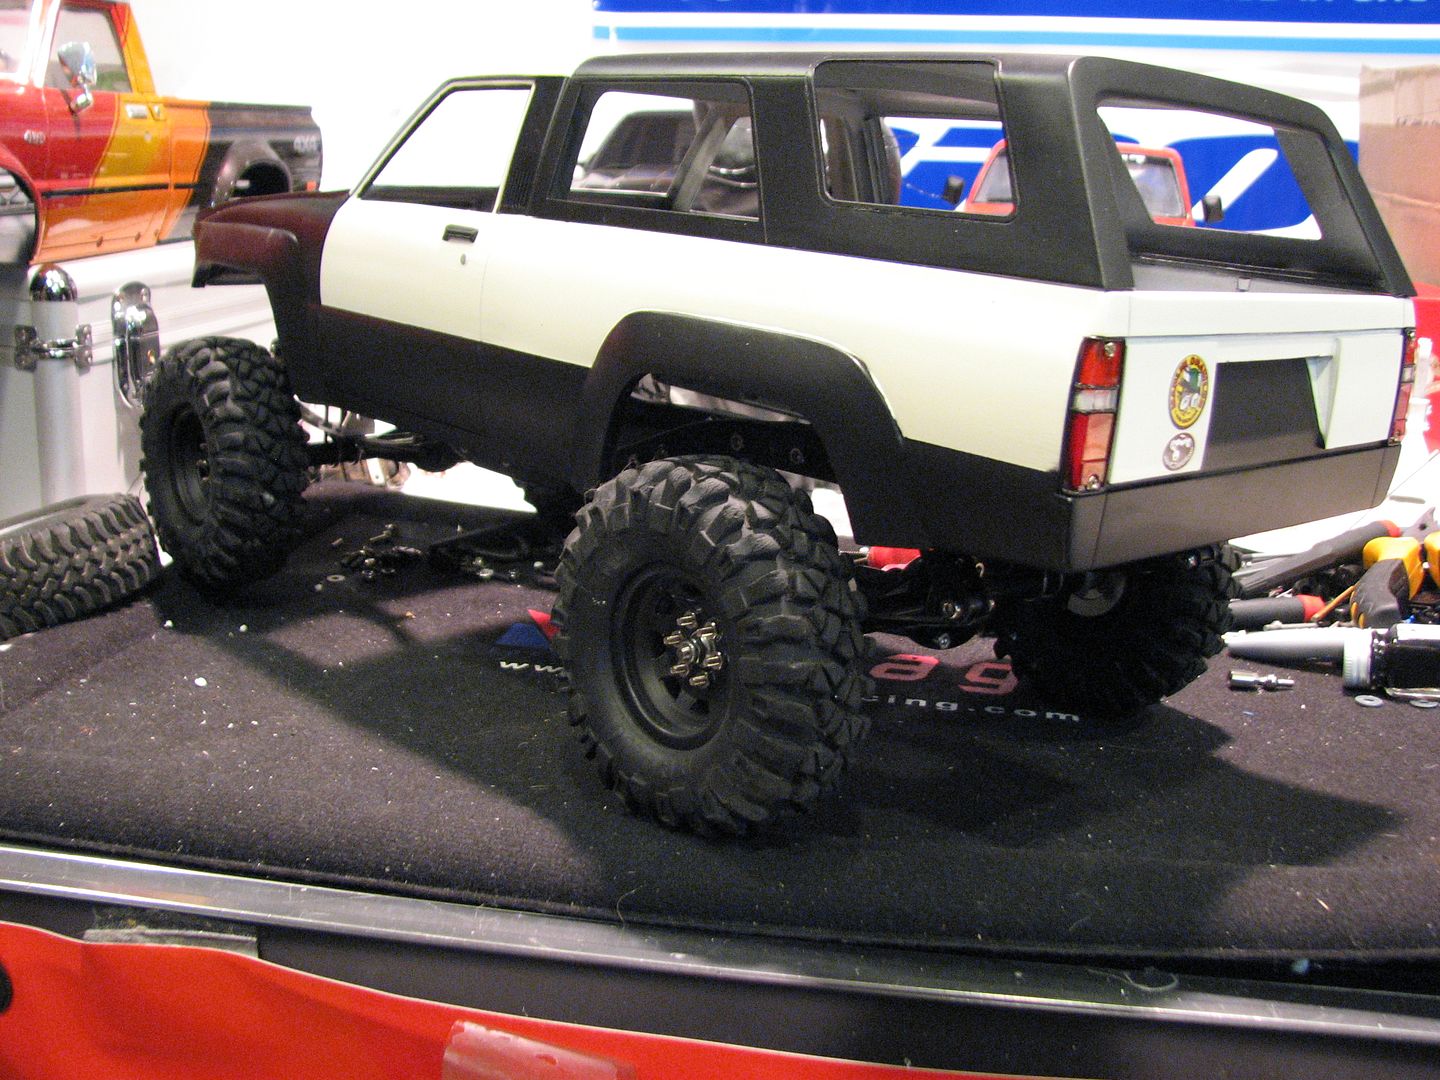
I have to order the GPM tamiya style knuckles then it will look like it has high steer haha
Nope, I owned that orange one at one point, this was built by Pardonmyn00b
Thanks dude, its back in the garage for some more work on it 2morrow.
Thanks!
Mar 13, 2010 | 05:50 PM
#80
Thread Starter
Registered User
Joined: Mar 2004
Posts: 104
Likes: 0
From: long island, ny
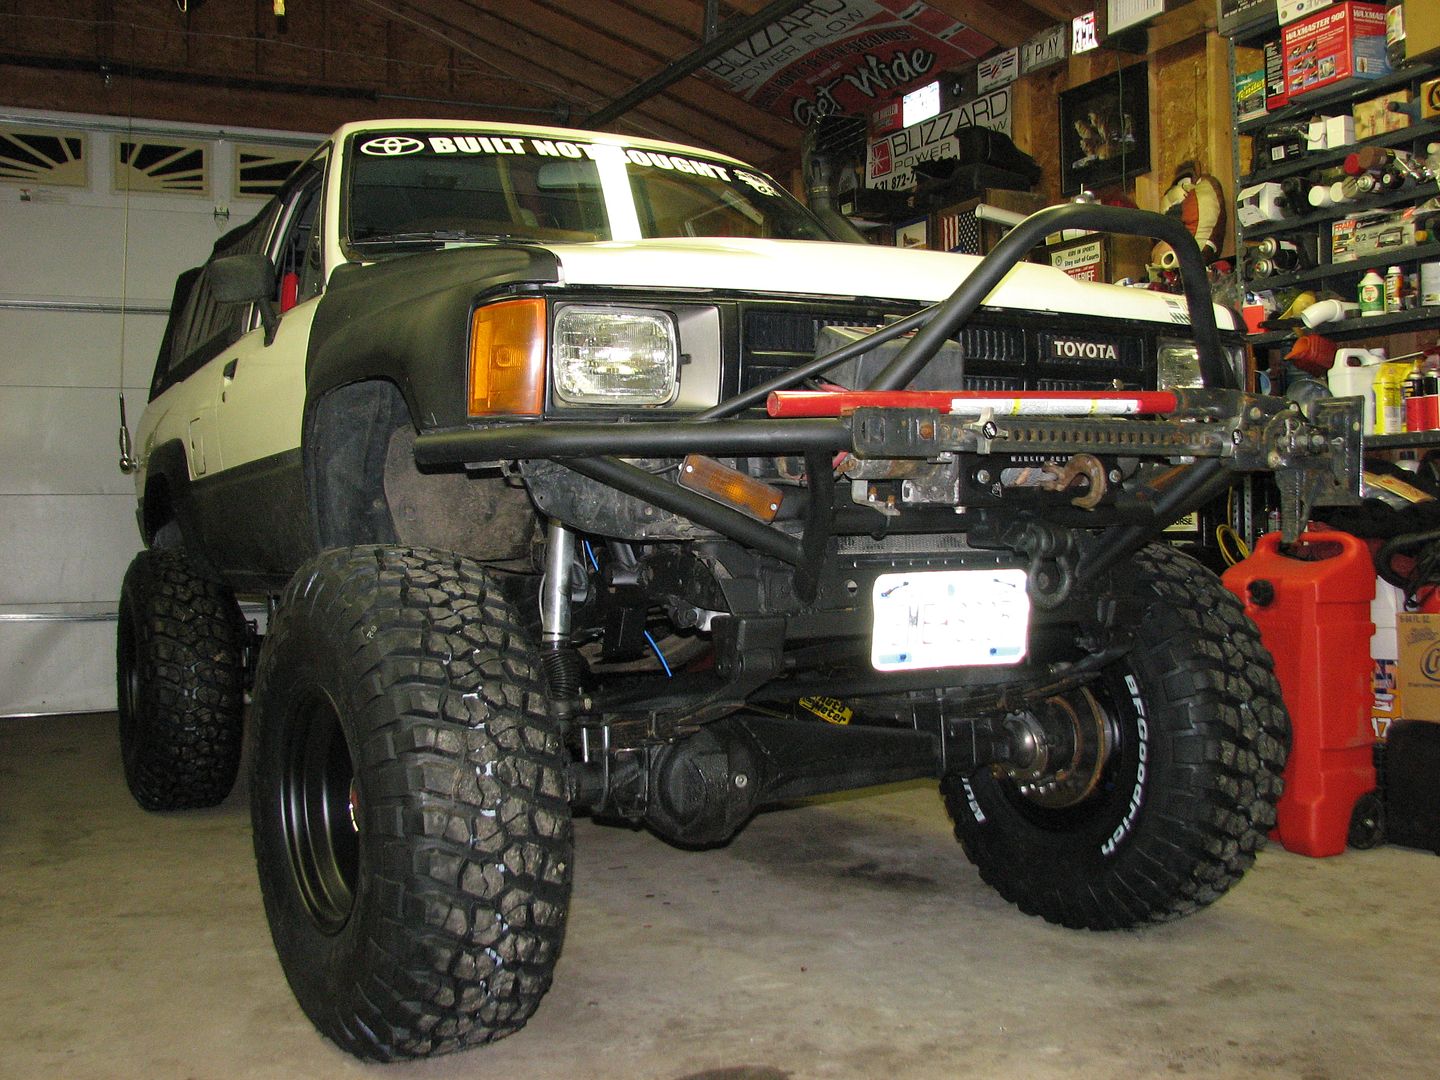
4runner is almost ready for the raush creek trip in 2 weeks :mrgreen: Updates as of now are:
Rear set with 4.88s, solid spacer, and a lock right
Rear drive shaft lengthened and tubing upgraded from Toyota soda can material
Front drive shaft equipped with TG 10" long spline set up
ARB compressor installed and locker all hooked up
and finally, 35" KM2s :mrgreen:
I was out shopping at the flea market for my GFs birthday, while her and my mom shopped for the new ankle bracelet, my step dad and I headed over to the vinyl dude. I told him what I wanted and he made me up some pretty awesome stuff for me :mrgreen:
1st on the list was the most important sticker
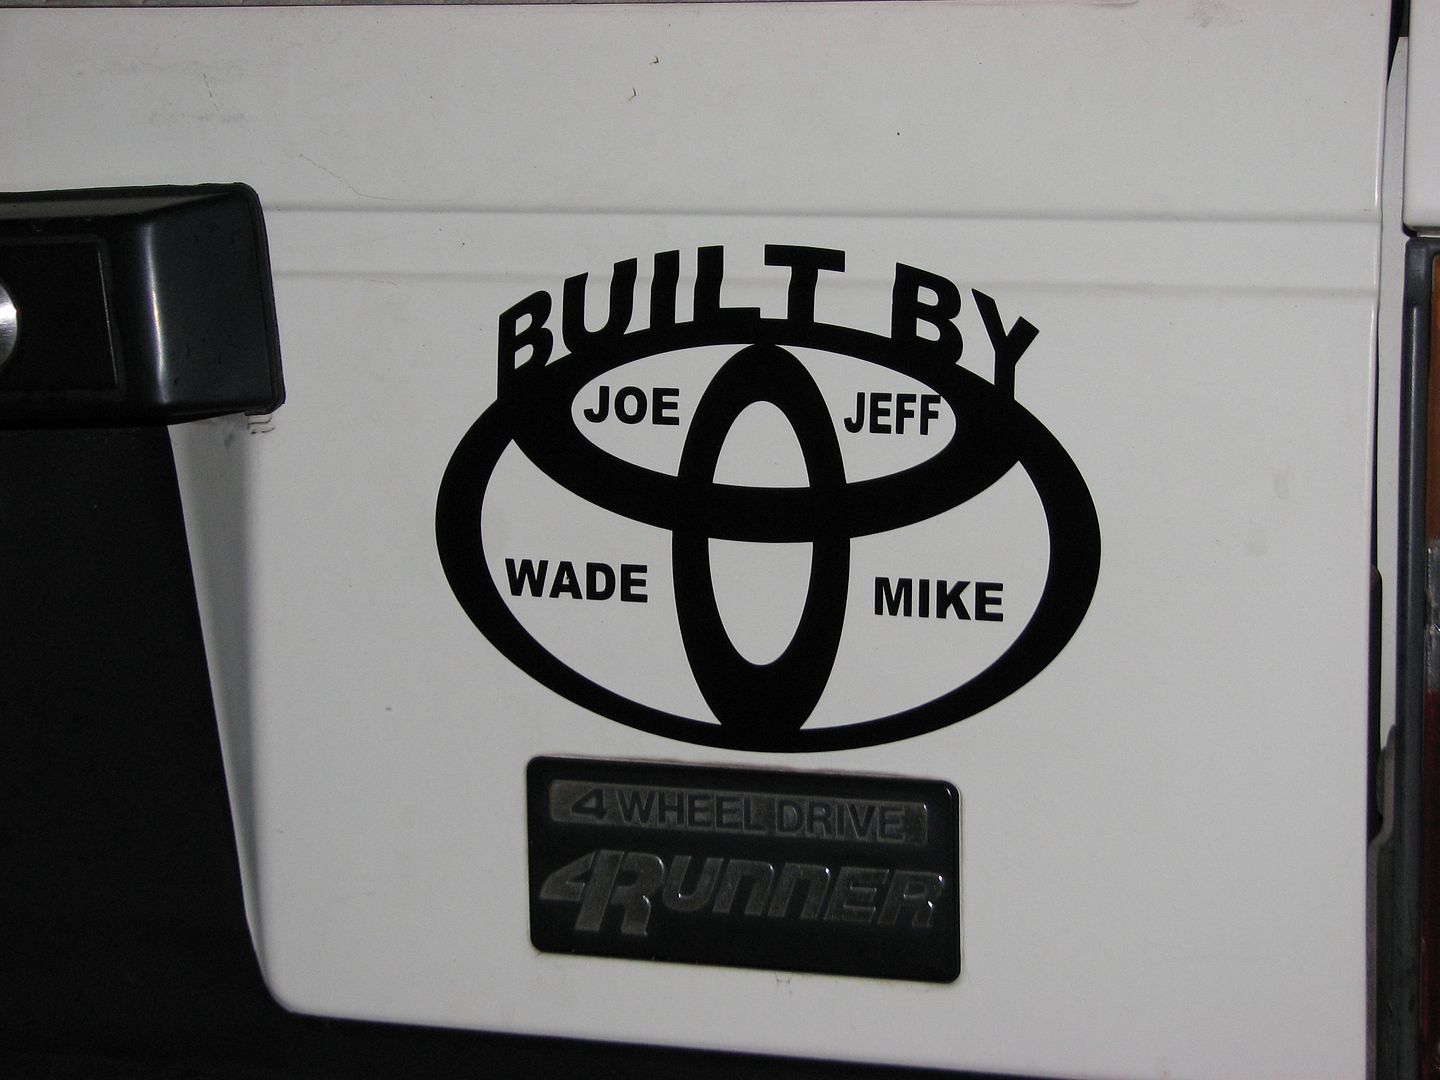
Gotta give credit to the people that made this project come together, my 2 buddies Wade and Joe and my stepdad Jeff
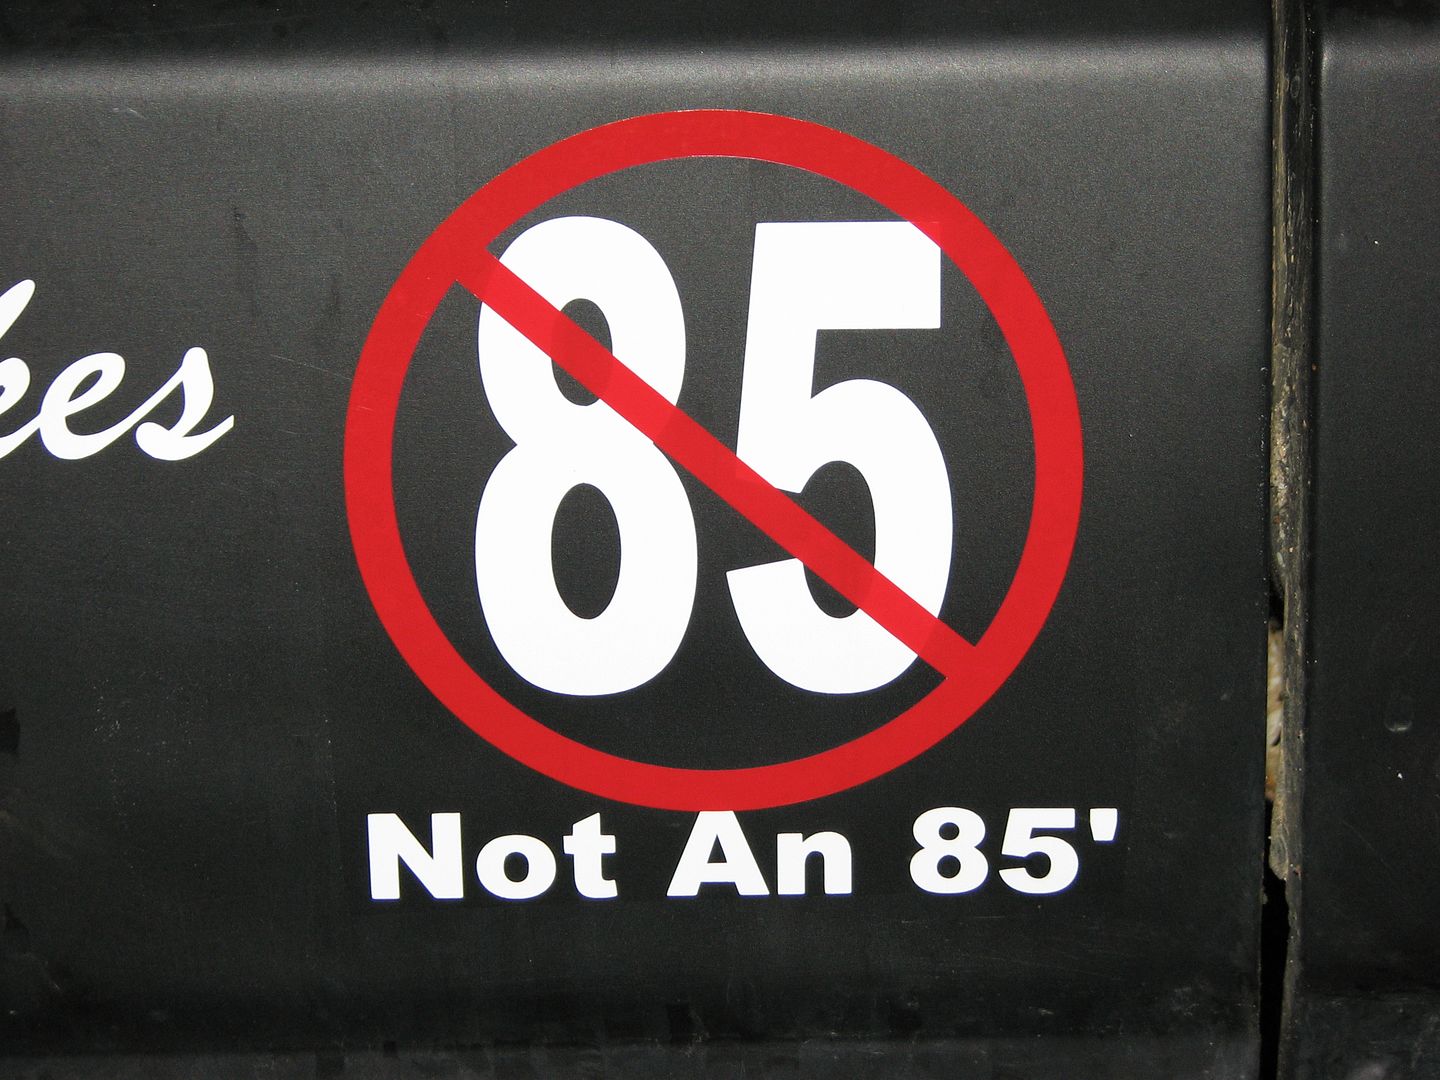
My friend Wade came over the other day to see the new tires and the 1st thing he said was "Yo is that an 85 4runner?? sweeeeeeet breehhh hahahahaha" I figured if he was busting my balls I know there will some ratards at local cruises who think its an 85 so I had this made up mostly as a joke. My friend Wade got a kick out of it
Next was this one, thanks to my mom lending me the money for the truck originally I figured I owed this one to her. She liked it

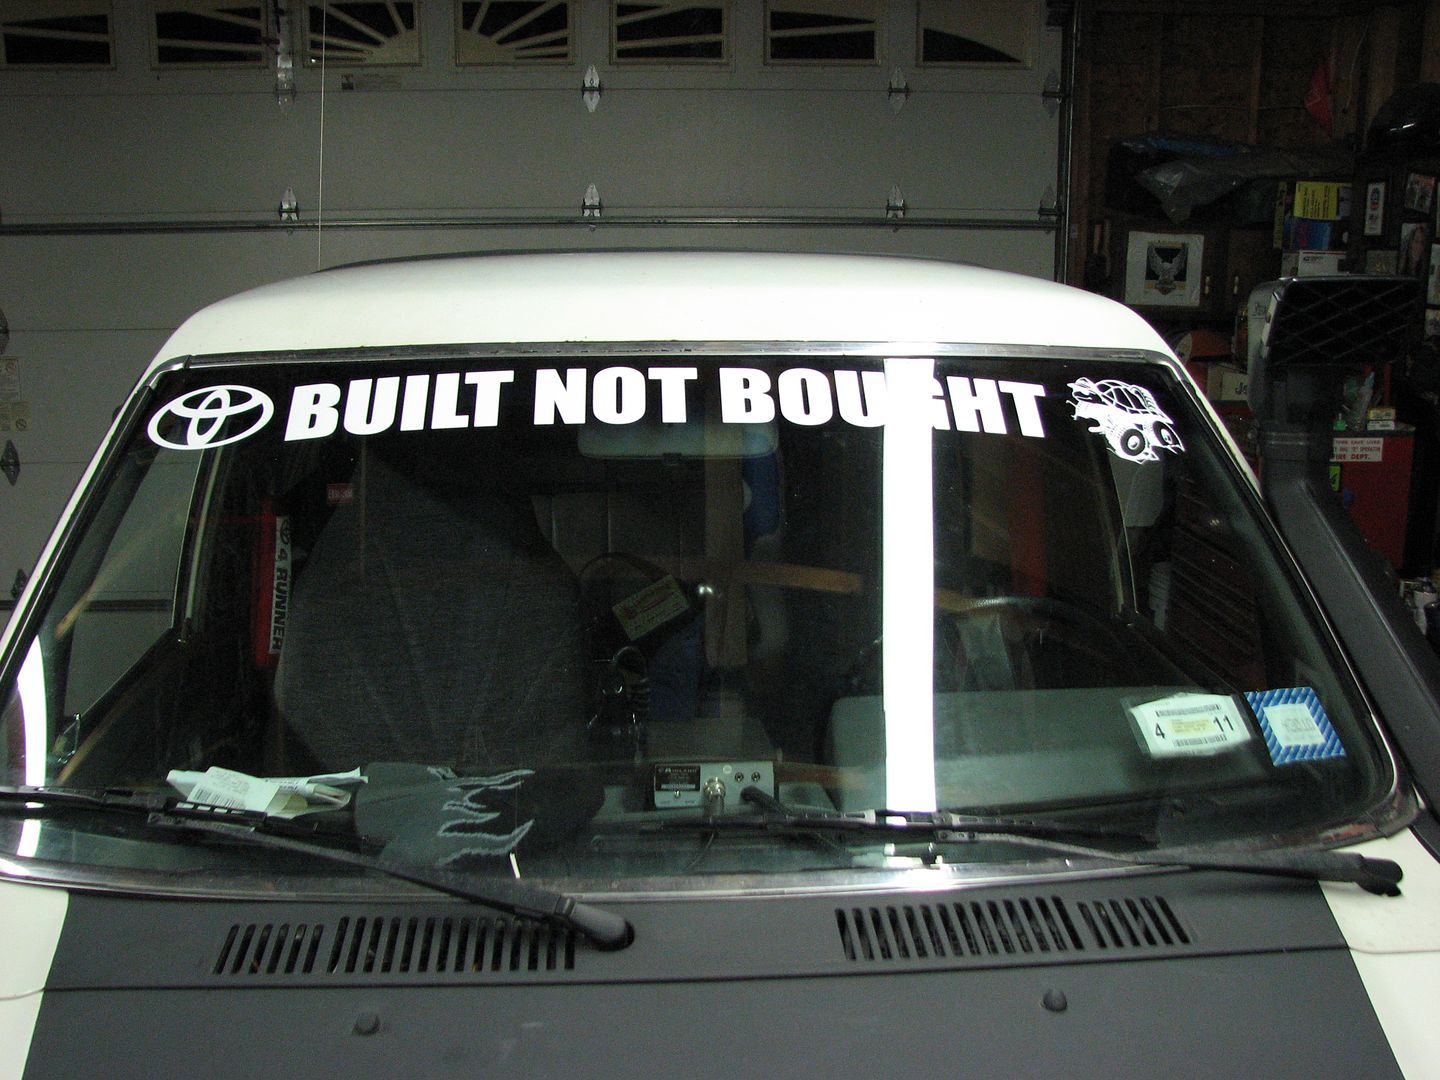
And lastly the windshield banner, I take a lot of pride in the fact that my friends, stepdad, and I built it
Tomorrow my Marlin sliders go on and then it'll be ready to wheel RC
Rear set with 4.88s, solid spacer, and a lock right
Rear drive shaft lengthened and tubing upgraded from Toyota soda can material
Front drive shaft equipped with TG 10" long spline set up
ARB compressor installed and locker all hooked up
and finally, 35" KM2s :mrgreen:
I was out shopping at the flea market for my GFs birthday, while her and my mom shopped for the new ankle bracelet, my step dad and I headed over to the vinyl dude. I told him what I wanted and he made me up some pretty awesome stuff for me :mrgreen:
1st on the list was the most important sticker
Gotta give credit to the people that made this project come together, my 2 buddies Wade and Joe and my stepdad Jeff
My friend Wade came over the other day to see the new tires and the 1st thing he said was "Yo is that an 85 4runner?? sweeeeeeet breehhh hahahahaha" I figured if he was busting my balls I know there will some ratards at local cruises who think its an 85 so I had this made up mostly as a joke. My friend Wade got a kick out of it
Next was this one, thanks to my mom lending me the money for the truck originally I figured I owed this one to her. She liked it
And lastly the windshield banner, I take a lot of pride in the fact that my friends, stepdad, and I built it
Tomorrow my Marlin sliders go on and then it'll be ready to wheel RC


