When you click on links to various merchants on this site and make a purchase, this can result in this site earning a commission. Affiliate programs and affiliations include, but are not limited to, the eBay Partner Network.
I'm surprised, the approach you've had toward this project you didn't go ahead and create some additional headaches and go for the LT5...
i only live a few miles from the plant is why i'm familiar with the ZR1 engine.
Last edited by 87-4runner; 02-27-2019 at 12:18 AM.
Thanks a lot! Yeah, an LT5 would make for a whole new level of frustration. If I get bored I may do that. LOL
Thanks again! Justin
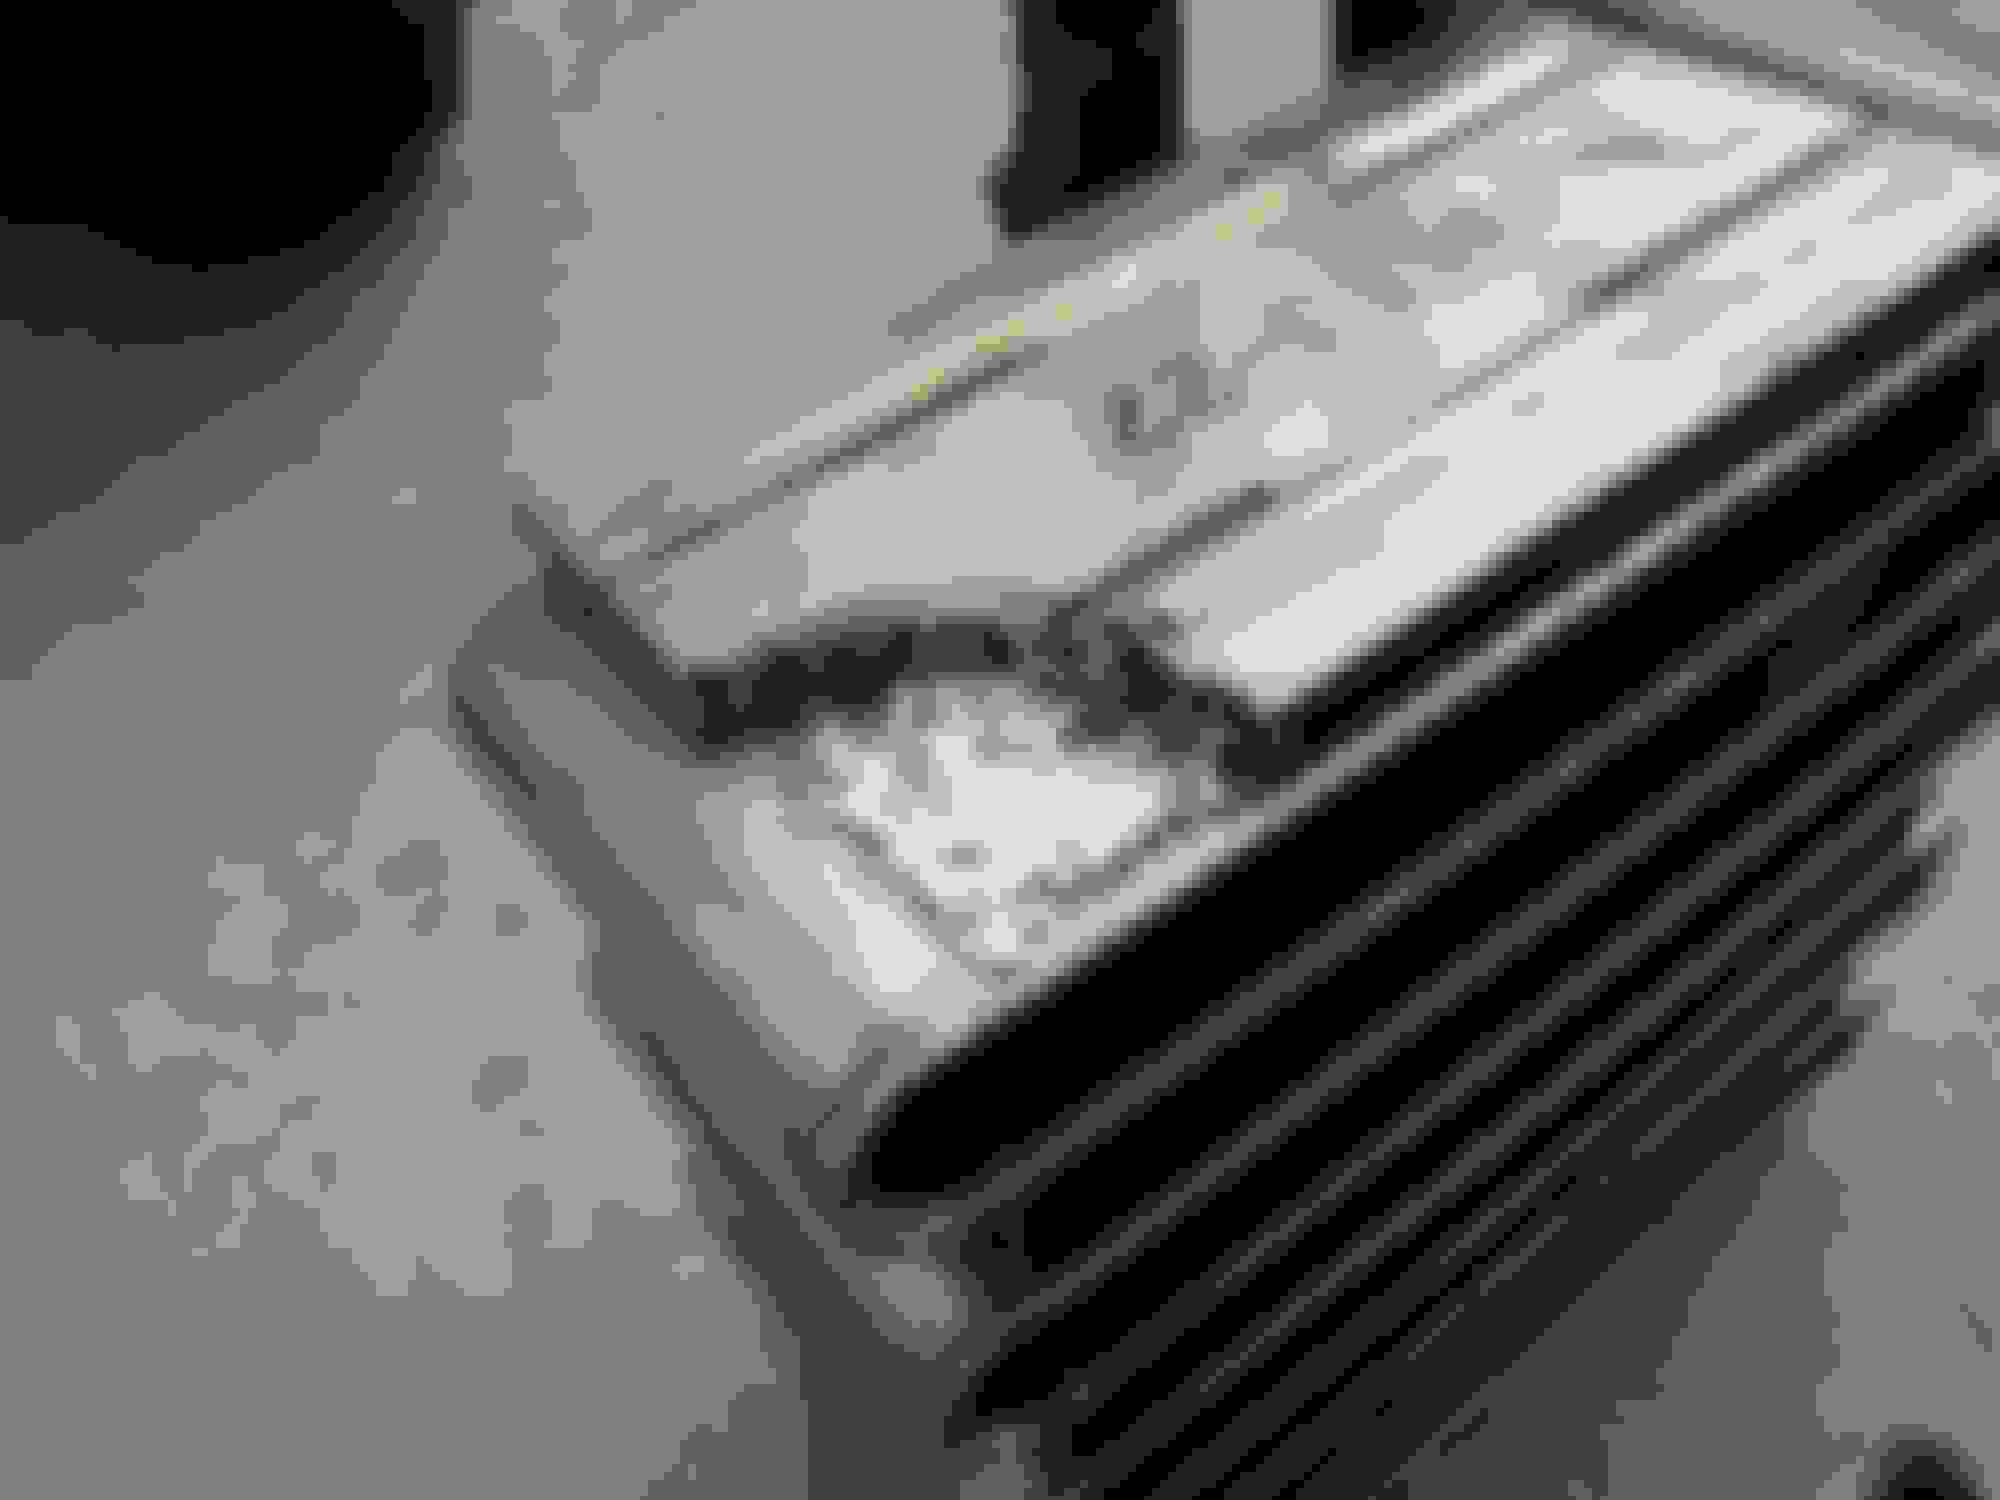
Relief shape in and around the header most of the way in at this point. Adding in a filler strip to complete the top. Getting the clearance I'm looking for. Its a Frankenstein mess but it just has to do its job and stay out of everyone's way in the end. By this point I just needed it closed. Ample clearance is what kept me moving forward. Also beginning modifications to the evaporator box and A/C core unit itself. Thanks for looking! Justin
Thanks, I appreciate it! Should be a little more lively than that old 3VZE that was in it.
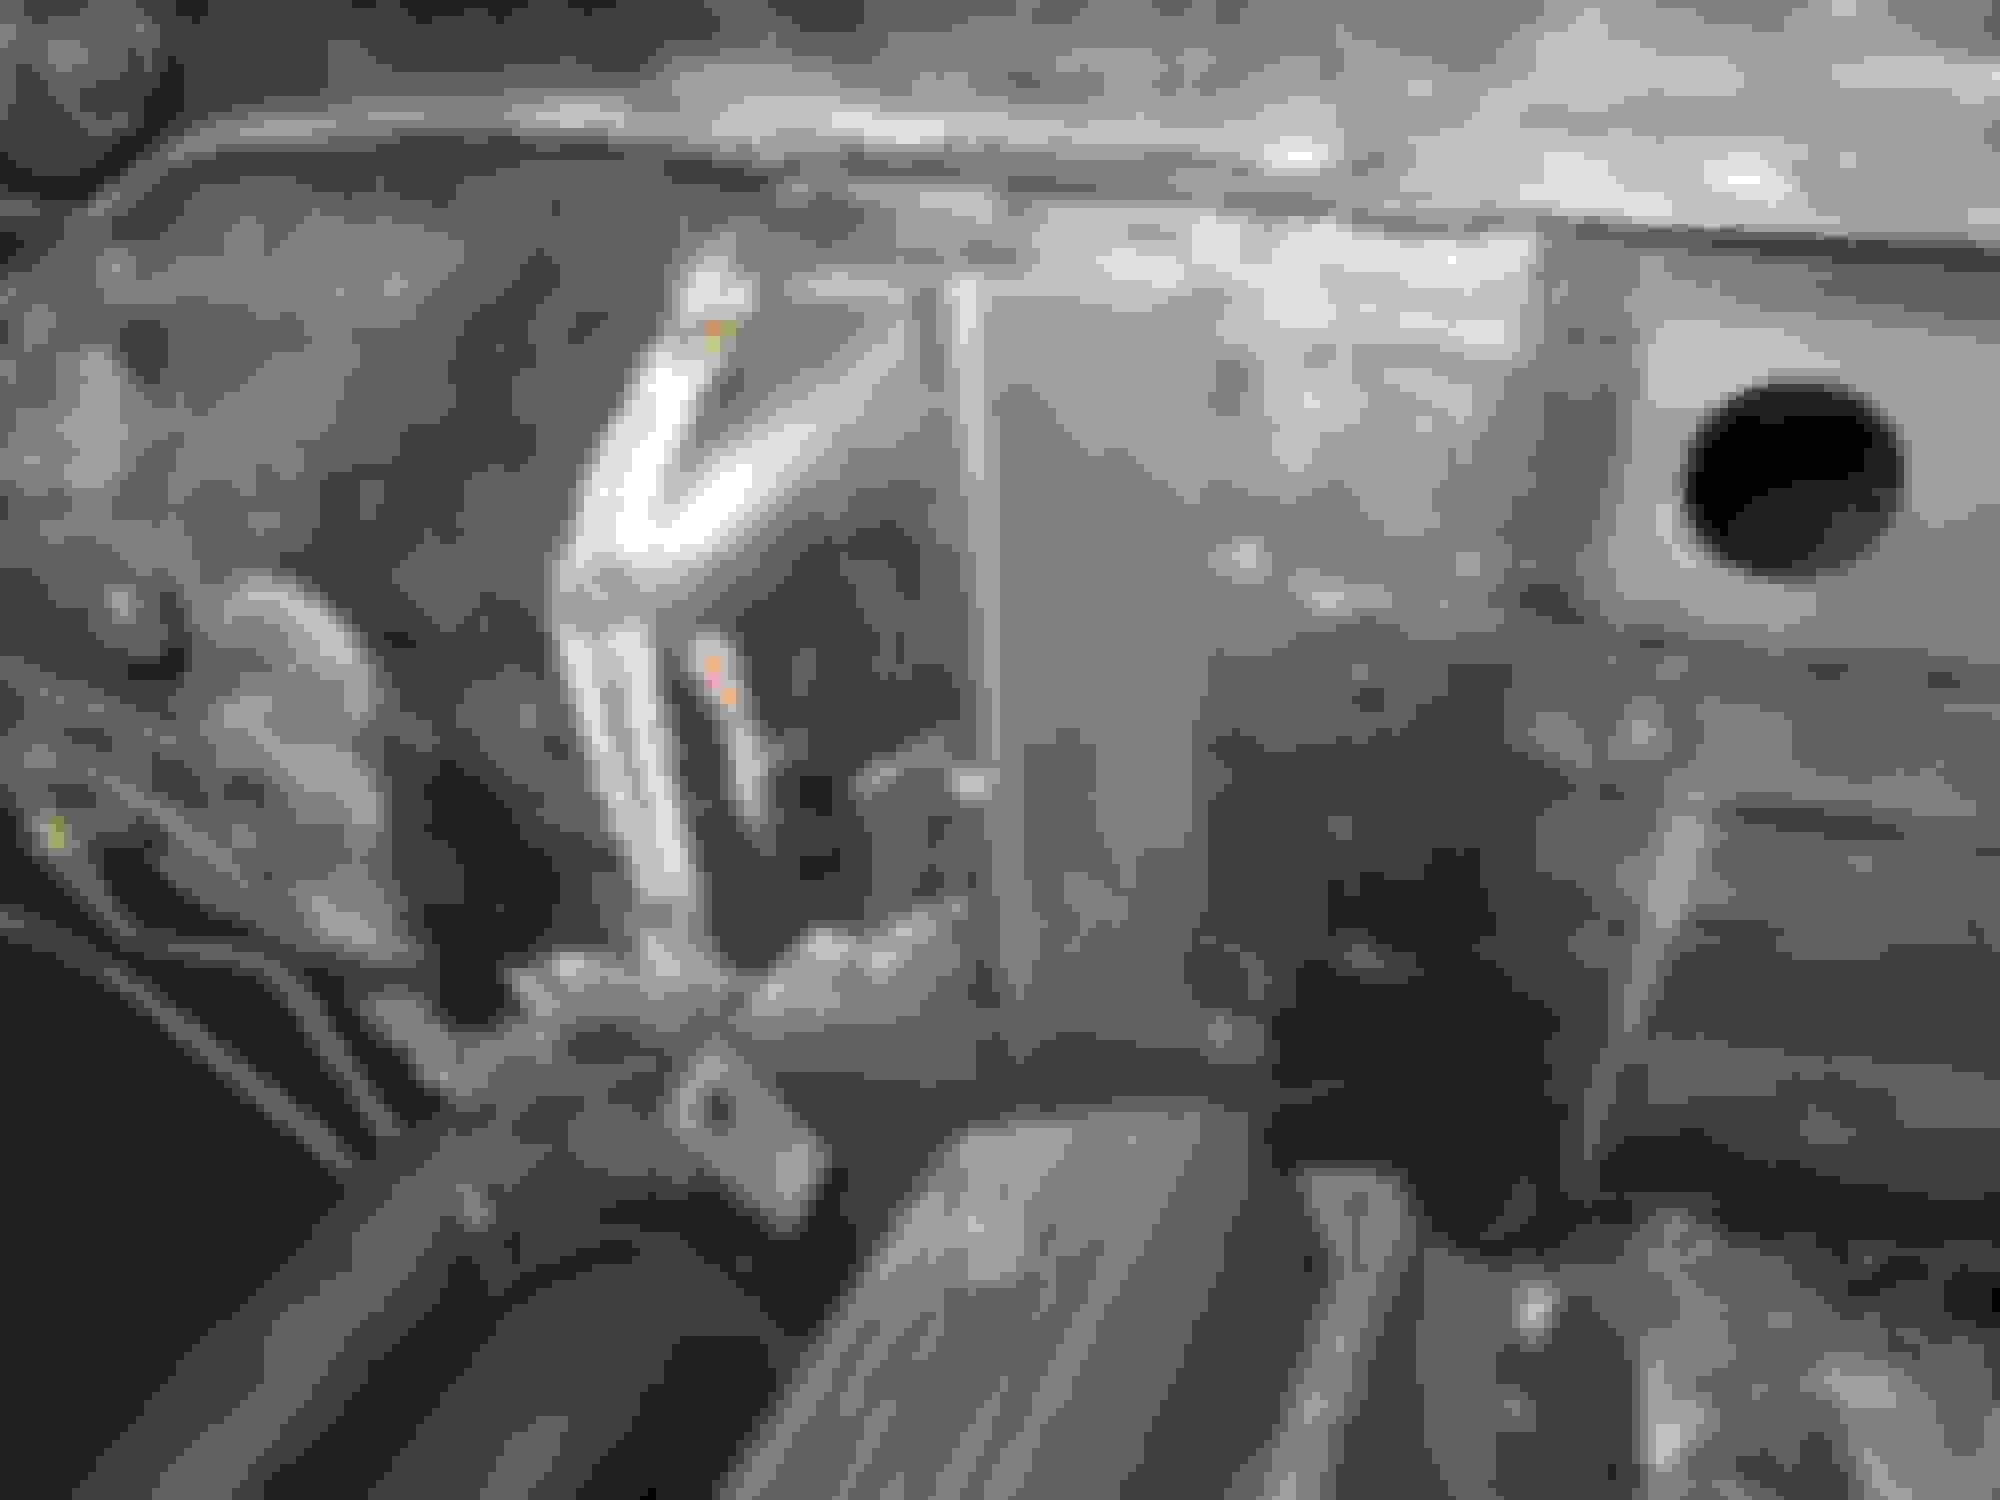
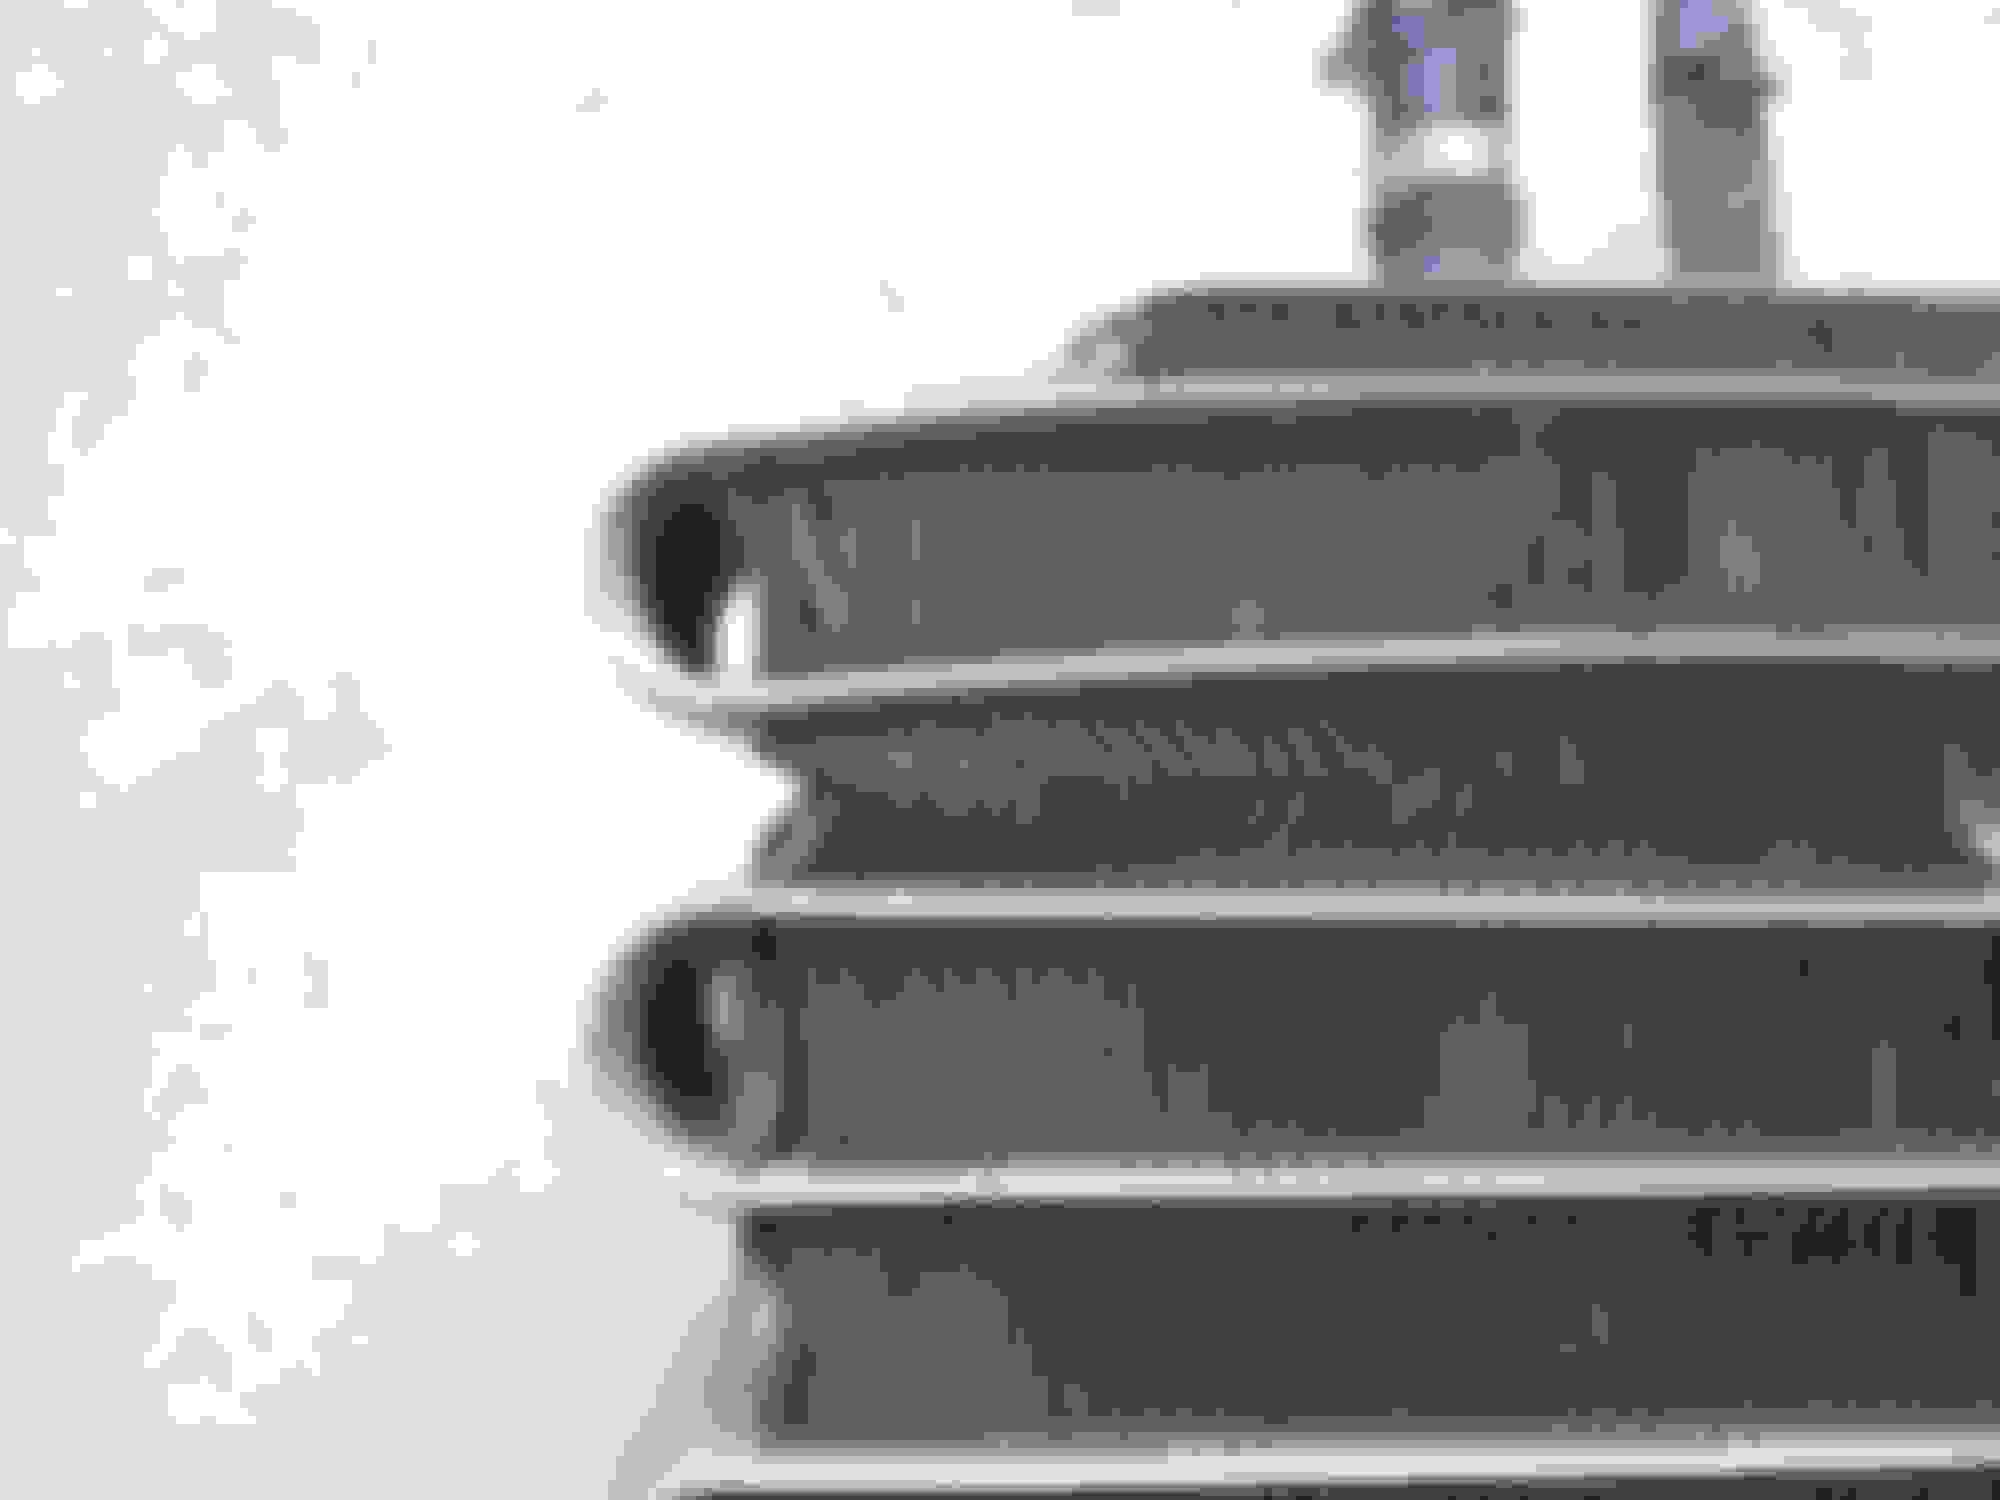
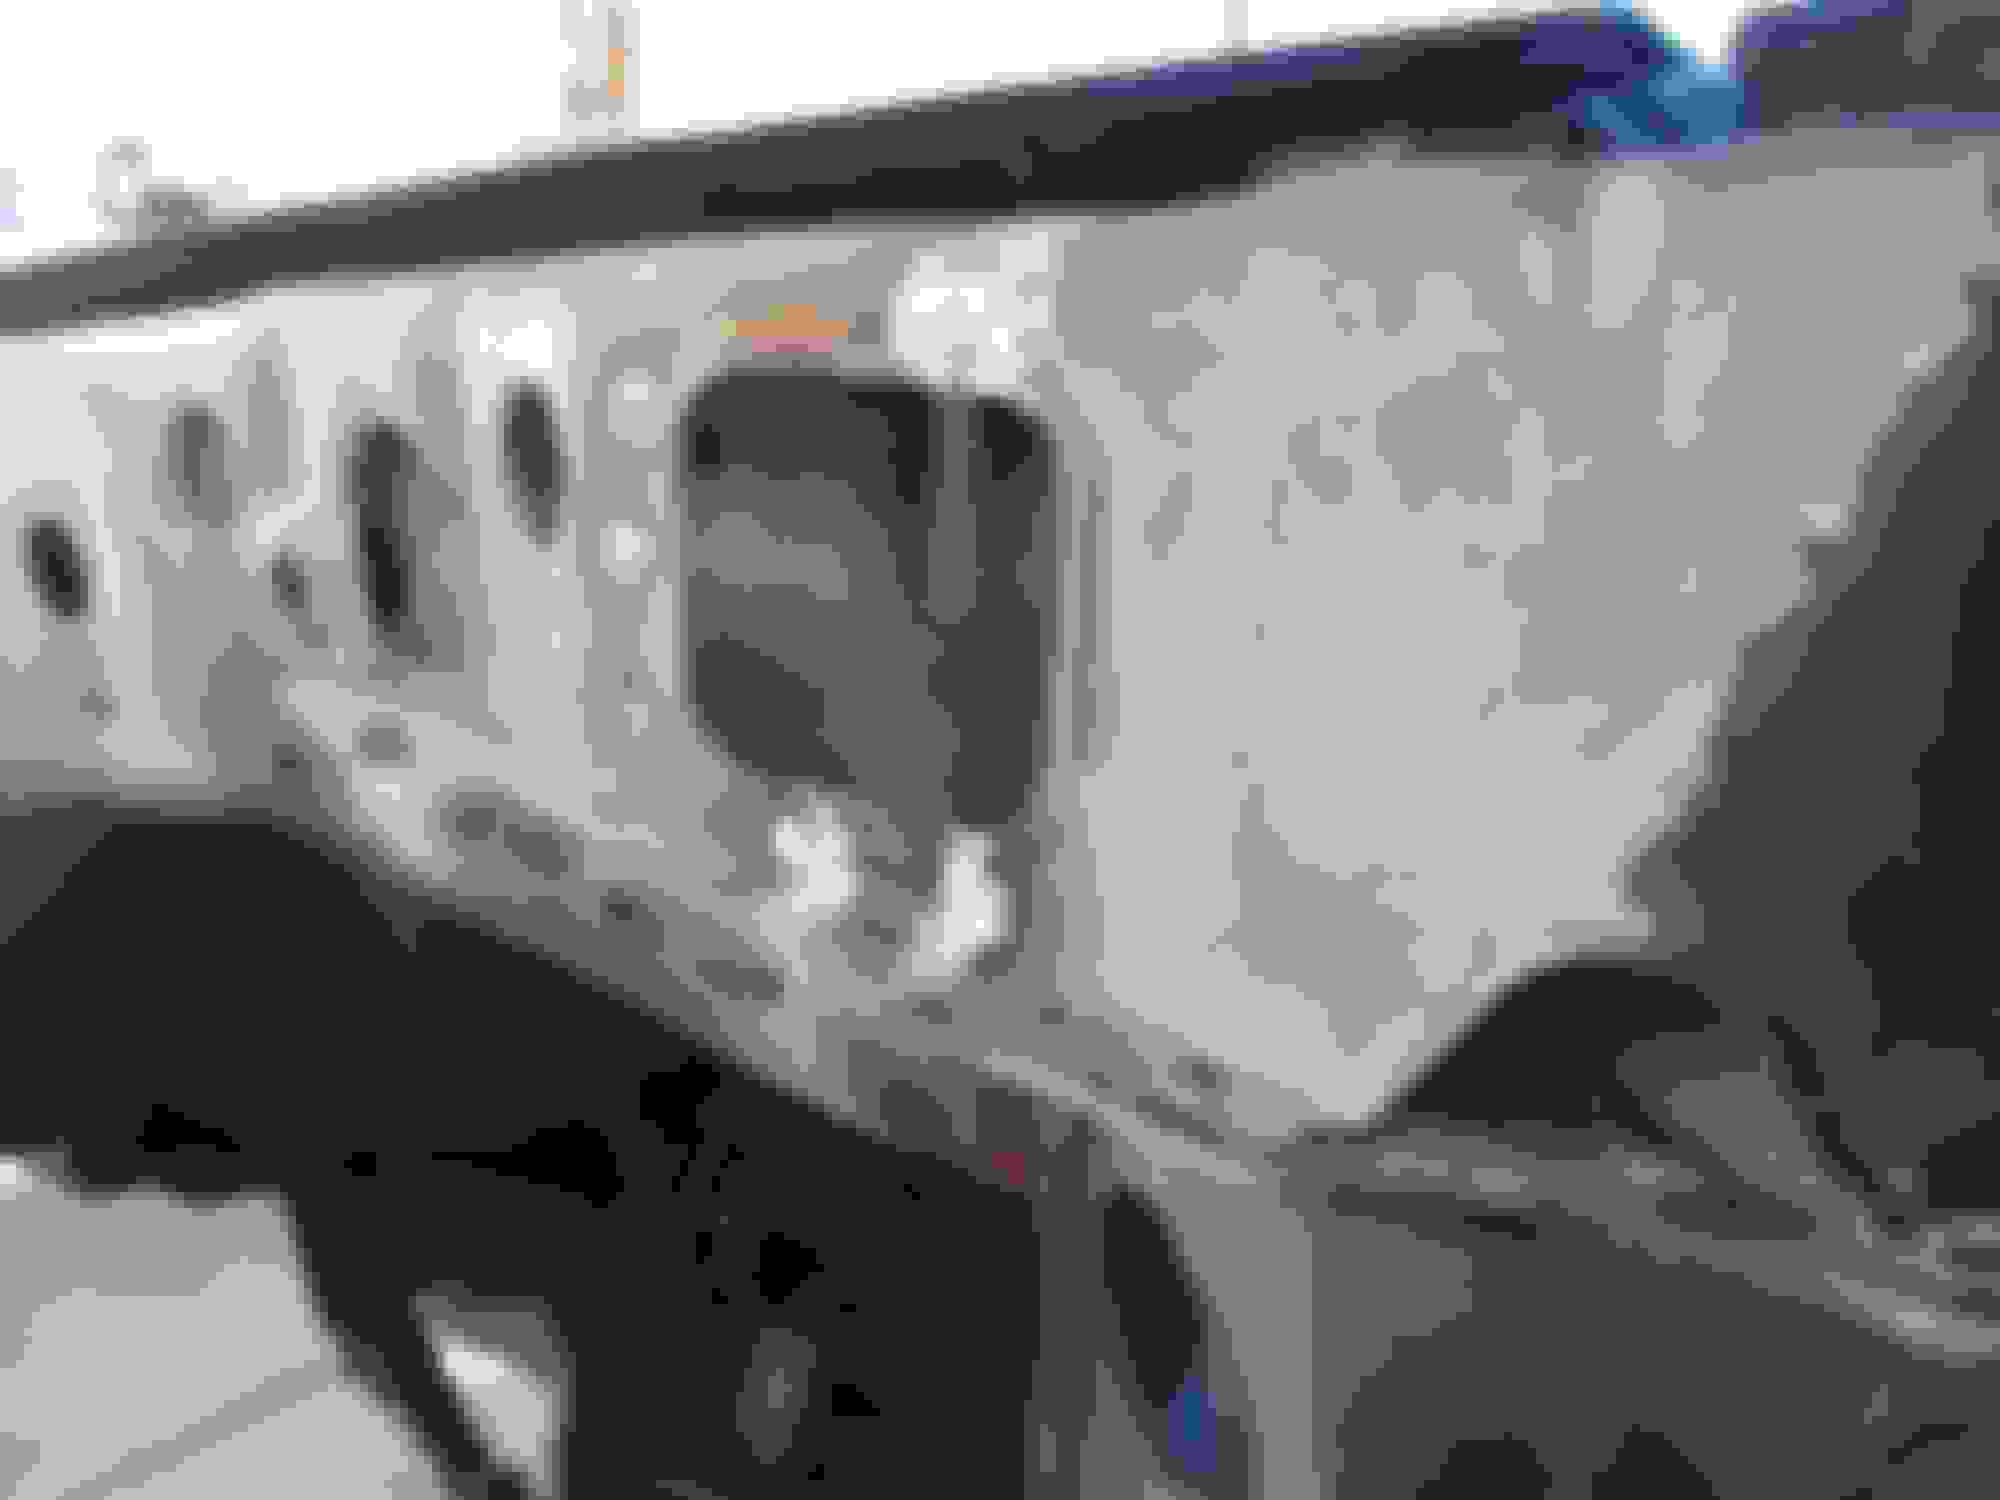
A/C housing and core modification: Had the basic relief shape cut into the housing to make way for the new fire wall shape while still allowing it to mount in its original position with the heater core and blower motor. Now it was onto the core. Started out very conservatively by just removing what I needed from the external cooling fins. Had to take care not breach the capillaries
Better but still not enough clearance. That lower capillary loop had to go back. Very slowly collapsing the intermediate fins allowing this lower loop to roll back. Its alloy so mild spanks with a dead blow was all it took. Again care was taken not to breach or crush the capillary tubes themselves and as long as that didn't happen this unit will still work fine. Most of the way there. More fine adjustments sure to come and I still have close that hole but its all with striking distance at the very least. Back to closing up this hole. Thanks for looking! Justin
New flanges for inner fender aprons.
Skipping around a bit. I had to, as making small bits to fill in the firewall got old really quick so I needed breaks from it to keep moving forward. Removing what's left of the original flange for a pattern. Through my ownership of this truck this area was zip wheeled and hastily wired welded back together then this last time cut with a plasma so gluing it back together again wasn't an option. Started with a section of heeled over 20 gauge and began shrinking and stretching to suit. repeated test fits against the apron itself to either relax or tighten more where needed. Having these jaws on hand made these new sections possible. Close as I'm going to get... Had to tighten the upper bend some more to get that excess to run vertical but otherwise it was there. repeat the process one more time. New flanges ready for mock up on the firewall. Thanks for looking! Justin
Cleaning and prepping the upper corners Simultaneously cleaning and planning this upper corner reconstruction to allow the front end group to remain removable when its all over. Also an old wire welded and plasma cut mess. flash rust doesn't help much either. Outlook improved dramatically once the damaged sections where removed. deciding on how much to keep and where it would be eventually capped off. Clean slate on both sides of the cut line and now building it back up from here. Thanks for looking! Justin
Back to flanges Set screwing flanges in best adjusted position. The remains of the old skirt flange run a lot deeper but I will be shortening the aprons back here to help dissipate heat. Just about ready to cut the excess off and graft these two together. I'll be cutting that apron about even with the new flange section. Other side as close as I'm going to get. Flanges tacked into final position and now replacing set screws with bolts. with these capture nuts on the back side. repeat on right side. A bolt in place of each factory spot weld. Onto the next deal. Thanks for looking! Justin
Continue building the "bridge" for removable front end group. After some heat and hammer forming my excess up flange section sort of fell into place to close and overlap the break. Actually it wasn't that easy it took me some time to figure out a clean slip on fit that would carry on what is still Toyota into the metal shaped for my purposes. Back to paper templates to build a small floor section that will lap the remaining flange on the cab side. In metal and ready for the outer box section. Like the flange below the screws will eventually be bolts. Repairing and adding the outer box section to complete the "bridge". That next, Thanks for looking! Justin
Great work on a very ambitious project. I'm aware of another similar V8 install on a first generation toyota but I have no idea what obstacles they have run into as of yet.
Your truck will definitely be awesome!
I appreciate you saying so (jazz1) Thanks! I have no doubts that the guys with the other build you're talking about are experiencing their own set of challenges. Once you begin changing or modifying anything you're not getting away without a headache or two or three.
Thanks again! Justin
Reinstalling lateral box section. My original plan was to throw this section away and buy some new ones and spare myself the trouble however once I started looking on line I just couldn't find them new. It hit me that this truck is now damn near 30 years old!! The last time I rebuilt it was under 10 years old so new parts where still easy to find. My mind seems to have become the land that time forgot as this truck still seemed modern to me but no its nearly an antique at this point. When I think of "old cars" I still conjure images of a '57 Chevy and the like but NOT my Toyota.... Reality check. You younger guys will have a better appreciation of this rant in just a short 20 years. Time plays weird tricks. Anyway.. So I started straightening the remains back out and remounted them. The backfill was easy enough. The trickiest part of it was replicating the stepped profile around the opening. I got it close, not perfect as I didn't want to spend too much time on it. Underside shot of how it bridges, overlaps and closes the break. Sort of still stock but not quite. Repeat the process on the right side. Thanks for looking! Justin
Engine swaps are usually not my thing, but I have been enjoying seeing your creativity and progress!
I know what you mean about realizing how old our trucks have become, and my 1987 is 7 years older than I am!
I remember when I was little and a 15 year old car sounded old. Now I drive around in my nearly 33 year old truck thinking how much of an antique it will be in another 33 years!
My truck still feels new to me though, and I love it!
Thanks a lot Jake! Glad to hear I'm not the only one who sees and feels their old truck as still modern. I think its a direct testament as to how well these vehicles where engineered. While the systems have certainly advanced the basic construction hasn't change dramatically all these years later. Only 94K miles on yours huh?!? It's technically still a new truck in my world. Absolutely time does fly when you're having fun but the only problem is it going even quicker...I need to stop having so much fun. LOL
Thanks again you guys!
Justin Just finished the edge with lap jointed cap. Capture nuts in place of spot welds and couple extra added in the process. In the end I just wanted a flush surface at the firewall with no over hangs to get hooked on or bent during any future drivetrain removal or major service. Wanted any bridging feature to come away with the front end group. Just stuck with the factory layout so it was a no brainer. Once the other side was complete it was a full mock up just be sure it all still fit and lined up before I committed to fully welding it all up. May just use some self-tapers on that rear vertical run of spot welds but otherwise its on. Inside sealed and pretty much stock if you didn't know better. Once its all said and done with the motor dialed in I'll probably seam seal the entire run. Any future removal of this front end will always be an involved task but the whole point of all this trouble was for it to be an option if needed. Welding finally completed. More firewall work next. Thanks for looking! Justin
Yes, unfortunately this project sits in front of the roller door at my shop. I don't have a footprint big enough for it indoors as its already packed with other project cars and parts. Though my shop isn't huge to begin with I've come to realization that no matter how big your shop is you'll always manage to out grow it over time. This is what keeps me from buying more crap; I just don't have the room for it. LOL. Nice Runner and I like the paint scheme. My mentor had an '85 runner and I have a lot of great memories trekking through the desert with him in the late '80s. Yeah, looks freezing out your way...it was in the high '60s out west.
Finishing up the firewall Firewall in basic form. Jigsaw with airgaps yet to fill but by this time I had so much time in it I didn't care. I just wanted to move on. By this time I had finally gotten it all seams welded up and was down to just dressing the welds. Not as pretty as I'd like it to have been but I was just spent mentally by this point; its just had to be closed. Ready for coat of sealer. Didn't want the overspray mess so the epoxy was just brushed on. Onto the last hole to fill on the left side. Thanks for looking! Justin
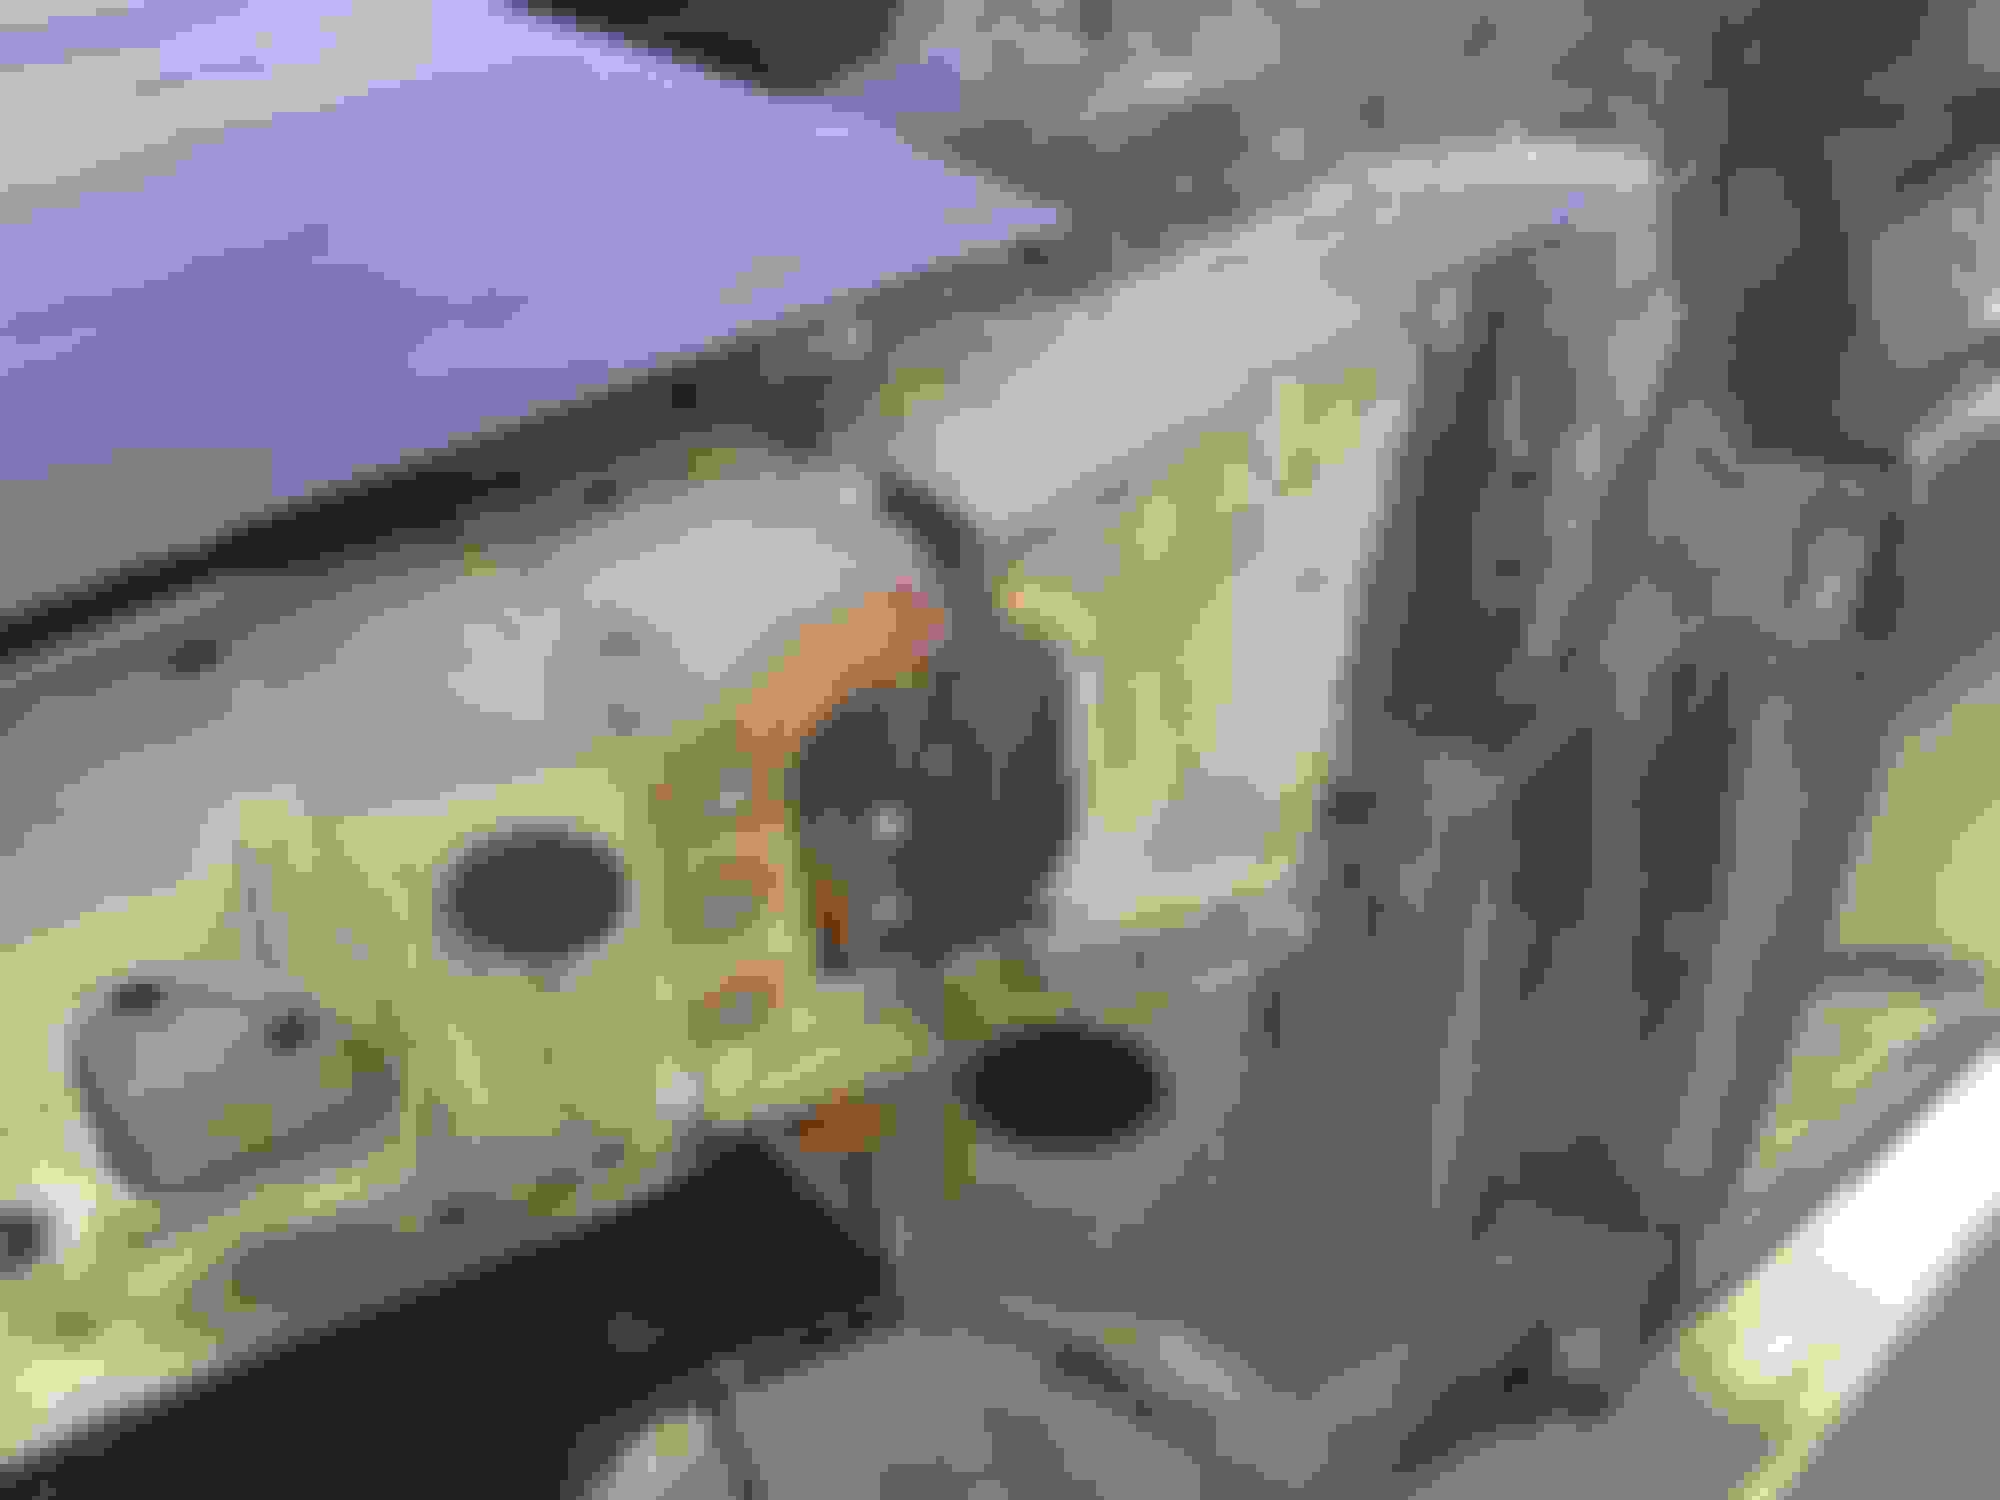
Back filling left side foot well. Started with some access holes for a socket to get at the top two bellhousing bolts. I can still get at them with the engine as a short block but once the heads and intake are on these will be too deep to get from any other angle. May never use these but just keep the option open. All but closed up now. The approach angle and shape was weird around the lower hole that I needed a second crack at it. Completed. The final shape just turns a little softer to clear the new bell housing but it pretty much stayed stock so the factory molded carpet should still fit up against it alright. Mounting the left header fully to see what will need to be altered to make it clear. Upper control arm and torsion bar will have to come off first. Thanks forlooking! Justin
Thank you!! (jbtvt) Trying to cover as many bases as I can think of but I know I'll have missed a bunch before its all over..
Thanks again! Justin
Left header fitting. With upper control arm and torsion bar out of the way its a nearly unobstructed fit...nearly.
No issues with chassis clearance. Ample space for the eventual next stage of the system. I do have a clearance issue at the bottom of the steering access plate but it will be an easier one to do. More later...
Thanks for looking!
Justin
Hey Andy, Thanks a lot but I'm just an average hobbyist with just some basic tools. Thanks for sharing that link. WOW, now that guy is amazing! The custom console was really slick and the engine compartment is street rod quality. I've noticed a lot Aussie builds reach an exceptionally high level of detail and presentation. Unfortunately I don't think mine is going to make it there but what I saw did inspire me to do better. Thanks again! Justin
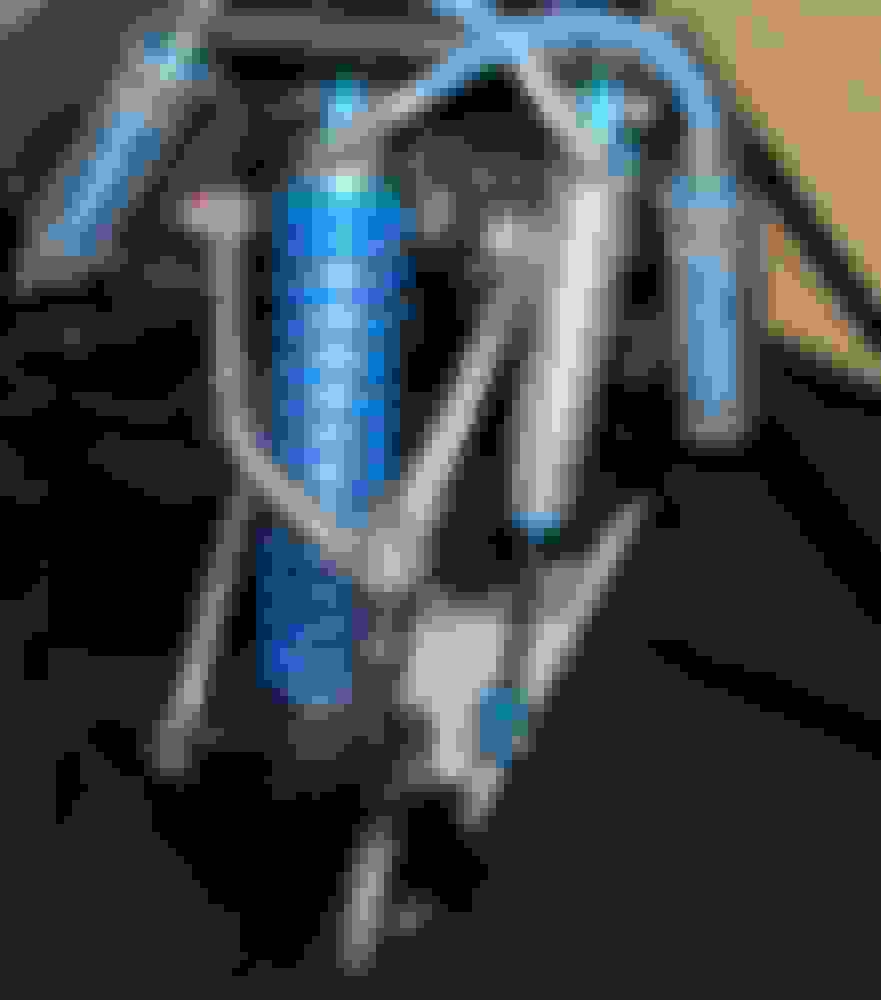
Other clearance issues: Will also have to make a supported idler shaft with a few more U-joints to snake around the header. The major problem is this header exit is completely in the way of the upper control arm and Torsion bar mounting point not even close to clearing. I've had a suspension upgrade planned for this truck for a few years but I wanted to keep it simple and just get it running first. I didn't want too many cans of worms open all at once but this issue is going to force me to go ahead and make the change over first. I've been dreaming about this LT kit by Total Chaos for a few years now. Again I wanted to wait until I had the engine at least running but doing this next will solve this issue of modifying the header. The stock suspension was eventually going anyway so I had no intention of cutting the header up to clear it. My application won't be a straight bolt-on as the kit is sold. The kit allows for the use 33 inch tires but I like my 35's and want to stay with that size. The plan is fabricate new pivot points probably an inch or two further down and a touch wider (to ensure the back pivot point clears this header). This is out of my comfort zone but I have another friend who has built off-road race cars for 30 years and I'm in process now of getting it in line to have him build the pick-up points. This is a real detour and one I was hoping to put off until the next stage but this fitment problem demands I address it next. That's the plan for now anyway. More on the fire wall next. Thanks for looking!
Justin

 02-27-2019, 12:17 AM