
1st Gen 4runner Full Top :D
 Apr 27, 2009 | 11:25 PM
#1
Thread Starter
Registered User
Joined: Jul 2007
Posts: 149
Likes: 0
From: Az
1st Gen 4runner Full Top :D
Well my friend and I have been itch'n to make a full soft top for over a year now especially after we got and fj40 top on, but we want to do something a lil more fun, like start from complete scratch  we want to make a full top thats cheap and durable. that said were not gonna worry about a steel frame or sunbrella, but rather 12oz canvas, conduit(yes conduit), and flat stock. The sides are gonna roll up safari style which is how they'll be most of time, so now worrys about vinyl windows for now. at this point we have 140 into materials, seems like alot (a bit scary even with confidence) but a hell of alot cheaper than say a 600 kayline We've studied and collected full top pics for the last year and have a pretty good idea how to build this thing. so far weve learned eyeballing works best (lol) The second we break a measuring tape crap gets messed up haha. Anyway were confident with how its gonna turn out (its actually almost done just needs some extra stitching and tension straps lol so i've kind of cheated on a build thread. Well i have a few pics my friend has the rest, Im gonna try and get them from him tomorrow but work and school might get in the way, enjoy!
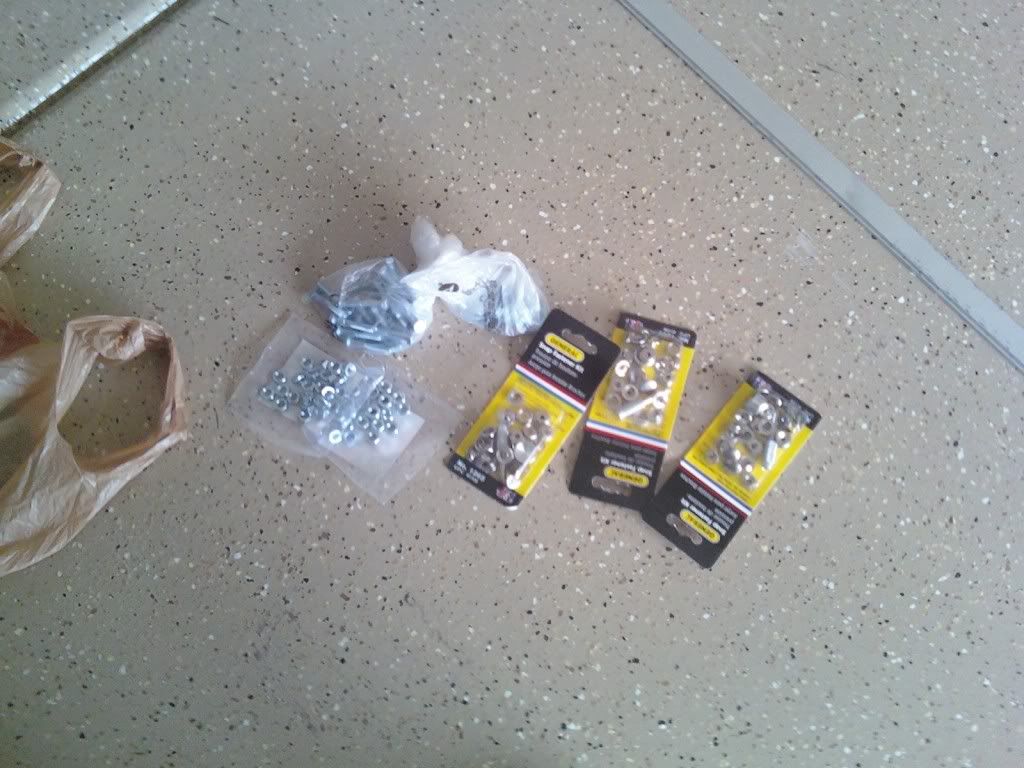
our simple build materials, thank you home depot lol.
consist of: flat stock (alum/steel), nuts and bolts, conduit, 12oz 9x12 canvas, button snaps.
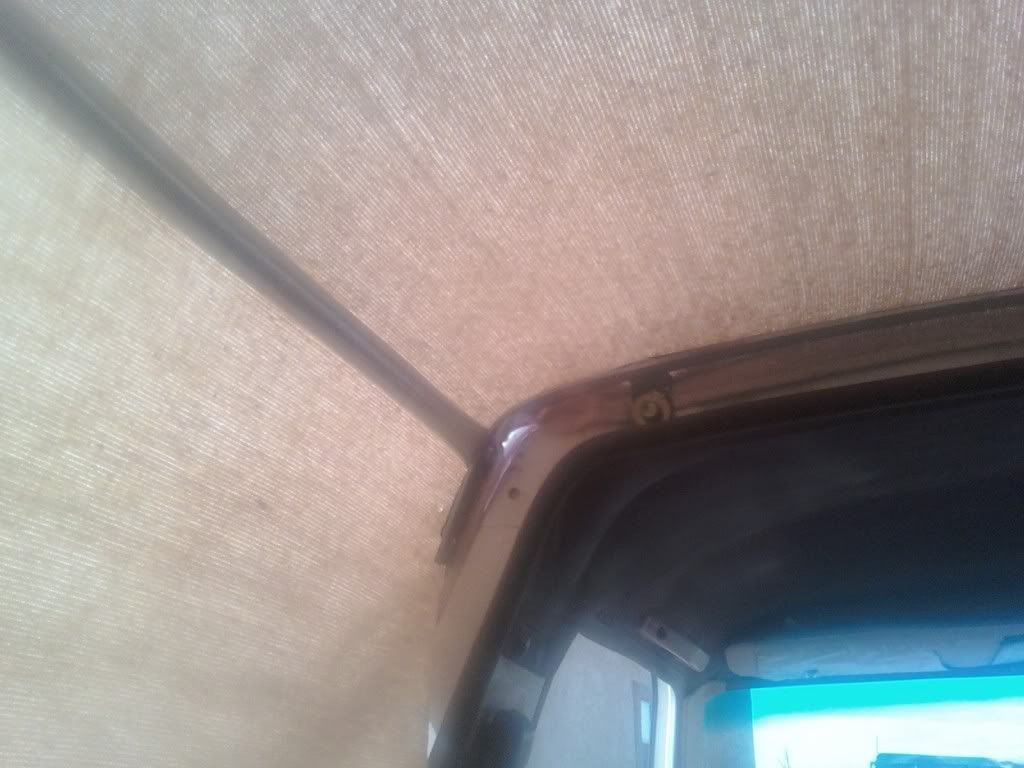
our canvas laid over the hard top to have an idea
(hell yeah for tan!)
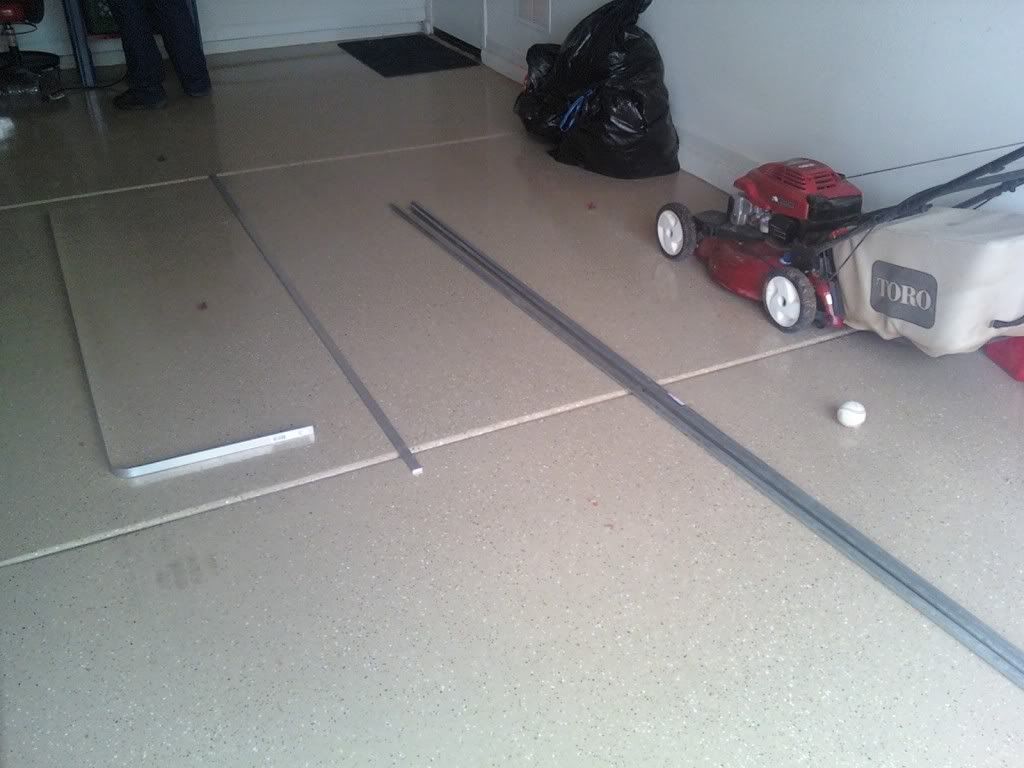
part of the frame, la de dah de dah

btw, we are pretty primitive, pretty much the entire frame was built with:
marker,measuring tape(kindof),conduit bender,conduit pipe cutter(GREAT TOOL), crescent wrench/hands, punch, hammer, and a small drill. extremely simple tools for this project
this is the crummy part. my friend has all the pics of the frame after this, i have these pics tho
(def. going to add the more pics as i get them from my friend!)
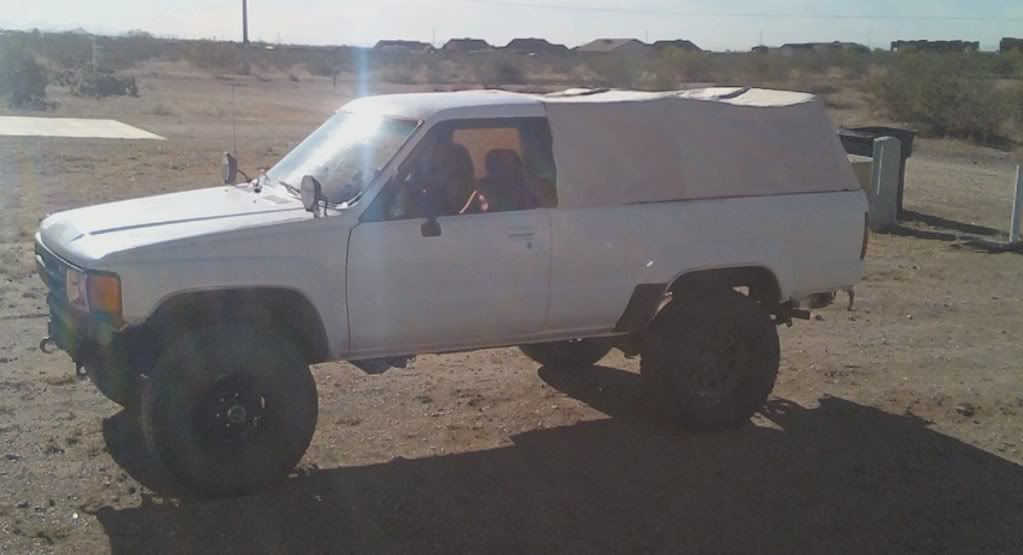
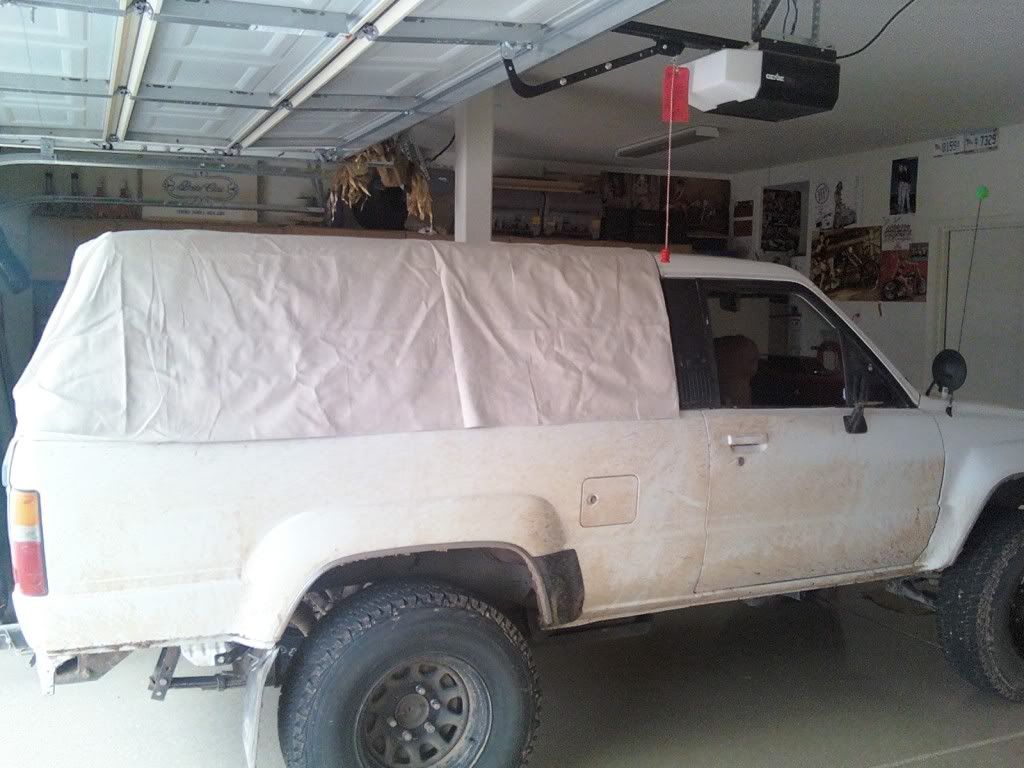
you can see some the bows we made up for the frame, the tops not pulled taunt yet, still need to sew some tension straps on and put the snaps on for the sides too.
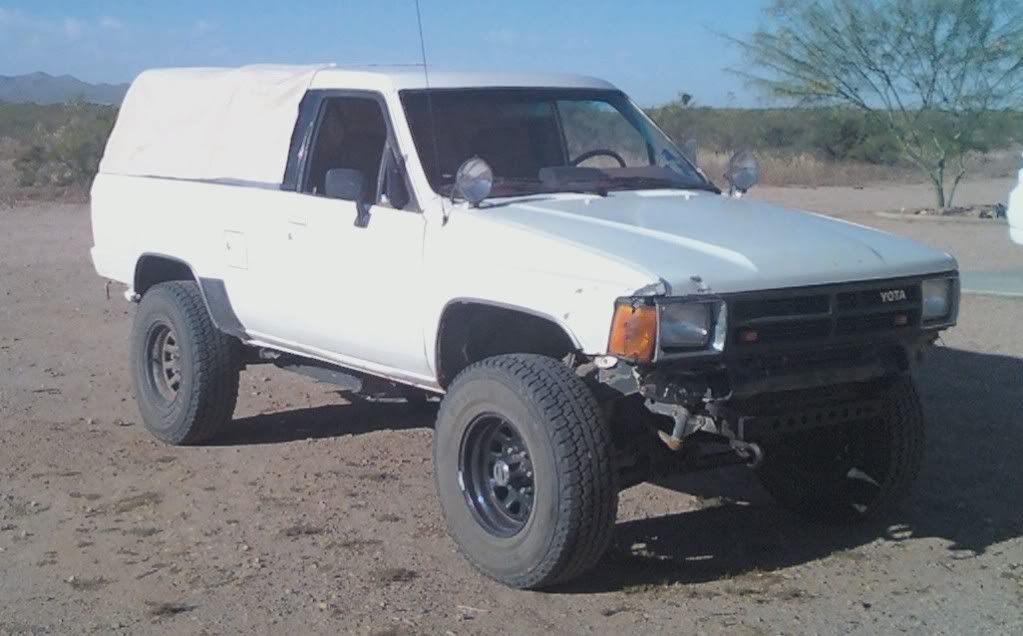
again not taunt but a better pic w/o glare.
so far were pretty happy with it
we want to make a full top thats cheap and durable. that said were not gonna worry about a steel frame or sunbrella, but rather 12oz canvas, conduit(yes conduit), and flat stock. The sides are gonna roll up safari style which is how they'll be most of time, so now worrys about vinyl windows for now. at this point we have 140 into materials, seems like alot (a bit scary even with confidence) but a hell of alot cheaper than say a 600 kayline We've studied and collected full top pics for the last year and have a pretty good idea how to build this thing. so far weve learned eyeballing works best (lol) The second we break a measuring tape crap gets messed up haha. Anyway were confident with how its gonna turn out (its actually almost done just needs some extra stitching and tension straps lol so i've kind of cheated on a build thread. Well i have a few pics my friend has the rest, Im gonna try and get them from him tomorrow but work and school might get in the way, enjoy!our simple build materials, thank you home depot lol.
consist of: flat stock (alum/steel), nuts and bolts, conduit, 12oz 9x12 canvas, button snaps.
our canvas laid over the hard top to have an idea
(hell yeah for tan!)
part of the frame, la de dah de dah
btw, we are pretty primitive, pretty much the entire frame was built with:
marker,measuring tape(kindof),conduit bender,conduit pipe cutter(GREAT TOOL), crescent wrench/hands, punch, hammer, and a small drill. extremely simple tools for this project
this is the crummy part. my friend has all the pics of the frame after this, i have these pics tho
(def. going to add the more pics as i get them from my friend!)
you can see some the bows we made up for the frame, the tops not pulled taunt yet, still need to sew some tension straps on and put the snaps on for the sides too.
again not taunt but a better pic w/o glare.
so far were pretty happy with it
Apr 28, 2009 | 06:22 AM
#2
Registered User
Joined: Apr 2007
Posts: 1,458
Likes: 5
From: ATL!
nice work fellas! i recommend things called "common sense snaps" for the attachment to the rails. http://www.beaconfabric.com/vindex.html?cat74.htm
these things are easier to attach than regular snaps when the canvas shrinks from temperature change. i f@#$% hate trying to snap my canback down after its been rolled up a few days.
these things are easier to attach than regular snaps when the canvas shrinks from temperature change. i f@#$% hate trying to snap my canback down after its been rolled up a few days.
Apr 29, 2009 | 01:34 PM
#3
Thread Starter
Registered User
Joined: Jul 2007
Posts: 149
Likes: 0
From: Az
few more pics
got a few more crummy cell pics
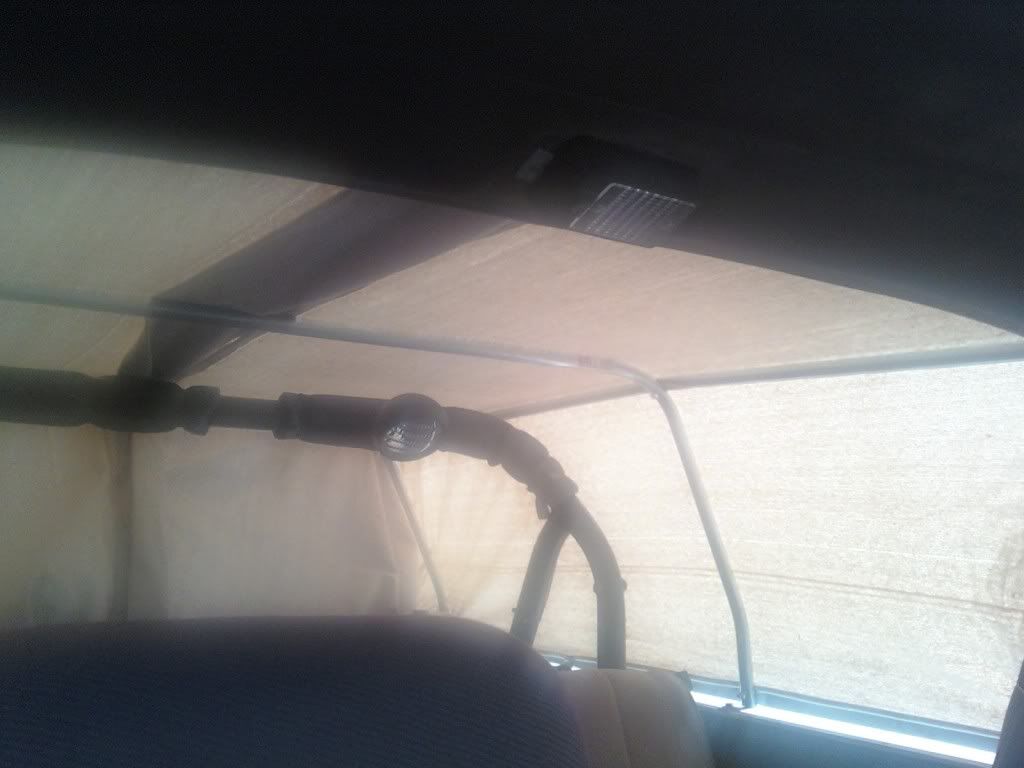
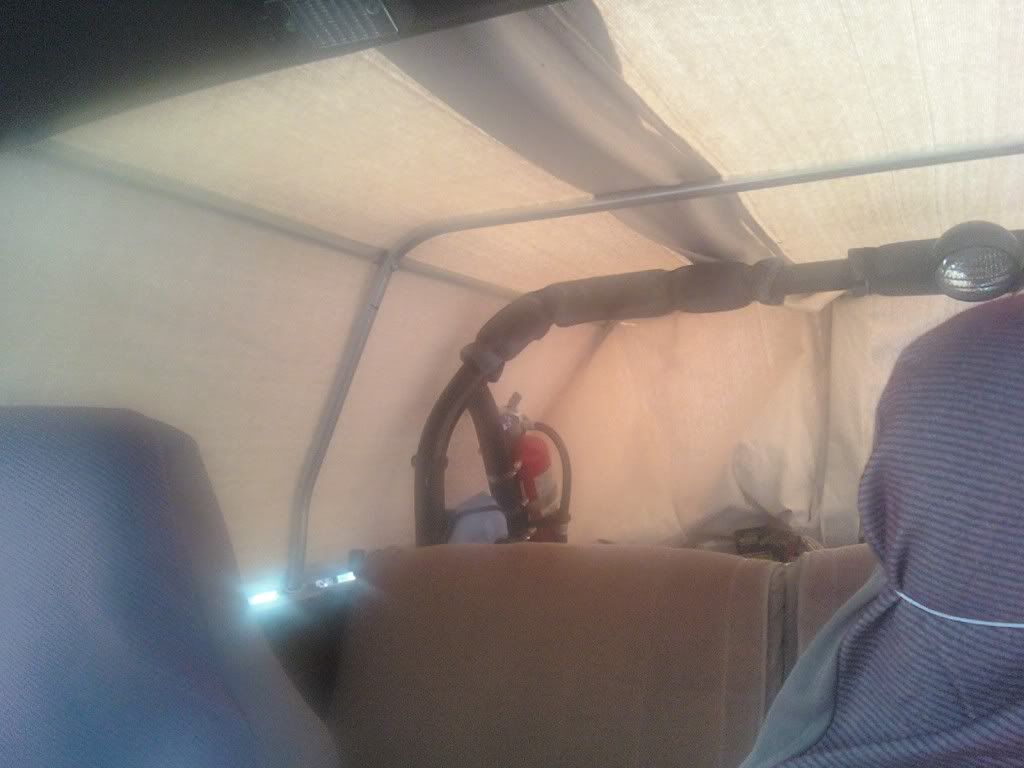
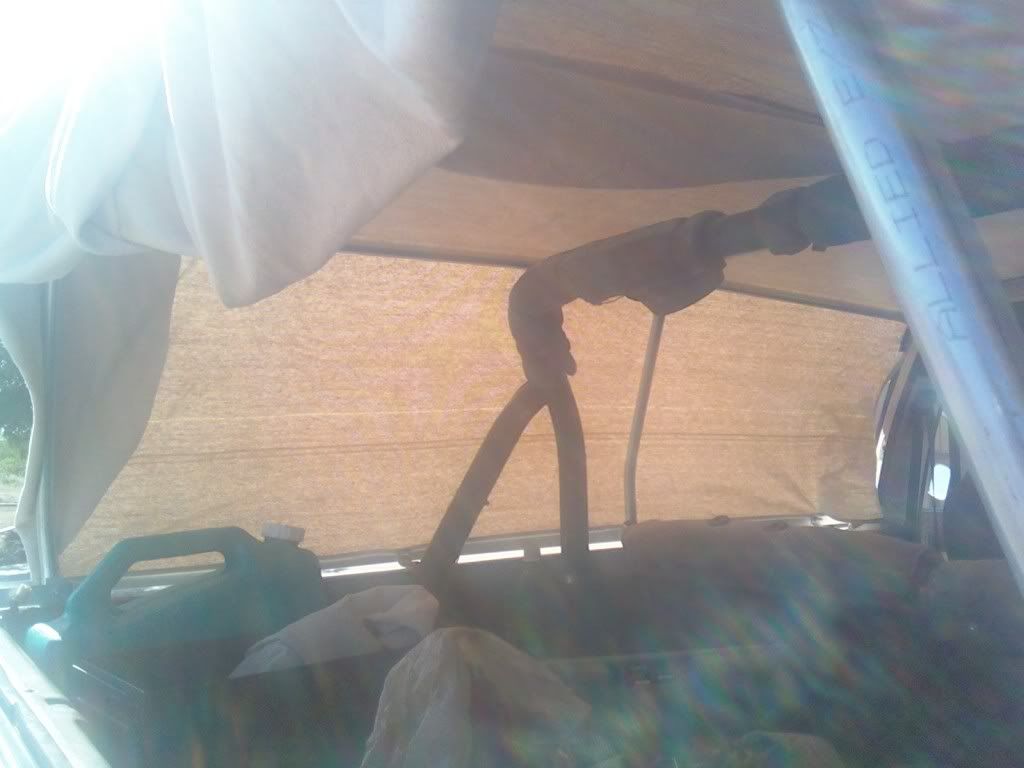
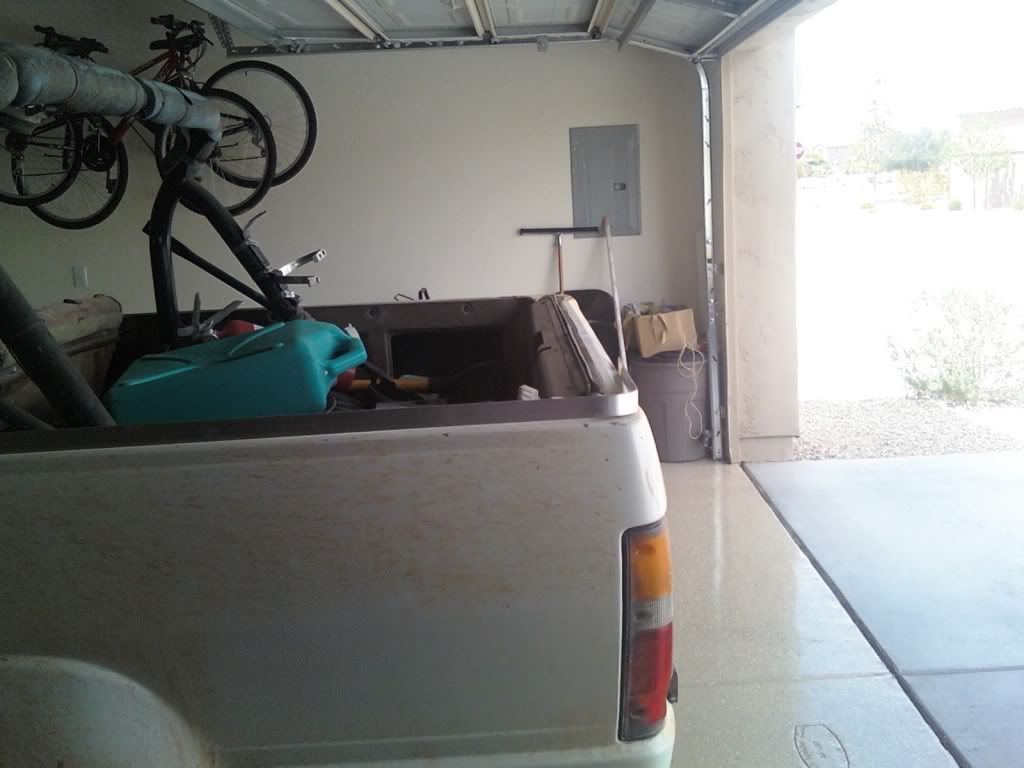
the frame is pretty simple, two conduit bows in mid an rear, to conduit braces from front to rear on the sides near the bends of the bows. flat stick bent into shape of bow mounted to the cab with some bent up L brackets. the rest of the frame is held down with L brackets that bolt into factory hardtop holes.
the frame is pretty simple, two conduit bows in mid an rear, to conduit braces from front to rear on the sides near the bends of the bows. flat stick bent into shape of bow mounted to the cab with some bent up L brackets. the rest of the frame is held down with L brackets that bolt into factory hardtop holes.
Apr 29, 2009 | 02:07 PM
#4
Registered User
Joined: Mar 2008
Posts: 4,371
Likes: 6
From: Texas
Can you take pictures of the framework without the canvas on it? I ask because I've finally saved the almost 1000$ for a Killer Toy Top but would rather build my own and put that money into a lift/more armor/and a front locker.
Great work!!!!
Great work!!!!
Apr 29, 2009 | 11:43 PM
#5
Thread Starter
Registered User
Joined: Jul 2007
Posts: 149
Likes: 0
From: Az
definately, i have to take it off tomorrow to get the stitching done for the snaps and tension straps anyway tomorrow
yeah if i had the money i would get a KTT, and there site is what actually made me say
last yr with my friend "hey! we can do that!" lol.
yeah i wanted the top done for summer, im getting a new muffler tomorrow, maybe some
matching gears to!!! then i want an aussie
yeah if i had the money i would get a KTT, and there site is what actually made me say
last yr with my friend "hey! we can do that!" lol.
yeah i wanted the top done for summer, im getting a new muffler tomorrow, maybe some
matching gears to!!! then i want an aussie
Apr 30, 2009 | 07:03 AM
#6

Registered User
Joined: Oct 2007
Posts: 632
Likes: 0
From: Lexington, SC
VEry nice. I am going to do the same soon. I have the material, i just need to make the bows and get to it. Do you have any more pics of the attachment to the cab? I am gonig to use angle on the bed sides and weld the conduit to it and snap the top on to the outside flat of the angle iron. How did you decide on the bends for the bows? Do you have any measurements for the bows?
May 1, 2009 | 08:17 PM
#7
Registered User

Joined: Mar 2008
Posts: 190
Likes: 0
From: Fremont, CA
I'm gonna try something like this soon with my 87 pickup. Also curious about what length conduit did you use for the bows and the supports? awesome job btw
Last edited by tumor21; May 1, 2009 at 08:20 PM.
Trending Topics
May 4, 2009 | 07:57 PM
#9
Contributing Member
Joined: Dec 2008
Posts: 2,505
Likes: 16
From: San Jose ,Ca
Great Job , I like it , I like the floor in the garage also.
Pictures more pictures !!!!!!
I think I will try this out myself .
Can you provide a more detailed list of what you used , and some more info on the legth of the conduit .
Just to make it even easier than you made it seem.
Pictures more pictures !!!!!!
I think I will try this out myself .
Can you provide a more detailed list of what you used , and some more info on the legth of the conduit .
Just to make it even easier than you made it seem.
May 5, 2009 | 06:16 AM
#10
Thread Starter
Registered User
Joined: Jul 2007
Posts: 149
Likes: 0
From: Az
hell yeah its a drop cloth! lol
i went with it cause it was 20 bucks and the nearest army surplus store is a good hour away.
well i started out with 4 8ft pieces of 3/4 conduit and i bought 3 8ft pieces of flat alum stick to make the sides and cab bow, i bought bought also a 8ft piece of flat steel.
my friend and i set the two piecs of 8ft alum stick on the sides (where the top will snap onto) pretty much layed it next to the hard top to copy the bend shape, then bent it back and made and "L" to connect it to make a loop. this pic will help make sense lol.


after that we made all the "L" brackets that attach it to the body of the truck using the 8ft piece of flat steel, and bolted it to the factory hardtop bolts.

(of course the "L" bracket i took a picture of is the crummiest looking L you'll ever see in your life, all the others are actual "L"s lol)
next we bent up the last piece of 8ft alum stick, we pretty much had the top sitting of the ground about a foot, took the alum stick layed it across the top and pressed it to the outside shape of the hard top, then we pulled it off cut of the excess and bent it a tad more to get a closer to the inside shape of the top

(i havent made all the "L" brackets that attach this bow to the cab yet, so in all these pics you'll see an old bow my friend and i made for the fj top we had)
after that be bent up the two conduit bows, honestly this is where we eyeballed the most, we tried to use the conduit bender and measuring tape and ended up screwing that pipe up lol. We got it right by pretty much laying the pipe down next to the alum cab bow and eyeball copied the shape. (ill take measurements but i cant find the measuring tape, so i have to borrow my friends today) drilled a hole throught the bottoms and bolted the bows to the sides of the frame we made before.


with that done we took the two other pieces of 8ft conduit and layed them on the top of the frame to make it ridgid


now for something round to sit like in the pictures on something else round you need to make one of them flat, we achieved this with a special tool, the special tool part number is #K73445 aka a hammer (that was a vw joke my friend and i have all the time if youre a bit puzzled)
anyway prettymuch lay the pipe down mark the spots on the two pipes where they would lay on the bows, take your hammer an not pound on em but flatten them enough to allow the pipe to lay across the bows then just bolt em to the bows
then you attach these pieces to the cab bow, i flattened out the ends also to bolt it to the bow

again an old bow we used i have to make two more "L" brackets for the Full bow that runs down to the bottom and attaches to the bottom part of the frame.
ill wait to post about the actual soft top when im done with it, finishing the full bow to day and hopefully the snaps for it, and ill try to get measurement of the bows for you guys when i get ahold of the measuring tape
i went with it cause it was 20 bucks and the nearest army surplus store is a good hour away.
well i started out with 4 8ft pieces of 3/4 conduit and i bought 3 8ft pieces of flat alum stick to make the sides and cab bow, i bought bought also a 8ft piece of flat steel.
my friend and i set the two piecs of 8ft alum stick on the sides (where the top will snap onto) pretty much layed it next to the hard top to copy the bend shape, then bent it back and made and "L" to connect it to make a loop. this pic will help make sense lol.
after that we made all the "L" brackets that attach it to the body of the truck using the 8ft piece of flat steel, and bolted it to the factory hardtop bolts.
(of course the "L" bracket i took a picture of is the crummiest looking L you'll ever see in your life, all the others are actual "L"s lol)
next we bent up the last piece of 8ft alum stick, we pretty much had the top sitting of the ground about a foot, took the alum stick layed it across the top and pressed it to the outside shape of the hard top, then we pulled it off cut of the excess and bent it a tad more to get a closer to the inside shape of the top
(i havent made all the "L" brackets that attach this bow to the cab yet, so in all these pics you'll see an old bow my friend and i made for the fj top we had)
after that be bent up the two conduit bows, honestly this is where we eyeballed the most, we tried to use the conduit bender and measuring tape and ended up screwing that pipe up lol. We got it right by pretty much laying the pipe down next to the alum cab bow and eyeball copied the shape. (ill take measurements but i cant find the measuring tape, so i have to borrow my friends today) drilled a hole throught the bottoms and bolted the bows to the sides of the frame we made before.
with that done we took the two other pieces of 8ft conduit and layed them on the top of the frame to make it ridgid
now for something round to sit like in the pictures on something else round you need to make one of them flat, we achieved this with a special tool, the special tool part number is #K73445 aka a hammer
(that was a vw joke my friend and i have all the time if youre a bit puzzled)anyway prettymuch lay the pipe down mark the spots on the two pipes where they would lay on the bows, take your hammer an not pound on em but flatten them enough to allow the pipe to lay across the bows
then just bolt em to the bowsthen you attach these pieces to the cab bow, i flattened out the ends also to bolt it to the bow
again an old bow we used i have to make two more "L" brackets for the Full bow that runs down to the bottom and attaches to the bottom part of the frame.
ill wait to post about the actual soft top when im done with it, finishing the full bow to day and hopefully the snaps for it, and ill try to get measurement of the bows for you guys when i get ahold of the measuring tape
Mar 10, 2010 | 11:22 AM
#14
Registered User
Joined: Apr 2006
Posts: 184
Likes: 0
From: Houston, TX
Is this an old thread? I don't know how to look. Sweet top! You guys did a great job. Anyway...check out mine. I just finished it. No rear panel yet, but it's got roll-up windowed side flaps.
https://www.yotatech.com/forums/f88/...l#post51387563
https://www.yotatech.com/forums/f88/...l#post51387563
Last edited by marty4runner; Mar 10, 2010 at 11:23 AM.

Thread
Thread Starter
Forum
Replies
Last Post
RedRunner_87
95.5-2004 Tacomas & 96-2002 4Runners (Build-Up Section)
84
Jun 1, 2021 01:51 PM
Steezy96yota
86-95 Trucks & 4Runners (Build-Up Section)
1
Jul 6, 2015 10:00 AM


