
1990 4runner chop and bob.
 Mar 3, 2008 | 06:56 PM
#41
Thread Starter
Registered User
Joined: Jan 2007
Posts: 396
Likes: 0
From: Lewiston Idaho
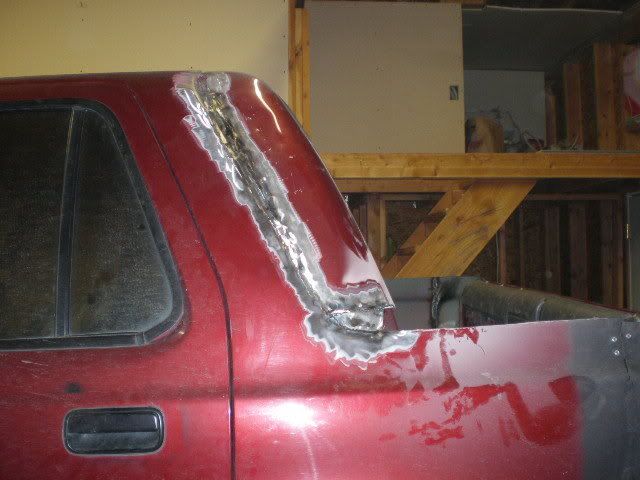
Trail-gear sas swap purcased woohoo. Now i have to finish and do that lol. I dident cut my top like theirs because i wanted the window more streight up and down. Iam going to do the removable glass.
Mar 3, 2008 | 06:57 PM
#42
Contributing Member
Joined: Jun 2005
Posts: 3,415
Likes: 10
From: Phx, AZ
Well... the 1st Gen are fiberglass, and designed to be handled. I think you'd find the 2nd and 3rd Gen tops to be substantially heavier.
Not that it can't be done. Maybe some sort of hoist system you park under?
Not that it can't be done. Maybe some sort of hoist system you park under?
Mar 3, 2008 | 07:25 PM
#44
Contributing Member
Joined: Jun 2005
Posts: 3,415
Likes: 10
From: Phx, AZ
I am sure you have seen this section... but just in case:
https://www.yotatech.com/forums/f152/
I did a SAS. Maybe a bit harder than your current project, but mostly because all the metal you are going to be cutting through is thicker and can be harder to get to.
I did it all with a grinder and SawZall. If you have a torch or plasma your life will be much easier.
Most difficult part can be making the rear shackle holes through the frame. There is internal webbing that makes for 3 walls you have to get through. Can be a pain.
 very hard
  Mar 4, 2008 | 11:09 AM
#49
Registered User
Joined: Jun 2004
Posts: 2,906
Likes: 2
From: Woodinville, wa
Mar 4, 2008 | 04:12 PM
#51
Registered User
Joined: Jan 2008
Posts: 296
Likes: 0
From: Monterey, California
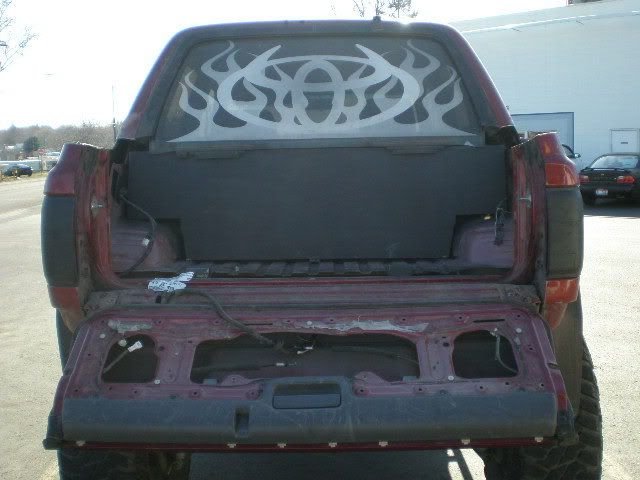
Don't forget to take pictures please, I am Very interested in this  I am looking at the full assembly for a taco rear window as we speak. I want to build a full wall in the back and then redo the interior so it all matches.
I am looking at the full assembly for a taco rear window as we speak. I want to build a full wall in the back and then redo the interior so it all matches.
Mar 5, 2008 | 02:07 AM
#52
Thread Starter
Registered User
Joined: Jan 2007
Posts: 396
Likes: 0
From: Lewiston Idaho
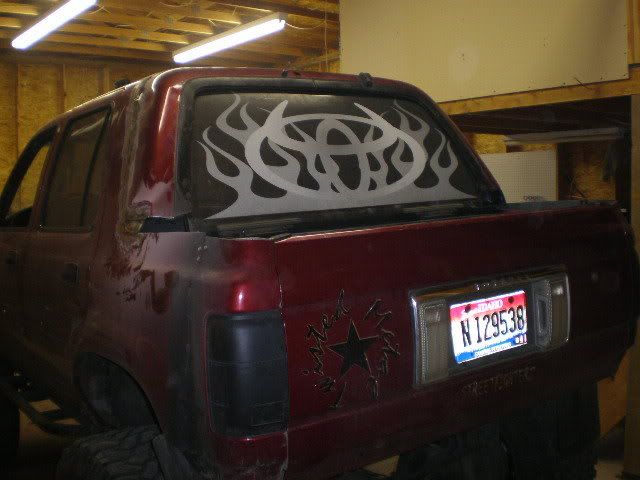
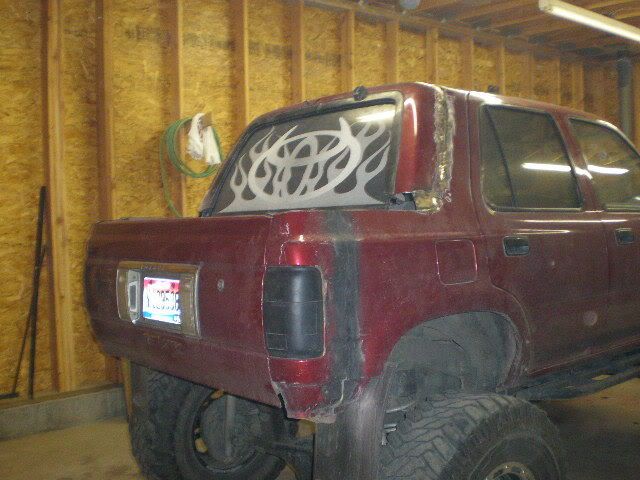
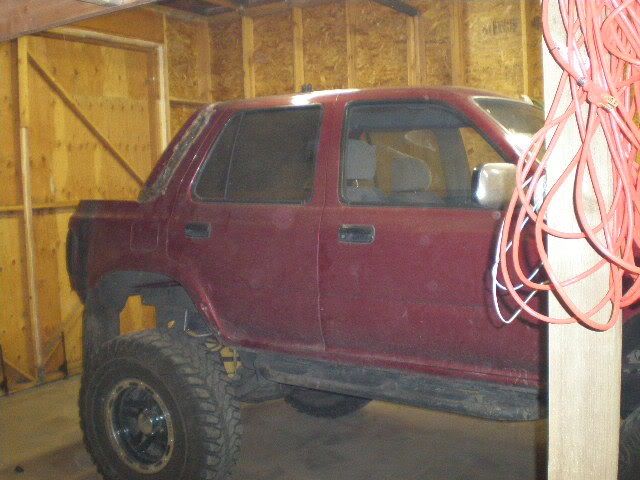
I just got home and its 3:06 Am i completed the window and some welding. All in all it is tons of work but it was very gratifying to drive it and it was quieter inside than ever with a thrown up sheet metal wall LOL. I will post pics in the morning.
Last edited by run4her; Mar 5, 2008 at 02:08 AM.

 Mar 5, 2008 | 09:51 AM
#54
Contributing Member
Joined: Jun 2005
Posts: 3,415
Likes: 10
From: Phx, AZ
Looks like it's coming along. Must be nice to be getting things back together.
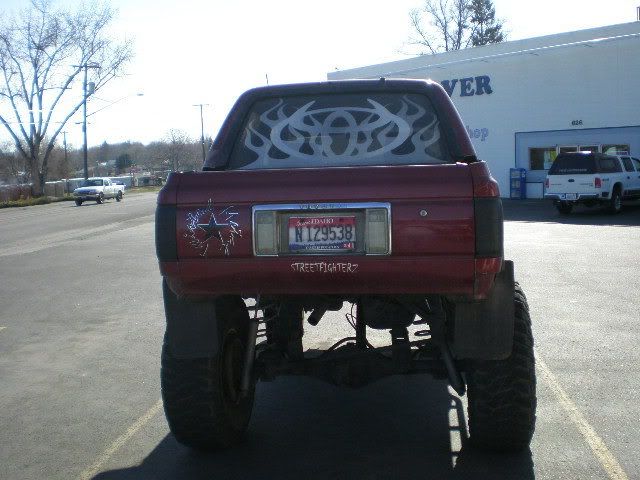
In regards to this gap:
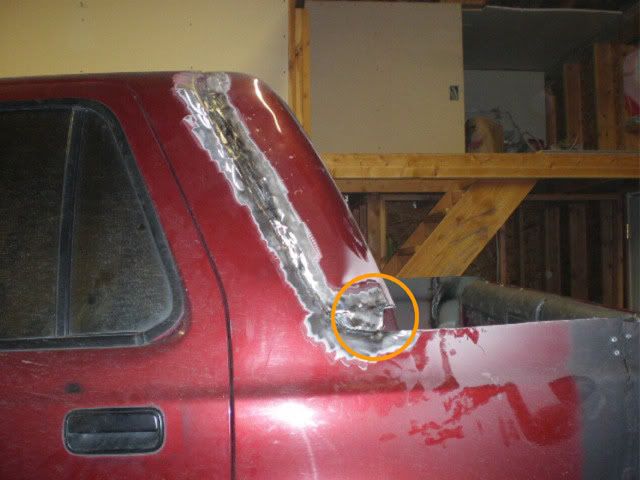
Do you think this could be avoided if you cut the back differently, or is there just two much of a height difference between the very back of the cab and just behind the rear doors.
When I chop mine, I am trying to figure out where to cut so I'll have a chance splicing it back together. I may end up just moving the original window as you did. Looks good.
In regards to this gap:
Do you think this could be avoided if you cut the back differently, or is there just two much of a height difference between the very back of the cab and just behind the rear doors.
When I chop mine, I am trying to figure out where to cut so I'll have a chance splicing it back together. I may end up just moving the original window as you did. Looks good.
Mar 5, 2008 | 09:56 AM
#55
Thread Starter
Registered User
Joined: Jan 2007
Posts: 396
Likes: 0
From: Lewiston Idaho
I think when i put in the bed caps i got of a 3d gen pickup it should mesh into that gap smooth. I dont know if u could avoid it but it would be worth a try. If i could do it again i would have thought it all out before i started cutting. LOL
Mar 5, 2008 | 10:00 AM
#56
Contributing Member
Joined: Jun 2005
Posts: 3,415
Likes: 10
From: Phx, AZ

The 3rd gen cap idea is a good one. Should clean up the edge nicely and fill the gap. Are you bed sides really flimsy right now? If you removed the tailgate, would they fold in easy pushed against a rock?
What machine are you using to weld all this back together? Will you bondo to smooth it all out and then paint... or just leave as is and fill with mud from the trail?
 Mar 5, 2008 | 10:52 AM
#57
Thread Starter
Registered User
Joined: Jan 2007
Posts: 396
Likes: 0
From: Lewiston Idaho
The bed sides are super flimsy. I will be filling it with bondo then painting it and i may print out some cool graphic on vinyl for it. I own a vinyl graphic shop so that helps lol.
Mar 30, 2008 | 08:33 PM
#59

Registered User
Joined: Mar 2004
Posts: 217
Likes: 0
I told myself Id never post here but I guess Ill give some insight.
The top without the hatch is very light, I would guess about 1/4 of what a 1st gen top weighs. Yes I did drop it off the forklift but I did fix it. I honestly just didnt feel like messing with it anymore so it got a window in the back. Its polycarbonate and fully sealed, takes about a minute to pull and lay behind the seat.
I was gonna give the roll down glass a try but the coilovers are going there along with the air compressor and now the fuel cell.
Here she is as of now.


