
I have to say i was a little intimidated by all the litte complex workings and intricate system of parts, but once i got in there it really wasnt that bad, it was actually quite simple and easy.
I'll start with a parts and tools list
Parts/Supplies:
-Carb rebuild kit
-A few cans of carb cleaner
-Bucket of solvent to soak parts in
-Lots of rags
Tools:
-Lots of screwdrivers preferably a bit driver with an assortment of bits as well
-Sockets and open end wrenches
-Needle nose pliers
-Assortment of brushes
To start things off go here and download the fsm.
http://www.truckporn.com/tech/fsm/toyota/1985fsm.zip
This is for 84 and 85's you may have to searh a bit for earlier fsm's.
Print off the carburetor section (Pg. 246-270)
It will tell you how to do a complete teardown, inspection, assembly, and tuning. By far the best helper you will have during the rebuild.
Mark your vacuum lines well if you dont know the vacuum system.
Before you start in i should tell you that most jets and screws in the carb are soft and fragile, make sure you dont strip anything out (its easy to do)
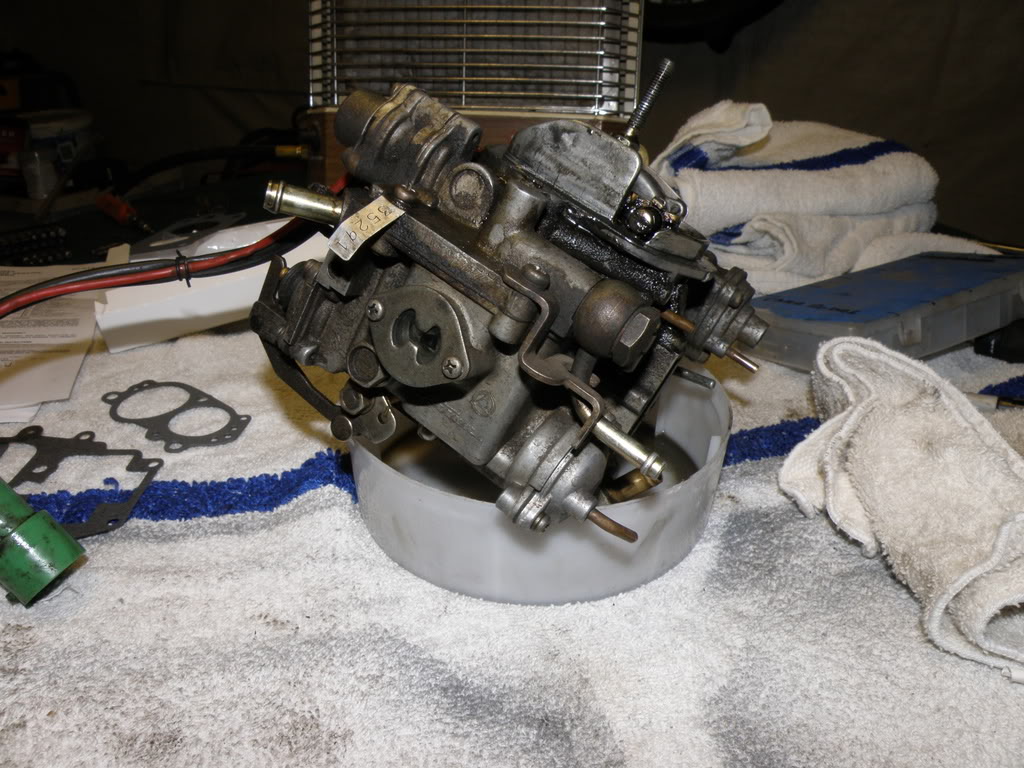
I put the carb in the top of a bondo can to catch all of the crap and carb cleaner that came off so i could keep a clean work surface, then you can just dump it out periodically
I found it helpful to take pictures of how stuff comes apart JUST in case.
|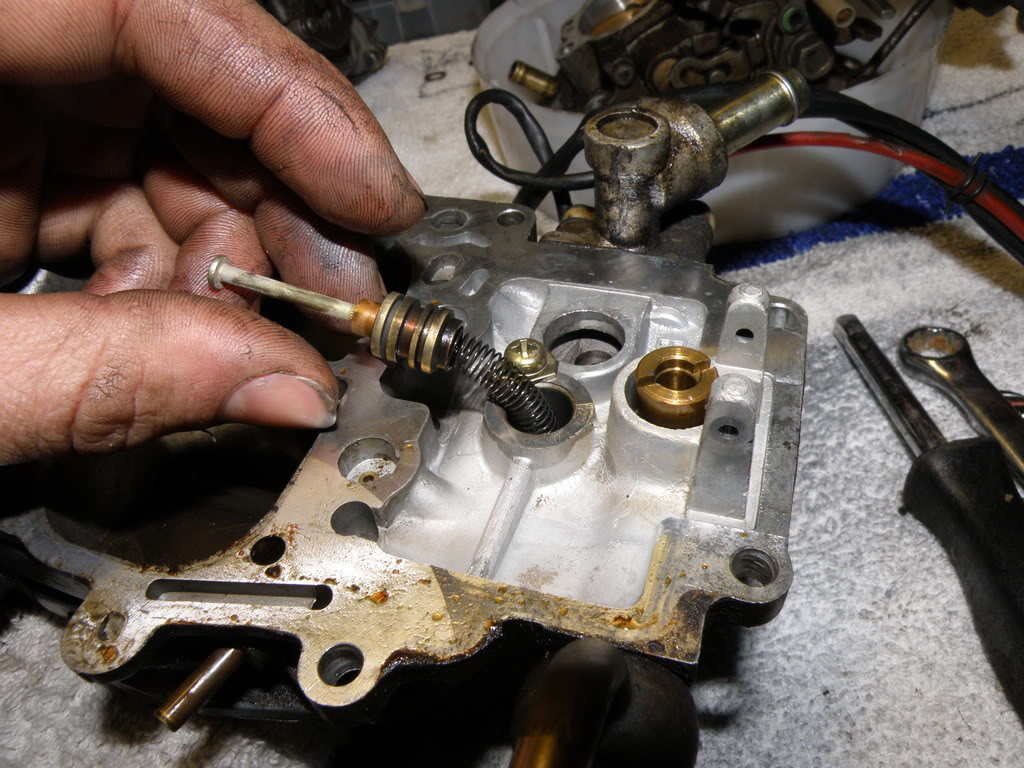
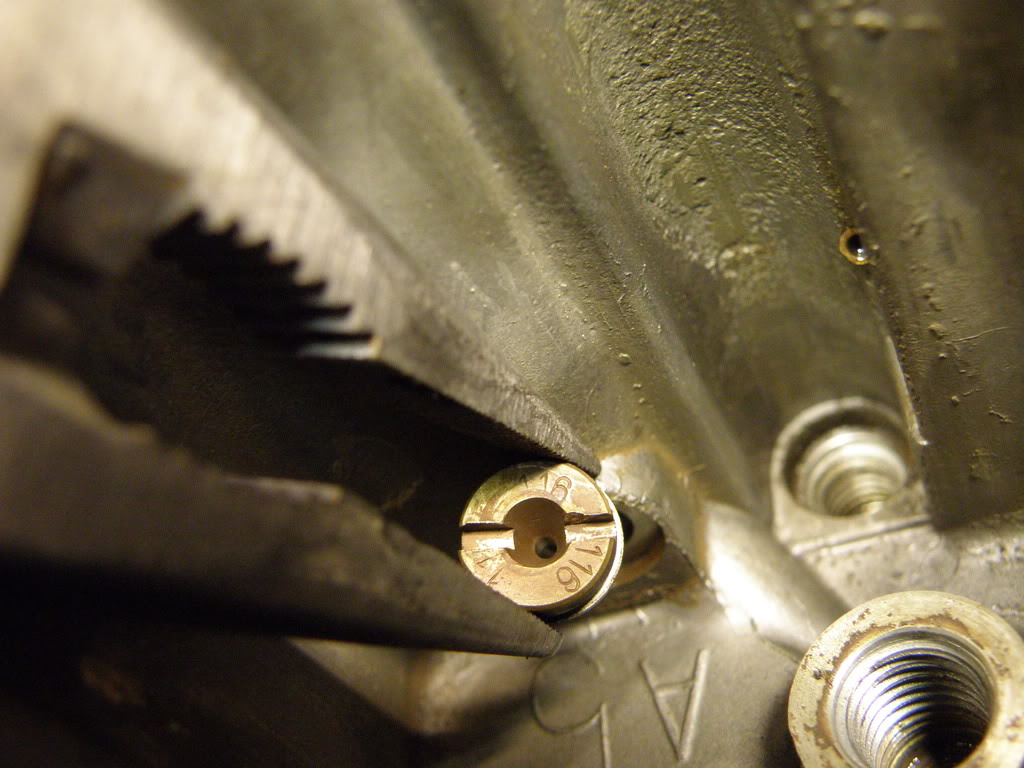
Take pics of the jets as they come out, some of them look very alike
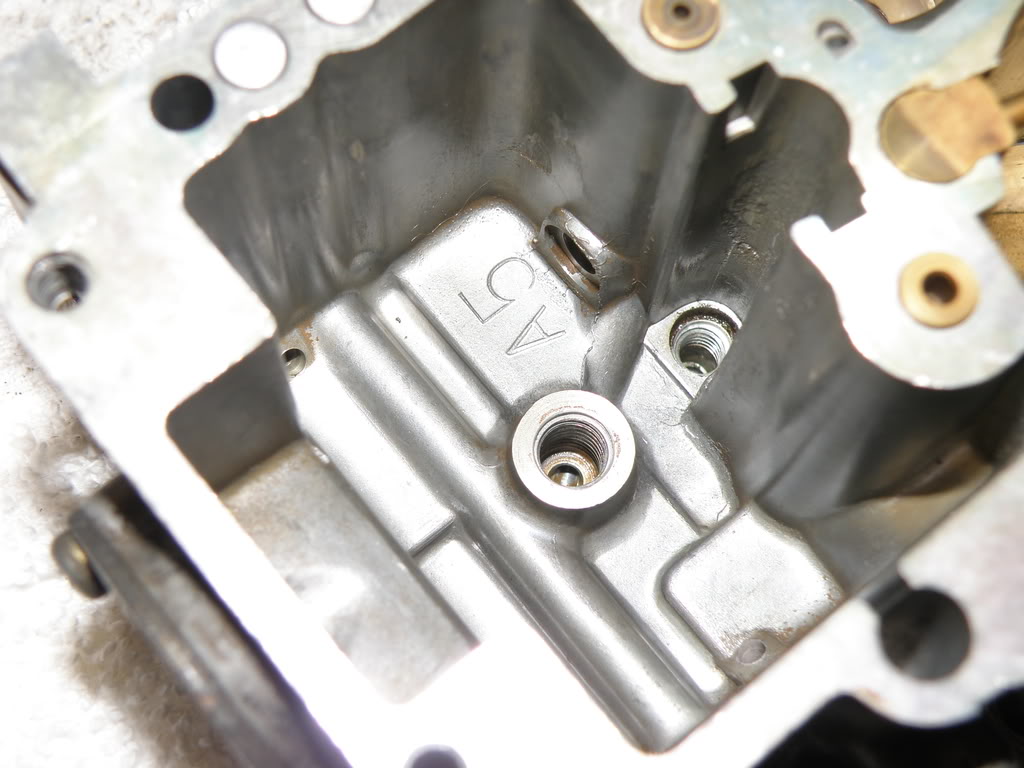
Make sure she's all nice and purdy
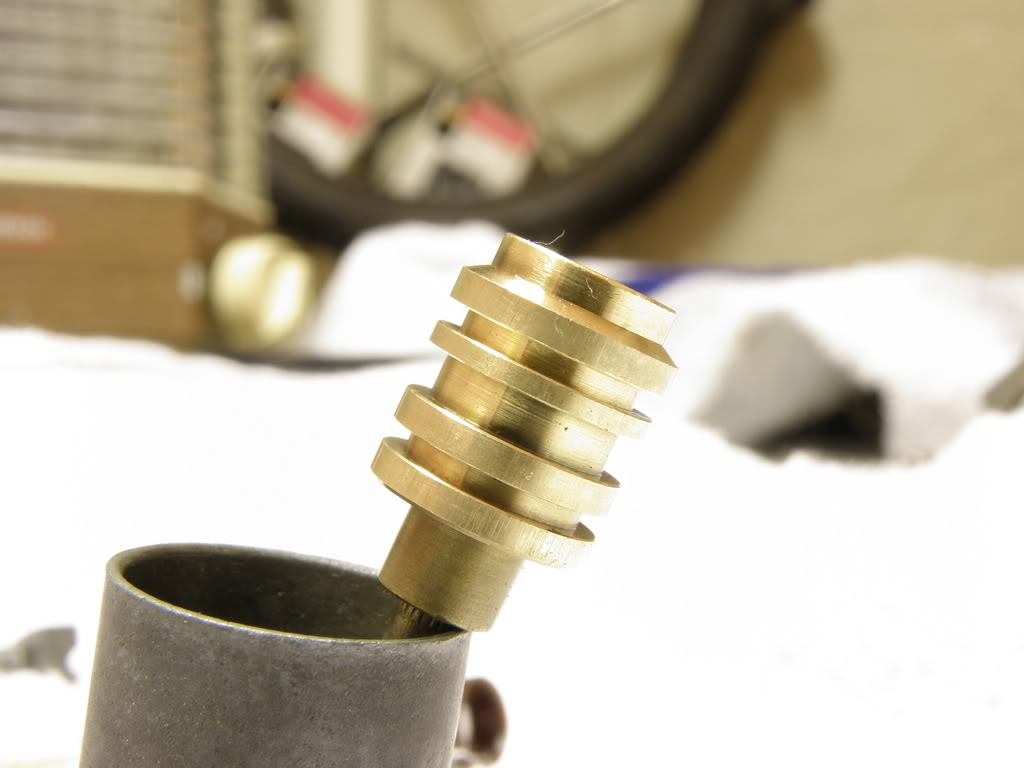
Best way to do it is to soak the jets and screws in solvent overnight they come out in amazing shape
And do the step by step reassembly in the fsm and youl be good to go.
I am blown away by the improvement its way more responsive, idles way better, runs better on warmup, and should get better gas mileage (havent checked yet) overall it has a brand new, real clean feel its like a whole new truck.
I'll start with a parts and tools list
Parts/Supplies:
-Carb rebuild kit
-A few cans of carb cleaner
-Bucket of solvent to soak parts in
-Lots of rags
Tools:
-Lots of screwdrivers preferably a bit driver with an assortment of bits as well
-Sockets and open end wrenches
-Needle nose pliers
-Assortment of brushes
To start things off go here and download the fsm.
http://www.truckporn.com/tech/fsm/toyota/1985fsm.zip
This is for 84 and 85's you may have to searh a bit for earlier fsm's.
Print off the carburetor section (Pg. 246-270)
It will tell you how to do a complete teardown, inspection, assembly, and tuning. By far the best helper you will have during the rebuild.
Mark your vacuum lines well if you dont know the vacuum system.
Before you start in i should tell you that most jets and screws in the carb are soft and fragile, make sure you dont strip anything out (its easy to do)
I put the carb in the top of a bondo can to catch all of the crap and carb cleaner that came off so i could keep a clean work surface, then you can just dump it out periodically
I found it helpful to take pictures of how stuff comes apart JUST in case.
|
Take pics of the jets as they come out, some of them look very alike
Make sure she's all nice and purdy
Best way to do it is to soak the jets and screws in solvent overnight they come out in amazing shape
And do the step by step reassembly in the fsm and youl be good to go.
I am blown away by the improvement its way more responsive, idles way better, runs better on warmup, and should get better gas mileage (havent checked yet) overall it has a brand new, real clean feel its like a whole new truck.
Registered User
nice..
im selling my 94 next week and purchasing a 82 with a 22r.. im going to rebuild the carb first thing.. origianlly thought it was much more involved... thanks for the thread!
im selling my 94 next week and purchasing a 82 with a 22r.. im going to rebuild the carb first thing.. origianlly thought it was much more involved... thanks for the thread!
good choice  i just got a dedicated sfa trail rig as well its great.
i just got a dedicated sfa trail rig as well its great.Registered User
yeah i actually might put it on the road for next winter.. just hate seeing my hilux get all salty...it pains me

NICE write up!
I have been debating on doing my friends 85 carb. Looks pretty straightforward.
Do you have a link to the carb kit you bought???
thanks
I have been debating on doing my friends 85 carb. Looks pretty straightforward.
Do you have a link to the carb kit you bought???
thanks
Quote:
I have been debating on doing my friends 85 carb. Looks pretty straightforward.
Do you have a link to the carb kit you bought???
thanks
It was NAPA brand i just bought it locally for 50 bucks i think its normally 68Originally Posted by toyospearo
NICE write up!I have been debating on doing my friends 85 carb. Looks pretty straightforward.
Do you have a link to the carb kit you bought???
thanks
Quote:
yeah thanks for yer help. hows that solenoid?Originally Posted by drew303
Good job Alex! Good to hear its running good now =)
Registered User
Quote:
Good pics. Thanks for easing our fears. I've never done a carb before either. Originally Posted by zlathim
Your camera takes good close up photos.
Sounds like you impressed yourself in getting it done. (Not meant to be a putdown)
Registered User
The carb comes apart in three sections, as long as you pay attention it's actually not very hard to do at all. I had the oppertunity to have the help of my auto teacher after school freshman year.
I was contemplating on doing a writeup on this same topic, now I don't have to
Just curious, did you take the plug out so you can adjust the air/fuel mixture?
I was contemplating on doing a writeup on this same topic, now I don't have to
Just curious, did you take the plug out so you can adjust the air/fuel mixture?
Registered User
algranger, when you reassembled the choke heater/coil, did you have to align it? Which sping does the tang get hooked on?

Registered User
I think I'm in trouble here. Couldn't find a way to remove check balls from the auxiliary accelerator pump on this same carb from an 85 22R. They are visible through the holes in the diaphram areas of the AP and AAP sides, but there is no obvious way to remove them.
In trying to push the brass piece up through the hollow on the auxiliary pump side of the carb through the hole where the ball is visible, the end of the brass tube that I think the ball seats against broke off, and I still don't have a way to remove anything.
In hours of extensive searching, I can't find anything regarding how to replace these check balls, despite the carb rebuild kits having them included. Does everyone ignore these?
Registered User
I did just that, ignore them. I could not figure how to possibly remove them. I did a write on car rebuild.
Registered User
Did you actually break off the end of that little brass tube inside the hole before you ignored them? I sure wish I did!
Nice build, by the way--but didn't see anything referring to engine work--but man that's a cool engine paint job!
Nice build, by the way--but didn't see anything referring to engine work--but man that's a cool engine paint job!
Registered User
Nope, i just didnt bother. They moved freely and from what i could see they looked fine.
Thanks, its been a long project. Yeah, the engine rebuild happened before i even knew of this site, gotta dig up some old photos.
Carb Reb. Link: https://www.yotatech.com/forums/f116...d-time-226236/
Thanks, its been a long project. Yeah, the engine rebuild happened before i even knew of this site, gotta dig up some old photos.
Carb Reb. Link: https://www.yotatech.com/forums/f116...d-time-226236/
Registered User
I didn't replace the check balls, either.
DON'T GET RID OF THEM, they are perfect (well, one of them is) replacements for the ones we all lose when we rebuild our manual hubs.
DON'T GET RID OF THEM, they are perfect (well, one of them is) replacements for the ones we all lose when we rebuild our manual hubs.
Hey Algranger, are you using mineral spirits as the soaking solvent? Or denatured alcohol or what?
Registered User
Spear, I bought a gallon of carb soak. It has a basket in it and works great if you leave it in there a day or two. Its either Chem-tool or All-Chem, something like that.... Most all auto parts places have it.


